How to Prepare for the 45,000 Eddie Grind in Cyberpunk 2077
Before you can dominate the streets of Night City, you need to master them. In Cyberpunk 2077, movement is everything, and your first major goal should be unlocking the freedom to explore every rooftop and alleyway. This guide is your roadmap to securing the game-changing Double Jump ability early, which requires a hefty 45,000 Eurodollar (eddie) investment. Let’s break down exactly what you need and how to get it.
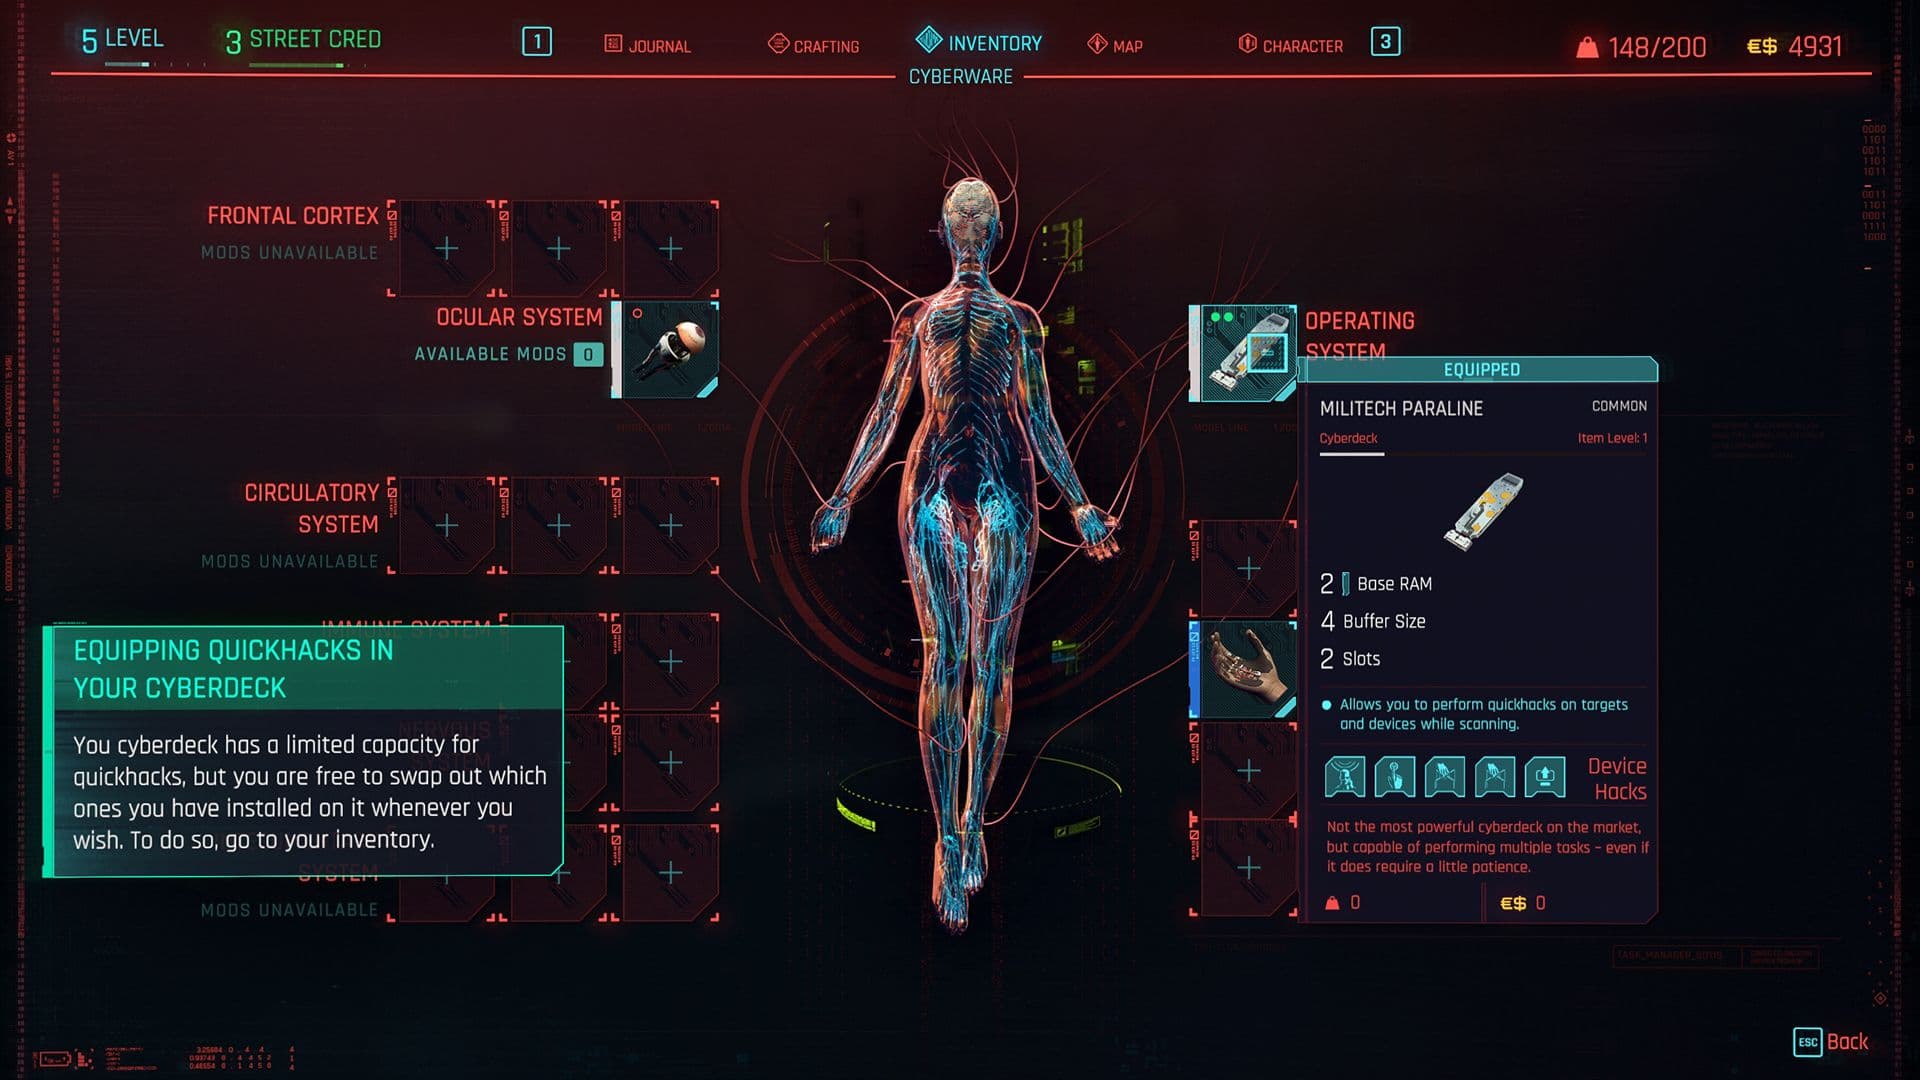
Quickhacks are a significant investment but can be sold for profit.
Your target is the Reinforced Tendons leg cyberware. This is a Rare quality upgrade found under the Legs tab at any Ripperdoc. Once installed, it grants the Double Jump mechanic: simply press [Space] to jump, then press [Space] again in mid-air to leap a second time. This isn't just a fancy trick—it transforms how you navigate, letting you scale buildings, evade enemies, and discover hidden paths.
While you can only equip one leg cyberware at a time, the Double Jump from Reinforced Tendons is widely considered the most versatile choice for new players, offering better mid-air control than the higher-flying Charge Jump.
To buy and install the Reinforced Tendons, you must meet two key requirements. First, you need a Street Cred Level 12. This reputation threshold unlocks access to advanced cyberware like this. Second, you need the cash: a total of 45,000 Eurodollars for the Tier 2 installation. This is a significant early-game sum, which is why the following sections of this guide are dedicated to the fastest grinding strategies in Watson.
The most reliable place to make this purchase is from Viktor Vektor, V's primary Ripperdoc located in Watson > Little China. While other Ripperdocs stock the same item after recent updates, Viktor is a familiar face and consistently has the Reinforced Tendons in his inventory. Trust me, visiting him first is your safest bet.
With your Street Cred at 12 and 45,000 eddies in your account, you're ready to purchase the single most impactful mobility upgrade in Cyberpunk 2077. Once you have it, the vertical playground of Night City truly opens up. Now, let's get you that cash.
Best NCPD Scanner Hustle Strategies in Watson
Watson's streets aren't just for show—they're your first and most efficient goldmine. In Cyberpunk 2077, the NCPD Scanner Hustles scattered across this district are your fast track to early-game wealth, especially when tackled strategically. Here’s how to clear them like a pro.

Using quickhacks for efficient clearing
Understanding the Three Hustle Types
First, recognize the three blue icons on your map, each representing a different type of hustle with its own completion rules.
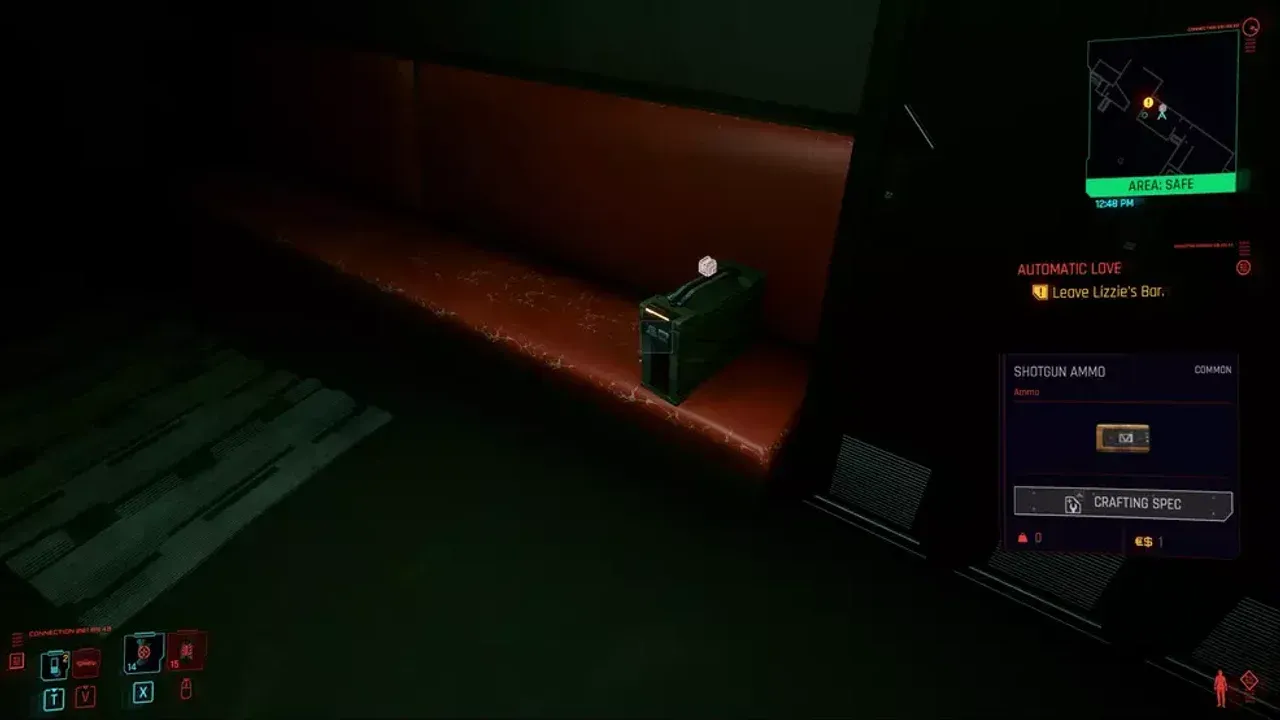
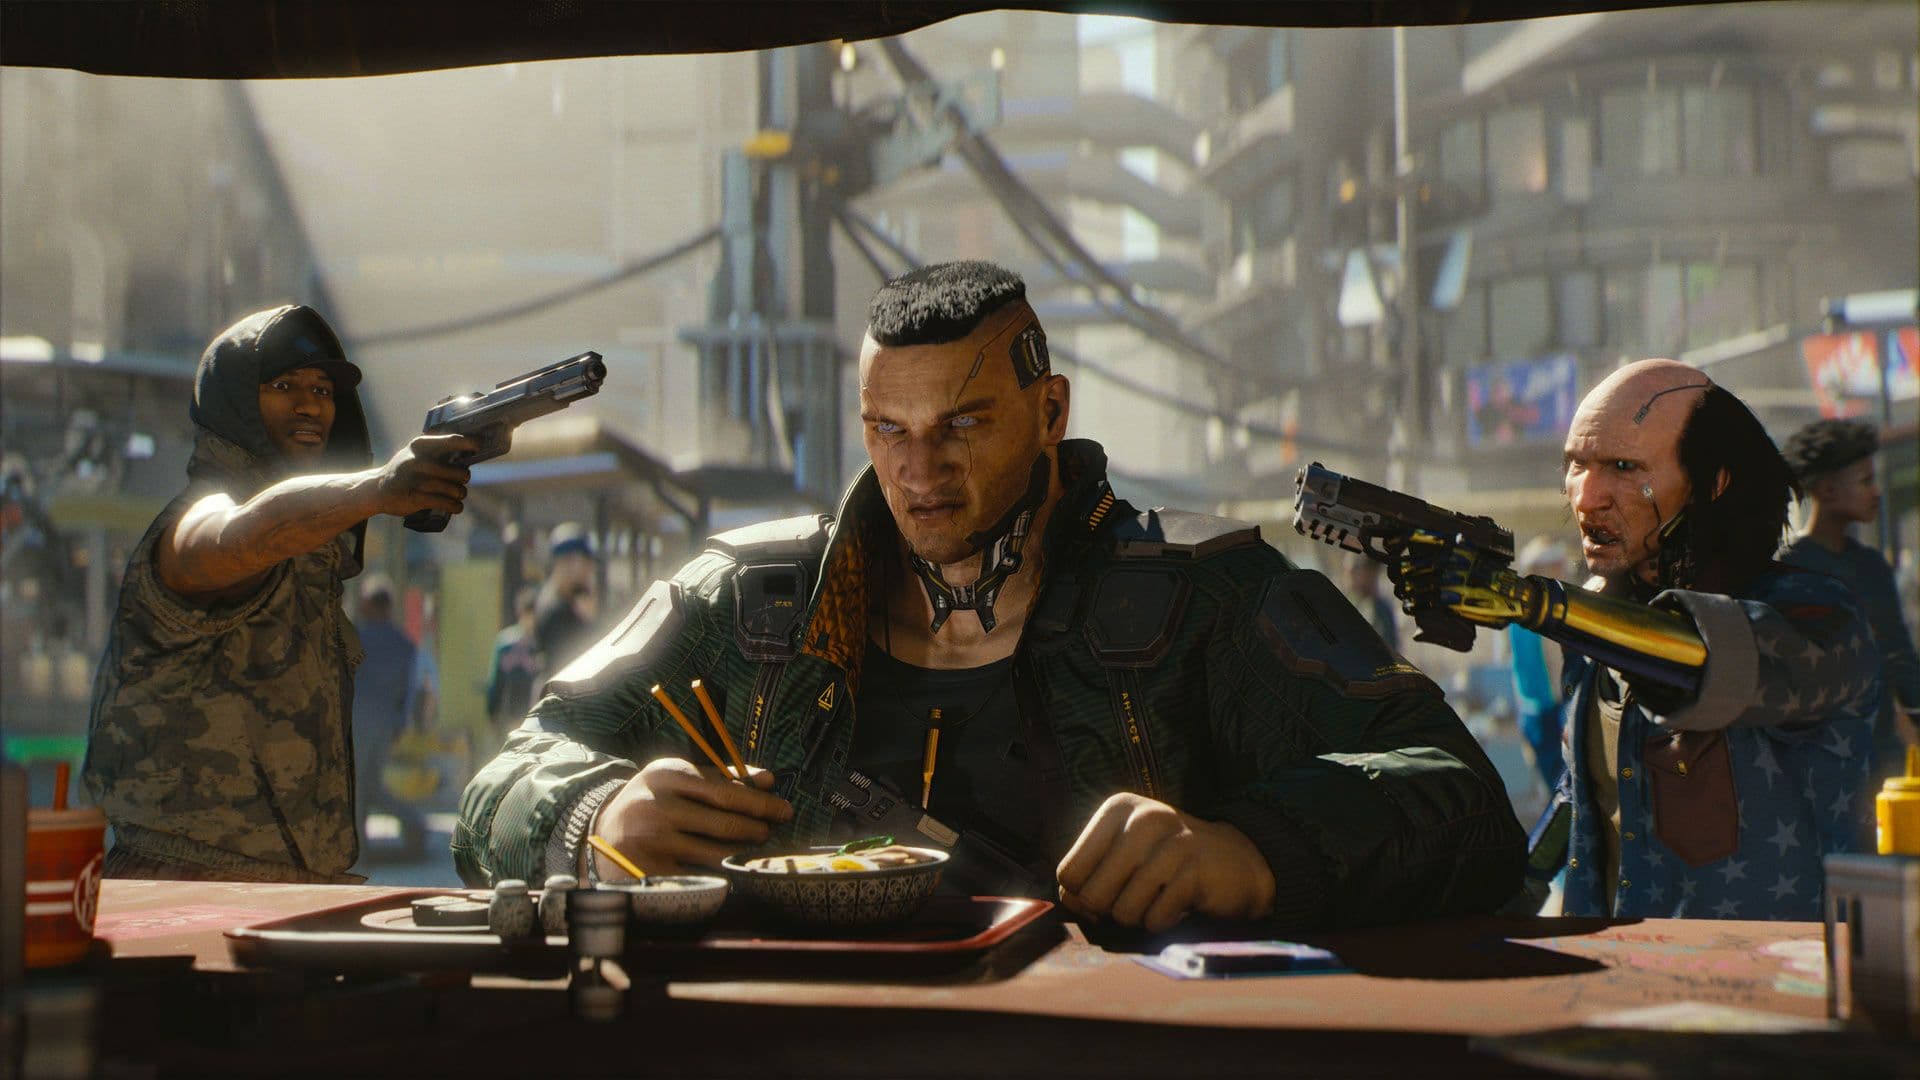
The most common is the Assault in Progress, marked by a blue badge icon. You’ll need to neutralize a small group of gangers and then loot a specific item or piece of evidence from the scene—usually a glowing briefcase or a body. It’s a quick in-and-out job.
Next up is the Suspected Organized Crime Activity, identified by a blue skull icon. This is a bigger commitment. You must clear a large area of a substantial enemy group, often including a mini-boss. The reward is worth it, as defeating the boss and looting their body or a nearby cache yields high-value weapons, crafting components, and a chunk of change.
Finally, there’s the Reported Crime, shown as a blue folder icon. This one adds a mini-quest to your journal. Start by looting the initial evidence at the marked location. Then, follow the new journal marker to a hidden cache elsewhere, which often contains rare cyberware or a substantial sum of eddies.
The Optimal Watson Northside Loop
For maximum efficiency, focus your initial farming on Watson's Northside. Start by opening your map and filtering it to 'Open World' activities to see only the hustle icons. You’ll find dense clusters of them, particularly near the Megabuilding H10 fast travel point.
Create a loop that hits several hustles in one trip. Clear the Assault in Progress by the docks, then head north to tackle a Suspected Organized Crime Activity in an alley. Use your vehicle to move quickly between points, looting everything. This loop is perfect for building a stockpile of gear to sell and eddies to collect in a short time.
After clearing a hustle, open your map and set a waypoint to the next nearest blue icon before you even get in your car. This keeps the momentum going and minimizes downtime.
Dealing with Time-Sensitive Spawns
Some hustles are finicky and only appear during specific hours. If you arrive at a marked location and find nothing, don’t fret. Open your menu, go to the Skip Time option, and skip to 8 PM or 8 AM. This forces the game to refresh the world state and can make those time-sensitive hustles spawn right in front of you. It’s the easiest fix for a seemingly missing job.
One note from the streets: a specific Suspected Organized Crime Activity in northwest Watson is known to only spawn after you complete the one directly south of it. Plan your route accordingly.
By targeting Assaults in Progress for speed, Organized Crimes for big hauls, and using time skipping to unlock them all, you’ll turn Watson’s chaotic blocks into a tidy, profitable circuit. Stock up on eddies, choom—you’ve got a Double Jump to save for.
How to Earn Eddies Fast via Quickhacks and Looting
You’ve mastered the hustle of clearing NCPD gigs in Watson—now let’s talk about the passive income streams that will keep your eddies flowing even when you’re not on the clock. In Cyberpunk 2077, your wallet can grow through clever hacking and smart looting, turning every corner of Night City into a potential payday.
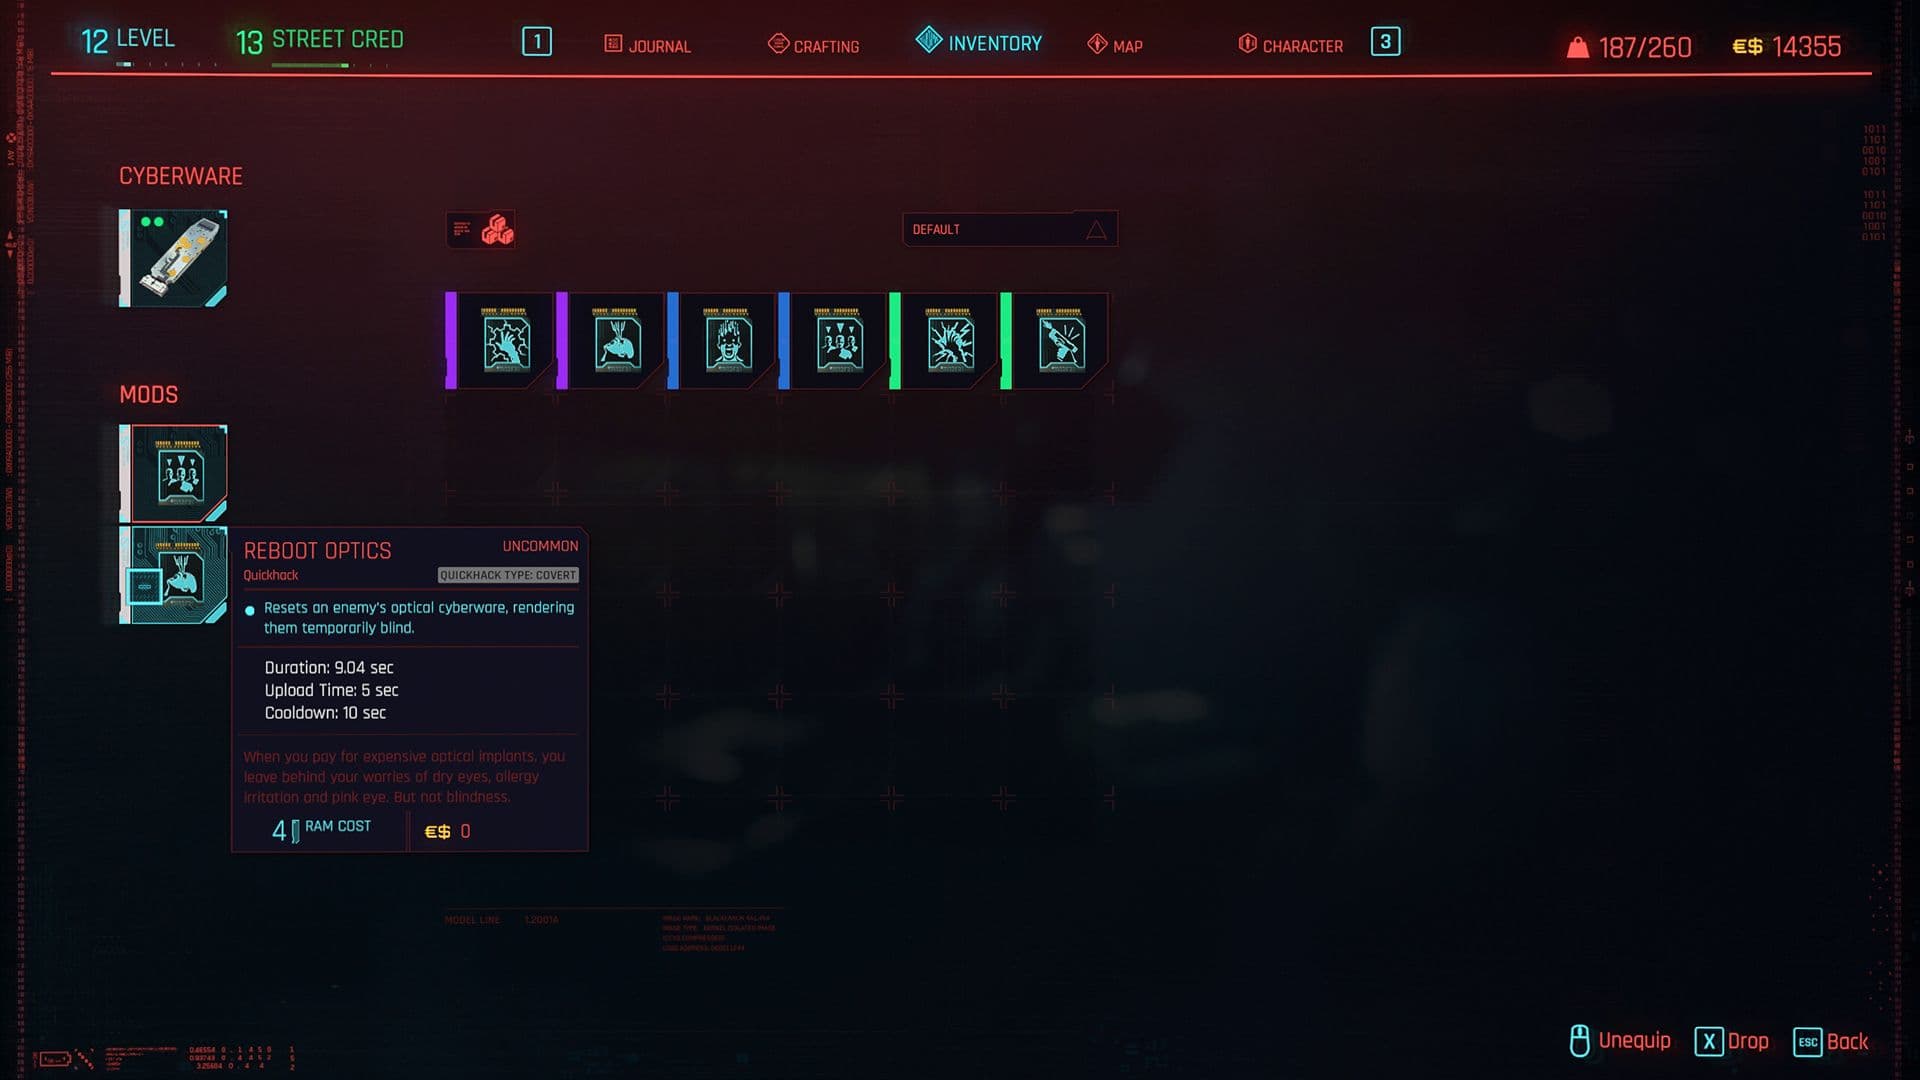
Managing your quickhack inventory is key to maximizing your income.
Hack the System for Profit
Your cyberdeck isn't just for combat—it’s a portable ATM. Seek out Access Points, the glowing panels on laptops and control towers often found in enemy dens. Using Breach Protocol, solve the quick data sequence to extract a random reward of Eurodollars and Quickhack components. To maximize this, invest in the Advanced Datamine perk from the Breach Protocol tree. At its first level, it boosts your money haul by 50%, making each hack a more lucrative venture.
Keep an eye out for these panels during any gig or NCPD hustle. The extra cash and components add up fast and require almost no extra time.
Turn Quickhacks into Quick Cash
As you hack and explore, you’ll accumulate duplicate or lower-tier quickhacks. Don’t let them clutter your cyberdeck. Head to any vendor—especially Netrunners like Yoko Tsuru at the Dewdrop Inn in Kabuki—and sell your spare quickhacks. Higher rarity hacks fetch a great price, providing a solid return on your hacking efforts. This is a perfect way to fund your next big purchase without taking on another mission.
Loot Everything, Sell Strategically
This is the golden rule: pick up every weapon and piece of clothing from fallen enemies. Instead of automatically disassembling them for parts, prioritize selling them at Drop Points or vendors. These yellow-marked kiosks are everywhere, and selling in bulk is as simple as pressing a single button in the shop menu. Common weapons might only net ~50 eddies, but clearing a single Organized Crime activity can leave you with an inventory full of gear worth thousands. This consistent loot liquidation is your most reliable daily income.
Hunt for Cyberware Capacity Shards
While looting bodies and containers, be on the lookout for Cyberware Capacity Shards. These rare items permanently increase your total cyberware limit, letting you install more powerful implants without visiting a Ripperdoc. They’re random drops, so the more you loot, the better your chances of finding one. Think of them as a long-term investment that pays off by letting you equip more valuable cyberware down the line.
Get a Discount on Your Upgrades
Here’s a sneaky trick most guides miss: during certain side interactions with Ripperdocs, you may be offered a bribe to look the other way. If you accept the bribe, you’ll unlock a permanent 20% discount on all cyberware at that doc’s shop. This stacks up to massive savings, especially when you’re saving for big-ticket items like the Reinforced Tendons.
With these methods in your toolkit, you’re not just a mercenary—you’re a savvy Night City entrepreneur. Keep hacking, keep looting, and watch your bank account grow.
High-Reward Gigs and Cyberpsychos in Watson
Watson’s gritty streets aren't just a tutorial zone—they're a goldmine of high-stakes gigs and brutal cyberpsycho encounters that can fund your entire early game in Cyberpunk 2077. While NCPD scanner hustles are steady work, the real payouts come from fixer jobs that test your skills and offer significant rewards. Here’s where to focus your efforts for the biggest eddie hauls.

Quickhack vendors in Watson
The Top-Tier Fixer Gigs
Your main source of lucrative work comes from Regina Jones, the fixer who operates throughout Watson. She’ll call you with gigs that pay out EXP, Street Cred, and a solid chunk of eddies upon completion. Two of her best-paying early gigs are in Northside.
First, head to the Clean Cut building in Northside for the gig Hippocratic Oath. Your objective is to rescue a kidnapped doctor. Fight your way through, find Lucy in the northwestern room, and persuade her to leave. The key to maximizing your reward here is the patient—make sure you scan him when prompted and administer the Synthetic Blood to save his life. Escort Lucy to the waiting car outside, and you’ll bank a hefty payout.
Next, check out Revere Courier Services, also in Northside, for the gig Many Ways to Skin a Cat. This one’s a classic heist: steal a van full of contraband. You can enter through the front door (if you have Technical Ability 5) or a broken gate. Deal with the guards, find an access card, and use a personal link on a second-floor computer to authorize the van. Then, simply drive it to a garage northeast of Martin St and park it. The payout for a clean job is substantial.
For “Many Ways to Skin a Cat,” a stealthy approach can save you time and ammo. Sneak in through the east side courtyard to grab the access card without alerting the entire facility.
Another high-value target awaits in Kabuki. Head to the Ho-Oh Club for the gig Monster Hunt. This is a direct assault mission where you’ll need to clear the club and take down a VIP named Jotaro. After fighting through the main area, you’ll find a door requiring Technical Ability 7 to open for a shortcut. Once you defeat Jotaro, place his body in the fixer’s transport van outside to complete the gig and claim your reward and loot.
Profitable Cyberpsycho Takedowns
Regina also contracts you for all the Cyberpsycho Sightings in Watson. These are more than just tough fights—they’re multi-step investigations that pay well for a non-lethal resolution. A prime example is Cyberpsycho Sighting: Lt. Mower in Kabuki.
Track the cyberpsycho, known as The Mower, to a location southwest of the Creek Loop fast travel point. After inspecting clues, you’ll descend a stairway for a boss fight. She uses fast attacks and a dangerous electric AoE if you stand in water. The trick here is to defeat her non-lethally (use a weapon with a non-lethal mod or target limbs). Once she’s down, looting her body provides data you must send via text to Regina Jones to officially close the case and secure your bonus eddies.
⚠️ Watch out: Taking down cyberpsychos non-lethally is Regina’s preference. You’ll still get the core reward, but fulfilling her request often nets you a bonus and is crucial for a later storyline with her.
With these gigs and sightings under your belt, you’ll have a serious financial head start. The combined eddies from Hippocratic Oath, Many Ways to Skin a Cat, Monster Hunt, and a few clean cyberpsycho takedowns will easily set you up for your first major cyberware purchase or weapon upgrade. Trust me, tackling these early makes the rest of Night City feel a lot more manageable.
Double Jump vs. Charge Jump in Cyberpunk 2077
You’ve grinded for the 45,000 eddies and unlocked your mobility options. Now comes the real choice in Cyberpunk 2077: do you want to soar to new heights or dance through the air with precision? This final decision between the Fortified Ankles and Reinforced Tendons will define how you move through Night City.
Choosing the right cyberware is a major decision for any mercenary.
The Fortified Ankles unlock the Charge Jump. You’ll find them in the Legs tab at any Ripperdoc. Hold [Space] to charge and release for a single, powerful leap that can vault you onto the roofs of smaller buildings. It’s fantastic for pure verticality. The Reinforced Tendons, meanwhile, grant the Double Jump. Tap [Space] twice to get a second jump in mid-air, offering incredible directional control and airtime to cross wide gaps. You can only equip one leg cyberware at a time, so choose based on your style.
Mastering Your Movement Style
For players who want to feel like a parkour master, the Double Jump is the community favorite. Its real power unlocks when you start combining it with the Reflexes skill tree.
The synergy with Aerial Acrobatics in the Reflexes tree is a game-changer. This perk enhances your mid-air directional control, letting you adjust your trajectory after a double jump to dodge gunfire or land on a specific ledge. This control is key for a powerful traversal combo: the Triple Jump. Execute a [Space] jump, follow with your second [Space] jump, and then immediately use your [Circle/B] Air Dash (also from the Reflexes tree) for maximum distance. This sequence can let you outrun cars in the open world and is an unbeatable escape tool in tight combat spaces.
Use the Double Jump for Stealth Verticality. Launch yourself onto rooftops, then press [L3] to crouch and observe enemy patrols from an untouchable vantage point. This opens up entirely new, stealth-only approaches to gigs and NCPD hustles.
Why Double Jump Wins for Most Players
While the Charge Jump can reach slightly higher single points, the Double Jump offers more overall utility. It makes you harder to hit in a firefight, lets you navigate the cluttered streets and canals with ease, and provides a crucial safety net: Fall Damage Mitigation. If you misjudge a drop, hitting your second [Space] jump right before impact can reset your fall momentum and prevent a messy, health-draining landing.
Ultimately, your 45,000-eddie investment in Reinforced Tendons pays dividends in fluidity and fun. It transforms Night City from a series of streets into a three-dimensional playground. Whether you’re evading MaxTac, finding hidden loot caches, or just wanting to move with style, the Double Jump is the upgrade that keeps on giving. With this setup, you’re not just moving through the city—you’re mastering it.
