For a solo or duo, a build server should answer one question before wipe day: does this layout still work after its first obvious breach? Free materials are only useful when they let you isolate that question. Build the smallest version of the base, test one route at a time, and move only the parts that pass into survival.
Choose a Build Server That Matches Your Test
Rust’s built-in Creative Mode can remove resource requirements and placement restrictions when the server enables those settings. Community build servers may add saved builds, symmetry, no decay, unlimited ammunition, noclip, or a live cost display. Those tools speed up practice, but they also change what you are testing.
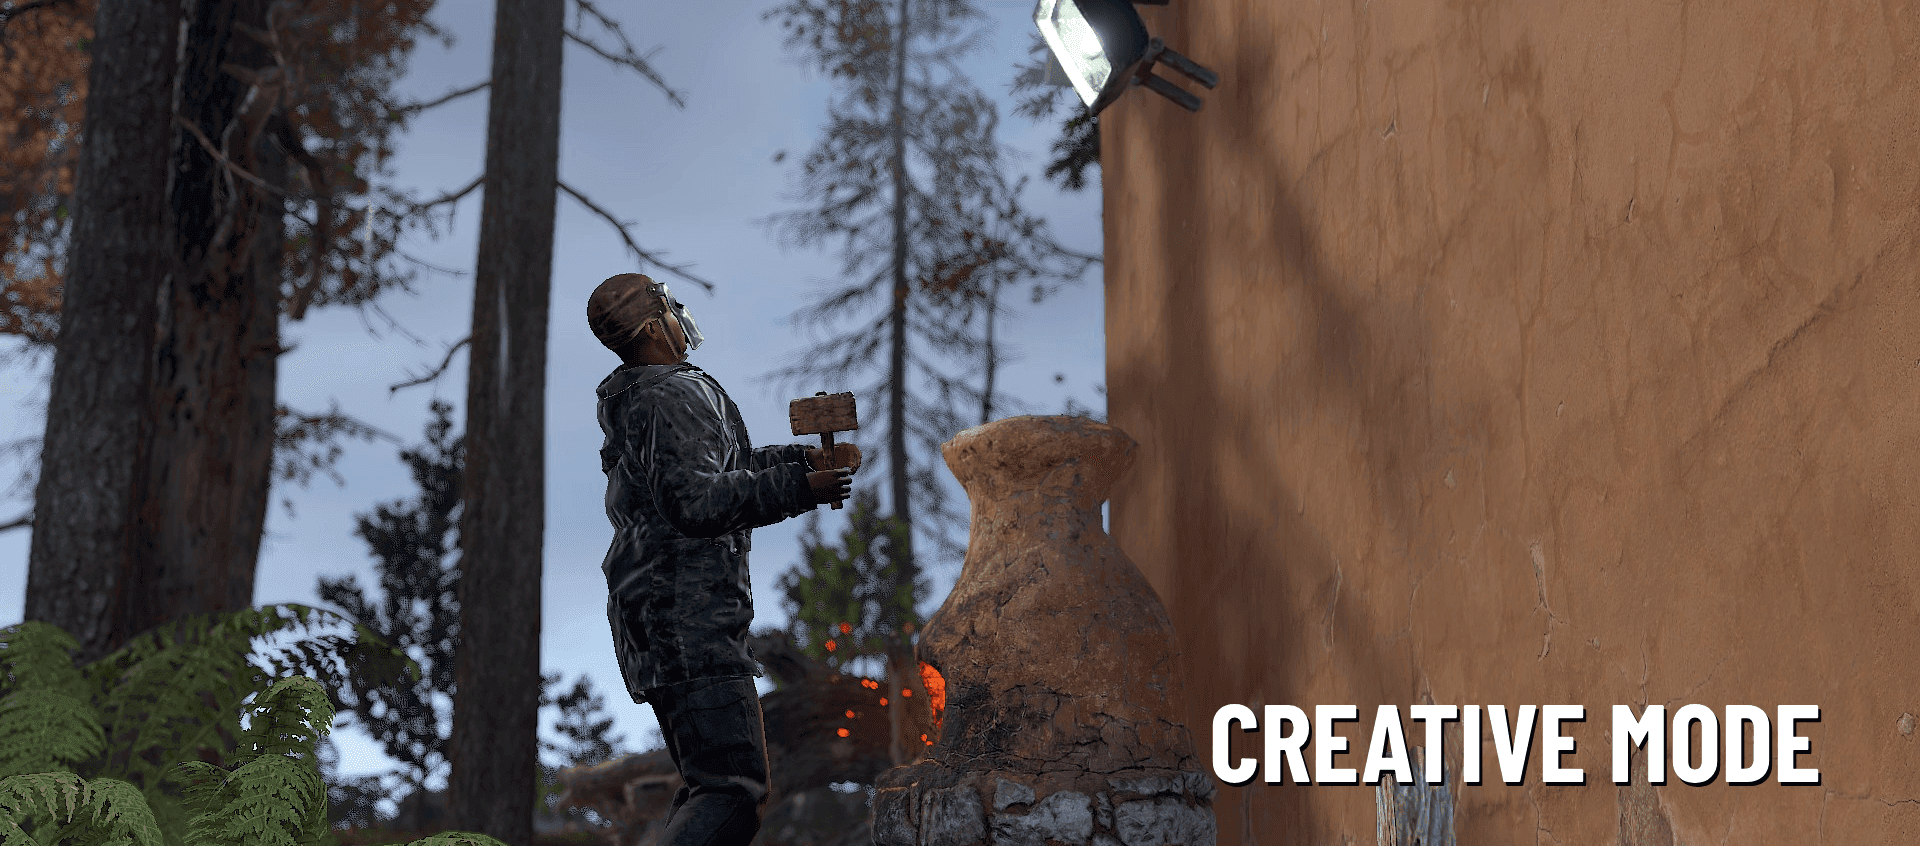
Facepunch’s Creative Mode documentation shows the practice context this server type is built for.
Use the server browser’s Creative or Build tags, then check the rules after joining. For a vanilla-style base design, you need the normal building pieces, grade upgrades, doors, deployables, and Tool Cupboard behavior. A server with unusual placement shortcuts is excellent for sketching a footprint; it cannot prove that the same footprint is practical on a survival server.
If you run a private practice server, Facepunch documents creative.freebuild for free building and creative.freeplacement for bypassing placement checks. On a public server, ask which features are enabled instead of assuming every “creative” label means the same thing.
Start with one test target: the front door is breached, but the core must remain difficult to reach. That target keeps a base design session from turning into an hour of decorative building.
Build a Minimal Core Before Adding Honeycomb
Start with the room you would actually place after spawning. Build the core, Tool Cupboard, sleeping bags, storage, workbench space, and first airlock. Leave honeycomb, shooting floors, and external defenses for the second pass.
The Tool Cupboard belongs in this first version. Facepunch’s guide states that the cupboard grants building privilege and that the privilege shape follows the connected foundations, not a simple circle centered on the cupboard. Walk the outside edge of your base and watch for the BUILDING PRIVILEGE indicator. A detached external structure needs to be connected or protected by its own Tool Cupboard, so record that requirement before you call the layout efficient.
Run one placement pass before upgrading:
- Open every door from both sides. A door that blocks a box, furnace, or retreat route fails.
- Fill the base with the storage and deployables you expect to use. If a full box prevents a door from opening, move the box now.
- Walk from each sleeping bag to the exit while carrying your normal kit. The route must not force you to jump, crouch, or cross a door’s swing.
- Upgrade structural pieces, then check whether the upgrade blocks a deployable or removes a usable angle.
Take a screenshot of this bare version. It is your control layout. When you add a layer, compare it with the control instead of changing the core and the defense at the same time.
Run the Same Raid Test on Every Layout
A practice server cannot predict a real raid, but a repeatable raid test can expose a bad base design. Test the front, roof, and defender movement in that order.
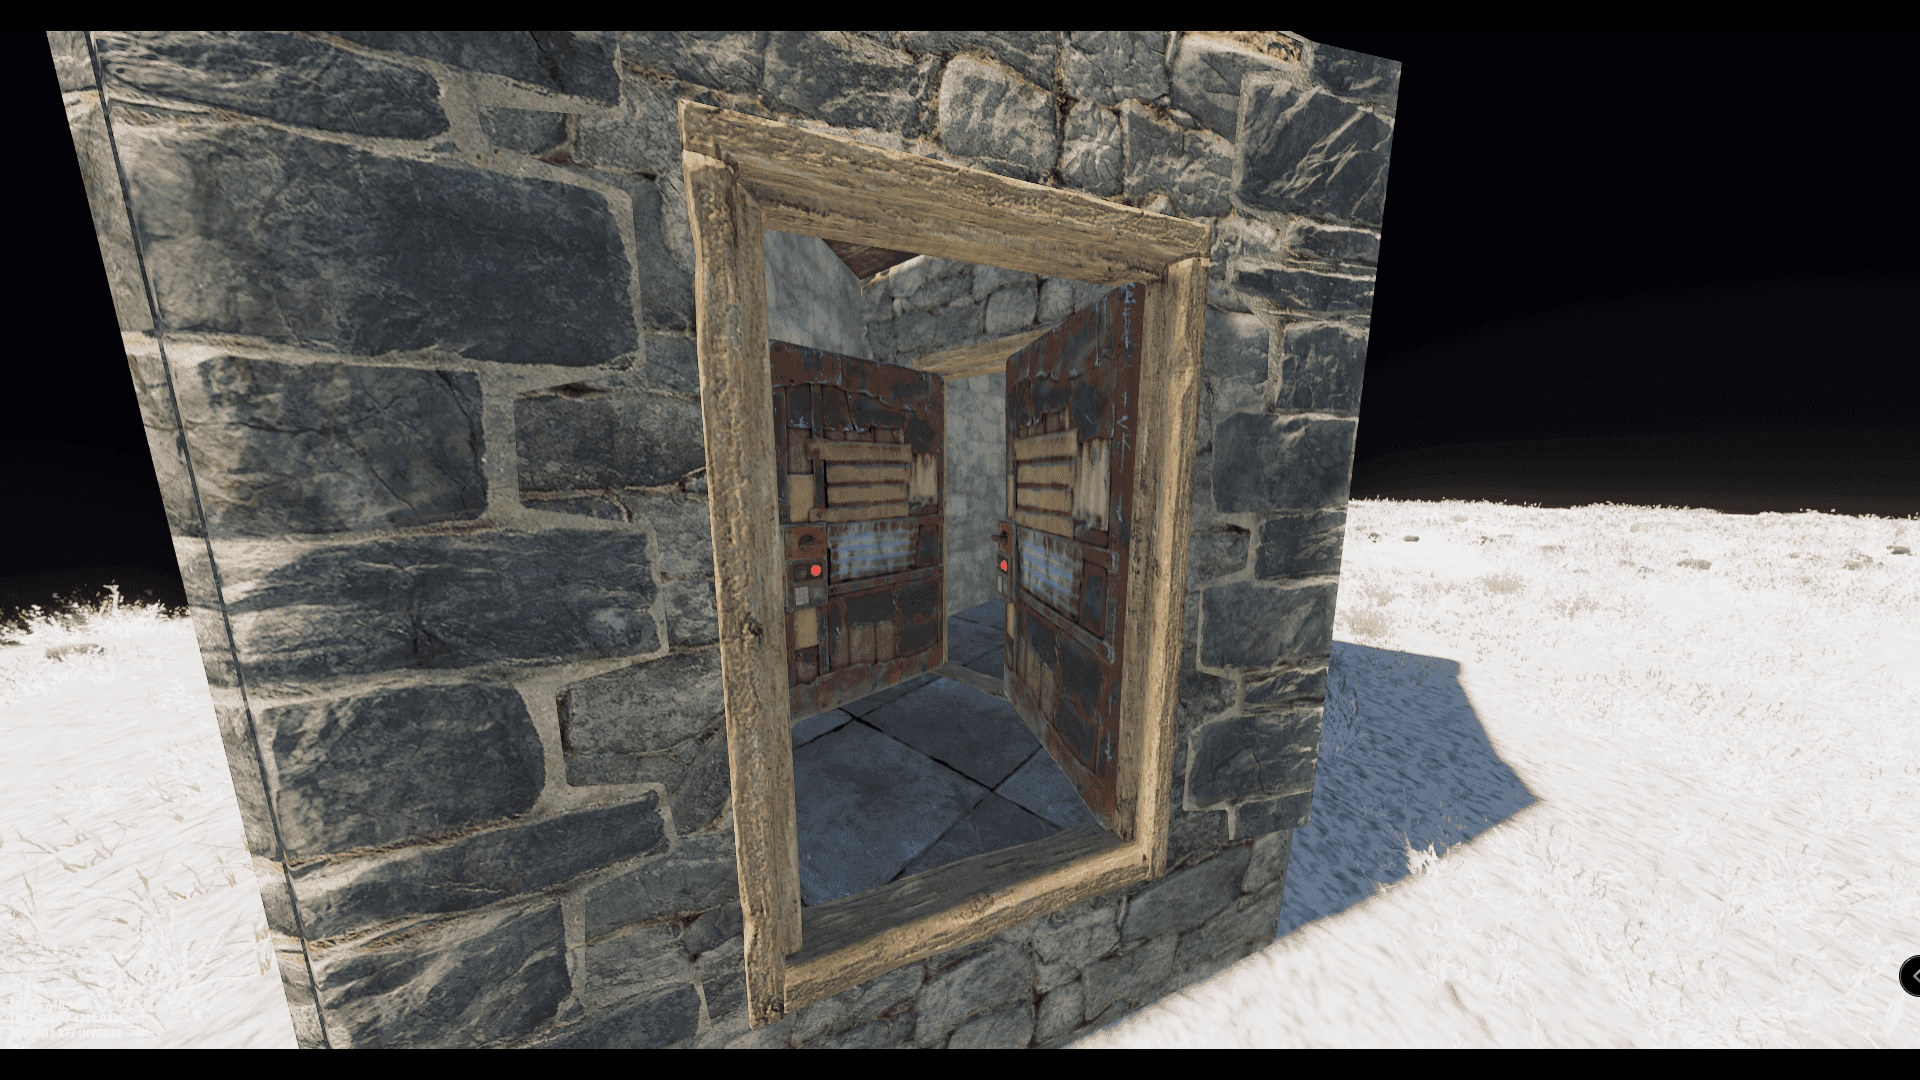
A doorway is the first route to test when checking how a base handles a breach.
For the front test, destroy or remove the outermost door. The core should still require another door, turn, or room to reach. If the first breach gives a straight view of the Tool Cupboard or main boxes, the airlock failed. Add one structural change, then repeat the same test.
For the roof test, stand above the core and identify the first ceiling piece that reaches the most valuable room. Remove that piece and check what becomes visible and reachable. The core fails this test when one ceiling break exposes both the Tool Cupboard and the main loot route. Move one of them or add a separate layer; do not hide the problem behind extra decoration.
For the defender test, place a teammate at the main peak or use a dummy if the server provides one. From that position, confirm two things: the defender can reach a second position without stepping outside, and the defender can retreat without passing through the core room. A window with a good view but no protected retreat is an attack angle, not a usable defense.
Record the result in one table and keep it with the screenshot:
| Test | Pass condition | If it fails |
|---|---|---|
| Front breach | The first door lost does not expose the core or main boxes | Add a turn, door, or room before changing the footprint |
| Roof breach | One ceiling piece does not expose the TC and main loot route together | Move the core or add a separate roof layer |
| Defender rotation | A defender can reach a second peak and retreat without crossing open ground | Add an internal route or remove the unusable peak |
| Deployables | Full boxes, furnaces, and workbench leave every door usable | Reposition the deployables before adding defenses |
Call this a raid test, not a raid simulation. It measures layout failures; it does not measure explosives, online defenders, or a raider’s decisions.
Rebuild the Passed Modules on Live Terrain
A build-server copy is not a survival base until it survives the constraints that the practice plot hid. Your live terrain may be sloped, your team may be smaller, and your Tool Cupboard upkeep may make the outer shell a bad trade.
Keep modules that solve one job: the airlock, the protected core route, the shooting-floor segment, or the external defense piece. Rebuild those modules with the materials and grades you can afford. Do not carry over a full shell just because it looked finished.
Use this conversion rule:
- Keep the module if it passes the front, roof, defender, and deployable checks.
- Downsize it if its tested job still works at a cheaper grade or with fewer tiles.
- Drop it if it depends on flat ground, a plugin shortcut, a second Tool Cupboard, or a team member you will not have.
- Re-test it after connecting it to the live base. A module can pass alone and fail when its doorway points at a rock, monument, or neighboring wall.
The build server has done its job when you can explain why each surviving piece is there. On wipe day, place the smallest version that passes the raid test; expand only after the core still has a route out.
FAQ
Can a creative server test upkeep accurately?
Only when its cost or upkeep display uses the same building rules as your survival server. Treat a server’s live cost HUD as a planning aid, then verify the Tool Cupboard upkeep after rebuilding on the target server.
What changes when I move a tested base to uneven ground?
The footprint and defensive angles change. Keep the tested airlock or core route, then rebuild the surrounding shell and run the front and roof tests again. A saved build is a reference, not a guarantee that every foundation will fit.