
A Rust starter base is defensible only when its protections work in the right order. The Tool Cupboard has to control the building footprint, its upkeep has to remain funded after you log off, and the entrance has to make a direct walk into your storage impossible. Honeycomb comes later: it adds sacrificial layers and raid delay, but it also adds a bill you must be able to pay.
That makes the best beginner plan smaller than many ambitious starter builds. Secure a compact core, verify its privilege and upkeep, add a two-door entrance, and expand only when the next layer will stay maintained. The goal is not an unraidable base; it is a home whose permissions, delays, and upkeep still work when you are not standing inside it.
A Tool Cupboard controls building privilege through the connected footprint
That order starts with the Tool Cupboard, because it defines what the building system recognizes as your base. A secured, stocked TC is the control point for building privilege and decay protection. Place it deep inside the starter core rather than at an exposed edge, then keep it locked so reaching the outside of the building does not immediately mean reaching the control point.

The official diagram illustrates the privilege footprint as a building layout, not a simple circle.
Placing the TC authorizes you automatically. Your teammates do not become authorized merely by joining your team: each player must approach the cupboard and authorize themselves. If the group changes, you can clear the current authorization list and have the people who still belong there authorize again. This makes the TC an explicit permissions list, not a passive benefit granted to everyone nearby.
Do not map that privilege as a guaranteed circle around the cupboard. The protected area follows the building footprint connected to the TC, so distance alone is not enough to prove that a foundation or extension is covered. Use the BUILDING PRIVILEGE indicator while walking around the planned footprint and confirm the status where you intend to build. Treat the indicator in the live server as the final check rather than relying on a remembered radius or on the TC's position by itself.
The same rule matters for structures that sit beside the base. A separate building needs a physical foundation connection to the protected structure or its own TC to avoid being treated as unprotected. A nearby detached furnace, wall, or other external structure is not automatically covered just because it is close to your cupboard. If the perimeter check shows a gap, connect the structure deliberately or give it separate coverage before trusting it.
For an offline check, open the TC before you leave and read its current protection time, then use the room and perimeter check to diagnose coverage: confirm the TC room is not only one wall from outside, secure the cupboard, and walk the perimeter with BUILDING PRIVILEGE active. The point is to catch a nearby object that only looks covered and a control point left exposed; the final build checklist turns those checks into the repeatable leave-the-base sequence. Once that boundary is verified, the next question is what keeps the TC and the structure alive while you are away.
Upkeep keeps the base standing, but it is not raid protection
The protection time shown in the TC is a maintenance clock, not a promise that the base is safe. Upkeep is the resource payment that prevents decay. Foundations, walls, ceilings, roofs, doors, and window pieces contribute to that bill, while ordinary deployables such as sleeping bags do not. As the structure grows, the TC needs more resources to keep the same protection running, so check the cost per 24 hours and replenish what the base can actually sustain.
The difference is easiest to see in two bases. A compact core with enough material in its TC remains protected because its owner is funding the structure that actually exists. An overbuilt base whose TC empties no longer has that protection for free; its outer layers can begin to decay even though the player intended them to be defensive. Reference only, not a live-server timer: the official guide lists 1 hour for twig, 3 hours for wood, 5 hours for stone, 8 hours for metal, and 12 hours for armored construction. Treat those figures as a comparison point only: the source page is marked updated a long time ago, and server convars or later changes can alter live behavior. Treat those figures as a comparison point only: the source page is marked updated a long time ago, and server convars or later changes can alter live behavior.
Losing the TC creates a separate, temporary buffer rather than restoring control. If a TC is destroyed while resources remain, the documented behavior can consume up to 24 hours of remaining upkeep as grief protection; the official command reference records 1,440 minutes as the default value, while the upkeep period itself is configurable. That delay gives the structure time before decay, but it does not preserve ownership, prevent a raid, or stop another player from taking control. A stocked TC is therefore a condition for keeping the base standing, not a shield against intrusion.
Before logging out, open the TC, read its protection time, and keep the required resources inside. Treat every added wall, foundation, ceiling, roof, door, or window as an ongoing maintenance decision, then choose the smaller build if the larger one would empty its cupboard. Never rely on the grief-protection buffer as a reason to leave the TC exposed. With the maintenance side secure, the next defensive question is how to control the route into the core.
Use locks and a two-door airlock to control the core's entry path
The entrance is where the base's permissions become physical access control. A lock decides who can open a door; the airlock decides what an intruder can reach when that door opens. Together, they make the route into the core less direct without pretending that the entrance is the only way a raid can begin.

A two-door airlock inserts a controlled entry space between the outside and the core.
A code lock opens with a four-digit code, which suits a trusted small group that needs shared access. A key lock uses a physical key that you can create and share, which may suit a solo player or group that prefers handing over an object instead of a code. Code leakage and key loss are practical risks on either side, so neither lock is a universally safer winner. Choose the method your group can control, then lock both doors rather than treating the outer door as enough protection.
An ordinary airlock uses two or more opposing doors within one foundation. From outside, open the outer door into the entry space, close it, and only then open the inner door toward storage or the core. When that sequence is followed, the outer door does not open straight onto the core path; if the inner door is left open or either door is breached, the arrangement no longer provides that same delay. The arrangement also gives you a view of the outside before you commit to leaving, and the open inner door can block an immediate route farther into the base. A smart airlock is a distinct variation: it requires a door to have been closed at least once before you can pass through it, which helps enforce the close-before-open sequence. The beginner baseline here is the ordinary two-door airlock; smart behavior is an optional stricter variant.
That is the useful comparison with a single front door. If a player reaches an opened or breached single front door, that door can provide a direct route to the interior; when the two opposing doors are used in sequence, the airlock inserts another access decision and creates a moment in which you can stop, close the entrance, or check who is outside. The delay helps against direct access and door pressure, but it does not stop someone attacking through a wall or roof, and it cannot compensate for a compromised TC.
For an early door choice, sheet metal is a common medium-strength example. Armored doors are a later Workbench Level 3 option, not a first-hour requirement. Make the airlock the defensive part you establish around the core: place the outer and inner doors within the entry space, lock both, check outside before opening the outer door, and keep the TC and storage beyond the inner door. Once that route is controlled, any additional defensive layer has to earn its upkeep rather than merely make the entrance look more imposing.
Honeycomb buys raid delay only when your upkeep can support it
The airlock protects the front route; honeycomb gives a raider more construction to overcome on another route. It is a horizontal or vertical layer of additional walls around the core, creating empty space between the outside and the rooms that matter. A breach through that side must therefore pass another shell before it reaches the interior. That makes the base harder and slower to work through, but it does not make the base immune.
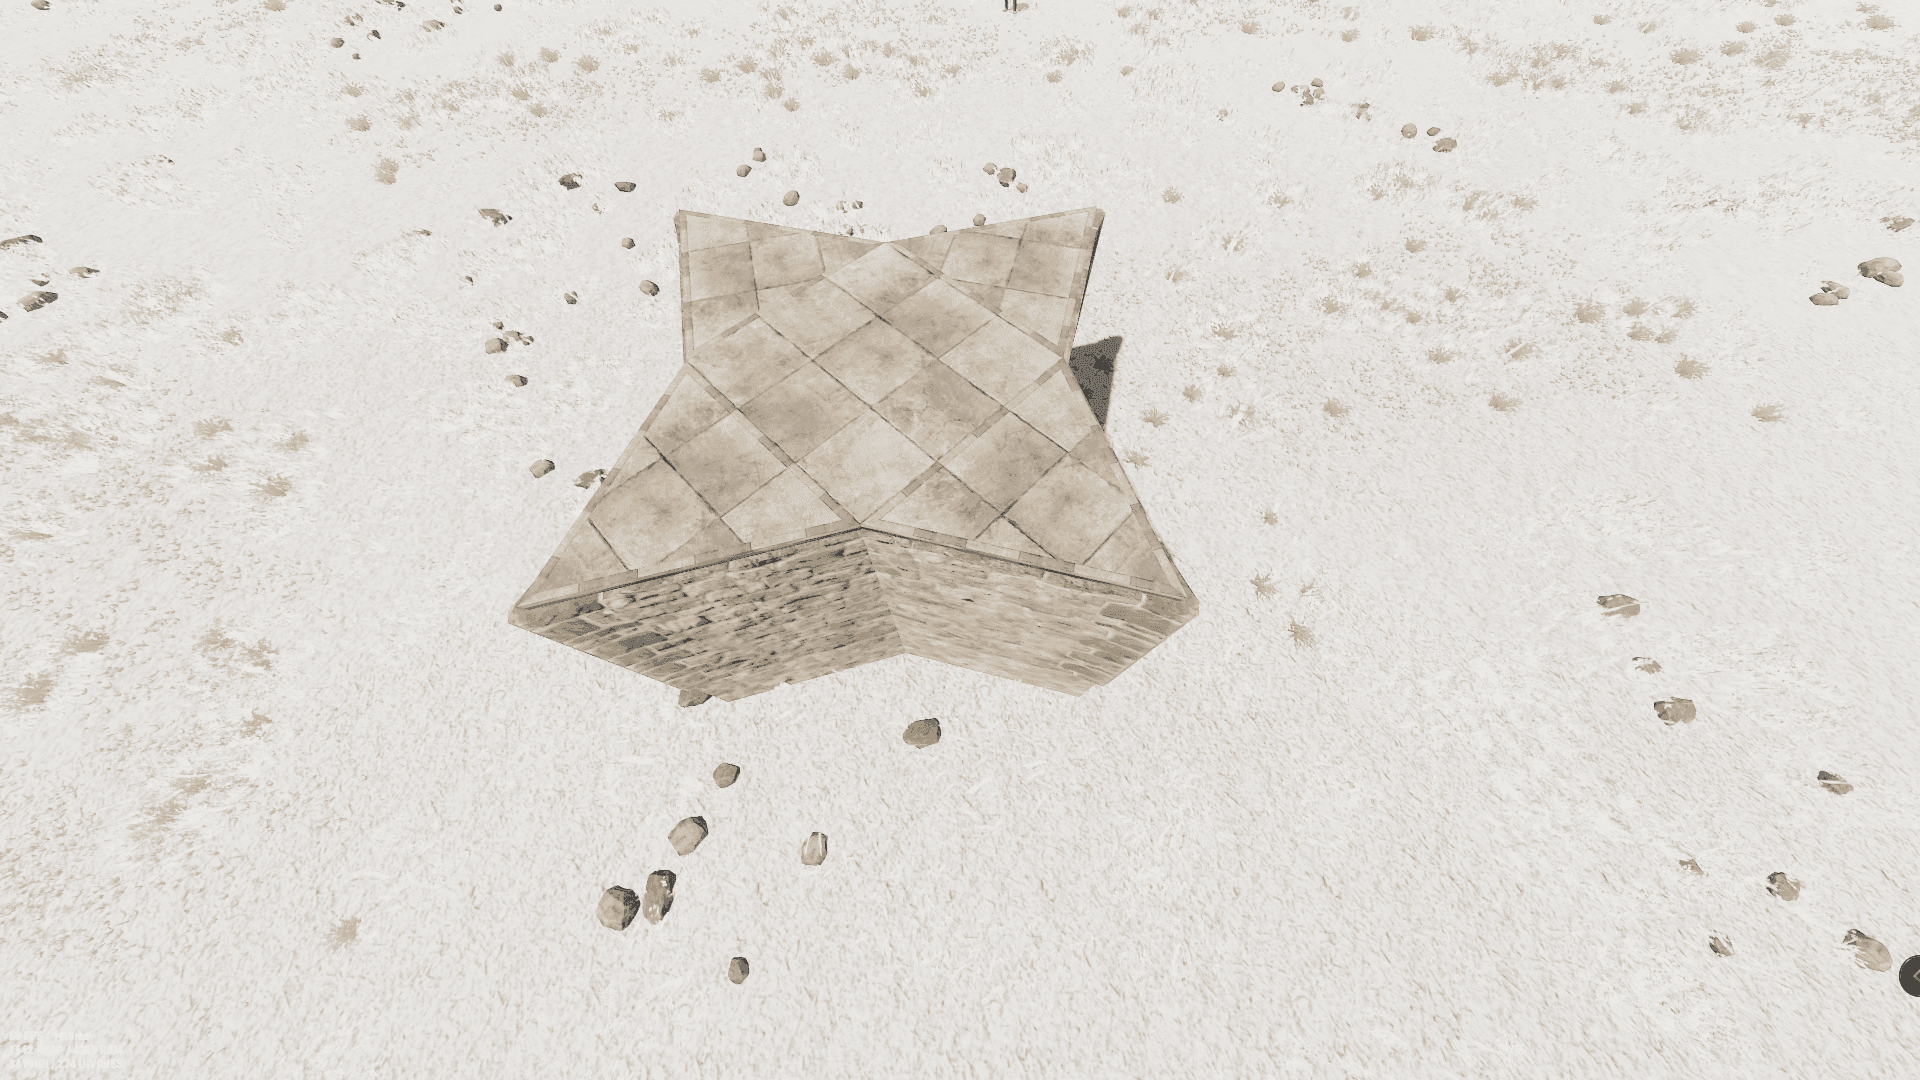
Honeycomb adds sacrificial wall layers that buy delay rather than raid immunity.
Trace the same starter core through four defensive choices. A single front door gives a direct route inside. The two-door airlock from the previous section inserts another access decision at the entrance. One layer of horizontal or vertical honeycomb adds a sacrificial wall layer where a raider might otherwise attack straight through the side. Internal doors or rooms can then separate the Tool Cupboard from storage, so reaching one target does not automatically expose everything else. Each layer changes the delay and the resources a raider must commit; none is a guarantee that they will stop.
That comparison is why you should treat honeycomb as a path-and-cost decision rather than a decorative upgrade. Its value depends on the material, layout, breach method, and version or server rules. Stone is not proof that explosives are the only possible route, either: the current Battering Ram documentation describes it as a siege weapon for smashing through wooden and stone construction. That confirms an important limit on the common “stone requires explosives” shortcut, but it does not establish which method is cheapest, fastest, or always available. Do not turn one supported breach method into an invented raid-cost ranking.
The other limit is the bill inside your own TC. Extra walls are structural pieces, so an outer layer can make the route more demanding while also increasing the upkeep your base must fund. If the added shell empties the cupboard, the defense has undermined the structure it was meant to protect: the larger base can lose outer layers to decay while a smaller maintained core would still stand. Before expanding, farm enough to cover the added upkeep, place one layer, and then check that the new protection remains sustainable. If you cannot repeat that farming test, keep the honeycomb as a future upgrade rather than building it immediately.
Secure and maintain the core first, then expand one layer at a time. Recheck the TC's protection state and the new footprint after each expansion, and prefer a compact base whose upkeep stays stocked over a larger design that only looks safer while it is funded. Honeycomb earns its place when it buys delay without making the base unable to pay for itself; that is the threshold to carry into the first-build sequence.
Build the compact starter core first, then expand one maintainable layer at a time
That threshold becomes useful when it is turned into a build order you can check in the world. Start with a compact 2x1-style footprint and use a Building Plan to place the structure. Keep it as a twig layout while you inspect the shape, then use the Hammer to correct anything that does not fit your intended rooms or entrance. Upgrading a mistake after the build is larger only makes the correction more expensive in time and materials.
Put the TC deep inside the core, beyond the entrance, rather than treating it as another item to place wherever there is space. Give each teammate authorization at the cupboard, then lock the TC and both doors. The two-door entrance should be part of the first usable version of the base, not a cosmetic addition for later; it separates the outside from the room that contains your storage and control point.
Once the layout is checked, upgrade the core walls to stone. This is the point at which the starter home becomes a maintained defensive core: the TC is inside, the entry path has two locked doors, and the structure is small enough for you to understand what its upkeep is paying for. Leave cosmetic expansion and extra rooms alone until this version works while you are offline.
Use this first-build checklist before you leave the area:
- Place the compact 2x1-style twig footprint with the Building Plan.
- Inspect the layout with the Hammer and fix the footprint before upgrading it.
- Put the TC deep inside the core, authorize teammates individually, and lock the TC.
- Build the two-door entrance, lock both doors, and keep the core beyond the inner door.
- Upgrade the core walls to stone, then verify the TC's protection time and the building-privilege indicator around the footprint.
- Add the next honeycomb layer only when you can farm its upkeep and verify the expanded coverage; if that test fails, stop at the maintained core.