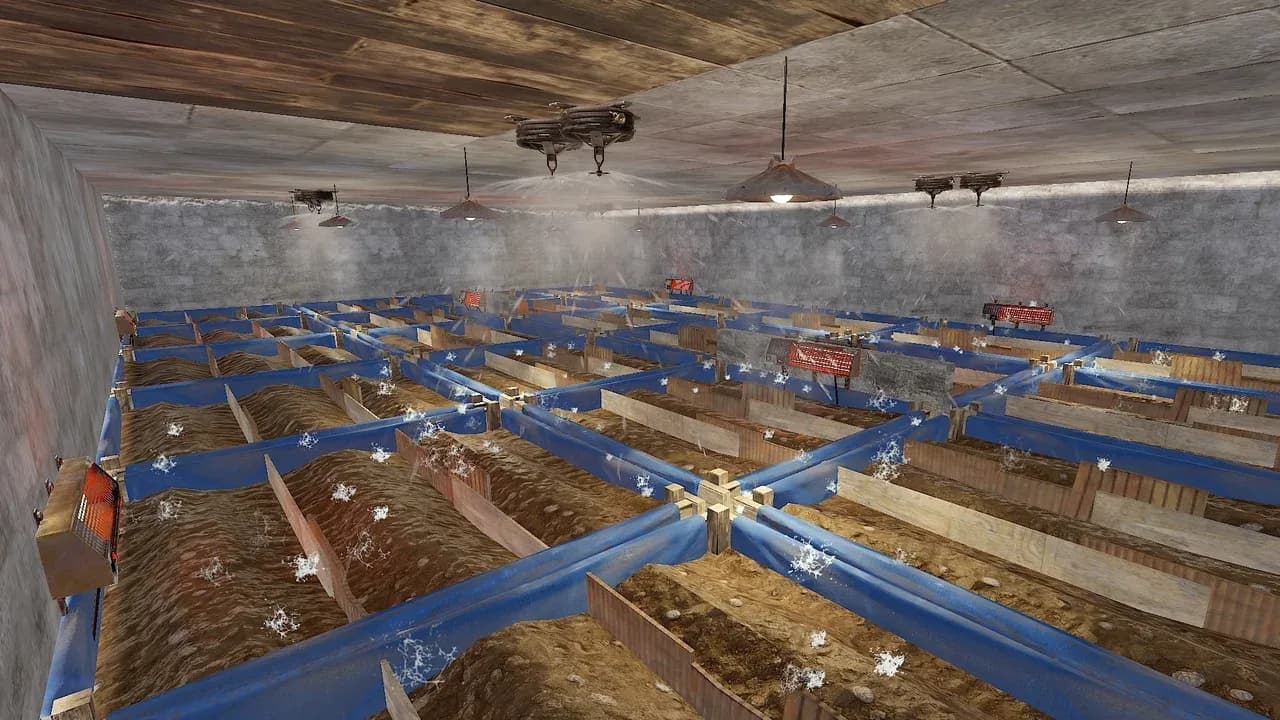
Rust farming works best as a survival utility, not a late-game spreadsheet. A small planter that stays healthy can feed a solo player; a larger farm can supply berries for teas and clones for future crops. Build the reliable production loop first, then optimize the plants that save you the most water or replanting time.
Pick the Output Before You Plant
Choose the crop for the problem in front of you:
| Need | Crop to start with | Why |
|---|---|---|
| Food for a group | Corn | A dependable food crop when you need repeatable meals. |
| Food plus hydration | Pumpkin | A strong all-purpose crop while pumpkin seeds are available. |
| Tea ingredients or a long-term farm | Berries | Berries can feed you, then become inputs for teas at a Mixing Table. |
You get corn and pumpkin seeds from their matching wild plants. Berry plants provide berry seeds. Pumpkin seeds are seasonal, so keep corn or berries in rotation when pumpkins are unavailable. Planting any of these in a planter and keeping it well watered produces more and grows faster than leaving the crop in the wild.
Keep one crop type in a planter when you intend to breed it. Crossbreeding only occurs between the same plant type, so a mixed planter is fine for casual food but useless as a controlled breeding bed. Start with the best seeds you have; a living, productive plant is more valuable than an unopened search for perfection.
Fix the Weakest Plant Condition First
A plant’s Overall condition is limited by its weakest input. Water, light, ground, and temperature all matter, so check the plant panel before adding more of the resource you already have.
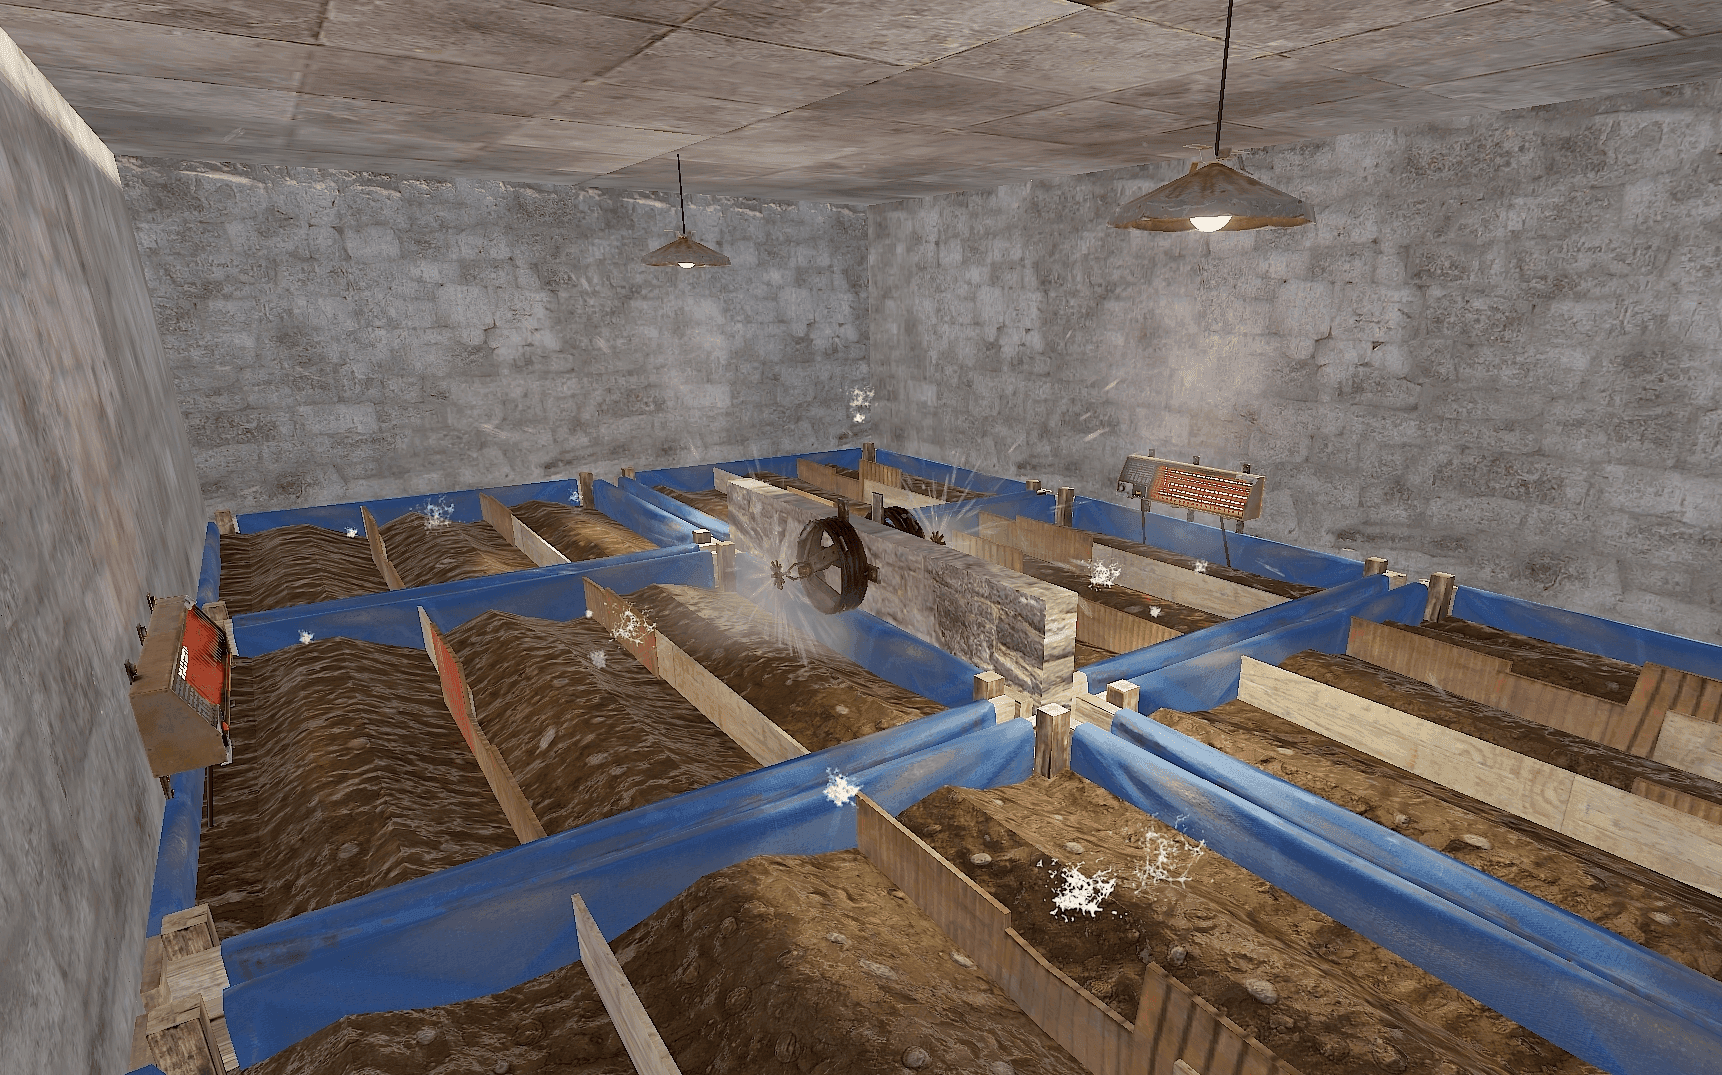
Group planters so one plumbing and lighting block is easy to check.
Use this setup as a practical baseline:
- Water: A powered water pump can feed up to four sprinklers. A water barrel can feed up to six. Treat those as plumbing limits for the common farm layouts, then confirm every planter’s water level after the system is running.
- Salt water: Put it through a powered water purifier before sending it to sprinklers.
- Light: Group planters in blocks of three or six so ceiling lights and sprinklers cover a repeatable area instead of forcing you to improvise every expansion.
- Ground: Add fertilizer when ground condition is the lowest value. Compost suitable organic items to produce it.
- Vertical plumbing: Water moves horizontally or downward by gravity. A Fluid Switch & Pump is required to push it upward.
If a plant is unhealthy, read the weakest value first:
- Low water means the source, sprinkler coverage, or planter grouping is wrong.
- Low light means the room or farm block needs another ceiling light.
- Low ground means fertilizer is the direct fix.
- Low temperature means the crop needs a better environment or a hardier genetic line.
This order prevents the common mistake of expanding a farm whose first planter is already failing.
Choose Genes That Match Your Water Budget
Planting reveals six gene slots. Read them before you clone:
- G increases growth rate.
- Y increases yield.
- H increases hardiness and helps a plant tolerate worse conditions.
- W increases water intake.
- X is an empty slot.
For a production decision, compare two useful targets:
- GGGYYY favors a faster production cycle, so it suits a short wipe or a small farm where harvest speed matters.
- GGYYYY gives a slightly slower cycle but produces four clones instead of three, reducing the work of multiplying a long-running farm.
Neither line is universally best. Choose GGGYYY when time between harvests is the bottleneck; choose GGYYYY when replanting and clone supply are the bottleneck. Keep W out of a water-limited farm whenever possible, and use H when the room cannot maintain ideal temperature or ground conditions.
Do not discard every imperfect seed. If a plant stays healthy and fills the role you need, it can produce food while you search for a better line.
Breed Once the Production Bed Is Stable
Cloning turns a good plant into a repeatable supply. When a plant offers a clone, preserve one before harvesting it. The clone inherits the parent’s genetics, so store good clones separately and label them by crop and gene line.
Use a separate breeding bed for improvements:
- Grow several seeds of the same crop and inspect their genes.
- Keep the strongest plant and clone it.
- Place compatible clones beside one another in a planter of that same crop.
- Let the plants reach the crossbreeding stage, then inspect the changed gene line.
- Preserve the best result and move its clones into the production bed.
Crossbreeding compares neighboring plants one gene slot at a time. Matching genes can overwrite the target’s gene in that slot. Negative genes carry more weight than positive ones, so replacing W or X can require more favorable neighbors. A breeding bed is worth the space only when the improved line saves more water, harvest time, or replanting work than the breeding process costs.
Harvest corn and pumpkins for the group’s meals. Route surplus berries to the Mixing Table when food is already covered. The next upgrade is not a perfect gene string; it is the first clone that lets your farm keep producing without demanding your attention every cycle.