Rust genetics becomes manageable once you stop treating a plant as a single grade. Its six-letter genome is six separate slots: each one can help your target, add water pressure, or remain an empty slot that a donor must overcome. The useful question is not “Which seed has the most Gs?” but “Which plant can improve the exact slots I need without importing a worse problem?”
This guide turns that question into a repeatable breeding path. You will decode a genome, screen donors by their positions, build a crossbreed between the same plant type and variant in one planter, and recognize when a direct attempt cannot reach your target. From there, a bridge clone can carry missing genes into a second generation, while the final choice between a faster GGGYYY line, a more clone-rich GGYYYY line, a hardiness-oriented result, or a good-enough plant depends on what your farm actually needs.
Read the Six Gene Slots Before You Judge a Seed
Before you choose a donor, read the genome as six separate decisions rather than one overall grade. Rust records the genes in a fixed left-to-right order, and each slot can affect the result independently. The letters are straightforward: G means growth, Y means yield, H means hardiness, W means increased water intake, and X is an empty or null gene.
For example, G Y H W X G contains two growth genes, one yield gene, one hardiness gene, one water-demand gene, and one empty slot. Do not sort it into G G Y H W X before you plan a breed. The count tells you what the plant contains, but the original positions tell you where those genes can help—or where a donor still has to solve a problem. A finished target described by gene counts may have equivalent letter orders in community shorthand, yet slot positions remain important while you are working out how to reach it.
The first practical divide is between unknown wild seeds and known clones. A wild seed does not reveal its random genetics until you plant it, so inspect it before deciding whether it deserves space in a breeding project. A clone carries the parent plant’s known genome, giving you a repeatable starting point instead of another roll of six unknown slots. That makes planting and recording the useful candidates more valuable than judging an unopened seed by its source or appearance.
“Good” depends on what your farm is trying to do. G and Y are usually the useful priorities in a controlled production setup: one supports faster growth and the other supports yield. H is not automatically a bad gene; it can be worth keeping when difficult temperature or other environmental conditions are the real constraint. W increases water demand, while X contributes nothing positive, so both deserve scrutiny when you are screening a line. Genetics improves a plant’s potential, but it does not replace suitable light, water, ground, or temperature conditions.
Players often call a strong all-positive plant a “god clone,” but that is community language, not an official Facepunch name. Some guides use it for a 3G3Y genome in any order, while others use it more broadly for an all-positive target. Treat the label as shorthand and write down the actual six letters you are pursuing. For now, plant unknown seeds, record every slot exactly as shown, and keep candidates whose G/Y positions fit your production goal—or whose H is useful for your conditions. The next question is which available plants can change the slots that need fixing.
Choose Donors by Slot Alignment, Not by the Highest Letter Count
Crossbreeding happens in planter boxes between plants of the same plant type and variant, and the game evaluates the six gene slots independently. That makes a donor's position more important than its headline count. A plant with five G/Y letters can still be the wrong donor if those letters sit in slots the centre plant already handles while the problem slot contains W or X. Conversely, a less impressive genome can be valuable when its positive gene lands exactly where you need it.
Keep the distinction between a finished target and a breeding recipe. If you are describing a composition by count, GGGYYY, GYGYGY, and other three-G/three-Y strings can represent the same kind of target. While you are calculating the route, however, slot order is fixed: a G in slot 1 does not help replace a W in slot 2. Read every donor beside the centre as six aligned columns, not as a bag of letters.
The official rule is qualitative: negative genes have stronger crossbreeding pressure than positive genes. In current community models tested against the live patch through July 2026, G, Y, and H carry a weight of 0.6, while W and X carry 1.0. Facepunch does not publish this numeric table as an official formula, so use it as community-tested guidance—not as a guaranteed developer specification—when checking a calculator or doing the arithmetic yourself.
For example, suppose the centre has W in slot 2. One donor with G in slot 2 contributes 0.6, which does not exceed W's 1.0. Two donors with G in that same slot contribute 1.2, which can replace the W. The comparison is made per gene type: two G donors plus one Y donor produce a G total of 1.2 and a separate Y total of 0.6. They are not three interchangeable green votes, and the Y does not join the G total.
That strict comparison matters. A donor type must exceed the centre gene's current weight; an equal total leaves the centre unchanged. If different donor types tie with one another while both beat the centre, the result can be probabilistic, so “the donors add up to enough” is not automatically the same as “this slot is guaranteed.” Account for W/X pressure and competing positive types before you call a route safe.
The practical test is therefore a slot table, not a ranking. Enter your actual six-letter genomes into a current calculator, or write down the centre's gene and every available donor gene in each of the six positions. Retain the plants that supply the required matching pressure in the exact problem slots, even if another plant has more total G/Y letters. There is no universal donor arrangement to copy safely: the answer changes with your real gene bank, and a screenshot recipe can fail when its slots or competing genes do not match yours.
Build a Reliable Gen 1 Crossbreed in One 3×3 Planter
The safest direct breed is a controlled experiment: one centre plant, one verified donor bank, and one planter whose geometry you can account for. Crossbreeding happens in planter boxes and only between plants of the same plant type and variant, so do not mix different crops or variants and expect their genes to participate. Enter the actual six-letter strings into a current calculator, or write the six slots as columns yourself, before planting the layout. A direct Gen 1 route is appropriate only when that bank supplies enough aligned pressure to solve every problem slot in one round.
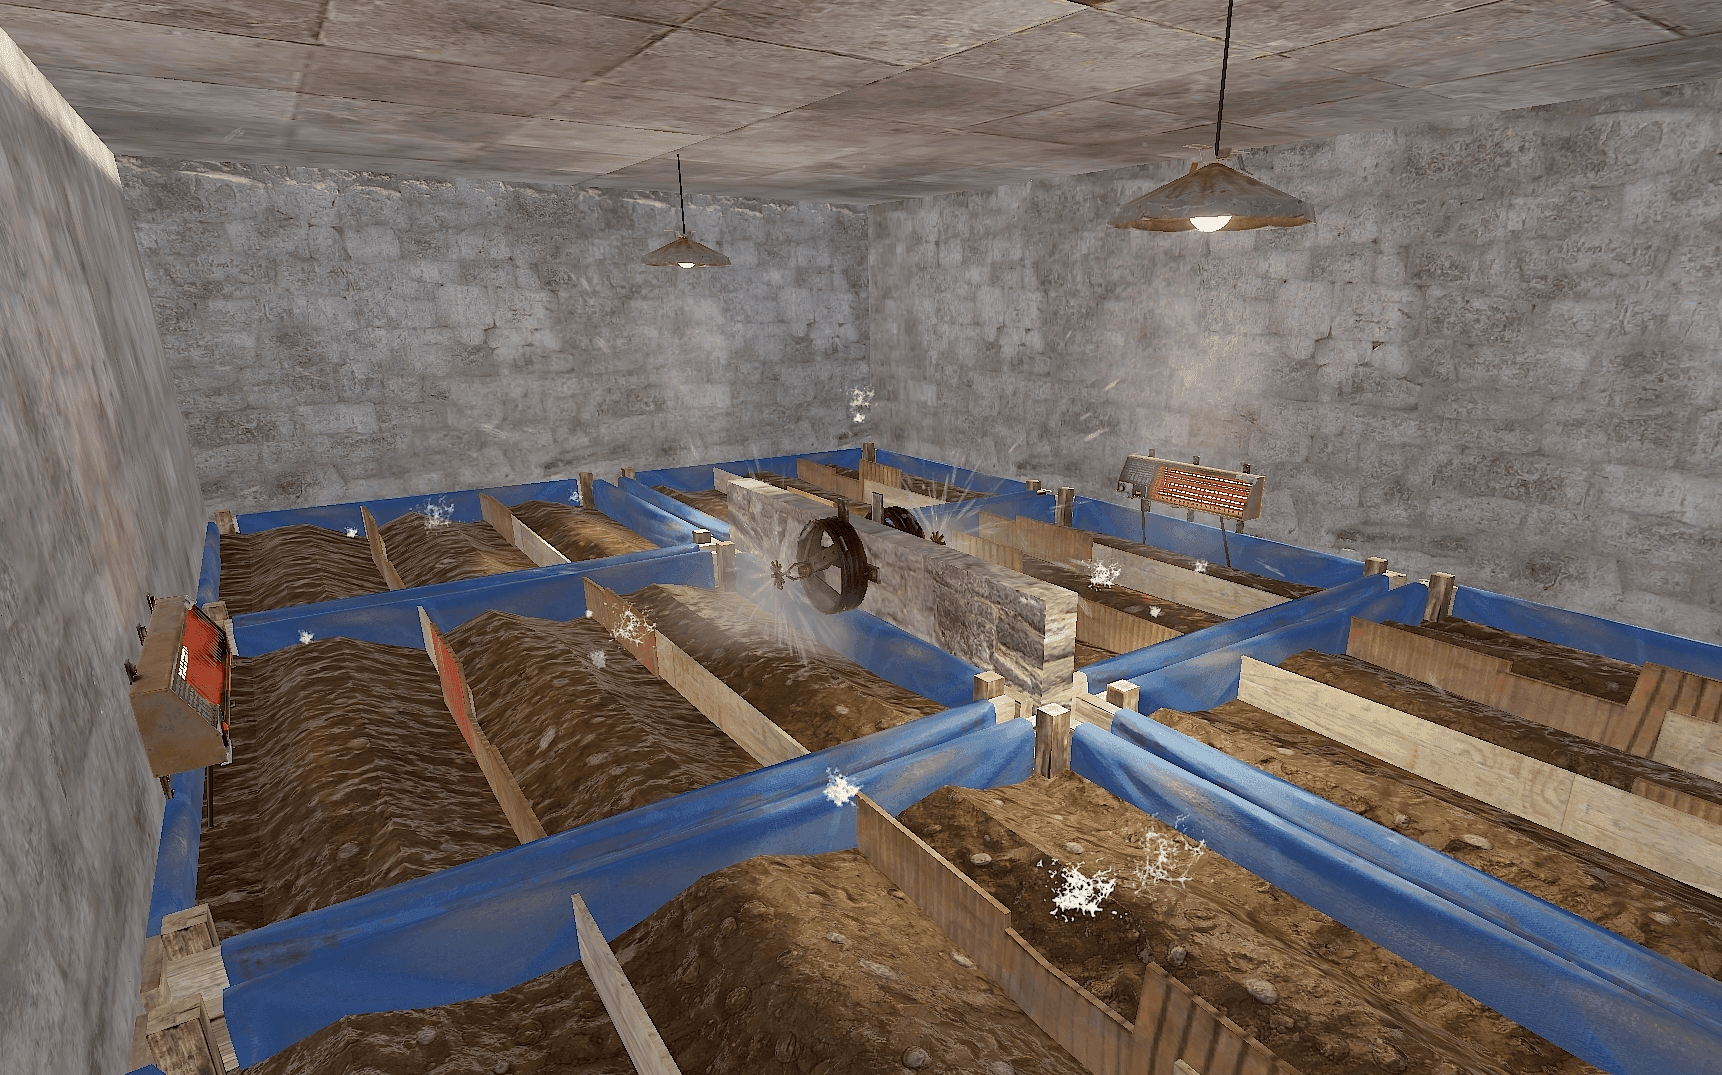
A compact farm layout provides the planter context for a controlled crossbreed.
Use one 3×3 large planter for the calculation. Its positions do not have equal reach:
- A centre plant has eight neighbours, including the diagonals.
- An edge plant has five neighbours.
- A corner plant has three neighbours.
That difference is why a centre surrounded by eight same-planter neighbours gives a calculator much more pressure to work with than a corner surrounded by only three. Diagonals inside the same 3×3 planter count in the current community model; diagonal influence across separate adjacent planters is treated as unreliable. Keep the centre and its intended donors in the one planter used by the calculation instead of trying to extend the recipe across a larger farm.
Timing matters as much as placement. Current community guidance ties the calculation to the moment the centre plant transitions into Crossbreed. At that moment, ready neighbours can be evaluated, while immature donors may be ignored. Prepare and verify the donors first, let them reach an accepted ready state such as Fully Grown or Crossbreed, and then plant the centre so it is the last plant to enter Crossbreed. This donor-first, centre-last order avoids a nominally correct layout resolving before its votes are available.
The result is still slot math, not a promise that every attractive layout works. For example, in a problem slot where the centre has W or X, two matching G donors contribute 1.2 in the current community model and can beat the centre's 1.0; one G donor contributes only 0.6 and cannot. If no other donor type reaches the same total, that conversion is deterministic within the model. In another slot, the calculator might show G at 1.2 and Y at 1.2, with both beating the centre. That is a 50/50 choice between donor types, not a guaranteed G result. A second independent tied slot would compound the risk, leaving only a 25% chance of the exact two-slot target in that model.
Treat the calculator's exact-target chance as a risk check, not as an official guarantee. Facepunch documents the qualitative crossbreeding rules, while the numerical weights, strict comparisons, tie behaviour, readiness timing, and adjacent-planter edge case come from the live-patch community references described above.
Before risking rare material, preserve backup clones of the important centre and donors. Recalculate from your own six-letter bank whenever you change a donor, centre, plant type or variant, or position; a screenshot recipe can hide a competing gene or a probabilistic slot. Do not assume that one successful roll proves the route is deterministic.
Once the centre has entered Crossbreed, inspect the six resulting slots against the target you calculated. If the direct bank cannot supply the required pressure, stop treating the failed route as a layout problem: the next decision is how to manufacture the missing aligned gene pressure without discarding the useful donors.
Use a Bridge Clone When Gen 1 Cannot Reach the Target
Use Gen 1 when your actual donor bank can supply enough aligned positive pressure for every problem slot in one crossbreed round. It is the efficient route because you can move directly from the verified centre and donors to the result you want. If the calculator shows that one or more slots cannot be solved with that bank, stop rearranging the same plants and switch routes. A different layout cannot create a missing aligned gene or turn an insufficient donor total into a guaranteed conversion.
For a concrete example, suppose the centre is G W Y H X G, the target needs G in slot 2, and your available bank for that same plant type and variant has only one donor with G in slot 2. That donor contributes 0.6 in the current model and cannot overcome the centre's W at 1.0; without a second aligned donor, Gen 1 cannot guarantee the slot. Keep the useful donors, use a first round to breed an intermediate carrying the missing aligned pressure for slot 2, then verify and clone it for the Gen 2 setup. This is an illustrative slot-level example, not a universal layout.
Treat the bridge as a known genetic asset, not as a plant you harvest and hope to rediscover. After the first crossbreed produces a useful intermediate, inspect its full six-slot genome and compare it with the calculator’s intended bridge result. If the relevant genes are present, clone the intermediate before harvesting or otherwise losing the line. The clone preserves that verified genome, giving you a repeatable centre or donor for the second generation instead of another unknown seed.
Gen 2 then combines the verified intermediate with the original donors you kept from the first plan. Place the bridge and original donors in the calculated setup for that same plant type and variant, and check that the second round now supplies the aligned pressure that Gen 1 lacked. Preserving the original donors matters: the bridge is meant to add missing slot coverage, while the first-generation plants may still provide the other genes needed for the final cross.
Particularly weak banks may need more than one intermediate. In that case, create the bridges in separate first-round setups, verify and clone each useful genome, then use the resulting known plants in the later calculation. Do not put several unverified candidates into one crowded attempt and call the outcome Gen 2; each intermediate should have a clear slot-level purpose. The practical rule is simple: calculate from your real bank, clone a bridge that solves a defined gap, and accept the extra generation when it turns an impossible direct route into a solvable one.
Clone the Result and Choose the Line Your Farm Actually Needs
When the post-crossbreed genome you wanted appears, inspect all six slots before you harvest. If it matches the target—or is the good-enough result you have decided to keep—clone it while that useful line is still available, then verify the clone's genome before producing more copies. Harvesting first can leave you without the plant that carried the combination you just spent a generation creating; a verified clone gives you a repeatable source instead of another unknown seed.
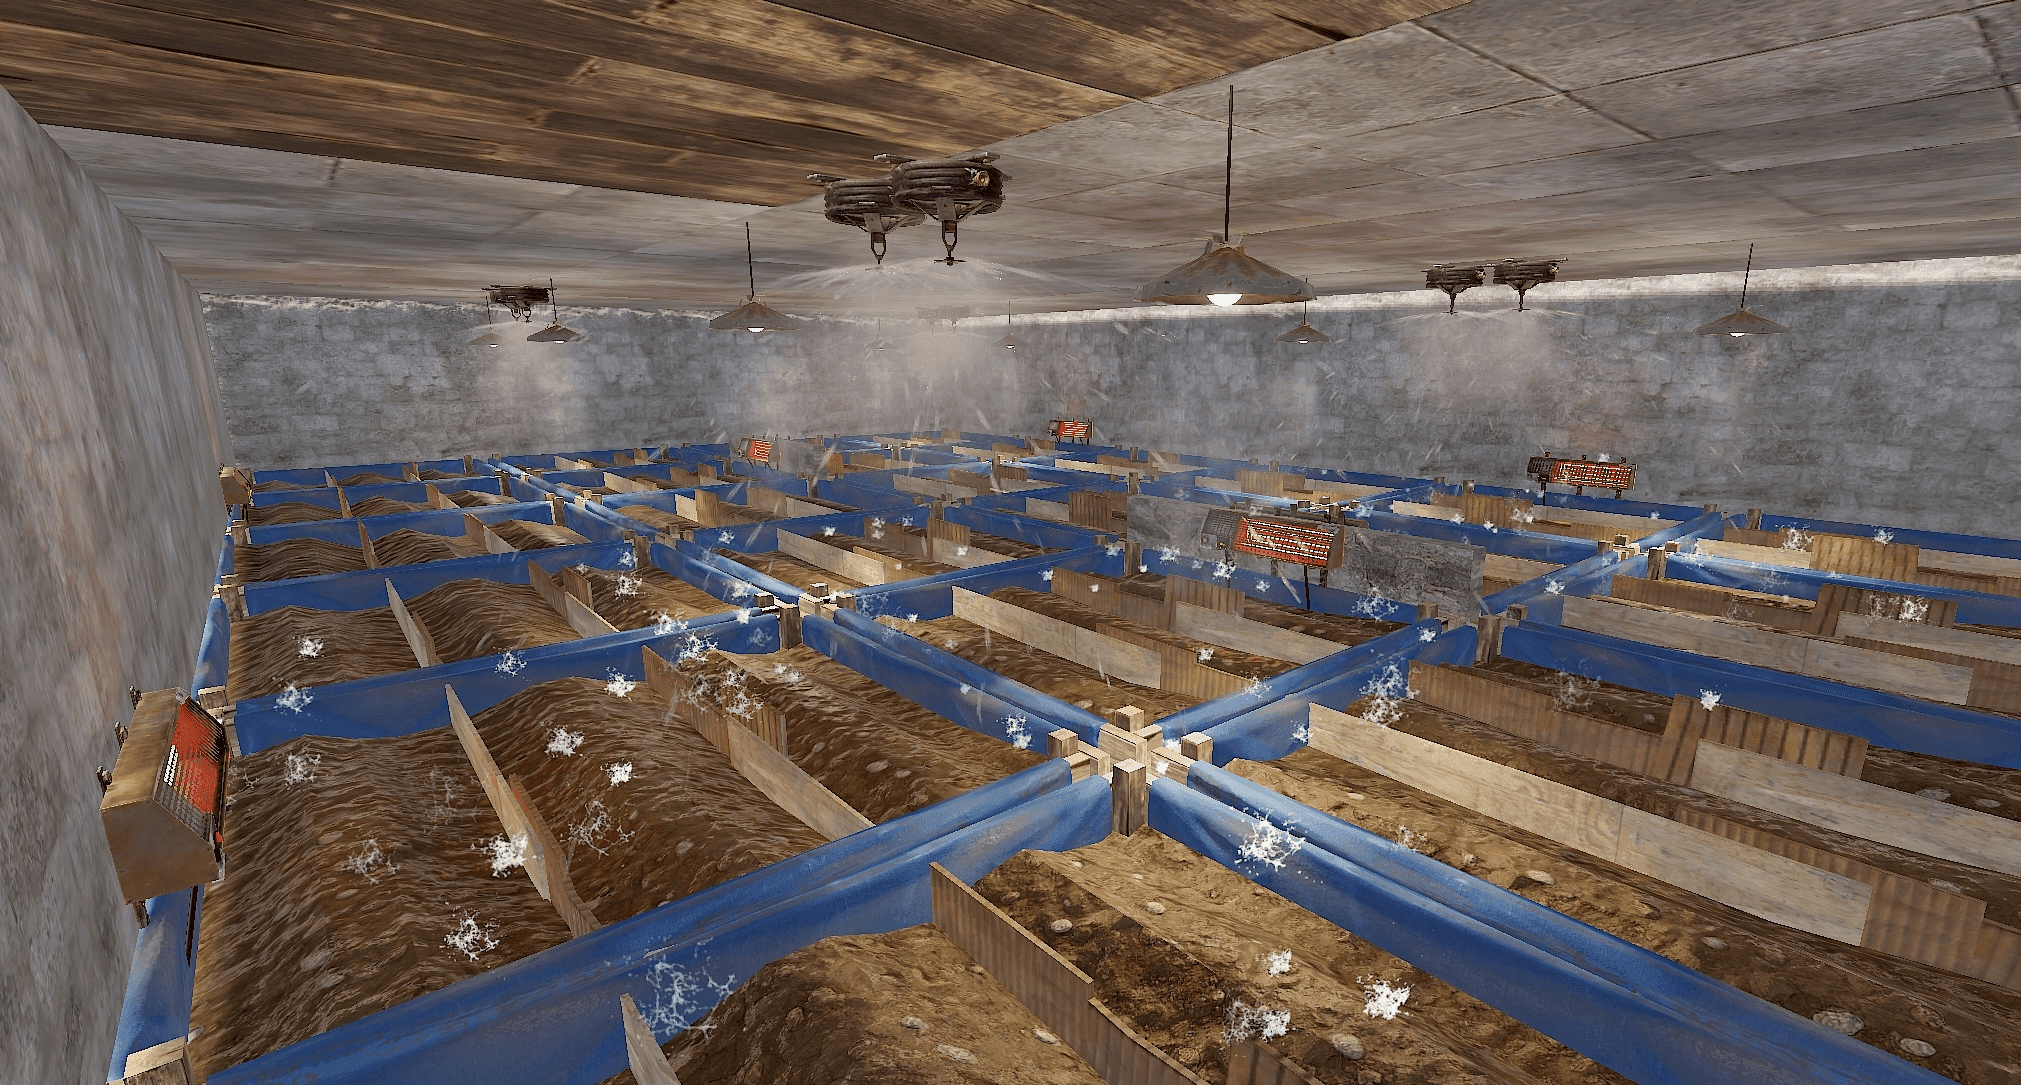
A larger farm makes the production-line tradeoff visible after a clone is secured.
Treat the first verified clone as a production-line parent, not as another experimental donor. Keep its copies with identical clones or isolate them from unfiltered plants carrying unwanted W/X pressure. A finished clone preserves its genome when copied, but planting it beside unsuitable neighbours does not make it permanently immune to later crossbreeding. Keep breeding material and production material separate so a failed experiment cannot quietly rewrite the line you rely on.
The target itself should match the farm’s bottleneck. GGGYYY is the common speed-oriented choice: the official Rust farming guidance describes it as the faster-production option, but it gives 3 clones when cloned. GGYYYY is slightly slower to produce, yet gives 4 clones, which can reduce the amount of breeding and replanting work when multiplying a line is more important than turning over each harvest as quickly as possible. The count describes the finished target; the slot order still mattered while you were breeding it.
H can be the right gene when the farm is fighting temperature or other difficult conditions. In a controlled setup where light, water, ground condition, and temperature are already suitable, G and Y are usually the more relevant production priorities. That does not make H universally worthless: if environmental stress is what keeps plants from performing, retaining hardiness may serve the farm better than forcing another G or Y and then losing the benefit to poor conditions. Genetics raises a line’s potential; it does not replace the conditions the plant needs to grow.
For a small farm, perfection may be the wrong target. If you only need a few planters for personal food or medical supplies, a verified clone with useful G/Y coverage—or an H-retaining line that survives your conditions—can be enough. Spending the rest of a wipe chasing a perfect 3G3Y result is only worthwhile when the extra speed repays the time and risk. Choose GGGYYY when return frequency is the constraint, GGYYYY when clone supply is the constraint, H when the environment is the constraint, and a good-enough verified clone when the farm is simply small.