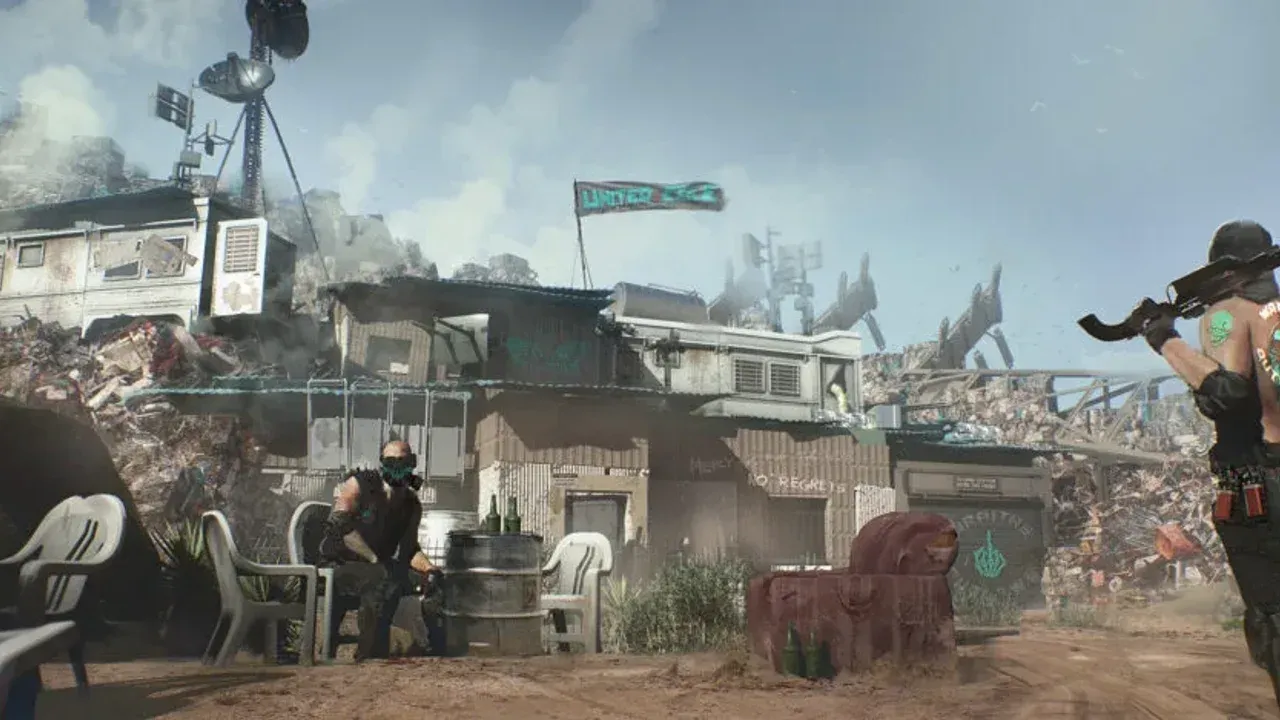
The Badlands are not dangerous because the desert is empty. They are dangerous because the Wraiths know exactly what that emptiness does to a traveler: it exposes the approach, delays help, and makes every escape route visible. Cyberpunk 2077 uses the faction to turn a wide-open district into a chain of controlled entrances and exits. Once you see that pattern, “Riders on the Storm” stops being a simple rescue mission and becomes the game’s clearest lesson in crossing Wraith territory.
Why the Badlands Expose Every Approach
Outside Night City, the Badlands trade urban cover for long roads, salvage lots, abandoned industrial sites, and isolated camps. The Aldecaldos make that space useful by moving people and goods across it. The Wraiths make it hostile by preying on vulnerable travelers and corporate transports. Their conflict is not just a fight between two nomad groups; it determines who can cross the district without turning a journey into a target.
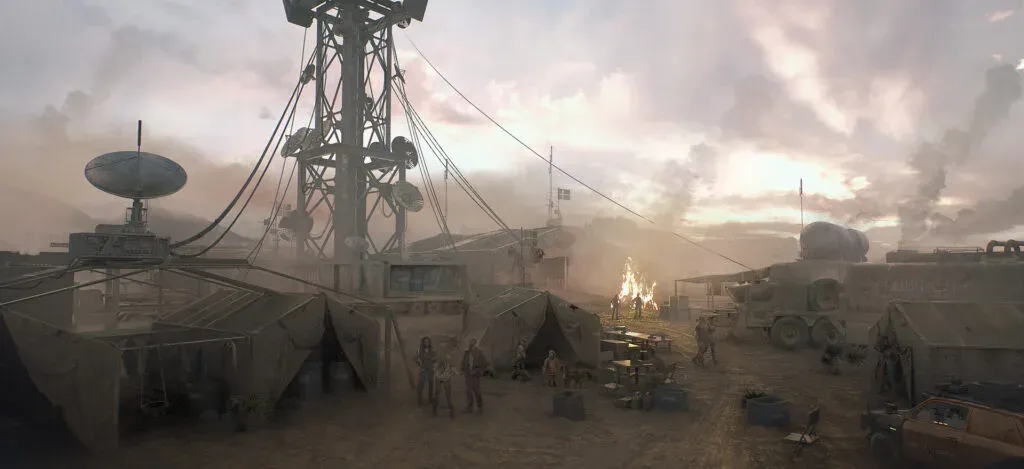
The Badlands’ open routes make every approach visible.
That geography changes how you should read a Wraith encounter. The road is often the first warning, not the safest route. A compound’s fence, a parked vehicle, or a raised industrial platform can be part of the same sightline. When you approach, look for the structure that controls the route rather than the enemy closest to you. The useful question is not “How many Wraiths are here?” but “Which position can call the rest of them onto me?”
The Badlands’ visual openness also makes retreat more important. Before you enter an isolated site, identify a side path, a climbable edge, or the road back to your vehicle. You do not need a stealth build to benefit from that habit. You need it because the district gives a loud fight more room to follow you.
How Wraith Compounds Turn Space Into Cover
The Wraiths are Raffen Shiv nomads, largely made up of exiles from local tribes and families. In the Badlands, that history becomes a practical threat: they know how to make an improvised camp function like a fortified position. Their bases combine containers, fences, industrial buildings, cameras, and elevated walkways. None of those pieces is impressive alone. Together, they give guards overlapping sightlines and let the gang defend a prisoner without building a formal fortress.
This is why the front gate is usually the least useful place to begin. It compresses your options into the Wraiths’ preferred shape: a visible approach with guards, cameras, and nearby reinforcements. Circle the outside first and look for a route that puts you beside or above the main building. The compound is easier when you decide which room you want to reach before the guards decide where you are.
The same principle applies after the first takedown. Do not clear the courtyard just because it is there. If your objective is inside the main building, move toward the surveillance room and use the cameras to locate the captive. If you have triggered the alarm, stop pretending the site is still a quiet infiltration puzzle; preserve a route out and finish the objective.
Use the Drainage Pipe or Cliffs at Corp-Bud
“Riders on the Storm” sends V and Panam to the Corp-Bud Cement Factory in Rocky Ridge after Panam asks for help rescuing Saul Bright. The Wraith stronghold offers several approaches, but they do not give the same advantage:
- Drainage pipe: On the right side of the compound, the pipe leads through the perimeter toward the room where Saul is held. Use it when your Technical Ability can open the barriers. You still need to reach the control room if the objective has not updated, but you skip much of the exposed ground.
- Cliff route: Circle the right side until the cliffs rise above the base, then follow the edge toward the main building. The roof has openings that let you drop inside without making the front gate the start of the fight.
- Fence and garage route: If you cannot use the pipe, get through the side fence, enter near the garage, and use the skybridge toward the main building. This puts you closer to the surveillance room than a straight push through the courtyard.
- Left perimeter: The left side is slower but lets you use shipping containers and exterior stairs to reach windows near the control room. It is the fallback when the right-side routes do not fit your build.
The control room is the anchor for every approach. Its terminal lets you use the surveillance system to find Saul, after which the basement objective becomes straightforward. That order matters: locating Saul before you start a noisy search keeps the compound legible and prevents you from fighting through every room just to discover where the mission wanted you to go.
A Loud Rescue Becomes a Roadside Ambush
The extraction is where the Wraiths’ control of the route becomes a gameplay consequence. If you rescue Saul without raising the alarm, you can return to Panam’s van and drive through the storm without turning the road into another combat arena. If the camp is alerted, Wraith vehicles pursue the van after you leave. The chase is largely scripted, but it is still easier when you have preserved health and ammunition inside the compound.
Handle the mission in two phases:
- Inside the base: Use the route that avoids the densest sightlines, reach the surveillance room, find Saul, and only then decide whether optional containers and access points are worth the risk.
- On the road: If the alarm is active, shoot the pursuing vehicles or use quickhacks on their occupants while the chase sequence carries you toward shelter. Do not stop the van to win a fight the mission is designed to move past.
Completing the job rewards you with Overwatch, Panam’s iconic sniper rifle. The larger reward is a reliable way to read the district: Wraith territory is not a single combat space. It is an approach, a compound, and an escape route that react differently depending on whether you were detected.