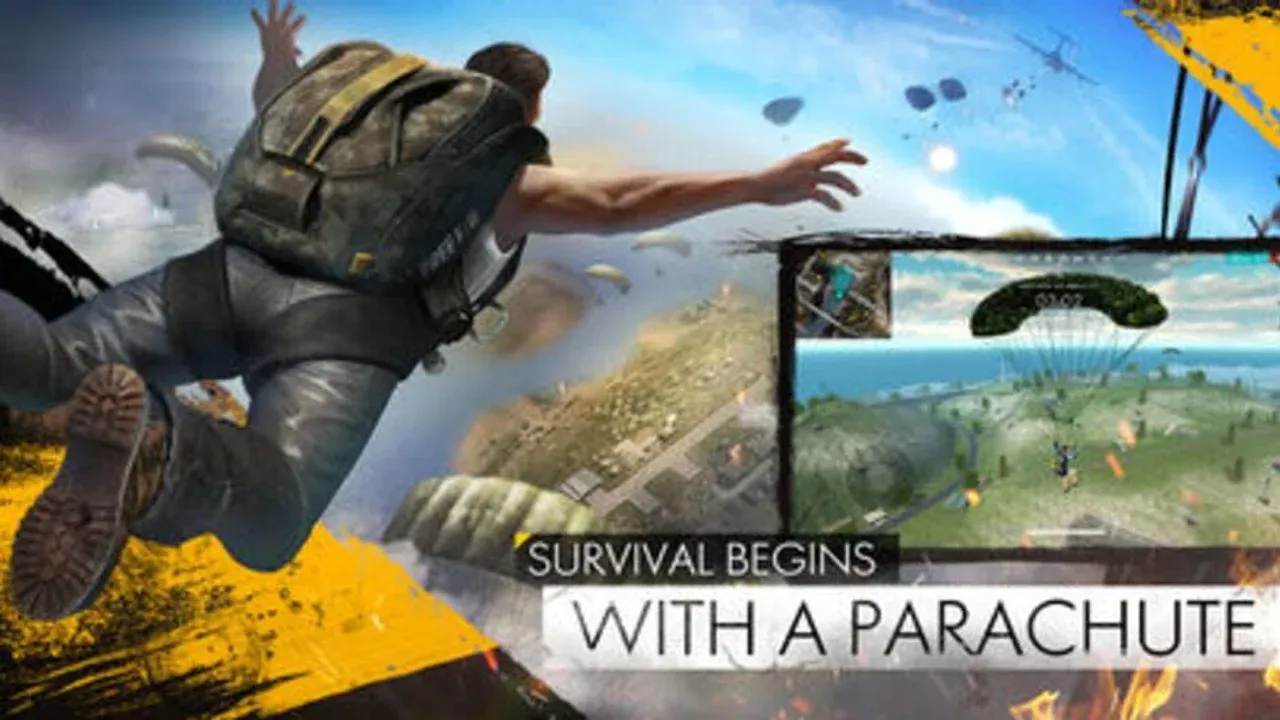
How to Optimize Sensitivity Settings in Free Fire
Landing your first one-tap headshot in Free Fire feels incredible, but trying to replicate it consistently can be frustrating. The secret isn't just in your reflexes—it's in the foundation of your sensitivity settings. This is where your journey to high-accuracy shooting begins.
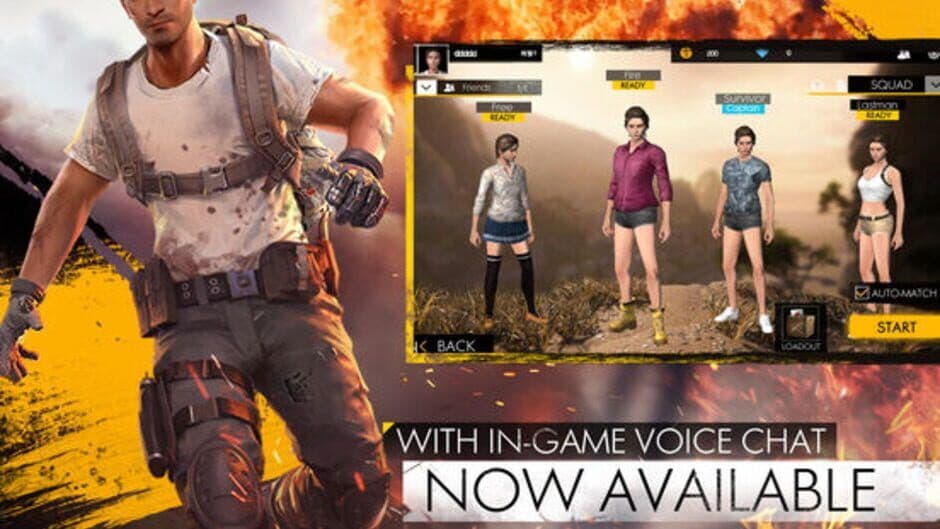
Testing sensitivity settings during active gameplay.
Think of sensitivity as the direct link between your thumb swipe and your crosshair movement. Get it wrong, and your aim will feel sluggish or uncontrollably shaky. Get it right, and your screen will respond with the precision you need. Here’s how to configure the six core sliders in Settings > Sensitivity to build that perfect foundation.
First, let's talk about your most important setting: General Sensitivity. This controls your aim when you're not looking through any scope. For drag headshots—where you swipe up as you fire—you need this to be responsive. Set it between 90–100; if you're on a low-end device, lean toward 100 for that extra snap. Next is your Red Dot Sensitivity, arguably the most critical for close-range duels. Keep this in the 85–95 range. This fine-tunes your aim when the red dot is active, giving you the control needed for those crucial short-to-mid range headshots.
Adjust one slider at a time and test it in the Training Ground. If your aim feels jittery and overshoots, lower your General and Red Dot by 5-10 points. If your drag feels slow and heavy, bump them up.
For mid-range engagements, the 2x Scope is your go-to. A sensitivity between 75–85 gives you the perfect balance of speed and control for tracking enemies who are strafing. When you need to reach out further, the 4x Scope comes into play. Set this between 65–75 to prevent over-adjustment and maintain stability during those longer sprays or taps.
Sniping is a different beast, requiring absolute stability. For the Sniper/AWM Scope, a lower value is key. A range of 30–40 provides the rock-solid precision you need to line up those satisfying one-tap headshots at a distance. Finally, don't overlook Free Look sensitivity (found in the same menu). Set between 50–82, this controls how fast you pan the camera to scan your surroundings without affecting your aim-down-sights accuracy—crucial for maintaining awareness.
Trust me, spending 10 minutes dialing in these values will do more for your headshot rate than hours of unfocused play. With your sensitivity foundation solid, you’re ready to build the advanced techniques that turn good aim into great aim.
Best HUD and Control Setup for Free Fire Headshots
You've dialed in your sensitivity—now it's time to build the cockpit. In Free Fire, your on-screen controls aren't just buttons; they're the direct interface between your brain and your bullets. A sloppy layout will fight your drag shots, but an optimized HUD turns your intention into instant headshots.
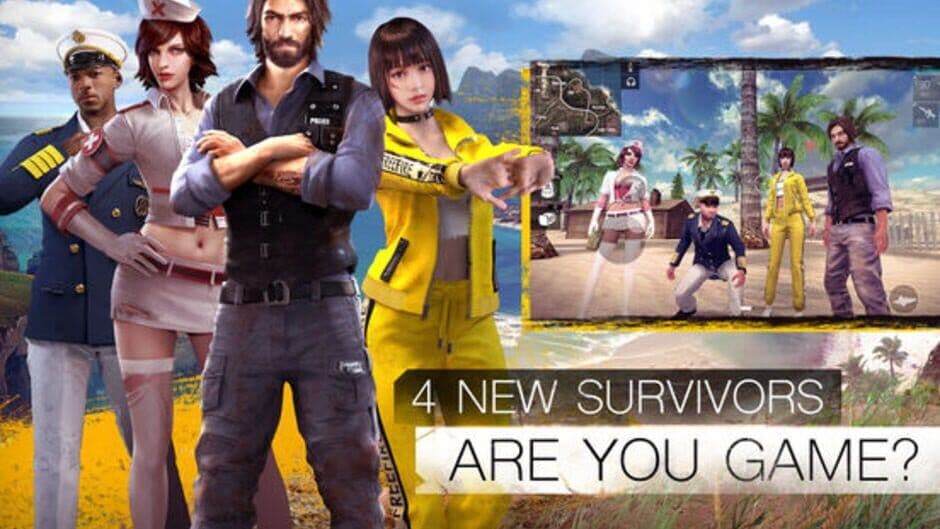
Movement and aiming control synergy.
Your first stop is Settings > Controls. Here, you’ll find a few critical toggles that change how your weapons behave. Set Aim Precision to ‘Default’ for a helpful auto-nudge, or ‘Precise on Scope’ if you want full manual control for hipfire drags. Next, enable the Left Fire Button and set it to ‘Always’—this gives you a secondary, repositionable firing option. Finally, turn Hold Fire to Scope to ‘On’. This lets you hold the fire button to instantly aim down sights, a game-changer for quick-scoping with snipers or marksman rifles.
With Hold Fire to Scope enabled, you can start your drag motion on the fire button and seamlessly transition into a scoped shot, keeping your aim fluid and uninterrupted.
Now, let's design your HUD Layout. This is where you become an architect. Your primary Fire Button is your most important tool—resize it to 45–55% (or 50–70% on PC emulators like BlueStacks) and place it where your thumb naturally rests. The goal is to have enough real estate for a smooth, controlled upward swipe without accidentally tapping the edge of your screen.
To unlock advanced movement, you need to graduate to a 4-Finger Claw Layout. This means mapping your Jump, Crouch, and Scope buttons to the top corners of your screen, controlled by your index fingers. This setup lets you strafe, jump, crouch, aim, and fire all simultaneously, making you an unpredictable, hard-to-hit target while you line up your shots.
Don’t forget to enable Quick Weapon Switch in the controls and place the button near your thumb. Swapping to your Melee weapon or secondary gun for a split second resets your recoil bloom, letting you chain accurate bursts much faster.
With your cockpit perfectly arranged, every command will feel instinctive. You're not just playing the game anymore—you're conducting it.
How to Master the Drag Headshot Technique in Free Fire
Ever watched a pro player in Free Fire land a string of headshots that look almost effortless? That's the drag headshot technique in action—a mechanical skill that overrides the game's aim assist to turn your spray into a head-seeking missile. It's not magic; it's about swiping the fire button upward to guide your bullets from the enemy's torso to their head. Here’s how to master it.
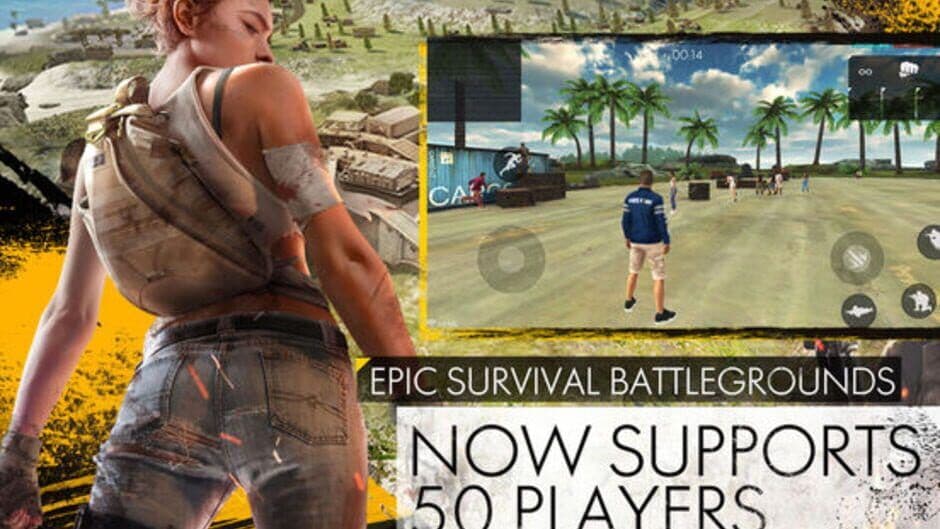
Battle royale combat
The Core Drag Techniques
Think of drags as different tools for different fights. The key is knowing which one to pull out of your arsenal.
The Straight Drag is your bread and butter. For an enemy moving directly toward or away from you, you simply swipe the fire button straight up while firing. This vertical motion overrides the aim assist that's locked onto their body, redirecting your shots to their head. It’s clean, efficient, and perfect for mid-range duels.
The J-Drag is for those frantic close-range fights where your target is strafing left or right. Instead of going straight up, you swipe sideways first to match their lateral movement, then curve your swipe upward. This "J" shape corrects the horizontal offset before finishing with the headshot.
The Direction Drag takes the J-Drag further for highly mobile enemies. If someone is jumping or aggressively strafing, you lead their movement path with your swipe before arcing upward. It demands sharp tracking but is devastating against unpredictable targets.
The Down-Up Drag is the panic button for chaotic, point-blank fights. You start your swipe at their feet and drag continuously all the way up to the sky, ensuring your spray passes through their entire body. It’s less about precision and more about maximizing your chance to hit the head in a messy brawl.
Start practicing with the Straight Drag on stationary targets in Training Mode. Once that feels natural, move on to the J-Drag—it's the most versatile for real fights.
The Two Critical Mechanics
No matter which drag you use, two underlying principles determine your success.
First is Crosshair Starting Height. If you aim at the ground, you have to drag a mile to reach the head. Instead, keep your reticle at neck or chest level by default while moving. This drastically shortens the drag distance, making your headshots faster and more consistent. At point-blank range, start at the stomach; at long range, you should already be micro-adjusting at head level.
Second is Aim Assist Exploitation. This is the secret sauce. Free Fire's aim assist strongly pulls your crosshair to the enemy's torso. The drag technique exploits this: you fire at the torso first, letting aim assist grab your aim, then immediately swipe the fire button up. This breaks the torso lock and forces your bullets upward into the head hitbox. You're using the game's own mechanics against it.
⚠️ Watch out: If your drag consistently goes past the enemy's head, you're swiping too fast. Slow down. The drag is a controlled guide, not a violent flick.
Putting It All Together
This next part can feel overwhelming—don't panic. The goal is to build muscle memory. Head to Training Island and spend 15 minutes drilling this sequence: Position your crosshair at chest level, fire, and execute a smooth Straight Drag. Feel how the aim assist grabs and then how your swipe overrides it. Once you can land 10 in a row, try on moving bots.
If you've struggled to land headshots before, you're not alone—this technique trips everyone up at first. But by mastering these four drag types and the two core mechanics, you're not just shooting; you're surgically controlling where every bullet lands. With this skill, you're ready to dominate.
Weapon-Specific Drag Speeds and Recoil Control
Alright, you've got your sensitivity dialed in and you're practicing your drag motions. Now comes the real secret sauce: you can't just use the same swipe for every gun. In Free Fire, your drag speed and timing are dictated by your weapon's fire rate and recoil pattern. Think of it as learning a different rhythm for each instrument in your arsenal.
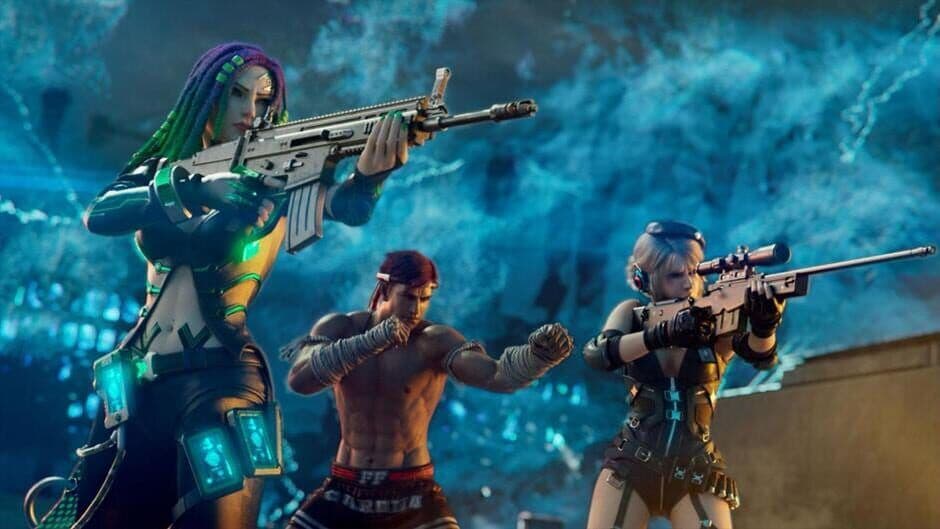
Iconic Free Fire weaponry.
Let's break down the four major weapon classes and how you should handle them.
Shotguns (M1887, M1014, SPAS12): The Fast Snap
Shotguns are all about that decisive, single-shot power. There's no spray here, so your drag needs to be a fast, decisive snap from neck level. You don't have multiple bullets to correct your aim. The moment you fire, your thumb should already be completing a quick, vertical flick upwards. If you start too low or drag too slow, you'll only hit body shots. It's a one-and-done motion—make it count.
SMGs (MP40, Thompson, MP5): The Gradual Pull
This is where the drag technique truly shines. SMGs have a high fire rate, which gives you a small window to correct your aim mid-spray. The key is a medium, gradual upward pull during the 3-5 shot spray. Start your crosshair at chest level, begin firing, and then smoothly drag upwards. You're not flicking; you're guiding the stream of bullets upward into the head. This controlled ascent is what turns a body spray into a headshot burst.
Assault Rifles (SCAR, M4A1, AK): The Controlled Assist
ARs have more pronounced recoil, but you can use it to your advantage. Instead of fighting it, employ a slow, controlled drag to let the natural recoil assist you. Start your aim a bit lower, around the lower chest or stomach. As you fire, the gun will naturally kick upwards. Combine that with a gentle, sustained upward drag from your thumb. You're not overpowering the recoil; you're partnering with it to climb straight to the head.
Sniper Rifles (AWM, M82B): The Micro-Nudge
For snipers, forget everything you know about large drags. At long range, a big swipe will send your shot miles over their head. Here, you rely almost entirely on pre-aiming at head level. Your adjustment should be a micro-nudge only. If your crosshair is slightly off, make the tiniest correction possible before firing. It’s about precision, not motion.
Your drag is only half the battle. To maintain that perfect head-level alignment, master Micro-Burst Firing. Fire 2-3 rounds, release the trigger to let your crosshair settle, then re-engage. This resets the recoil climb and stops your aim from bouncing uncontrollably over the target.
If you find yourself in a prolonged spray and your aim starts to "bloom" (spread wildly), there's a pro-level trick to instantly reset it. Use the Quick Weapon Switch to swap to your melee weapon and back to your primary gun. This Recoil Reset technique gives you a fresh, stable crosshair in a split second, letting you re-engage with pinpoint accuracy.
Mastering these weapon-specific rhythms turns the drag headshot from a hopeful swipe into a calculated, lethal skill. Now, go make your shots count.
Advanced Technical Tweaks: DPI and Gyroscope
You've mastered the in-game sensitivity and HUD—now let's go deeper. The final layer of pro-level aim in Free Fire happens at the device level, where tweaking your hardware's raw response can turn shaky sprays into laser beams. This is where stability is forged.
Dialing In Your Device: DPI and Gyro
Think of your phone's Device DPI (Dots Per Inch) as the foundation your in-game sensitivity is built on. It controls how far your thumb moves to travel a pixel on screen. You'll find this in your phone's Developer Options. A DPI around 480 is the gold standard for stable, predictable aim. If you prefer a snappier feel for flicks, you can push it to 520+, but only if your device can maintain rock-solid frame rates—otherwise, it'll feel jittery.
Your device's RAM plays a huge role here. For optimal RAM-Based DPI Scaling, match your hardware: aim for 400-410 DPI on 2GB devices, 450-480 DPI on 4GB phones, and 530-560 DPI on 8GB+ flagships. This balances performance with precision.
Next, activate the Gyroscope Sensitivity in Settings > Controls. Set it within the 20–40 range to start. This lets you use subtle Device Tilt to make micro-adjustments. The real magic? Tilt your phone downward slightly as you spray to actively counter vertical recoil, keeping your crosshair glued to the enemy's head. It feels alien at first, but it’s a game-changer for controlled AR sprays and sniper flicks.
The Performance Multiplier
These technical tweaks are wasted if your game is stuttering. Always enable High FPS Mode in Settings > Graphics. Set it to 'High' or, if your phone supports it, 90/120Hz. This reduces input lag dramatically, making every swipe and drag feel instantaneous and buttery smooth. The difference in tracking a strafing enemy is night and day.
Finally, don't underestimate a simple physical upgrade: Finger Sleeves. These thin cloth covers for your thumbs eliminate sticky, inconsistent friction on your screen. They ensure every drag motion is silky smooth and repeatable, which is critical for mastering the muscle memory of perfect drag headshots.
With your DPI calibrated, gyro tuned, FPS maxed out, and thumbs gliding, you've built a rock-solid technical foundation. Your aim is now limited only by practice, not by your device.
Free Fire Practice Drills and Training Routine
Alright, you've got the theory, the settings, and the techniques. Now it's time to build the muscle memory that turns those concepts into red numbers on your screen. In Free Fire, consistent headshots aren't about luck—they're about routine.
This next part is where most players stumble. They practice randomly and wonder why they never improve. The key is a structured, daily routine that systematically builds the right habits. Let’s build yours.
The Daily Grind: Your 15-Minute Warm-Up
Before you even think about ranked matches, your first stop should be the Training Island (Main Menu > Game Modes). Spend 15-20 minutes here every day. This is your risk-free lab.
Start with a simple, three-part drill:
- 5 Minutes – One-Tap Discipline: Grab a pistol or the M1887. Stand still and focus only on placing your crosshair at head level on the stationary dummies. Fire one shot, reset, repeat. The goal isn't speed; it's building the instinct to aim high.
- 5 Minutes – Drag Shot Drills: Switch to an MP40 or SCAR. Practice the Straight Drag from chest to head on moving targets. Focus on a smooth, controlled upward swipe, not a frantic flick.
- 5 Minutes – Movement & Aim: Finally, move. Strafe, jump, and practice tracking the dummies while keeping your crosshair glued to head level. This bridges the gap between static practice and real combat.
Record a 30-second clip of your practice session and watch it back. You’ll instantly spot if you’re dragging too fast, starting too low, or letting your crosshair dip to the ground.
The One-Week Mastery Plan
If you're serious about a breakthrough, follow this focused weekly schedule. It isolates skills so you can master them one by one.
- Day 1-2: MP40 Straight Drag. Live in the Training Island. Your only goal is to land 3 consecutive one-tap headshots on a moving dummy at 15 meters using the MP40 and the Straight Drag technique. This builds your foundational drag speed and timing.
- Day 3-4: M1887 J-Drag. Move to close range (10 meters). Practice the J-Drag curve to hit enemies strafing left and right. The shotgun’s one-shot nature punishes mistakes and rewards precision.
- Day 5: Moving Targets & Mixed Guns. Now, combine everything. Switch between an SMG, AR, and shotgun during a single session, applying the correct drag speed for each weapon type against the moving dummies.
- Day 6-7: Apply in Real Matches. Take your polished skills into Clash Squad or 1v1 custom rooms. Don’t focus on winning; focus on executing your drills under pressure.
Advanced Pro Techniques
Once your daily grind feels solid, integrate these high-level strategies that separate good players from great ones.
First, master Distance Management. This is the silent skill behind high headshot rates. Actively position yourself to force fights into the 10-25m window. Why? Aim assist is strongest here, recoil is predictable, and you have the perfect space for a clean Straight or J-Drag. Avoid long-range spray battles where headshots are unreliable.
Next, try the 'Two9' Wait-and-Flick. Instead of constantly dragging, pre-aim at head level and let a strafing enemy walk into your crosshair. The moment their head hits your "neutral zone," fire with only a tiny micro-flick. This technique, used by pros, conserves movement and maximizes accuracy.
For sniper and shotgun aficionados, practice the Situp Technique. With a Dragunov or M1887, crouch to steady your aim, scope in for a split second to confirm the headshot, then stand and fire in one fluid motion. The crouch reduces spread and recoil, making that one tap deadly reliable.
⚠️ Watch out: The biggest trap in practice is autopilot. If you’re just mindlessly shooting dummies, you’re wasting time. Every rep must have intent. Focus on one specific correction each session—like "today, I will not start my drag below the chest."
Stick to this routine for two weeks. You won’t just feel the difference; you’ll see it in your headshot stat and the confidence with which you win every duel. Now, get to the Training Island—your first session starts now.
Common Mistakes and Anti-Cheat Safety
You’ve mastered the drag shot, dialed in your sensitivity, and practiced your drills. Now, let’s make sure a simple error or a moment of temptation doesn’t undo all your hard work. In Free Fire, the final barrier to consistent headshots isn’t just enemy movement—it’s avoiding the common pitfalls that break your aim and the dangerous shortcuts that can break your account.
Troubleshooting Your Aim: Fixing Common Drag Mistakes
Even with perfect settings, you might find your shots still missing. Before you panic and change everything, check for these two specific, fixable errors.
Dragging Past the Head (Overshoot)
This feels frustrating: you execute a clean drag, but your crosshair flies right over the enemy's head. The culprit is almost always your General sensitivity being just a touch too high for your current control.
- The Fix: Don't scrap your settings. Head back to Settings > Sensitivity and simply reduce your General sensitivity by 5-10 points. Test it in the Training Grounds. A smaller adjustment like this often provides the extra bit of control you need without sacrificing your ability to turn quickly.
Joystick Movement Ruins Your Drag
This is a subtle but devastating mistake. If you're still moving the left joystick while executing your drag, you're adding lateral movement that throws off your clean vertical swipe. Your crosshair drifts sideways, and you miss.
- The Fix: Practice keeping the left joystick steady at the exact moment you initiate the drag shot. Fire, execute your upward swipe, then resume movement. It feels awkward at first, but separating these actions is key for pixel-perfect accuracy.
When practicing drag shots, consciously tell yourself “Freeze thumb, drag fire” until it becomes muscle memory. Your movement joystick should be neutral during the critical moment of the shot.
Gear Pitfalls: One Attachment to Avoid
While you're optimizing everything else, your weapon choice matters too. For practicing and mastering drag headshots, avoid using silencers on your muzzle. While great for stealth, in Free Fire they come with a hidden cost: increased weapon recoil and sway. This directly fights against the smooth, controlled pull you’re trying to master. Stick to compensators or flash hiders for better stability while you learn.
The Ultimate Warning: The Real Cost of "Easy Wins"
Here’s the hard truth that every Free Fire player needs to hear. When the grind feels tough, you might see promises of “auto headshot configs” or “zero-recoil files.” These are modified game files, like the UserCustom.ini file, that illegally alter the game's core mechanics. Using them is not a shortcut—it’s a one-way ticket to losing everything.
Garena’s anti-cheat system is relentless. It doesn’t just check your account; it performs background checks on your game files during every online match. If the files are modified, the result is a permanent account ban. This isn't a temporary suspension. It means losing all your skins, your rank progress, your purchased diamonds—everything, with no appeals.
Even worse, the ban can follow your device. Garena's system can record your device Hardware ID. This means creating a new account on the same phone after a ban often leads to that new account being instantly flagged and banned as well. The pursuit of an unfair advantage can literally lock you out of playing Free Fire on your own phone.
Headshots in Free Fire are a skill, earned through practice and smart settings. Trust the process you’ve built through this guide. Fix the small mistakes, avoid the gear that holds you back, and never gamble your account on a cheat. With patience and persistence, your name will be the one opponents fear seeing in the kill feed.