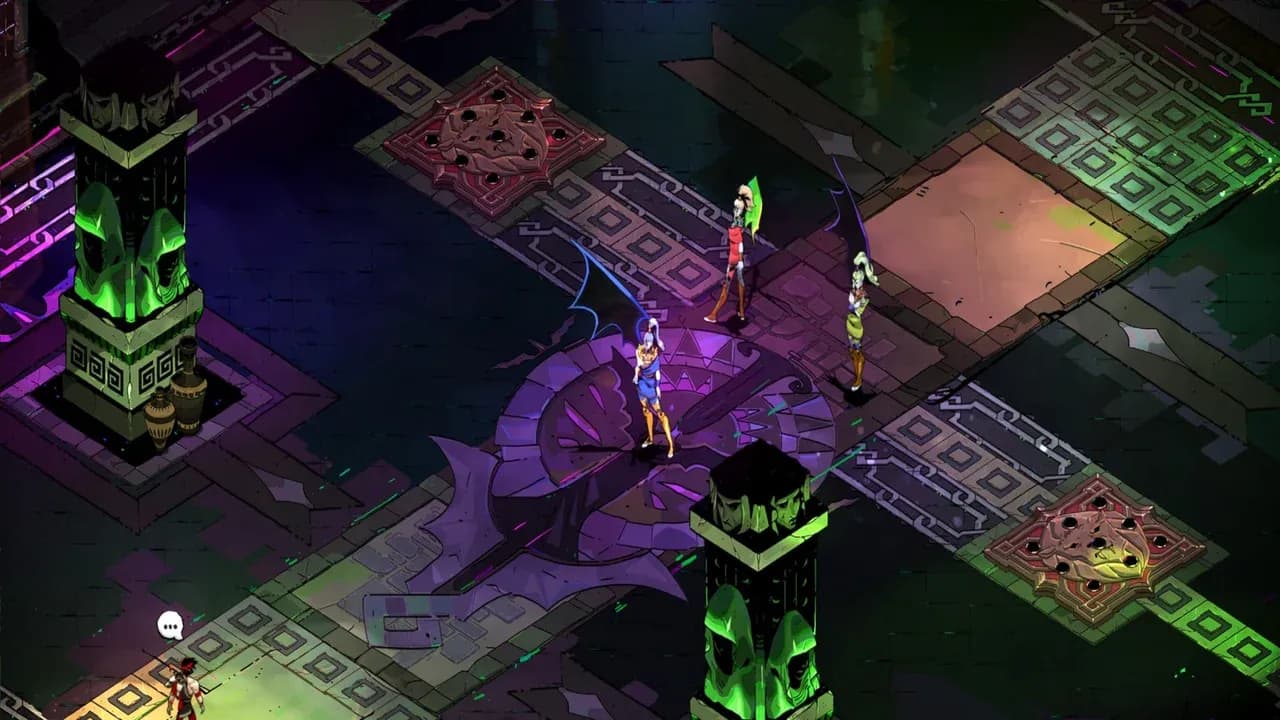
How to Prepare for the Fury Sisters in Hades
Welcome to Tartarus, Zagreus. Your first major test in Hades awaits at the end of this fiery pit: the Fury Sisters. Whether you face Megaera, Alecto, or Tisiphone, the fight in Chamber 14 is a skill check that will make or break your early escape attempts. But here’s the secret—victory is often decided long before you enter that boss arena. Let’s make sure you walk in prepared.
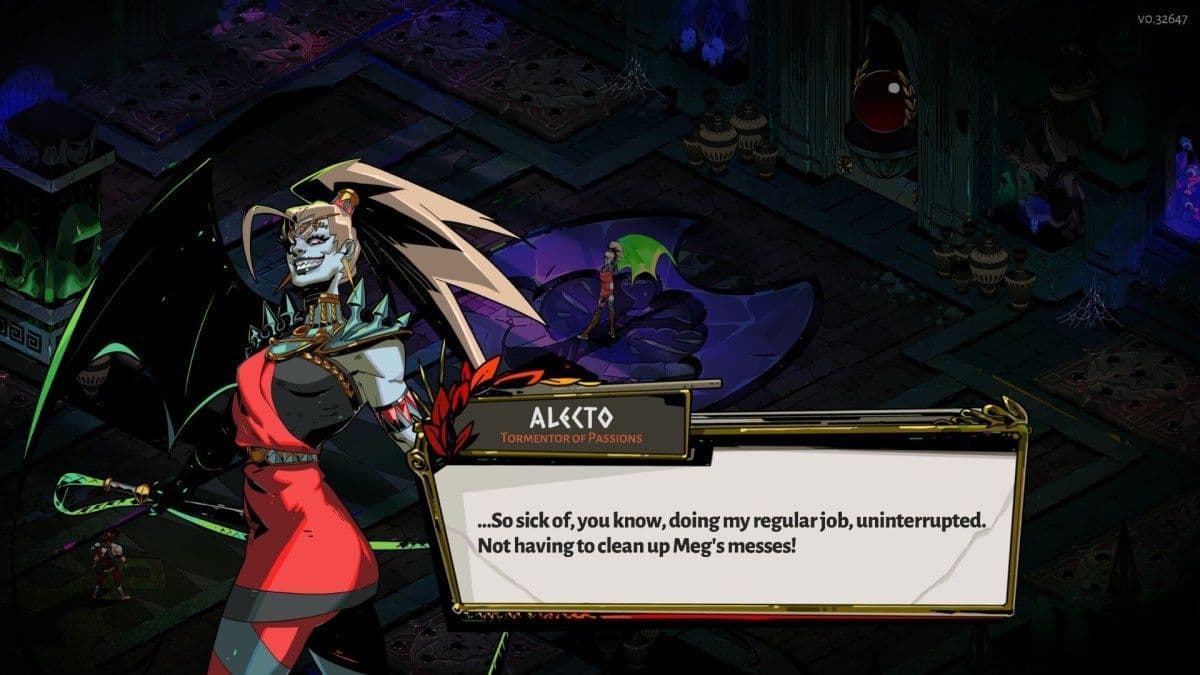
Alecto introduces more aggressive mechanics like spinning blades.
Your journey through Tartarus is more than just clearing rooms; it’s about gathering the right tools. Before you reach the boss, you’ll likely pass through Chamber 13, where the stoic ferryman, Charon, runs his shop. This is your last chance to spend any Hades Obols you’ve collected. Trust me, you’ll want to. Prioritize buying Health for 50 Obols for an immediate safety net, or a powerful God’s Boon for 150 Obols to give your attacks a serious edge. Every advantage counts.
Back in the House of Hades, your permanent upgrades are your best friends. The gifts you receive from the underworld’s denizens, called Keepsakes, are crucial. Two stand out for early boss survival. First, gift Cerberus a Nectar to receive the Old Spiked Collar. Equipping this gives you a flat +25 to +50 extra starting health—a massive buffer for learning boss patterns. For a more aggressive edge, seek out Sisyphus in his special room in Tartarus and gift him Nectar to unlock the Shattered Shackle. This Keepsake boosts the damage from falling rubble (like the Stone Pillars traps), turning the arena’s hazards into your weapons.
Your Dash (mapped to [A] by default) is your most important button in this fight. It’s not just for movement—it’s your primary evasion tool against every lunge, whip, and projectile the Furies throw at you. Get comfortable dashing through attacks, not just away from them.
Finally, internalize one core combat strategy: the Backstab Bonus. All three sisters have moments of vulnerability, especially after their charging attacks. By positioning yourself behind them and following up with a Dash-Strike (dashing and attacking simultaneously), you’ll deal significantly increased damage. This hit-and-run tactic is safer than standing toe-to-toe and is key to whittling down their health bars efficiently.
Stock up at Charon’s, equip a survival-focused Keepsake, and master the dash-and-backstab dance. With this preparation, you’re not just entering a boss fight—you’re walking into Chamber 14 ready to claim your first major victory in Hades.
Best Build for Defeating the Fury Sisters
You’ve prepped your Zagreus, you know the Fury Sisters’ tricks—now it’s time to shred them. In Hades, beating the Fury Sisters requires more than reaction speed; it demands a build that can capitalize on their attack windows. The Sister Blades excel here, offering the speed and precision you need to turn the tables.
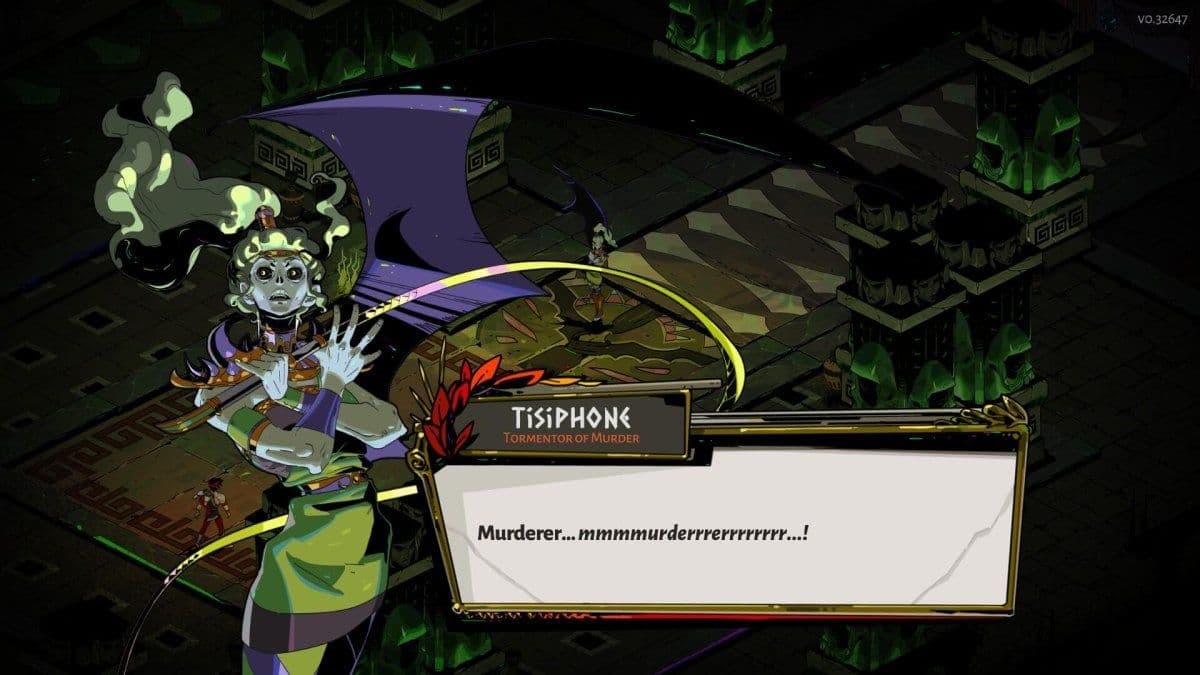
Tisiphone's shifting arena makes positioning critical for the Sister Blades.
Let’s build for maximum aggression. Head to the Training Grounds and craft the Sister Blades for 1 Silver. This is the fastest nocturnal arm in the game, perfect for landing quick hits and retreating during their lengthy attack animations. Stick with the default Aspect of Melinoë on the Sister Blades. It rewards you for playing smart, granting bonus damage when attacking enemies from behind—a perfect fit for dodging a Fury’s charge and striking their back during their recovery.
Your first stop in Tartarus should be an Aphrodite boon room. Look for Flutter Flourish, her Special-enhancing boon. This is your workhorse, significantly boosting the damage of your thrown blades. Since you’ll be weaving in Specials constantly, this gives your ranged game real punch. For your Attack, you have two fantastic paths. If you see Zeus, grab Static Shock; the chain lightning it adds to your rapid flurry of strikes will cleave through any lesser enemies they summon and chip away at their health bars. Alternatively, if Hestia shows up, Flame Strike is a powerhouse, applying the Scorch status for persistent damage-over-time—perfect for when you need to focus on dodging.
The real magic happens with Daedalus Hammer upgrades. If you find Hook Knives, your build clicks into place. This upgrade makes your Special daggers return to you, potentially hitting the same target twice—and with the Aspect of Melinoë, that means double the backstab bonus damage. It’s a massive single-target spike. For even faster status application from boons like Scorch or Weak, Rapid Onslaught is a top-tier pick, boosting your basic attack speed to dizzying levels.
Your combat loop is simple but deadly. Toss a Special to apply a boon effect (Weak, Scorch, etc.), dash through or behind the Fury as they attack, then unleash a rapid Attack combo on their back. Repeat. The Sisters have long recovery animations—exploit them.
This build turns the chaotic Fury fight into a methodical dissection. You have the speed to punish every opening, the ranged option to apply pressure safely, and the backstab damage to make every second count. You’re not just surviving Tartarus anymore—you’re dominating it. Let’s go claim that Titan Blood.
Megaera Boss Guide: How to Defeat the First Fury
Alright, Zagreus—this is the moment your training in the House of Hades pays off. Megaera, the first of the Fury Sisters, stands between you and your escape, but with a cool head and sharp reflexes, she's a challenge you can master. This guide breaks down her every move so you can turn her arena into your victory lap.

Megaera's character portrait and dialogue interface.
The Arena and Your Opening
The fight takes place in a large chamber within Tartarus, filled with pillars and, crucially, spike pressure plates scattered on the floor. Trust me, you’ll want to keep half an eye on your footing—dashing over them is safe, but standing still means taking damage. At the start, she’s aggressive but predictable. Your goal is to chip away at her health while learning her rhythm.
Decoding Megaera’s Attacks
Megaera has a core set of moves that escalate as the fight progresses. Here’s what to watch for and how to counter each one:
- Lunge: This is her most common opener. She’ll crouch briefly before charging across the arena in a straight line. The tell is clear, so a simple [Dash] sideways as she launches will avoid it completely, leaving her open for a quick counter-attack.
- Whip Whirl: When you get in close, she’ll often spin her whip in a wide circular melee attack. She’s invulnerable during the wind-up, so the moment you see her start the animation, [Dash] away to get out of its range. This is your cue to punish her with a ranged attack or close back in after the spin finishes.
After both her Lunge and Whip Whirl, there’s a brief recovery window. That’s your prime time to land a few solid hits before she starts her next move.
The Summoning Phase and New Threats
At approximately 75% HP, the fight changes. She’ll become invulnerable and summon reinforcements—typically Wretched Thugs and Wretched Witches. This is where most runs trip up.
⚠️ Priority shift: Ignore Megaera during this phase. She can’t be hurt. Focus all your attention on clearing the adds. Take out the ranged Witches first to stop the projectile spam, then deal with the slower Thugs. Once the room is clear, she’ll become vulnerable again, but she returns with two dangerous new tricks.
- Volley: She’ll fire a spread of magic missiles in a 360-degree circle around herself. You can [Dash] through the gaps in the projectiles, or if you have a Shield of Chaos or a deflection boon, you can send them right back at her.
- Flame Circles: This is her deadliest move. She’ll create expanding red circles on the floor that explode after a moment. If you’re caught inside, the damage is severe. You need to [Dash] repeatedly to stay out of these AoE zones—a single dash often won’t cut it. Keep moving and don’t get cornered.
Putting It All Together
The key to conquering Megaera in Hades is managing the phases. Dominate the early 1v1, switch instantly to add-clear when she summons, and then respect her new, more lethal arsenal. Use the arena pillars for cover against her Volley, but remember they can be destroyed. If you’ve wiped here before, you’re not alone—this phase transition trips up everyone on their first attempts.
With her patterns now demystified, you’re ready to face her down. Remember, Megaera is also the only Fury Sister you’ll later find in the House of Hades, where you can gift her Nectar to build your relationship. For now, focus on the fight. Learn her rhythm, dash with purpose, and claim your first major victory.
Alecto Boss Guide: Managing the Rage Meter
Welcome to the main event. If you thought Megaera was tough, wait until you meet her sister, Alecto—the Fury who embodies pure, unadulterated rage. In Hades, this boss fight is a thrilling test of patience and precision, centered entirely on a unique mechanic you can’t afford to ignore. Her Rage Meter isn't just a visual cue; it's the ticking clock that dictates the entire flow of the battle. Let's break down her fury so you can walk out victorious.

High-intensity combat is a staple of Hades boss fights.
Understanding Alecto's Arsenal and Her Rage
Alecto shares some basic moves with her sisters, like a telegraphed Lunge and a spinning melee attack you must dash away from. However, her signature attacks are what make this fight a chaotic dance.
Her most critical move is Blood Volley. She'll pause and fire a wide circle of red bolts around the room. Here’s the trick most guides miss: Alecto is completely vulnerable during this channel. This is your golden opportunity to not only deal damage but also to attack during Blood Volley to deplete her Rage Meter before it fills. Every hit you land here slows her down.
As the fight progresses, she unlocks more dangerous abilities. At around 75% HP, she gains Lightning Chase, which creates damaging red circles that persistently follow Zagreus. Your only defense is to [Dash] constantly to avoid them—don’t stop moving. When her health drops below half, watch out for Whip Shot. This attack summons large, bouncing Blade Rifts that careen around the arena. Your best bet is to [Movement] stay in the center or far edges to predict their chaotic paths more easily.
Mastering the Rage Phase
That bar under her health is everything. As you fight and as she channels Blood Volley, her Rage Meter fills. When it maxes out, the screen will turn red, and she enters Rage Mode. In this state, she becomes temporarily invulnerable, her movement and attack speed skyrocket, and she gains projectile versions of her basic attacks. This is not the time to be a hero.
When Rage Mode activates, your only goal is survival. [Movement] kite and evade until the meter depletes. Use the arena's pillars for cover and focus entirely on dodging. The phase ends when the red tint fades.
The final hurdle comes when Alecto's HP drops to about 25%. She will enter a Permanent Rage state, where the intensified Rage Mode effects are locked on for the rest of the fight. All her moves are unlocked, and her speed is permanently increased. It’s overwhelming, but manageable if you stay calm. Keep kiting, punish her during Blood Volley windows, and whittle down that last chunk of health.
If you've wiped here before, you're not alone—her spinning blades and rage phases trip up everyone. But now you know the rhythm: attack aggressively during her vulnerable Blood Volley to control the rage bar, and switch to pure evasion when the screen flashes red. With this focus, you'll turn her greatest weapon against her and claim your victory.
Tisiphone Boss Guide: Surviving the Shrinking Arena
Welcome to the claustrophobia test. In Hades, Tisiphone is the strongest Fury, and her fight is a masterclass in psychological pressure. Forget the traps and adds of her sisters—here, the arena itself becomes your enemy, shrinking with every blow you land and forcing you into a deadly dance in tight quarters.
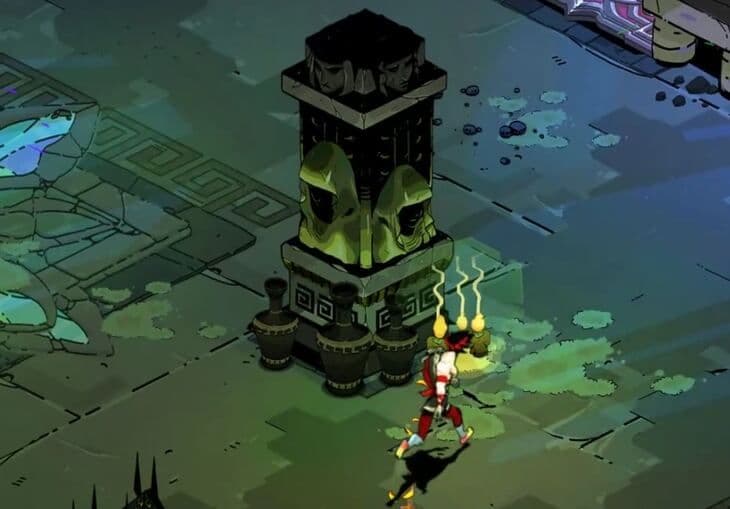
Environmental hazards like stone pillars can complicate tight boss fights.
Understanding the Shrinking Arena
The defining mechanic of this Hades boss is the Arena Shrink. At 75%, 50%, and 25% of her health, the screen will turn black and the arena gets smaller. This isn't just for show; it dramatically reduces your safe movement space, making her wide attacks harder to evade. If you've ever felt cornered and panicked here, you're not alone—this phase trips up everyone. The key is to stop treating her like Megaera. When the walls close in, your dashes need to be shorter, cleaner, and more deliberate.
Over-dashing is your worst enemy against Tisiphone. In the final, smallest arena, a single misplaced dash can put you right in the path of her next attack. Focus on precise, small movements.
Decoding Tisiphone’s Attacks
Her arena may lack the spike traps of her sisters, but her attacks are designed for close-quarters combat. You must learn her tells to survive the compression.
- Whip Lasso: She'll telegraph a grab attempt. If it connects, you'll be stunned, leaving you wide open for her follow-up lunge. Dash sideways the moment you see the wind-up to avoid it completely.
- Slow Beam: She fires slow-moving, spiral magic projectiles around her. Don't try to outrun them in a wide circle. Instead, watch the pattern and [Dash] through the gaps between the projectiles.
- Ground Thunderbolts: Red circles will appear on the floor before lightning strikes. This is where arena knowledge pays off. A reliable strategy is to dash into the narrow exit corridor to lure the strikes there, creating a safer pocket in the main arena.
The Winning Strategy: Kiting and Casting
Because the arena shrinks, a pure melee brawl becomes increasingly risky. This is where a Casting Focus strategy shines. Use your Cast to deal damage while kiting in narrow spaces. By keeping your distance and letting your Cast do the work, you minimize the time spent in her dangerous melee range. This is especially effective with fast, area-of-effect Casts that don't require perfect aim in the chaos.
Trust me, the fight feels completely different once you stop chasing her and start controlling the space. With her attacks decoded and a solid kiting plan, you can turn her shrinking-room gimmick from a panic inducer into a predictable challenge.
You've got this. Stay calm, keep your dashes tight, and make every Cast count.
Extreme Measures: How to Fight All Three Furies in Hades
You've mastered each Fury Sister individually, but Hades has one more trick up its sleeve. When you activate the Pact of Punishment's Extreme Measures Rank 1 condition, the fight transforms into a chaotic, three-on-one brawl where the other two sisters join as unkillable support. This is the true test of your Tartarus knowledge.
The Extreme Measures fight tests your ability to track multiple threats.
Understanding the New Rules of Engagement
The core change is simple but brutal: you will face one primary Fury Sister, while the other two appear as invulnerable specters who attack relentlessly. They cannot be damaged, only avoided. Your entire strategy must shift from aggressive takedown to disciplined target priority and spatial awareness.
The moment you enter the arena, identify the primary boss (the one with a health bar). Ignore the support sisters completely—any damage you deal to them is wasted effort.
Sister-Specific Extreme Measures Upgrades
Each sister gains powerful new attacks under this Pact condition, making their already dangerous patterns even more lethal.
For Megaera, watch for a larger, pink circle telegraphing her Whip Whirl area-of-effect. More dangerously, once her health drops below 50%, she'll summon a Fiery Column that shoots pentagon-shaped volleys similar to Alecto's Blood Volley. This attack covers huge portions of the arena, forcing you to dodge into the gaps between shots.
Tisiphone becomes a master of misdirection. She can blanket the battlefield in a dark green fog that obscures both her and any spike traps. When the screen gets murky, don't panic—stay mobile, listen for audio cues of her attacks, and dash conservatively to avoid stumbling into hazards you can't see.
Alecto's changes are less about new moves and more about amplified chaos. She'll summon more Blade Rifts and layer multiple Lightning Chase circles, often while a support sister is attacking from another angle. The key is to treat her Rage Meter as the top priority; if you can attack her during her Blood Volley channel (before she hits 25% HP), you can still deplete the meter and prevent the rampage state.
The Winning Mindset: Control the Chaos
This fight is overwhelming by design. Here’s how to regain control:
- Boss Tunnel Vision: Your eyes should rarely leave the primary sister. Use your peripheral vision to track the support Furies' projectile wind-ups.
- Arena Hazard Awareness: The spike pressure plates are more dangerous than ever. Make a mental map of their locations early and try to kite the main boss away from them, not over them.
- Patience Over Greed: Long attack combos will get you hit. Stick to hitting the main boss 2-3 times, then reposition. The support sisters' attacks often create safe pockets near the primary target—learn to spot them.
Remember, the core reward for conquering this heightened challenge remains the same: defeating any Fury for the first time under a new Pact of Punishment condition or with a new weapon still grants the precious Titan Blood. This fight isn't just a harder version—it's the final exam on everything you've learned in Tartarus. Stay mobile, stay focused, and you'll send all three sisters packing.