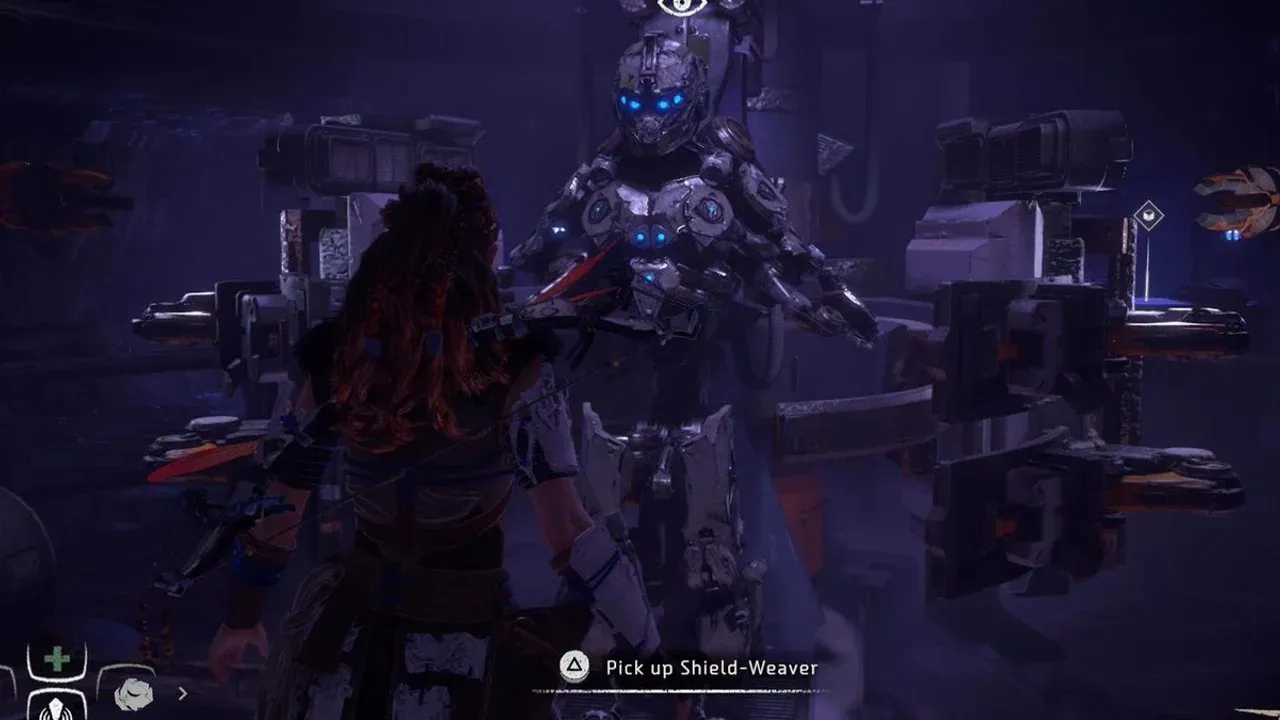
How the Shield-Weaver Armor Works in Horizon Zero Dawn
In Horizon Zero Dawn, few rewards are as legendary as the Shield-Weaver outfit. This isn't just another piece of armor—it’s a game-changing piece of Old World technology that can turn the tide of any fight. If you're tired of getting knocked down by a Thunderjaw's tail or staggered by a Watcher's laser, this guide will explain exactly how this incredible suit works, so you can decide if the hunt for its five Power Cells is worth your time.

The Shield-Weaver's energy shield protects Aloy from incoming damage.
At its core, the Shield-Weaver trades traditional defense for a brilliant, passive survival tool. Instead of offering resistance to fire or shock, it projects a hexagonal blue force field that absorbs all incoming damage. Think of it as a second health bar that sits in front of Aloy's actual health. This shield is your first line of defense against everything from arrows to plasma blasts.
Here’s how the shield cycle works in practice. As you take hits, the shield absorbs the damage. Once the damage threshold is reached, the shield flashes red and Aloy takes health damage. The moment it breaks, you’re vulnerable. But here’s the best part: the shield automatically restores to full after a short period of avoiding damage, indicated by a beep. This recharge mechanic encourages smart, evasive play—duck behind cover for a few seconds, and you're back in the fight with full shield integrity.
Listen for that recharge beep! It’s your cue that you’re protected again and can re-engage. This audio cue is more reliable than watching the visual effect in the heat of battle.
The shield’s effectiveness isn't static; it scales with your game difficulty. On Story to Ultra Hard, you’ll find the shield has lower HP on higher difficulties but a faster recharge rate. For example, on Ultra Hard, a single heavy attack might break the shield, but it’ll come back online much quicker than on Normal mode. This balancing act means the armor remains useful, but never makes you truly invincible on the toughest settings.
A fantastic secondary benefit is ranged immunity. While the active shield prevents Aloy from being staggered by ranged attacks, allowing you to line up your own shots without flinching. However, it’s crucial to remember that melee attacks are a different story—a charging Sawtooth or a tail smash will still knock you down, shield or not.
With its glowing barrier and forgiving recharge, the Shield-Weaver can feel like a cheat code. Understanding these mechanics is the first step to mastering it and deciding if you want to embark on the quest to find it. Let's break down what you're getting into.
Shield-Weaver Armor Stats and Limitations
Alright, so you've got the Shield-Weaver outfit unlocked and you're feeling unstoppable—that glowing blue shield is a game-changer. But before you go charging headfirst into a Thunderjaw's path, there are some crucial stats and limitations you need to know. In Horizon Zero Dawn, this armor trades raw customization for raw protection, and understanding its boundaries is key to mastering it.
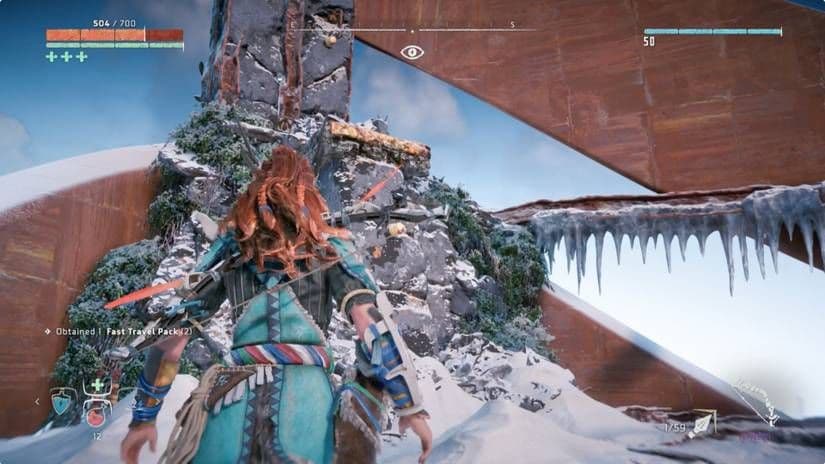
Power Cells are required to unlock the Shield-Weaver set.
Shield Strength by Difficulty
The shield's power isn't constant; it scales dramatically with the challenge you've chosen. The Shield HP Values are as follows:
- Story/Normal: 500 HP
- Hard: 300 HP
- Very Hard: 167 HP
- Ultra Hard: 125 HP
Here’s the trade-off: while the shield has less health on higher difficulties, it actually recharges faster once broken. On Ultra Hard, a single heavy hit from even a Watcher can pop the shield, turning you from invincible to vulnerable in an instant. This makes positioning and avoiding damage more critical than ever.
The Trade-Off: No Customization
The most significant limitation is right there in the outfit's menu: it has No Modification Slots. This means the Shield-Weaver cannot be equipped with any weave or modification items. You're locking yourself out of elemental resistances, stealth bonuses, or any other stat boosts you might get from other outfits. It’s pure, unadulterated shield power—and nothing else.
Combat Vulnerabilities to Watch For
That shield might stop bullets, but it doesn't make you a tank in every situation.
- Melee Vulnerability: Heavy melee attacks like a Sawtooth charge or a Thunderjaw's tail smash will still stagger and knock Aloy down. The shield absorbs the health damage, but you'll be eating dirt while it happens.
- Shield Disruption: This becomes a major factor in The Frozen Wilds expansion. Certain enemy devices and, most notably, the Control Tower's pulse attacks can temporarily disable the shield entirely, leaving you completely exposed regardless of its charge.
⚠️ Pro tip: Treat the shield like an extra, regenerating health bar, not true invincibility. On higher difficulties, play more cautiously after it breaks, and always have a plan to dodge big melee slams.
Knowing these limits—the exact HP values, the lack of mods, and the specific attacks that bypass your defense—lets you wield the Shield-Weaver's incredible power without overextending. It’s the best defense in the game, but even the best has its breaking point.
How to Start the Ancient Armory Quest in Horizon Zero Dawn
Ready to claim the most powerful armor in Horizon Zero Dawn? Your hunt for the legendary Shield-Weaver outfit begins not with a Power Cell, but by finding its ancient resting place. This is where your quest officially starts, and it’s a location you can stumble upon surprisingly early.
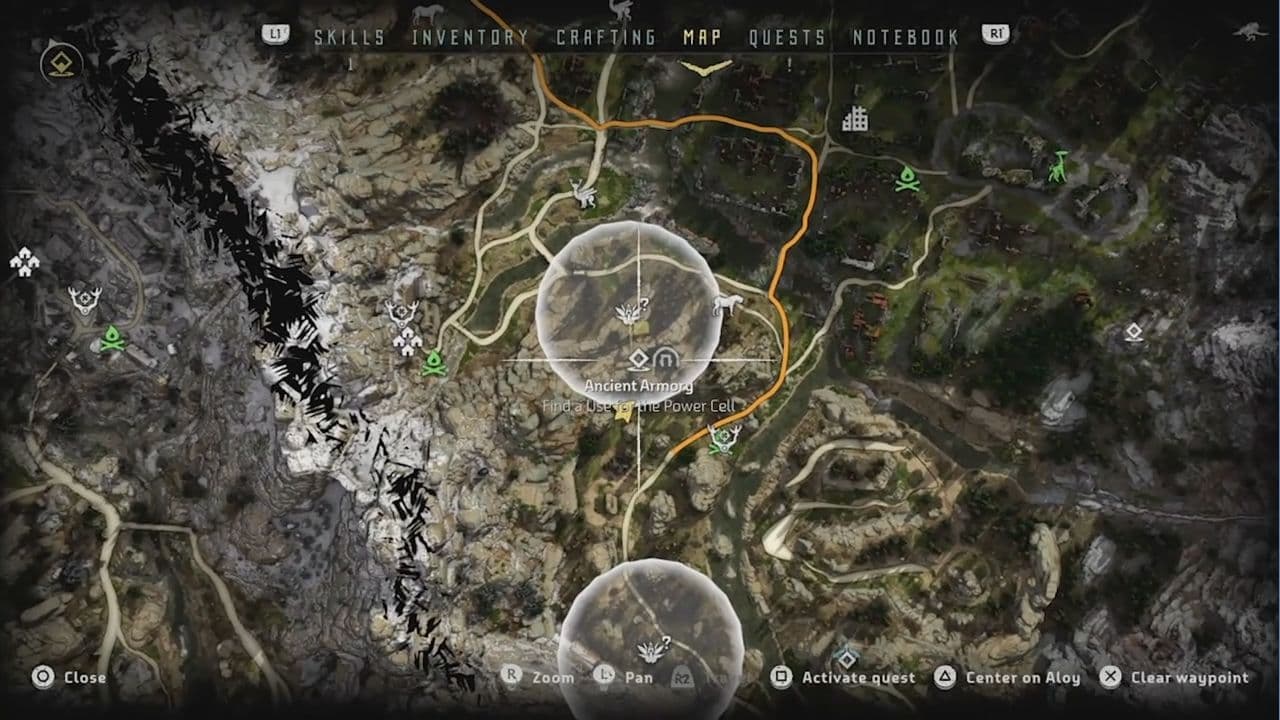
Map location for the Ancient Armory bunker.
To kick off the The Ancient Armory side quest, you need to locate The Bunker in the Sacred Lands. It’s situated east of Mother's Rise, tucked inside an underground cave near a Strider site. If you’ve been exploring the Embrace, you might have seen it—a conspicuous ruin entrance that begs to be investigated. Head inside, and you’ll find a remarkable sight: a pristine suit of ancient armor sealed behind a glowing door and held by mechanical clamps.
You can find this bunker at any point in your playthrough. Even if you don’t have any Power Cells yet, go ahead and visit. Interacting with the armor will start the quest and mark the location on your map, giving you a clear long-term goal.
Inside the bunker, walk up to the armor display and press [Triangle] to interact with the ancient armor to start the quest. This officially begins The Ancient Armory. You’ll see that the door and clamps are missing power, which is where the Power Cells come in. These are the five key items you’ll be hunting across the world. In the game, they’re marked by green resource icons when you spot them, but they won’t appear on your map, so keep your eyes peeled.
Here’s the crucial detail most guides miss: while you can start collecting Power Cells and solving the bunker’s puzzles as soon as you find them, the quest cannot be completed until finishing 'The Mountain That Fell'. This is a late-game main story mission. So, if you’re wondering why you can’t access the armor even with all five cells early on, don’t worry—you haven’t missed anything. The game gates the final reward behind this story beat.
With the bunker found and the quest active, you’re all set for the real adventure: the globe-trotting scavenger hunt for all five Power Cells. Let’s go find them.
How to Find Power Cells 1 and 2 in the Sacred Lands
Your hunt for the Shield-Weaver armor in Horizon Zero Dawn begins right in the Sacred Lands, and collecting the first two Power Cells is a perfect excuse to revisit the game's most iconic starting locations. Trust me, grabbing these early saves a lot of backtracking later.
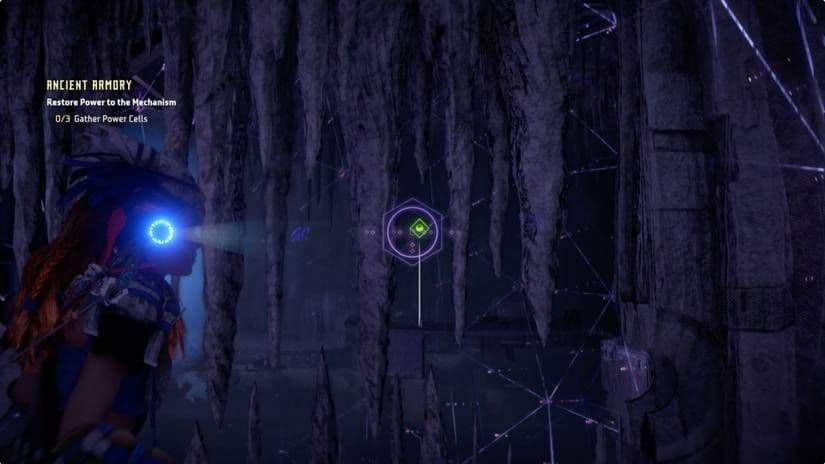
The Power Cell location within Mother's Watch.
Power Cell 01: The Embrace Underground Bunker
This first cell brings you full circle. After completing the main story mission ‘A Gift From the Past’, head back to The Embrace—specifically, the Underground Bunker ruins where young Aloy first found her Focus. Retrace your steps through the barracks, down the stairs, and pry open the locked door you passed earlier. You'll eventually find yourself back at the top of a staircase. Look to the right for a doorway completely blocked by rock formations.
Here’s the key: use your spear. Press [R1] to smash the rocks barring the way. Clear the debris, and you'll find Power Cell 01 waiting on a desk in the small room beyond.
If you're following the main quests, you'll get the spear upgrade needed to pry open doors during ‘The Womb of the Mountain.’ You can grab this Power Cell immediately after that, or even post-game.
Power Cell 02: All-Mother Temple
The second cell is found in a place of great significance: Mother's Watch. You can collect Power Cell 02 during the main quest ‘The Womb of the Mountain,’ which occurs right after ‘The Proving.’ Upon waking in the All-Mother Temple, you'll speak with Matriarch Teersa, the Nora leader who provides your equipment. Before you follow her out, look across the hall.
You’ll see a locked door with a red circle. Do not follow Teersa yet. Instead, look next to that locked door for an open ventilation duct. Press [Circle] to crawl through the ventilation duct. It leads directly into the sealed room, where the Power Cell sits on a shelf.
⚠️ Watch out: If you miss this during ‘The Womb of the Mountain,’ the gates to Mother's Watch will close. Don't panic—the temple re-opens during ‘The Heart of the Nora’ quest. You'll have to walk from the nearest campfire to get back inside, but the cell will still be there.
With these first two Power Cells secured, you've laid a solid foundation for unlocking the game's ultimate armor. Let's keep that momentum going.
How to Find Power Cells 3 and 4 in Maker's End and Grave-Hoard
The mid-game is where Horizon Zero Dawn really opens up, sending you to some of its most stunning and story-critical locations. It’s also where you’ll find the next two Power Cells, which are tucked away in areas you can’t miss—though you might just walk right past them if you’re not looking.
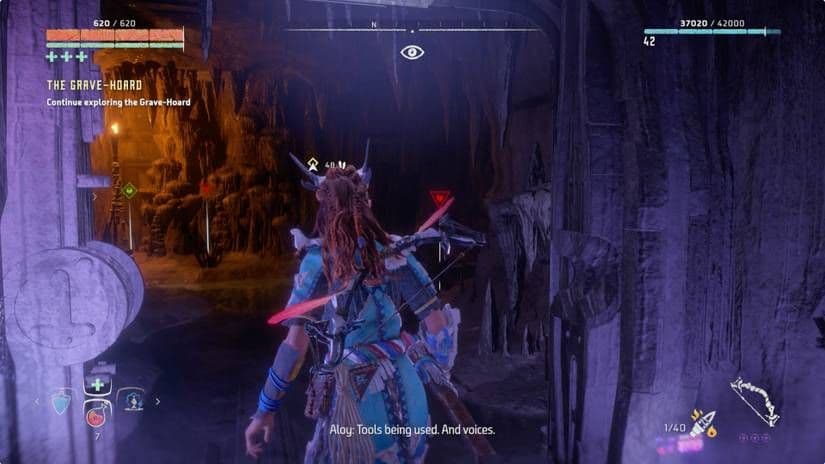
Finding the Power Cell hidden within the Grave-Hoard mission area.
Power Cell 03: Maker's End
The third Power Cell is hidden at the very top of the Faro Building during the main quest ‘Maker’s End.’ After you’ve reached the summit, witnessed the pivotal story sequences in Ted Faro’s office, and listened to the final data points, don’t take the rappel point down just yet. This is where most players leave and miss it.
Turn around and look above the elevator door. You’ll spot yellow handholds leading further up the ruined skyscraper. Press [X] to climb these handholds on the east tower all the way to the very tip of the structure. The Power Cell 03 is sitting there on a ledge, waiting for you. Once you have it, you can use the rappel point to return to Ted Faro’s office and continue on your way.
If you’ve already completed the ‘Maker’s End’ quest, don’t worry—you can fast travel back to the location at any time and retrace these steps to collect the Power Cell.
Power Cell 04: The Grave Hoard
Your next stop is The Grave Hoard, a chilling ruin you’ll explore during the main quest of the same name. This one is a bit easier to spot if you know where to look. As you progress through the facility, you’ll solve a series of ring-turning puzzles to restore power to an ancient electronic lock.
Once you’ve turned the third and final ring, the large door will unlock. Head through it, and immediately after opening the electronic lock door, look to your left. You’ll find a small, torch-lit side room. The Power Cell 04 is sitting plainly on the ground inside. It’s almost impossible to miss if you’re scanning the area, but easy to overlook if you’re bee-lining for the main objective ahead.
⚠️ Watch out: This area is just before a major boss arena. If you find yourself facing a Deathbringer, you’ve gone one room too far. Simply backtrack to find the cell.
A Crucial Tool: Your Focus
Throughout both of these locations, remember to use Aloy’s Focus scanner. Hold [R3] to activate it, and it will highlight interactive objects, including Power Cells, with a faint purple glow. This makes spotting them against the detailed ruins much easier.
With Power Cells 03 and 04 now in your inventory, you’re over halfway to unlocking the Shield-Weaver armor. The final piece of the puzzle awaits in the game’s most dramatic location.
How to Find the Final Power Cell in GAIA Prime
You’ve collected four of the five ancient batteries, and the final piece of the Shield-Weaver armor is within reach. This last Power Cell is locked away in one of Horizon Zero Dawn’s most dramatic locations, GAIA Prime, and you can only grab it during the late-game main quest ‘The Mountain That Fell.’ This is your one shot, so don’t miss it.
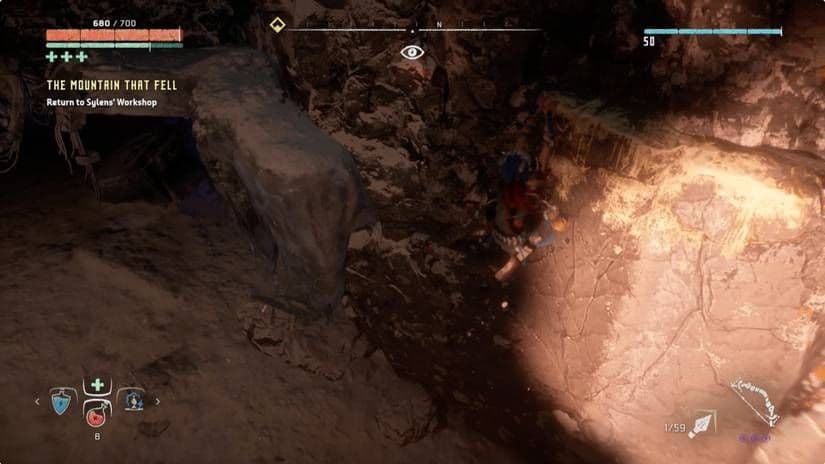
The final Power Cell is hidden deep within the GAIA Prime facility.
Your path to the cell begins at Sylens’ workshop inside the GAIA Prime ruins. After speaking with Sylens, the mysterious scholar who has guided your journey, you’ll need to descend the elevator shaft and rappel deeper into the facility. This is where you need to be sharp—the game will guide you to the right toward your main objective, but the Power Cell is hidden to the left.
Here’s the exact route: At the first major rappel point in the main open area, turn left instead of rappelling down. Look for a curved metal strut near the cliff edge. Carefully navigate around it, and you’ll spot some climbable handholds on the cliff wall. Use these to descend and shimmy along a narrow ledge that wraps around the mountain. This will lead you to a hidden, blue-lit cave tunneling into the rock.
Head inside, and you’ll find the final prize waiting for you: Power Cell 05 is sitting on a shelf at the very back of this small, atmospheric chamber.
If you’ve already triggered the cutscene with the large circular table in GAIA Prime, you’ve gone too far. Simply backtrack from that room to find the rappel point and the hidden path to the left.
With the fifth and final Power Cell in your inventory, you’ve gathered every piece needed to unlock the legendary armor. All that remains is to return to the Ancient Armory bunker in the Sacred Lands and solve the final puzzles. You’re on the cusp of becoming nearly invincible.
How to Solve the Ancient Armory Puzzles and Unlock the Armor
You’ve made the long trek, collected all five Power Cells, and now stand before the Ancient Armory bunker in Horizon Zero Dawn. This is the final stretch—just two puzzles stand between you and the legendary Shield-Weaver armor. Don't worry, the hard part is over; now it's just about following the clues.
The puzzles cannot be solved until the missing Power Cells are replaced.
First, head inside the bunker with your five Power Cells. Approach the first set of five holographic locks on the door. Interact with the terminal to the left, which will display a series of five 24-hour military time codes. Your job is to treat each circular hologram like a clock face and rotate them to match the corresponding time. The solution, from left to right, is: Up, Right, Down, Left, Up.
If you get turned around, remember "Up" is 12 o'clock, "Right" is 3 o'clock, "Down" is 6 o'clock, and "Left" is 9 o'clock. The puzzle is more about pattern recognition than complex math.
Once solved, you can [Square] to insert the first two Power Cells into the door's empty slots. The door will grind open, revealing the armor chamber. Inside, you'll see the armor secured by three clamps and a second terminal to the right. Interact with this new panel to activate the next set of five holographic locks.
This puzzle displays different angle measurements. You need to rotate each dial to a specific position. The solution for the clamp locks, from left to right, is: Right, Left, Up, Right, Left. After setting them correctly, you can [Square] to insert the final three Power Cells into the clamp mechanisms.
With a satisfying hum, the clamps retract, and the ancient armor is yours. Walk up to the armor stand and press [Triangle] to loot the Shield-Weaver Outfit Box.
Here’s the final, crucial step that trips up some players: opening the box doesn't happen automatically. Open your inventory with the [Touchpad], navigate to the "Special Items" or "Outfits" tab, find the Shield-Weaver Outfit Box, and open it from there. Only then will the outfit be added to your wardrobe for you to equip.
⚠️ Watch out: Don't leave the bunker without opening the box in your inventory! If you do, the outfit won't be usable, and you’ll have to return to the armor stand to loot the box again.
With the Shield-Weaver armor finally equipped, your journey through the Ancient Armory quest is complete. You’ve not only secured Horizon Zero Dawn’s most powerful defensive gear but also unlocked a trophy and a massive advantage for the challenges ahead. Go forth—that rechargeable shield is ready for anything.