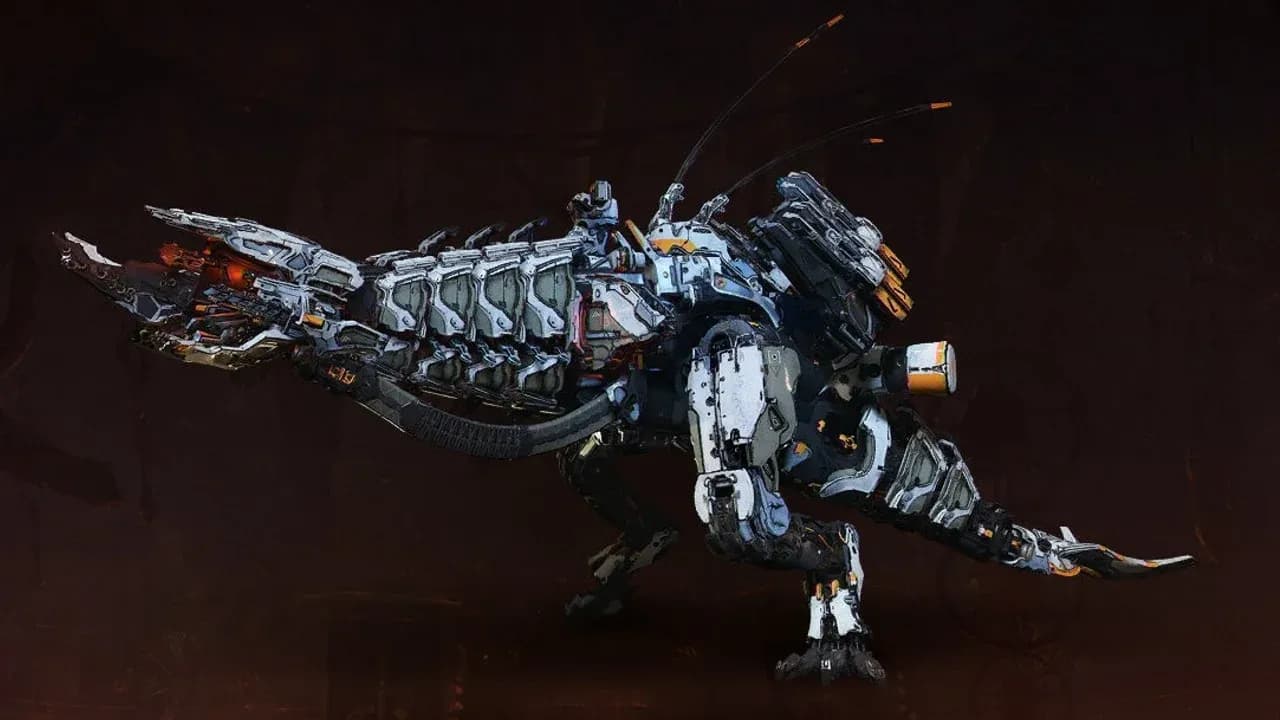
How to Find Thunderjaw Sites in Horizon Zero Dawn
Before you can master the fight, you need to find the beast. In Horizon Zero Dawn, the colossal Thunderjaw stalks a handful of specific sites across the map, and knowing where to look is half the battle. This guide will lead you to every standard and unique encounter, so you can hunt on your own terms.
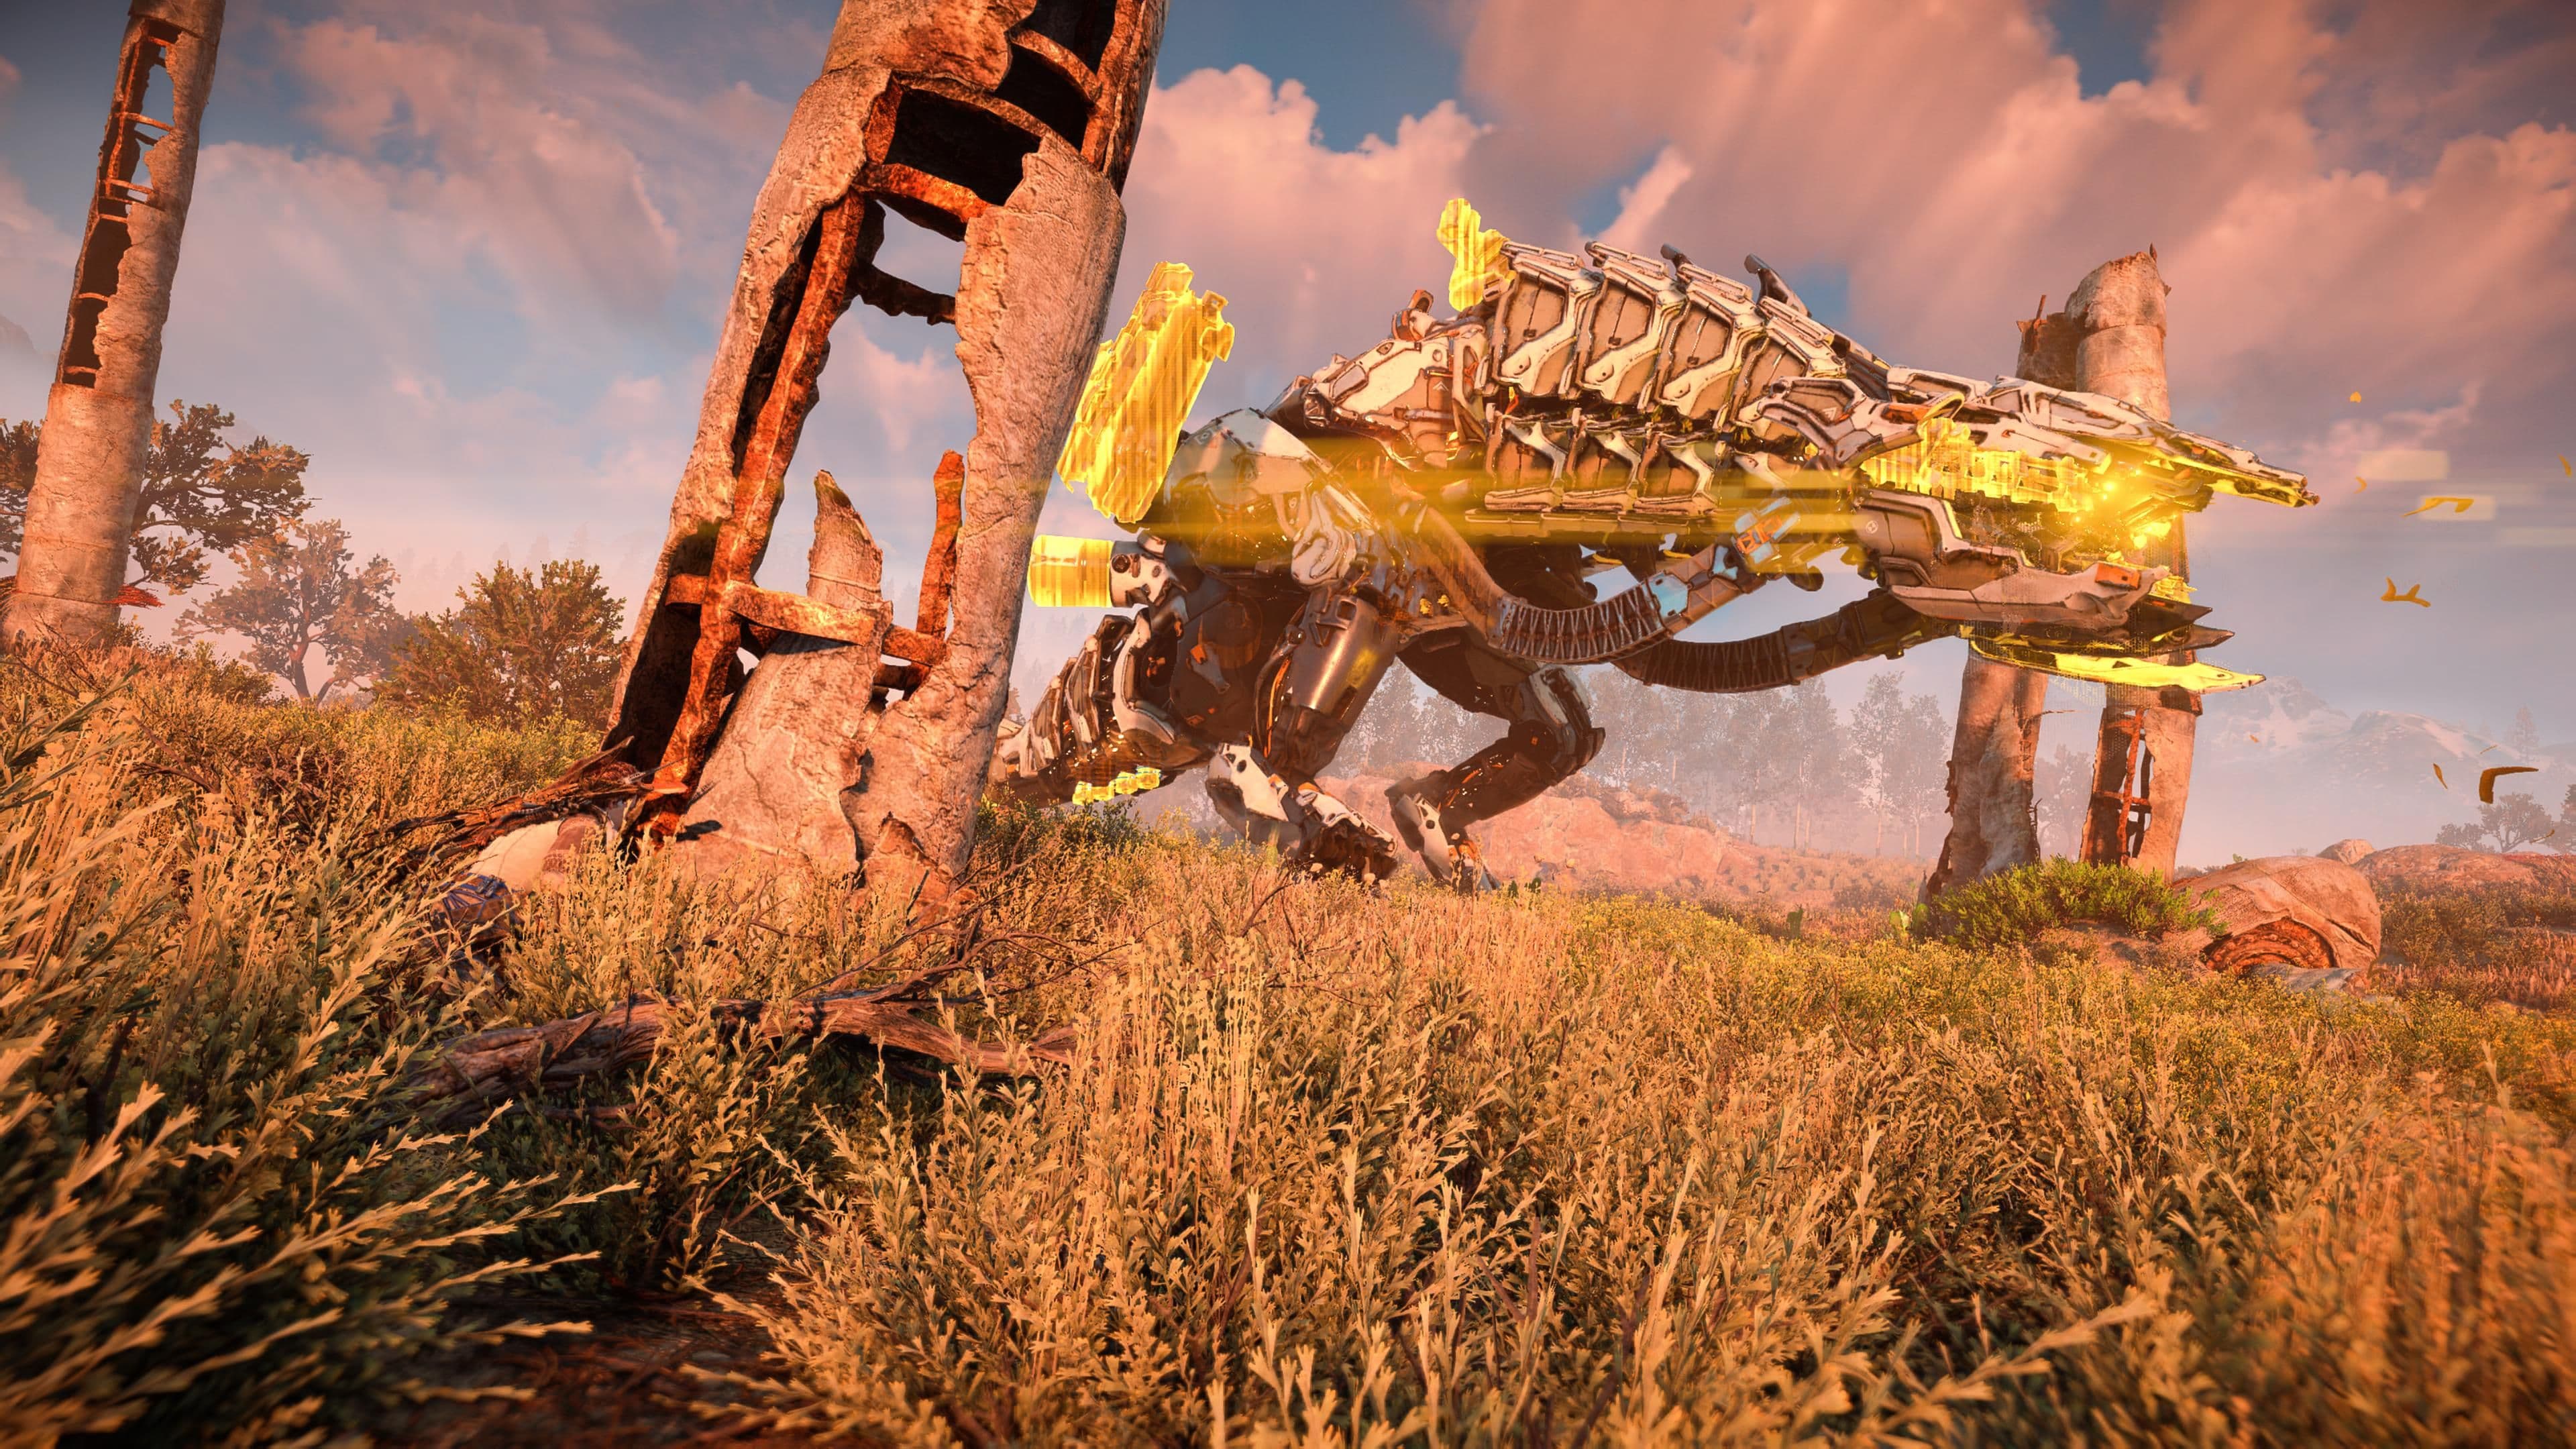
Engaging a Thunderjaw at a ruin site
While several sites are marked on your map as Thunderjaw Site, a few key locations are worth scouting early. For a relatively straightforward first encounter, head to the Carja Sundom and look north of Memorial Grove, just west of Rebel Outpost: Shining Wastes North. Another reliable site is east of Memorial Grove, slightly south of Tallneck: The Shining Wastes. If you're coming from Nora lands, you can find one south of Stone’s Echo, just east of Rebel Outpost: Jagged Deep.
Override a Tallneck whenever you see one. This will reveal all machine sites in that region, including any hidden Thunderjaw locations you haven't discovered yet.
Your hunt will eventually lead you to the unique variant, Redmaw. This questline begins at the Hunter's Lodge in Meridian. Speak with Ahsis, the proud and brash Sunhawk, who tasks you with hunting the legendary machine that bested him. You'll also team up with Talanah, a skilled hunter who becomes a key ally throughout the quest. Trust me, taking down Redmaw is a rite of passage and one of Horizon Zero Dawn's most memorable challenges.
With these locations pinned, you're ready to track down the ultimate predator. Let's gear up.
Best Gear and Skills for Hunting Thunderjaws
Facing a Thunderjaw without the right gear is like bringing a slingshot to a tank fight—you’re going to have a bad time. In Horizon Zero Dawn, this apex predator is the ultimate test of your preparation, and the right loadout is the difference between a frantic scramble and a controlled takedown. Here’s how to gear up and skill up for the hunt.
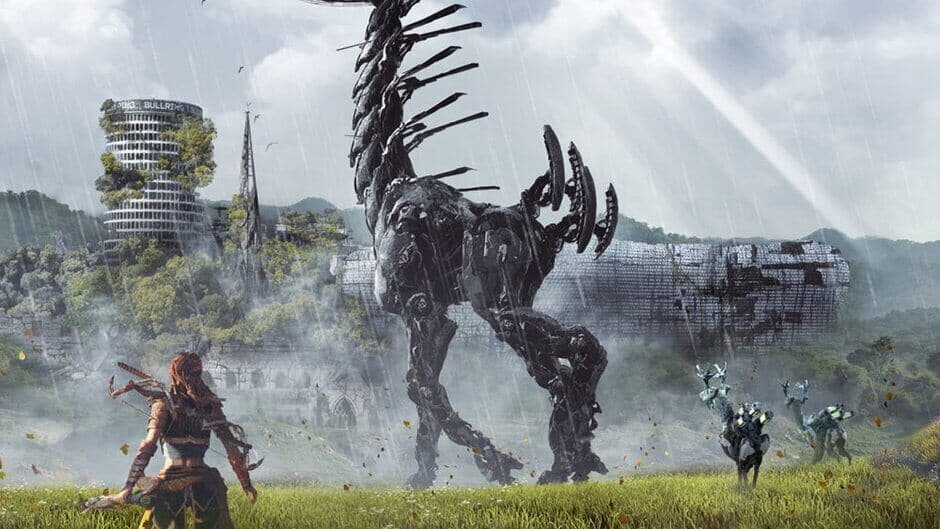
Hunting strategies involve a mix of ranged and melee skills.
Essential Weapons for the Hunt
Your primary objective is to strip the Thunderjaw of its deadliest weapons and control the pace of the fight. For this, three weapons are non-negotiable.
First, purchase the Shadow Sharpshot Bow from a merchant in Meridian. This is your Swiss Army knife for the encounter. You’ll primarily use its Tearblast Arrows to surgically remove components like the Disc Launchers and Radar. Once those are gone, switch to its Precision Arrows to hammer exposed weak points like the Heart and Data Nexus for massive damage.
Second, you need the Lodge Ropecaster, earned as a reward from the Hunter’s Lodge for completing all Half Sun trials. This tool is a game-changer. Hold [R2] to fire a rope that anchors the machine to the ground, pinning it in place. This creates a safe window to pick up a detached Disc Launcher, lay traps, or unload a full volley into a weak spot. You’ll use this constantly to dictate the flow of combat.
For sustained damage, the Shadow Hunter Bow, also available from merchants in Meridian, is your workhorse. Its high fire rate with Hardpoint Arrows is perfect for finishing off a weakened Thunderjaw or applying elemental effects once its armor is gone.
Defensive Gear and Key Skills
The Thunderjaw’s cannon fire and disc barrages are brutal. The Oseram Arrowbreaker Heavy armor, sold in Meridian, provides exceptional projectile defense, turning potential one-hit kills into survivable blows. Trust me, you’ll thank yourself for this investment when you eat a laser disc and live to tell the tale.
Your skill tree choices are just as critical. In the Brave skill tree, prioritize these three:
- Concentration: Press [R3] while aiming to slow time. This is essential for landing precise Tearblast Arrow shots on small components.
- Hunter Reflexes: This skill slows time whenever you jump or slide. It’s a lifesaver for dodging tail swipes and charges with perfect timing.
- Heavy Lifter: This often-overlooked skill lets you move faster while carrying heavy weapons. Since you’ll be lugging around its own Disc Launchers to use against it, this skill makes you less of a sitting duck.
Don’t just buy these skills—practice using them. Spend a few minutes at a lesser machine site getting used to activating Concentration mid-fight and dodging with Hunter Reflexes. Muscle memory here saves health later.
With the Shadow Sharpshot Bow and Lodge Ropecaster in your weapon wheel, the Oseram Arrowbreaker Heavy on your back, and Concentration, Hunter Reflexes, and Heavy Lifter unlocked, you’re not just ready to fight a Thunderjaw—you’re ready to dominate the encounter. This setup gives you the tools to dismantle it on your terms. Now, let’s talk about how to use them.
Thunderjaw Weaknesses and Component Breakdown
Alright, hunter, this is where the fight truly begins. Knowing the Thunderjaw's arsenal is one thing; understanding where to put your arrows to cripple it is what separates a survivor from a smoking crater. Let's break this beast down, piece by piece.
Start every engagement with a Focus Scan by holding [R3] for a moment. This is your tactical advantage, revealing every component and elemental weakness in glowing detail before a single shot is fired. What you see will be a web of overlapping armor plates and glowing modules. Here’s what matters most.
First, disable its most dangerous weapons. On its back, located above each hip, are the twin Disc Launchers. These are weak to [Tear]. Blast them off with Tearblast Arrows, and they become the ultimate weapon to use against it—a strategy covered in detail in the next section of this guide. Next, find the Rapidfire Cannon mounted near its mouth. This component fires the deadly energy projectiles you’ll want to avoid. Detaching it neutralizes a major part of its ranged offense, so give it priority after the Disc Launchers. Don't forget the Tail at its rear, which is also weak to [Tear]; removing this eliminates its powerful sweeping and slamming tail attacks, forcing it to rely on less varied moves.
⚠️ Watch out: If you get greedy trying to loot a Disc Launcher while the Thunderjaw is still mobile, it will simply re-absorb the component, making you start the whole detaching process again. Lure it away first.
Now, strip its defenses. The Radar sits on top of its head and is also weak to [Tear]. Destroying this component is a huge stealth-play advantage; it stops the machine from scanning for you, allowing you to break line-of-sight and reposition more safely.
With its weapons stripped, it’s time to aim for the kill. Under the armor plates on its sides is the Heart. Once you tear that armor away (usually by shooting it off), this exposed weak point is where you pour on the damage with [R1] spear strikes or a volley of Hardpoint Arrows for massive, sustained damage.
Finally, for a critical strike, look to the Data Nexus on top of its head, protected by a heavy armor casing. After you remove that casing with Tear damage, hitting this spot with [Precision Arrows] from your Sharpshot Bow will deal devastating critical damage. This is your "execute" button.
By systematically detaching the Disc Launchers, Rapidfire Cannon, and Tail, then destroying the Radar and exposing the Heart and Data Nexus, you transform Horizon Zero Dawn’s most terrifying predator into a vulnerable, hobbled machine. Master this component breakdown, and you hold the blueprint to its defeat.
How to Use the Thunderjaw Disc Launcher Against It
This is the moment every hunter in Horizon Zero Dawn dreams of—turning the most devastating weapon in the Carja Sundom against its master. The Disc Launcher strategy is the iconic, high-risk, high-reward tactic that defines a Thunderjaw hunt, and it’s your key to a swift victory.
Detach Its Primary Arsenal
Your first move is to disarm the beast. From a safe distance—behind cover is ideal—equip your Tearblast Arrows. Hold [L2] to aim at the Disc Launcher modules mounted above each of the Thunderjaw's hips. Fire [R2] to detach them. One or two well-placed Tearblast Arrows should pop each launcher clean off, sending them clattering to the ground. Trust me, you’ll want to do this as your opening salvo.
⚠️ Watch out: The Thunderjaw gets very aggressive once you start removing its parts. Be ready to dodge a charge or tail swipe immediately after you land your shots.
Secure the Weapon
Here’s the trick most guides miss: don’t just run in. The machine will often stand over its own discarded weapons. Use rocks or movement to lure the Thunderjaw away from the fallen launchers. Once there’s a clear path, sprint in and press [Triangle] to pick up a Disc Launcher. You now hold its own power in your hands.
This is where things get tactical. Wielding the launcher slows your movement significantly, and you cannot dodge or run without dropping it. The weapon has an 8-round magazine and fires explosive discs in a flat trajectory—they’re powerful but slow-moving, so you need to lead your shots or create a perfect opening.
Create Your Opening and Unleash Hell
This next part can feel overwhelming, but don’t panic. The safest method is to immobilize the Thunderjaw first. Switch to your Ropecaster and fire 3-5 anchors into its body until it’s fully tied down and struggling on the ground. This gives you a crucial window of safety.
Now, for maximum damage: while it’s immobilized, aim your Disc Launcher at an exposed weak point. The glowing Heart on its underside or the Data Nexus on its head are perfect targets. Hitting these spots can deal up to 70% of the beast's health in damage, especially if you unload the entire magazine. This is the payoff—seeing its health bar plummet from its own weapon.
If you detached both launchers, you can often kill the Thunderjaw with just the two magazines. Pick up the second one after emptying the first, and finish the job.
With the Disc Launcher strategy mastered, you’ve taken the single most effective step toward dominating Horizon Zero Dawn’s apex predator. Now, let’s lock down the rest of the fight.
Thunderjaw Combat Strategy: Elemental Tactics and Traps
Here's the trick most guides miss: in Horizon Zero Dawn, the difference between a chaotic Thunderjaw fight and a methodical takedown is controlling the battlefield with its own elemental arsenal and your traps. Once you strip its guns, the real strategy begins.
Your first layer of control comes from targeting the Thunderjaw's volatile components. Two key items react violently to the right arrow. The Blaze Canister on its back will detonate in a moderate explosion if you hit it with a [Fire Arrow], dealing solid damage and potentially igniting the machine. More crucially, the Freeze Canisters on its underside are your golden ticket. A single [Freeze Arrow] to one triggers an instant freeze status, encasing the entire machine in ice. This is your biggest damage window.
Aim for the Freeze Canisters from the side or front when it charges. The explosion has a generous radius, so you don't need a perfect shot.
Once the Thunderjaw is Frozen, every arrow you fire deals double impact damage. This is when you unload Hardpoint or Precision Arrows into its exposed Heart or Data Nexus. Trust me, you'll see its health bar plummet. For a more explosive finish, don't forget the Power Cell at the base of its tail. Hitting this with a [Shock Arrow] causes a satisfying AOE electricity explosion that can also stun nearby machines.
While you're managing elements, lay down a deadly welcome mat. The Tripcaster is perfect for a Tripcaster Setup. Place a line of Blast Wires or Shock Wires directly in the path you know it will charge. After you remove its Disc Launchers, the Thunderjaw loves to rush you in a straight line—lead it right over your traps. A cluster of Blast Wires can shred a huge portion of its health, while Shock Wires will stun it, giving you a safe moment to aim for canisters or weak points.
This phase can feel overwhelming—don't panic. The rhythm is: disable its guns (as covered in previous sections), use elements to create openings, and let your traps do the heavy lifting. With elemental control and a trapped corridor, you turn the apex predator into a predictable target.
Thunderjaw Attack Patterns and How to Counter Them
The Thunderjaw isn't just a big target—it's a relentless, multi-weapon assault platform that will punish you for standing still. In Horizon Zero Dawn, learning its attack patterns is the difference between a triumphant victory and a quick, crushing defeat. Let's break down each move and the precise dodge timing you need to survive.
Dodging the Thunderjaw's Arsenal
Each attack has a distinct visual cue. Your goal is to recognize it instantly and react.
Charge Attack: This is its most straightforward melee assault. The Thunderjaw will lower its head and run directly at you. Don't try to outrun it. Instead, wait until the last moment and press [Circle] to dodge sideways, rolling perpendicular to its path to slip past its jaws.
Laser Discs: This is the signature ranged attack from its back-mounted launchers. The Thunderjaw will launch drones into the air, which then project targeting lasers onto the ground around you. Watch for the ground lasers tracking your position, then press [Circle] to dodge just before the explosive discs impact. A well-timed roll will avoid the blast entirely.
Tail Whip: A devastating close-range sweep. The Thunderjaw will turn its body and slam its tail in a wide arc. The safest counter is to press [Circle] to dodge toward the machine's legs, rolling underneath its body and into the space it just vacated. Dodging away often leaves you in the attack's extended hitbox.
Mouth Laser/Cannon Fire: When its disc launchers are gone, it relies more on this head-mounted weapon. You'll see a blue glow in its mouth as it charges. The beam tracks quickly, so you need to press [Circle] to dodge repeatedly in a zigzag pattern to stay out of the continuous beam path. Don't stop moving until the attack ends.
Stomp: If you get too close to its feet, it will use an area-of-effect attack. It will lift a front leg high before slamming it down. You need to move away quickly to avoid the AOE shockwave damage. A single dodge roll back is usually sufficient, but be ready to dodge a follow-up stomp from the other leg.
Sound is as important as sight. The Thunderjaw emits distinct grinding and charging noises before each attack. Listen for the high-pitched whine of the disc launchers charging or the deep growl before a charge—it gives you an extra half-second to prepare your dodge.
Putting It All Together in the Fight
The key is managing distance. At long range, you'll face Laser Discs and Mouth Laser attacks. At medium to close range, expect Charges and Tail Whips. Getting caught at its feet triggers the Stomp.
Here’s the rhythm: after you dodge a Charge, you have a brief window to land a few shots on its Heart or Data Nexus. After avoiding Laser Discs, you can sprint in to retrieve a detached launcher. When it starts a Tail Whip animation, that’s your cue to close in safely.
⚠️ Watch out: The most dangerous moment is when it chains attacks. A missed dodge against a Charge often leaves you vulnerable to an immediate Stomp or Tail Whip. Always recover and reorient after a dodge before committing to an attack of your own.
If you've been flattened by these attacks before, you're not alone—they're designed to overwhelm. But now you know the tells. Stay mobile, listen for the cues, and time those dodges. With this knowledge, you're ready to dance with the beast and come out on top.
How to Defeat the Apex Thunderjaw and Redmaw
You’ve mastered the standard Thunderjaw, but Horizon Zero Dawn holds two ultimate challenges for the true hunter: the legendary Redmaw and the deadly Apex Thunderjaw. These aren't just tougher versions—they demand perfect execution of everything you've learned, plus some new tricks. If you've struggled with a regular Thunderjaw, you're not alone, but trust me: with the right focus, you can claim these trophies.
Redmaw: The Hunter's Lodge Legend
Your first true superboss awaits in the Hunter’s Lodge questline. Redmaw is a unique Thunderjaw with a reputation for a reason—it boasts significantly higher health and hits much harder than its standard cousins. You’ll find it in its own dedicated site as part of the Lodge's final trial. The good news? The core strategy you already know works perfectly here: prioritize removing its Disc Launchers with Tearblast Arrows and use them against it. Redmaw may be tougher, but it follows the same rules.
Redmaw is sometimes encountered with only one Disc Launcher. If one is already missing, don't waste time looking for it—focus on tearing off the remaining one and any other components like the Radar or Rapidfire Cannon to cripple its offense.
The Apex Thunderjaw: A Daunting Evolution
While roaming the wilds, especially at night or in certain regions, you may encounter the Apex Thunderjaw. This variant is visually distinct with black and gold armor plates and exposed purple muscles. It’s more than just a palette swap; it’s a fundamentally tougher fight. The Apex variant cannot be overridden and is highly resistant to Frost and Shock damage. Your key to victory is exploiting its one major weakness: Acid damage. Acid weapons will shred its armor and health far more effectively than anything else.
⚠️ Watch out: The Apex Thunderjaw replaces the standard Chillwater Canisters with Blaze Canisters and the Power Cell with Purgewater Canisters. Plan your elemental attacks accordingly, and remember that its Heart is an exclusive, 100% drop for high-tier upgrades.
Securing the Ultimate Advantage: Override
Want to turn the Thunderjaw’s power against other machines? You’ll need to conquer Cauldron ZETA, located in the northwest corner of the map. This is Horizon Zero Dawn's toughest cauldron, requiring you to complete it in one go—but the reward is worth it: the Thunderjaw override code. Once you have it, you can use your Ropecaster to tie a machine down, then hold [L2] near it to trigger the override prompt, turning it into a temporary ally. There's no better feeling than watching a Thunderjaw you just tamed tear into its former companions.
With these strategies, you’re ready to hunt the most legendary machines in the wilds. Whether it’s the storied Redmaw or the resilient Apex variant, you have the knowledge to dominate. Go claim your trophy.
Thunderjaw Rewards: Loot and Upgrade Materials
All that effort, the careful aiming, and the adrenaline-pumping dodges—it's finally over. The Thunderjaw lies defeated, and now it's time for the best part: the spoils of war. In Horizon Zero Dawn, these colossal machines are treasure troves of rare and powerful resources, making every hunt worth the challenge.
Your primary reward for the fight is a shower of crafting and upgrade materials. Here’s what you’re looking for and exactly what to do with it all.
Metal Shards are the most common drop, acting as the primary currency for merchants and basic crafting. You’ll get a hefty pile of them. The real prizes, however, are the rare components. The Thunderjaw Heart is a critical rare drop used for purchasing top-tier Shadow and Lodge gear from special merchants, as well as for high-tier upgrades on your best weapons. The Large Machine Core is another essential rare drop, required for upgrading the most powerful weapons and outfits in your arsenal.
If you’re farming for a specific rare component like the Heart, save your game manually just before engaging the Thunderjaw. If it doesn’t drop, you can reload and try again without having to wait for a respawn.
You’ll also gather specialized materials for your ammunition. Crystal Braiding is a key material used for crafting specialized ammo, including powerful Berserk Arrows. Don’t forget to loot the specific components you shot off during the fight, too. While Horizon Zero Dawn uses the Thunderjaw Tail for some upgrades, it becomes a required component for specific gear upgrades in Horizon Forbidden West, so it’s a great habit to always tear it off.
Finally, be sure to check the downed machine for mods. Defeating a Thunderjaw has a high chance to grant you Epic or Rare Coils, which are random drops that provide high-percentage damage or elemental bonuses for your weapons. These can dramatically increase your combat power for future hunts.
With your pack now loaded with rare hearts, powerful cores, and valuable coils, you’re not just a survivor—you’re a master hunter ready to craft the best gear in the land. Every Thunderjaw you defeat makes the next one that much easier.