Ranking Criteria for Early Game Skills
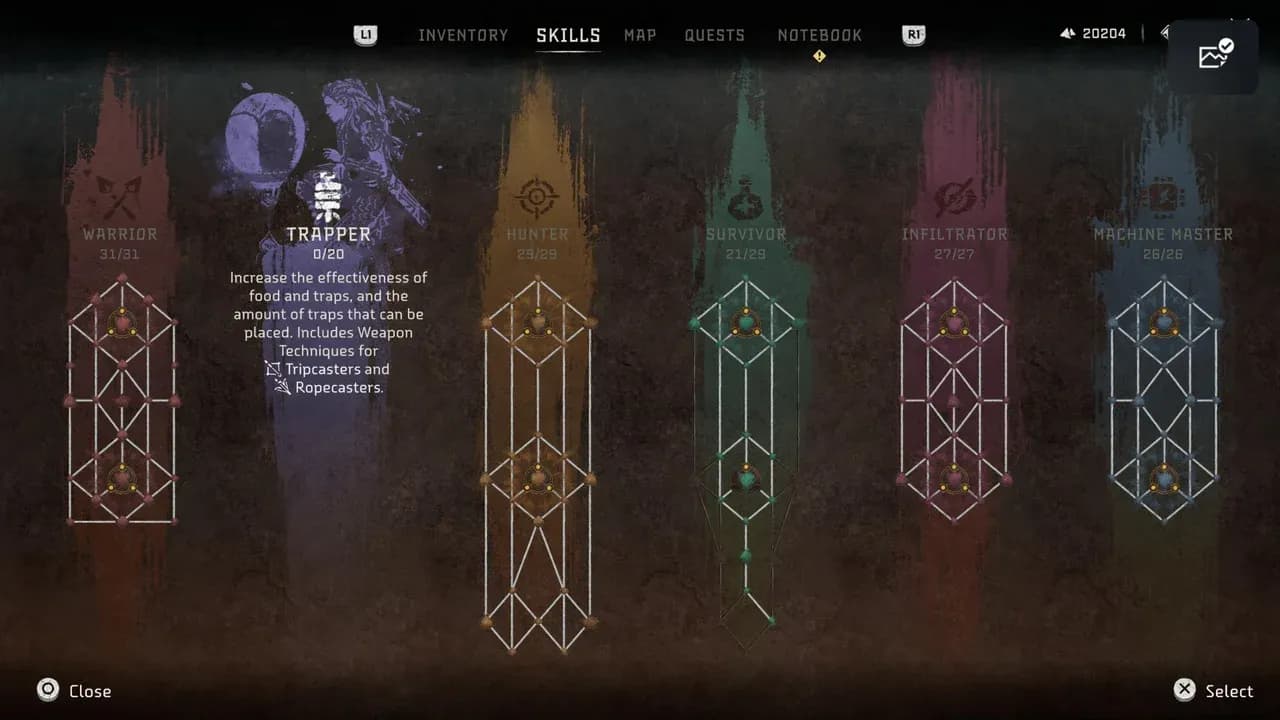
The opening hours of Horizon Zero Dawn are a masterclass in overwhelming the player with possibilities. With three distinct skill trees—Prowler, Brave, and Forager—and a precious few Skill Points to spend, it’s easy to feel paralyzed. The wrong choices can make the unforgiving wilds of the post-apocalypse feel even more brutal. This ranking isn’t just a list of good skills; it’s a strategic framework for the first 10 hours, built on four pillars of survival: Resource Economy, Combat Efficiency, Stealth Viability, and Future-Proofing.
Our goal is to transform Aloy from a vulnerable outcast into a capable hunter who can engage the world on her own terms. We prioritize skills that deliver immediate, tangible power with minimal investment and that synergize to create a cohesive playstyle. A skill that simply offers a +5% boost is useless if you’re struggling to land a shot or craft a basic arrow. Here’s the logic behind our selections:
1. The Prowler Tree: The Foundation of Control
This tree is about dictating the terms of engagement. In the early game, you are almost always outmatched and outnumbered. The Prowler skills we prioritize are not about dealing the highest DPS, but about avoiding unfair fights altogether and creating opportunities for safe, decisive strikes. A single point in a key Prowler skill can save you more health and resources than five points in raw damage upgrades.
2. The Brave Tree: Precision Over Power
Early combat isn’t about trading blows; it’s about surgical strikes. The Brave tree is packed with tempting damage modifiers, but we ignore the generic "+% damage" perks initially. Instead, we target skills that increase your accuracy and capitalizing on openings. Hitting a weak point for 100 damage is infinitely better than missing a body shot for 120. The early Brave skills we champion turn your bow from a noisy annoyance into a precise tool for dismantling machines.
3. The Forager Tree: Your Economic Engine
This is the most underestimated tree for new players. Horizon is a game of constant attrition—you will burn through wire, blaze, and ridge-wood at an alarming rate. The Forager skills we select are not passive bonuses; they are active economic multipliers. They directly increase the yield from every plant you pick and every machine you loot, reducing grinding and ensuring you always have the ammo and traps needed for the next encounter. They also unlock crucial utility that protects your long-term gear investments.
4. Skill Points: A Scarce Currency
You earn roughly one Skill Point per level, and the early levels come slowly. Wasting points on a "nice-to-have" skill can set your core build back by an hour or more of gameplay. Every skill on our list represents a force multiplier for that single point. We evaluate not just the skill's effect, but its opportunity cost—what you aren't buying by choosing it. Our picks offer the highest return on investment (ROI) for those precious early points, creating a snowball effect that makes acquiring later, more expensive skills much easier.
The Verdict: Synergy Over Specialization
The best early build isn't a pure stealth archer or a brute-force brawler; it's a hybrid survivor. The skills we’ve ranked work together across trees: a Lure Call (Forager) sets up a Silent Strike (Prowler). A well-placed shot with Concentration (Brave) knocks a component off, creating an opening for a Critical Hit (Brave). Gatherer (Forager) ensures you have the resources to craft the arrows you need to make those shots count.
This list is your blueprint for surviving the proving grounds. It prioritizes foundational abilities that remain useful for the entire journey, ensuring your first Skill Points build a legacy of competence, not regret.
1. Silent Strike (Prowler)
1. Silent Strike (Prowler)
Why it's here: The single most essential first skill point you can spend. While other skills enhance your capabilities, Silent Strike defines your early-game survival strategy. It is the cornerstone of efficient stealth and resource management, providing a safe, cost-effective method for dealing with the most common threats you'll face in the opening hours.
The Essential First Purchase
The logic is simple: a dead enemy is an enemy that cannot hurt you or drain your precious resources. For a mere 1 Skill Point, Silent Strike allows you to press R1 when undetected to instantly kill small machines (like Watchers and Striders) and human enemies, or deal high damage to medium-sized foes. This isn't just a damage boost; it’s a paradigm shift. Instead of engaging a pack of Watchers in a noisy, arrow-draining brawl, you can methodically pick them off from the tall grass. This conserves health, ammunition (especially scarce early-game Wire), and keeps you in control of every encounter.
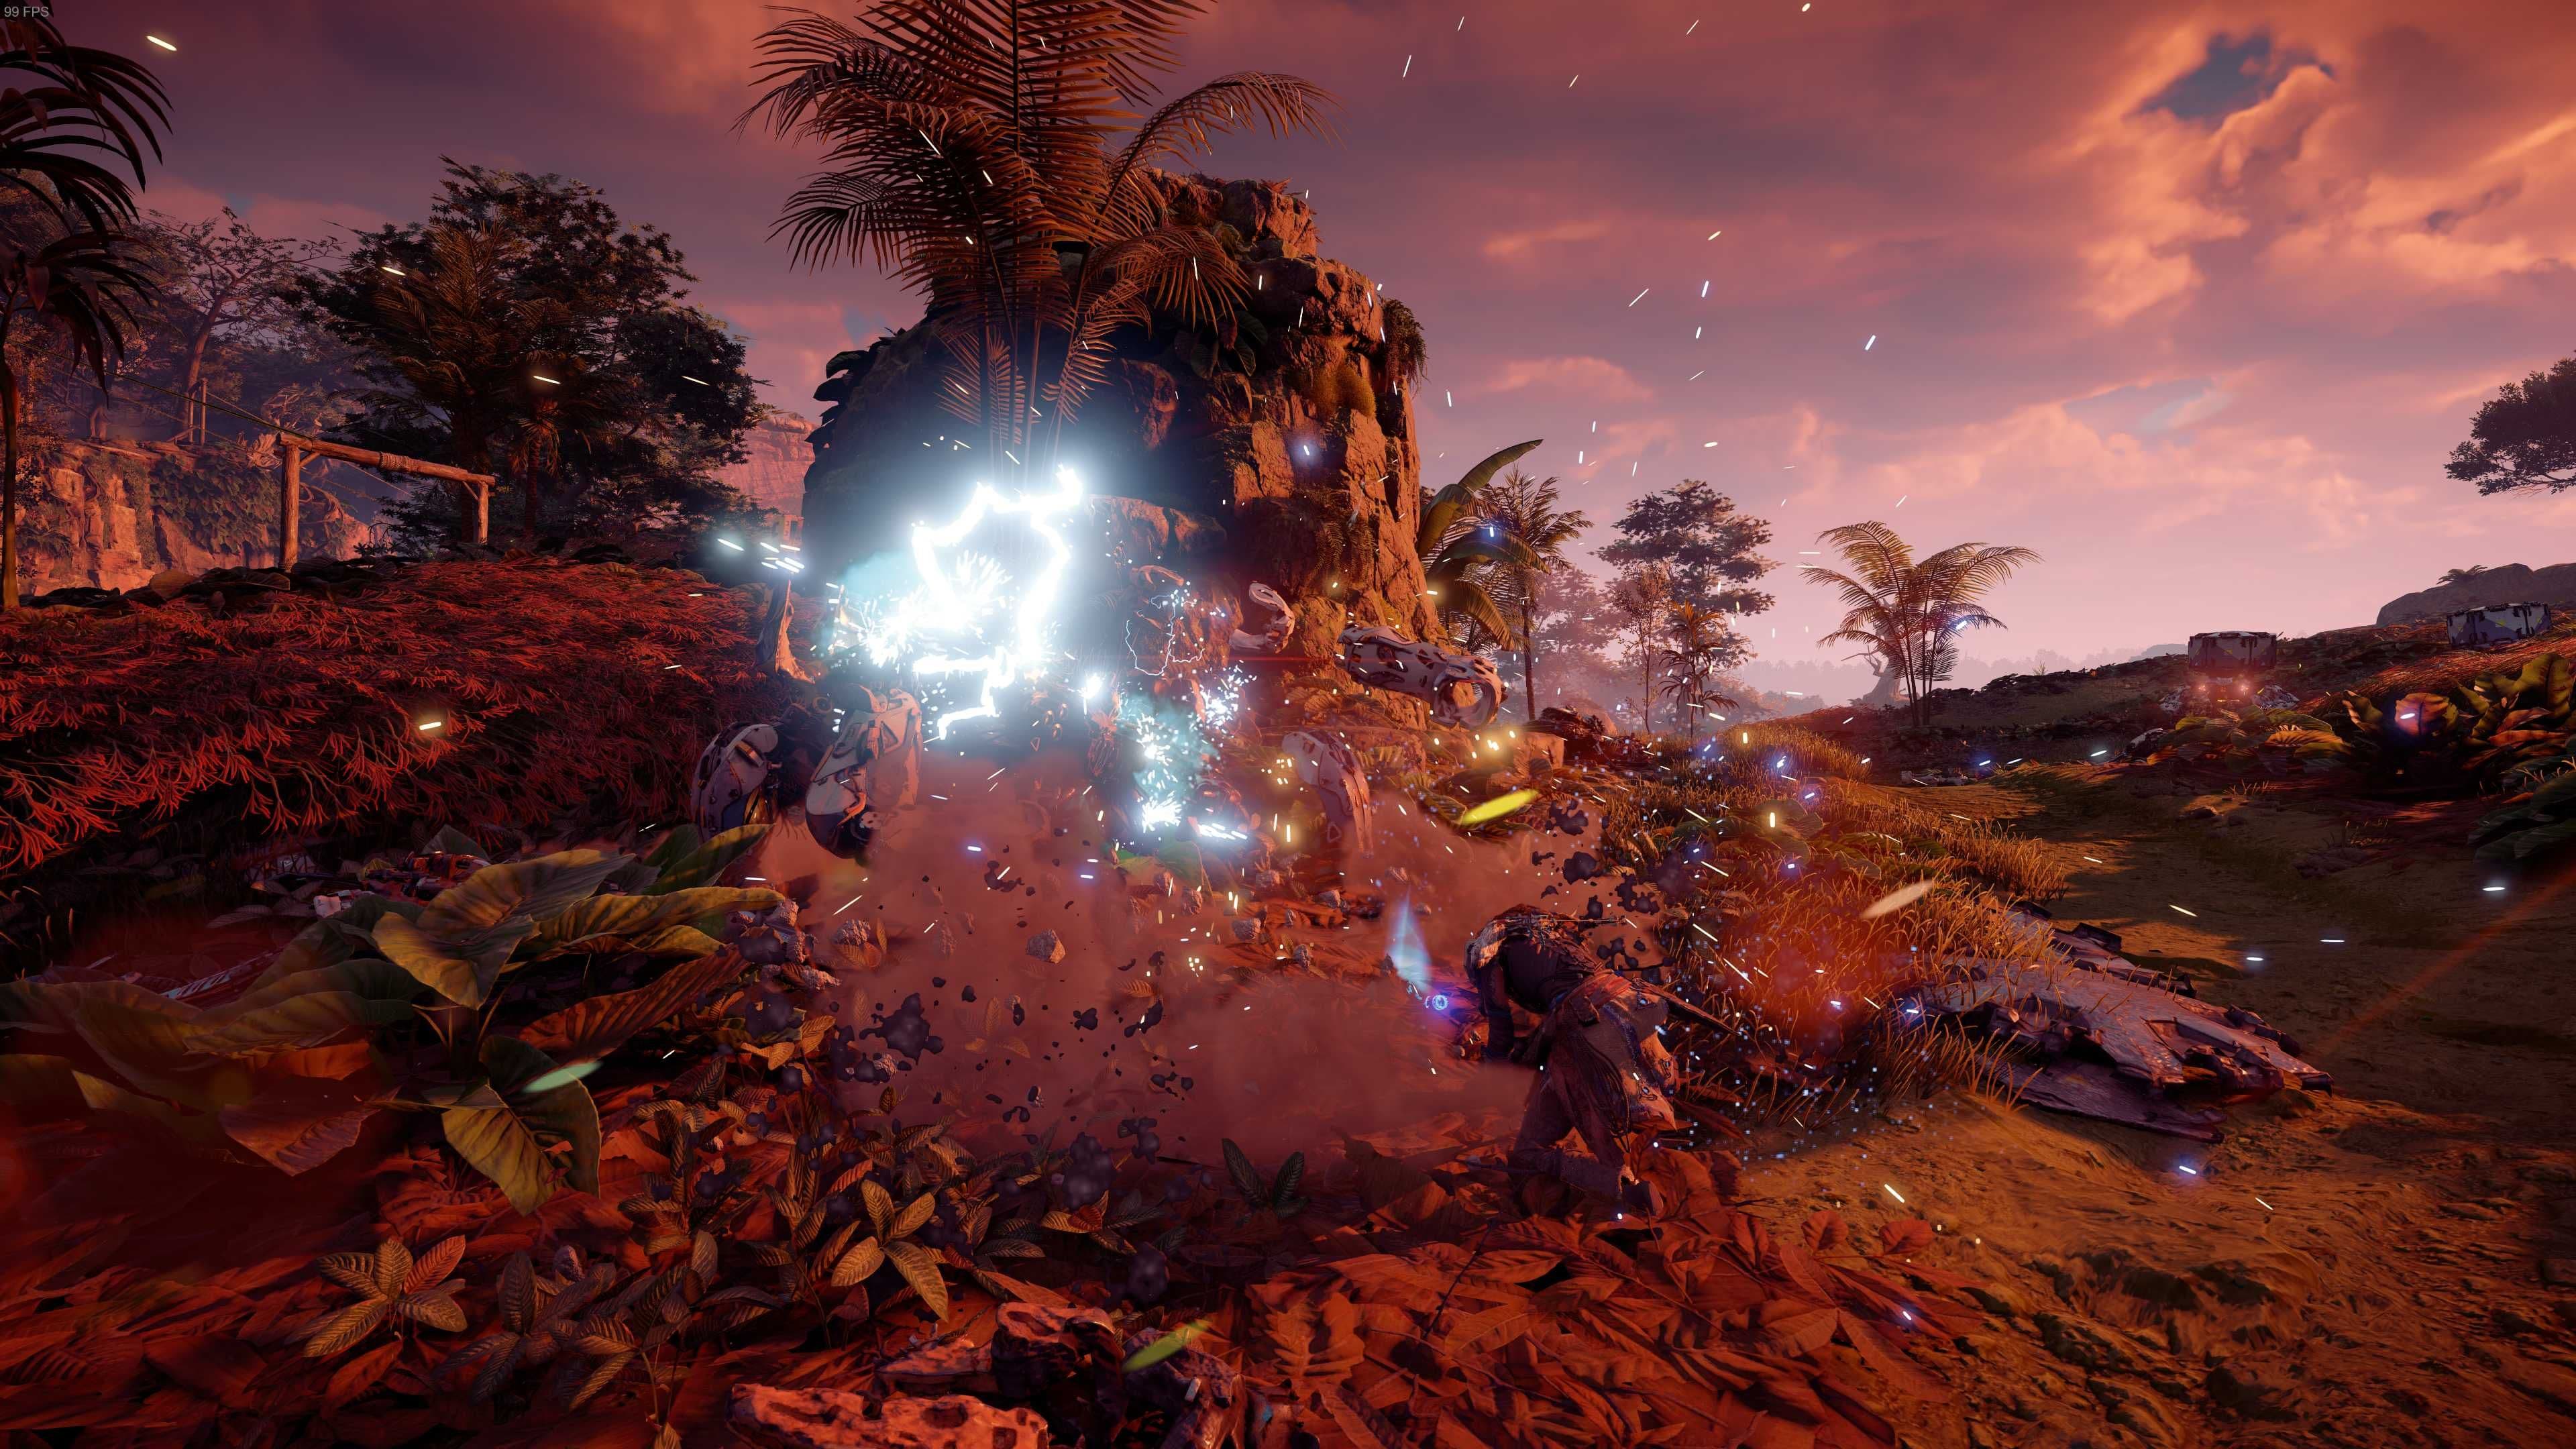
Melee strikes are essential for taking down machines quietly and conserving resources.
Synergy with Early Game Threats and Stealth Loops
Silent Strike’s value is perfectly calibrated for the game's introductory challenges. Watchers, the ubiquitous scout machines, are designed to be your first major mechanical hurdle. They have low health but high alertness. A headshot can kill them, but it requires good aim and the right arrow. Silent Strike removes all variables: a successful stealth approach guarantees a kill without spending a single arrow. This efficiency creates a powerful gameplay loop: use tall grass for cover, isolate targets (often with the help of Lure Call, our #3 pick), and eliminate them silently. This loop is your primary tool for clearing bandit camps and navigating machine sites with minimal risk, making it infinitely more valuable than raw combat skills you lack the gear to support early on.
Superiority Over Early Alternatives
Comparing Silent Strike to other Tier 1 skills proves its supremacy. A skill like Precision (increased chance to knock off components) is useless if you can't safely get into melee range. Concentration (#2 on our list) is fantastic, but its utility is diminished if you're constantly panicked and out of ammo. Silent Strike enables everything else. It provides the safety net and resource stability that allows you to experiment with combat and explore the world. Furthermore, it remains relevant, as its later upgrades (Strong Strike, Strong Strike+) can scale its damage to one-shot larger machines. While it may not delete a Sawtooth immediately, the high initial damage can critically wound one, setting up a much easier fight.
Takeaway: Your first skill point must go to Silent Strike. It is the foundational skill that transforms Aloy from a vulnerable outcast into a capable hunter, maximizing safety and resource efficiency from the moment you leave the Embrace. It is the best return on investment in the entire skill tree for a new player.
2. Concentration (Brave)

Precision bows benefit most from the Concentration skill's time-slowing effect.
2. Concentration (Brave)
Why it's here: It is the single most transformative combat skill for a new player, elevating Aloy from a frantic archer to a precise hunter by giving you direct control over the flow of time. While Silent Strike (Prowler) gives you control over space by letting you dictate the opening engagement, Concentration gives you control over time, allowing you to land the perfect shot when it matters most.
The skill’s function is elegantly simple: pressing R3 while aiming with your bow (or any ranged weapon) activates a slow-motion effect, dramatically slowing the world around you while Aloy’s aim remains steady. This is not just a helpful crutch; it is the fundamental tool for engaging with the game’s deepest combat mechanics. The machines of the Old World are fast, aggressive, and armored. Their weak points—glowing power cells, volatile canisters, or critical armor plates—are often small and in constant motion. Without Concentration, hitting these components reliably in the heat of battle, especially against agile foes like Watchers or charging Sawtooths, is a matter of luck. With it, you can thread a Hardpoint arrow through a narrow gap in armor to hit a Blaze canister or snipe a Stalker’s cloaking device before it can disappear.
This skill’s power is intrinsically linked to your Focus device. The Focus reveals the vulnerabilities and components of every machine, painting a neon-blue schematic over the world. Concentration is the bridge that turns that tactical intelligence into actionable results. The Focus tells you what to shoot; Concentration gives you the window of opportunity to actually hit it. This synergy is the cornerstone of advanced combat, enabling strategies like tearing off a Ravager’s cannon with Tearblast arrows or freezing a machine’s core with a well-placed ice bomb before shattering it with a volley of Precision arrows. While other skills like Critical Hit (Brave) or Dodge Prowess (Prowler) are vital for surviving a fight, Concentration is the skill that allows you to win a fight on your terms, efficiently and with minimal resource expenditure.
Furthermore, its utility extends beyond perfect accuracy. The slowed time provides crucial moments to assess chaotic situations, line up shots on multiple targets, or simply breathe during a tense encounter. Later upgrades, Concentration+ and Fast Reload, extend its duration and let you fire more shots within the window, turning it from a tactical tool into a sustained offensive state. While it has a cooldown period (which can be reduced with certain outfit weaves), its impact is so profound that mastering its rhythm—activating it for key shots, letting it recharge during repositioning or dodges—becomes second nature.
The Verdict: Concentration is non-negotiable. It is the skill that unlocks the true depth of Horizon Zero Dawn’s combat, transforming it from a reaction-based brawl into a strategic puzzle. For any player, regardless of whether they favor stealth or aggression, this is the first skill point you should spend in the Brave tree. It provides a greater and more immediate power spike than any early-game weapon purchase.
3. Lure Call (Forager)
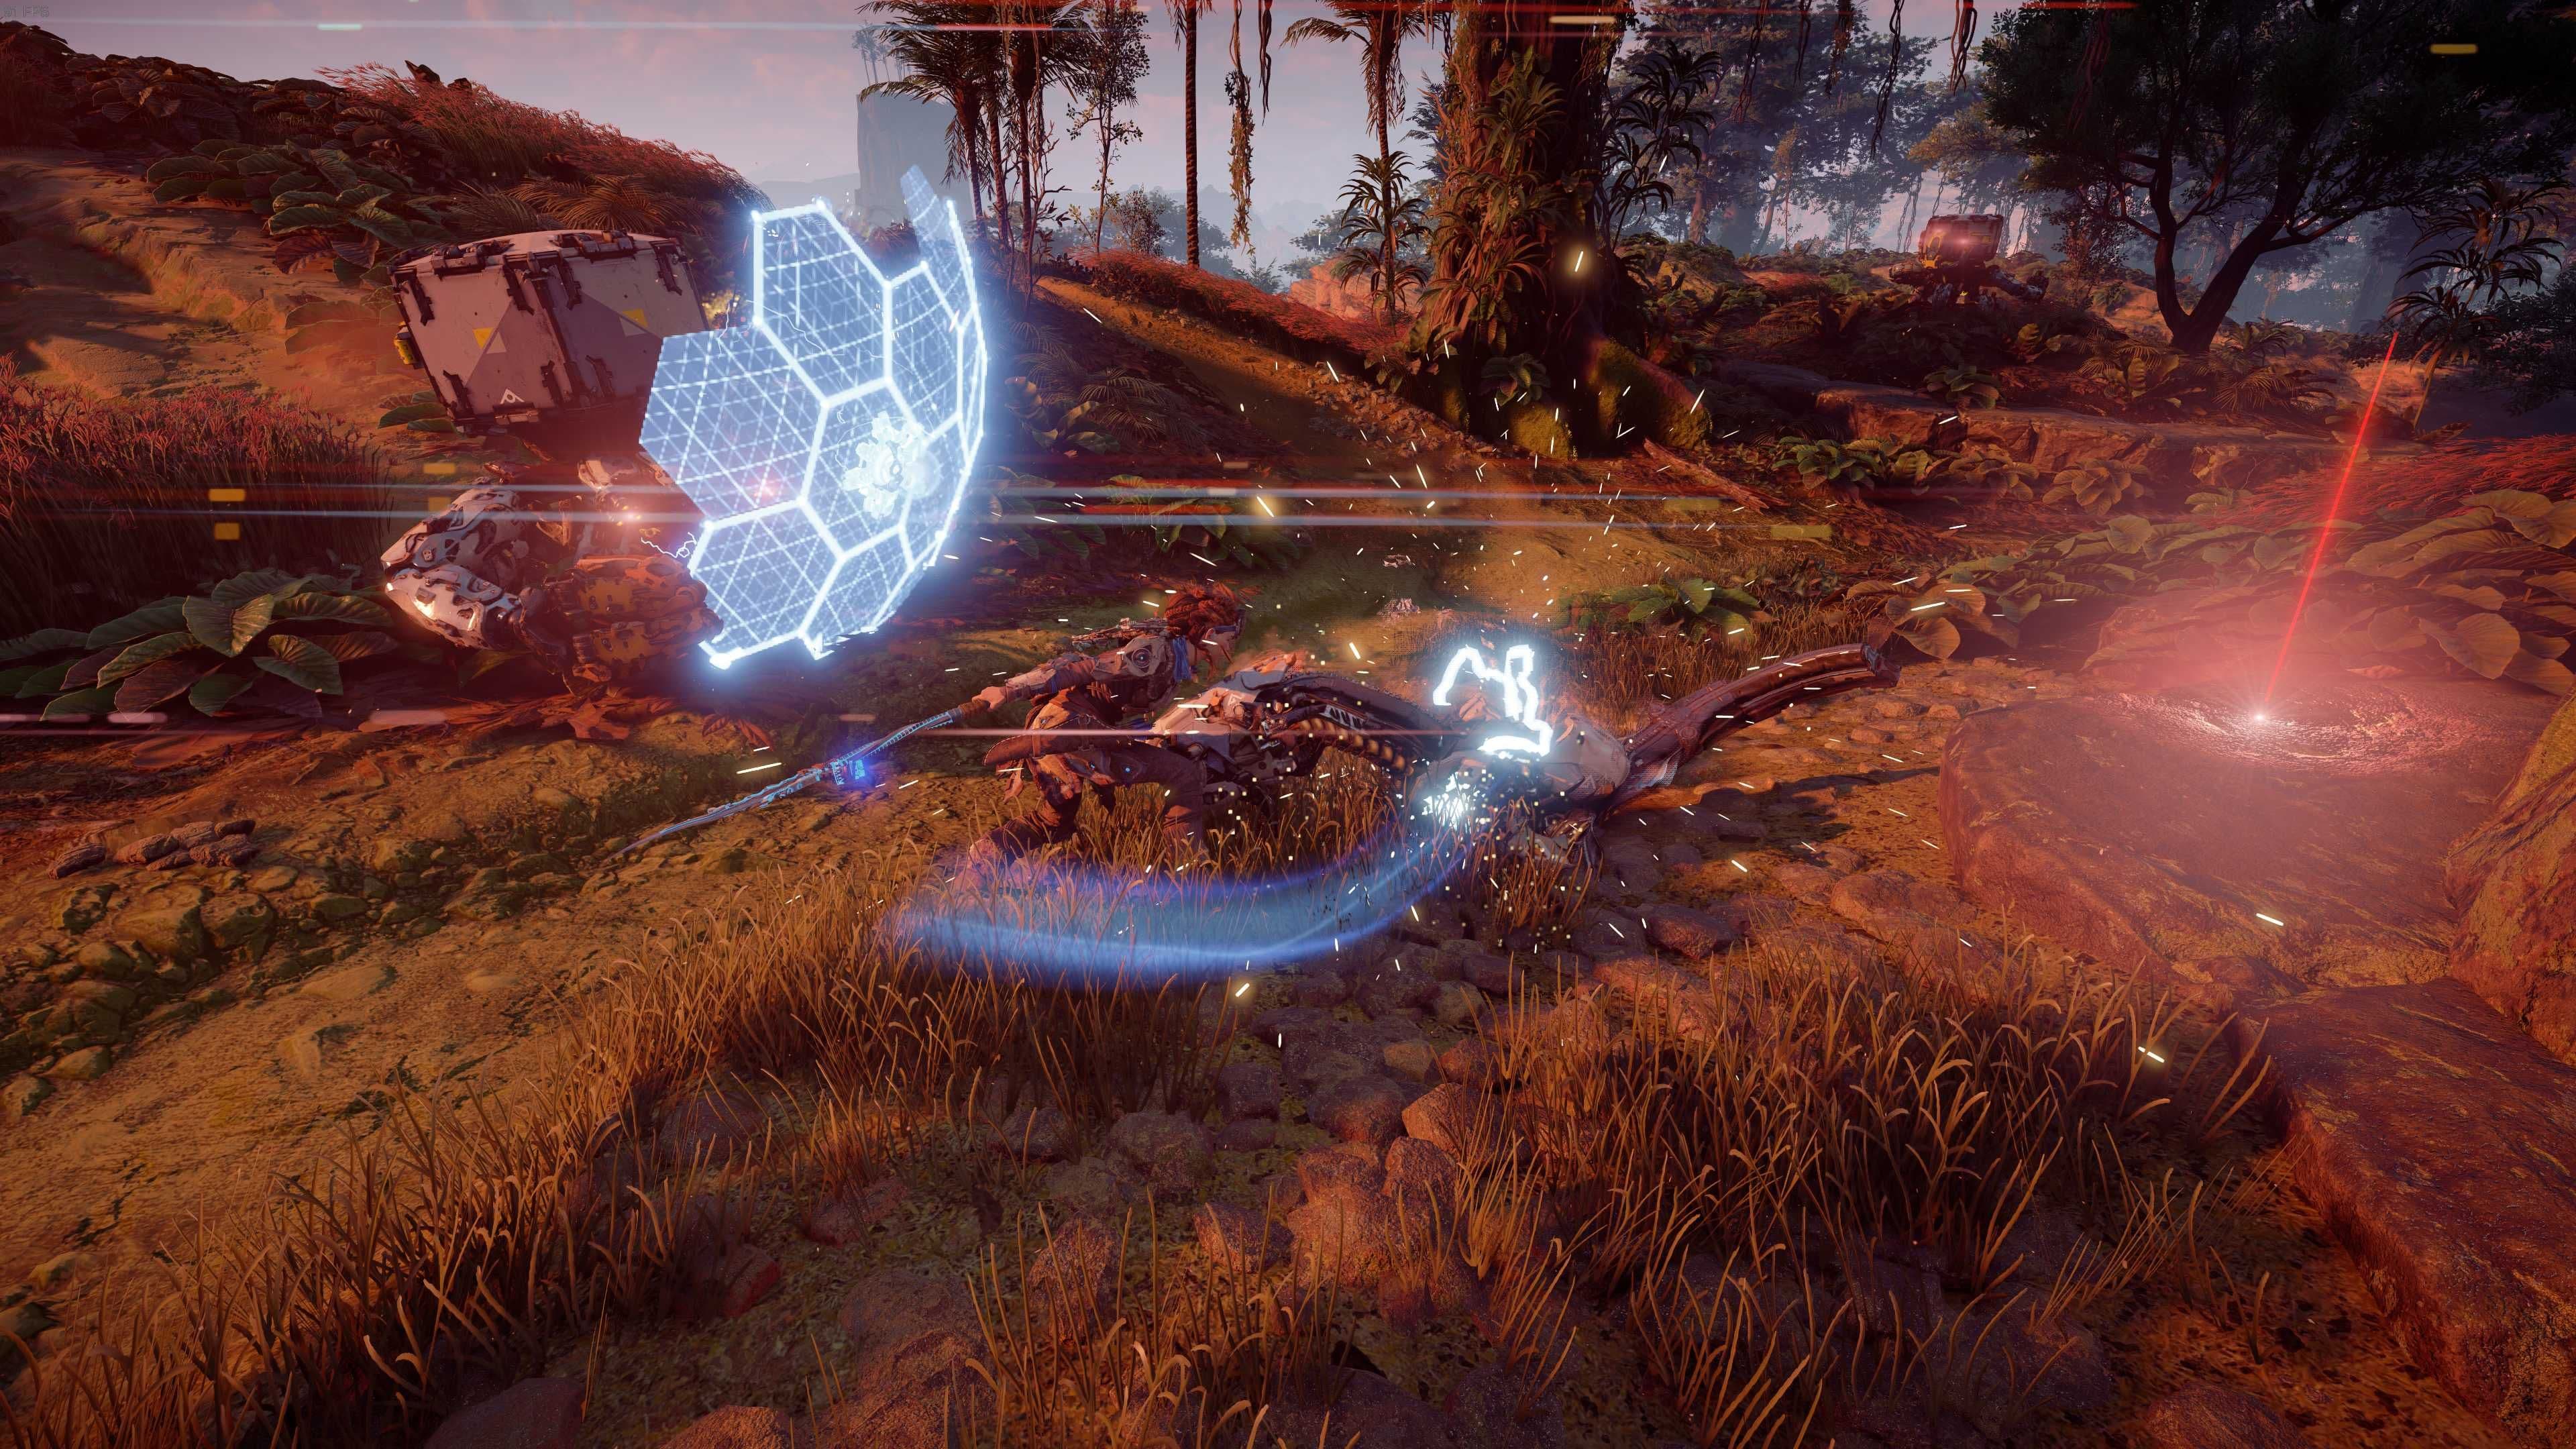
Lure Call is often used to pull enemies like Watchers into range for spear attacks.
3. Lure Call (Forager)
Why it’s here: It’s the cornerstone of controlled, efficient stealth, transforming chaotic encounters into manageable puzzles. While Silent Strike provides the execution, Lure Call provides the invitation. This 1-point skill from the Forager tree is the primary tool for isolating targets, making it an indispensable partner to your stealth arsenal and a critical skill for mastering early-game zones teeming with Watchers and, notably, your first major predator: the Sawtooth.
The tactical genius of Lure Call lies in its simplicity and power. With a tap of a button, Aloy can emit a whistle that draws the attention of a single, specific machine or human enemy, pulling them directly toward her position without alerting their comrades. This is not an area-of-effect taunt; it’s a surgical tool. In the early game, where resources are scarce and a full-frontal assault against a machine pack is a death sentence, Lure Call allows you to dismantle threats one piece at a time. You hide in a patch of tall grass, whistle, and watch as a patrolling Watcher peels away from its herd to investigate. A moment later, a Silent Strike finishes the job, and the rest of the machines remain none the wiser. This loop is the essence of early-game survival.
Its synergy with stealth takedowns is absolute, but its utility extends beyond just setting up kills. Use it to create safe passage by luring a guard away from a choke point. Use it to manipulate a dangerous machine into walking directly over a trap you’ve laid. Most importantly, use it to handle the Sawtooth—the game's first serious combat check. A Sawtooth rarely patrols alone; it’s often surrounded by Watchers or Scrappers. Charging in triggers a devastating multi-machine brawl. With Lure Call, you can carefully strip away its support system, then use Concentration to target its blaze canisters from a safe distance. Or, once it's alone, you can use the environment to your advantage, leading it into explosive blaze canisters or tight spaces where its lunges are easier to dodge.
The Verdict: You cannot overstate the value of this skill. While Concentration (section 2) makes your aim better, and Silent Strike (section 1) makes your stealth lethal, Lure Call gives you the agency to control the battlefield. It turns the overwhelming machine ecology from a threat into a system you can manipulate. For a mere 1 Skill Point, it provides a tactical return on investment that eclipses almost any other early option, firmly establishing itself as a top-tier pick for any playstyle that values patience and precision over reckless bravery.
4. Critical Hit (Brave)
4. Critical Hit (Brave)
While Horizon Zero Dawn’s combat is a symphony of ranged attacks and elemental effects, the humble spear remains a cornerstone of Aloy’s arsenal, especially in the early game. The Critical Hit skill is the linchpin that transforms your spear from a mere last resort into a devastating execution tool. It earns its high ranking here because it provides the most resource-efficient, high-impact damage spike available in the early skill trees. When you knock a machine down, Critical Hit lets you capitalize on that opening with a single, powerful strike that deals double damage. This isn't just a minor bonus; it’s a damage multiplier that can cleave through half a Sawtooth’s health bar in one clean hit, turning a prolonged fight into a swift execution.
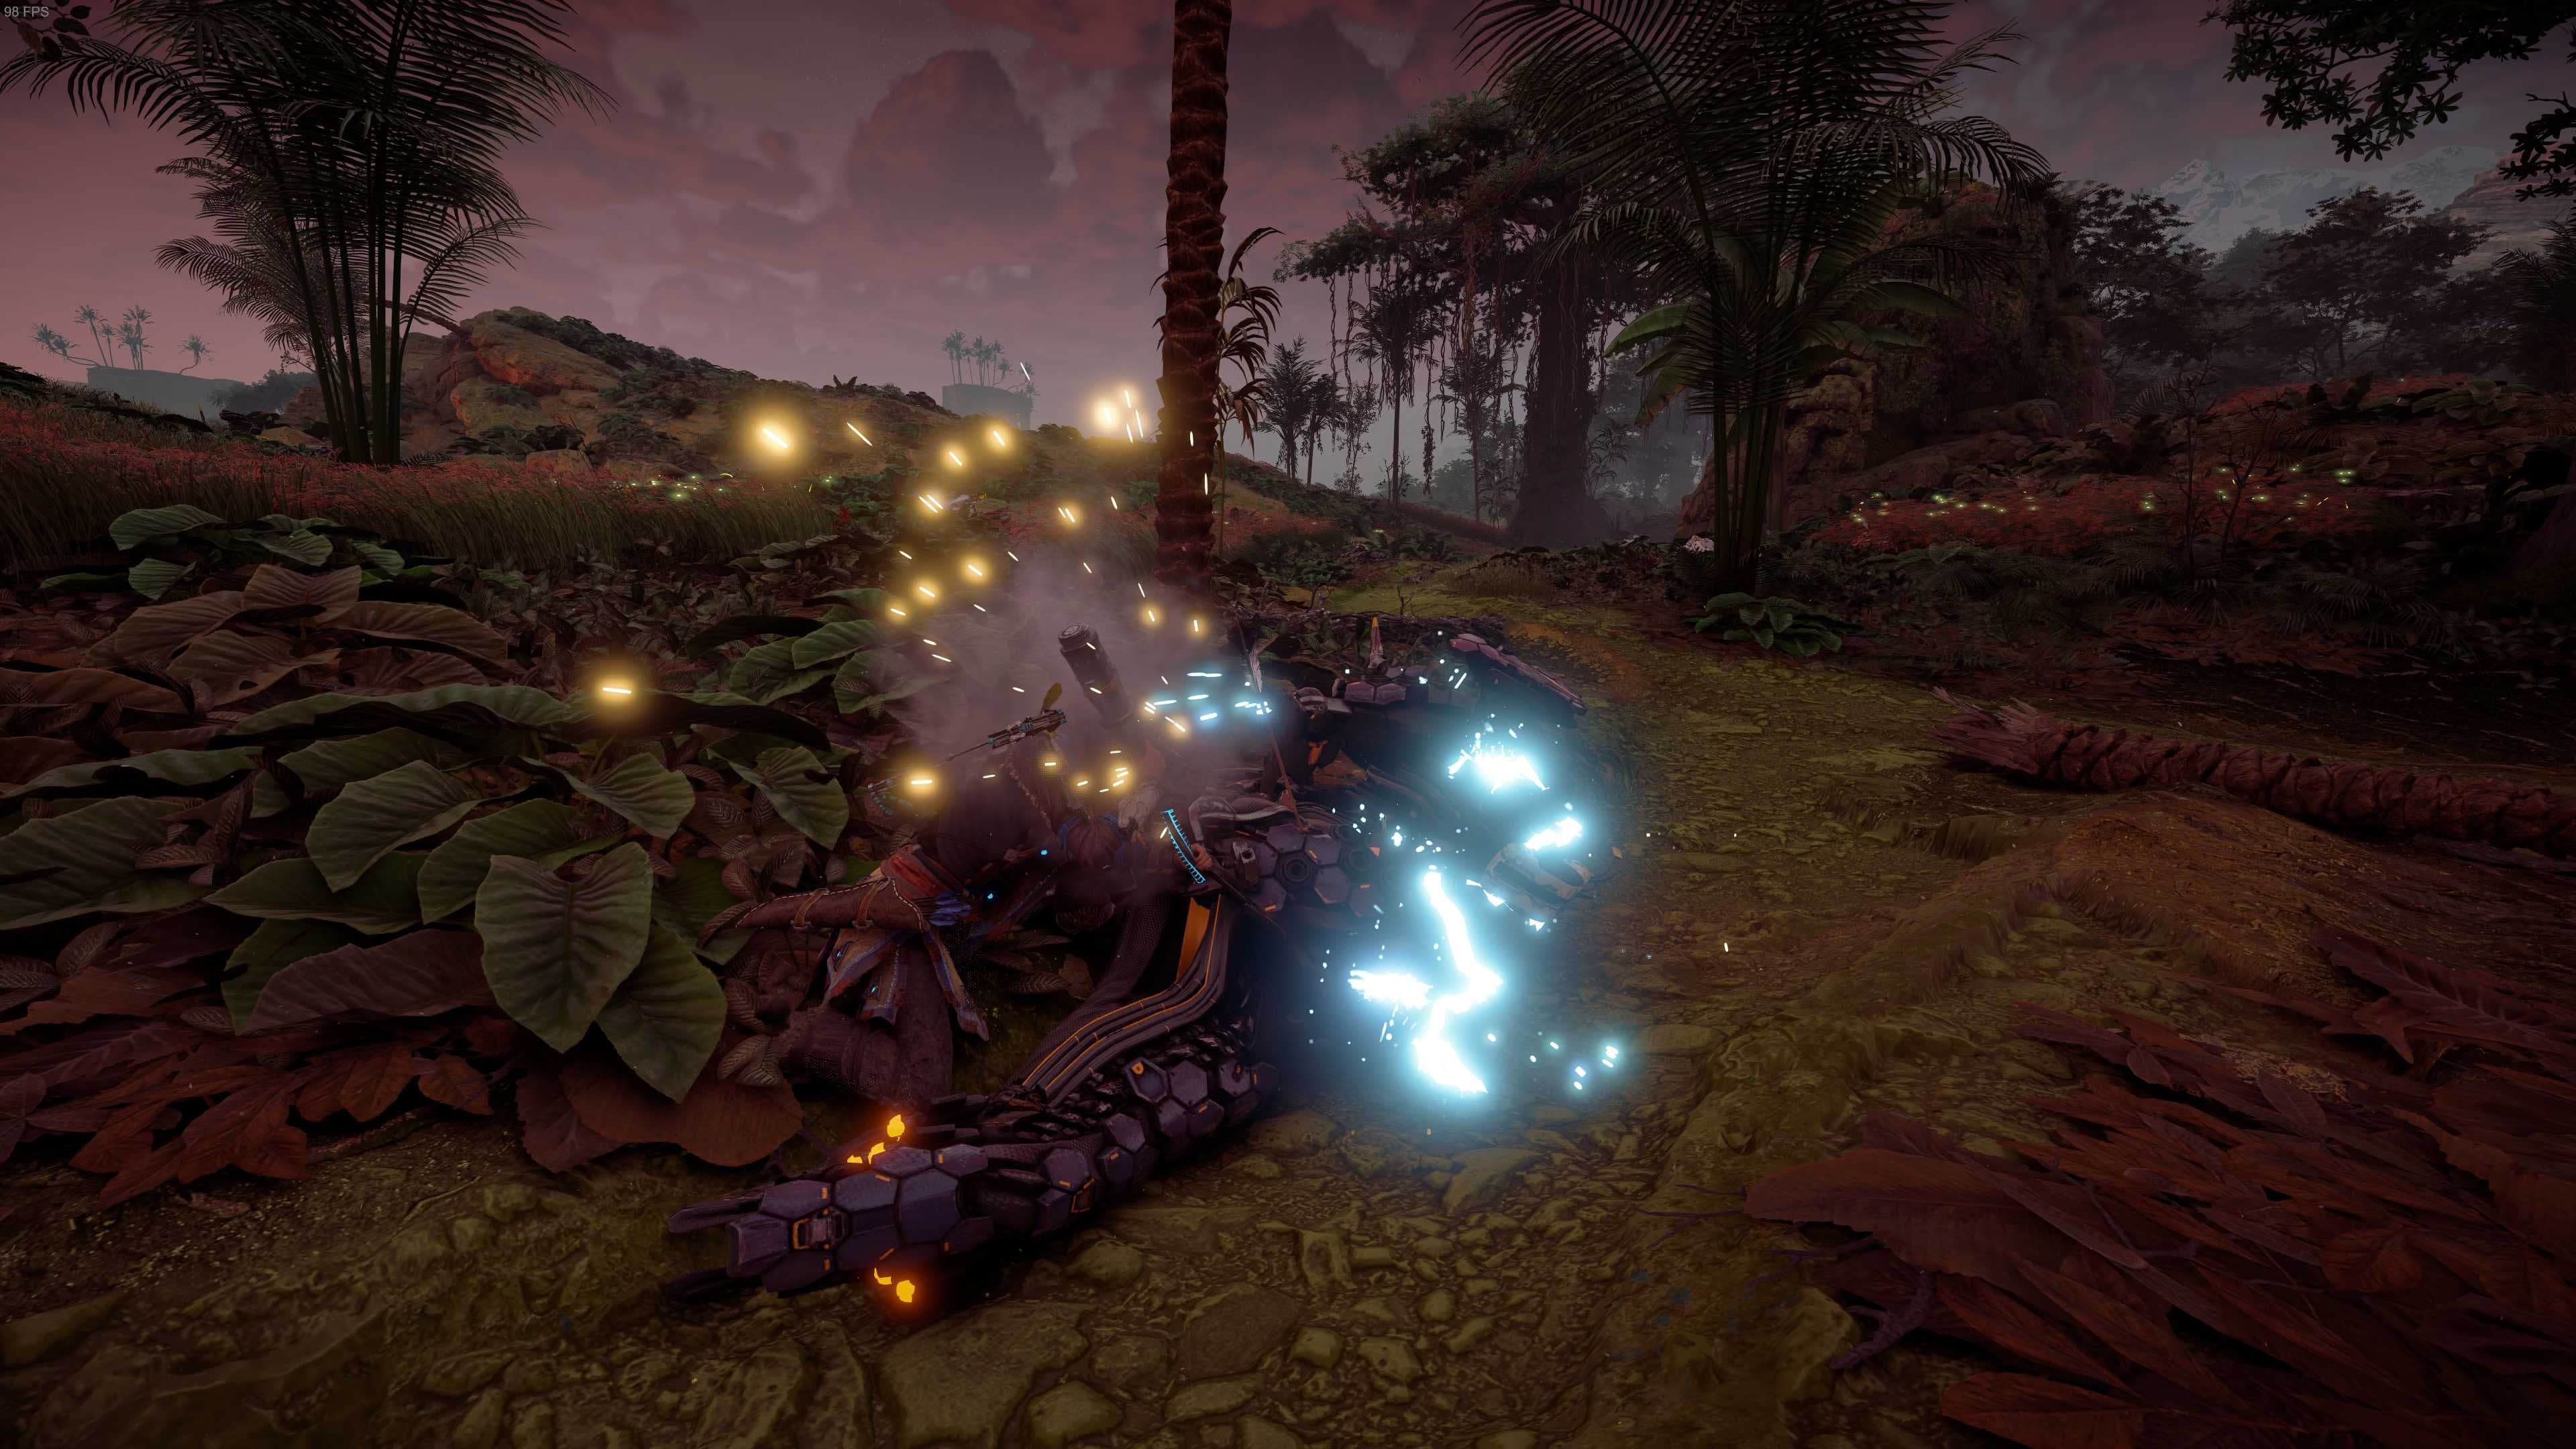
Aloy executing a Critical Hit on a downed Stalker.
Why it's here: This skill is a masterclass in combat efficiency. Early on, your ammunition—particularly valuable resources like Wire for Tearblast Arrows—is scarce. Critical Hit requires no ammo, only a downed enemy. This creates a powerful, sustainable combat loop: use your bow or heavy spear attacks to topple a machine (a tactic made more reliable by the Knock Down skill, which is a natural partner), then move in for the critical strike. The synergy is immediate and brutal. Against human enemies, a single knockdown from a heavy spear attack often leaves them vulnerable to a Critical Hit that will finish them outright. This skill turns every successful dodge and counterattack into a potential fight-ender, teaching you the vital rhythm of aggressive melee play without punishing you for resource mismanagement.
Furthermore, Critical Hit scales beautifully with the game’s difficulty. On higher settings, where machines are massive damage sponges, finding ways to deal significant burst damage without expending your entire arrow inventory is crucial. A well-timed Critical Hit can be the difference between a tense, drawn-out battle and a controlled, decisive victory. It’s a skill that rewards smart play—patiently aiming for a leg to cripple and topple a Charger, or using a Tripwire to stun a Scrapper—and then punishes the machine with overwhelming force. Unlike skills that offer passive stat boosts, Critical Hit is an active, player-driven power spike that feels impactful every single time you use it.
The Verdict: Critical Hit is a non-negotiable early pickup for any playstyle. It provides the highest damage-per-skill-point return in the early game, conserves precious ammunition, and seamlessly integrates into both stealth and aggressive combat flows. Before you invest in more situational or luxury skills, securing this guaranteed damage button will make your journey through the wilds significantly less perilous.
5. Gatherer and Scavenger (Forager)
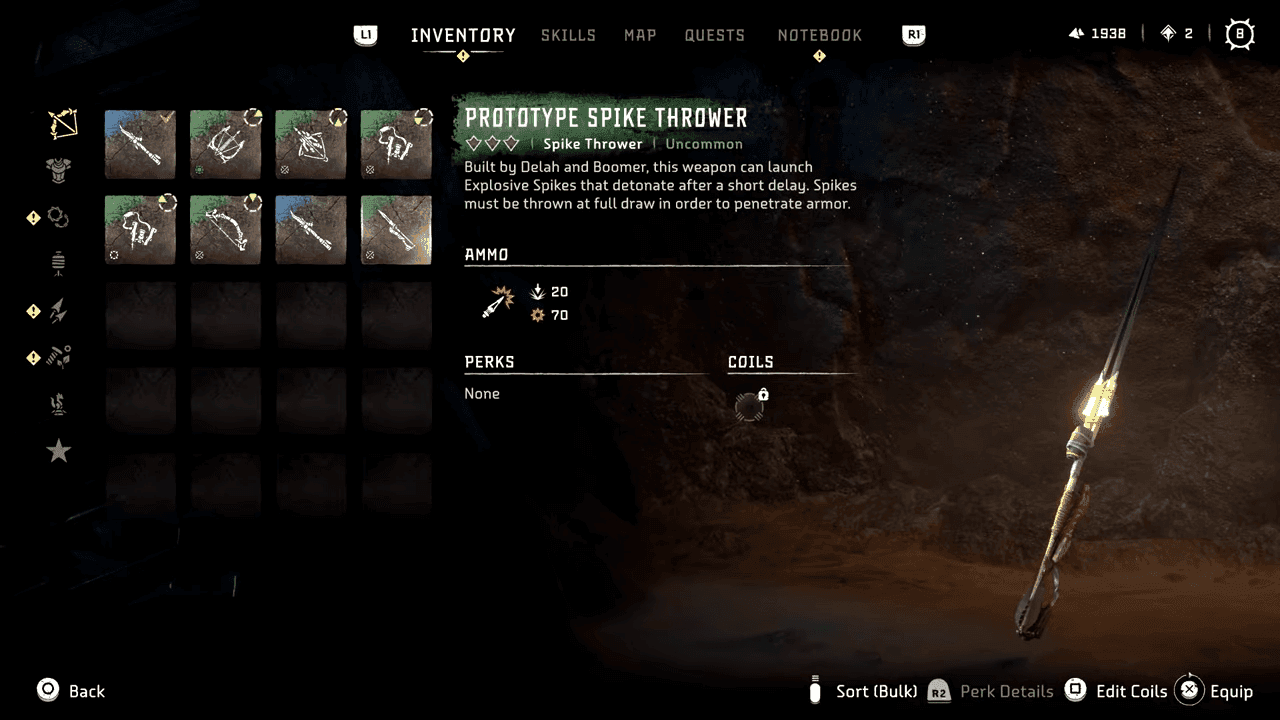
Managing your inventory and skills is vital for early game survival in Horizon Zero Dawn.
5. Gatherer and Scavenger (Forager)
Why it’s here: This pair of Forager skills is the economic engine of your early game, transforming resource scarcity into sustainable abundance. While skills like Silent Strike or Concentration provide immediate tactical power, Gatherer and Scavenger ensure you have the fuel to keep that engine running. They are the unsung heroes that let you fight another day without constant, tedious farming trips.
Gatherer is your first and most direct investment in resource efficiency. For a single skill point, it passively increases the yield from every plant you pick and every resource node you harvest. In the opening hours, you are constantly scrounging for Ridge-Wood (the fundamental material for all arrow crafting) and Medicinal Plants to refill your health pouch. Without Gatherer, you might harvest 5-6 Ridge-Wood from a bush; with it, you’ll get 8-10. This 40-50% increase means fewer stops during exploration, less backtracking to known resource clusters, and a dramatically smoother crafting loop. It directly combats the early-game frustration of running out of basic ammo mid-fight.
Scavenger operates on the other side of the resource equation. While Gatherer boosts what you take from the environment, Scavenger enhances what you loot from the machines you slay. This skill provides a chance (sources suggest around 10%) for a "Machine Scavenger Box" to drop from any looted machine corpse. These boxes contain a random bundle of valuable resources—often including rarer crafting components like Blaze, Chillwater, or Sparkers. In the early game, where you lack the weaponry to efficiently farm specific parts from larger machines, Scavenger acts as a lottery ticket that can grant you advanced materials from the Watchers and Striders you’re already fighting. It jump-starts your economy, providing the extra Metal Shards and components needed to purchase your first tier of serious gear from merchants.
The Synergy: Together, these skills create a powerful feedback loop. You gather more base materials (Gatherer) to craft more ammo to fight more machines, which then drop more bonus loot (Scavenger) to sell or craft with, funding your next weapon or outfit upgrade. This is why they are consistently ranked as high-priority second-tier skills, right after the "big three" of Silent Strike, Concentration, and Lure Call. They don’t just make you stronger in a fight; they make the entire progression system of Horizon Zero Dawn less grindy and more rewarding.
The Verdict: If you find yourself constantly out of Ridge-Wood or unable to afford a new bow, you’ve neglected these skills. They are a minimal investment (1 point each) for a maximum return in quality of life. Prioritize them immediately after securing your core combat and stealth abilities to ensure your resource pool grows as fast as the challenges you face.
6. Tinker (Forager)
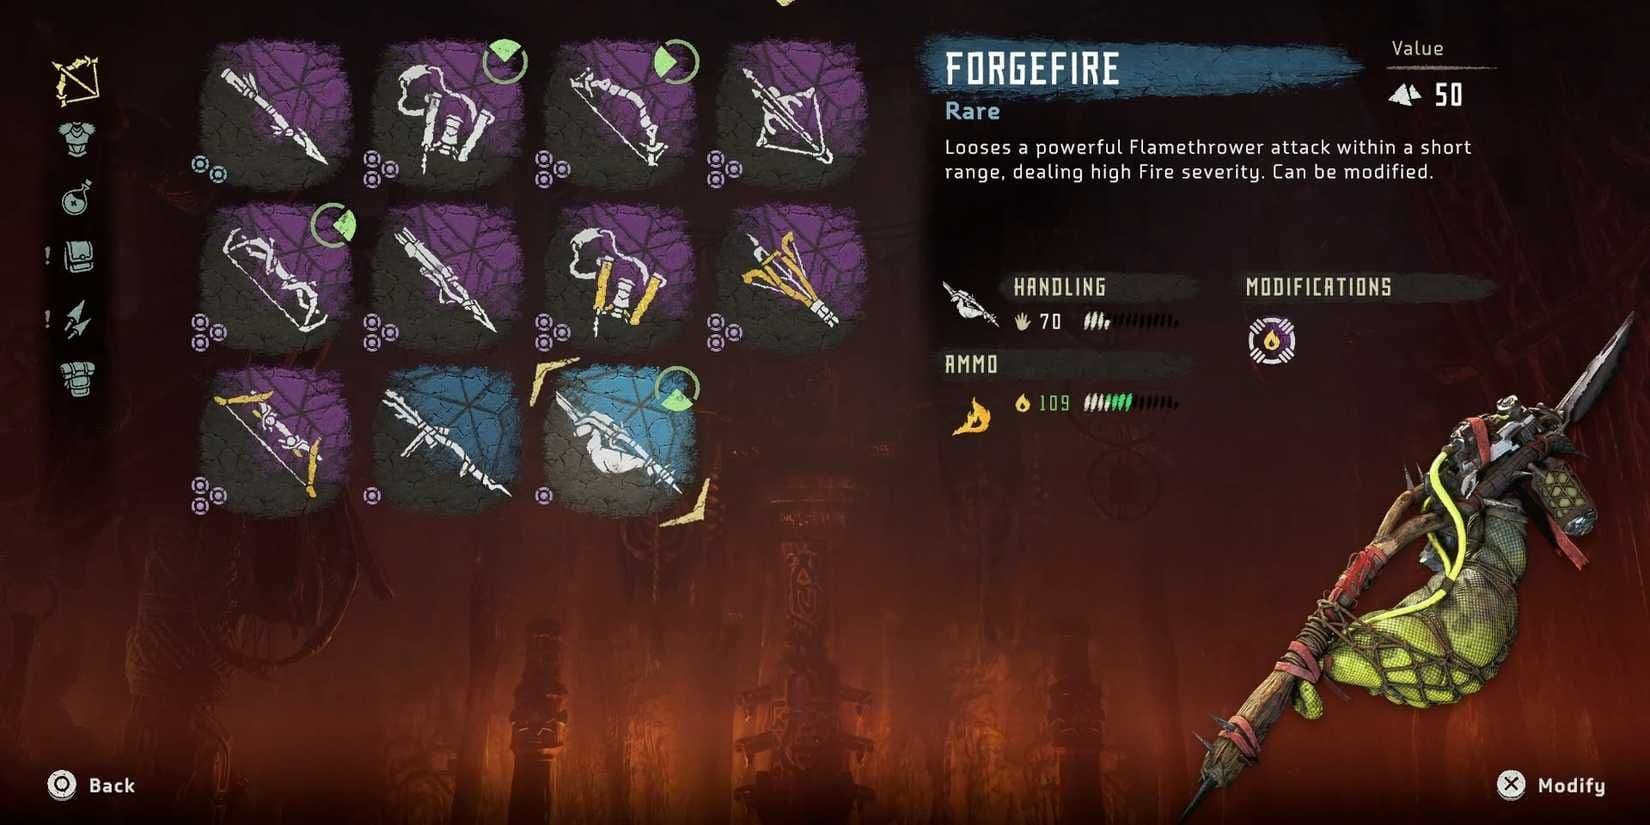
Weapon menus display the modification slots where the Tinker skill is applied.
6. Tinker (Forager)
While many early skills offer immediate power, Tinker is an investment in your long-term strategic flexibility. This final skill in the Forager tree unlocks a simple but game-changing ability: the power to remove Weapon Coils and Outfit Weaves from your gear. Without it, any modification you socket is permanently locked to that piece of equipment. If you find a better weapon or a more situationally appropriate outfit, you must sacrifice your hard-earned, high-percentage damage or stealth coils. Tinker eliminates this punitive system, transforming your modifications into a modular toolkit you can adapt to any challenge.
The skill requires a significant 3-skill-point investment and has prerequisites (Gatherer, Scavenger, and Disarm Traps), making it a mid-game goal rather than an opening pick. However, its value skyrockets as you acquire rare purple-tier modifications. Imagine finding a superb 40%+ Damage coil. Without Tinker, you must decide which single bow will be your primary damage-dealer forever. With Tinker, you can slot it into your Hunter Bow for general combat, move it to your Sharpshot Bow for a boss fight, and later transfer it to a new, even better weapon you purchase. The same applies to Outfit Weaves; a top-tier stealth weave can be moved from your Nora Silent Hunter outfit to the unique Shield-Weaver armor when you need a different kind of protection.
This skill is the cornerstone of intelligent gear management. It encourages experimentation without penalty, allowing you to tailor your loadout for specific machines or missions. Why is this ranked above a pure combat skill like Dodge Prowess? Because while dodging saves you in a fight, Tinker empowers you to control every fight before it begins. It maximizes the return on your scavenging efforts, ensuring no rare modification is ever wasted. The takeaway: Prioritize Tinker once you start collecting blue and purple modifications. It’s the skill that ensures your entire arsenal evolves with you, not just your character level.
7. Dodge Prowess (Prowler)
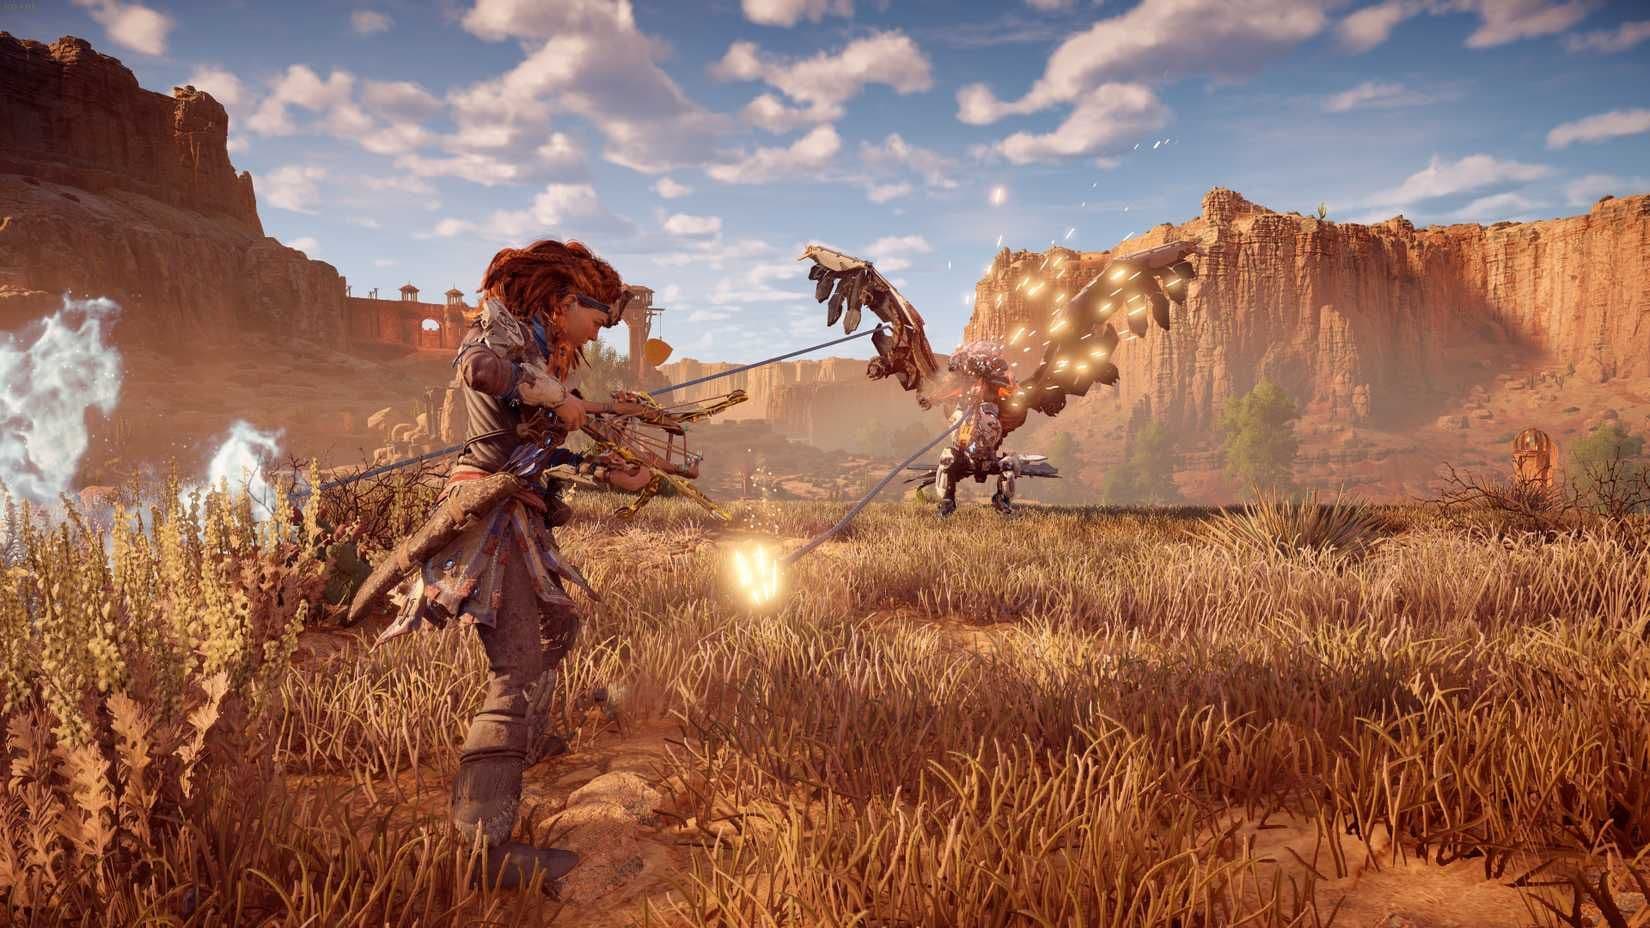
Combining dodge maneuvers with crowd control tools keeps Aloy safe.
7. Dodge Prowess (Prowler)
Dodge Prowess is an essential mobility upgrade that marks the transition from fighting small scouts to engaging the mid-to-large-tier machines that dominate the Forbidden West. While Aloy begins her journey with a standard roll, this skill introduces a mechanical depth to her movement that is often the difference between a narrow escape and a lethal impact.
- Key Feature: Enables two distinct types of movement—a short, quick dodge by tapping the Circle button and a long, extended dodge roll by holding it.
- Why it’s here: As you progress roughly 12–15 hours into the game, you will encounter machines like the Ravager and the Rockbreaker. These enemies utilize wide-sweeping area-of-effect attacks and lunges that cover significant ground. The standard short dodge often lacks the distance to clear these hitboxes, leaving Aloy vulnerable at the end of her animation. Dodge Prowess provides the distance needed to fully exit the "danger zone" of a charging machine.
- Tactical Advantage: Beyond simple evasion, the long roll offers critical invincibility frames (i-frames). This allows high-skill players to roll through certain energy beams or physical swipes that would otherwise be impossible to outrun. It also facilitates faster repositioning, allowing you to quickly get behind a machine to target its rear power cells or canisters while it is still recovering from its attack animation.
Compared to other movement skills in the Prowler tree, such as Silent Drop or Low Profile, Dodge Prowess is less about avoiding the fight and more about winning it once the "engage" stage of combat has begun. While stealth skills help you thin the herd, Dodge Prowess is what keeps you alive when a Sawtooth or Ravager eventually closes the distance.
Takeaway: Invest in this skill before moving deep into the Carja Sundom. It is a near-requirement for surviving encounters with massive enemies that rely on sheer size and speed to overwhelm your positioning.
Early Game Gear Synergy

The Carja Hunter Bow is a versatile choice for the first 10 hours of gameplay.
Early Game Gear Synergy
The first ten hours of Horizon Zero Dawn are a delicate balance of resource scarcity and escalating threats. The skills you’ve prioritized are the engine, but the right weapons are the chassis. Investing in Shadow-tier gear as soon as you reach Meridian is the single most impactful power spike you can achieve, transforming Aloy from a scrappy survivor into a calculated hunter. This section connects those essential early skills to the weapons that maximize their value, ensuring every skill point and Metal Shard you’ve earned works in perfect concert.
Why it's here: The best skills are force multipliers, but they need the right tools to amplify. This list details the gear that turns your foundational abilities from useful tricks into dominant strategies, creating a cohesive and powerful early-game loadout.
Shadow Hunter Bow
Why it's here: This is your workhorse and the primary beneficiary of your early skill investments. Its synergy with Concentration is immediate and profound. The Hunter Bow’s faster draw and handling compared to the Sharpshot Bow means you can make the most of that slowed time, landing multiple precise Hardpoint Arrows on components or scoring headshots on human enemies before the effect ends. Furthermore, its Fire Arrows become a devastating tool when paired with Lure Call; draw a machine into tall grass, and you can pepper it with fire to quickly trigger the Burning status without alerting the entire site. It’s also the perfect weapon to use after a Silent Strike takedown on a Watcher, allowing you to quickly engage its now-alerted companions with high-damage arrows from stealth. You can purchase this bow in Meridian for 800 Metal Shards and a Sawtooth Heart.
Shadow Sharpshot Bow
Why it's here: If the Hunter Bow is your scalpel, the Sharpshot Bow is your sniper rifle, and it exists in a powerful symbiotic relationship with Concentration and Tinker. Its Tearblast Arrows are the ultimate tool for strategic dismantling, and with Concentration active, you can calmly target and remove a Ravager’s cannon or a Sawtooth’s radar ears from a safe distance. This weapon makes Critical Hit setups far safer and more reliable: use Tearblast or high-damage Precision Arrows to knock a machine down, then move in for the finishing blow. The synergy with Tinker is crucial here. Early mods you find will likely be a mix of handling, damage, and tear. Tinker allows you to experiment, perhaps stacking handling mods to offset the Sharpshot’s slow draw speed for more responsive sniping, or later, swapping them for pure damage mods once your aim is true. It’s a significant investment (1050 Metal Shards and a Watcher Heart), but it pays dividends by making every other combat skill more effective.
Shadow Tripcaster
Why it's here: This weapon is the ultimate expression of prepared, controlled engagement, directly enhancing your stealth and trap-based gameplay. It creates phenomenal synergy with Lure Call and Disarm Traps. The strategy is simple but devastating: scout an area with your Focus, plant Blast Wires across patrol paths, then use Lure Call to carefully guide a machine into your kill zone. Against tougher early foes like the Sawtooth, this can eliminate half its health before combat even officially begins. Furthermore, the Disarm Traps skill transforms the Tripcaster from a consumable resource drain into a renewable asset. Any unused wires can be picked back up, saving precious resources like Metal Shards and Blaze. This allows you to play more aggressively with traps, knowing your investment is protected. It’s the perfect tool for controlling the chaotic engagements that the early game often forces upon you.
Shadow Sling
Why it's here: For players who invested in Gatherer and Scavenger to boost their resource economy, the Shadow Sling is the payoff. It is the most resource-efficient tool for applying elemental states, which are key to defeating larger machines. Its Freeze Bombs are the star here; freezing a target doubles the damage taken from subsequent attacks. This creates incredible synergy with your Shadow Hunter Bow and Double Shot skill. Freeze a machine, then activate Concentration and unleash a volley of Hardpoint Arrows for massively amplified damage. This combo can trivialize early encounters with Shell-Walkers or even the first few Ravagers you meet. The Sling’s other bombs (Fire, Shock) also provide crucial crowd control, making it the versatile support tool that ties your direct-damage bows together into a comprehensive arsenal. You’ll find it for 650 Metal Shards and a Crystal Braiding.
Nora Brave Outfit (Stealth-Weave Modified)
Why it's here: Gear synergy isn’t just about weapons. Your outfit is the final piece of the puzzle, and while the legendary Shield-Weaver is a late-game goal, the Nora Brave outfit is your ideal early-game companion. Its inherent stealth boost pairs perfectly with the Low Profile skill, making you incredibly difficult to detect when crouched. This extends the window you have to use Lure Call and set up Silent Strike chains or plant Tripcaster wires. The real magic happens when you apply a Stealth Weave modification (a +20% or higher stealth mod). This creates a powerful feedback loop: better stealth allows for more successful skill use, which leads to safer combat and more resources to further upgrade your gear. It’s the defensive foundation that enables your aggressive weapon and skill synergies to flourish without constant fear of a devastating retaliation.