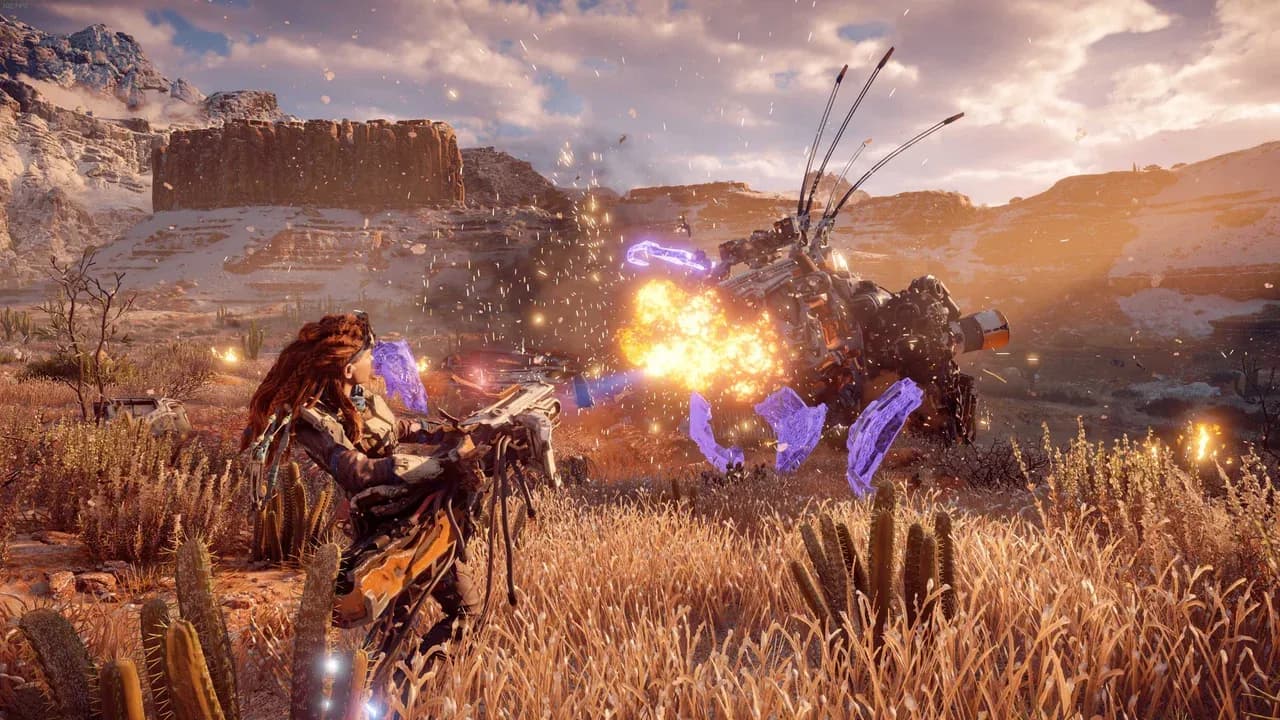
Horizon Zero Dawn Weapon Ranking Criteria and Tiers
Before we dive into the specific arsenal that will help Aloy conquer the wilds, we must establish the ground rules. Ranking weapons in Horizon Zero Dawn isn't just about raw damage numbers. A weapon that excels in a single, niche situation might be useless elsewhere. Conversely, a versatile tool that handles multiple threats is often more valuable than a one-trick pony. Our rankings are based on three core pillars: Utility, Damage Output, and Versatility.
Utility covers a weapon's special functions—can it apply elemental states, control crowds, or remove components? A Ropecaster has low damage but immense utility for pinning a Thunderjaw. Damage Output is straightforward: how quickly can it deplete a health bar, especially when exploiting a machine's weakness. Versatility is the kingmaker. How many combat scenarios can this weapon handle? Does it require constant switching, or can it adapt on the fly?
These evaluations also consider the game's progression and key mechanics:
- The Overdraw Mechanic: Holding a shot increases damage significantly. Weapons with a fast draw time benefit less, while slow, powerful bows become devastating when fully charged. This mechanic directly influences a weapon's effective DPS.
- Modification Coils: This is where you fine-tune a weapon's role.
- Damage Coils are straightforward, boosting raw impact.
- Handling Coils are often underrated but critical; they increase draw/reload speed and weapon swap time, effectively increasing your damage uptime and making slow weapons feel responsive.
- The Frozen Wilds DLC: This expansion didn't just add new missions; it redefined the endgame meta. The Banuk weapon variants, obtainable from the DLC's special merchants, function on a "charged shot" principle. They start with lower base damage than their Shadow counterparts, but when fully drawn, they unleash massively increased damage and elemental buildup. This makes them the undisputed champions for players who master the timing, but less forgiving for quick, reactive play.
With these criteria in mind, we separate the tools from the treasures. The weapons in the following sections represent the peak of Aloy's arsenal—each excelling in our established categories and capable of turning the most dangerous machines into piles of scrap and shards.
Sylens' Lance
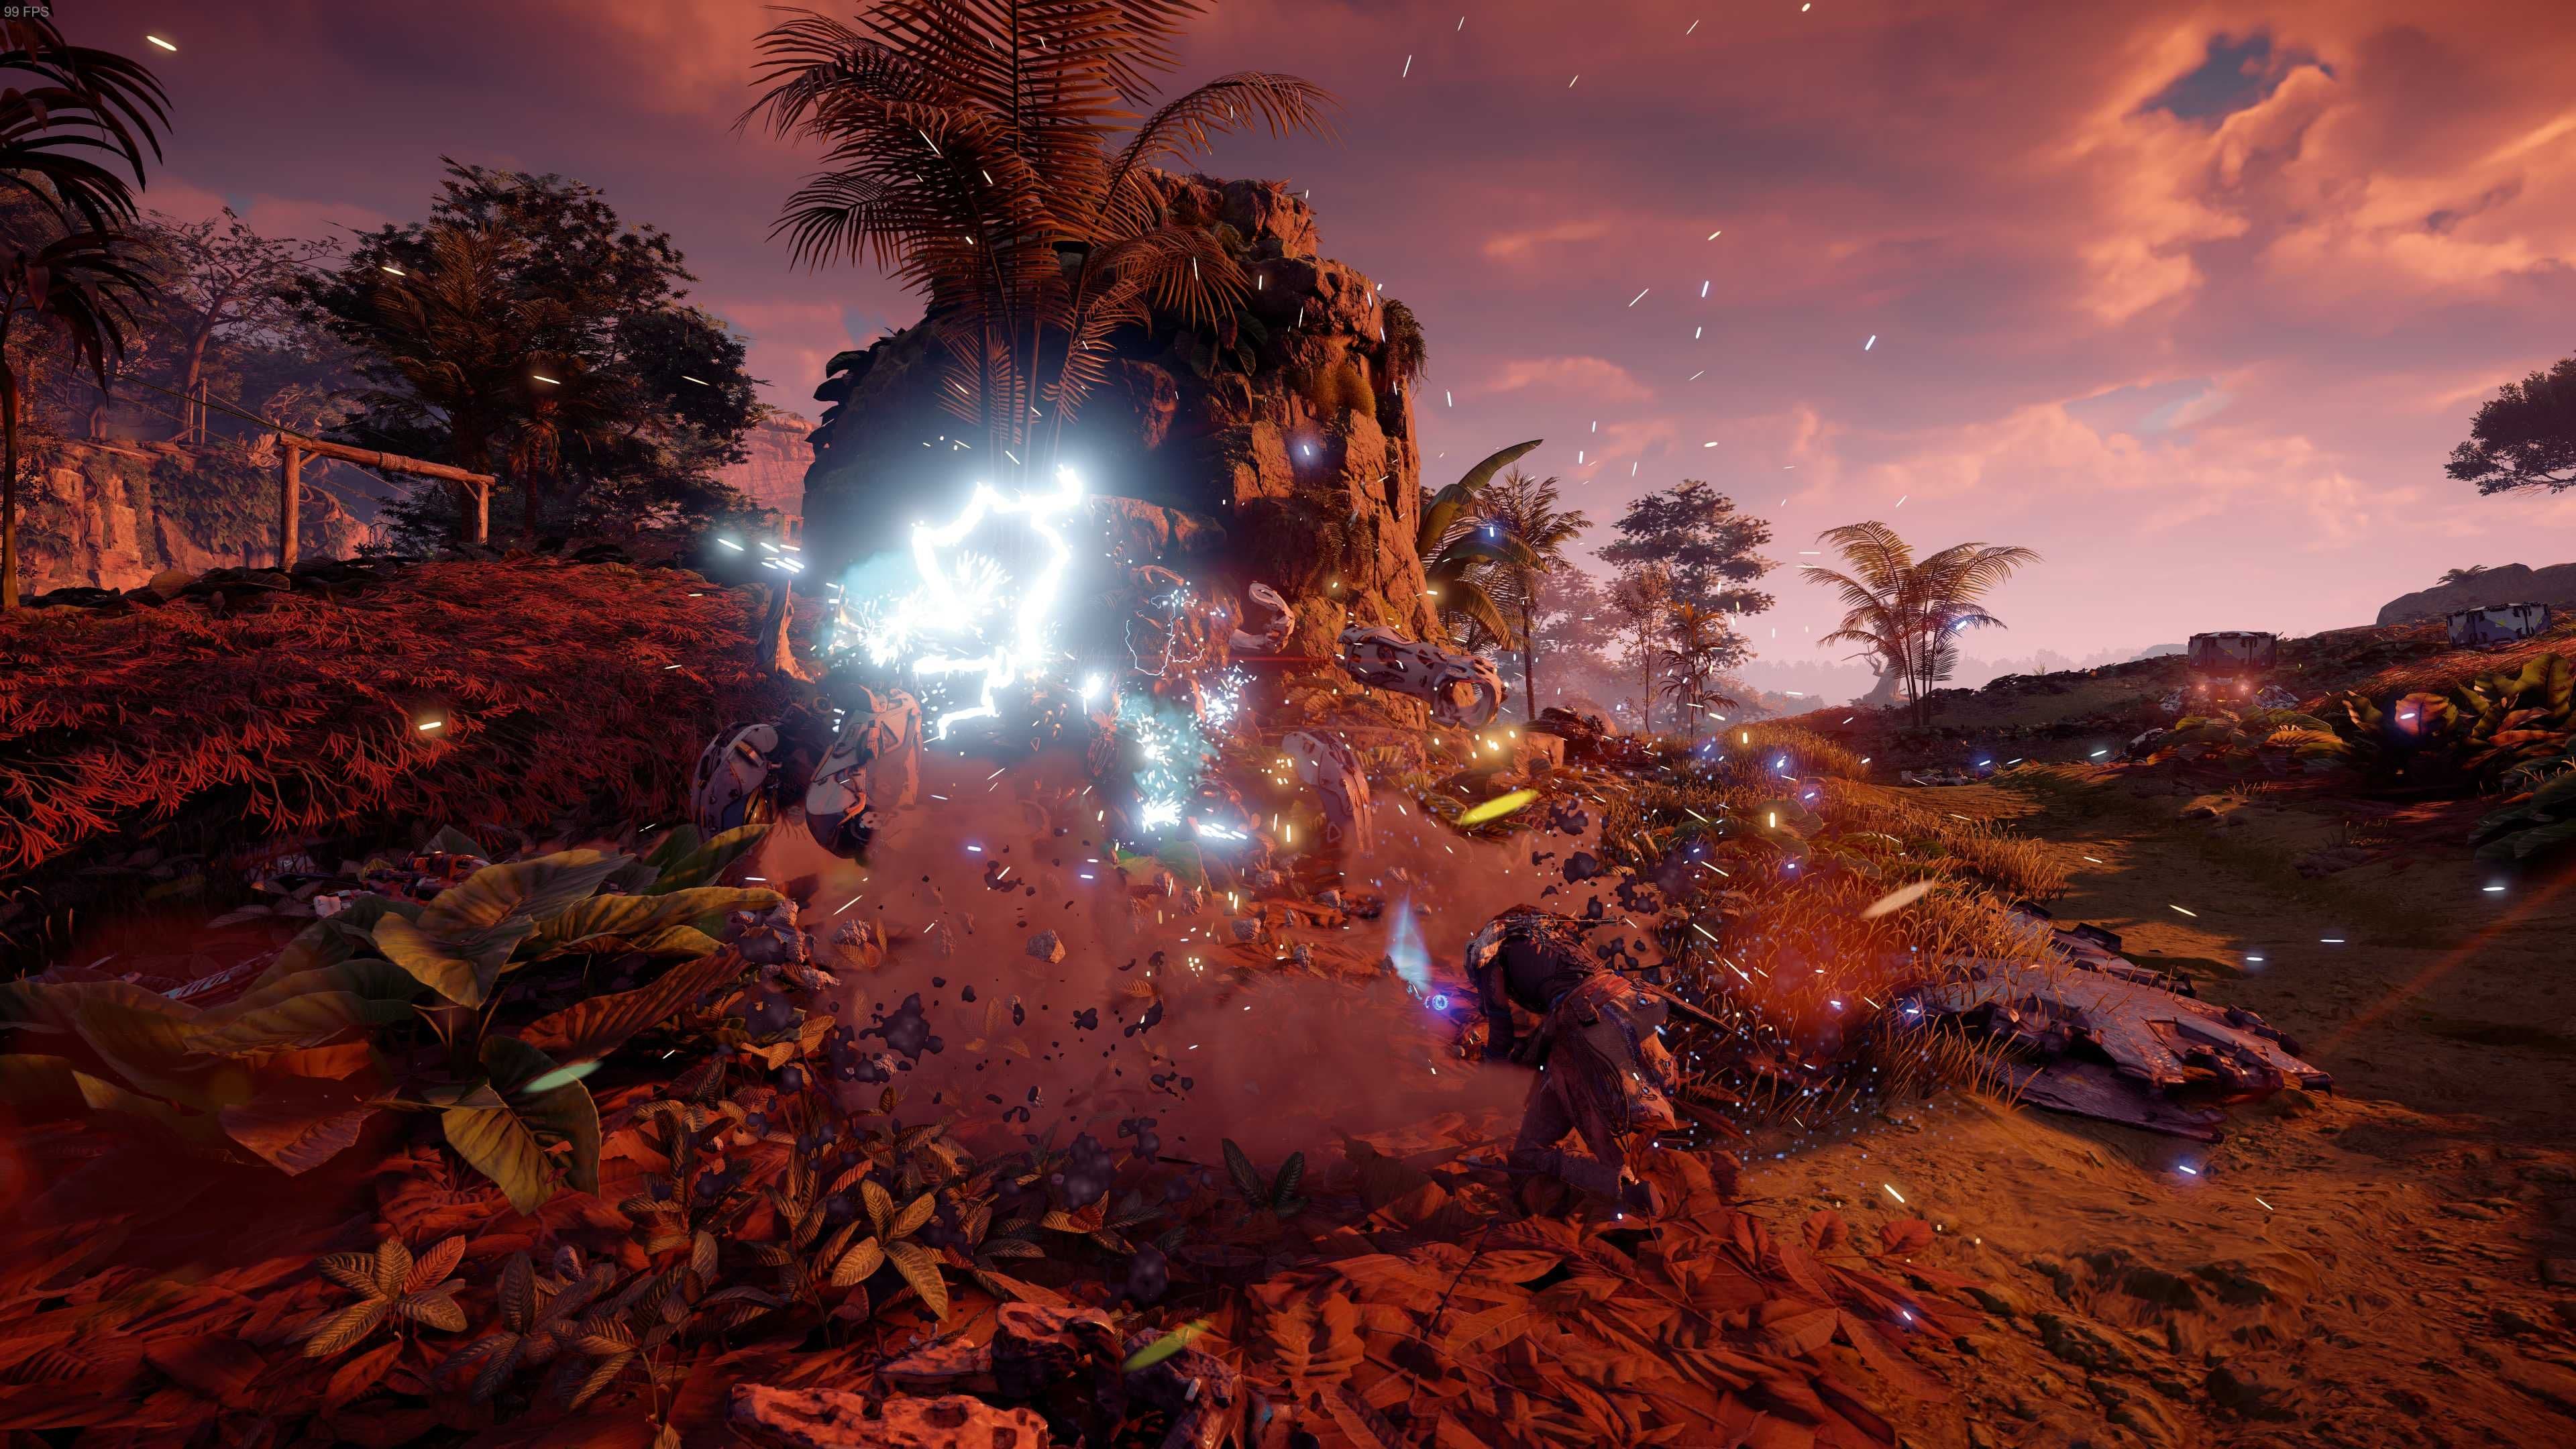
Aloy utilizing a heavy spear strike for melee combat.
Sylens' Lance
Sylens' Lance is the definitive melee weapon in Horizon Zero Dawn, yet it occupies a unique and paradoxical space in the arsenal. It’s here on this list as the absolute best-in-slot for its category, but also as a prime example of the game's inherent design that sidelines close-quarters combat. Obtained automatically by crafting it in Sylens’ Workshop after completing the pivotal main quest The Mountain That Fell, it permanently replaces Aloy’s starting spear. Its superiority is unquestionable: it deals significantly higher base Impact Damage and, crucially, adds a substantial amount of Shock Damage with every swing.
This shock component is what truly elevates it beyond a simple stat upgrade. It allows Aloy to build up the Shock status effect on enemies far more efficiently, temporarily paralyzing even large machines and creating vital openings. Against human enemies, it becomes a devastating tool, often incapacitating them in a single charged heavy attack. In a direct comparison, the standard spear is a butter knife; Sylens' Lance is a live wire.
However, its placement is also a commentary on its limitations. No matter how potent it is, it remains a melee weapon in a game fundamentally built around ranged tactical combat. Engaging massive machines like Thunderjaws or Stormbirds in melee is a recipe for a quick death, relegating the Lance's primary use to finishing off downed components, clearing out human camps with brutal efficiency, or handling the occasional Watcher that gets too close. Its power is situational, a masterful tool for a niche set of problems in a world that overwhelmingly favors bows and slings.
Why it’s here: Sylens' Lance earns its spot not because it redefines combat, but because it perfects the only melee option you have. It is an unmissable, story-gated upgrade that provides the maximum possible effectiveness for the game's riskiest playstyle. It is the best at what it does, even if what it does is often not the optimal strategy. The takeaway: Consider this your essential, but specialized, tool for shock therapy and up-close personal work; always have it equipped, but don’t build your entire combat approach around it.
Shadow Tripcaster
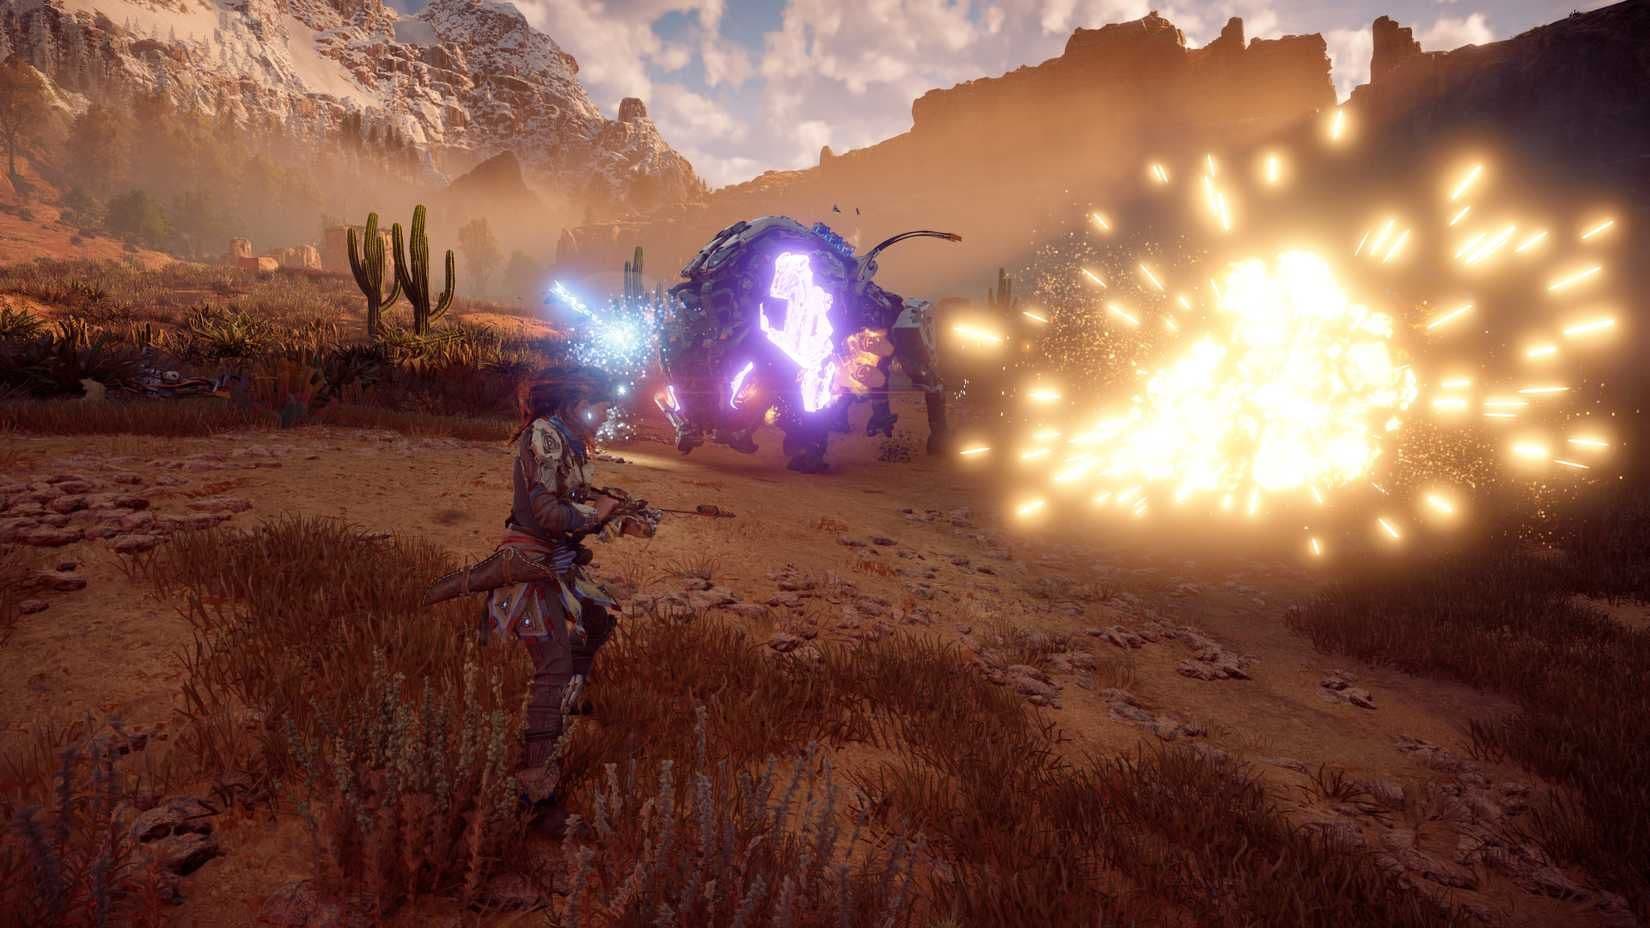
Setting a blast tripwire with the Shadow Tripcaster.
Shadow Tripcaster
While most weapons in Aloy’s arsenal are about direct confrontation, the Shadow Tripcaster excels in a different, more cerebral form of combat: area denial and tactical control. This is the weapon for the patient hunter who prefers to orchestrate chaos rather than wade into it. It’s not measured by its DPS, but by its ability to reshape the battlefield before a single shot is fired. In a game filled with aggressive, fast-moving machines, the Tripcaster provides the ultimate home-field advantage, turning any patch of wilderness into a deadly gauntlet.
Why it's here: The Art of the Pre-emptive Strike
The Shadow Tripcaster’s power lies in its three distinct tripwire ammo types, each serving a unique tactical purpose. The Shock Wire is your crowd-control specialist, stunning machines in place for easy overrides or follow-up attacks. The Fire Wire applies persistent flame damage, perfect for exploiting a machine’s weakness or whittling down health from a safe distance. However, the true star of the show, and the primary reason this weapon earns its spot on any list, is the Blast Wire. This ammo type deals massive 250 Tear damage in a substantial area of effect. Unlike a trap you must manually place at your feet, tripwires can be deployed from cover and over impressive distances, allowing you to lay complex, multi-lane kill zones that machines blindly charge into.
This weapon fundamentally changes your engagement strategy. Instead of reacting to a machine’s attack pattern, you dictate it. You can funnel a charging Ravager into a corridor of Blast Wires to shred its cannon armor before it even sees you. You can protect your flank from Glinthawks with Shock Wires while you focus on a larger target. In unpredictable, open-world encounters, the ability to quickly fortify a position is invaluable. Compared to the single-use, proximity-based traps you carry in your inventory, the Tripcaster offers reusable, remotely deployable area denial with far greater creative potential and coverage.
Key Takeaway:
The Shadow Tripcaster is the definitive weapon for tactical, control-oriented players. It rewards planning and foresight like no other tool. If your playstyle involves scouting, setting elaborate ambushes, and controlling the pace of every fight, this is your essential tool. It may not be the weapon you use for the final blow, but it will often be the reason you survive to deliver it.
Shadow Rattler
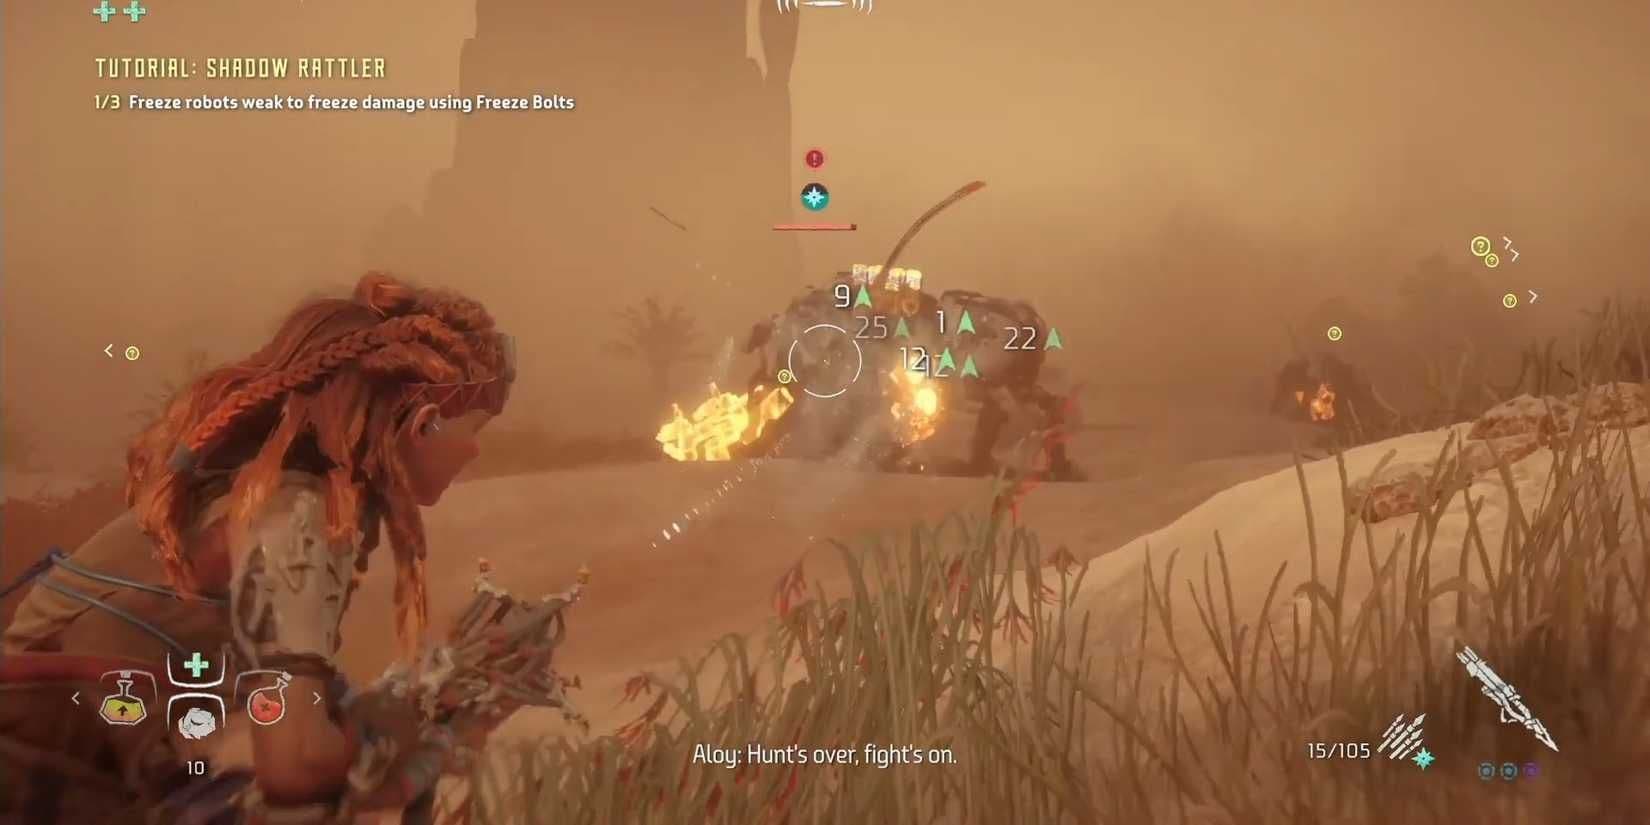
Completing the Shadow Rattler weapon tutorial.
Shadow Rattler
The Shadow Rattler is Horizon Zero Dawn’s premier close-quarters panic button. It earns its spot on this list not by being the most precise or the hardest-hitting weapon, but by being the undisputed champion of sheer, overwhelming fire rate. In a game dominated by bows and precision tools, the Rattler carves out a unique and vital niche: when you absolutely need to turn a charging machine into Swiss cheese in under three seconds.
Why it’s here: The Art of the Spray. The Rattler’s core identity is its scattergun-like function. It fires a rapid, wide burst of bolts, making pinpoint accuracy irrelevant. This is its greatest strength and its primary limitation. You don't aim for components with the Rattler; you aim at the center of mass and hold the trigger. Its value shines in two specific, high-pressure scenarios: against human enemies in close combat, where its spread guarantees hits, and against smaller, fast machines like Glinthawks, Scrappers, or Redeye Watchers that swarm and dodge. It can strip multiple components or apply status effects like shock or freeze across a wide area in moments, creating openings for your more powerful, single-target weapons.
Key Stats & Niche: While the Boltblaster (a weapon type from the sequel, Horizon Forbidden West) is often compared for its explosive payloads against large machines, the Shadow Rattler’s role is fundamentally different. The Boltblaster is a heavy, deliberate weapon for sustained DPS on big targets. The Rattler is a light, reactive weapon for crowd control and burst damage at intimate range. Its effectiveness is entirely dependent on getting dangerously close, making it a high-risk, high-reward tool best paired with traps or a ropecaster to immobilize targets first.
The Verdict: The Shadow Rattler is not a weapon for every hunt, and it will never win a damage-per-shot contest. Its place is justified because it solves a specific problem no other weapon in Aloy's arsenal solves as effectively: instantly saturating a small area with projectiles. It is the best tool for shutting down a chaotic, close-range assault, making it an essential, if situational, piece of a master hunter's toolkit.
Lodge Blast Sling
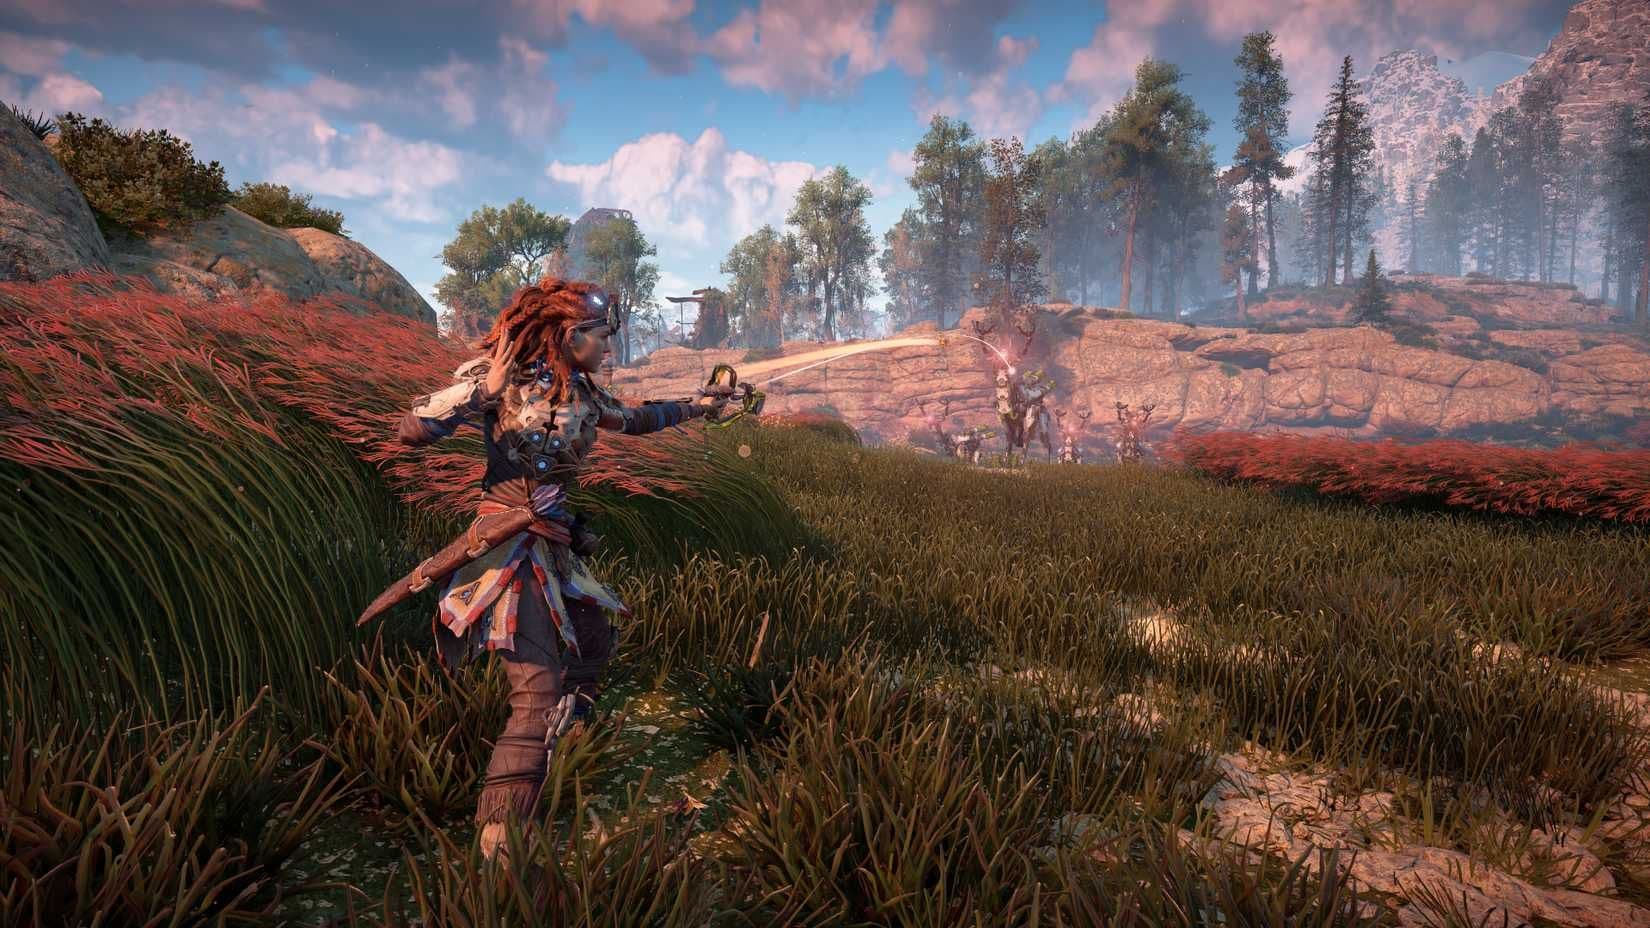
The Blast Sling is effective for dealing area-of-effect explosive damage to groups of machines.
Lodge Blast Sling
Why it's here: It is the undisputed king of explosive ordnance, earned not with shards but with supreme skill. The Lodge Blast Sling represents the pinnacle of what a Blast Sling can be, offering unmatched area-of-effect damage and elemental application that trivializes groups of machines and heavily armored foes alike. While the Shadow variant is a powerful and accessible tool, the Lodge version is the definitive upgrade, justifying the arduous journey required to obtain it.
Acquisition: A Trial by Fire
You cannot buy the Lodge Blast Sling; you must prove you are the Nora Brave who has mastered every corner of the wilds. Its acquisition is a multi-stage endgame challenge. First, you must travel to and complete all Hunting Grounds Trials spread across the map—from the Nora lands to the Sundom and into the Cut. Merely finishing them isn't enough; you must earn Blazing Suns (the top-tier medal) in every single trial. This demands precision, speed, and a deep understanding of machine behavior and your own toolkit. Once this Herculean task is complete, you must report to Aidaba, the Keeper of the Suns at the Hunter's Lodge in Meridian. She is the sole Meridian Merchant for this weapon, and she will present you with the Lodge Blast Sling as a badge of honor. This path ensures that only players who have truly mastered the game's combat systems wield its most potent explosive device.
Combat Effectiveness: The Art of the Big Boom
Statistically, the Lodge Blast Sling is a direct and superior evolution of the Shadow Blast Sling. It features a fourth modification slot, allowing for even greater specialization in damage, blast radius, or handling. Its base damage and elemental buildup (for Freeze and Shock bombs) are significantly higher. In practice, this transforms combat. A well-placed cluster of Freeze Bombs can instantly solidify a Thunderjaw, setting it up for massive damage from your hard-hitting weapons. Shock Bombs can incapacitate an entire pack of Glinthawks or Stalkers in a single volley. Its Blast Bombs are your go-to for raw, explosive carnage, perfect for shredding components, knocking machines over, or finishing off weakened foes. The weapon's true power lies in its versatility and crowd-control capability; it is the best tool in the game for rapidly altering the state of the battlefield, creating openings, and dealing devastating area damage that no bow can match.
Final Verdict: The Ultimate Force Multiplier
The Lodge Blast Sling is not just a weapon; it is a game-changer. The investment of time and skill required is substantial, but the payoff is a piece of gear that remains irreplaceable in the most difficult fights and against the largest machine herds. It excels where other weapons specialize: it is the best at applying area-of-effect status effects and delivering unblockable explosive damage. For any player facing the Frozen Wilds or New Game+, this sling is not just recommended—it is essential. It is the explosive cornerstone of any top-tier loadout.
Banuk Powershot Bow

Banuk bows combine traditional tribal craftsmanship with advanced technology.
Banuk Powershot Bow
Why it’s here: The undisputed king of long-range elimination. In a game filled with powerful bows, the Banuk Powershot Bow claims the title of best sniper rifle. It is not merely an upgrade to its Shadow counterpart; it is a fundamental redefinition of the sharpshot role, thanks to its unique Champion's Bow mechanic. While the Shadow Sharpshot Bow offers solid, immediate damage, the Banuk variant demands and rewards patience and precision with exponentially greater payoff, making it the definitive choice for any player who prefers to engage from a distance.
The Overdraw Advantage: The core of this weapon’s supremacy is its special property: arrows gain significantly increased damage and tear the longer you hold the draw before firing. A fully overdraw shot from the Banuk Powershot Bow deals catastrophic damage that the Shadow Sharpshot Bow simply cannot match. This turns every carefully aimed shot into a potential fight-ender. Whether you’re targeting a Watcher’s eye, a Scrapper’s radar, or a Thunderjaw’s heart, a fully charged Precision Arrow can remove a component or delete a significant portion of health in one hit. This mechanic elevates it from a simple tool to a surgical instrument for dismantling machines.
Ammunition Breakdown – Tearblast & Precision:
- Tearblast Arrows: This is the weapon’s party trick and a non-negotiable must-cover element of its toolkit. While other bows have access to Hardpoint or Harvest arrows, Tearblast Arrows are the premier tool for long-range component stripping. They deal massive, concentrated tear damage upon detonation, perfect for blasting off heavy armor, disc launchers, Ravager cannons, or Stormbird engines from a safe distance. Mounting three Handling Coils on the Banuk Powershot Bow drastically reduces the painfully long draw time for these arrows, transforming it into an efficient deconstruction platform.
- Precision Arrows: These are your standard high-damage sniper rounds. With the overdraw mechanic, they become armor-piercing lances. The key to maximizing them is the same as with Tearblast Arrows: mod for handling to mitigate the draw speed penalty, allowing you to leverage the overdraw damage more frequently in tense engagements.
Banuk Powershot Bow vs. Shadow Sharpshot Bow – The Clear Winner: The research correctly identifies the core difference: the Shadow Sharpshot Bow offers reliable, high damage, while the Banuk Powershot Bow is favored for its precision and power. The distinction is critical. The Shadow version is a excellent generalist sniper you can use effectively on the move. The Banuk version is for the dedicated specialist. It requires a more methodical playstyle—finding vantage points, timing your draws, and making each shot count. In return, it delivers superior alpha strike damage and more efficient component removal. For sheer long-range impact, the Banuk Powershot Bow is objectively superior.
Final Verdict: The Banuk Powershot Bow is not the easiest sharpshot bow to use, but it is unequivocally the best. It rewards a patient, tactical approach with unparalleled long-range damage and the best tool in the game for surgically disassembling machines from a kilometer away. If you want to be a true sniper in the wilds, this is your weapon.
Banuk Striker Bow
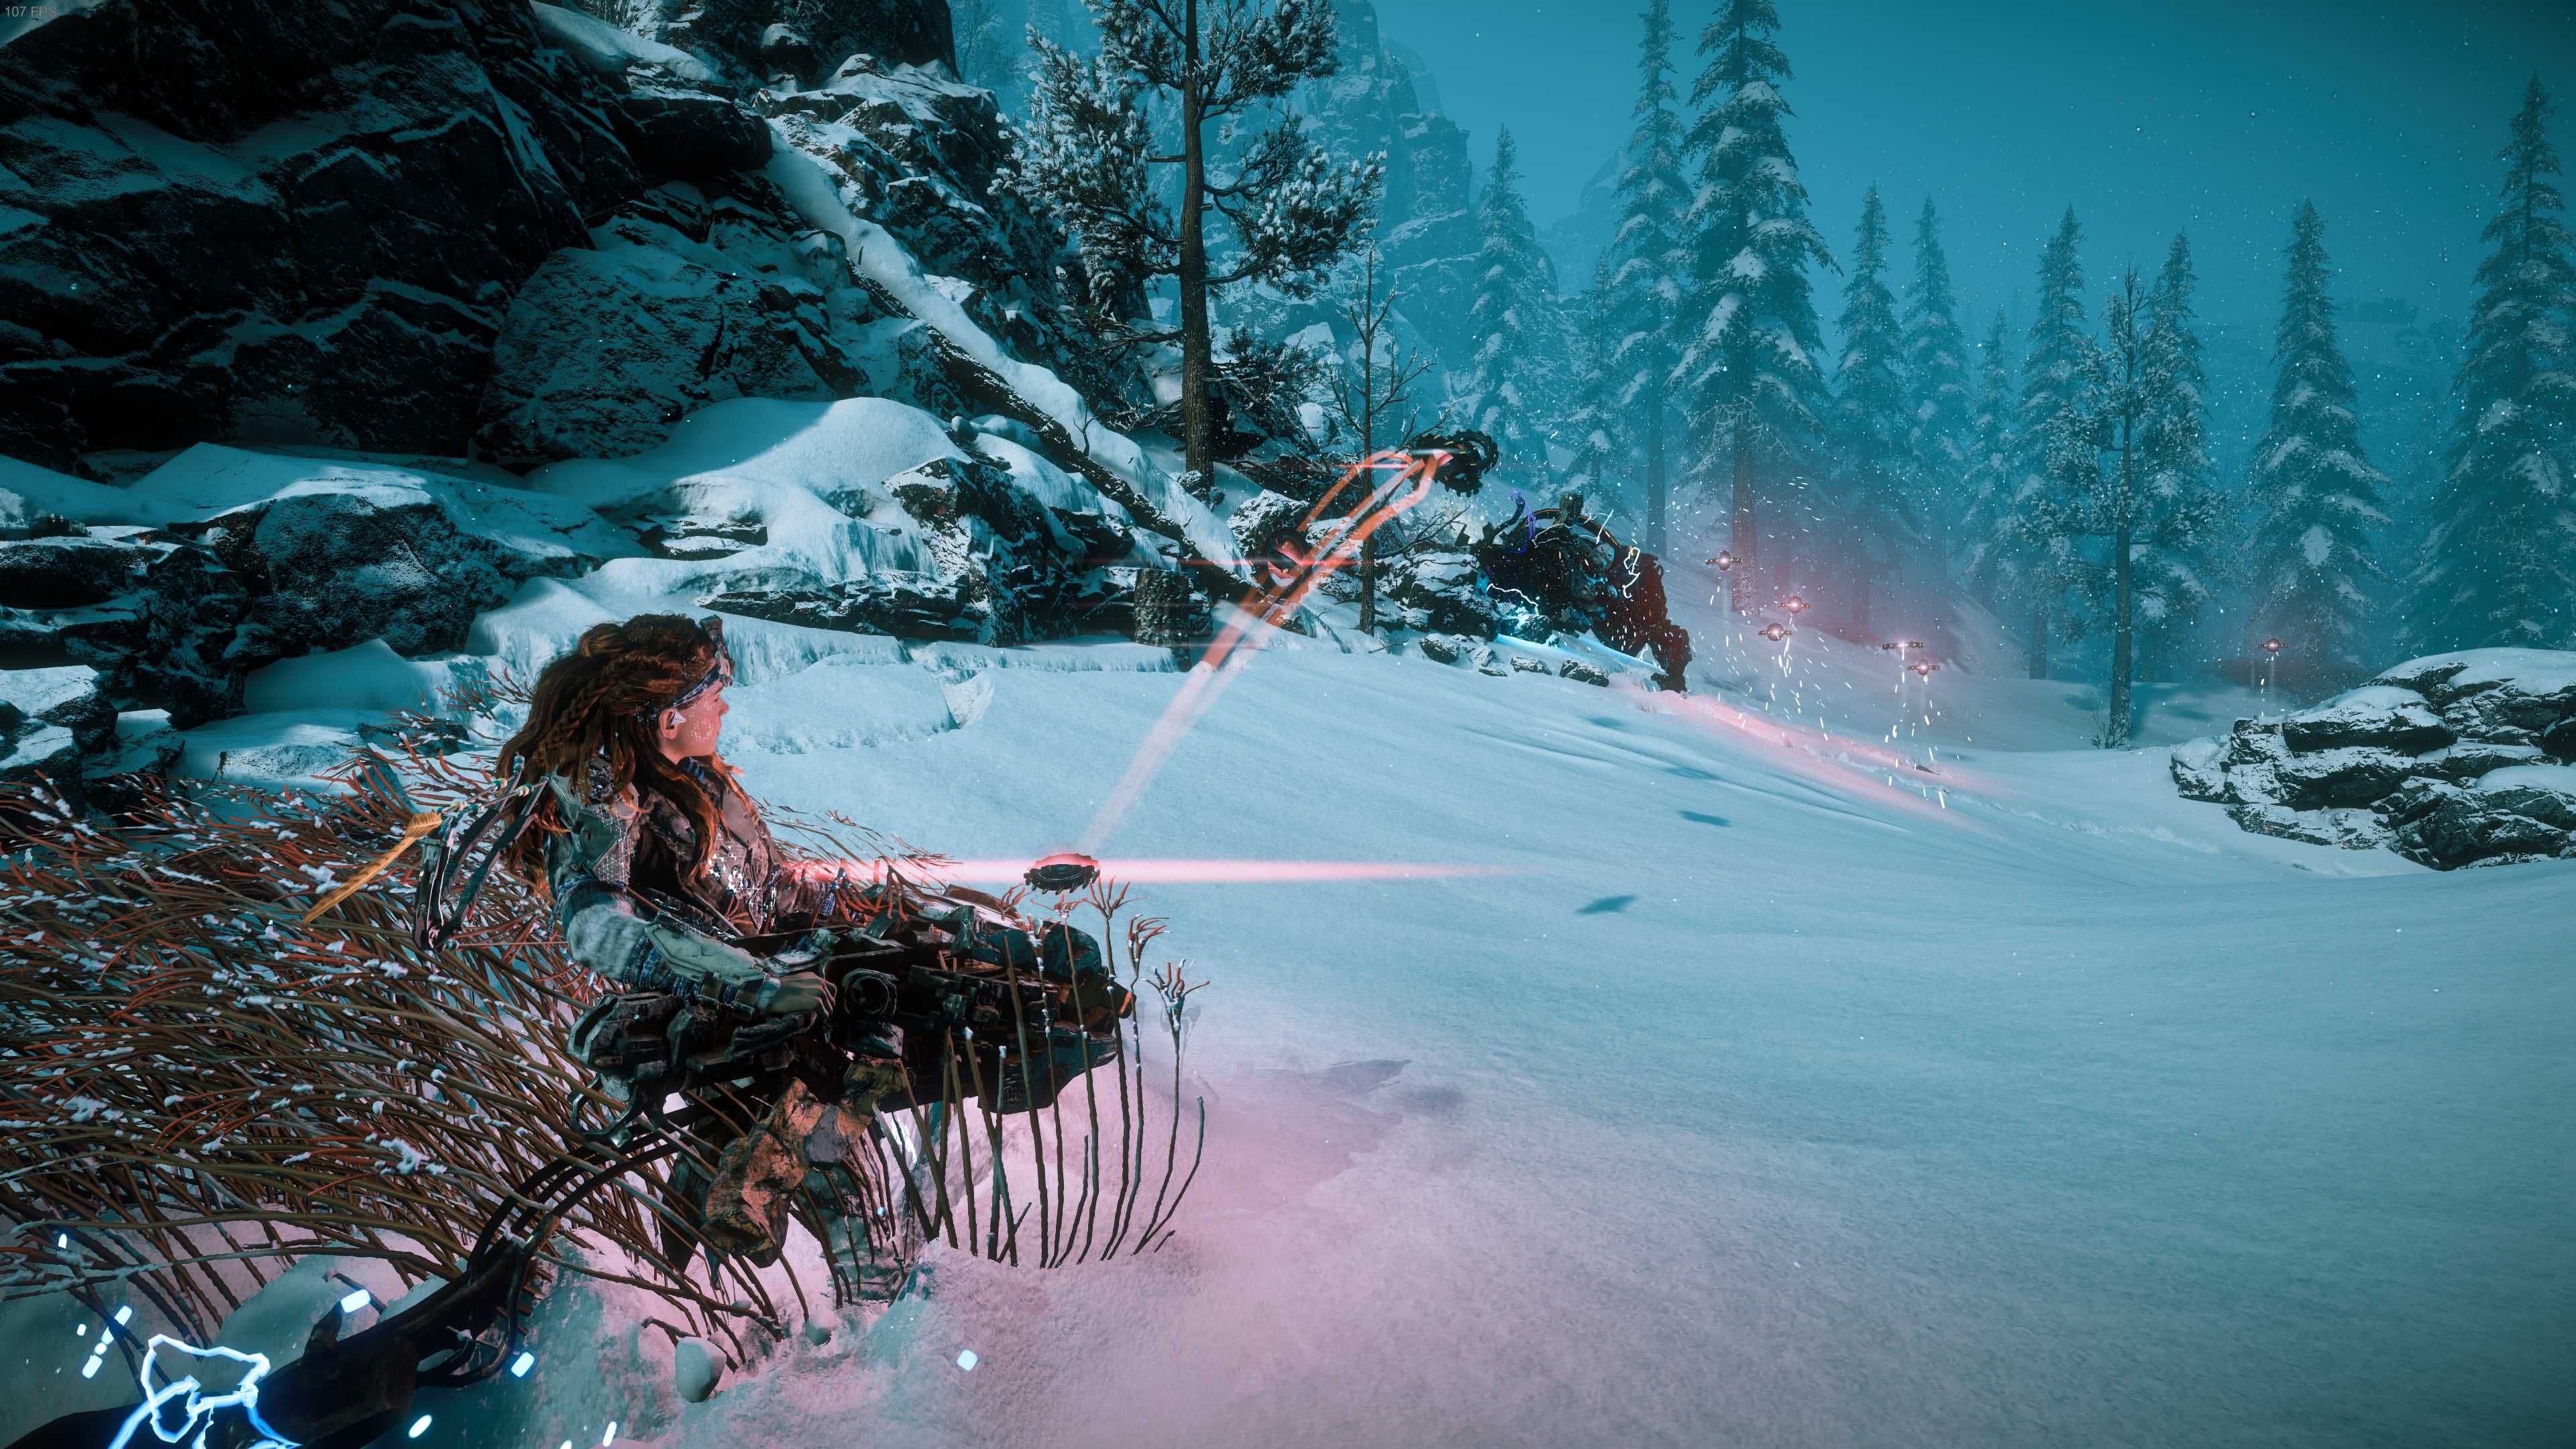
The Striker Bow is often used alongside other Banuk gear in the Frozen Wilds.
Banuk Striker Bow
Why it's here: The Banuk Striker Bow is the definitive, best-in-class hunter bow. It earns its place as the premier all-around weapon for mid-range combat by mastering the core bow gameplay loop, but elevating it through the unique Banuk overdraw mechanic. While the standard Shadow Hunter Bow is a reliable workhorse, the Striker Bow is its perfected, high-skill evolution.
The Striker Bow’s supremacy hinges entirely on its special trait: its damage and tear values are not fixed. Instead, they scale dynamically based on how long you hold a draw before firing. A quick shot is weak, but a fully overcharged shot delivers devastating power. This transforms every engagement from a simple point-and-shoot affair into a tactical dance of timing and positioning. It rewards precision, patience, and mastery, offering a damage potential that the static Shadow bow simply cannot match. For players who have mastered dodging and aiming, this bow becomes an extension of Aloy herself, capable of shredding components and health bars with terrifying efficiency.
Its primary ammunition type, Hardpoint Arrows, is the key to its versatility. These arrows offer the perfect balance of substantial damage and high tear, making them the ideal "do everything" round. You can use them to systematically strip armor and weapons off a machine with their tear capability, then immediately pivot to targeting the now-exposed weak points for massive health damage. Unlike the specialist Banuk Powershot Bow (which excels with Tearblast arrows for pure component removal), the Striker Bow with Hardpoint arrows handles both roles admirably without needing a weapon swap, making it the more fluid and responsive choice in the heat of combat.
Acquiring this weapon requires a special currency found exclusively in The Frozen Wilds expansion: Bluegleam. This rare resource, gathered from specific nodes and quest rewards, is used to purchase the finest Banuk gear from special merchants. The Striker Bow’s cost signifies its endgame quality; it’s not a weapon you stumble upon, but one you earn by conquering the expansion’s challenges. This gates its power appropriately, ensuring it’s a rewarding upgrade for players ready to tackle the game’s toughest content.
Coil Strategy: To maximize the Banuk Striker Bow’s potential, your modification coils must address its one deliberate weakness: handling. A full overdraw takes time, and in battles against fast machines like Stalkers or Scrappers, that time isn’t always available. Therefore, the optimal build focuses on coils that boost both Damage and Handling. A pure Damage Coil is excellent for opening volleys against large, slow machines, but a balanced Damage/Handling coil is superior for general use. This combination allows you to reach that powerful overdraw state faster, making the weapon more responsive and deadly in a wider array of encounters.
The Verdict: The Banuk Striker Bow is the ultimate hunter bow. It demands more from the player than its Shadow counterpart but repays that investment with unparalleled mid-range dominance. If you want a single weapon that can handle armor stripping, weak point targeting, and high DPS with graceful efficiency, this is your bow. Master its overdraw rhythm, equip it with balanced Damage/Handling coils, and no machine in the mid-field will be safe.
Improved Stormslinger
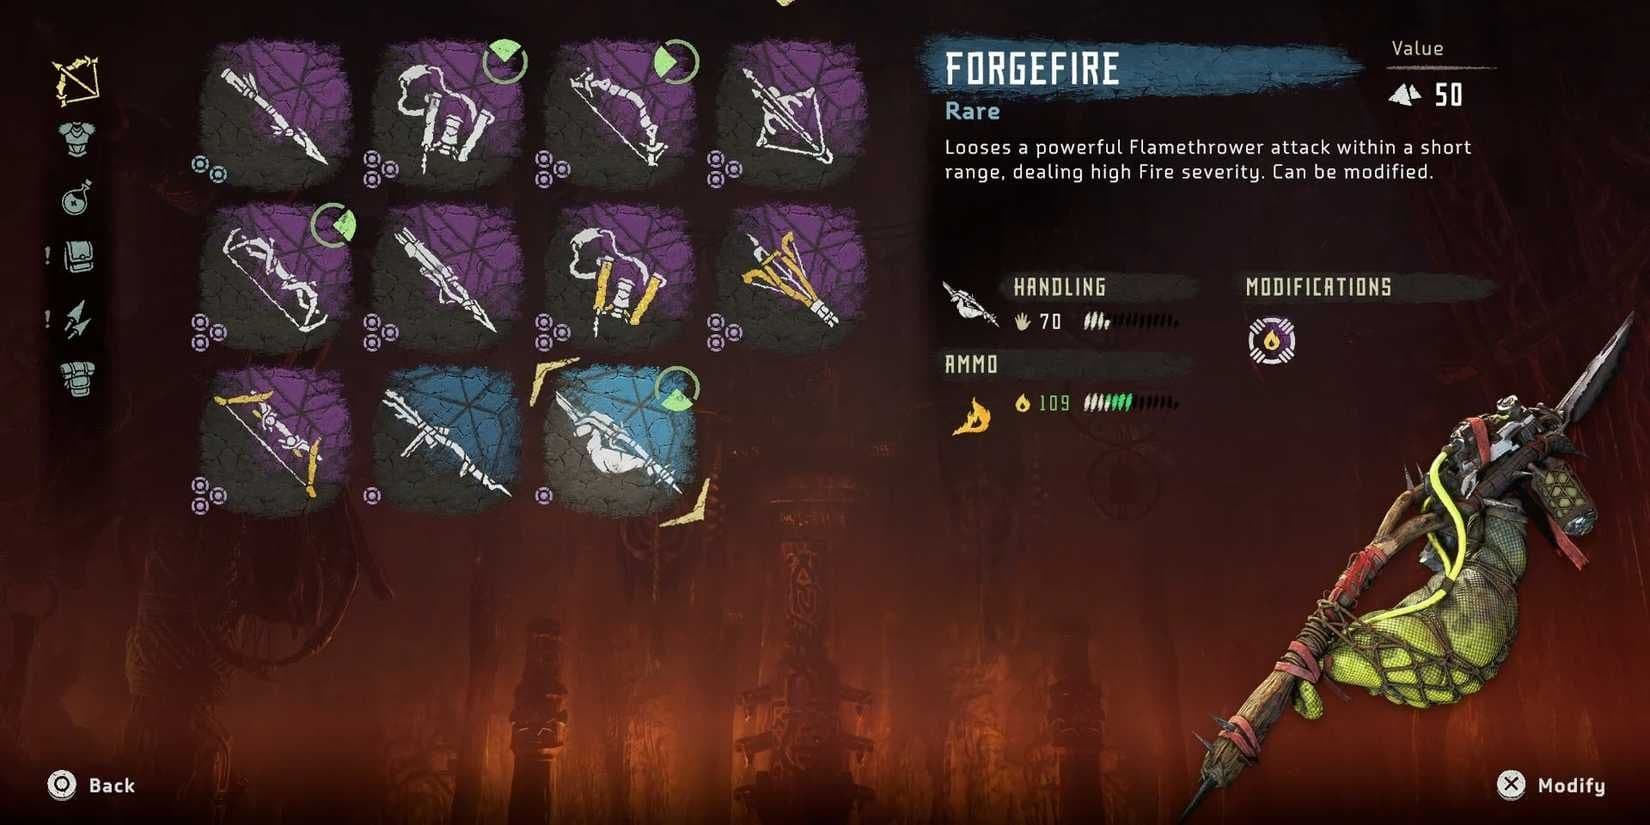
Weapon stats for the Forgefire, a DLC elemental weapon similar to the Stormslinger.
Improved Stormslinger
The Improved Stormslinger is the ultimate high-risk, high-reward weapon in Aloy’s arsenal, a unique piece of Forbidden West technology retrofitted by the Oseram. It doesn't just earn a spot on this list; it defines its own category. While other weapons offer control and predictability, the Stormslinger trades safety for raw, escalating damage, demanding aggressive play and expert positioning. It’s not for the faint of heart, but mastering it makes you a true storm caller on the battlefield.
Why it's here: It represents the pinnacle of specialized, player-skill-based weaponry. Where the Banuk bows reward patience and precision, the Stormslinger rewards audacity and nerve. Its unique mechanic—increasing damage and self-harm with each successive hit—creates a thrilling gameplay loop absent from any other weapon. You don't just use it; you manage it, riding the lightning right up to the edge of disaster for massive payoffs against the game's most formidable machines.
Acquiring and Upgrading: You obtain this beast from the Oseram artisan Varga in The Cut by completing the "Geared Up: Stormslinger" side quest. Varga doesn't just hand it over; she sends you on a legendary hunt to prove you can handle its power. To upgrade it to its Improved version, you must bring her the hearts of a Stormbird, a Thunderjaw, and a Fireclaw—a fitting trial for a weapon of this caliber. This quest chain itself is a testament to the weapon's elite status, pitting you against the machines it is designed to obliterate.
Thunderjaw Strategy: The Thunderjaw is a perfect showcase for the Stormslinger's brutal efficiency. The strategy is simple in concept but tense in execution: target its vulnerable, unarmored body. Forget about slowly tearing off components. Instead, use Tearblast arrows from another bow to remove the disc launchers (for your own safety), then move in close. Unleash a sustained burst from the Stormslinger directly into its core. The escalating shock damage will rapidly eat through its health bar, but you must constantly monitor the weapon's charge meter. The key is to stop firing just before the overload, dash away to let it cool, then close in again. A well-executed assault can melt a Thunderjaw in moments, a spectacle of violence no other weapon can match.
Fireclaw Strategy: Against the mighty Fireclaw, the Stormslinger shifts from a primary damage dealer to a brilliant control tool. Fireclaws are highly resistant to fire and resistant to shock, but the Stormslinger's unique shock buildup is invaluable. Your goal isn't to kill it with shock damage directly, but to use rapid bursts to overload its shock canisters. A successful overload triggers a massive explosion that not only deals huge damage but also stuns the beast, creating a long opening to target its blaze sacs or power cells with your hard-hitting precision arrows or bombs. It turns the most fearsome creature in The Cut into a vulnerable target, illustrating the weapon's strategic versatility beyond raw DPS.
The Verdict: The Improved Stormslinger is the definitive weapon for players who find the standard combat loop too safe. It demands respect, punishes greed, and rewards mastery with unparalleled burst damage. It is not an all-purpose tool like the Striker Bow, but a specialist's instrument of controlled chaos. For taking down giant machines quickly or creating huge openings on resistant foes, nothing else compares. If you have the nerve to ride the lightning, this is your weapon.