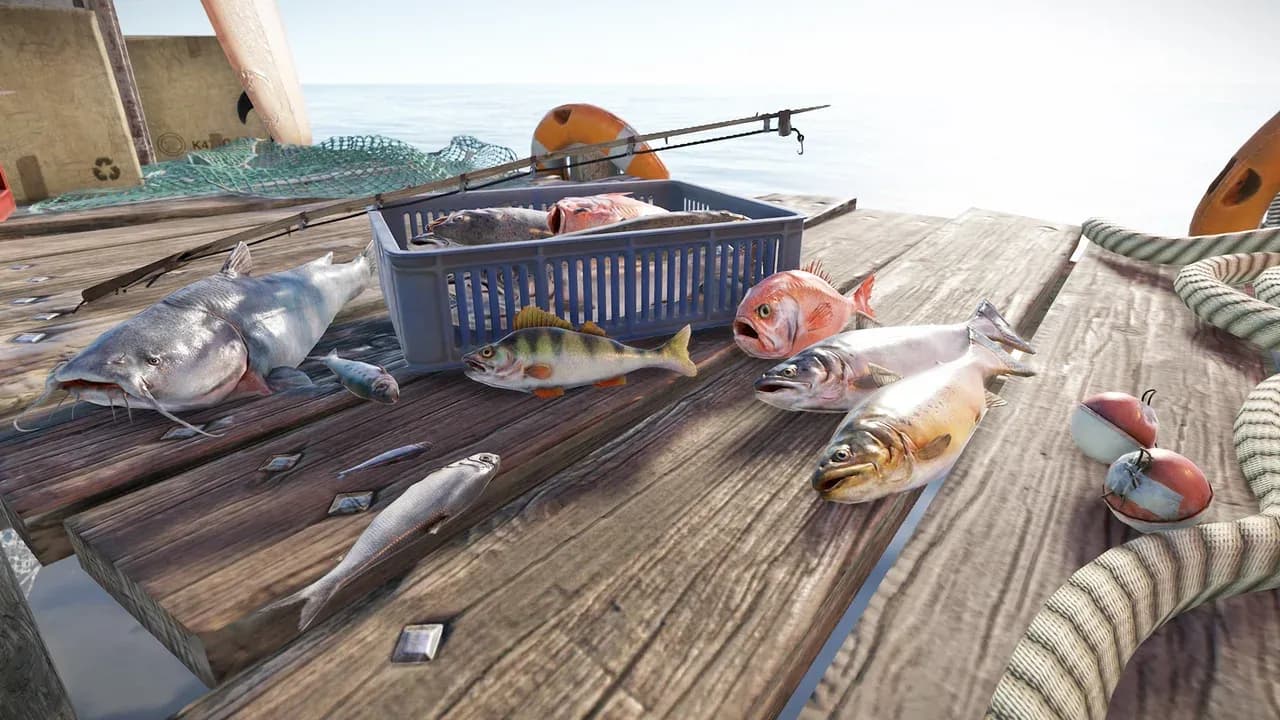
Fishing Village is easy to mistake for a complete ocean-side base: it has boats, diving gear, fishing missions, and a safe-zone perimeter. In vanilla Rust, though, its value is narrower and more useful. It is a protected marine-services and fish-conversion hub, not a recycler compound, and the water beyond its boundary is not protected from PvP or underwater threats.
For a solo or duo, the practical play is to use the village to fund and equip a marine loop, then build outside its no-build area. Missions can provide the first rod, kayak, Scrap, and food; shore traps can keep working while a particular rod-fishing area is overfished; and boats or diving gear open higher-risk routes. The sections below map those services into a base decision without promising fixed fish yields or treating old vendor prices as permanent.
Fishing Village Is a Safe-Zone Hub, Not a Recycler Base
Fishing Village’s useful services are concentrated in five roles: the Boat Vendor handles marine transport, the Fish Exchange converts eligible catches into Scrap, and the Shop Keeper supplies diving equipment. The Fisherman and Dive Master provide separate mission paths for fishing and underwater progression. Together, these make the monument a practical marine-services hub rather than simply a place to buy a boat.
The safe-zone label has a narrower meaning than “safe ocean base.” The village itself is a vanilla safe zone with no radiation, but that protection applies to the monument’s boundary. Once you leave it, the surrounding water is ordinary contested Rust territory. You can still be exposed to other players and the risks of marine travel, so fishing or diving offshore is not protected just because the village is nearby.
The most important correction is what the village does not provide. Vanilla Fishing Villages have no recycler, workbench, refinery, or repair bench. For example, you can bring fish to the Fish Exchange and use the village’s marine vendors, but you cannot treat the same location as a complete processing compound for components, fuel, crafting, and repairs. Community or modded servers may add infrastructure, so check the server’s configuration if its layout differs from vanilla Rust.
The small and large Fishing Village variants share the same core safe-zone and service structure, but you should not assume their physical layouts or shoreline access are identical. Use the village for marine progression, missions, equipment, and fish exchange; plan recycling, crafting infrastructure, and your permanent construction separately. With that boundary clear, the next step is turning the village’s services into affordable early-wipe equipment.
The Mission Chain Pays for Your First Marine Run
On a fresh wipe, start with the Fisherman before spending Scrap on marine access. Tackle the day sends you to the coastline to retrieve lost tackle and return it to the Fisherman. Completing it rewards a Handmade Fishing Rod, 15 Grubs, and a Basic Harvesting Tea, giving you the tools and bait to begin fishing without crafting or purchasing the rod first.
That unlocks Go Fish, which requires you to catch three fish and return them to the Fisherman. Its reward—a Kayak, Paddle, and 75 Scrap—is the key early-wipe payoff. You now have basic marine transport and a Scrap reserve without buying a Rowboat or submarine. The practical sequence is:
- Complete Tackle the day and use the rod to begin fishing.
- Complete Go Fish and use the earned Kayak and Paddle for short coastal trips.
- Take Oiled up once it becomes available, then travel to sea, open eight oil barrels, and return with 100 Crude Oil.
Oiled up rewards 250 Scrap and three Fish Pies, turning the Fisherman chain into more than a transport tutorial. It provides food and enough currency to support your next marine decision while introducing the longer ocean routes your eventual base may serve. Each Fisherman mission has a one-hour success cooldown, so plan the chain around those waits rather than treating it as an instant repeatable income source.
Higher-risk Dive Master branch: The Dive Master offers a separate, riskier progression path. Underwater Bounty requires you to search dive sites and untie ten crates; its reward is a Pump Shotgun, 12 12 Gauge Buckshot, and 100 Scrap. Shark Hunt requires killing a shark at a dive site and rewards a Jackhammer, three Medical Syringes, and 50 Scrap. Sharks can guard the sites, so these missions are underwater combat runs, not ordinary fishing errands. Bring appropriate medical supplies and underwater ranged weapons instead of assuming a melee weapon will be sufficient.
The third Dive Master mission, An Important Broadcast, sends you into an Underwater Lab to play the Fishing Village 24/7 station on a lab boombox. It rewards 100 Scrap and a Double Diving Tank; completing the objective at additional lab boomboxes can provide an optional 25-Scrap bonus. Because no success cooldown is listed for this mission, do not plan around it as a confirmed repeatable reward.
For most solo or duo fresh wipes, the Fisherman route should come first: it supplies a rod, kayak, Scrap, and food before you need a purchased boat. Treat the Dive Master missions as a higher-risk route into underwater loot and diving progression, choosing them when you already have the weapons, medical preparation, and time to survive the trip. Missions can provide your first transport and rewards; the next decision is when a purchased boat or diving kit is worth the Scrap.
Spend Scrap on a Boat or Diving Kit Only After Checking the Vendor
The kayak from Go Fish is usually the best first marine vehicle on a fresh wipe: it costs no Scrap and handles short coastal trips. When you need more range, capacity, or underwater access, the Boat Vendor’s current baseline listings are:
| Vehicle | Listed cost | Starting fuel |
|---|---|---|
| Rowboat | 125 Scrap | 50 Low Grade Fuel |
| Solo Submarine | 200 Scrap | 50 Low Grade Fuel |
| RHIB | 300 Scrap | 50 Low Grade Fuel |
| Duo Submarine | 300 Scrap | 50 Low Grade Fuel |
The Rowboat is the sensible upgrade for a solo player extending coastal fishing routes. Submarines make more sense when your plan includes underwater travel or labs, while the Duo Submarine is aimed at shared trips. The vendor also lists two torpedoes for 75 Scrap; treat them as an optional follow-up purchase if you plan to use a submarine for combat.
The Shop Keeper covers the other marine progression path with diving equipment, including the Diving Mask and Diving Tank. A historical full-kit baseline was 95 Scrap—15 for the mask, 20 for the wetsuit, 25 for fins, and 35 for the tank—but that is not a permanent price list. The tank is particularly easy to overbuy: the An Important Broadcast mission can provide a Double Diving Tank, so wait for that reward when your route and preparation make the mission realistic.
NPC prices are dynamic and change on a five-real-time-hour cadence under the stated defaults. Treat the figures above as a current comparison point, not a rule that survives every wipe or server configuration. Before spending, open the live vendor interface and compare the price with what your missions have already provided.
For example, a solo player who has just completed Go Fish should normally keep the earned kayak, reserve Scrap for tools and survival, and upgrade to a Rowboat only when longer trips justify it. A duo planning underwater missions may skip the Rowboat and save toward a submarine, while a player pursuing the Dive Master chain should compare a purchased tank against the Double Diving Tank reward before buying a full kit. The correct purchase depends on the route you will actually run, not on the most expensive vehicle available.
Once transport and breathing gear are available, the next constraint is choosing the right water, bait, and fish targets instead of treating a listed exchange bundle as guaranteed income.
Match Water, Bait, and Fish Before You Chase Scrap
Once you have a rod, fishing becomes a preparation-and-location loop. Bait comes from foraging, hunting animals, and food crates, and the rod will not work without it. You can fish in oceans, rivers, swamps, and Underwater Lab moon pools, but the water you choose affects the fish pool.
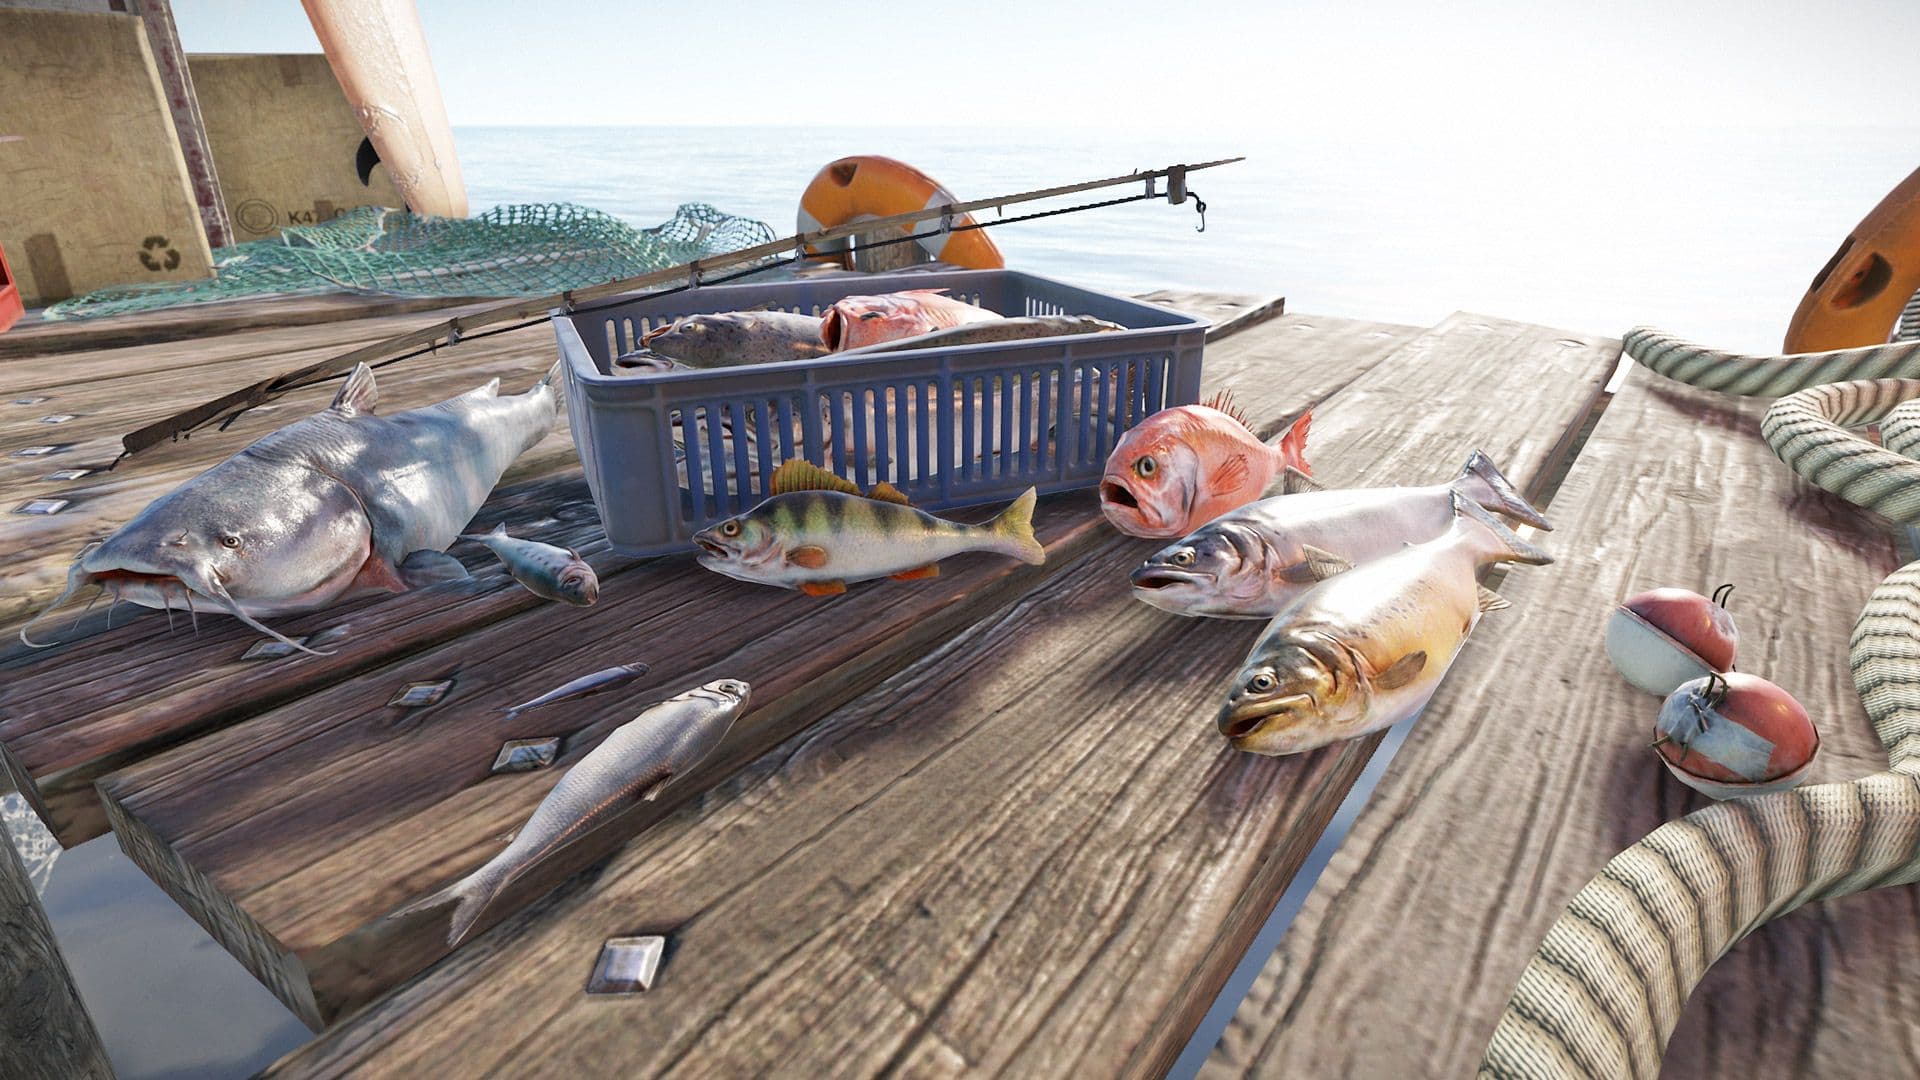
Fishing conditions and catch handling are the core of the Fish Exchange loop.
Cast with the secondary action, start the cast with the primary action, steer the fish with A/D, and reel with S. Watch the line tension while reeling: if it climbs too high, pause instead of forcing the catch. A broken line wastes the opportunity and can cost bait.
Fish availability depends on bait value, water type, depth, and location. Do not treat one shoreline or a fixed depth as a universal answer. Deep-sea fishing also follows the April 2026 fish-pool changes and no longer catches Herring or Anchovy, so a trip offshore is not simply a longer version of fishing from the village.
When you land a fish, choose its use instead of automatically selling it. Fish can be eaten for food, gutted for resources and additional loot, or saved in the species and quantities required by the Fish Exchange. Its current baseline bundles are:
| Catch bundle | Scrap |
|---|---|
| 5 Small Trout | 30 |
| 5 Yellow Perch | 50 |
| 2 Small Sharks | 90 |
| 2 Salmon | 55 |
| 2 Orange Roughy | 75 |
| 2 Catfish | 65 |
These are exchange bundles, not guaranteed per-fish values, and the machine does not promise a payout for every species. Treat the figures as a current baseline and check the in-game exchange before planning a route around them. A practical loop is to prepare bait, fish where the target species can appear, manage tension until the catch is secure, then keep valuable food, gut surplus fish, or return with a complete eligible bundle.
Rod fishing also has a local limit now. Catch enough fish near one another within the relevant time window and the area becomes overfished; rod lines there return only junk until the area refreshes. When that happens, move to another fishing location or wait rather than burning through bait at the same spot. Community-server settings can modify or disable this behavior, so modded servers may not match vanilla Rust.
That makes a fixed Scrap-per-hour estimate unreliable. Water depth, bait quality, fish pools, travel time, missed catches, and overfishing all change the result. Active fishing is strongest when you rotate locations and treat the Fish Exchange as a conversion endpoint, not as a guaranteed income machine. Its location limits also leave room for a passive shoreline option while rod fishing cools down.
Build Outside the Village and Let Shore Traps Carry the Passive Work
A Fishing Village’s no-build area determines where your nearby base can go. Current listings report no-build areas of 31,415 m² for the standard village and 49,087 m² for the large variant. These construction areas are separate from the safe-zone boundary, so scout the no-build boundary before placing a foundation rather than assuming the shoreline beside the monument is available. The two layouts also do not guarantee identical water depth or trap-friendly access.
Once you are beyond that perimeter, a compact shoreline base can support Survival Fish Traps. Each trap is placed on the shore, requires no workbench, and costs 200 Wood and 5 Cloth. Load them with available bait such as plant bait, worms, grubs, or small fish, then collect the catches for food, gutting, or eligible Fish Exchange bundles.
Treat the traps as a support loop, not an automatic Scrap machine. They use the shared bait system, cannot catch the same fish used as bait, and have a 50% chance to consume bait without catching anything. Use different bait across your traps and expect to restock regularly. The exact catch depends on the water source and bait quality, so do not plan around a universal interval, depth, or Scrap-per-hour figure.
Traps are especially useful while your rod-fishing area is overfished. The April 2026 overfishing system affects rod lines, which return only junk until the area refreshes, but it does not affect Survival Fish Traps. A practical solo setup is to build outside the village boundary, place several traps along the actual usable shoreline, check them during normal base runs, and rotate back to active fishing only when another location is worthwhile.
An ocean Water Wheel can fit this kind of shoreline base, but treat it as a secondary power option rather than a guarantee. Tides or blocked water flow can make its output inconsistent, so keep your electrical plan flexible. You should also retain a separate recycling route for component processing.
This arrangement gives you legal construction space and passive food support without confusing proximity to the village with guaranteed safety or income. The shoreline solves the low-cost trap loop; your final base choice still depends on whether you want passive traps, active boat fishing, diving loot, or easier access to recycling.
Choose the Base Loop: Passive Traps, Active Rod Fishing, or Diving
Your best base location depends on what you want the village to do for you. A Fishing Village rewards players who value marine services and can tolerate traveling elsewhere for recycling, but it is not automatically the best home for every wipe.
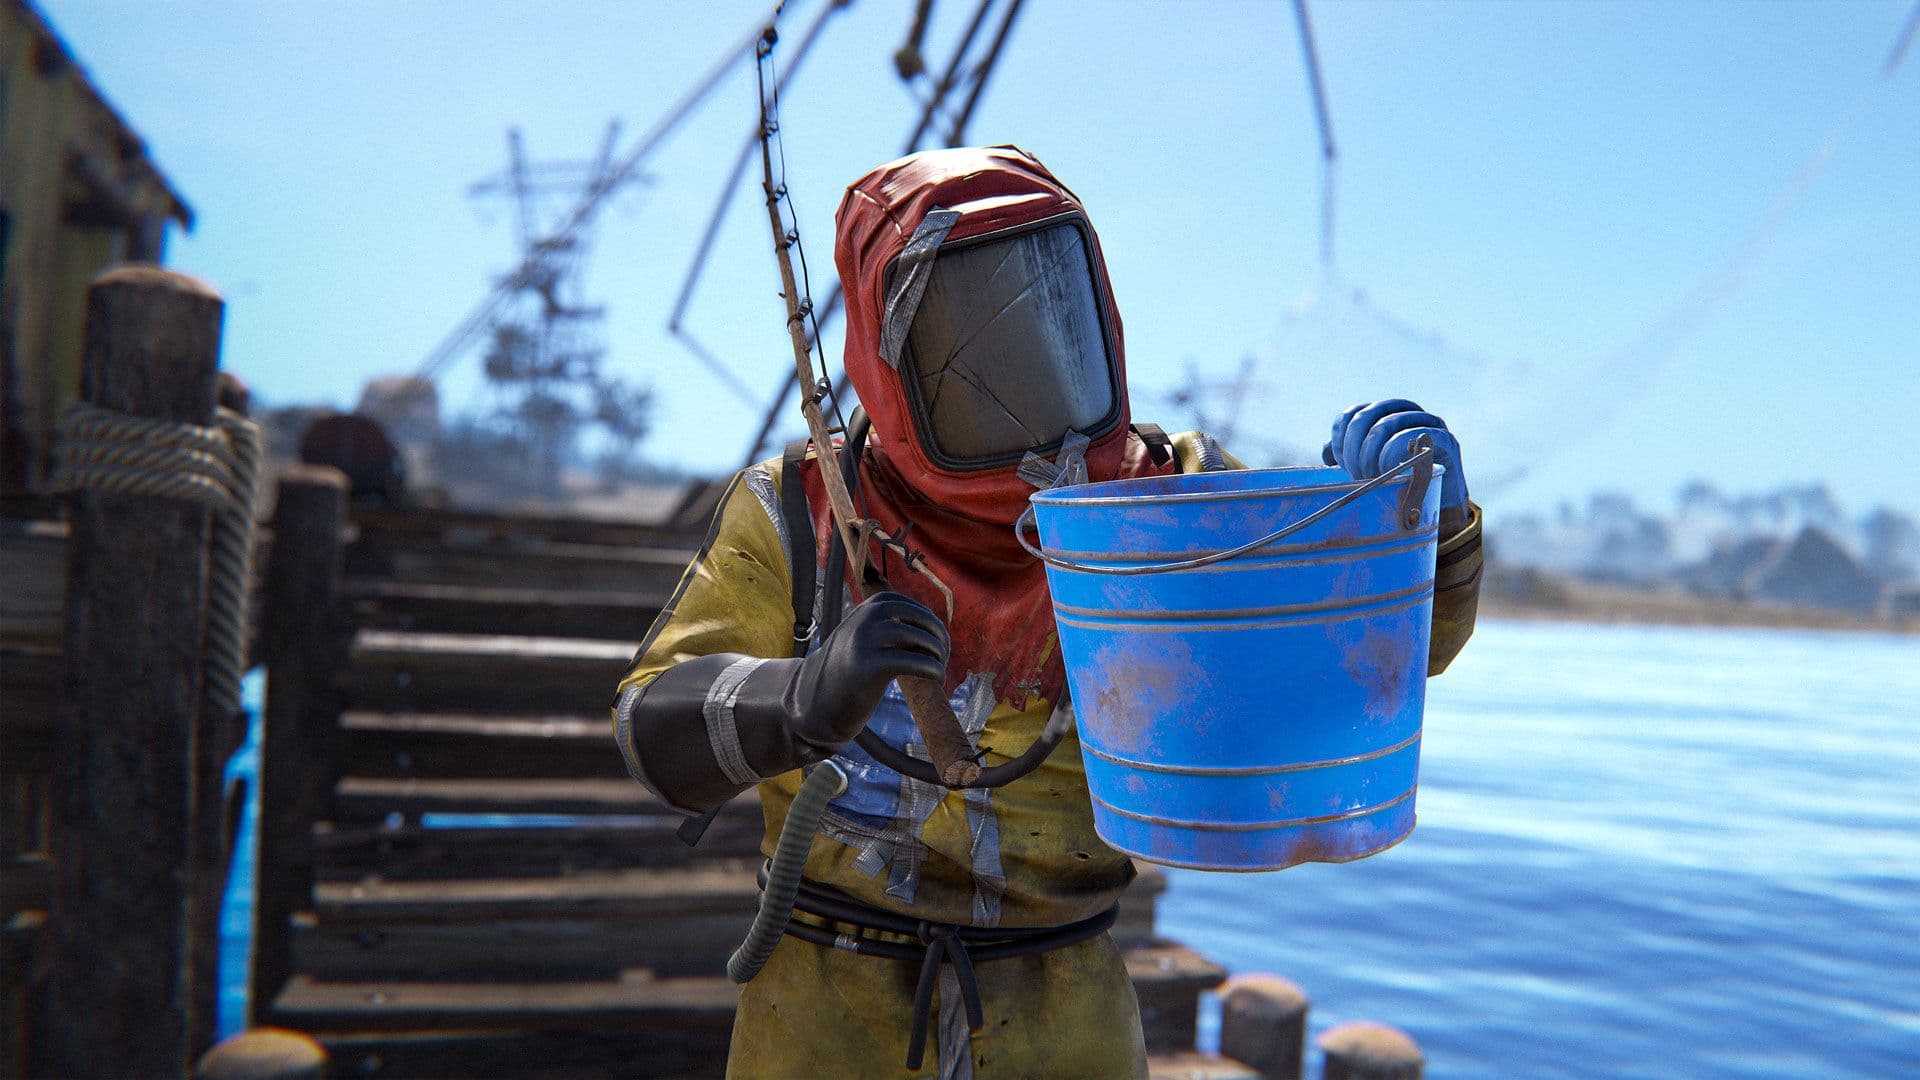
Active ocean fishing adds reach, but the route leaves the village’s protected services.
| Wipe-day plan | Best fit | Main tradeoff |
|---|---|---|
| Trap-supported shoreline | Solo player with little starting Scrap | Passive supply, but limited by bait and shoreline access |
| Active rod-fishing route | Solo or duo willing to travel | Better reach, but requires exposed boat trips and location rotation |
| Diving-focused base | Player pursuing underwater loot and missions | Strong progression rewards, but higher shark and PvP risk |
| Recycler-centered base | Player processing components constantly | Faster recycling access, but less safe-zone protection |
For a low-cost solo start, build outside the village’s no-build boundary and use the shoreline traps as background support. You can visit the village for marine services and return catches to the Fish Exchange, while spending your active time on gathering, building, or scouting. This is the least Scrap-intensive option and asks the least of your attention, but it should remain a supply loop rather than your only source of income.
Choose the active rod route when you or a teammate actually wants to fish for longer stretches. Use the kayak or upgrade to a Rowboat, RHIB, or submarine to reach a more secluded fishing area, then bring eligible catches back to the Fish Exchange. The extra distance gives you more route options, but it also puts you in ordinary contested ocean territory. Outside the safe-zone boundary, you remain exposed to PvP, sharks, overfishing, and the normal costs of marine travel. If a rod-fishing area becomes overfished, you must rotate locations or wait instead of treating the village shoreline as an endlessly productive spot.
A diving-oriented base makes sense when the goal is underwater progression rather than passive fish supply. Earn or purchase the diving equipment, then use the village as the launch point for Underwater Bounty, Shark Hunt, and An Important Broadcast, which can provide a Double Diving Tank. This route suits a prepared solo or duo with the weapons, medical supplies, and time to handle underwater threats. Sharks can guard dive sites, so the diving loop carries a sharper failure cost than checking traps near home.
The final alternative is to live closer to a monument with a recycler and use the Fishing Village as a service stop. That arrangement makes component processing more convenient, but you give up the safe-zone protection that makes the village attractive in the first place. It is usually the better choice when recycling is part of nearly every run, while a village-adjacent base is better when marine access, mission progression, and safe services matter more.
Build near a Fishing Village when your Scrap budget favors passive traps, your group wants regular boat or diving access, and you can accept a separate recycling route. Otherwise, keep your main base near the recycler you use most and visit the village only when its marine services justify the trip.