
A Rust farm can look fully connected while its outer planters quietly dry out—or worse, while a bad water source kills the crop. The dependable approach is to design irrigation as a source-to-sprinkler network: verify the water type, choose direct freshwater or purification, use gravity wherever the elevation allows, buffer variable supply, and validate the actual planter group before expanding it.
This guide covers vanilla water routing for compact and larger farms. The old official Farming Basics page’s four-sprinkler direct-pump or purifier examples and six-sprinkler barrel example are practical starting layouts for sprinkler networks, not current engine caps; they are separate from the three- or six-planter coverage groups. Planter geometry, weather, and crop demand still decide whether your build stays supplied.
Choose a water source that matches the farm’s risk
The closest water is not automatically the best water. Before you plan a hose route, identify what kind of water you are bringing to the farm and how consistently that source can supply it. In current vanilla Rust, rivers and lakes can support farming, but the water system also distinguishes different water types, including changes associated with altitude. Treat the source as a safety and reliability decision, not just a distance calculation.
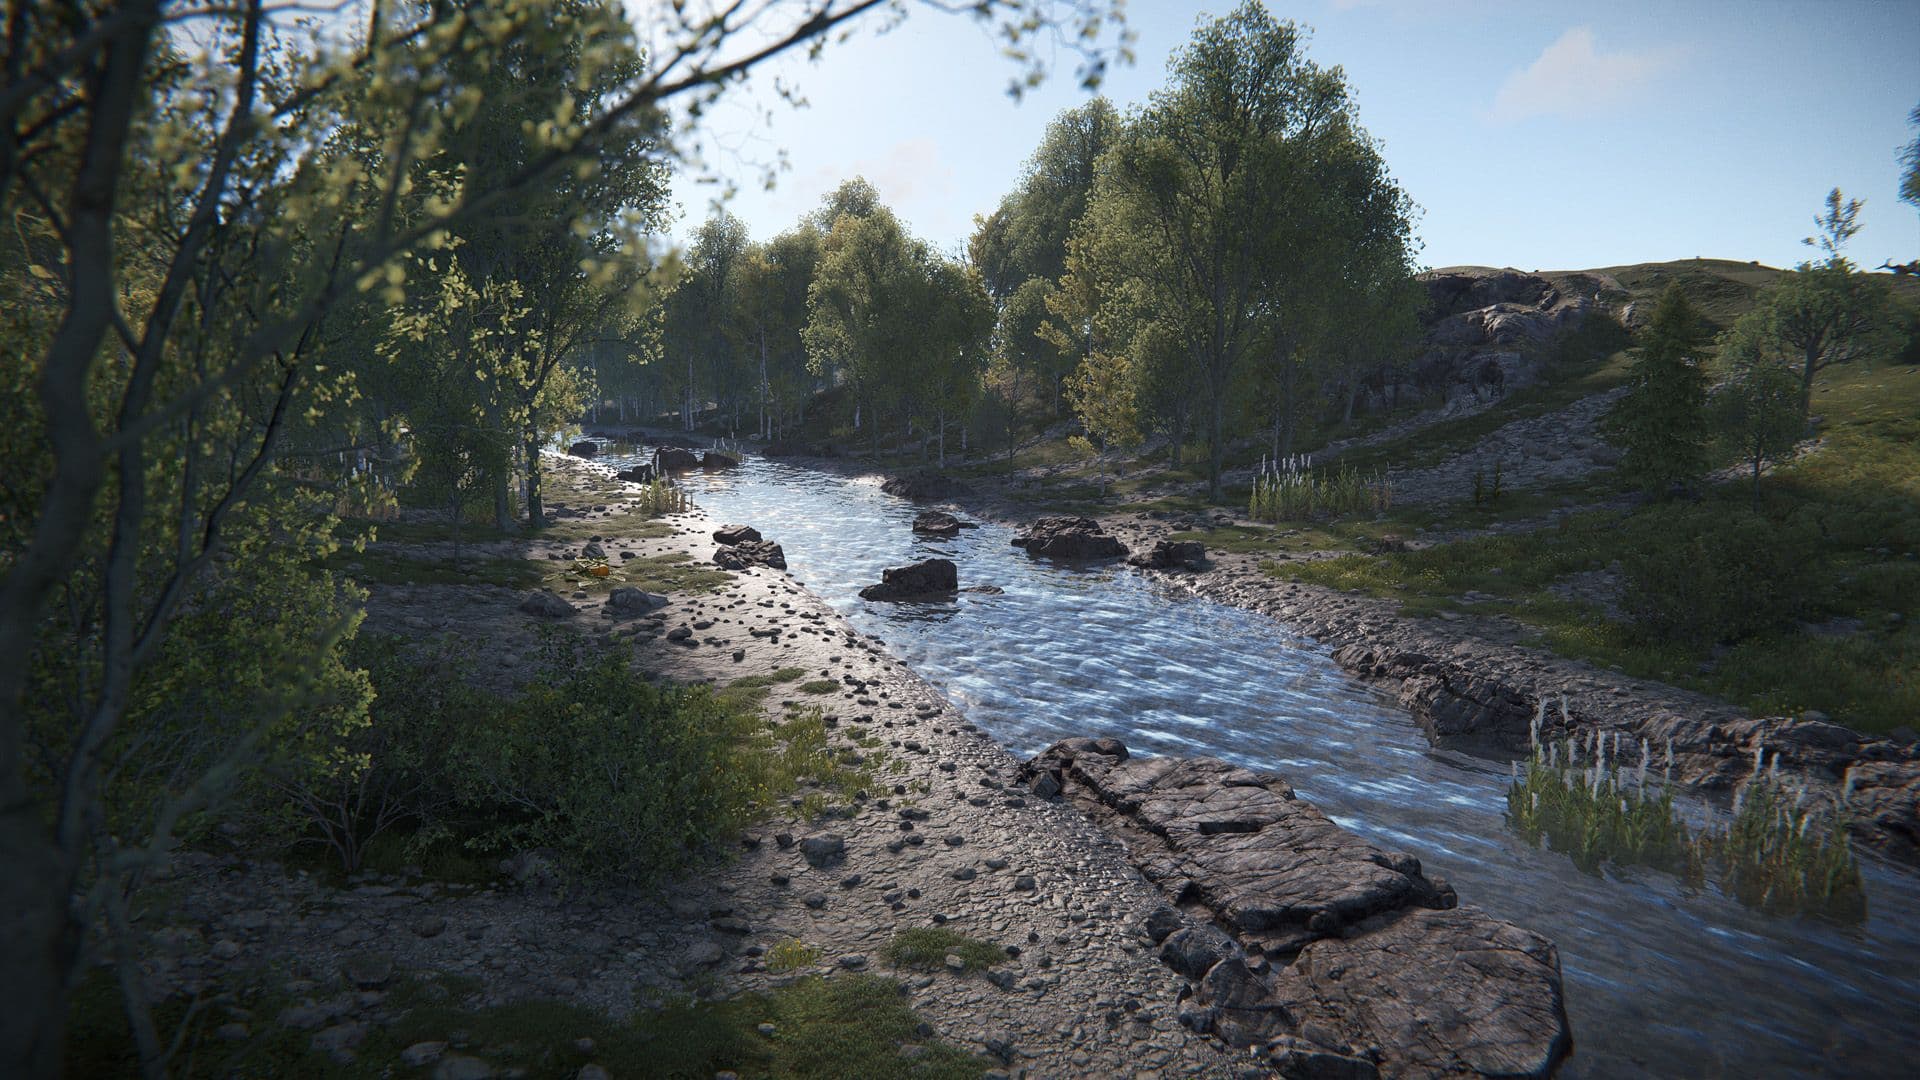
A verified freshwater source can avoid the purifier branch.
The first split is straightforward:
| Source situation | What it means for the farm |
|---|---|
| River or freshwater lake | The simplest source branch: freshwater can be used as farm supply without first converting it. |
| Ocean or other saltwater source | Saltwater must be converted to freshwater before it belongs in the sprinkler network. |
| Remote roof or ground catchers | A useful off-source option, but collection changes with weather, so it needs reserve planning rather than a fixed production assumption. |
Radioactive water is the hard stop. Facepunch’s water-system update warns that spraying it on plants kills them, and sprinklers can irradiate players. If a source is not clearly safe for farming, do not connect it and hope the plants will reveal the problem later. Check the water type first; a farm that is close to a contaminated source is less useful than one supplied from farther away with water you have verified.
That makes a freshwater river or lake the natural choice for a compact farm when the building can be placed conveniently nearby. You avoid adding a conversion stage, and the source is not dependent on rainfall. A coastal farm has a different tradeoff: the ocean may be close, but its saltwater belongs behind a powered purification branch before it reaches plants. The extra equipment and power requirement are the price of using that location; the exact connection plan comes next.
A remote roof-catcher setup solves a different problem. It lets you build where the base and farm belong instead of moving the whole build to a river, but its supply varies with weather. A catcher can be a sensible reserve source when you have enough stored water and accept that clear or poor weather may not replenish it at the same pace as rain. Do not treat its collection as a permanently available pump rate. The larger the farm or the more water-hungry the crop load, the more carefully you need to size that margin.
Here, “reliable” means that the source choice remains safe and useful under the conditions you expect—not that every source produces water continuously or that every crop consumes it identically. Crop genetics can change demand, and a layout that keeps one farm healthy may not maintain the same reserve for another. Custom maps, plugins, and altered server settings can also change the assumptions in this vanilla guide. Farming 2.0 established Rust’s modern fluid-IO model in 2020, while the October 2024 water overhaul changed the context around rivers, lakes, altitude, and radioactive water; current servers may not all behave like default vanilla servers.
So inspect the source type and the farm’s intended elevation before placing infrastructure. Choose verified freshwater for the simplest direct branch, reserve purification for saltwater, or use catchers only with enough buffer for their weather-dependent supply. Once that choice is safe, the next question is how fluid IO can carry it to the farm without fighting gravity or overloading a branch.
Build the plumbing around gravity, storage, and controlled branching
Once the source is safe, the route should do as much work as possible through gravity. Rust’s Fluid IO normally moves water horizontally or downward, so a same-level or downhill farm can use a direct hose path without powering a lift. The Hose Tool joins compatible water sockets, including those on barrels, purifiers, and other fluid deployables. Think of the system as a chain of connected inputs and outputs rather than as an electrical circuit: elevation changes determine where powered equipment is necessary.
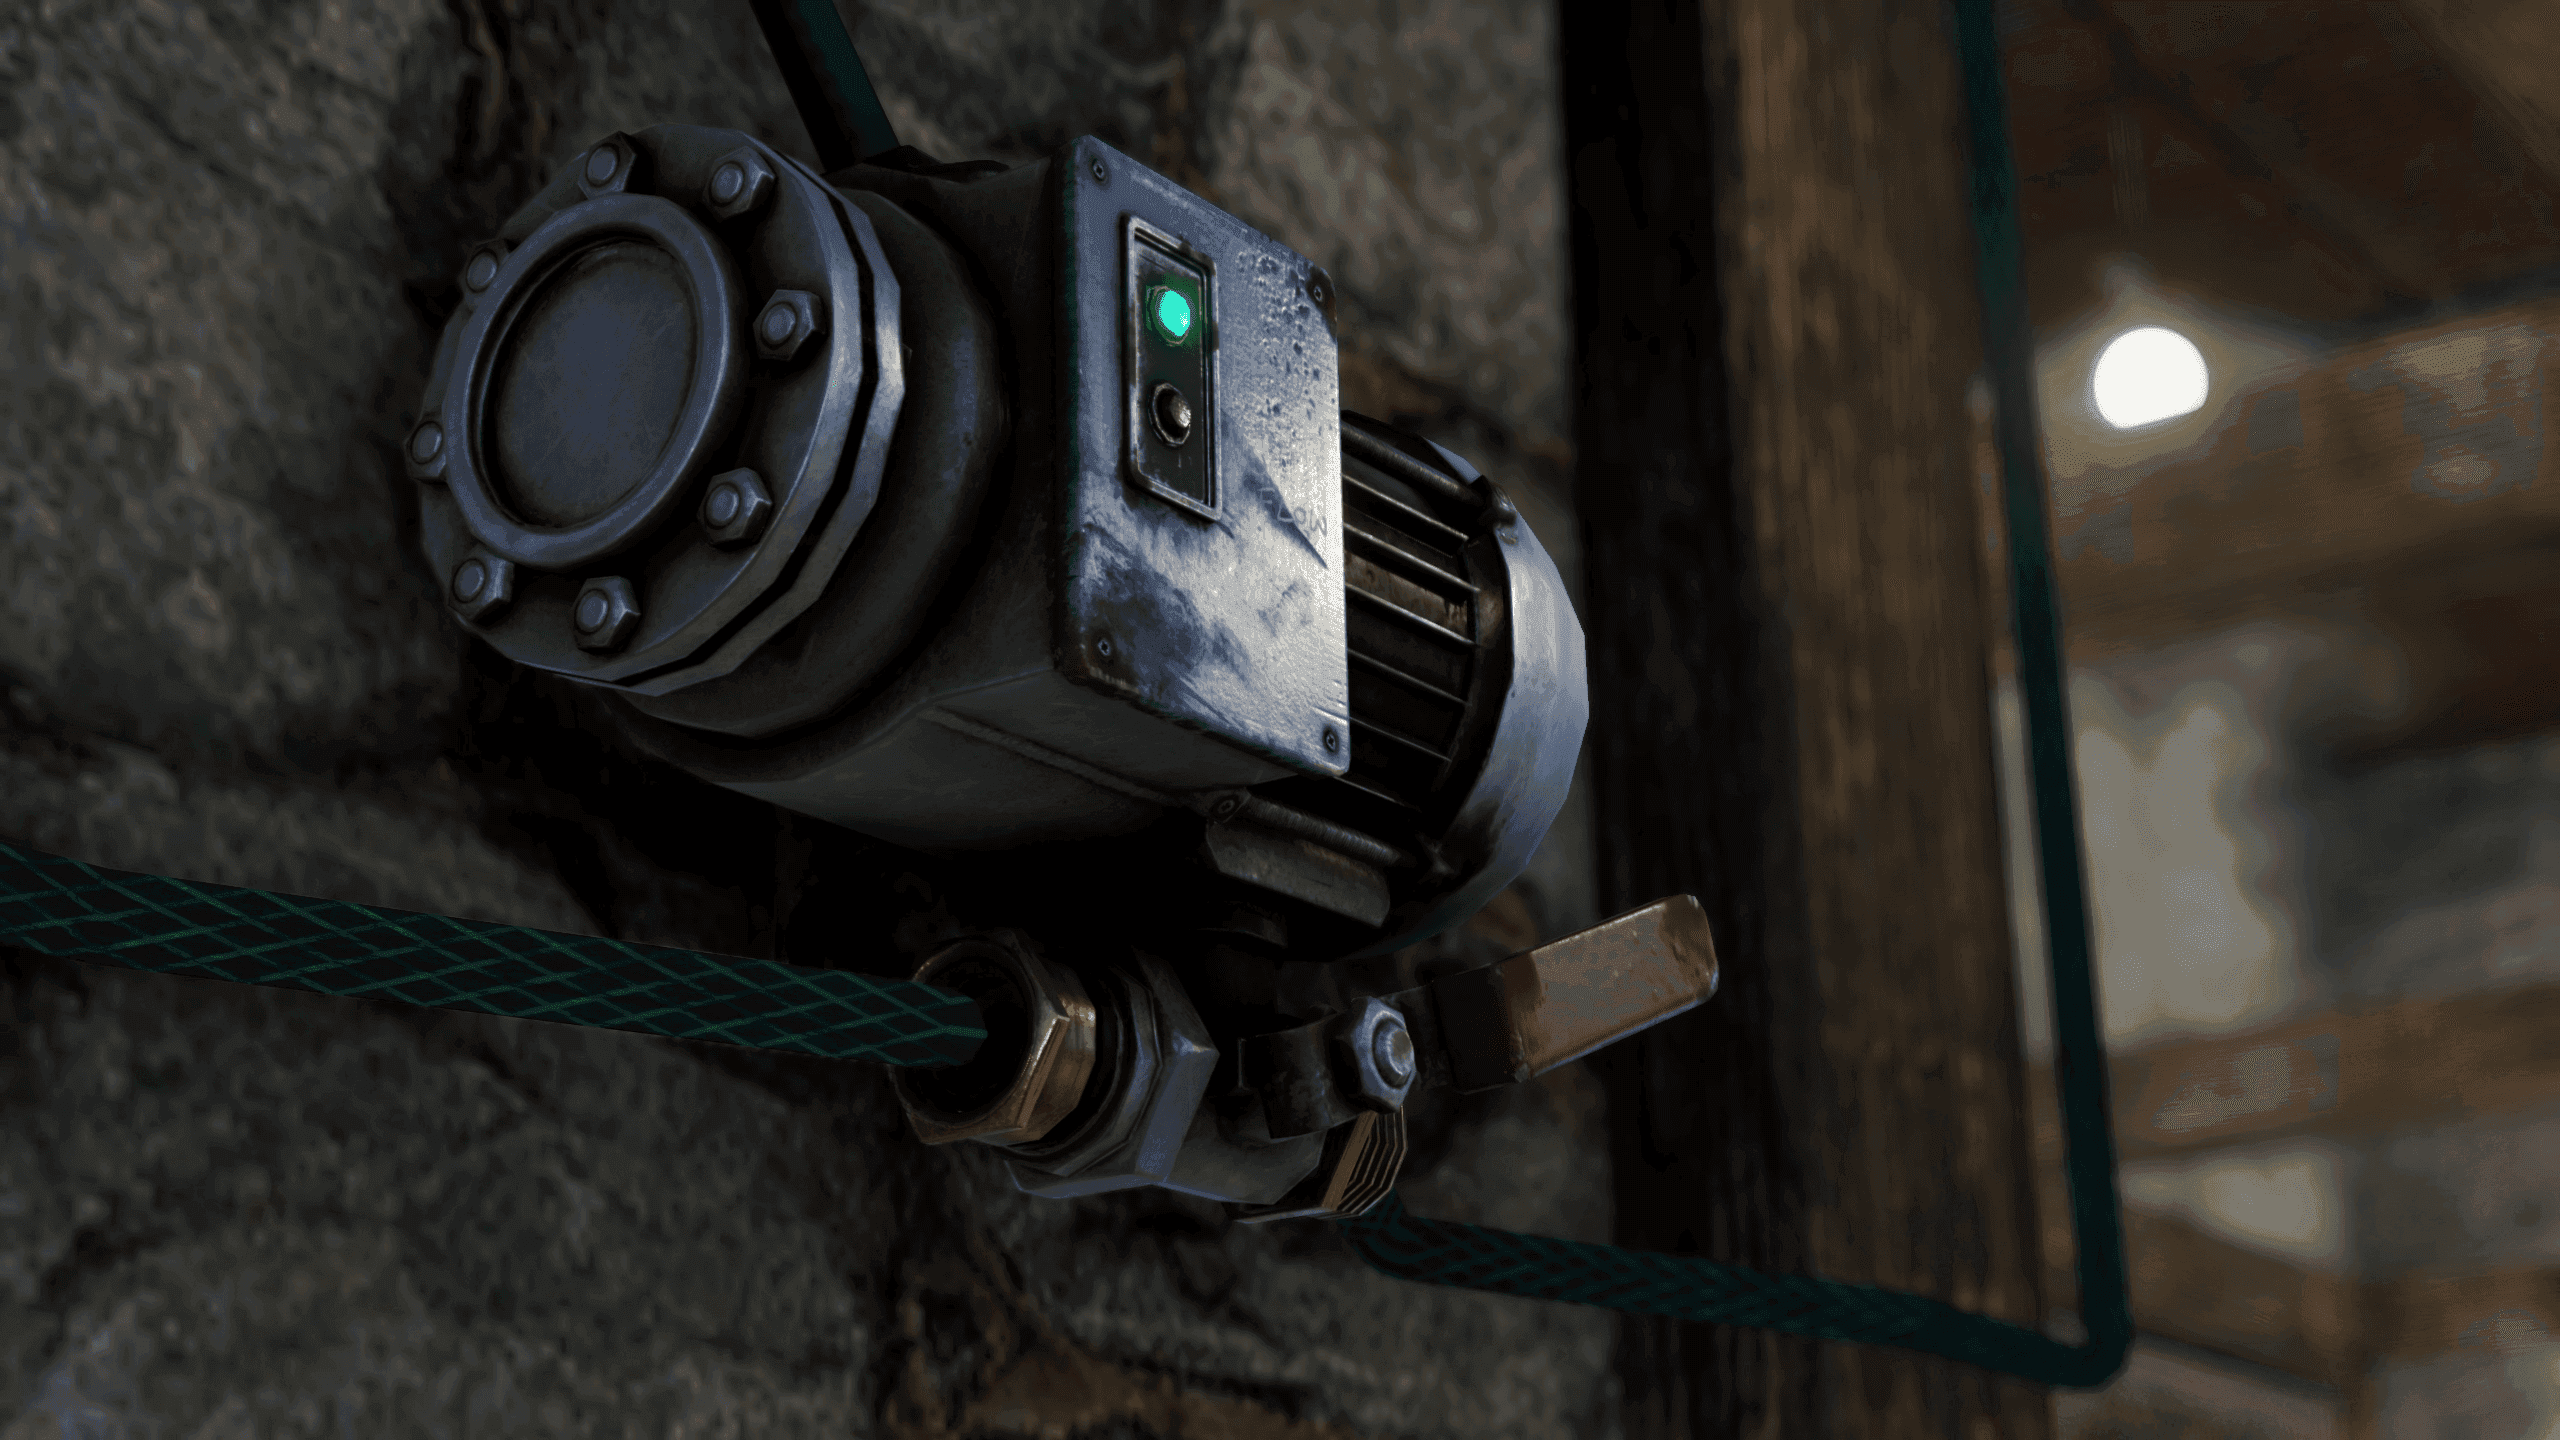
Use a powered Fluid Switch & Pump only where the route must rise.
The Water Pump is the starting point when you are drawing from a natural source. It must be placed in a valid water source, requires power, and uses 5 rW. For farm planning, treat the pump’s source generation and connected-line capacity as different limits: current structured data lists 510 ml per minute (8.5 ml/s) of source generation, up to 720 ml per minute (12 ml/s) of line output, and 2,000 ml of internal capacity. Do not turn the larger line figure into a promise about farm size; it describes the connection’s ceiling, not a guarantee that the source or every downstream branch will keep up.
For a compact farm on the same level as its source, connect the water output and let gravity carry the route toward the sprinklers. If the farm is above the source, insert a Fluid Switch & Pump where the route needs to rise. Its pump function is the powered lift that pushes water upward; the same component can also toggle flow manually or electrically. A downhill route does not need that lift function, so avoid adding powered pumping merely because the farm uses Fluid IO. Power the parts that solve an actual elevation or control problem.
Branch only after you have decided how much of the route should remain shared. A Fluid Splitter has one input and three water outputs, which is useful for sending a supply toward separate planter blocks, storage paths, or sprinkler branches. It creates connection choices, not additional water: the available flow is divided among active branches. A splitter with three hoses attached can therefore leave each branch with less water than a single uninterrupted route, especially when several sprinklers are drawing at once. A sprinkler drains its source while active and has a passthrough socket for chaining; connect the next sprinkler only after confirming that the upstream source can keep the chain supplied. Chaining should extend a tested route, not substitute for checking how the whole network behaves under load.
Use two quick sketches before you place the deployables. For a same-level or downhill farm, draw source → hose route → sprinklers and rely on gravity. For an upper-floor farm, draw source → hose route → powered Fluid Switch & Pump → upper-floor route → sprinklers, then add a Fluid Splitter only at the branch that needs to divide toward separate blocks. If the source is remote or intermittent, leave room for the storage layer that comes later instead of forcing every catcher or delivery path directly into the active sprinkler line.
This gravity-first layout gives you a clean diagnosis when the farm does not behave: a dry upper floor points first to a missing or unpowered lift, while a weak branch points to shared flow or an unnecessary split. Keep the route simple until its direction and branch points are understood; then the next decision is whether the verified source can feed sprinklers directly or must pass through the saltwater purifier branch.
Use direct freshwater or purify saltwater before sprinklers
With the route planned, keep the source-to-sprinkler chain as short as the water type allows. A verified river or freshwater lake is the compact case: place the powered Water Pump in the source and send its output directly to the sprinkler network when the connection does not need to rise. Facepunch’s official farming guidance uses a pump connected to up to four sprinklers as the simple freshwater layout. Treat that as a practical starting arrangement for a small farm, not a universal engine cap; the actual build still has to support the sprinklers you connect.
The freshwater chain is therefore:
freshwater source → Water Pump → sprinklers
Do not add a purifier to this branch just because the farm uses a pump, and do not add another powered Fluid Switch & Pump when the planned route is level or downhill. Those additions solve different problems. The direct branch is useful when a compact farm can sit near a safe freshwater source, because it avoids both the conversion step and the extra power budget of a purifier.
The coastal version has a different chain. Saltwater is not a direct farm supply; it must be converted before it reaches the sprinklers. The official saltwater example uses two Water Pumps feeding a powered Water Purifier, then sends the purifier’s fresh-water output to the sprinkler network:
saltwater source → two Water Pumps → Powered Water Purifier → sprinklers
The Powered Water Purifier uses 5 rW and converts saltwater to freshwater at a 2:1 ratio. In practical terms, two units of saltwater become one unit of usable freshwater, so the purifier is a conversion loss as well as an equipment and power requirement. Facepunch’s layout guidance describes this branch as serving up to four sprinklers, but use that as an official example to start testing rather than as a promise that every farm will stay supplied at that count.
The purifier’s exact tank and processing figures are not a sound basis for a stricter capacity claim: current specialist references disagree on those details. Keep the safe facts—the input/output relationship, 5 rW requirement, 2:1 conversion, and the two-pump topology—and size the farm from observed supply instead of turning a disputed throughput number into a hard limit. A coastal farm should never bypass the purifier to save a connection; saltwater belongs on the input side, and only the fresh-water output should feed the plants.
That gives two compact decisions:
| Farm situation | Starting chain | Main tradeoff |
|---|---|---|
| River or freshwater lake nearby | One powered Water Pump directly to the sprinkler network | Simplest route, with no conversion stage; begin with the official up-to-four-sprinkler example and test the real layout. |
| Coastal farm using saltwater | Two Water Pumps into a powered Water Purifier, then fresh output to the sprinklers | Works from a saltwater location, but costs 5 rW and loses half the input volume through the 2:1 conversion. |
Choose the first chain for a small farm that can reach verified freshwater without an upward lift. Choose the second when the location makes saltwater the practical source, and reserve power and room for the purifier before laying out the farm. Once either source has been converted into a usable sprinkler feed, the remaining question is how to hold water between collection or transport and active sprinkling; that buffer layer is what the next section addresses.
Buffer weather and transport with barrels and catchers
A source does not need to sit beside the farm to be useful, but variable supply should not feed the sprinkler network without a buffer. A Water Barrel holds 20,000 ml and has separate water-in and water-out sockets, so it can sit between collection or delivery and active watering as a buffer.
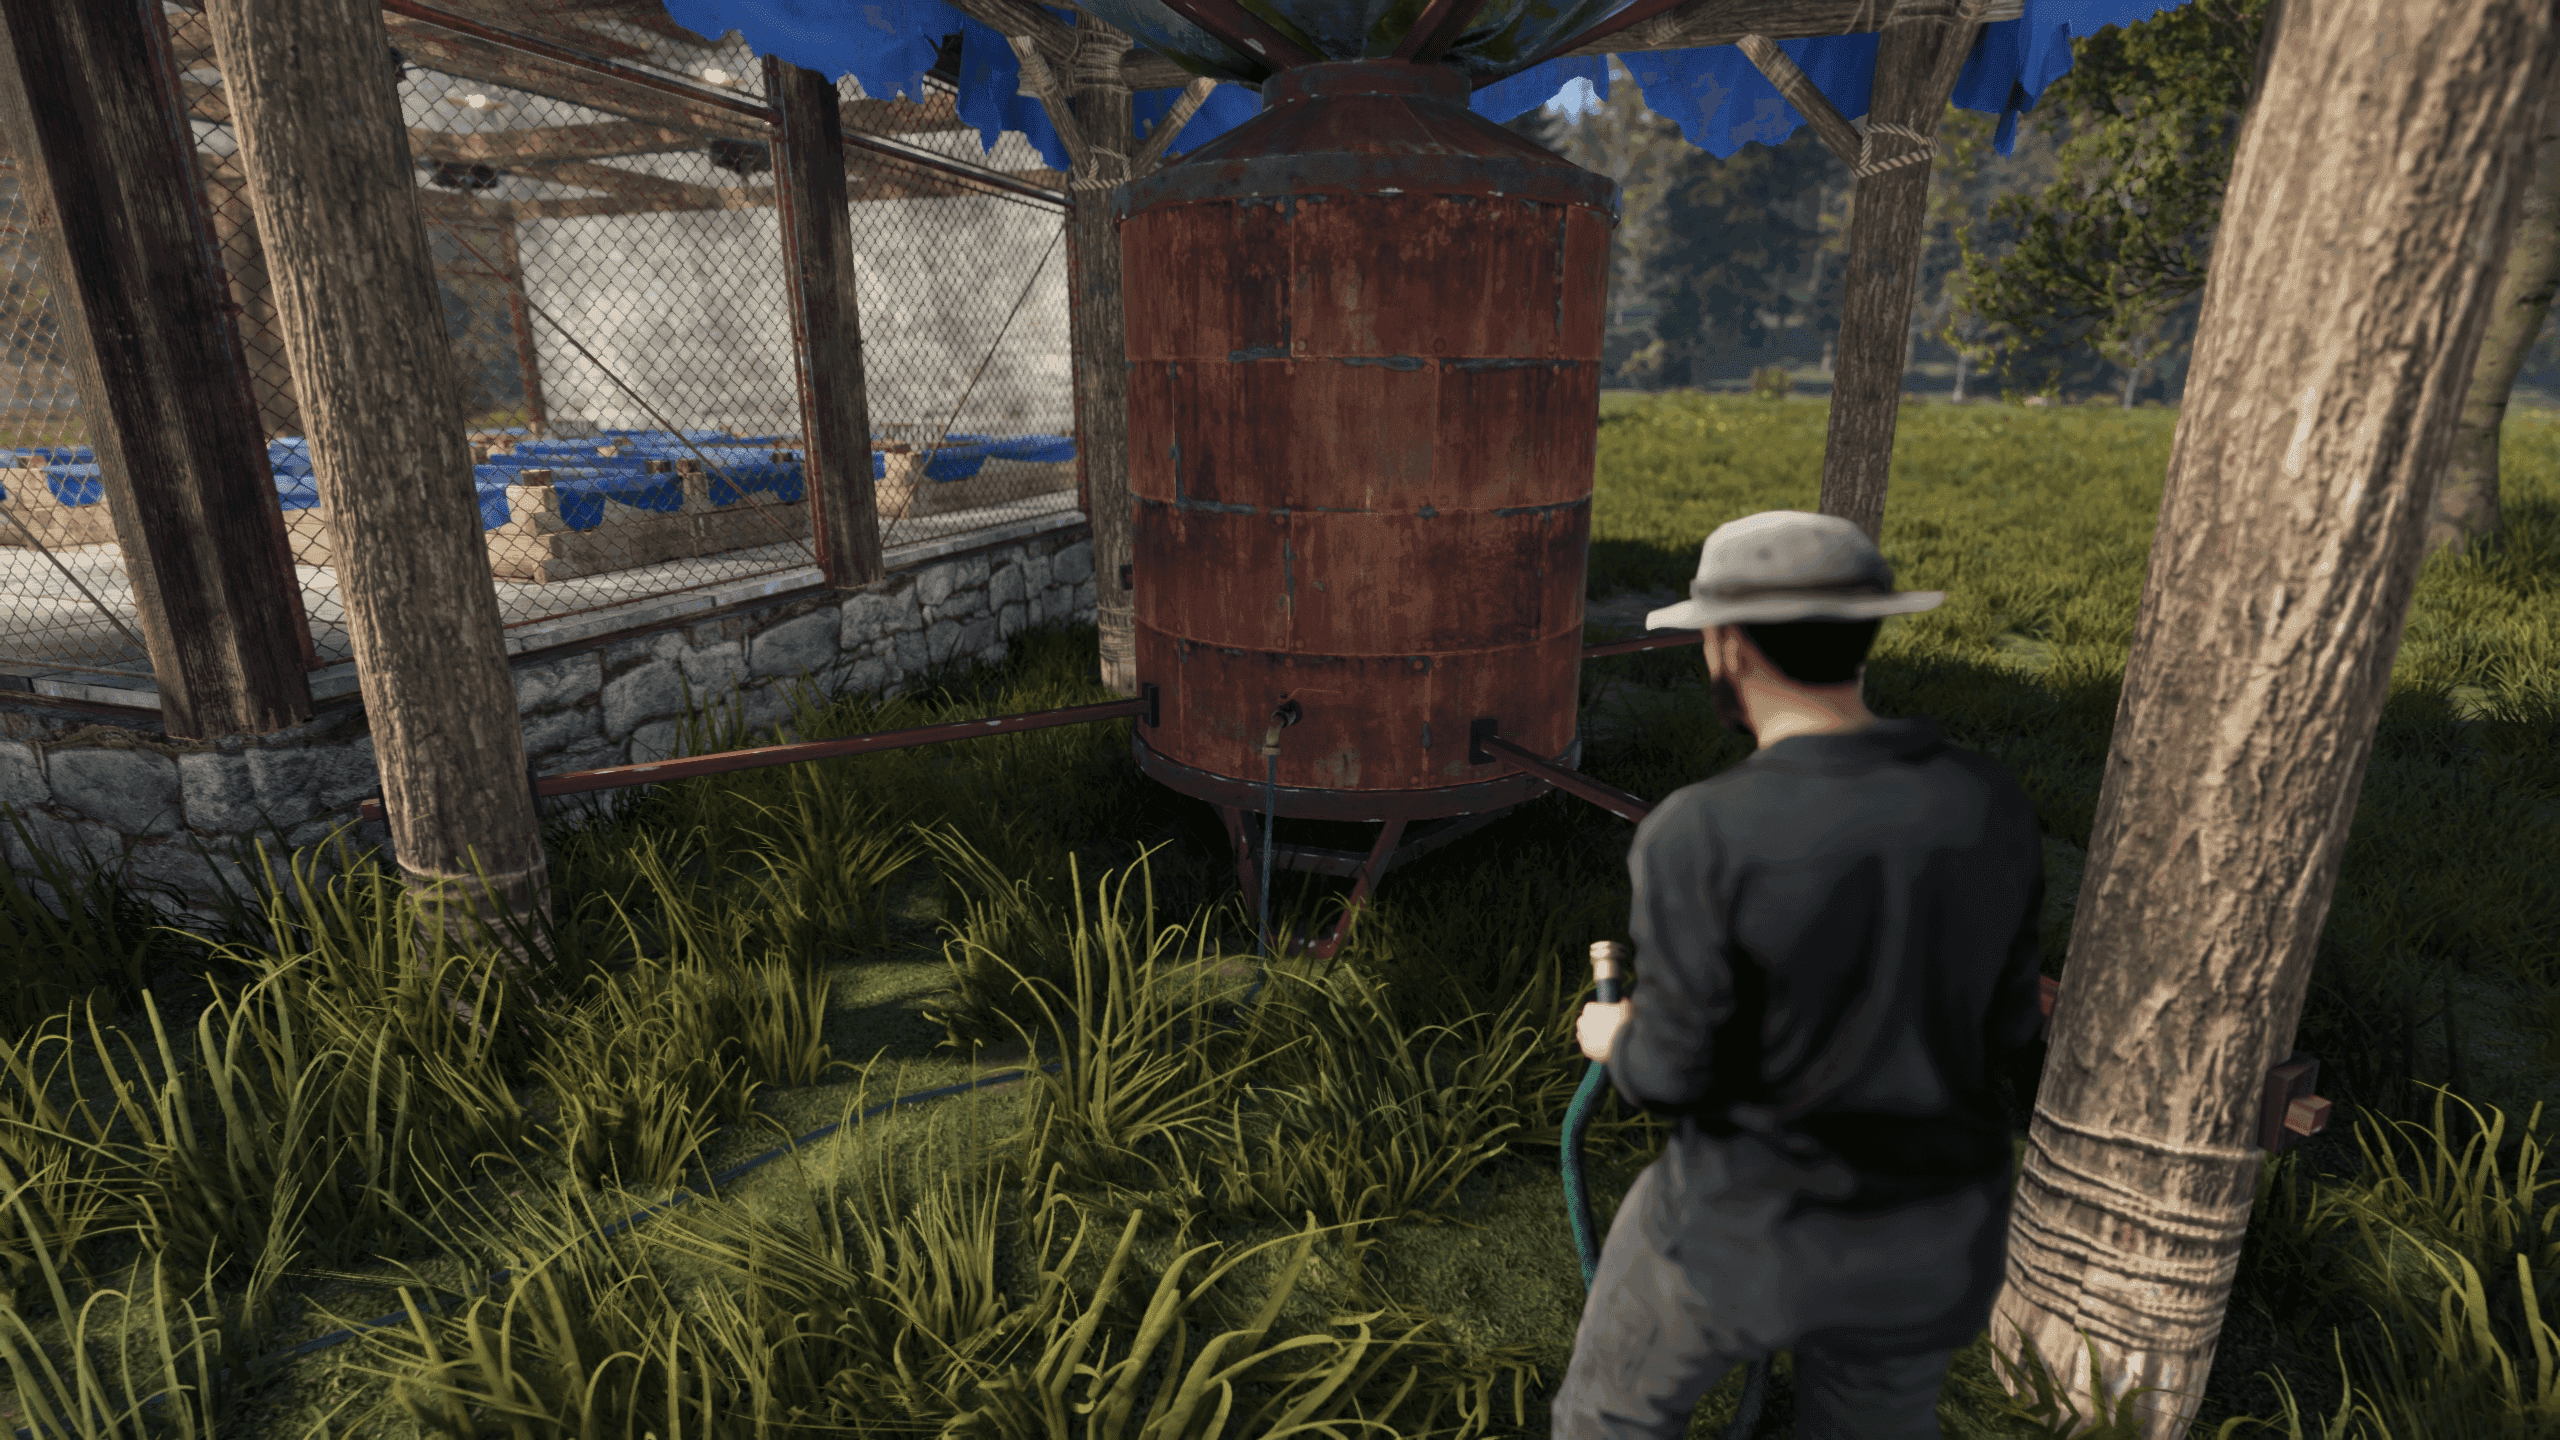
A Water Barrel buffers collected water before it reaches the sprinklers.
That makes off-source farming practical. Facepunch’s official guidance describes connecting a vehicle through a Fluid Splitter to Water Barrels, with up to six sprinklers connected to one barrel. Treat six sprinklers as a practical starting layout, not a universal guarantee.
A Small Water Catcher holds 10,000 ml; a Large Water Catcher holds 50,000 ml. Catchers can transfer water into storage and be daisy-chained, allowing several collection points to build a larger reserve.
Catcher collection varies with weather, so capacity is not guaranteed production. A roof-fed farm may work during rain but gradually drain during clear or poor conditions. Use catchers as reserve infrastructure, not as a pump-equivalent source with a permanent rate.
| Farm situation | Buffer plan | Tradeoff |
|---|---|---|
| Remote or mobile delivery | Vehicle → Fluid Splitter → Water Barrel → sprinklers | Officially supports up to six sprinklers from one barrel, but actual demand still matters. |
| Small catcher reserve | Small Water Catcher → storage | Compact, but its 10,000 ml reserve can empty quickly. |
| Larger farm | Large Water Catcher or several daisy-chained catchers → storage | More reserve capacity, but collection remains weather-dependent. |
| Any intermittent source | Water Barrel between collection or transport and sprinklers | The 20,000 ml buffer helps with timing; avoid disputed output-rate assumptions. |
For a small off-source farm, test whether the vehicle-and-barrel arrangement lasts through the delivery gap. For a larger farm, expand storage before expanding the active network. Keep sprinkler demand within what the reserve can sustain, especially when multiple branches draw from the same supply.
Place storage between variable collection or transport and the sprinklers, sizing it for the bad interval rather than the best collection window. If bad weather empties the farm, add barrel capacity or catchers, reduce the active block, or choose a steadier source. With supply buffered, the next question is whether sprinklers are arranged to reach the intended planter groups.
Place sprinklers by planter group and actual sightlines
Once the water reaches the farm, coverage depends on where the sprinkler can spray—not simply on whether the hose network is active. Rust sprinklers can be mounted on a wall, floor, or ceiling. When connected to a filled source, one sprays a radius and waters plants or planter boxes within range, so choose the mounting position that gives the intended group a clear path through the room.
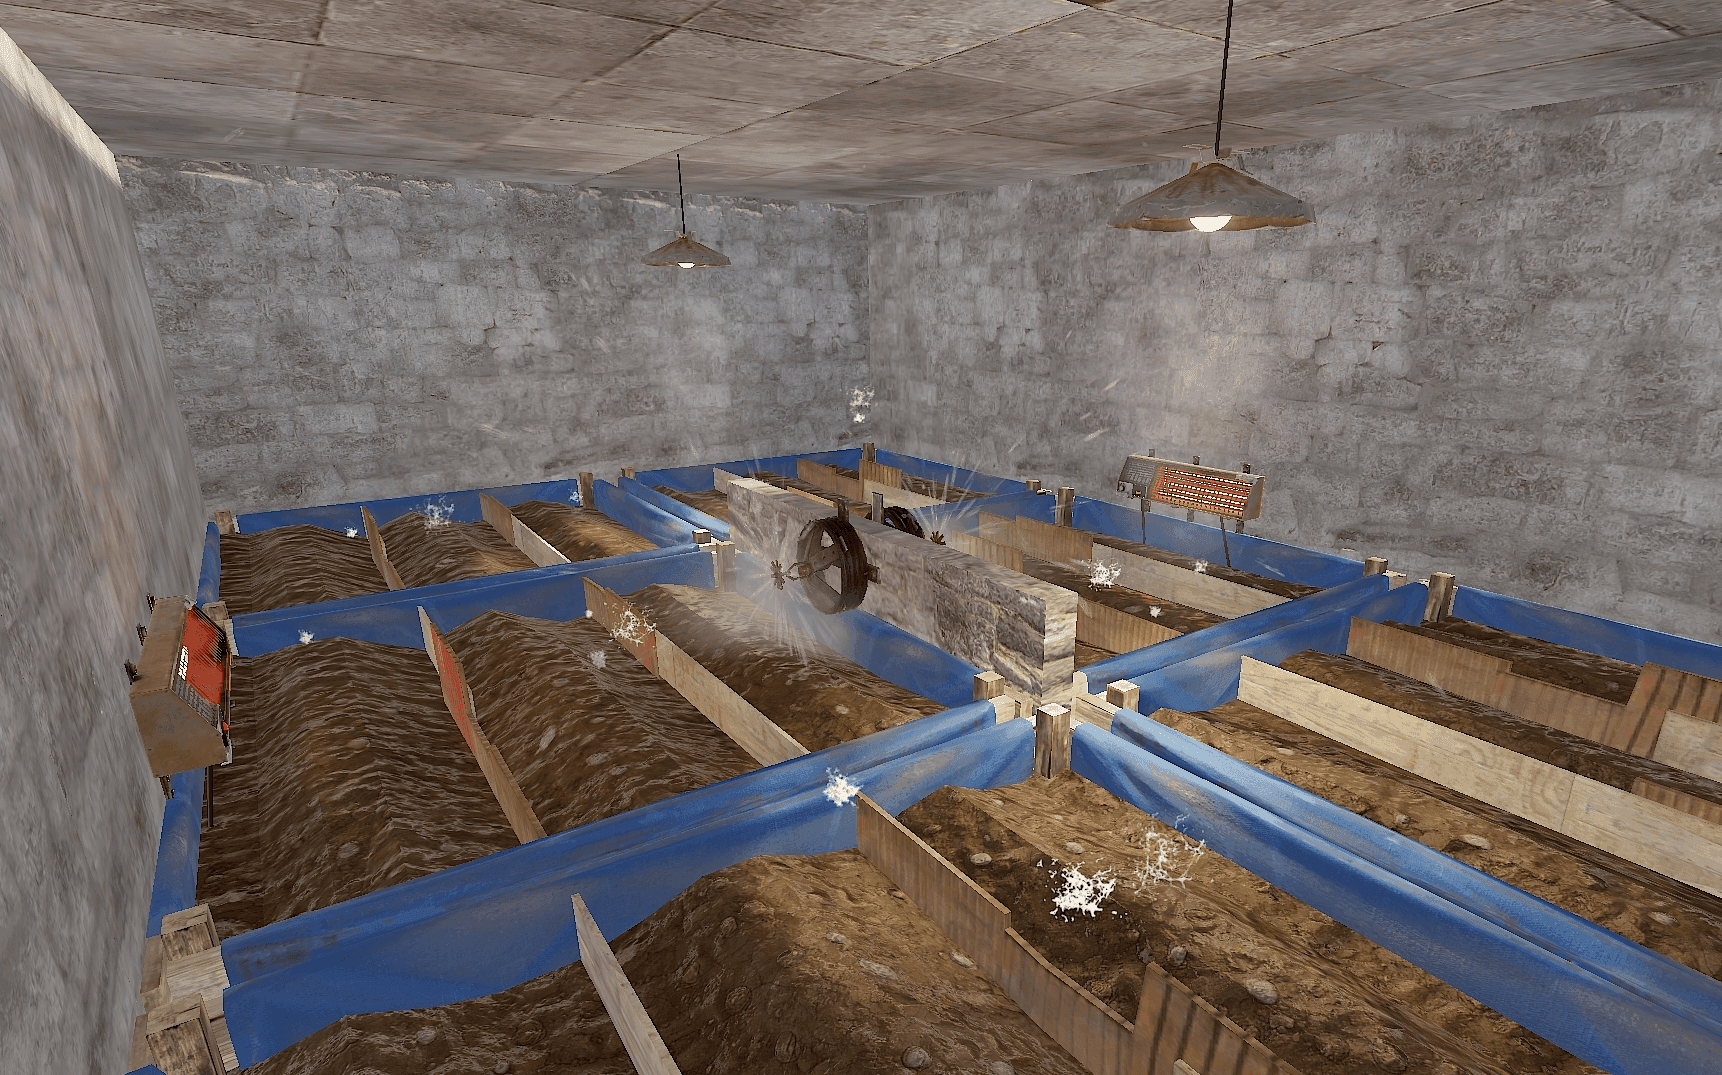
A three-planter block is a controlled starting layout for testing sightlines.
For a compact farm, start with a three-planter block. Position the sprinkler so its spray reaches those three planters while its line of sight does not also include neighboring planters. Facepunch’s official Farming Basics guidance warns that a three-group sprinkler may fail to keep its intended plants topped off if it sees more than the three planters assigned to that group. The goal is controlled overlap: the sprinkler should serve a small block predictably, rather than reach as many planters as the room makes visible.
Larger rooms can use six-planter groups when the layout gives each block more separation from the surrounding planters. The same official page describes the six-group arrangement as less exposed to unwanted line of sight, but slower to fill in its comparison—approximately 4 mL versus 5 mL for the smaller grouping. That page is marked “Updated: A Long Time Ago,” so treat those figures and layouts as dated official guidance, not a current engine guarantee. They are useful design patterns to test, not a promise that every six-planter room fills at the same speed on every crop or server.
| Farm shape | Starting layout | What to optimize |
|---|---|---|
| Compact room | A tested three-planter block with deliberate sightlines | Keep the sprinkler from seeing extra planters, then repeat the block when the farm grows. |
| Larger indoor farm | Separated six-planter blocks with one tested sprinkler arrangement per block | Trade faster filling for separation and lower line-of-sight interference; do not stretch one layout across the whole room. |
Use the approximate 3 m sprinkler radius only to choose a first position; treat it as a specialist placement heuristic, not a guaranteed engine radius or crop-independent planter count. Walls, planter spacing, height, and the other planters visible from the sprinkler all affect whether the arrangement behaves as intended. Measure the actual build in-game instead of using 3 m as a coverage formula.
The official examples for water supply give another useful starting boundary: direct pump or purifier layouts are described as serving up to four sprinklers, while the off-source barrel example describes up to six sprinklers from one barrel. Those are practical infrastructure examples from the same old guidance, not universal coverage caps. A room can still fail if its sprinklers overlap the wrong planters, and a crop load can behave differently from the example that inspired the layout.
Plant demand is another reason to avoid declaring a layout finished from its central planter alone. Specialist farming guidance notes that water demand can vary, including with W genes, so two otherwise similar blocks may not stay equally topped off when their genetics differ. This guide leaves genetics and crop mechanics aside; for irrigation, the practical rule is to give each block enough coverage margin for the plants you actually intend to grow.
For a small freshwater farm, place one sprinkler over a deliberately isolated three-planter block, use the approximate radius only to choose the first position, and expand by copying a block that behaves consistently. For a large indoor farm, leave visual separation between six-planter blocks, accept the older comparison’s slower fill tradeoff, and add another tested block rather than aiming one sprinkler across a larger room. This makes the layout scalable without pretending that a single number decides coverage. The next step is to test whether the outer planters and the complete network perform as expected in the finished build.
Validate the network under its weakest expected condition
An active sprinkler is not enough to call the farm reliable. Test the outermost planters while the whole network is connected, then follow the failure upstream in a fixed order.
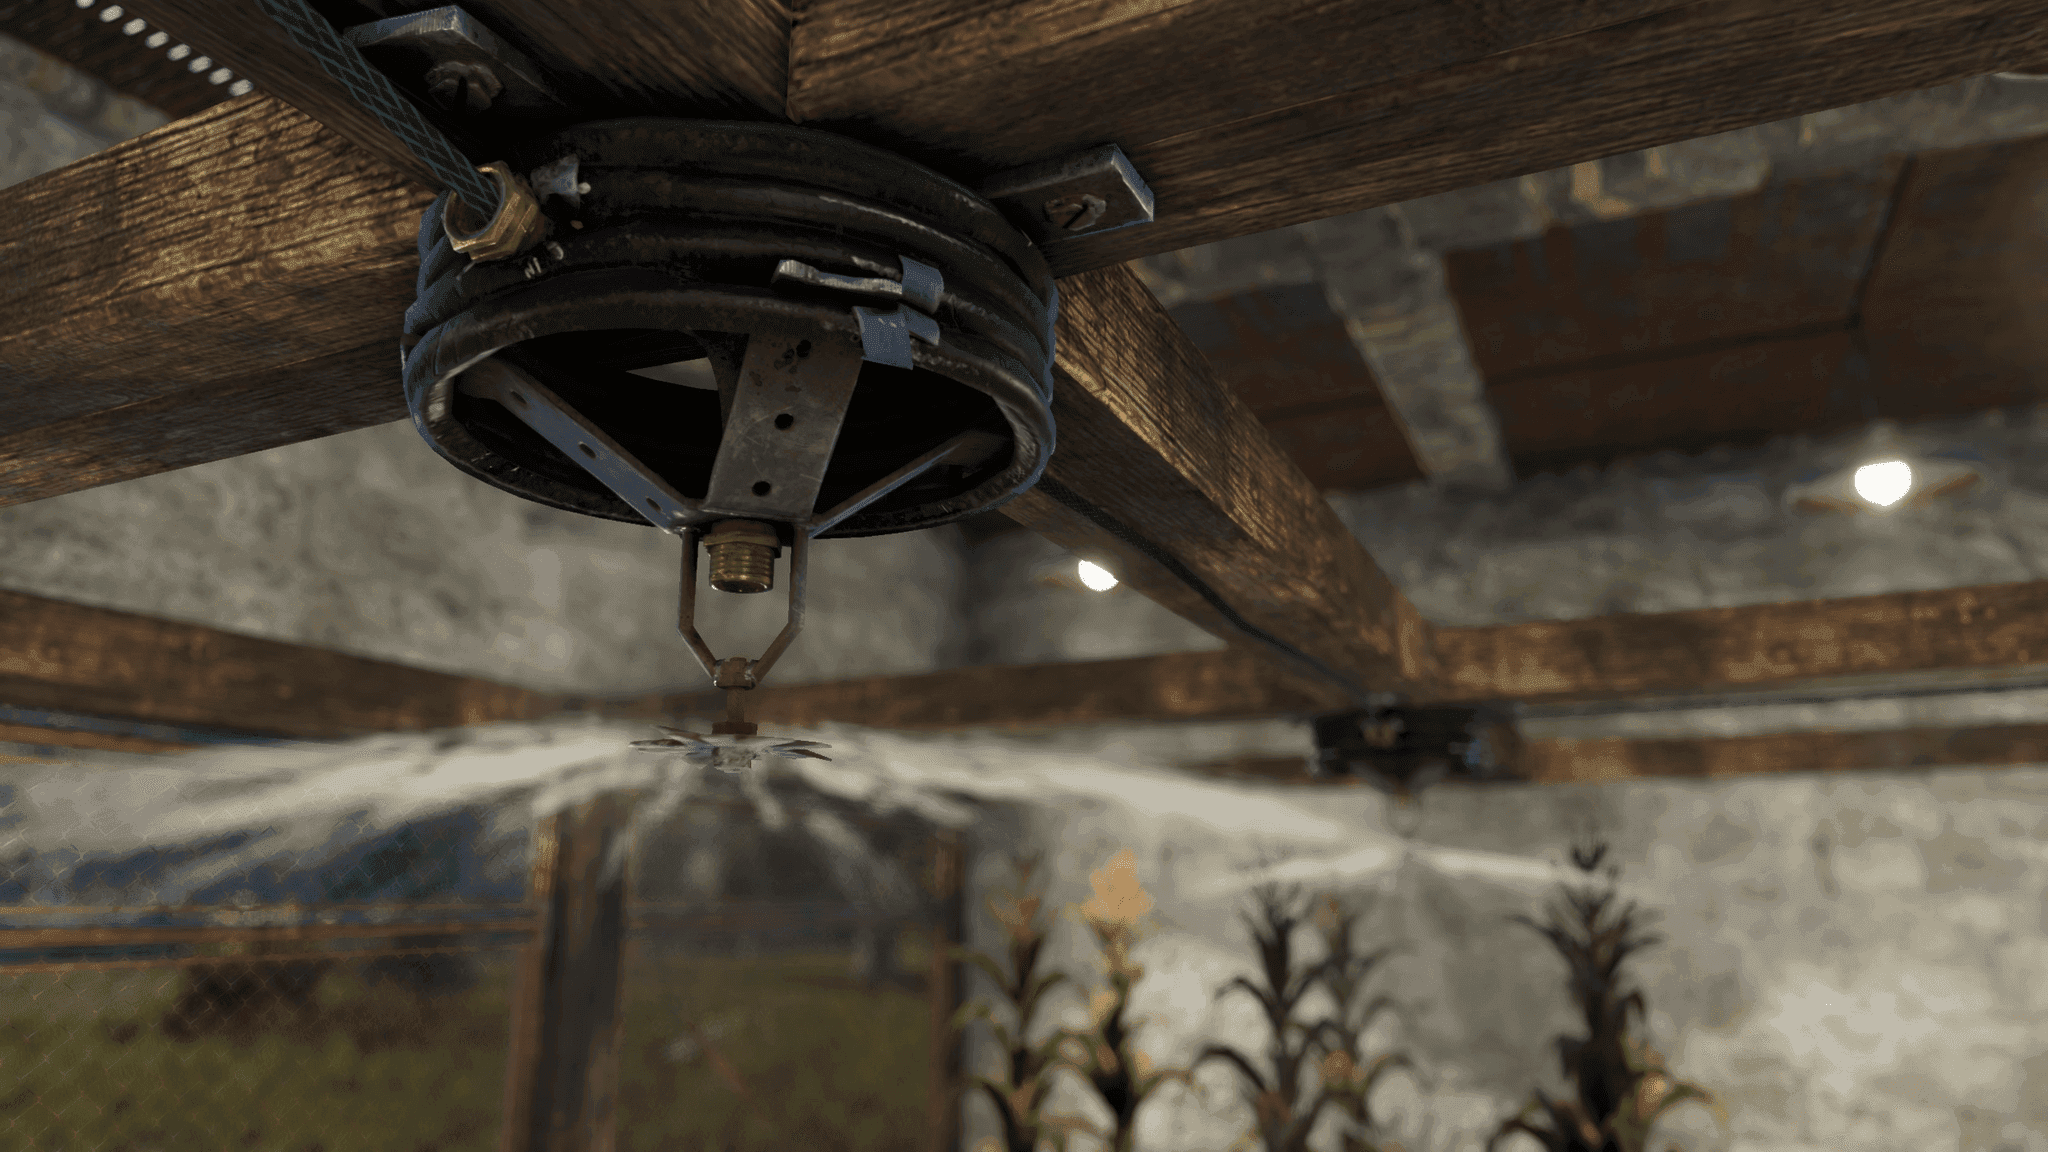
An active sprinkler is only the starting point; test the outer planters and reserve behavior.
| Check | Pass condition | If it fails |
|---|---|---|
| Source type | The source is verified as non-radioactive and appropriate for farming before connection. | Stop the route and replace the source. |
| Supply during test | The source continues feeding the connected network while the outer planters receive water; a catcher-fed reserve is not draining faster than it refills. | Refill or buffer the route, reduce the active block, or use a steadier source. |
| Route direction | Water travels through each connection toward the sprinkler. | Recheck hoses and gravity direction. |
| Splitter load | The affected branch receives enough shared supply. | Remove a branch, add storage, or reduce the block. |
| Sprinkler sightline | The sprinkler reaches only its intended planter group. | Move it or separate planter blocks. |
| Upper-floor lift | Every upward route has a powered Fluid Switch & Pump. | Add or power the lift at the rise. |
| Reserve under bad weather | Storage lasts through the expected collection gap. | Add barrels or catchers, reduce the block, or use a steadier source. |
Start with the source even when the sprinkler is visibly spraying. A catcher-fed system can look healthy while its reserve drains faster than weather replenishes it. Test storage during the difficult interval, not immediately after rain. Reliability means surviving the bad interval, not merely having a full tank once.
If the source passes, inspect direction. Fluid IO handles horizontal and downward travel by gravity, but an upper floor needs a powered Fluid Switch & Pump. Confirm that the pump is powered and placed where the route rises. Do not add powered lifting to every connection; use it only where the route actually goes up.
Next, test all branches and sprinklers together. A Fluid Splitter provides three outputs but divides existing supply. If one planter group dries only after another branch connects, the network has failed under shared load. Simplify the split, buffer the branch, or repeat a smaller tested block. The older four-sprinkler pump or purifier examples and six-sprinkler barrel example are starting layouts, not universal guarantees.
When water reaches the sprinkler but the outer planter stays dry, check the room. Inspect sightline, planter spacing, mounting height, and neighboring planters visible from the sprinkler. The three- and six-planter patterns are useful designs to test, while the approximate 3 m radius is only a placement aid. Test the farthest plants and shrink or move the block if the actual geometry fails.
Treat plant death after a source change as a safety failure. Radioactive water kills plants when sprayed and can irradiate players. Stop the route, inspect the source type, and replace the unsafe supply before troubleshooting coverage. No amount of storage or pressure makes radioactive water suitable for farming.
Current pump, barrel, and catcher figures were checked on August 1, 2026, while the official Farming Basics layout page is marked “Updated: A Long Time Ago.” Vanilla behavior is the contract here; plugins, custom maps, and altered rates can differ. Mark the farm reliable only after its source is verified as non-radioactive and appropriate for farming, the outer planters continue receiving water with the whole network connected, every upward route lifts water, and the reserve does not run down during the expected weak-weather window; otherwise return to the failed layer—source, route, buffer, or coverage—and change that layer.