
Core RTS Combat Mechanics in War of the Three Kingdoms
Welcome to the chaos of the battlefield. In War of the Three Kingdoms, the difference between a glorious victory and a crushing defeat lies not just in your army's size, but in mastering the real-time systems that govern every clash. This guide will break down the core mechanics that make combat feel immediate, strategic, and deeply satisfying, focusing on the physicality of your troops and the freedom of command.
Strategic operations menu showing unit types and mission mechanics.
The Foundation: Real-Time Command & Collision
Forget grid-based movement and turn-based delays. Here, you command your troops in real-time. You move them freely across the map with the [L-stick] and select targets with [A]. This fluid Real-Time Combat system lets you react instantly to enemy maneuvers, pull off flanking attacks with cavalry, or reposition your archers to maintain a safe distance. It’s a test of your reflexes and tactical foresight.
This freedom is grounded by Realistic Collision Physics. Every soldier, horse, and chariot has a physical volume—they can’t simply pass through each other. This means your formation placement is critical. A tight phalanx of spearmen can create an impassable wall, while a poorly managed retreat can see your own units getting tangled and trapped. You must think in three dimensions, seizing narrow chokepoints to bottle up larger forces or creating openings for your cavalry to charge through.
Use the terrain to your advantage alongside collision physics. Lure enemy units into a narrow forest path where their numbers mean nothing, then hit them from the sides with your reserves.
Building Your Empire Without the Wait
Back at your stronghold, the Main City operates on a principle of momentum. Instant Construction means buildings and upgrades complete without timers the moment you command them. There’s no tedious waiting—you can rapidly develop your economy, fortify your defenses, and train new troops to keep the pressure on your enemies. This keeps the focus squarely on the battlefield and your next strategic move.
The Ever-Changing Battlefield
The world of War of the Three Kingdoms is dynamic. The introduction of a Day-Night Cycle adds a layer of tactical depth to the Battlefield. Visibility changes, and certain commander abilities or unit skills may have different effects or triggers depending on the time of day. An attack that works at noon might fail under cover of darkness, forcing you to adapt your strategies on the fly.
Master these four pillars—real-time command, collision physics, instant development, and the living day-night cycle—and you’ve built the unshakable foundation for every victory to come. Let's move out.
Best Unit Types and Combat Triangle Strategy
The battlefield is a chessboard, and your units are the pieces. Knowing which piece counters which is the difference between a glorious victory and a humiliating rout. In War of the Three Kingdoms, this fundamental principle is codified in the Total War Combat Triangle, a simple yet devastatingly effective rule that dictates every engagement.
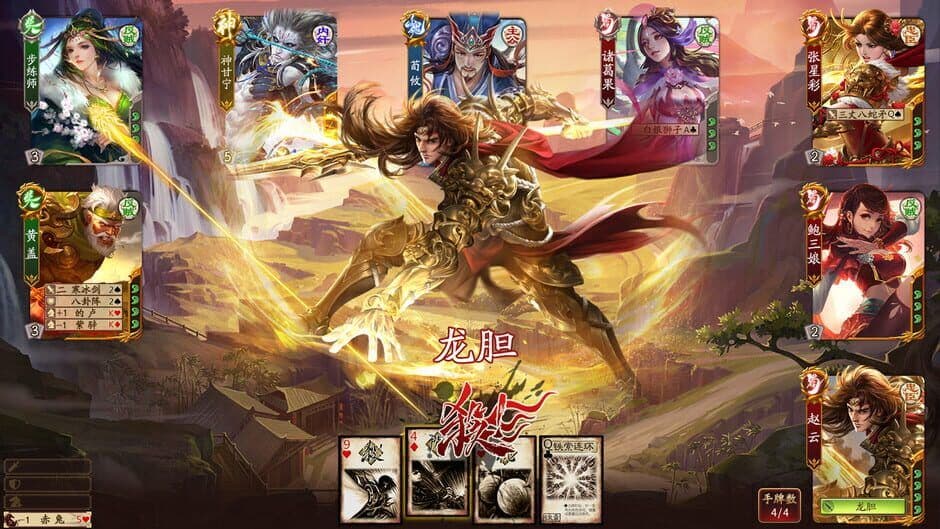
Tactical positioning is essential for victory.
Think of it as a rock-paper-scissors system for your army. Here's how it works:
- Spearmen beat Cavalry. Deploy your spear-wielding infantry to form a defensive line against charging horsemen. Their long weapons and anti-cavalry formations are designed to stop a cavalry charge in its tracks, protecting your more vulnerable units.
- Cavalry beat Archers. Use your fast-moving Cavalry for flanking and kiting maneuvers to sweep around the enemy's front line and obliterate their Archers. Ranged units are devastating from a distance but are virtually defenseless once your cavalry closes the gap.
- Archers beat Infantry. Position your Archers on high ground to rain down ranged suppression on unarmored infantry. From a safe distance, they can whittle down advancing spear lines before they ever reach your front.
Always check what you're up against before you engage. Click on an enemy unit to see its type, then order your troops to attack the units they're designed to counter. A few seconds of scouting can save hundreds of soldiers.
This triangle isn't just a suggestion—it's the core of battlefield dominance in War of the Three Kingdoms. Ignoring it means watching your elite cavalry get shredded on a wall of spears or your archer line get trampled in seconds. But mastering it lets you punch above your weight, dismantling stronger armies through smart positioning and target selection. With the combat triangle as your foundation, you're ready to build an unstoppable force.
How to Use Terrain Advantages in War of the Three Kingdoms
The flat plains are a death trap for an unprepared commander. In War of the Three Kingdoms, victory isn't just about what units you bring, but where you place them. The 3D battlefield is your greatest strategic asset—learn to read its contours and you can turn a desperate defense into a crushing victory.
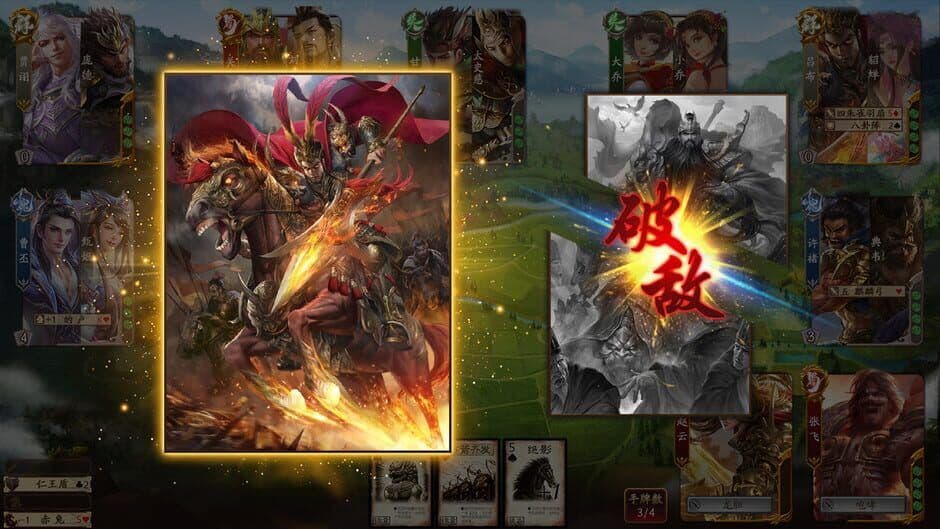
Using elevation to gain a combat edge.
Your first and most powerful tool is the High Ground. This isn't just a suggestion; it's a force multiplier. Position your archers and crossbowmen on elevated terrain, and they'll gain a massive boost to their effective range, allowing them to rain death on approaching enemies long before they can retaliate. Meanwhile, any melee unit foolish enough to charge uphill will do so at a reduced speed, arriving fatigued and less effective in combat. Trust me, before any major engagement, always scan for the nearest hill or ridge and claim it.
When defending, place your infantry just below the crest of a hill on the High Ground. This forces attackers to climb the entire slope under your missile fire before they can even engage your frontline.
Don't overlook the tactical value of Forests. These wooded areas aren't just scenery; they provide vital troop concealment. You can hide entire divisions within a forest, setting up devastating ambushes or shielding vulnerable units from ranged fire. Use them to mask the movement of your cavalry as they swing wide for a flanking maneuver, or to reposition damaged infantry without them being picked off.
When you're outnumbered, geography itself can become your ally. Seek out Chokepoints—narrow passes, mountain defiles, or single-file bridges. Here, you can deploy a small, sturdy force of spearmen to block the advance of a much larger army, neutralizing their numerical advantage. This is where the "anvil" part of the hammer and anvil tactic becomes unbreakable. A well-held Chokepoint can bottle up the enemy, letting your artillery or strategists whittle them down with impunity.
Finally, be wary of specialized terrain like Wetland and Swamp. These areas significantly reduce movement speed for most units, turning a rapid advance into a slog. If you can lure enemy cavalry into a Swamp, you'll blunt their charge and make them easy prey for your spearmen. Conversely, knowing where these slow zones are lets you avoid them during your own maneuvers, maintaining the tempo of the battle.
Mastering these four terrain types transforms the map from a simple backdrop into a dynamic chessboard. Control the high ground, use the forests, fortify the chokepoints, and respect the wetlands—you'll not only win battles, you'll win them decisively.
Mastering Formations and Tactical Maneuvers
The battlefield is chaos, but your army doesn't have to be. In War of the Three Kingdoms, true mastery comes from controlling that chaos—transforming your mass of troops into a precise instrument that can shatter armies twice your size. This is where formations and tactical maneuvers move you from a commander who fights to one who dominates.

Unit management and deployment.
The Hammer and Anvil: Your Core Battle Tactic
This classic maneuver is your bread and butter for winning decisive engagements. The principle is simple: your sturdy infantry line acts as the Hammer and Anvil ‘anvil,’ pinning the main enemy force in place. Meanwhile, your fast shock cavalry is the ‘hammer,’ held in reserve on the flanks. Once the lines are locked, you unleash your cavalry to strike the immobilized enemy from behind or the sides. This flanking attack deals devastating morale damage and can instantly collapse an enemy formation.
Don’t commit your hammer too early. Wait until you see the enemy’s cavalry is also engaged or their line is fully committed to your anvil. A perfectly timed rear charge is often a battle-ender.
Forming an Unbreakable Line
To execute the Hammer and Anvil, your ‘anvil’ must hold. This is where smart defensive positioning is critical. Always place your Spearmen on the left and right sides of your army’s main line. This Flank Protection setup serves a dual purpose: it protects your vulnerable archers and infantry from enemy cavalry sweeps, and it provides an interception force to blunt any flanking attempt against you. A secure flank means your anvil won’t splinter before your hammer falls.
Concentrating Force: Focused Fire
While your melee units hold the line, your ranged units should be executing a strategy of annihilation. Instead of letting them fire at will, use Focused Fire. On the Battlefield, press [A] to select multiple of your missile units, then target a single enemy division. Concentrating all that firepower accelerates the unit’s casualties and, more importantly, rapidly drains its morale. Breaking one unit this way can start a chain reaction of routs across the enemy army.
The 173173 Formation: A Deceptive Powerhouse
Beyond real-time maneuvers, War of the Three Kingdoms features deep, pre-battle formation logic. One of the most potent and tricky to face is the 173173 Formation. This isn't a spatial arrangement on the field, but a strategic team composition built around three roles:
- The "1" Core Output: A primary damage dealer (like Sun Shangxiang or Lü Bu) who receives the team's full buffs and protection.
- The "7" Tactical Hubs: Key supports (like Zhou Tai or Taishi Ci) who provide critical damage reduction, debuffs, and healing to enable the core.
- The "3" Stable Foundations: Flexible units that add control, extra healing, or secondary damage.
The terror of the 173173 Formation lies in its synergy and disguise; it’s exceptionally durable, has high burst damage, and is hard to counter without knowing exactly what you're facing. To beat it, you must identify and focus fire on the "1" core output early, using crowd control to neutralize the "7" hubs that protect it.
Master these formations, and you'll stop seeing enemy blobs and start seeing vulnerabilities. You’ll pin, flank, and break superior forces with a confidence that turns the tide of any campaign.
Best General Abilities and Strategist Skills
This is where your army transforms from a collection of units into a legendary force. In War of the Three Kingdoms, the right general abilities and strategist skills don't just support your army—they define its soul and dictate the tide of battle.
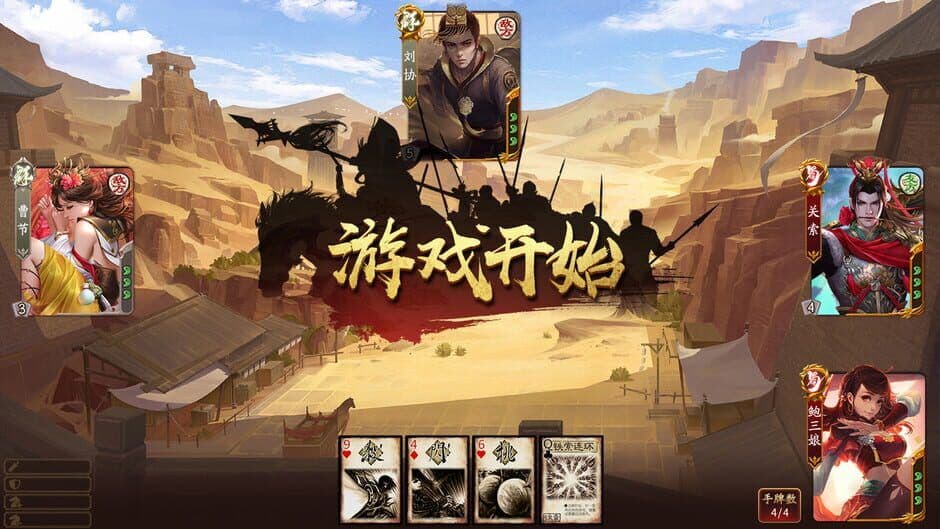
Large scale army formations.
Your commanders are far more than just powerful units; they are tactical fulcrums. For shattering the enemy's main battle line, you want Red Vanguard Generals. These shock cavalry leaders are your ultimate "hammer" in the classic hammer-and-anvil tactic. Position them on the flanks, let your infantry pin the enemy down, and then unleash the Vanguard's charge into the enemy's rear. The disruption and raw damage they inflict can collapse an entire formation in moments.
When the battle calls for a surgical strike, deploy your Champion and Sentinel Generals. These duelists excel at one critical task: hunting and eliminating the enemy commander. Sentinel Generals, with their high melee evasion, are perfect for locking down an enemy leader, while Champion Generals are the superior choice for dealing the final blow. Taking out the enemy general is a massive blow to their army's morale, often triggering a chain rout.
To amplify your ranged corps, seek out generals with the Flaming Shot skill. When you [Tap] to activate this ability, your archers will unleash fire-arrows. These flaming projectiles not only increase damage but also significantly reduce the morale of any unit they hit, especially devastating against enemies positioned near flammable objects like trees or structures.
For your spearhead assaults, nothing beats the raw offensive surge of Unending Frenzy. [Tap] to activate this general skill during a critical breakthrough attempt, and watch as your selected unit's damage output skyrockets, allowing them to carve through defensive lines and secure vital chokepoints or objectives.
Time your Flaming Shot and Unending Frenzy activations after your Champion Generals have engaged their target. Lowered morale from fire makes the enemy commander easier to kill, and a frenzy-powered unit can exploit the chaos that follows.
Mastering this synergy between unit command and special abilities is what separates a competent ruler from a legendary one. Assign your generals with purpose, time their skills for maximum impact, and you'll not only win battles—you'll dominate them.
How to Manage Army Morale and Rout Enemies
This is where the battle is truly won or lost in War of the Three Kingdoms. A perfectly executed flank can whittle down an army, but breaking their spirit—their Morale—is what triggers a full-scale collapse and a decisive victory.
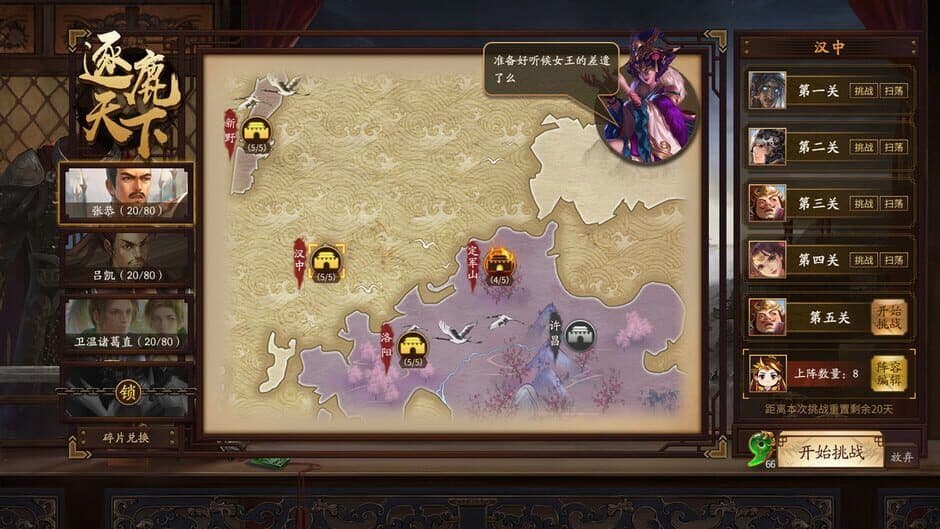
Units engaging in combat.
Your most powerful tool isn't a sword or a spell; it's your ability to read the battlefield. Click on any enemy unit to check their Morale Status. You’ll see a bar indicating their fighting spirit—when it’s low, that unit is teetering on the edge of routing. This is your cue. Focusing attacks on these wavering units is far more efficient than chipping away at a steadfast one. Once a unit flees, it triggers a Chain Rout, causing nearby friendly units to also lose morale. A single break can snowball into a full army panic, turning a close fight into a route.
Your generals are the anchors of this psychological warfare. Commander-type generals should be positioned just behind the front line. From there, their passive aura provides a steady morale boost to your entire army, keeping your own lines firm. The flip side of this is equally critical: eliminating the enemy commander is a game-changer. This is where Champion generals shine. Use them to execute a Commander Snipe; successfully killing an enemy general inflicts a massive, army-wide morale penalty that can instantly shatter their remaining will to fight.
Before committing your cavalry to a Hammer and Anvil strike, quickly click through the enemy’s backline. If you spot a unit with low morale, that’s your ideal “hammer” target—breaking them first accelerates the chain reaction across their entire army.
Managing morale is a two-front war: bolster your own with smart Commander placement, and systematically dismantle the enemy’s by targeting weak links and their leadership. Master this, and you’ll win battles not by destroying every last soldier, but by making the entire enemy army decide the fight is already lost.
Advanced Stratagems and Elemental Magic
When the clash of steel grows stale, the true masters of War of the Three Kingdoms turn the battlefield itself into a weapon. This is where elemental magic and high-level stratagems separate the warlords from the soldiers—a system where a well-timed spell can wipe an army or reverse a rout. Mastering these powerful abilities requires understanding their strict rules and devastating potential.
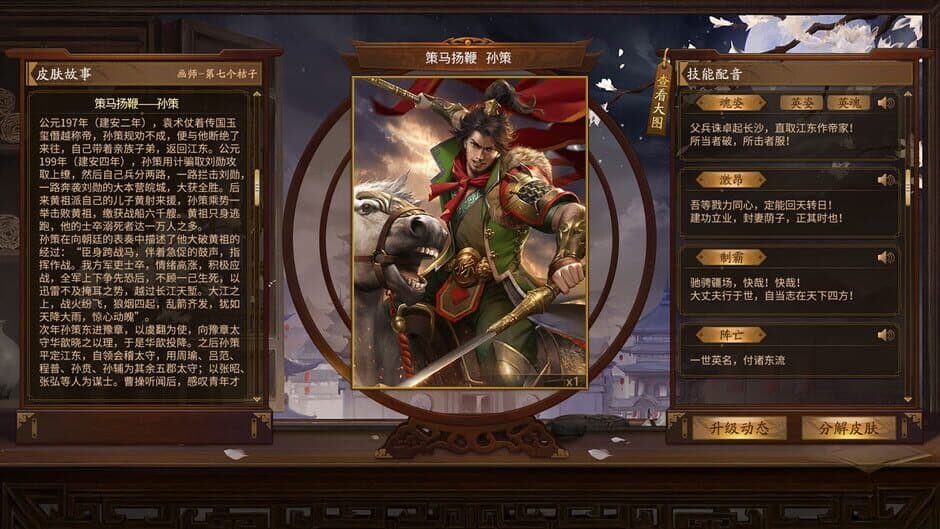
Military deployment on the strategic map.
The Four Elements: Fire, Water, Earth, and Wind
Your elemental arsenal is locked to specific terrains, making battlefield positioning and weather control paramount. Here’s the breakdown:
- Fire strategies are your most versatile offensive tools, usable on plains, forests, houses, castles, and bridges. They are essential for siege warfare inside castle walls, where other elements are restricted. However, they fizzle out completely in rain or snow unless you change the weather first. Key spells include Fierce Heat (70% damage, 6 MP) and the devastating, straight-line Heatwave (90% damage, 24 MP).
- Water strategies excel on bridges, snowfields, shoals, and seas. They are particularly potent in snowy battles, but note: the legendary strategist Sima Yi cannot use them. Specific spells like Torrent (90% damage, 10 MP) deal heavy damage, while Tsunami (20 MP) is a risky gamble with a 33% chance to instantly kill a single target.
- Earth strategies are your mountain specialists, effective only in mountains and wastelands. They have a unique trait: their area-of-effect attacks deal the same damage as their single-target versions, making them brutally efficient against clustered foes like Xiliang Cavalry. Look for Landslide (90% damage, 10 MP) and the ultra-accurate Geoam (120% damage, 18 MP).
- Wind strategies ignore terrain restrictions entirely, working against all enemies except those hiding inside buildings or forests. They are also unaffected by weather. Their hallmark is wide area coverage, culminating in the ultimate map-clearing tool: Sandstorm.
Always check the terrain before committing your strategist to a position. A Fire specialist is useless in a mountain pass, just as an Earth mage is dead weight on a bridge.
Ultimate Stratagems and Game-Changing Support
Beyond the core elements lie legendary abilities and support spells that can single-handedly decide a battle.
- Sandstorm is Sima Yi's exclusive masterpiece. For 24 MP, this map-wide wind attack hits every enemy unit not sheltered in a building, dealing 20% of their main action damage with 90% accuracy. It’s slow to cast, but when it lands, it reshapes the entire battlefield.
- Return is arguably the most important support stratagem in War of the Three Kingdoms. For 24 MP, you can target an ally and grant them an immediate second turn. This lets your strongest unit attack twice, enables a healer to save a dying unit and then heal another, or allows you to chain Sandstorm with another massive spell.
- The Prohibition System houses the ultimate elemental magics, each requiring a specific gem treasure and correct weather. Suzaku (40 MP) summons a phoenix for massive fire damage, but only under clear skies. Blue Dragon (40 MP) calls down five lightning bolts (70% damage each) with a 100% critical rate, but you must be fighting in rainy or snowy weather. These are your trump cards.
Buffs, Debuffs, and Dirty Tricks
A full magical arsenal isn't just about damage. The auxiliary and interference systems let you manipulate stats and conditions.
- Buffs like Yanbong (Agility) or Robust (Defense) increase an ally's corresponding ability by 20% for three turns. Casting them also grants valuable experience.
- Debuffs such as Swearing (Defense) or Blunt Soldier (Agility) lower an enemy's stat by 30%, making them far more vulnerable to your next assault.
- Abnormal States are fight-enders. Let a Taoist land Hebo (Confusion) on a key enemy general, and they'll be left defenseless, guaranteeing hits from all attacks. Spells like Entrapment (Immobility) can pin a dangerous cavalry unit in place for your spearmen to surround.
Calculating Your Impact
Trust me, your spells aren't arbitrary. Their damage is calculated precisely: ((Your SPR - Target's SPR) / 3 + Your Level + 25), with a minimum of 1 damage. This means a high-Spirit strategist bullying a low-Spirit target will hit much harder. Furthermore, special units like Wooden Dolls take 30% more damage from stratagems, while enemies wearing white or silver armor take 50% less. Factor this in when picking your target.
With this knowledge, you're no longer just commanding troops—you're commanding the very elements. Time your Return for a devastating combo, position your mages for optimal terrain, and unleash Suzaku when the sun shines to claim your victory.
War of the Three Kingdoms Rewards and Progression
This is where your tactical brilliance pays off. In War of the Three Kingdoms, victory isn’t just about winning the battle—it’s about securing the powerful artifacts, strategic advantages, and social connections that will define your campaign’s success. Here’s what you’re fighting for and how to leverage it all.
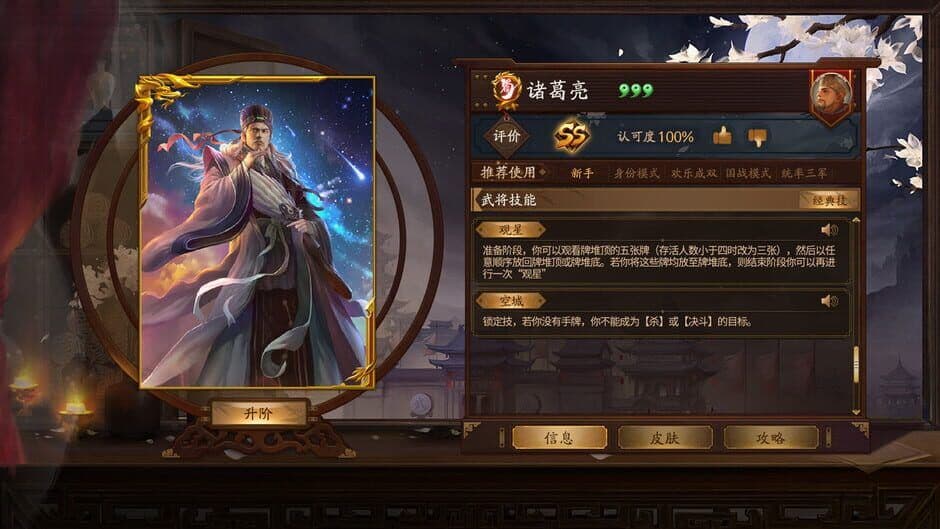
Victory in battle provides the resources needed for progression.
The Ultimate Reward: Legendary Artifacts
Your most significant power spikes come from acquiring legendary treasures, which can fundamentally alter your strategic options. These aren’t just stat boosts; they’re game-changers.
The White and Silver Armor is a defensive cornerstone. This treasure reduces incoming strategy damage by a massive 50%, making your key generals nearly immune to devastating elemental spells like Heatwave or Sandstorm. Equip this on your frontline commander or a vital strategist you need to keep alive.
For aggressive players, the Five Fire God Flame Line is the prize. This artifact increases the power of all your fire-based strategies by 20%, turning spells like Blaze and the ultimate Suzaku into absolute delete buttons. It’s especially brutal during castle sieges, where fire strategies are your primary tool.
Don’t overlook the Seven Star Sword. While its exact stats vary, this weapon is a coveted reward that significantly increases strategic accuracy for Taoist-class generals, making their debilitating Confusion and Poison spells far more reliable. A Taoist with this sword becomes a terrifying control engine.
These artifacts are often tied to major story battles, legendary general duels, or hidden objectives. Always scout enemy commanders before a fight—if they’re wearing unique gear, plan your engagement to target and defeat them specifically to claim their treasure.
The Power of Alliance: Unlocking Collective Might
True dominance in War of the Three Kingdoms isn’t a solo endeavor. The Alliance Social mechanic is your gateway to endgame content and rewards. From the Main Menu, you can form or join a powerful Alliance. This isn’t just for chat—it unlocks cooperative map objectives and exclusive defensive structures.
As an alliance, you can construct and man facilities like the War Drum Platform and Rolling Log. These aren’t just buildings; they’re force multipliers in territory defense. The War Drum Platform provides a massive area-of-effect morale boost to defending troops, while Rolling Log can wipe out entire squads that funnel into chokepoints. Controlling these facilities as a group is how you conquer and hold the most contested lands on the map.
Progression and Long-Term Goals
Your reward loop extends beyond single items. Consistent tactical play—winning battles, completing sieges, and contributing to your alliance—feeds into a broader progression system that unlocks new commanders, strategist skills, and seasonal content, like the Day and Night Cycle introduced in the "All’s Fair in War" season.
This is the long game. Each victory builds your reputation, strengthens your alliance’s territory, and brings you closer to unlocking commanders like Xiang Yu or Zhou Yu, and powerful new skills like Unending Frenzy or Fiery Battleground.
Your Campaign Takeaway
Think beyond the immediate battle. Every engagement is a step toward a legendary artifact that bends the rules of war, or a bond that strengthens your alliance’s hold on the kingdom. With the White and Silver Armor making you resilient, the Five Fire God Flame Line amplifying your aggression, and a trusted Alliance at your back, you’re not just playing for victory—you’re building a legacy. Now go claim it.