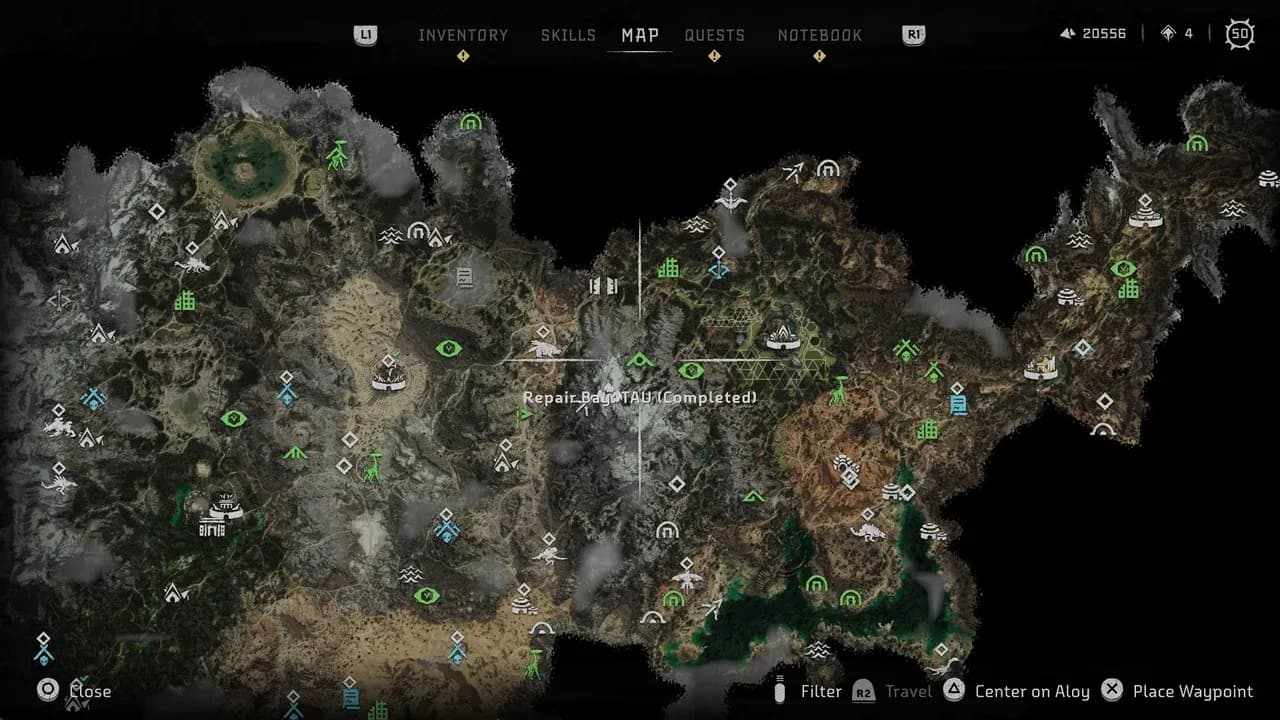
What are Cauldrons and Overrides in Horizon Zero Dawn?
In the post-apocalyptic wilds of Horizon Zero Dawn, the towering machines you hunt are born from mysterious, alien factories hidden deep underground. This guide is your key to those factories—the Cauldrons. We’ll explain exactly what these dungeons are, why you need to conquer them, and how the powerful machine overrides they grant will transform Aloy from a lone hunter into a commander of mechanical allies.
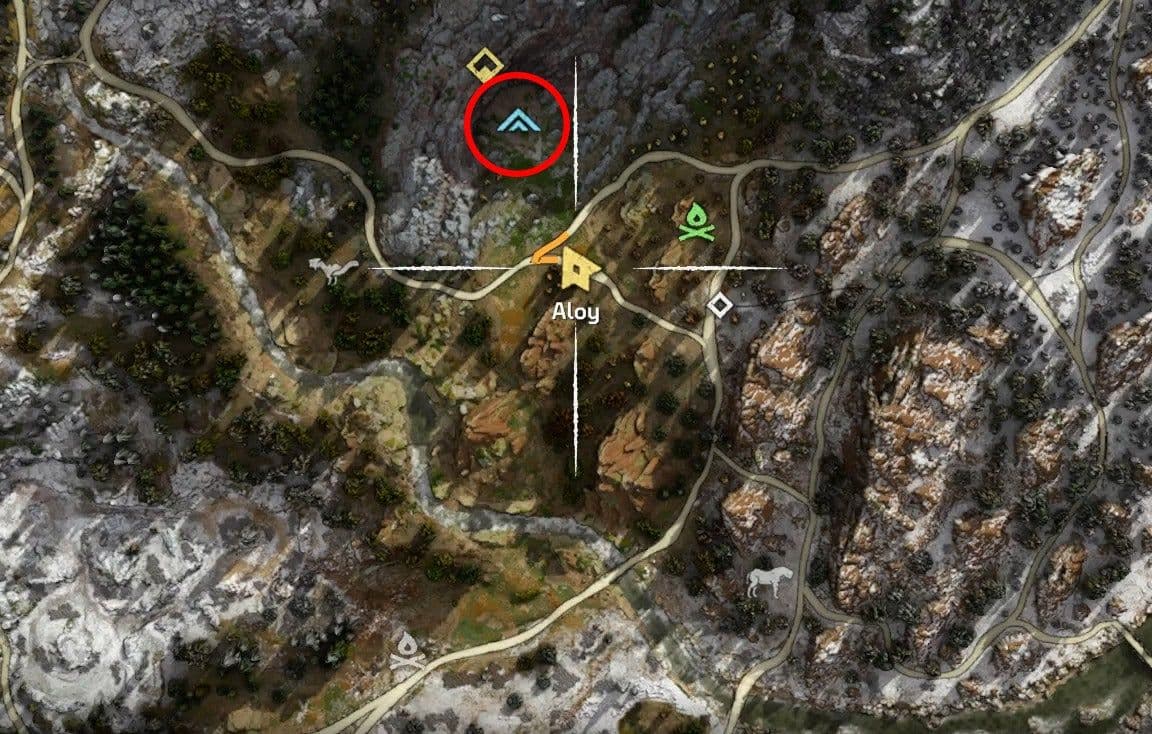
Cauldron Sigma is one of the first facilities players encounter for overrides.
The Lore and Purpose of Cauldrons
Cauldrons are the underground facilities where all the machines in the world are manufactured. They are a direct legacy of Project Zero Dawn, the grand plan to rebuild Earth after its devastation. The master AI, GAIA, created these sites to restore the planet, and her subfunction HEPHAESTUS was tasked with designing and building the specialized terraforming machines within them. For the tribes of the new world, Cauldrons are legendary and dangerous places, whispered to be the "breeding grounds" of the machines. For Aloy, they are essential dungeons to explore, filled with puzzles, loot, and formidable boss fights.
Unlocking the Power of Overrides
The entire point of braving a Cauldron is to gain new machine overrides. This mechanic is tied to Aloy’s Spear. When you’ve unlocked the correct override tier, you can sneak up on an unaware machine, hold [Triangle], and reprogram it to fight as your ally. This is a game-changing tactical advantage, letting you turn the fiercest enemies against each other and conserve your own ammunition and resources.
Your journey through each Cauldron culminates at its pulsating core. Here, you’ll face a guardian machine—or two—in a climactic boss battle. Once the coast is clear, you approach the central node and press [Triangle] to perform the Core Override. This downloads a new data packet to your spear, permanently unlocking the ability to override specific machine types.
Overrides aren't just for combat. A friendly Strider or Charger makes for a fantastic mount, and overriding a machine mid-fight can instantly turn the tide of a difficult encounter.
With the core overridden, you don't just walk away with XP and skill points—you walk away with power. You’ve permanently expanded Aloy’s toolkit, making the vast and dangerous world of Horizon Zero Dawn a little more manageable. Ready to find your first one? Let's go.
How to Find and Complete Cauldron SIGMA in Horizon Zero Dawn
Ready to claim your first machine override? Cauldron SIGMA is your perfect introduction to these alien dungeons in Horizon Zero Dawn. As the first optional Cauldron, it’s designed to teach you the ropes without overwhelming you—though that final boss will still demand your full attention.
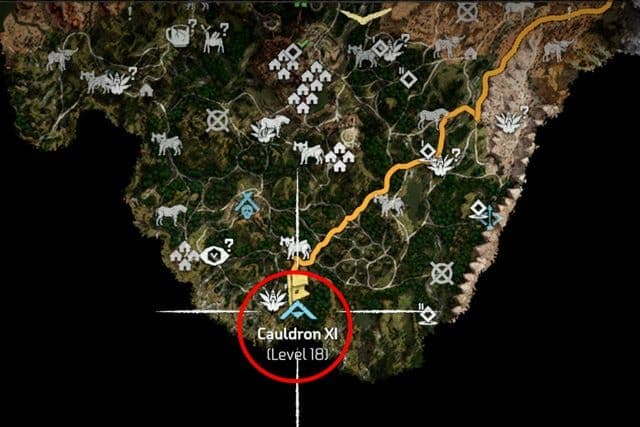
Map view of a different Cauldron location for reference.
Your journey starts at Mother's Crown. Speak with Dral, the Nora hunter who gives you the quest and marks Cauldron SIGMA on your map. It’s located east of Daytower and west of Devil's Thirst, and it's recommended for players around Level 8.
Navigating the Alien Depths
Inside, you’ll find a stark, metallic environment crawling with Watchers. Here’s your first trick: keep an eye out for SIGMA Vents. You can destroy these to create billowing steam that acts as a temporary hiding spot, perfect for breaking line-of-sight and setting up stealth takedowns.
Your objective is to override an uplink to extend a bridge deeper into the facility. After that, you’ll need to ride a moving container to cross a gap. Just follow your mission marker—it will lead you straight to the Cauldron Core area. Before you can access it, you’ll need to override a pylon to lower an energy shield. Be prepared to deal with a Shell-Walker and more Watchers guarding this point.
The Fire Bellowback Boss Fight
Once the shield is down, approach the core. This triggers the boss encounter: a Fire Bellowback. This machine is a walking fuel tank, and its primary attacks are fiery ranged spit and a devastating close-range flame blast.
Scan the Bellowback with your Focus before engaging. You’ll see its Blaze Sac weak point. Hitting this with fire arrows is risky, but landing a few precise shots or a heavy [R2] spear attack can cause a massive explosion, dealing huge damage and often stunning it.
If you’re having trouble getting close, Electric Tripwires are incredibly effective. Lay a few down in its path to shock it, creating a safe window to attack its sac or components. The key is to be mobile—dodge its projectile spit and never stand directly in front of it.
Claiming Your Reward
After defeating the Fire Bellowback, the core will rise from the floor. Walk up to it and press [Triangle] to perform the Core Override. Your success here unlocks the SIGMA override tier for your spear.
This grants you the permanent ability to override four key machines out in the wild:
- Grazer
- Scrapper
- Lancehorn
- Sawtooth
With the SIGMA core overridden, you’ve not only gained powerful new allies for future fights but also taken a major step toward mastering the machine world. Head back to the surface—your next Cauldron adventure awaits.
How to Find and Complete Cauldron RHO in Horizon Zero Dawn
Deep in the southern mountains east of Meridian, Cauldron RHO awaits—a recommended Level 11 dungeon that marks a significant step up in puzzle complexity. This is where Horizon Zero Dawn starts to test your problem-solving skills as much as your combat prowess, with intricate machinery and a challenging double-boss at its heart.
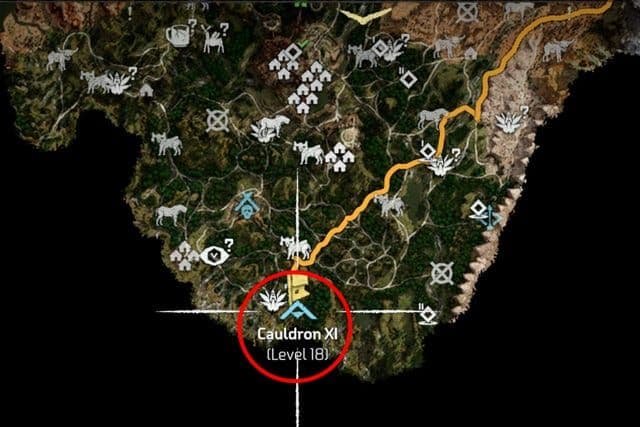
Example of a Cauldron map marker.
Your first task is navigating the turbine puzzles. Inside the main chamber, you'll see large, fan-like turbines powering bridges and platforms. To progress, you must override specific control switches (press [Triangle] when prompted) to change their rotation. This redirects power, lowering barriers and extending walkways. The path involves crossing gaps by riding moving containers and carefully aligning the turbines to create a clear route forward. If you get stuck, just remember: your goal is always to follow the power flow to the next switch.
Take your time with the turbines. The solution isn't about speed, but observation. Watch how each override affects the machinery before moving on.
After the turbine gauntlet, you'll drop into a large pool area. This is your final combat arena before the core, and it's guarded by a pack of Ravagers. Here's a trick most guides miss: before engaging, look for a ladder leading to an upper catwalk. This provides the perfect sniper vantage point against the Ravagers. Pick them off from a distance with precision arrows to their weak points to thin the herd before you jump down.
With the Ravagers cleared, you'll reach the final pylon. Override it to lower the energy shield, just like in Cauldron SIGMA, and prepare for the main event.
This is it—the Cauldron RHO Core boss encounter. You'll face a Snapmaw and a Ravager simultaneously. Don't panic. Your priority is the Snapmaw. This frost-spitting machine is weak to Burn elemental damage, so hit it with fire arrows or your tripcaster's blast wires to trigger a burning state and deal massive damage over time. Once the Snapmaw is down, focus on the remaining Ravager. Use the arena's pillars for cover against its cannon fire and target its weapon components with tearblast arrows to disarm it.
Upon victory, approach the emerging core and press [Triangle] to complete the override. Your reward is substantial: 1 Skill Point, 6000 XP, and, most importantly, the RHO Override data pack. This unlocks the ability to override five new machine types: the Longleg, Shell-Walker, Trampler, Ravager, and Snapmaw.
With the RHO core secured, you've gained powerful new allies for the wilds ahead and proven you can handle Horizon Zero Dawn's more intricate challenges. Let's move on.
How to Find and Complete Cauldron XI in Horizon Zero Dawn
Welcome to the most treacherous human territory in Horizon Zero Dawn. Cauldron XI isn't just a test of your combat skills; it’s a stealth mission deep within the heart of the Shadow Carja. Nestled in the southern Carja Lands inside The Jewel, this Level 18 dungeon demands patience and cunning to navigate the cultist-infested ruins before you even face its mechanical guardian.

Hunting machines
Your first challenge is Eclipse infiltration. Unlike other Cauldrons, the entrance and initial chambers are crawling with Shadow Carja cultists. Trust me, charging in will quickly turn into a chaotic brawl. Instead, use tall grass, silent takedowns, and your Focus to mark patrol routes. Your goal is to bypass them entirely, conserving resources and health for the real fight ahead. This is a perfect time to use your best stealth outfit.
After navigating the cultist halls, you'll reach the familiar interior of the Cauldron proper. Follow the path until you reach the Cauldron XI Core. Here, the atmosphere shifts from human threat to mechanical menace. The final boss is a deadly combination: a Stalker supported by remaining cultists. The Stalker will cloak itself, making it a ghost in the machinery.
The moment the fight starts, pop your Focus. It will highlight the cloaked Stalker, letting you track its movement and target its vulnerable power cell on its back. Deal with the cultists quickly with precision arrows or traps so you can focus entirely on the elusive machine.
Take down the cultists first to clear the arena, then concentrate all fire on the Stalker. Tearblast arrows are excellent for stripping its mine launcher and stealth generator. Once it’s down, approach the emerged core and press [Triangle] to override it, securing your victory and a powerful new toolset.
Completing Cauldron XI rewards you with the XI Override, unlocking control over five formidable machines: the aerial Glinthawk, the stealthy Stalker, the explosive Fire Bellowback, the freezing Freeze Bellowback, and the massive Behemoth. This diverse set of overrides will dramatically change your approach to exploration and combat across the Sundom.
With the cultists silenced and the core secured, you’ve conquered one of Horizon Zero Dawn’s most tense dungeons. The Behemoth override alone is worth the trip, letting you command one of the game's most powerful cargo machines. On to the next Cauldron
How to Find and Complete Cauldron ZETA in Horizon Zero Dawn
Deep in the frigid north, Cauldron ZETA presents the ultimate combat trial in Horizon Zero Dawn. This is where the game’s most formidable machines are forged, and to claim its power, you’ll need to face its legendary guardian head-on. Trust me, this is the one you’ve been preparing for.
Located in the northwestern part of the map, specifically east of Maker’s End, this dungeon is recommended for Level 20. The entrance isn't immediately obvious, but your Focus will reveal a hidden side path guarded by a lone Redeye Watcher. Don't be fooled by this simple sentry—it’s just the gatekeeper for the challenge within.
Inside, the atmosphere is different from other Cauldrons. Cauldron ZETA is described as having no puzzles. Instead, it’s a direct, tense path to the core. Use your Focus to navigate the stark, alien architecture, dropping onto platforms and moving left at key junctions until you reach the final chamber. Here, you must override a pylon to lower the energy shield, and then… it arrives.
The boss of Cauldron ZETA is the iconic Thunderjaw. This encounter can feel overwhelming, but with the right strategy, you can dismantle this apex predator.
Your first priority should be disarming it. Its most devastating attacks come from the Disc Launchers mounted on its back. Use Tear arrows (by holding [R1]) to blast these weapons off. Not only does this neutralize a major threat, but you can then pick up the Disc Launchers and use their immense firepower against the machine itself.
Before triggering the core override, scan the arena thoroughly. Lay down a field of blast wires and proximity bombs where the Thunderjaw will patrol. This initial burst of damage can shave precious minutes off the fight.
Focus your attacks on its weak points: the heart-like core on its belly and the blaze canisters on its sides. Keep moving, use the environment for cover, and remember—this is a marathon, not a sprint. If you’ve struggled here before, you’re not alone; the Thunderjaw is designed to test everything you’ve learned.
Overriding the core of Cauldron ZETA is immensely rewarding, granting you 1 Skill Point, 10,000 XP, and unlocking the ZETA override tier. This grants you the ability to override three of the game’s most powerful machines: the burrowing Rockbreaker, the soaring Stormbird, and the Thunderjaw itself. With these giants now potential allies, the wilds of Horizon Zero Dawn become a much more manageable place. You’ve conquered the pinnacle—go claim your reward.
How to Find and Complete Cauldron EPSILON in The Frozen Wilds
This is it—the final challenge of The Frozen Wilds. Deep within the icy peaks of The Cut, the Firebreak facility hides Cauldron EPSILON, a corrupted forge where the Daemon has seized control. Your journey to free the AI CYAN culminates here, in Thunder's Drum, east of Firebreak, facing one of Horizon Zero Dawn’s most formidable machines.
The Forge of Winter quest begins immediately after Firebreak, and you’ll be accompanied by the Banuk siblings Aratak and Ourea. Navigating Cauldron EPSILON is less about stealth and more about solving environmental puzzles to help your allies advance. You’ll be shooting corrupted purple auras off yellow climbing grips, riding floating cargo crates over hazards, and overriding bridge consoles. Be prepared for encounters with Daemonic Shell-Walkers and Watchers along the way.
Use regular arrows to clear the Daemonic Miasma (the purple corruption) off climbing handholds. It’s much faster and safer than trying to climb through it.
The path through the Cauldron is broken into three main areas: the Antechamber, the Production Area, and the Recycling Area. In each, your goal is to platform ahead and activate bridges for Aratak and Ourea. The Production Area is patrolled by Daemonic Scorchers, Shell-Walkers, and Watchers—engaging them head-on with Aratak’s help is often easier than a risky stealth attempt. The lengthy Recycling Area requires rappelling down a Tallneck head and navigating a series of rising, falling, and retracting platforms. Take your time here; the platforming can be disorienting.
After solving a final Source Node light-beam puzzle, you’ll reach the Cauldron Core. To lower its shield, you must first destroy or override the Control Tower nearby. Do this, and prepare for the main event.
The Fireclaw Boss Fight
The Fireclaw is the fiery, far more aggressive cousin of the Frostclaw. This isn't just another machine—it’s a brutal, multi-phase duel where patience and targeting weak points are everything.
Your primary targets are its Power Cells (on its back), Fire Sacs (on its shoulders), and the Fire Unit (on its chest). Start the fight by using Shock Arrows to detonate the four Power Cells; this will stun the beast, giving you a precious opening. While it’s stunned, switch to Freeze ammo (like from an Ice Sling or the Icerail) to inflict the Frozen status. Once frozen, its armor is brittle—this is your moment to unleash Hardpoint Arrows directly into its eyes and chest Fire Unit for massive damage.
⚠️ Watch out: Rupturing a Fire Sac or the Fire Unit will cancel the Frozen effect. Time your shots carefully! Aim for the eyes first while it's frozen.
The fight escalates at half health. The Fireclaw becomes more aggressive, using lunges, ground slams, and even picking up rock slabs to shield itself or charge you. At this point, Control Towers will also activate in the arena, attempting to repair the Fireclaw. Ourea will call them out—destroy them immediately. A Ropecaster can help pin it down, but be wary of its rock slam attack that can break the ropes.
Rewards and Aftermath
Once the Fireclaw falls, approach the now-exposed Cauldron Core and press [Triangle] to override it, triggering a story cutscene. Escape the crumbling facility, then fast-travel to Ourea's Retreat to speak with CYAN and Aratak at the helipad. This concludes the main story of The Frozen Wilds.
Completing Cauldron EPSILON rewards you with 16,670 XP, +1 Skill Point, an Extraordinary Reward Box, +7 Bluegleam, and most importantly, the EPSILON Override. This final core unlock grants you the ability to override Scorchers, Frostclaws, and Fireclaws out in the wild—a fitting and powerful capstone to your journey in The Cut.
Horizon Zero Dawn Cauldron Rewards and Achievement Guide
You’ve braved the puzzles, conquered the bosses, and mastered the cores. Now, let’s see what all that effort in Horizon Zero Dawn has earned you.
Completing each Cauldron is a reward in itself, granting you tactical power over the machines. But the real payoff comes from the combined spoils and that coveted trophy. Here’s the complete breakdown of everything you unlock.
Your Complete Override Arsenal
By overriding the cores of Cauldrons SIGMA, RHO, XI, and ZETA, you permanently expand your spear’s capabilities. Each core unlocks a specific tier of machine overrides:
- Cauldron SIGMA: Unlocks overrides for the Sawtooth, Scrapper, Grazer, and Lancehorn.
- Cauldron RHO: Unlocks overrides for the Longleg, Shell-Walker, Trampler, Ravager, and Snapmaw.
- Cauldron XI: Unlocks overrides for the Glinthawk, Stalker, Fire Bellowback, Freeze Bellowback, and Behemoth.
- Cauldron ZETA: Unlocks overrides for the Rockbreaker, Stormbird, and Thunderjaw.
Remember, the PSI override tier is unlocked automatically early in the game and grants control over basic machines like the Watcher, Redeye Watcher, Tallneck, Strider, Charger, and Broadhead. This is your foundation.
Before you press [Triangle] to override the final pylon and trigger a boss fight, take a moment. Scan the arena with your Focus to identify environmental hazards and threads. Scatter your best traps strategically around the core area—this prep work can turn a brutal brawl into a manageable minute-long skirmish.
Claiming the ‘All Cores Overridden’ Trophy
The ultimate proof of your mastery is the All Cores Overridden trophy (Silver Rare). This is awarded specifically for overriding the cores of the four main game Cauldrons: SIGMA, RHO, XI, and ZETA. Note that the core from Cauldron EPSILON in The Frozen Wilds does not count toward this achievement, though completing it is still worth it for its own powerful overrides.
Loot, Skill Points, and Hidden Perks
Beyond overrides, each Cauldron victory showers you with experience and resources:
- You’ll earn a total of 1 Skill Point and thousands of XP from each dungeon.
- The loot crates found in the core rooms often contain some of the game’s best Purple Gear—high-level Weapons and Outfits that are a massive upgrade.
- If you’ve invested in the Mechanic skill from the skill tree, you gain a fantastic post-boss advantage. This skill allows Aloy to recollect any unused traps you placed before the fight, conserving precious resources.
With every core overridden, your journey across the wilds transforms. You’re no longer just a hunter surviving the machine landscape—you’re its master, commanding the most formidable beasts to clear your path and fight your battles. Go claim your trophy and own the wilds.