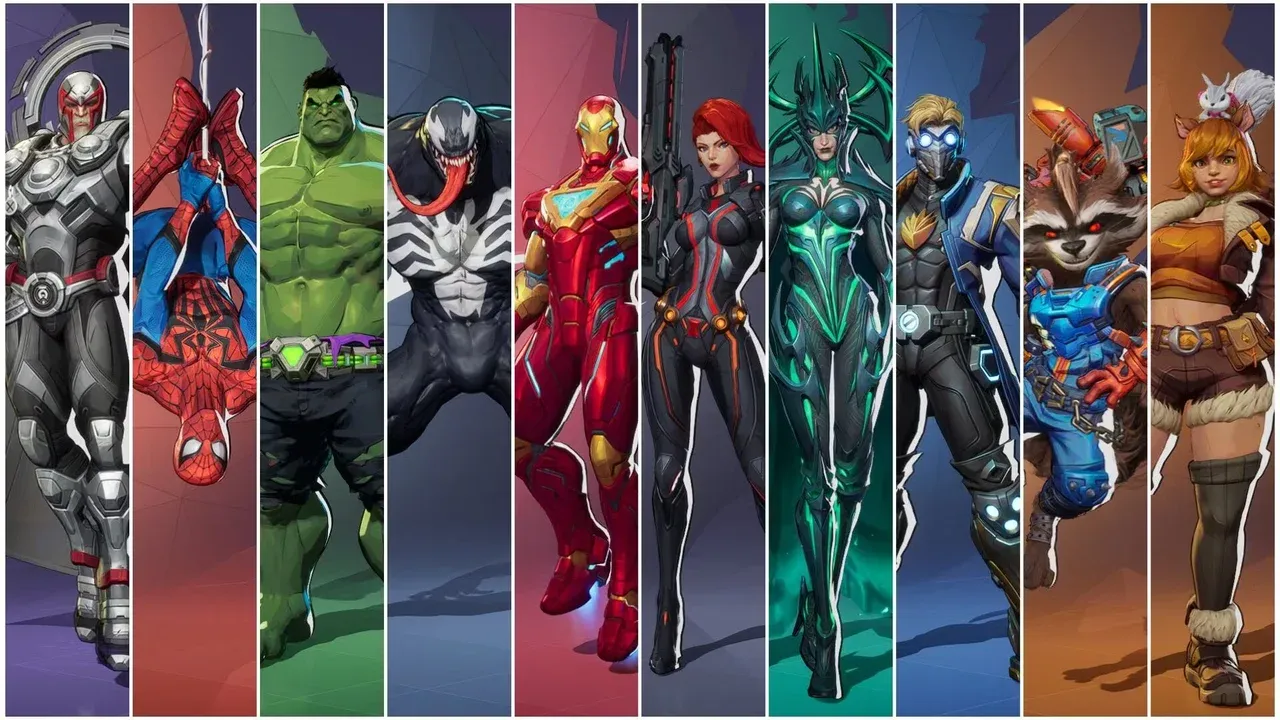
How to Identify Win Conditions and Anchors in Marvel Rivals
Ever load into a Marvel Rivals match and feel like you're playing checkers while the enemy team is playing chess? That sinking "we're getting steamrolled" feeling often starts before the first shot is fired, in the hero selection screen. The secret to turning those matches around isn't just mechanical skill—it's learning to read the lobby and identify the single, crucial piece you need to topple.
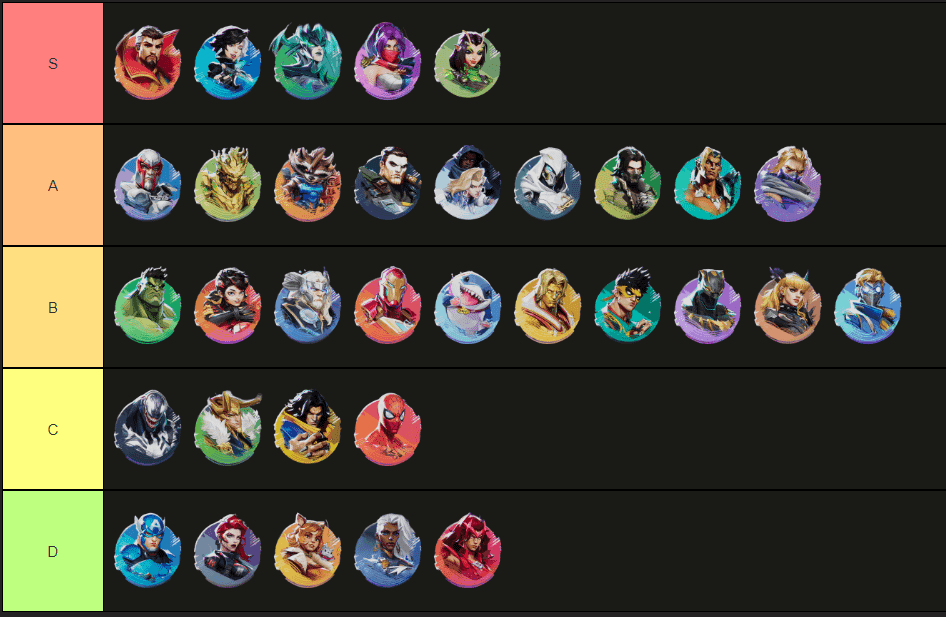
Tier lists help players identify which heroes currently anchor the competitive meta.
In Marvel Rivals, winning teams are built around a core strategy, and that strategy almost always has an anchor. Think of the anchor as the hero (or sometimes a pair) that the entire enemy composition revolves around. Your first job is to spot them. Is it a Groot creating impassable walls for his team to shoot through? A Cloak & Dagger duo providing unbreakable sustain? Or a Magneto whose shields make every push feel pointless? Once you see the anchor, you stop fighting six random heroes and start dismantling one game plan.
Step 1: Spot the Anchor and Their Plan
The anchor is the linchpin. To find it, ask yourself: "How does this team want to win a clean fight?" Look for these common patterns:
- The Enabler: A support like Mantis or Cloak & Dagger who makes their frontline or a carry Duelist feel unkillable.
- The Space Creator: A Vanguard like Groot or Devil Dinosaur who dictates where the fight happens, forcing your team into bad positions.
- The Win Condition: A high-damage Duelist like Phoenix or Elsa Bloodstone who is being protected and enabled to land a fight-winning ultimate.
Press [Tab] during the match start or after you respawn. This isn't just to see who's alive—it's your 90-second counter checklist. Use it to confirm the anchor, check for enemy hero swaps, and remind yourself of your one-sentence counter plan.
Step 2: Find the Vulnerability They Paid For
Every composition has a weakness; it's the price they pay for their strength. Once you identify the anchor, look for what they had to give up. Common vulnerabilities include:
- Lack of Peel: A dive-heavy team often has weak tools to protect their own backline.
- Low Mobility: A bunker-style poke comp might struggle if you get on top of them.
- Reliance on One Support: If all their healing is coming from a single Adam Warlock, killing him collapses their entire sustain.
This is where you move from observation to action. Don't create a complex, five-step plan your team can't execute. Choose one, clear directive: "We kill their Mantis first" or "We avoid Groot's choke and go left" or "We save our Magneto ult for their Cloak & Dagger ult." This one sentence becomes your team's north star.
The Real Secret to Countering Anchors
Here’s the trick most guides miss: you don't always need to "counter-pick" the anchor hero with another hero. Often, you counter them by countering their job.
This is especially true for space-creating Vanguards. Remember this timeless Marvel Rivals principle: space is created by threat, not by health. A Devil Dinosaur doesn't own an area because he has a big health pool; he owns it because your team is afraid to punish him when he walks forward. The counter isn't necessarily a different tank—it's your team collectively deciding to hold an angle and focus fire the moment he steps out of line.
Trust me, once you start seeing matches through the lens of anchors and vulnerabilities, the game changes. You’ll stop feeling helpless against "OP" comps and start seeing clear, actionable paths to victory. Let's lock in that first crucial read and take control of the match from the very first fight.
How to Counter Meta Vanguards in Marvel Rivals
Ever feel like you’re shooting a brick wall? In Marvel Rivals, oppressive Vanguards like Devil Dinosaur and Magneto can turn the objective into an impenetrable fortress, making every push feel hopeless. This isn't about raw damage—it's about space control. They decide where fights happen, and if you fight on their terms, you lose. Here’s how to dismantle the meta’s toughest frontlines by attacking their plans, not just their health bars.
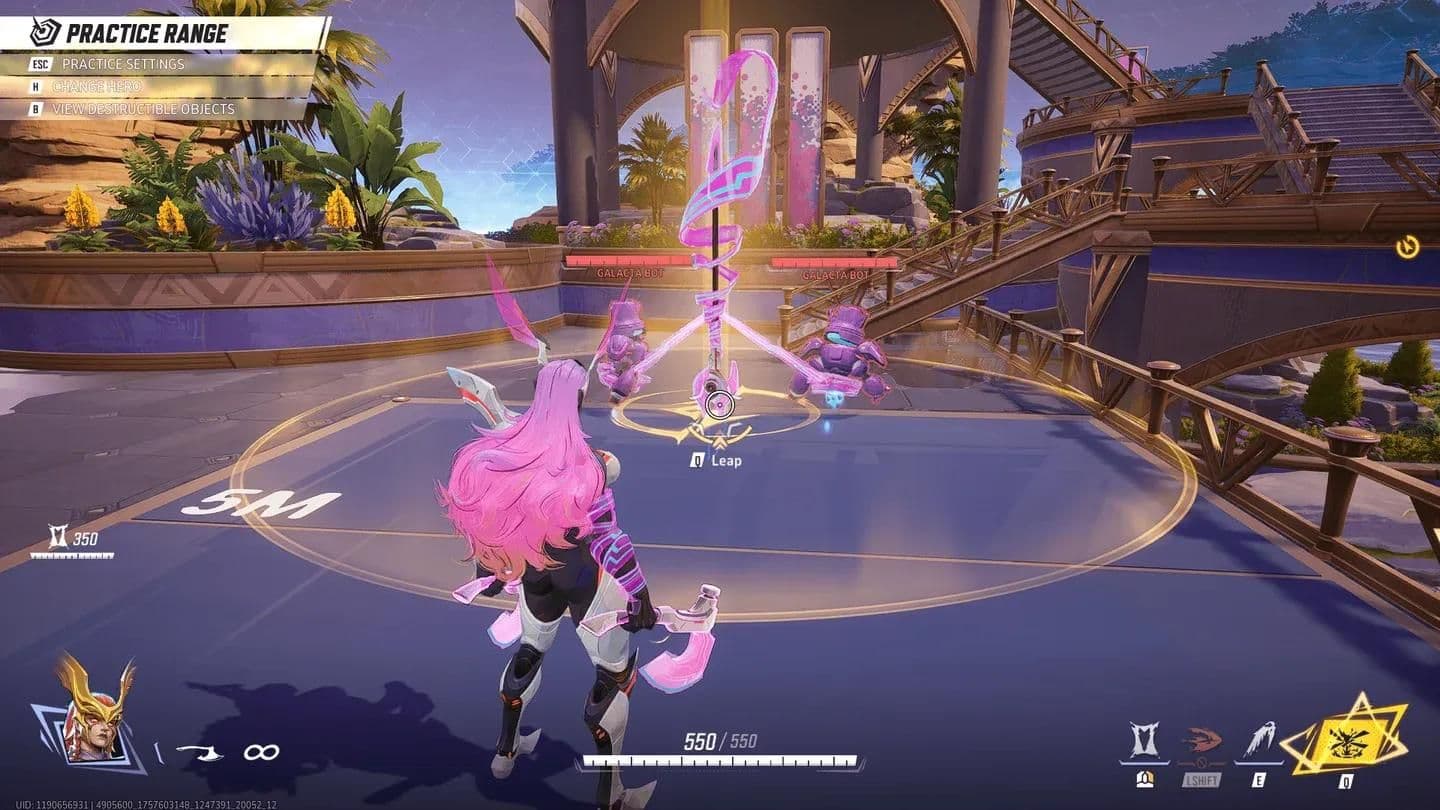
Angela's mobility makes her a strong choice against specific Vanguards.
Breaking the Space Holders
Meta Vanguards win by creating and holding space for their team. Your counter-play isn't to out-damage them, but to break their spatial advantage and isolate them from their enablers.
Boss: Devil Dinosaur (Objective > Frontline)
The Devil Dinosaur wants to brawl in open space, using his massive presence to force your team into panic clumps. The timeless counter is [Kite] move back one corner at a time. Don't meet him in the middle of the point; hold a corner near the objective and make him walk through a narrow path. The moment he commits, your team should [Split] attack from two angles to force a choice. This forces Dino to turn his back, exposing him and stretching his support line thin. Your real target is often his healers—pressure them, and his unstoppable push crumbles.
Boss: Groot (Objective > Chokepoints)
Groot turns maps into a maze of his own design, splitting your team with walls and locking down captures. Walking into the same blocked doorway twice is donating the match. Instead, you must [Rotate] move wide to bypass walls. Start every push by planning two entry routes to avoid his single-doorway trap. If a wall does split your team, don't panic-push through. Regroup and re-enter together. Crucially, you must [Focus] pressure supports to break objective anchor. Groot is a powerful anchor, but he can't hold forever if his Cloak & Dagger or Mantis are constantly under threat from a flanker.
The moment Groot places a wall, there's a cooldown window where he can't split another lane. That's your signal to push a different angle as a team.
Boss: Magneto (Objective > Frontline)
Magneto feels unbeatable when he negates your entire ultimate combo with a well-timed bubble. The key is to treat his protection like a cooldown to be baited. [Bait] show presence to force bubble. Have your frontline step forward, fire a few shots, and force him to pop his defensive tool. Then, [Wait] 2 seconds and disengage briefly. Once the protection window ends, that's your moment to [Commit] full push after protection ends. Stagger your resources so he can't answer everything at once, and use ultimates to win the fight, not to start it.
Handling the Dive and Disruption
Not all Vanguards want to hold a point; some, like Hulk, want to crash into your backline and create chaos. Your job shifts from breaking space to protecting it.
Boss: Hulk (Backline > Dive)
When Hulk leaps into your supports, panic is his best friend. You must [Peel] intercept landing with CC. Save your stun, sleep, or knockback for the moment he lands. If he reaches your backline uncontested, the fight is already lost. Surviving the initial impact is priority one. Then, [Focus] attack during retreat when mobility is on cooldown. Hulk is most vulnerable after he's spent his leap. Don't chase him into his team; punish his exit and turn the dive into a pick for your side.
Boss: Emma Frost (Objective > Frontline)
Emma Frost excels at timing, becoming a near-unkillable anchor during her Diamond Form. Trying to burn her down in this state is a classic mistake. Instead, [Kite] avoid engagement during Diamond Form. You don't need to win the fight while she's invincible; you just need to survive it. Use this window to [Swap] target teammates while she is invincible. Pressure the Star-Lord dealing damage from high ground or the Mantis enabling her. Once her defensive window ends, she's much more manageable for a focused re-engage.
Countering the Specialist Vanguard
Some Vanguards, like Peni Parker, blend area denial with frontline pressure. They control space indirectly, and you counter them by refusing to play in their zones.
Boss: Peni Parker (Objective > Area Denial)
Peni Parker litters the battlefield with Spider-Mines and Web Snares, making every push hazardous. The direct approach is to [Range] destroy mines from distance before your team advances. Heroes with safe, long-range poke can clear her traps without risking a stun. The aggressive approach is to [Dive] collapse after Web Snare is spent. Coordinate with your team to engage her once her primary crowd control tool is on cooldown. A Peni Parker without her snare is far less effective at shutting down dives on her or her supports.
⚠️ Watch out: If she's running the Rocket Network Team-Up with Rocket Raccoon, she'll have extra nests. Destroy the Web Beacon first to remove this layered defense.
By shifting your focus from the Vanguard's health bar to the space they control and the teammates that enable them, you turn oppressive tanks into manageable obstacles. Identify their win condition, deny it, and watch their fortress crumble.
How to Counter Meta Duelists in Marvel Rivals
They’re the reason your backline vanishes before a fight even starts. In Marvel Rivals, a meta Duelist like Phoenix or Psylocke can feel unstoppable, turning a solid defensive hold into a chaotic wipe in seconds. Your counterplay isn't about out-dueling them—it's about systematically denying them the isolated picks and chaotic teamfights they crave. This is where you learn to shut them down.
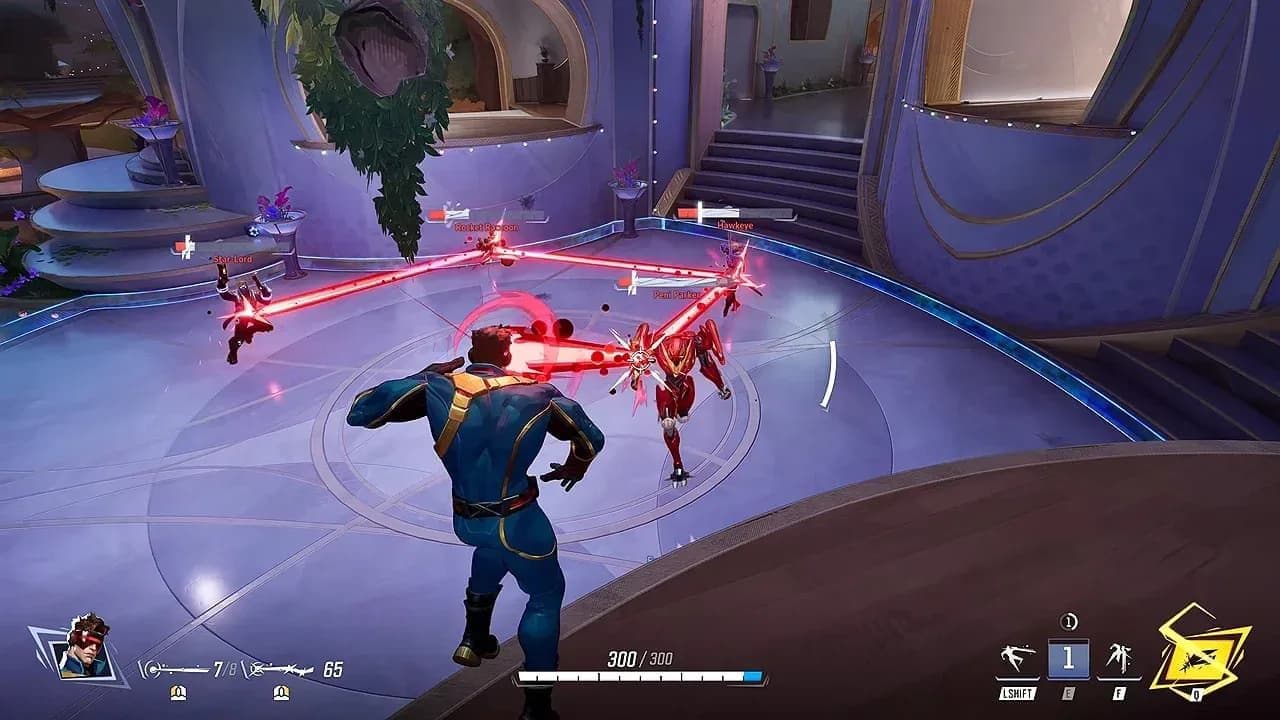
Overwhelming movement options to secure a kill.
The key is understanding their win condition. These heroes don't win by dealing the most total damage; they win by dealing the right damage at the perfect time. Your job is to make that timing impossible through smart positioning, resource denial, and peel.
Shutting Down the Big Burst Threats
Some Duelists win by punishing clumps and turning objective touches into team wipes.
Boss: Phoenix (Objective > Clumps)
Phoenix thrives when your team stacks on a point or funnels through a single choke. Her area pressure feels overwhelming because it hits everyone at once.
- The Plan: Break her preferred geometry. Enter objectives in waves instead of as a six-person ball. If she's holding a lane, simply rotate to a different one.
- The Execution: Maintain at least 10m distance between teammates to minimize her splash damage value. Most importantly, use shields or invulnerability tools to erase her ultimate spike. A well-timed barrier from a Vanguard or a defensive Strategist ultimate can completely nullify her fight-winning moment.
Boss: Elsa Bloodstone (Battlefield > Mid-range)
Elsa is a momentum monster. The longer a fight drags on, the more her damage stacks and the more terrifying she becomes.
- The Plan: Deny her the long, sloppy fights she desires. Commit to short, decisive engagements.
- The Execution: Coordinate burst quickly to prevent her stack momentum from ramping out of control. When her ultimate activates, don't try to out-heal it in the open. Immediately break line-of-sight using nearby cover; her damage requires visibility. Survive the window, then re-engage.
Neutralizing the Flankers and Assassins
This category lives in your backline, and their counterplay is all about awareness and punishment.
Boss: Psylocke (Backline > Flank)
Psylocke is a classic assassin. She wants a clean, unexpected angle on your isolated Strategist, deletes them, and vanishes.
- The Plan: Eliminate her 1v1 opportunities. Your supports should play "objective-adjacent"—close enough to heal but with quick access to their team.
- The Execution: Set up crossfires by holding angles so she's always visible to at least one teammate when she commits. The moment she dashes in, turn and focus her immediately. Her strength evaporates when a dive becomes a trade.
Boss: Magik (Backline > Melee Dive)
Magik converts small openings into fast kills by chaining abilities in close quarters. She punishes teams that fight in wide-open lanes.
- The Plan: Don't give her the brawl she wants. Use the map to your advantage.
- The Execution: Fight around corners and cover to break her ability chains. Force her to take risky, elongated paths to reach you. Most critically, save a stun or hard crowd control (CC) tool specifically for her entry. If she's stopped the moment she appears, she becomes a free kill.
Against any diving Duelist, the "Two Corners" rule for your Strategists is vital. Identify Corner A (your instant retreat spot) and Corner B (your backup rotation). This simple prep prevents panic and guarantees a survival route.
Controlling the Skies and Zones
These Duelists win by controlling space, either vertically or through area denial, making the objective itself dangerous.
Boss: Star-Lord (Sky > Off-angles)
Star-Lord's mobility lets him farm your team from punishing off-angles, often while your team is distracted by the frontline.
- The Plan: Deny him his favorite perches and flight paths. Communication is key.
- The Execution: Actively track and call out his flight paths so your team knows where the damage is coming from. More importantly, save one anti-dive utility specifically for his backline entry. Don't waste your peel on the enemy tank; hold it for the moment Star-Lord commits to your support.
Boss: Namor (Objective > Zone)
Namor makes standing on the point a health-draining ordeal. His zone control punishes slow, indecisive pushes.
- The Plan: Don't respectfully fight on his terms. Bypass his main zone and force him to split attention.
- The Execution: Send a mobile flanker to hit him from side angles to bypass his turrets. This forces him to turn and deal with the threat, breaking his zone's integrity. For the main push, commit to short, decisive fights to win quickly before his zone value compounds over a long engagement.
Boss: Moon Knight (Objective > High Ground)
Moon Knight excels in clustered fights and can swing overtime with his zone tools and finishing mobility.
- The Plan: Don't gift him perfect multi-target value, especially when the clock is low.
- The Execution: In overtime, consciously spread out to avoid stacking on the point. Use knockbacks and displacement abilities to force him off the objective at critical moments. If his setup tools (like his Ankh) go uncontested, you'll lose the fight—prioritize destroying them.
Trust me, the most oppressive Duelist in Marvel Rivals becomes manageable the moment you stop playing their game. Identify their pattern, apply the correct counter-pressure, and watch them struggle to find value. You've got this.
How to Counter Meta Strategists and Sustain Synergies
This is where Marvel Rivals matches turn into a war of attrition. You’re dumping clip after clip, but the enemy team just won’t die, held together by a web of constant heals and shields. Whether you’re facing the notorious Cloak & Dagger duo or the dreaded Triple-Support meta, the feeling is the same: frustration. But every fortress of sustain has a weak point, and your job is to find the demolition charge.
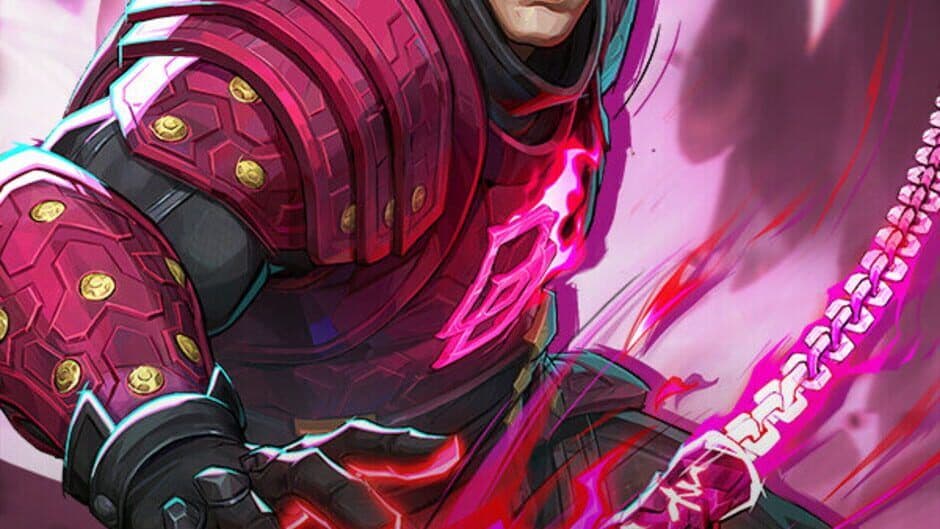
Marvel Rivals features a diverse roster of counter-pick options.
Breaking the Healer Core
The key to dismantling high-sustain compositions isn’t more damage—it’s smarter damage. You must shift from poking to executing precise, coordinated strikes that collapse their healing chain before it can reset.
Boss: Cloak & Dagger (Backline > Support)
This duo defines the sustain meta, turning team fights into endless slogs. Their ultimate, Eternal Bond, can feel like an automatic reset button. The timeless solution is to [Burst] commit only when they reposition. Don’t waste resources into their bubble or while they’re safely behind their team. Wait for the moment they’re forced to move to heal a diver or secure an angle—that’s your window. Most importantly, Magneto is their ultimate counter. His [Magneto Ult] use to one-shot during Eternal Bond is a fight-winning play that completely negates their biggest survival tool.
Boss: Invisible Woman (Objective > Support)
Her strength lies in creating impenetrable safe zones for her team. To break her, you must stretch her value thin. The plan is to attack from [Two Angles] stretch shield value by attacking from opposite sides. If her entire team is on one side of her shield, it’s incredibly strong. Force her to choose which threat to protect by applying pressure from a flanker and the main front simultaneously. When she pops her own ultimate for safety, a clever counter is to [Jeff Ult] use to counter her ultimate, as Jeff the Land Shark’s ultimate can directly negate hers.
Boss: Rocket Raccoon (Backline > Cover)
Rocket wins by stabilizing his team after every bit of poke damage. To stop him, you need [Hard Commit] do not use soft poke. Poking only feeds his ultimate charge. Instead, commit with a full dive or engage that forces a decisive fight. A major part of this is to [Flank] force constant movement to drop healing uptime. If Rocket is always scrambling to find cover or avoid a Black Panther, he can’t maintain his healing output.
Boss: Adam Warlock (Backline > Support)
Adam thrives in extended duels, using his Soul Bond to out-sustain attackers. Your goal is to [Soul Bond] force usage with dive. Commit a diver like Hulk or Venom to make him burn this key cooldown defensively. Once it’s down, he’s vulnerable. Winter Soldier is a particularly strong pick here, as you can [Winter Soldier Ult] use to eliminate during his ultimate, securing a crucial pick even in his empowered state.
Dismantling the Triple-Support Meta
When you see three healers on the enemy team, the game changes. They’ve sacrificed offensive pressure for near-immortality, and your Strategy: Countering Triple-Support (Battlefield > Meta) must exploit that trade-off.
First, understand their weakness: coordination overload. In the chaos of a ranked match, it’s common to [Stagger] force ultimate overlaps. If two supports panic and use their fight-saving ultimates at the same time, you’ve just banked a huge advantage. Your primary tactical goal, however, is to [Dive] isolate one support to break the sustain chain. They can heal through anything if they’re all focusing on the same target. But if a Spider-Man yanks a Luna Snow away from her allies, or a Venom dives deep onto a Mantis, that chain breaks. Kill that one isolated healer, and their entire composition crumbles.
Against triple-support, your team’s Mechanic: Anti-Heal Pressure (Combat > Status Effect) is invaluable. Use heroes or abilities that apply this effect (often bound to a specific skill key) to [J] or [Skill] apply to targets to prevent sustain from outvaluing damage. It turns your focused dives into guaranteed kills.
This phase of a Marvel Rivals match can feel overwhelming, but don’t panic. The enemy has chosen to play a slow, defensive game. By switching your mindset from “out-damage the heals” to “surgically remove the healers,” you turn their greatest strength into a fatal vulnerability. Isolate, burst, and watch the immortal become very, very mortal.
How to Break High-Win Rate Team-Ups in Marvel Rivals
You’ve learned how to counter individual meta heroes—now it’s time to dismantle the coordinated strategies that make them truly terrifying. In Marvel Rivals, a high-win rate team-up can feel like an unstoppable force multiplier, turning a manageable fight into a steamroll. But every powerful synergy has a trigger you can pull to disable it.
Each hero possesses unique traits to disrupt enemy synergies.
This section breaks down the most dominant Season 9 team-ups and gives you a toolkit to break them apart, piece by piece.
Breaking the Top Team-Up Synergies
The Season 9 meta is defined by a few elite pairings. Don’t just fight the heroes—fight their connection. Here’s how to sever it.
SP//DR Sync (Ultron + Peni Parker)
This is the highest win rate team-up for a reason: Ultron gains a devastating Nano Ray that pierces and heals. The enhanced effect turns him into a flying fortress. Your goal is to pressure Ultron, the trigger hero, to force him into defensive mode or eliminate him before the beam comes online. Once he activates it, spread your team to avoid tight corridors where the piercing damage hits multiple targets. A focused dive or a hitscan Duelist like Punisher can force him to retreat, breaking the synergy’s uptime.
Spirit Breaker (Emma Frost + Mantis)
A deadly blend of durability and control. Mantis empowers Emma Frost, making her dives more lethal. The counterplay is a two-step dance. First, bait the Mantis sleep early by showing aggressive positioning, then backing off. Once that key cooldown is spent, you have a window. Second, burst focus Emma once her Diamond Form ends. She’s vulnerable for a few seconds—that’s your chance to collapse. Don’t try to burn her down during her defensive window; switch targets and force her supports to panic.
Rocket Network (Peni Parker + Rocket Raccoon)
This duo excels at area denial. Peni Parker gets an extra Armored Spider-Nest, and Rocket Raccoon’s Battle Rebirth Beacon becomes a Web Beacon littered with traps. To break it, you must deny their preferred geometry. Fight away from the predictable chokepoints where they’ve placed their Spider-Nests. If you must push through, destroy the Web Beacon immediately—it’s a source of constant area control. Mobile heroes who can bypass these zones, like Spider-Man or Magik, can flank and pressure the builders directly.
Star Blossom (Mantis + Star-Lord)
Here, Mantis amplifies Star-Lord’s already potent dive potential. Star-Lord becomes a backline nightmare. Your priority is peel. Assign a Vanguard or a CC-heavy Duelist to protect your Strategists. The moment Star-Lord commits, hit him with crowd control. A well-timed sleep from your own Mantis or a freeze from Luna Snow during his ultimate can completely nullify his value. He’s strong, but fragile when focused.
Track team-ups like ultimates. If you see Emma Frost and Mantis together, call out “Spirit Breaker is up, bait sleep first” before the fight even starts. A warned team is exponentially harder to wipe with a synergy.
Your Toolkit for Dismantling Any Synergy
Beyond specific counters, apply this universal five-step strategy to break any high-win rate team-up in Marvel Rivals.
- Identify the Trigger Hero. Most team-ups depend on one hero being alive and positioned to enable the other. Is it the Ultron waiting to beam? The Mantis waiting to sleep? Pressure that hero relentlessly. Make their life miserable, and the synergy becomes unreliable.
- Bait and Disengage. Force the enemy to activate their powerful team-up effect at a bad time. Show a fake push to trigger Emma Frost’s empowered dive or Ultron’s beam, then immediately back out. Once the short-duration buff is wasted, now you take your real fight.
- Deny the Geometry. Synergies like Rocket Network need specific sightlines and choke points to shine. Don’t fight on their terms. Rotate to a different lane, use high ground, or spread your formation to make their “perfect combo” impossible to execute.
- Punish the Commitment. Many team-ups, like a Spirit Breaker dive, require both heroes to commit forward. That moment of commitment often isolates them from their team. That’s your signal. Ignore everyone else and kill what entered first. Turn their power play into a staggering disadvantage.
- Track it Like an Ultimate. Even without a UI timer, you can track team-up cooldowns by fight flow. If they used Star Blossom last fight, they likely have it for the next. Communicate this: “They have combo next push, play split and save CC.”
Trust me, the most oppressive team-ups lose their power the moment you stop treating them as an unstoppable force and start treating them as a predictable problem to be solved. Identify the trigger, bait the window, and punish the commitment—you’ll turn their greatest strength into their most glaring weakness.
How to Swap Heroes Strategically in Marvel Rivals
Swapping heroes is your ultimate power in Marvel Rivals, but misuse it and you’ll bankrupt your team’s ultimate economy and morale. This isn’t about chasing a perfect counter-pick; it’s about the smart, surgical swap that solves one problem without creating five more. Let’s break down how to master this without throwing the match.
The Golden Rule: The Two-Fight Rule
When you’re getting steamrolled, the frustration to swap everything is real. Don’t. Instead, follow the Two-Fight Rule. If your team loses two fights in a row the same way—maybe your Mantis keeps getting dove first, or a Phoenix is farming the same off-angle—that’s your signal. Head to the Spawn Room, press [H] to swap, and change one thing. Ideally, make one hero swap and one positioning adjustment. This stops the bleeding without scrambling your entire team’s coordination.
When you swap, announce your new job. “Swapping to Groot to wall off their Psylocke flanks” gives your team instant, actionable info.
When to Swap Immediately (Don’t Hesitate)
Some matchups are just unplayable from the start. You should swap immediately if:
- A specific enemy is free-farming your backline. If their Star-Lord is deleting your Strategists every fight and no one can peel, you need to be the solution. Swap to a peeler like Thor or a more survivable support.
- You have 0% ultimate charge and the fight is clearly lost. If you die early with nothing built, swapping to a hero whose value isn’t ult-dependent can be a better reset.
When to Delay the Swap (Hold Your Ground)
Conversely, swapping can be a huge mistake. Stick with your pick if:
- You have 80%+ ultimate charge. Throwing away a fight-winning ultimate is one of the biggest ways to destroy your team’s economy. Build it, use it to swing the next fight, then consider swapping.
- Your current hero is the only objective touch. If you’re the Hulk or Devil Dinosaur holding the payload in overtime, your presence is more valuable than a hypothetical counter. Your team needs you there.
Swap to Fulfill a Role, Not Just Counter a Hero
This is where most guides miss the mark. You don’t swap to “counter Magneto”; you swap to add a missing Role Job your team desperately needs. Remember:
- Vanguards create Space and provide Peel. If your team can’t stand on the point, you might need more space. If your supports are dying, you need more peel.
- Duelists secure Picks and Finishes. If fights drag on forever, you lack finishing power. If their backline is untouched, you need a pick-focused diver.
- Strategists control Tempo and provide Sustain. If you’re always fighting from a disadvantage, you need better fight reset potential.
Ask: “What job are we missing?” Then swap to a hero who does that job, not just one that beats a single enemy on paper.
Putting It All Together: A Swap Decision Flowchart
- Lose a fight. Note how you lost (e.g., “backline died to dive”).
- Lose a second fight the same way. This triggers the Two-Fight Rule.
- In the Spawn Room, diagnose the missing Role Job. Is it Peel? Finishes? Tempo?
- Check your ultimate charge. Below 20%? Swap is safe. Above 80%? Use ult next fight, then swap.
- Make one swap. Communicate the new plan: “I’m now Moon Knight to spam their choke and charge my ult fast.”
Mastering the swap means knowing that sometimes, the most powerful counterplay in Marvel Rivals isn’t a different hero—it’s the same hero, played with a new plan. Swap with purpose, protect your team’s ultimate economy, and you’ll turn lost matches into comebacks.
Best Counter-Play Practice Plan for Marvel Rivals
You’ve learned the what and why of counterplay in Marvel Rivals. Now, let’s build the how into your muscle memory. This final section is your weekly training plan—a structured routine to transform reactive panic into proactive, winning decisions.
Your 7-Day Counterplay Practice Plan
Knowledge is useless without practice. This week-long routine in Marvel Rivals is designed to cement the concepts from previous guides into habits you can rely on mid-fight. We’ll focus on one core skill each day.
Day 1: Archetype Recognition
Your goal today isn’t to win, but to label. In your first match, open the scoreboard with [Tab] and ask: “Is the enemy comp Dive, Brawl, Poke, or Sustain?” Your entire positioning and target focus should shift based on that single label. Fighting a Dive comp? Tighten your formation near cover. Against a Poke siege? Commit to wide rotations. This simple act of naming the threat forces you out of autopilot and into strategic thinking.
Say the archetype out loud to your team at match start. “They’re running Dive, watch the flanks.” This small callout builds team-wide awareness.
Day 2: Backline Survival & The Two Corners Rule
Today, play as a Strategist. Your only KPI is survival. Before each fight, consciously identify your Two Corners. Corner A is your immediate retreat point if a Psylocke or Black Panther dives you. Corner B is your secondary rotation if Corner A is compromised or cut off. This rule prevents the panic run into open space that gets you deleted. If you die, ask: “Which corner did I forget?”
Day 3: Peel, Punish & Target Priority
Switch to a Vanguard or peel-focused Duelist. Your job is to protect your backline and convert dives into kills. Use the 3-Layer Model for Target Priority in every team fight:
- Layer 1: Divers. Kill the first hero who commits onto your team (e.g., Hulk, Psylocke).
- Layer 2: Enablers/Supports. Immediately rotate to the hero enabling the dive (e.g., Mantis, Cloak & Dagger).
- Layer 3: Anchors/Carries. Finally, clean up the enemy’s main damage source or space-holder.
This disciplined focus turns chaotic brawls into clean, winnable sequences.
Day 4: Angle Discipline & Cooldown Tracking
Play any role, but fight with your ears as much as your eyes. Cooldown Tracking is about recognizing the “Big Three” sounds and effects that decide fights:
- Mobility/Escape (e.g., Spider-Man’s web zip, Magneto’s bubble pop).
- Protection/Shield (e.g., Invisible Woman’s force field, Emma Frost’s Diamond Form).
- Ultimates (the distinct audio cue for Phoenix’s ignition or Magneto’s graviton surge).
When you hear a key cooldown used—especially an escape—call it and commit. That’s your window.
Day 5: Intentional Swap Practice
Force yourself to use the Two-Fight Rule. If you lose two fights in a row the same way (e.g., your Strategist dies first each time), you must swap. Go to the spawn room, press [H], and make one change to add a missing counter tool. Swap a Duelist for a peeler, or a Vanguard for a better space-denier. The goal is to practice swapping with purpose, not frustration.
Day 6: Team-Up Awareness
Focus on the enemy’s Team-Up bar. When you see it activate, your only thought should be: “What does this do, and how do I deny it?” Against SP//DR Sync, spread out to avoid Ultron’s enhanced beam. Against Spirit Breaker, bait Mantis’s sleep before engaging Emma Frost. Treat powerful Team-Ups with the same respect as ultimates.
Day 7: Review and Simplify
Watch a replay of a close loss. Don’t look for mechanical errors; look for one decision where applying this week’s skills could have changed the fight. Did you mislabel the archetype? Forget your Two Corners? Mistime a push because you didn’t track a Cooldown? Find one insight, and take it into your next session.
Stick to this plan, and you’ll stop seeing Marvel Rivals as a chaotic brawl and start seeing it as a puzzle you’re equipped to solve. You’ve got the map—now go climb.