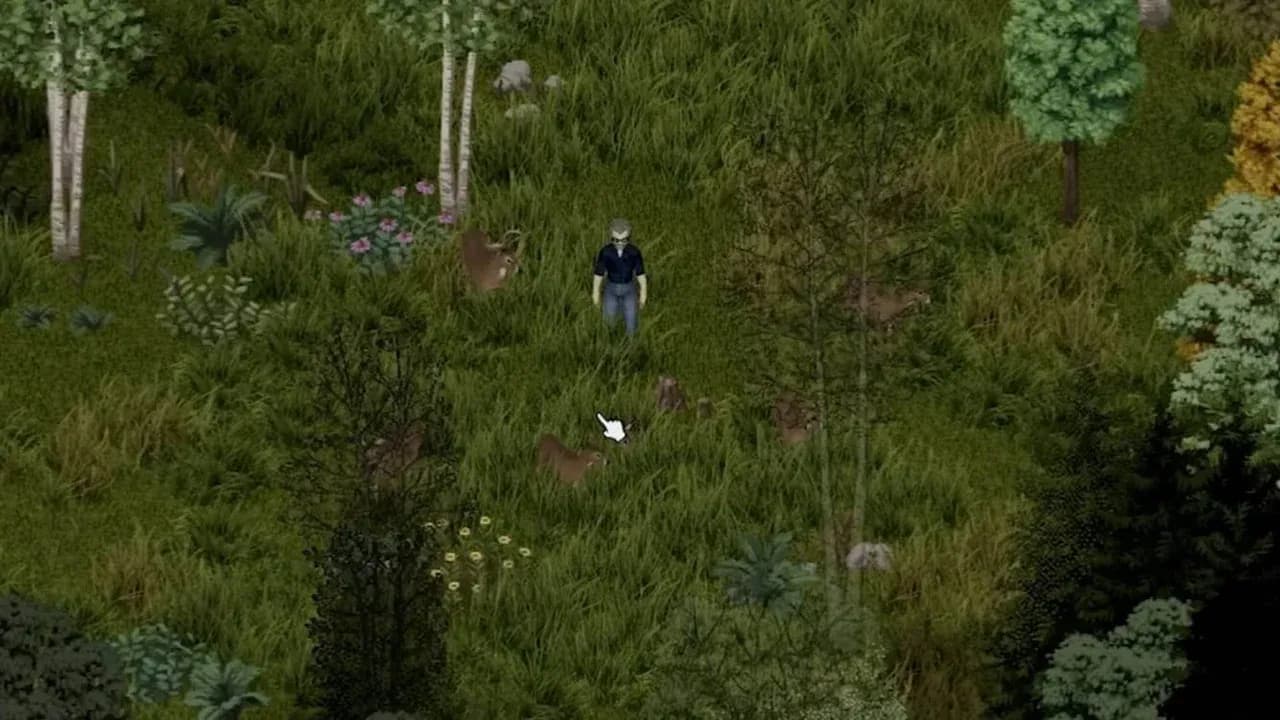
The trap with deer hunting is treating it like a random loot roll. Build 42 gives you a better option: read the signs in your own world, record a route, and return only when you have the equipment to turn a sighting into food and leather. Deer tracking becomes worthwhile when the first trip is reconnaissance and the second trip is a controlled harvest.
The goal is not to search every forest tile. It is to make one known route pay for the risk of entering the woods.
Follow the First Sign Until You Have a Route
Open Search Mode and select Animal Tracks as your focus. Start with footprints because they suggest direction, then use the surrounding evidence to decide whether the herd passed through or is using the area:
- Droppings, broken twigs, and disturbed undergrowth confirm animal traffic.
- Flattened plants point to a resting place.
- Grazed patches point to a feeding place.
When several signs point the same way, place a map note at the last useful position and leave. Deer routes are tied to the individual world, so another player’s route is only a clue; your save needs its own record. Do not spend the first trip forcing a shot. Learn where the trail opens up, where you can approach without getting trapped in trees, and which direction gives you a safe retreat.
That route is the payoff of the first outing. On the next trip, carry the weapon, knife, food, water, and spare inventory space needed for the kill instead of repeating the search from zero.
Take the Shot Only From a Recoverable Position
Return to the marked area and park outside the immediate clearing. Walk the final approach so the vehicle is not where the encounter, the carcass, and your retreat all have to happen. Keep the last confirmed sign in mind while you move; if the deer are not there, resume the trail rather than wandering in a new direction.
Use a shot you can finish with the weapon and skill you have. A firearm creates a noise problem as soon as it solves the deer problem, so do not keep firing after the animals disappear into cover. Mark the last position, break contact, and reacquire the trail when the area is safe. The carcass is valuable, but it is not worth turning a planned hunt into a fight with a horde.
A clean hunt ends with a recoverable kill and a route home. If you cannot see how to reach the carcass, carry it, and leave the area, wait for a better approach instead of shooting from a bad position.
Turn One Deer Into Meat and Medium Leather
Leave the carcass on the ground and use the Butcher action with a knife. Process it before you start another search so you are not carrying an unprocessed animal through a second fight.
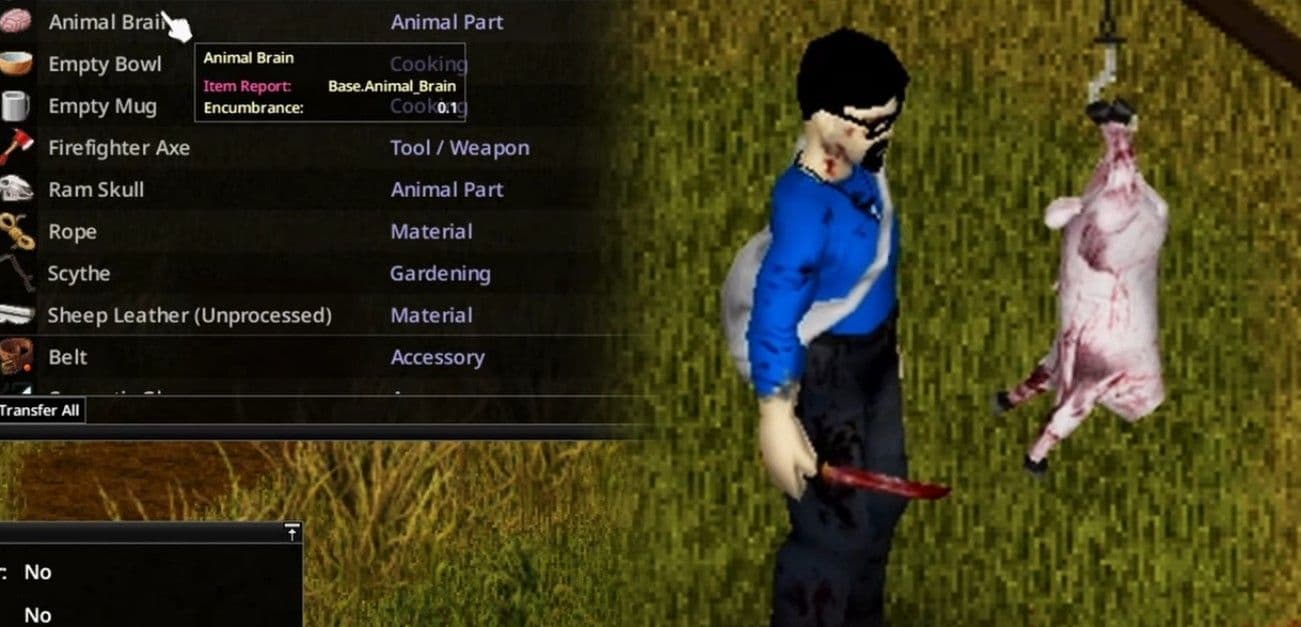
Butchering turns the kill into meat and animal parts before the leather workflow.
The hide then follows a separate Build 42 sequence:
- Use a Softening Beam to remove the remaining flesh. You can choose whether to remove the fur.
- Soak the hide in a Tanning Bucket using a brain tan or bark tan.
- Put it on the drying rack suited to its size. Deer use the medium-leather workflow, so prepare a Medium Leather Drying Rack.
The same kill can supply meat, blood, bones, and other animal parts as well as deer leather. Keep the processing stations ready at your base: a Softening Beam, Tanning Bucket, and the appropriate rack turn a carcass into materials instead of another object to store and relocate.
Let Hunting Cover What Livestock Cannot
Deer and livestock solve different problems. Livestock provides managed, repeatable outputs such as eggs and milk; deer provides a mobile source of meat and leather when you are already making a woodland trip. Treat deer tracking as the wild half of the food plan, not as a reason to abandon a stable farm.
Use the route note for a specific job: food, deer leather, or both. If the base already has enough food and no leather project waiting, skip the hunt and spend the trip on another task. When you do go, take the knife and weapon first, use the known approach, and process the kill at the stations waiting back home.