How to Unlock Dead Eye Ranks in Red Dead Redemption 2
In Red Dead Redemption 2, the Dead Eye system is your ultimate tool for survival, transforming chaotic gunfights into a ballet of precision. But unlocking its full potential isn't something you can grind for—it’s a journey woven directly into Arthur Morgan's story. Your Dead Eye ability evolves across five distinct ranks, each unlocked by completing specific missions that introduce new, game-changing mechanics.
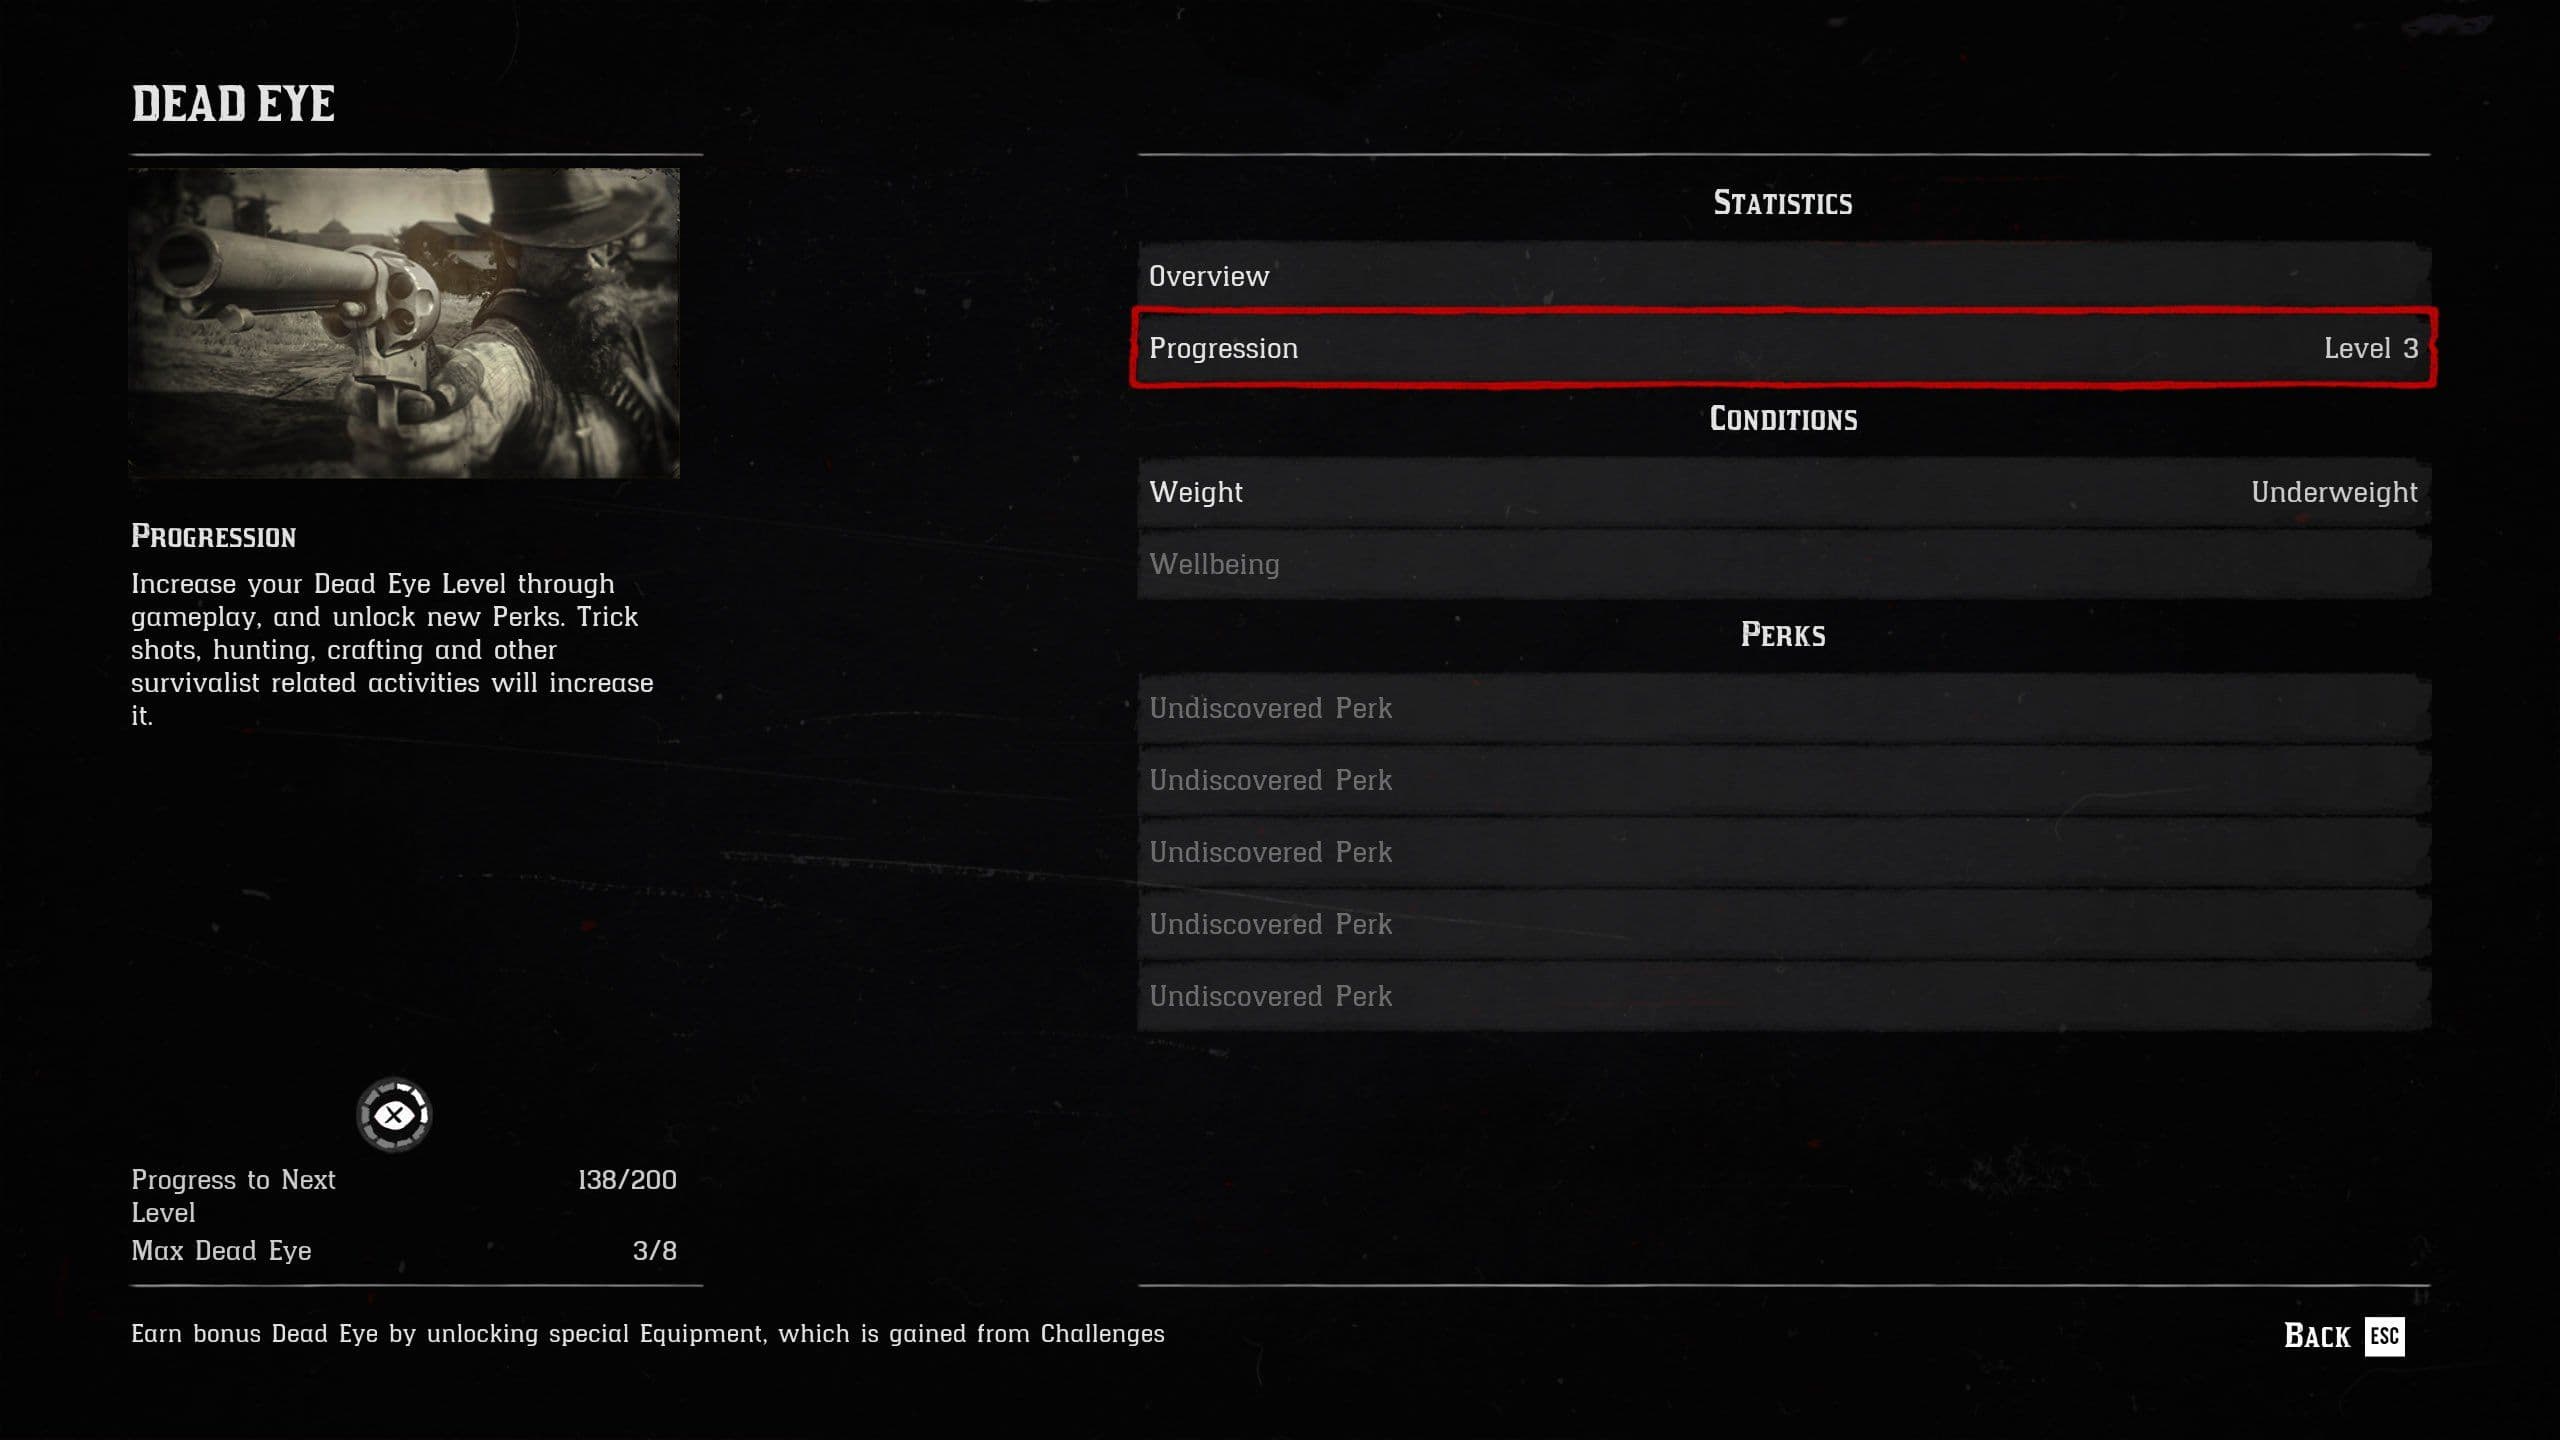
The Dead Eye progression menu displays current ranks and unlock requirements.
Dead Eye Rank Progression
The first rank, Dead Eye Rank 1, is unlocked during the ‘Old Friends’ mission in Chapter 1. This introduces the foundational ability: automatic target tagging. When you activate Dead Eye here, the game will automatically paint targets on enemies in your reticle, letting you unleash a quick volley of shots. It’s a basic but crucial introduction to slowing time and lining up your shots.
The real game-changer arrives in Chapter 2 with the mission ‘Pouring Forth Oil’. Completing this unlocks Dead Eye Rank 2, which grants you manual control. Now, you press [RB/R1] to manually tag multiple targets before firing. This is where Dead Eye shifts from a reactive tool to a proactive one, allowing you to plan elaborate takedowns on entire groups of enemies before a single bullet flies.
Use Rank 2 to tag multiple enemies from cover before you even step into a fight. You can clear a room before they know what hit them.
Your tactical options expand again in Chapter 4. The mission ‘Banking, the Old American Art’ grants Dead Eye Rank 3, with a subtle but powerful upgrade: you now stay in Dead Eye after firing if no target is tagged. This means you can take a single, carefully aimed shot at a distant target, remain in slow-motion to see if it connected, and immediately line up a follow-up shot without exiting and re-entering the mode. It’s perfect for sniping and hunting.
The final two ranks turn you into a true virtuoso of violence. In Chapter 5, the mission ‘Fleeting Joy’ unlocks Dead Eye Rank 4, which highlights fatal shot placements on your enemies. The game now visually indicates where to shoot for maximum effect, taking the guesswork out of your aim.
The pinnacle is achieved in Chapter 6. Complete the mission ‘Goodbye, Dear Friend’ to unlock Dead Eye Rank 5. This final rank highlights critical shot placements like the heart and lungs on both human and animal targets, glowing a bright red. This isn’t just a visual aid—it’s the key to dealing massive damage multipliers and securing perfect pelts with surgical precision.
Trust me, once you hit Rank 5 and can see those vital organs glowing, you’ll feel unstoppable. With all five ranks unlocked through the story, you’re equipped with the complete Dead Eye arsenal, ready to face anything the frontier throws at you.
How to Level Up the Dead Eye Meter in Red Dead Redemption 2
This is where the real work begins. In Red Dead Redemption 2, unlocking the Dead Eye ranks gives you new tools, but leveling up the Dead Eye meter is what makes you a legend. It’s the difference between a quick burst of precision and having the time to calmly paint a dozen targets before they even blink.
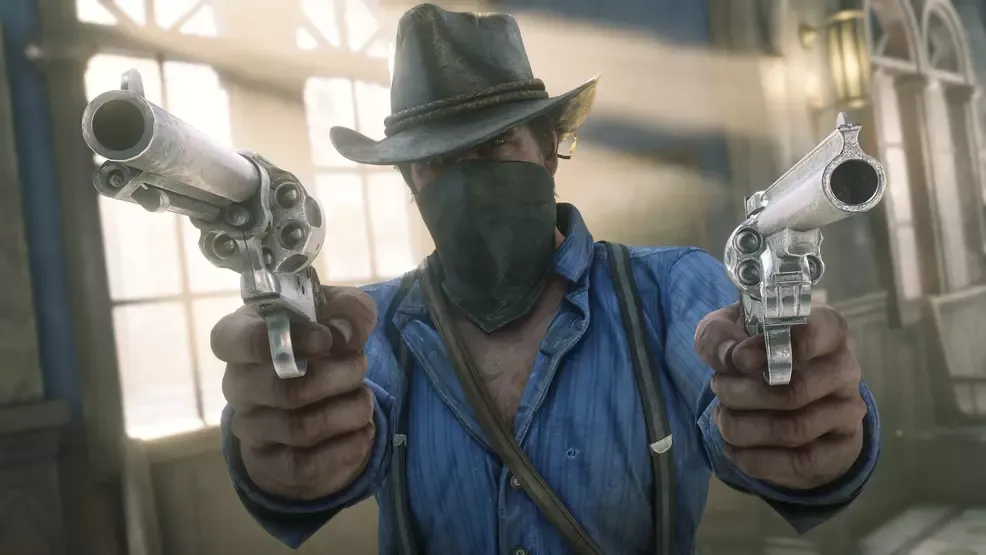
Combat proficiency and headshots contribute significantly to leveling up your Dead Eye.
Think of it as a two-track system. Ranks (1-5) are your story-given abilities—like manual tagging or seeing vital organs. Levels (1-10) are your personal growth, extending the duration of that blue bar on your HUD. You earn these Dead Eye Levels through experience, specifically Dead Eye XP, gained from living the life of an outlaw and hunter.
Earning Your Dead Eye XP
Your journey to a maxed-out meter starts with the first eight levels, which are earned purely through XP. The required XP ramps up, starting at 0 for Level 1 and climbing to 1,100 XP for Level 8. Here’s the good news: the actions that grant this XP are woven into everyday gameplay.
The most consistent sources are hunting and camp life:
- Skinning an animal grants 1-10 XP depending on the creature’s size and quality.
- Performing camp chores like chopping wood or hauling water bags gives a steady 5 XP each time.
- Crafting and cooking at your campfire each net you 1 XP.
For the sharpshooters, precision pays off. Landing a 50-meter headshot (or farther) rewards 1-5 XP based on the total distance. Free-aim kills (without lock-on) also contribute, making exploration and hunting a perfect way to grow your Dead Eye alongside your wallet and satchel.
Make hunting trips do double duty. Study and skin every animal you take down—not only will you get materials for the Trapper, but you’ll also steadily build that crucial Dead Eye XP with every pelt.
The Final Push: Levels 9 & 10
Reaching Level 8 is a grind, but Levels 9 and 10 operate on a different principle. These final upgrades aren't tied to XP but to proving your mastery of the frontier through the Trapper’s challenge gear sets.
To unlock Dead Eye Level 9, you must complete one full outfit set from the Trapper. You can choose from the Explorer, Herbalist, or Survivor sets. Each set requires you to finish its corresponding in-game challenge strand and gather the necessary pelts and materials.
The ultimate goal, Dead Eye Level 10, demands true dedication. You must complete all three full gear sets: Explorer, Herbalist, and Survivor. It’s a monumental task that will send you across every biome, but the reward is the longest-lasting Dead Eye meter in the game.
A Rare Boost: Valerian Root
While grinding out XP, keep an eye out for a special helper. Valerian Root is a rare consumable found in the world. When used, it grants a massive 25% of the XP needed to reach your next Dead Eye level. If you find one, save it for when you’re close to a new level to get the most out of its boost.
With a mix of diligent hunting, camp upkeep, and completing the Trapper’s challenges, you’ll watch that meter grow from a quick-draw tool into a sustained window of controlled chaos. Now, let's talk about how to use that power.
Best Dead Eye Ability Cards for Combat and Hunting
Your Dead Eye meter is full and the ability unlocked, but to truly master it in Red Dead Redemption 2, you need to shape it to your playstyle. That’s where Ability Cards come in—they're the final piece of the puzzle that transforms Dead Eye from a simple tool into your signature combat style. Choosing the right card for your Slot 1 can define your entire approach to gunfights and hunting.
Dead Eye cards are essential for surviving large-scale combat encounters.
The Five Core Dead Eye Cards
Your Slot 1 Ability Card directly modifies how Dead Eye functions. Here’s the breakdown of your five key options, each turning Arthur into a different kind of gunslinger.
Paint It Black is the quintessential choice for most players, especially early on. Once activated, pressing [RB/R1] lets you manually paint targets with an ‘X’. It’s perfect for mass engagements where you need to clear a room quickly, or for guaranteeing a perfect pelt with a bow by marking a tiny vital spot on a fleeing animal.
Slow and Steady is your go-to for survivability. When active, it reduces incoming damage and prevents headshot instant-kills. This makes you incredibly tanky, allowing you to walk through a hail of bullets. It’s a favorite for players who like to stand their ground in the middle of a fight.
Slippery Bastard flips the script on auto-aim entirely. Activating it forces free-aim combat by removing lock-on for all parties—enemies can’t lock onto you, but you can’t lock onto them either. This card is a game-changer in PvP and against NPCs who rely on aim-assist, rewarding skilled free-aim shooters.
Focus Fire is your boss-killer card. It doesn’t change how you mark targets, but it significantly increases damage output on a single target. This makes it ideal for taking down legendary animals, tough bounty targets, or any enemy that just won’t go down. Pair it with a powerful rifle for devastating results.
A Moment to Recuperate offers a different kind of defense: healing. While active, it regenerates health during activation, giving you a chance to recover in the middle of a firefight. Be warned, though—if you take damage, the regeneration effect pauses, so you need to find a safe moment to use it.
Don't sleep on Slow and Steady for hunting dangerous predators. That damage reduction and headshot immunity can save your life when a cougar or grizzly charges you, giving you the precious seconds needed to line up a heart shot.
Building Your Loadout
While your Slot 1 card defines your Dead Eye, the three other ability slots support your overall build. Think about synergy. A tanky Slow and Steady user benefits from cards like Fool Me Once (which grants stacking damage reduction as you’re hit) and Iron Lung (which boosts health regeneration based on your stamina). An aggressive Paint It Black gunslinger might pair it with Peak Condition for extra damage at full stamina and Winning Streak to increase damage with consecutive hits.
The beauty of Red Dead Redemption 2’s system is there’s no single “best” card—only the best one for your moment. Are you storming a gang hideout? Paint It Black. Hunting a legendary panther? Focus Fire or Slow and Steady. Getting griefed in town? Slippery Bastard. Experiment and find the combination that makes you feel unstoppable. With the right card equipped, you’re not just using Dead Eye—you’re mastering it.
How to Target Vital Organs for Clean Kills in Red Dead Redemption 2
This is where Dead Eye becomes art—in Red Dead Redemption 2, reaching Dead Eye Level 5 transforms your crosshair into a surgeon's scalpel. You'll see enemy vital organs glowing red on your screen, letting you choose exactly how you want to end a fight or secure a perfect pelt. This isn't just about slowing time anymore; it's about surgical precision.
Dead Eye allows hunters to spot and target critical areas on animals.
Mastering Level 5: The Anatomy of a Kill
Once you unlock Dead Eye Level 5 in Chapter 4, the world slows down and your targets become transparent. Three key organs will glow with a distinct red highlight: the brain, the heart, and the lungs. Each offers a different outcome.
The glowing red highlight is your guide. Aim for the brightest spot on the target—that's your bullseye.
The brain is your go-to for an instant kill on any human or animal. It's the smallest target, but a successful hit means they drop immediately, no questions asked. For hunting, this is the cleanest kill for medium-sized game, guaranteeing a perfect pelt if you use the correct weapon.
The heart offers a massive 5x damage multiplier. This is your best bet for massive creatures like Bears and Bison—their hearts are a larger, more forgiving target than the brain, and that damage boost ensures a quick, clean kill. Pair this with a powerful rifle like the Springfield Rifle for maximum effect.
The lungs provide a solid 3x damage multiplier. It's a great middle-ground target, especially when using a Repeater. If you can't quite line up the brain or heart on a moving target, the lungs will still deliver a devastating blow.
The Manual Painting Process
To make these precise shots, you need to master manual painting. This is the core skill of high-level Dead Eye use.
- Aim at your target and press [R3/RS] to activate Dead Eye.
- Slowly move your reticle over the glowing organ you want to target.
- Press [RB/R1] to paint a bright 'X' on that spot.
- You can repeat this for up to 12 targets, as long as your Dead Eye core is full and your weapon has ammo.
- Finally, press [R2/RT] to fire. Arthur will unleash all painted shots in a rapid, deadly sequence.
This method gives you complete control. You can paint three different deer with heart shots, or mark a room full of enemies with brain shots for a swift, silent clearance.
Applying the Headshot Rule
Even with organ targeting, the Headshot Rule still reigns supreme for efficiency. Prioritizing headshots—which often overlap with brain targeting—is the fastest way to end encounters, conserve ammo, and gain the most Dead Eye XP. In chaotic fights, if you can't carefully paint a brain, a quick headshot mark will still do the job. This rule keeps your combat fluid and your Dead Eye meter growing.
⚠️ Watch out: Painting the same target multiple times doesn't increase damage—it just wastes bullets and Dead Eye. One precise mark is enough.
Trust me, once you start seeing those red glows and placing your 'X' with intent, you'll feel unstoppable. Whether you're clearing a gang hideout with a series of instant brain shots or dropping a legendary animal with a single heart strike, this knowledge turns you from a gunslinger into a master marksman. Let's go hunt.
Best Strategies for Managing the Dead Eye Meter
The Dead Eye meter is your lifeline in a gunfight, but it’s more than just a blue bar—it’s a resource you can actively manage. In Red Dead Redemption 2, letting it run dry at the wrong moment can be the difference between walking away and being carried away. The key to consistent availability lies in understanding its two parts: the yellow inner core that governs your regeneration rate, and the outer blue ring that represents your usable Dead Eye duration. A full core means your ring refills much faster, so keeping that core healthy is your top priority.
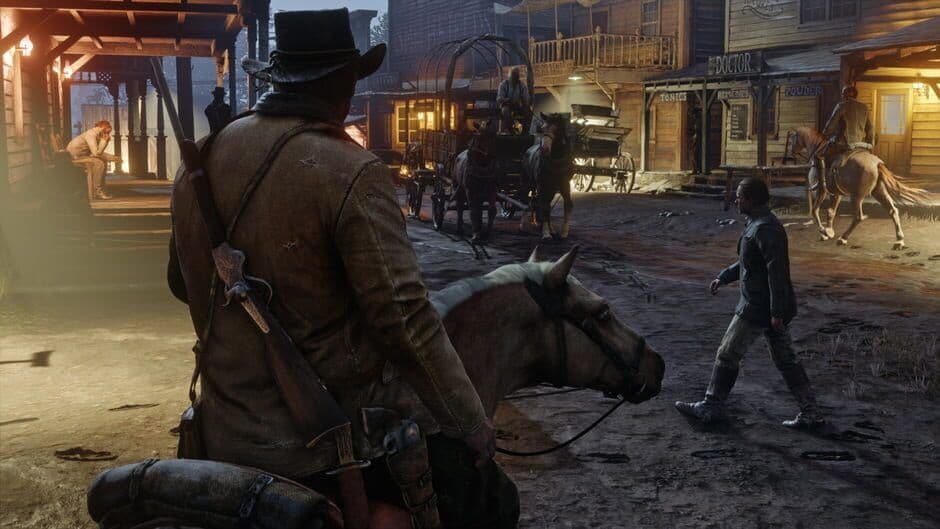
Strategic use of Dead Eye can turn the tide of any encounter.
Your first line of defense is your camp. A full night’s sleep at your camp or in a rented room will completely restore your inner core, resetting your regeneration to its peak. For a quicker fix in the field, cooked Minty Big Game Meat is your best friend—it fully restores the core and fortifies your health. When you’re in a pinch and need an instant boost to the outer ring itself, that’s where consumables come in. Snake Oil will refill the outer Dead Eye ring immediately, perfect for topping up before a big fight. For a more substantial, but risky, boost, Chewing Tobacco refills 50% of your Dead Eye core, though it damages your health core in the process. And for the ultimate reset, the Miracle Tonic fully restores both your Dead Eye core and ring, making it your "get out of jail free" card for the toughest encounters.
Think of your Dead Eye core like a battery’s charge rate. A full battery charges fast; a dead one charges slow. Always eat or sleep to top up the core before a mission, so your ring bounces back quickly after every use.
Managing this system isn’t just about refills—it’s about smart usage. Don’t burn your entire Dead Eye ring on a single, easy enemy. Use it tactically: to clear a room of multiple targets, to guarantee a vital organ shot on a legendary animal, or to get a bead on a sniper. Then, let it recharge naturally from a healthy core. By balancing core restoration with strategic ring expenditure, you’ll ensure Dead Eye is always there when you need it most.
How to Complete Dead Eye Sharpshooter Challenges
This is it—the ultimate test of your aim and composure. The Sharpshooter Challenges in Red Dead Redemption 2 are a brutal gauntlet designed to push your Dead Eye skills to the absolute limit, and the final rewards are worth every frustrating miss.
Precision aiming is necessary for the Sharpshooter challenge series.
This series of ten escalating tasks will have you shooting hats off heads, picking off birds mid-flight, and landing impossible shot streaks. If you’ve struggled with these, you’re not alone—they’re designed to be tough. But with the right strategy and location, you can conquer them all and claim the coveted Sharpshooter Bandolier, which permanently boosts your ammo capacity.
Sharpshooter Challenge Walkthrough
Here’s a breakdown of the most notorious challenges and the best ways to tackle them.
Challenge 4: Shoot 3 Hats Off
Your target is to shoot three hats off enemies without killing them. This requires finesse, not firepower. Head to the Valentine Saloon and start a brawl. Once the fight begins, activate Dead Eye and carefully aim for the very top of an opponent’s head. You’ll see a distinct ‘X’ mark appear on their hat. Fire a single round—a pistol works well here. If you see blood or they drop, you’ve aimed too low. Just exit and re-enter the saloon to reset the patrons and try again.
Challenge 8: 9 Shots, 9 Kills
This is the big one: kill nine enemies without missing a single shot. The pressure is immense. The key is to eliminate the chance of a miss from the start. Head to an area like Fort Mercer, where enemies are plentiful and predictable. Start by stealth-killing the first few guards with your bow—these silent kills don’t break your streak. Once you’re spotted, activate Dead Eye. Methodically paint a small ‘X’ on the head of every remaining enemy you see. Take a breath between each tag to ensure accuracy. Fire only when you’re confident you’ve tagged them all. If you miss even once, ride away to clear the area and try again.
Challenge 9: 10-Kill Dead Eye Chain
You need to kill ten enemies in a single, continuous Dead Eye activation. For this, you need volume and a deep ammo reserve. Load up a high-capacity Repeater like the Lancaster and head to a Bounty Mission. Let the target’s gang surround you, then activate Dead Eye. Don’t rush. Paint a headshot mark on one enemy after another until you’ve tagged at least ten. Only then, pull the trigger and watch your chain of perfect shots unfold.
Before attempting Challenge 9, max out your Dead Eye meter with Snake Oil or Chewing Tobacco. A full meter gives you the time to calmly tag all ten targets without the pressure of the mode cutting out early.
Your Reward: The Sharpshooter Bandolier
Persevere through all ten challenges, and you’ll earn more than just bragging rights. Completing the entire Sharpshooter challenge tree unlocks the Sharpshooter Bandolier. This isn’t just cosmetic; it’s a permanent upgrade that increases how much ammunition you can carry for all your weapons, making you a far more formidable force in any prolonged fight.
With these strategies, a steady hand, and a little patience, you’ll transform from a sharpshooter in training into the most feared gun in the West. Now go claim that bandolier.
Advanced Dead Eye Techniques for Explosives and Hunting
You've mastered the basics, but Red Dead Redemption 2's Dead Eye system has a whole other layer of trick shots and tactical applications that separate the sharpshooters from the legends. This is where you learn to bend the rules of time and physics to your will, using explosives with surgical precision and turning hunting into a masterclass of efficiency.
Atmospheric lighting helps in spotting movement during hunts.
Mastering Throwables and Hunting Precision
While Dead Eye with a gun is about painting targets, its true power with throwables lies in controlling the chaos. When you equip dynamite and activate Dead Eye, you enter Throwable Mode. Here’s the trick most guides miss: you don't auto-mark enemies. Instead, time slows to a crawl, giving you full manual control over the aiming arc. This lets you lead a running target perfectly or drop a stick through a window with impossible accuracy.
For a devastating surprise attack, you can shoot dynamite mid-air in Dead Eye. Equip dynamite, throw it high, immediately switch to a revolver, activate Dead Eye with [R3/RS], and fire at the dynamite's 'X' marker. The instant explosion catches groups off guard.
For hunting, Dead Eye's precision is your key to perfect pelts, but the lasso offers a brutal, up-close alternative for medium-to-large game. Track a pristine animal, hold [L2/LT] to aim, and press [Circle/B] to throw. Once you've wrangled it, dismount and deliver a clean stab to the heart. Activating [R3/RS] for Dead Eye as you approach ensures you don't miss the vital spot in the struggle.
Your most important hunting tool isn't a weapon—it's the Buck Antler Trinket. After hunting the Legendary Buck northwest of Valentine, bring its antler to any Fence to craft this trinket. It permanently improves the quality of every pelt you skin, making it dramatically easier to get perfect pelts from three-star animals.
With these advanced techniques, you're not just using Dead Eye—you're conducting it. You control explosions, guarantee perfect kills, and ensure every hunt is maximally profitable. Now get out there and make every second count.
