How to Master Movement and Pacing in Red Dead Redemption 2
Welcome to the frontier. Before you ride into your first sunset or fire your first shot, there's something crucial to understand: Red Dead Redemption 2 is not a race. Your adventure as Arthur Morgan is a deep, slow-burning simulation of life in 1899, where the journey itself is the destination. This opening guide will help you shed the habits of faster-paced games and master the movement and pacing that make this world so immersive.
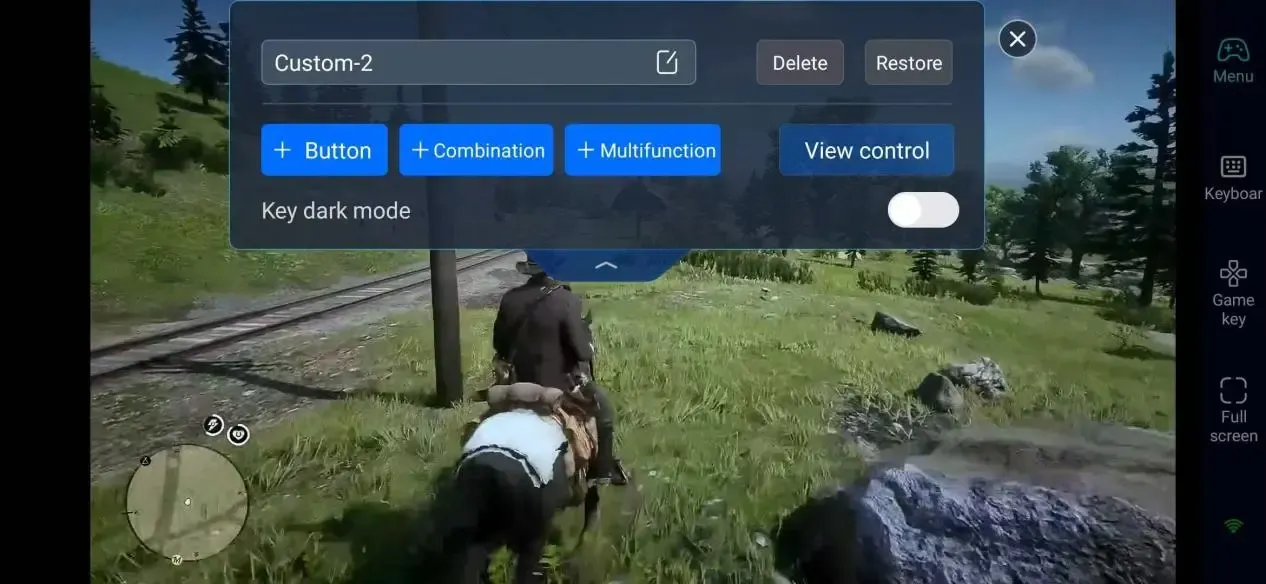
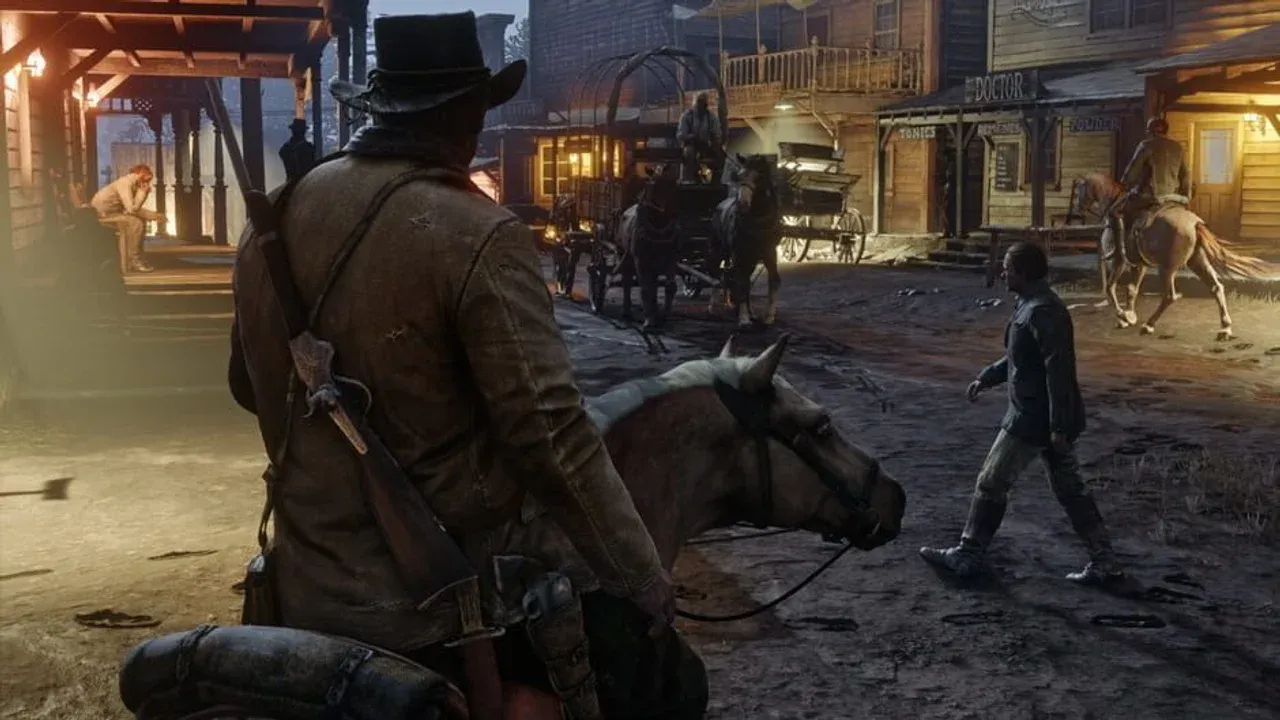
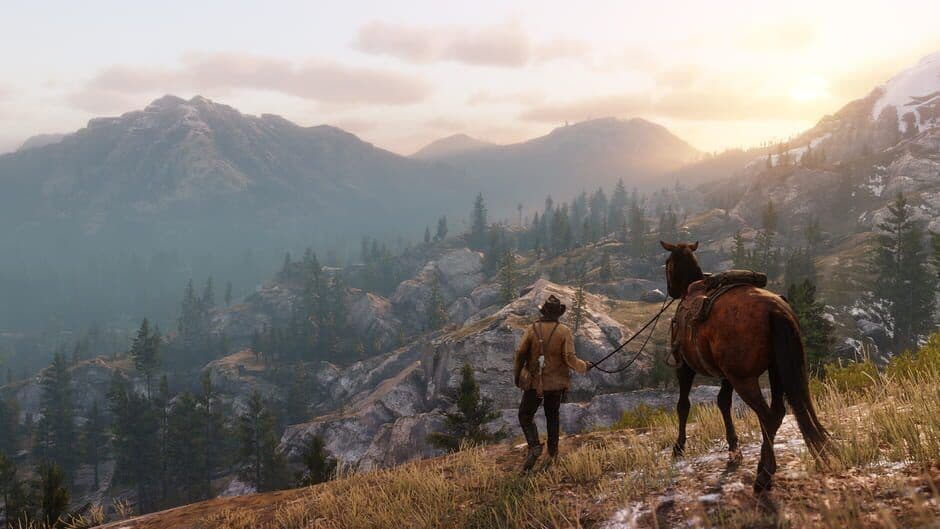
Customizing movement and view controls for Arthur Morgan
Embrace the Deliberate Pace
Your first instinct might be to sprint everywhere. Resist it. Arthur's default walking speed isn't a limitation—it's a deliberate design choice to reward observation. The world of Red Dead Redemption 2 is packed with subtle details, overheard conversations, and wildlife behaviors you'll miss if you're always running. Think of it as stepping into a living painting; the slower you go, the more you'll see. This isn't just about getting from point A to point B; it's about existing in the space between.
Mastering Movement and the Camera
Controlling Arthur and your view is intuitive but packed with options. Use the [L] stick to walk or run—a gentle push walks, a full tilt sprints (which drains stamina). To look around, use the [R] stick to control the camera angle. This is your primary tool for soaking in vistas and scanning for threats.
When exploring on foot, try walking instead of running. You’ll hear more ambient dialogue, spot more herbs and animals, and truly feel the weight of the world.
For managing long rides, Cinematic Mode is your best friend. Hold [Touchpad/View] to activate it, then hold [A/X] while on a road or trail. Your horse will automatically follow the path, freeing you to enjoy the scenery or check your phone. It’s the perfect way to travel when you want to appreciate the scale of the world Rockstar built.
Choosing Your Perspective
You have full control over how you see the action. Tap [Touchpad/View] to cycle through camera perspectives: near, medium, and far third-person views, plus a fully immersive first-person mode. Third-person is great for general exploration and combat, giving you better spatial awareness. Switch to first-person when looting indoors for precise item selection, or when you really want to feel like you're standing in a dusty saloon or a dense forest.
Your Mindset for the Long Ride
If you’ve ever felt impatient during a long horse ride or wondered why things can’t move faster, you’re not alone. That feeling is the game asking you to shift gears. Success in Red Dead Redemption 2 isn't just about completing missions; it's about living in the world. Talk to gang members at camp. Stop to help a stranger on the road. Watch a train rumble by. The game’s most memorable moments often happen between the map markers.
With this understanding of movement and pacing, you’re ready to saddle up and experience the American frontier as it was meant to be lived—one deliberate, breathtaking moment at a time. Let's ride.
How to Manage Health, Stamina, and Dead Eye Cores in Red Dead Redemption 2
This is the heart of survival in the frontier—your Health, Stamina, and Dead Eye Cores in Red Dead Redemption 2. Think of them as Arthur’s internal engine, and if you don’t keep them fueled, you’ll sputter out when you need power the most. Let’s break down this critical system so you can keep Arthur in peak condition.
Hunting and outdoor activities drain stamina and health cores over time.
Understanding the Core System
Your screen shows two layers for each attribute: the outer ring and the inner icon. The outer rings represent your current, usable meter—this is what depletes when you take damage, sprint, or use Dead Eye. The inner icons represent your Cores, which control how quickly those outer rings regenerate. An empty Core means regeneration grinds to a halt. Keeping these Cores full isn't just a suggestion; it's the difference between a quick recovery in a shootout and watching your health bar crawl back while bullets fly.
Refilling Your Cores
Cores don’t refill on their own. You need to consume specific items, which you can find by exploring, looting, or purchasing. Here’s what to look for:
- Health Core: This affects how fast your health regenerates. Keep it topped up with Yarrow or Ginseng plants, or with any cooked meat from hunting. A well-fed Arthur is a resilient Arthur.
- Stamina Core: This dictates your stamina regeneration for sprinting, swimming, and climbing. Refill it with Oregano or Wild Carrots.
- Dead Eye Core: This determines how quickly your Dead Eye meter replenishes, which is vital for combat. Wild Mint, Chocolate, and Coffee are your go-to items for this.
Get in the habit of foraging plants as you ride. Press down on the D-pad to enter Eagle Eye—it will highlight all nearby plants and animals in a glowing gold light, making collection effortless.
Fortifying for the Fight
Sometimes, you need more than a refill; you need an edge. This is where Core Fortification comes in. By using special Tonics, you can temporarily turn your Core bars a solid gold color. While fortified, these Cores are invulnerable to drain, meaning your regeneration rates stay maxed out no matter what you do. It’s a perfect pre-buff before riding into a known gang hideout or taking on a legendary predator.
Trust me, once you start managing these Cores proactively—snacking on mint, chewing tobacco for a quick Dead Eye boost, and cooking that deer meat—you’ll feel unstoppable. It transforms Arthur from a vulnerable wanderer into a true force of nature in the Wild West.
Best Early Game Combat and Dead Eye Strategies
Alright, partner—this is where the bullets start flying. In Red Dead Redemption 2, shootouts can go from tense standoffs to chaotic bloodbaths in a heartbeat. This section will teach you how to not just survive, but dominate, by mastering the game’s signature Dead Eye system and essential combat fundamentals.
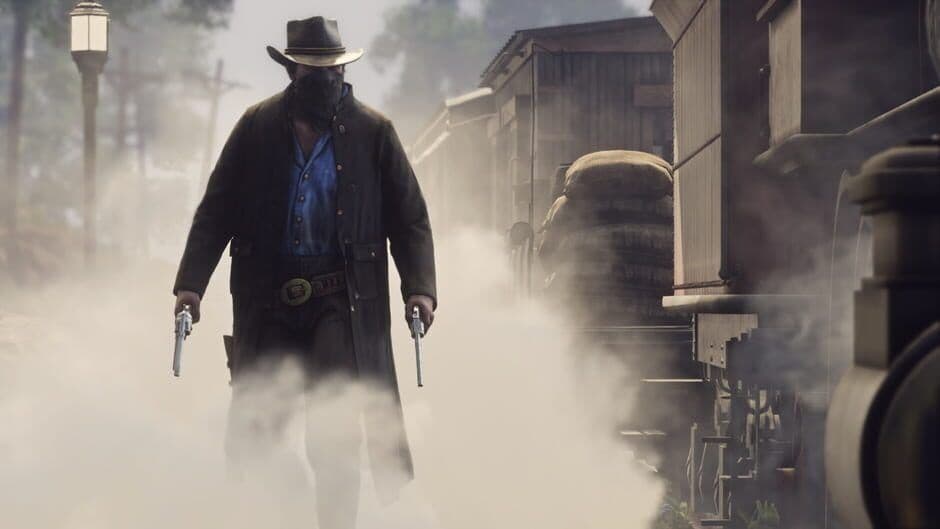
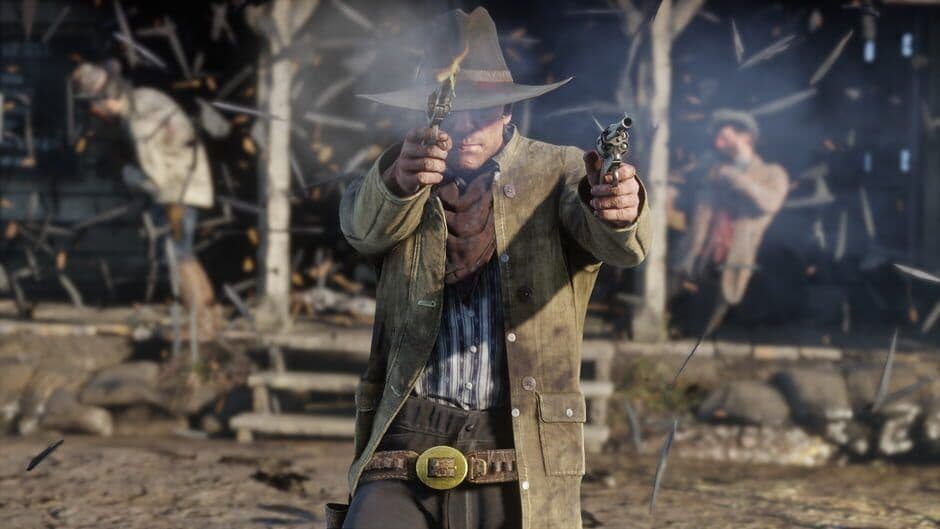
Survival in the West depends on your mastery of Dead Eye.
Best Early Game Combat and Dead Eye Strategies
When the law closes in or a rival gang ambushes you, your survival hinges on two things: quick reflexes and a steady hand. The early game can feel overwhelming, but with a few key strategies, you’ll be dropping foes with cold precision.
First, let’s talk about the cornerstone of Red Dead Redemption 2 combat: Dead Eye. This slow-motion mechanic is your greatest ally. Press [R3] while aiming to activate it, slowing time and letting you line up shots. At first, it auto-targets, but as you use it more, you’ll unlock the ability to manually tag multiple targets. When you do, press [RB/R1] to tag each enemy, then [RT/R2] to fire. Trust me, using Dead Eye in every fight, not just emergencies, turns impossible odds into manageable duels.
Keep a steady supply of Chewing Tobacco, looted from enemies and camps. It’s a highly effective item for instantly replenishing your Dead Eye meter when you’re in a pinch.
Now, here’s the trick most guides miss: Dead Eye is powerful, but your default aim is just as important. The game’s auto-aim is strong, but it locks onto an enemy’s chest. To save ammo and end fights fast, you need to go for Manual Headshots. The moment you aim and lock on, flick the [R] stick up slightly to adjust your reticle to their head. It’s a tiny movement, but it guarantees a one-shot kill on most human enemies. This is non-negotiable for efficient combat.
Speaking of efficiency, don’t let the controls trip you up. A common mistake in the heat of battle is hitting the wrong button to reload. In Red Dead Redemption 2, you manually reload by pressing [Circle/B]. If you instinctively press [Square/X], you’ll just make Arthur jump. Get in the habit of tapping [Circle/B] after every few shots to avoid being caught with an empty chamber.
Finally, no outlaw strategy is complete without a plan for dealing with the law. Before you rob a stagecoach or pick a fight in town, open your Items Wheel and equip the Bandana from the bottom left slot. Wearing this before a crime anonymizes your identity to witnesses. If you’re spotted without it, your bounty will be under Arthur Morgan’s name. With it, you’re just another masked bandit.
With these fundamentals—mastering Dead Eye, aiming for the head, reloading correctly, and masking up—you’re ready to handle any gunfight the frontier throws at you. Now go make your reputation.
How to Unlock Fast Travel and Upgrade the Camp in Red Dead Redemption 2
This is where your adventure in Red Dead Redemption 2 truly opens up. After the snowy confines of Chapter 1, you’ll establish your main camp at Horseshoe Overlook, a sprawling bluff overlooking the Dakota River. This camp isn't just a place to sleep—it’s the beating heart of the gang and your gateway to two of the most important quality-of-life upgrades in the game: the camp ledger and fast travel.
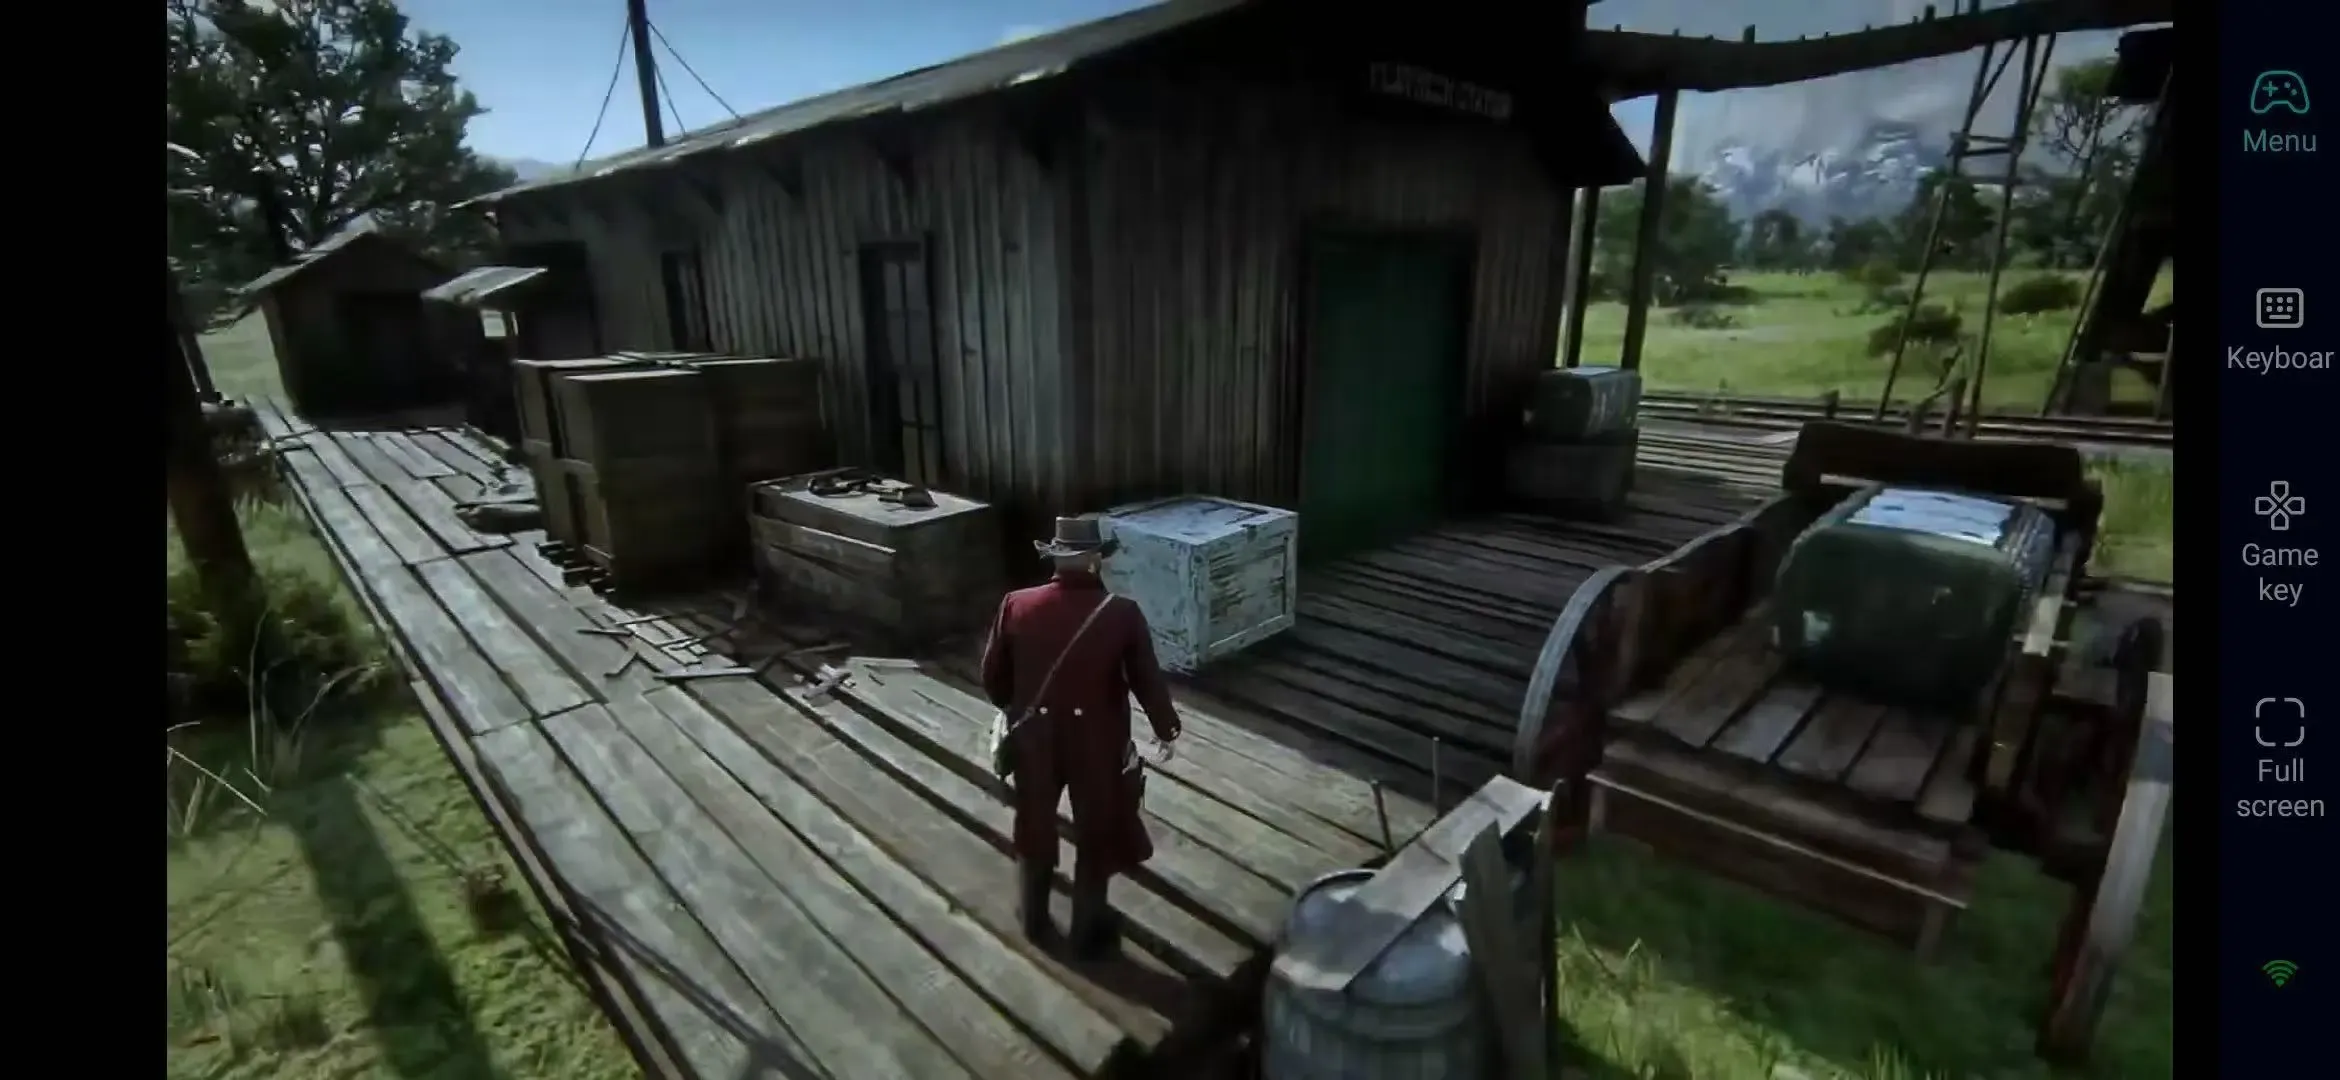
Exploration is easier once you unlock the fast travel map at camp.
The key to unlocking these upgrades is a man at a small desk. At Horseshoe Overlook, you’ll find Leopold Strauss, the gang’s bookish and ruthless loan shark. Speak with him to start the mission “Money Lending and Other Sins.” Completing its first debt collection (from a farmer named Wrobel) is your ticket. This mission unlocks the Camp Ledger, a large brown book sitting on the table next to the camp’s donation box.
Don’t rush through “Money Lending and Other Sins.” While the first collection unlocks the ledger, completing more of Strauss’s tasks later can be a reliable source of cash, though it comes at a moral cost.
With the ledger open, you can start transforming camp life. Your first major purchase should be First Things First, a $220 upgrade for Dutch’s tent listed under “Lodging.” This isn’t just about making the boss more comfortable; it’s a prerequisite for everything else. Once that’s done, you can buy the Next in Line upgrade for Arthur’s tent and wagon for $325. This is the big one—it places a detailed Fast Travel Map right at the foot of your cot.
Here’s the trick most guides miss: fast travel in Red Dead Redemption 2 is one-way only. You can instantly travel from your camp to any major town or landmark you’ve discovered, saving you countless minutes of riding. To get back to camp, you’ll need to ride, take a stagecoach, or use the cinematic travel mode.
⚠️ Watch out: While incredibly convenient, leaning on fast travel too much means you’ll miss the random encounters, stunning vistas, and little stories that make the world feel alive. Use it for long hauls back from distant regions, but don’t be afraid to ride and explore.
With the fast travel map unlocked and the camp ledger at your disposal, you’ve taken control of your time in the West. You’re no longer just surviving from one mission to the next—you’re building a home base and mastering the map.
How to Find the Limpany Gold Bar and Unlock Fences
Forget grinding for pocket change—there’s a small fortune waiting for you in a burned-out town, and it’s the fastest way to kickstart your outlaw career in Red Dead Redemption 2. Finding the Limpany Gold Bar and unlocking the Fences to sell it is your ticket to early financial freedom, letting you buy better guns, upgrade your camp, and pay off those pesky bounties without breaking a sweat.
Finding gold bars provides an immediate financial boost.
Finding the Limpany Gold Bar
Your treasure hunt begins at the ghost town of Limpany, located southwest of the Horseshoe Overlook camp. Ride south along the Dakota River, and you’ll spot the charred remains of this settlement just before the river bends.
Head straight for the Sheriff’s Office, the most intact building in the ruins. Inside, you’ll find a lockbox tucked under the main desk. Loot it to claim your prize: a single Gold Bar worth $500 and a useful pamphlet. This isn’t chump change—it’s more cash than you’ll get from looting a dozen bodies, and it’s available the moment you set up camp in Chapter 2.
While you’re in Limpany, loot the other buildings thoroughly. You can often find jewelry, cash, and other valuables in the drawers and cabinets, adding a nice bonus to your gold bar haul.
Unlocking the Fence at Emerald Ranch
A gold bar is worthless if you can’t sell it. You need a Fence—a special vendor who deals in stolen goods and other illicit items. The easiest one to unlock early is Seamus at Emerald Ranch.
To gain access, you must complete the story mission “The Spines of America” with Hosea Matthews. This mission becomes available early in Chapter 2. Hosea will take you to Emerald Ranch to sell a stolen wagon, introducing you to Seamus and unlocking his Fence services permanently. Once this mission is done, you can ride back to Emerald Ranch anytime to sell your gold bar, stolen wagons, jewelry, and other contraband.
⚠️ Watch out: Don’t try to sell the gold bar at a general store or gunsmith—they won’t buy it. It must be sold to a Fence. If you haven’t done Hosea’s mission yet, that gold bar will just sit heavy in your pocket until you do.
With $500 in your pocket from a single trip, you’ve effectively skipped the early-game money grind. Use it to fast-track camp upgrades, kit yourself out at the gunsmith, or simply live a little easier in the wild. Now that’s a proper outlaw’s start.
How to Get the Legend of the East Satchel and Perfect Pelts
If there’s one early-game goal in Red Dead Redemption 2 that’s worth the grind, it’s this: securing the Legend of the East Satchel. Your starting satchel is painfully small, forcing you to leave behind valuable tonics, meats, and crafting ingredients. This upgrade changes everything, permanently increasing your carrying capacity for nearly every item to a whopping 99. Here’s how to unlock it and become a master hunter in the process.
Navigating rugged terrain to track elusive prey.
First, you need to unlock the ability to craft it. At your Horseshoe Overlook camp, head to the Camp Ledger next to the donation box. Purchase the Leather Working Tools upgrade for $225. This allows Pearson, the camp cook at his wagon, to craft satchels and other gear. Speak with him and select “Craft” to see the menu. You’ll notice the Legend of the East Satchel is locked—you must craft every other satchel first (Tonics, Ingredients, Kit, Provisions, Valuables, and Materials). Each requires a specific set of Perfect pelts.
This is where the real hunt begins. To get a Perfect pelt, you must first find a three-star quality animal. Aim at the animal and press [R1/LB] to Study it—its quality will appear. A three-star animal yields a Perfect pelt, but only if you kill it cleanly with the correct weapon. Here’s the breakdown:
- Small animals (squirrels, rats, songbirds): You’ll need Small Game Arrows. Craft these at a campfire from regular arrows, flight feathers, and shotgun shells.
- Medium animals (rabbits, badgers, raccoons): The Varmint Rifle is your only option for a clean kill.
- Large animals (deer, pronghorn, wolves): Use a Rifle (like the Springfield or Rolling Block) or a regular Bow.
- Massive animals (bears, elk, moose): A powerful Rifle is essential.
After studying an animal, its information is saved in your Compendium. Check it anytime to see the exact weapon needed for a clean kill on that species.
Once you’ve gathered all the required Perfect pelts for the earlier satchels, bring them back to Pearson. Craft them one by one, and the final recipe—the Legend of the East Satchel—will unlock. Trust me, the effort pays off a hundred times over. No more agonizing over which tonics to drop or leaving behind prime meat.
With your new satchel in hand, you’re ready to take on the frontier. You’ll never worry about inventory space again, freeing you to fully immerse yourself in the world of Red Dead Redemption 2.
How to Find and Tame the White Arabian Horse
This is the moment—standing in the cold, crisp air of Ambarino, you’re about to claim one of Red Dead Redemption 2’s finest steeds for free. The White Arabian is a legendary horse known for its speed and elite handling, and you can tame it early in Chapter 2. Trust me, this upgrade from your starter horse is worth the trip.
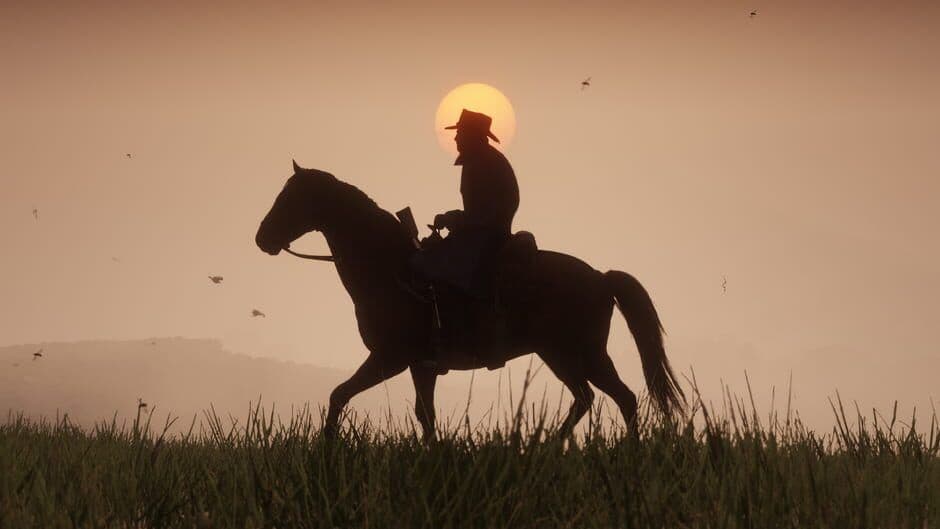
Bonding with your horse.
Your journey begins at Lake Isabella in the northwest corner of Ambarino. From your Horseshoe Overlook camp, ride northwest past Valentine and through the Grizzlies. It’s a long, cold ride, so dress warmly. The untamed White Arabian spawns on the frozen lake’s western shore, a stark, beautiful silhouette against the snow.
Save your game manually before you attempt the taming. If the horse runs off a cliff or gets spooked by wolves, you can reload and try again without waiting for it to respawn.
Taming the White Arabian requires patience. Dismount far away and approach slowly on foot. Hold [L2/LT] to target the horse, then repeatedly press [Square/X] to Calm it as you inch closer. This keeps its agitation in check. If it startles and bolts, stop moving and keep calming until it settles, then resume your approach.
Once you’re close enough, you’ll get a prompt to mount. This is where you break the horse. When you mount, it will buck wildly. To stay on, you must counter its movements by pulling the [L] stick in the opposite direction of its bucking. Don’t mash buttons—just focus on keeping Arthur centered as the horse fights. After a tense few seconds, it will calm, and you’ll have your new companion.
Now, the real bonding begins. Horse Bonding in Red Dead Redemption 2 ranges from Level 1 to 4. To increase it, regularly brush your horse, feed it (wild carrots work great), and pat it after dismounting. A higher bond unlocks better stats, new tricks like sliding stops, and makes the horse more responsive when you call. Remember to press [D-pad Up] to whistle for your horse—it will travel to you, but it must be in range to hear the call.
If the White Arabian escapes or, heaven forbid, dies during your attempt, don’t worry. Leave the Lake Isabella area for a few in-game days, then return. It will respawn in the same spot, giving you another shot.
With the White Arabian tamed and your bond growing, you now have a top-tier horse ready for any adventure the frontier throws at you. Saddle up and ride.
Essential Early Game Missions and Exploration Tips
This is where your adventure in Red Dead Redemption 2 truly begins—the world opens up, and you’re faced with a beautiful, overwhelming amount of choice. While the main story beckons, some of the game’s most memorable moments and crucial tools are hidden in its side content. Here’s what you absolutely shouldn’t miss in Chapter 2.
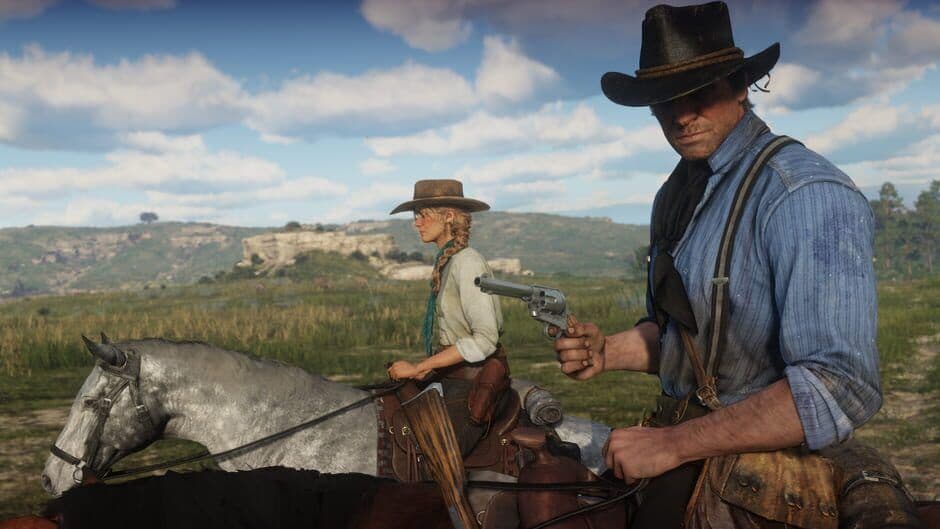
Early missions will test your proficiency with the Dead Eye targeting system.
Discover Hidden Stories and Unique Rewards
Your time in Horseshoe Overlook is the perfect sandbox. Before rushing the yellow markers, seek out two specific strangers who offer quests that reward unique gear and encourage deep exploration.
First, head to the Valentine Saloon. Upstairs, you’ll find Theodore Levin, a writer who starts the mission ‘The Noblest of Men and a Woman’. This quest sends you on a tour of the frontier to track down and duel four legendary gunslingers. It’s a fantastic way to see the map and, more importantly, earn unique weapons you can’t buy. One of these is Flaco’s Revolver, a custom Cattleman you get by defeating Flaco Hernandez in the snowy mountains. These guns are trophies with great stats.
For a more mysterious, long-term pursuit, ride to a cabin northwest of Strawberry. Here you’ll meet Francis Sinclair, a peculiar man who gives you the ‘Geology for Beginners’ stranger mission. He’ll hand you a map and ask you to find ten ancient rock carvings scattered across the world. This quest has no markers, turning your general exploration into a rewarding treasure hunt that pays off with a substantial reward and a fascinating conclusion.
Snap a picture of the rock carving map with your phone for easy reference while you explore. The carvings are often in hard-to-reach or scenic spots you might otherwise ride right past.
Navigate Danger and Document Your Journey
Red Dead Redemption 2’s world isn’t just pretty—it’s perilous. When you eventually venture into the swampy Bayou Nwa region in Lemoyne, tread carefully. This area is home to the terrifying Night Folk and a particularly disturbing character in Sonny’s Shack. If you value your sanity, it’s best to avoid accepting any “hospitality” here. Consider this your spoiler-free warning.
Amidst the chaos and beauty, don’t forget to check in with Arthur himself. Hold [D-pad Left] to open Arthur’s Journal. This isn’t just a quest log; it’s a window into his soul, filled with beautiful sketches of wildlife, poignant observations about people and places, and private thoughts he’d never say aloud. Reading it regularly adds incredible depth to the story and your connection to the character.
Embrace the Van der Linde Gang Life
Finally, remember that the camp at Horseshoe Overlook is more than a fast travel point and a place to sleep. This is your family. Spend time there. Sing songs by the fire with Javier, share a drink with Lenny, listen to Uncle’s tall tales, and have a bowl of Pearson’s stew. These quiet moments of camaraderie are what you’ll remember long after the shootouts fade, and they make the story’s emotional beats hit so much harder.
Your early hours in Red Dead Redemption 2 set the tone for everything that follows. By chasing these unique stories, exploring with purpose, and living in the world—not just rushing through it—you’ll craft an experience that’s uniquely and unforgettably yours. Saddle up, and see what’s over the next ridge.
