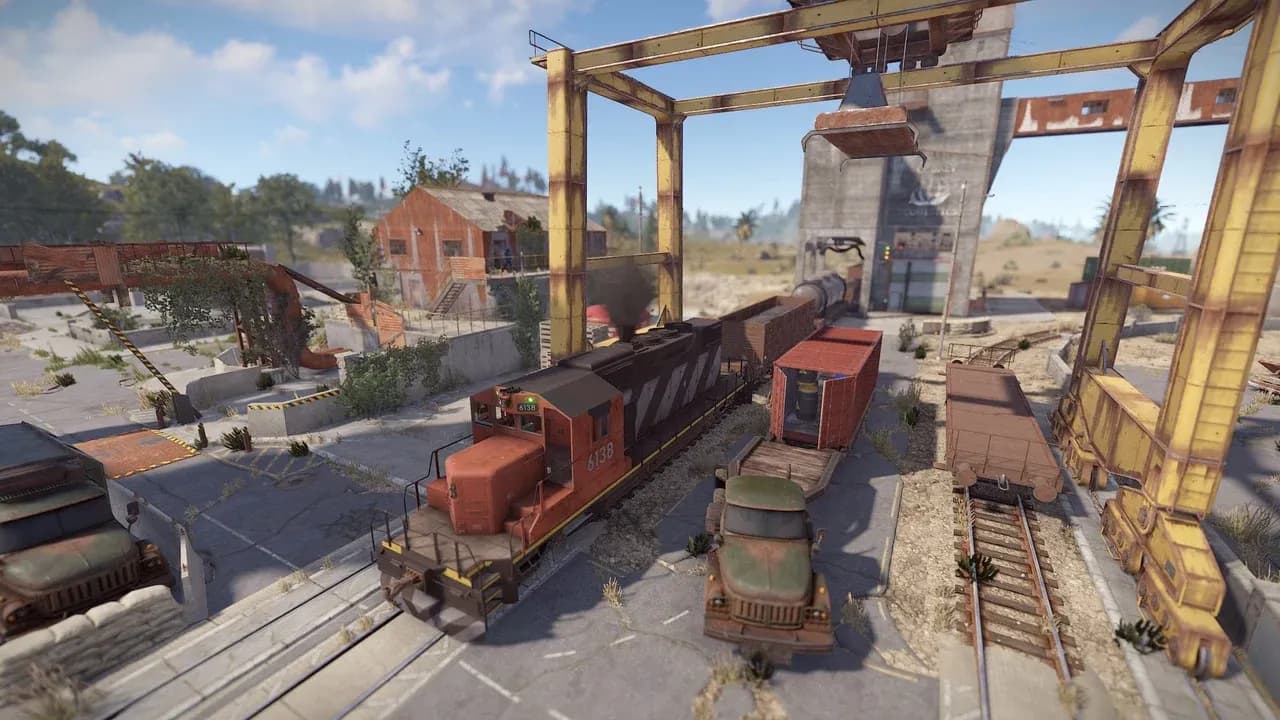
Trainyard contains two separate loot loops that share the same monument: a Blue Keycard circuit that produces a Red Keycard, and a train-car unloader that converts loaded freight into materials. They do not use the same preparation, so choose the loop before you leave base.
| Objective | Bring | Route and reward |
|---|---|---|
| Card room | Blue Keycard + 1 Electric Fuse | Three switches, then the upper card room and Red Keycard |
| Train-car unloader | Locomotive + Low Grade Fuel + Green Keycard + 1 Electric Fuse | Switch Tower controls that unload tanker and trough cars into storage tanks |
Run both objectives in one trip only if you carry a fuse for each loop. Electric Fuses provide temporary electrical passthrough, so the card circuit and the unloader should be treated as separate powered interactions.
Choose the Card Run or the Freight Run
The card run is the shorter progression route. Bring the Blue Keycard and one fuse; leave the train and Green Keycard behind. The Red Keycard is the reason to complete the circuit, because it opens the next tier of monument puzzles.
The freight run starts before you reach Trainyard. Find a locomotive, load it with Low Grade Fuel, and collect loaded cars on the rail network. EIP’s Trainyard guide uses about 40 Low Grade Fuel as a starting load, with more required for a longer trip. Oil tanker cars and trough cars are the useful targets; empty covered cars are not worth hauling back.
Trainyard includes an on-site recycler, but the route is exposed and the switch buildings are separated by open ground. Bring the weapon and healing supplies you need to cross the monument, then keep the rest of the loadout focused on the objective you selected.
The Circuit Is Generator → Tower → Main
The card puzzle uses three switches in a fixed order. The source map labels the relevant areas as the Generator Room (callout 3), Switch Tower (8), and Main Tower/Card Rooms (9):
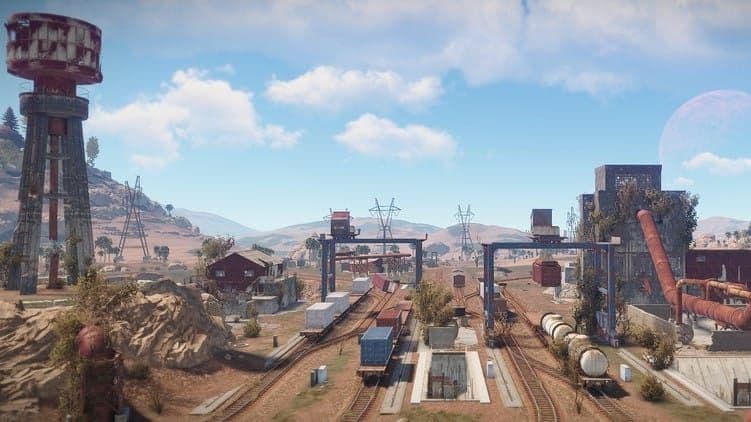
The buildings and rail lines that connect Trainyard’s card route.
- In the Generator Building, activate the first switch.
- Cross to the Tower Building, climb to the top, and activate the second switch.
- Return to the Main Building. On the second-floor back corner, insert the Electric Fuse into the fuse box and activate the final switch.
- Use the external route to reach the upper card room and swipe the Blue Keycard.
The first switch starts a time-limited circuit. The sources confirm the timer but do not publish a dependable duration, so do not stop to clear unrelated crates between switches. The safe navigation rule is simple: Generator Building, top of the Tower Building, Main Building fuse box, then the card room.
The card room contains the Red Keycard and several crates. Take the Red Keycard before spending time on optional loot. It is the progression item; the crates are a second decision after the required reward is secured.
The Switch Tower Is the Unloader
Bring the loaded train to the Train Car Unloading Area, which the source map labels as callout 2. Line the freight car under the unloading chute, then enter the Switch Tower with the Green Keycard and the unloader’s Electric Fuse.
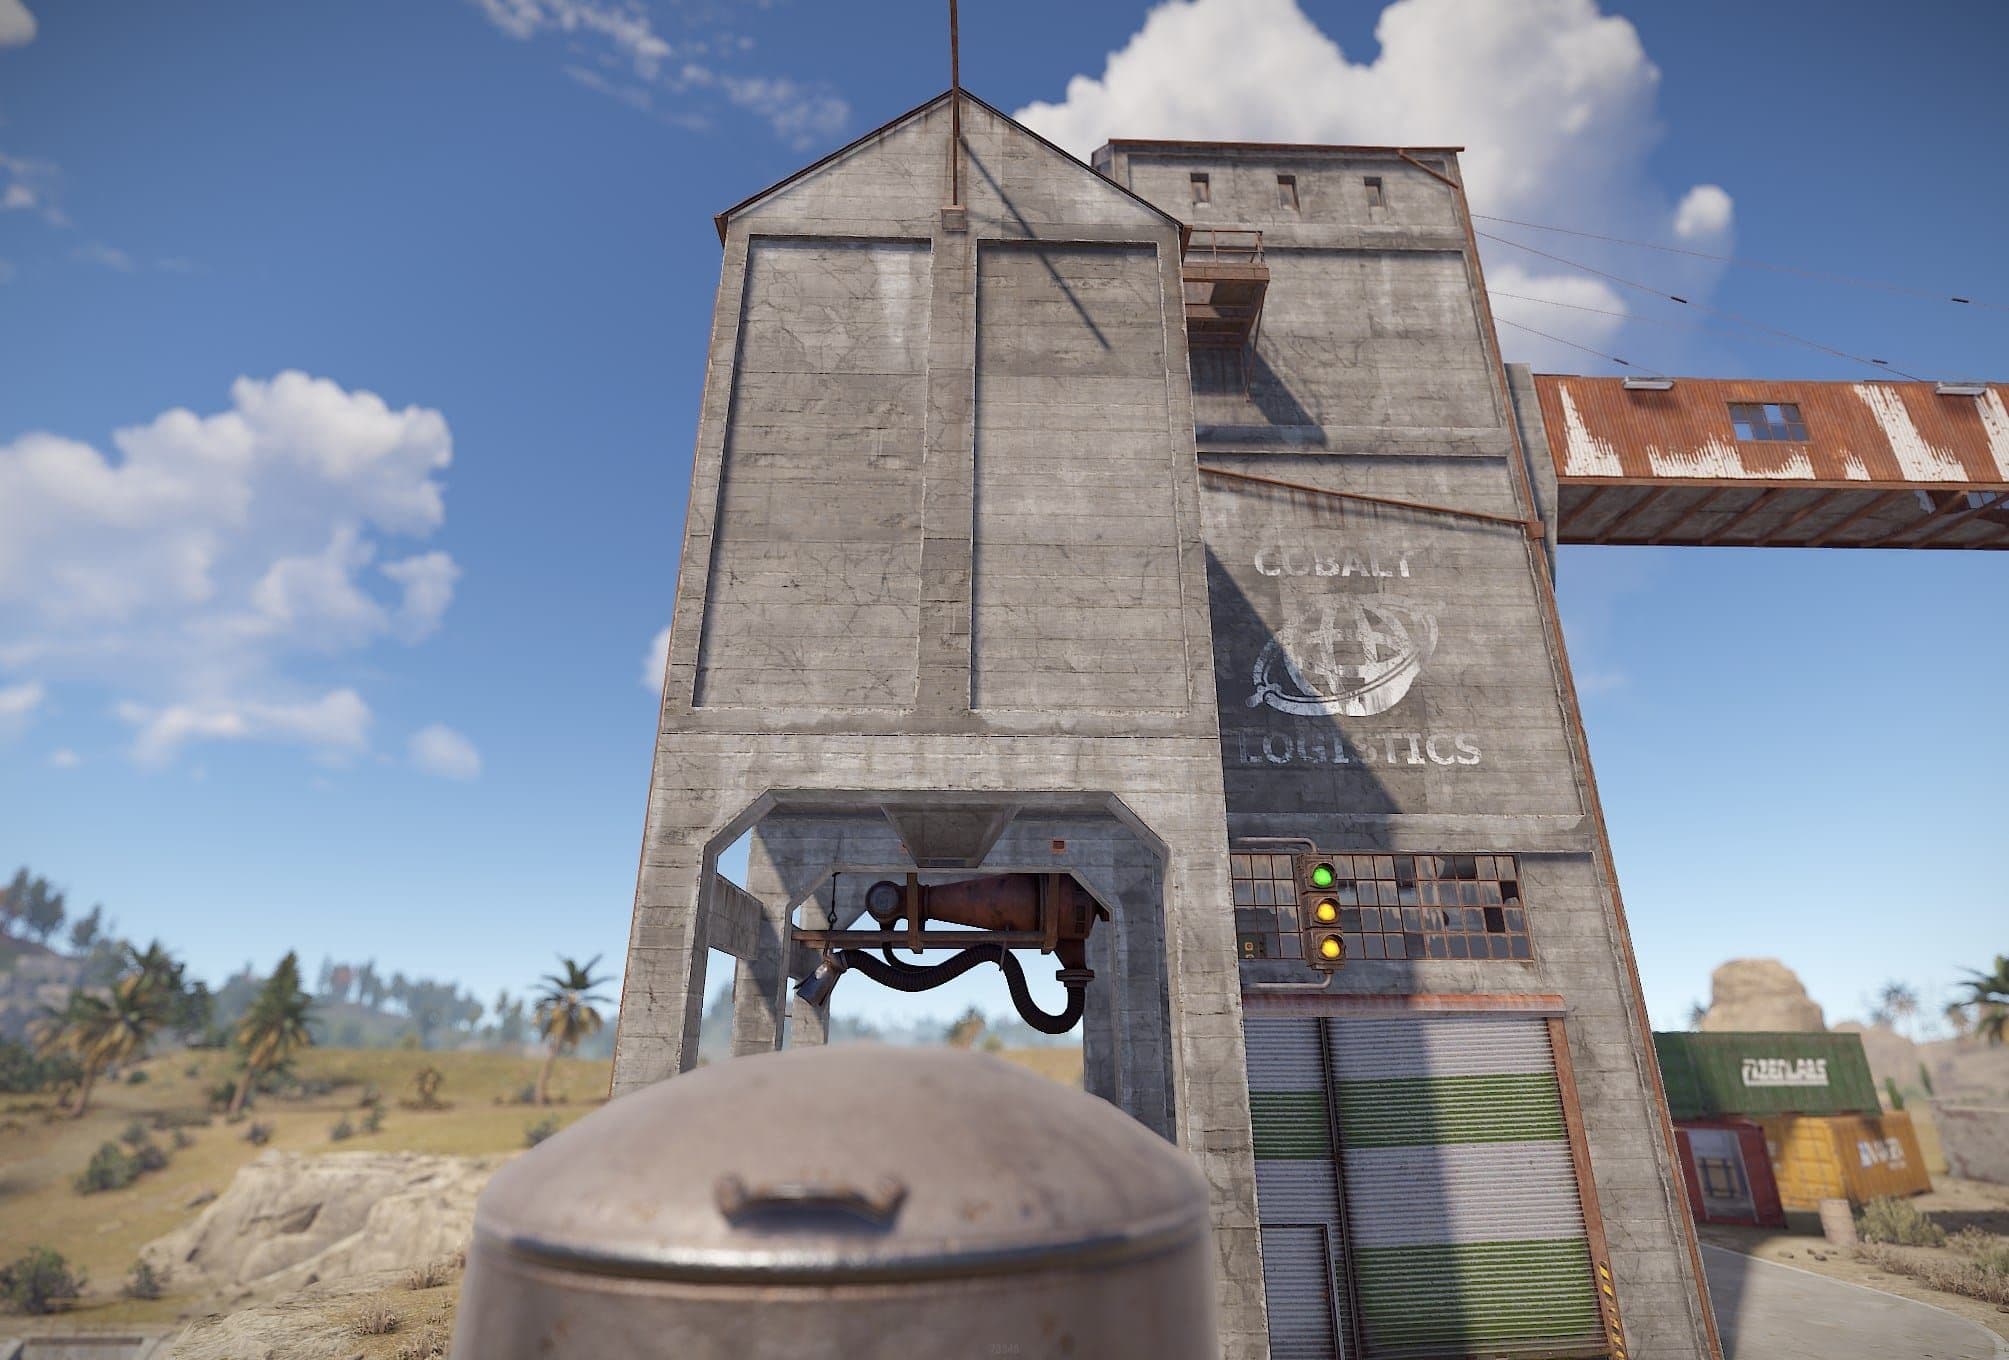
The unloading building where freight cars are processed.
Inside the tower, use the controls to move the nozzle up or down over the car. The materials transfer into the unloading tanks below the switches. Collect the contents from the tanks after the transfer, then inspect the rock outside the unloading area: the source guide specifically notes crates stuck inside that rock.
This loop is separate from the Blue Keycard circuit. If you arrive with only a Blue Keycard, you can complete the card room but cannot operate the train-car unloader. If you arrive with only a Green Keycard, you can prepare the unloader but cannot open the Blue Keycard room.
Red Card First; Freight Only When Loaded
For a progression run, use the Generator Building → Tower Building → Main Building route and leave with the Red Keycard. Add the unloader when you already have a locomotive, useful freight cars, a Green Keycard, and its own fuse ready. That keeps the train from becoming an expensive detour before the main reward is secured.
If you run both loops, unload the tanker and trough cars before searching every side crate. The Switch Tower controls and unloading tanks are the finish line for the freight route; once the materials are collected, leave through the route you already checked rather than extending the monument sweep without a specific target.
FAQ
Do I need a Green Keycard to get the Trainyard Red Keycard?
No. The Red Keycard comes from the Blue Keycard circuit. The Green Keycard is for the train-car unloader and optional green-card access.
How many Electric Fuses should I bring for both objectives?
Bring two: one for the card-room circuit and one for the train-car unloader. Each objective has its own powered interaction.
Where are the three Trainyard switches?
The first is in the Generator Building, the second is at the top of the Tower Building, and the third is in the Main Building beside the fuse box on the second-floor back corner.
Which train cars are worth hauling to Trainyard?
Prioritize oil tanker cars and trough cars. The source guide identifies them as the freight cars filled with useful materials; skip empty covered cars.