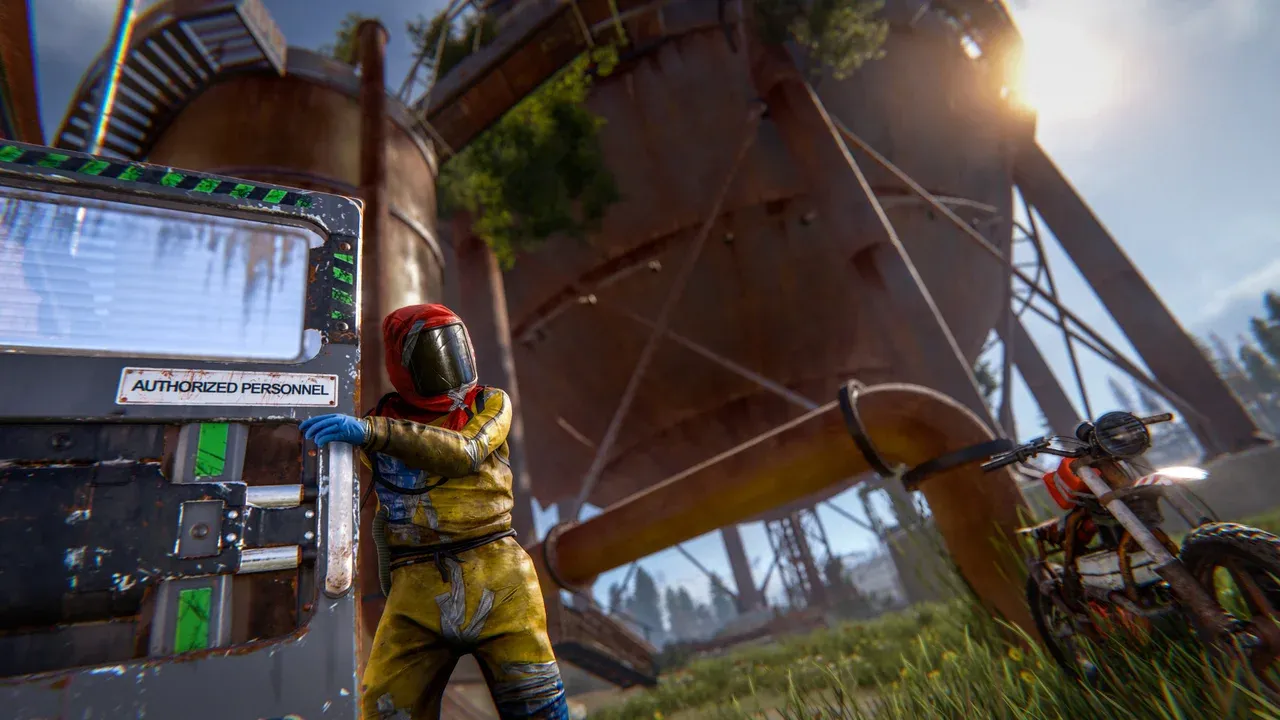
For seven years a monument puzzle was optional. You ran one because the loot room was worth the walk, and Facepunch said as much out loud in 2018: the puzzles were never meant to gate anything, only to add bonus loot. On 2 October 2025 that stopped being true. Workbench Level 2 now costs five Basic Blueprint Fragments, and the only places Facepunch's own list guarantees one are the rooms behind the card readers. Your first monument run is no longer something you graduate into — it is the thing standing between you and a Thompson.
What makes that awkward is that most of the advice for doing it went stale in the same six weeks. Facepunch then removed keycard sales from the vendors, which deleted the shortcut most of that advice is built on. What is left is a supply chain: some monuments hand you a card, other monuments eat one, and knowing which does which is the whole skill.
The good news is that the chain is cheaper than its reputation, and considerably less dangerous. A green card is free at ten locations, and every monument that turns one into a blue card has zero scientists guarding it. The only thing you genuinely have to go and find is an Electric Fuse — an item you cannot craft, cannot buy, and will destroy by using it. Bring one fuse, pick the right door, and the run pays for the next one.
Monument Puzzles Are the Workbench 2 Gate Now
Start with the requirement itself, because the number is small enough to be misleading. Workbench Level 2 asks for five Basic Blueprint Fragments. Level 3 asks for five Advanced ones, and if you would rather not go where Advanced fragments live, the conversion runs at twenty Basic to one — a hundred Basic fragments for a single bench. Fragments are not a garnish on the old recipe. Since 2 October 2025 they are the currency the entire bench ladder is priced in, and the Basic fragment is the entry-level denomination you cannot skip.
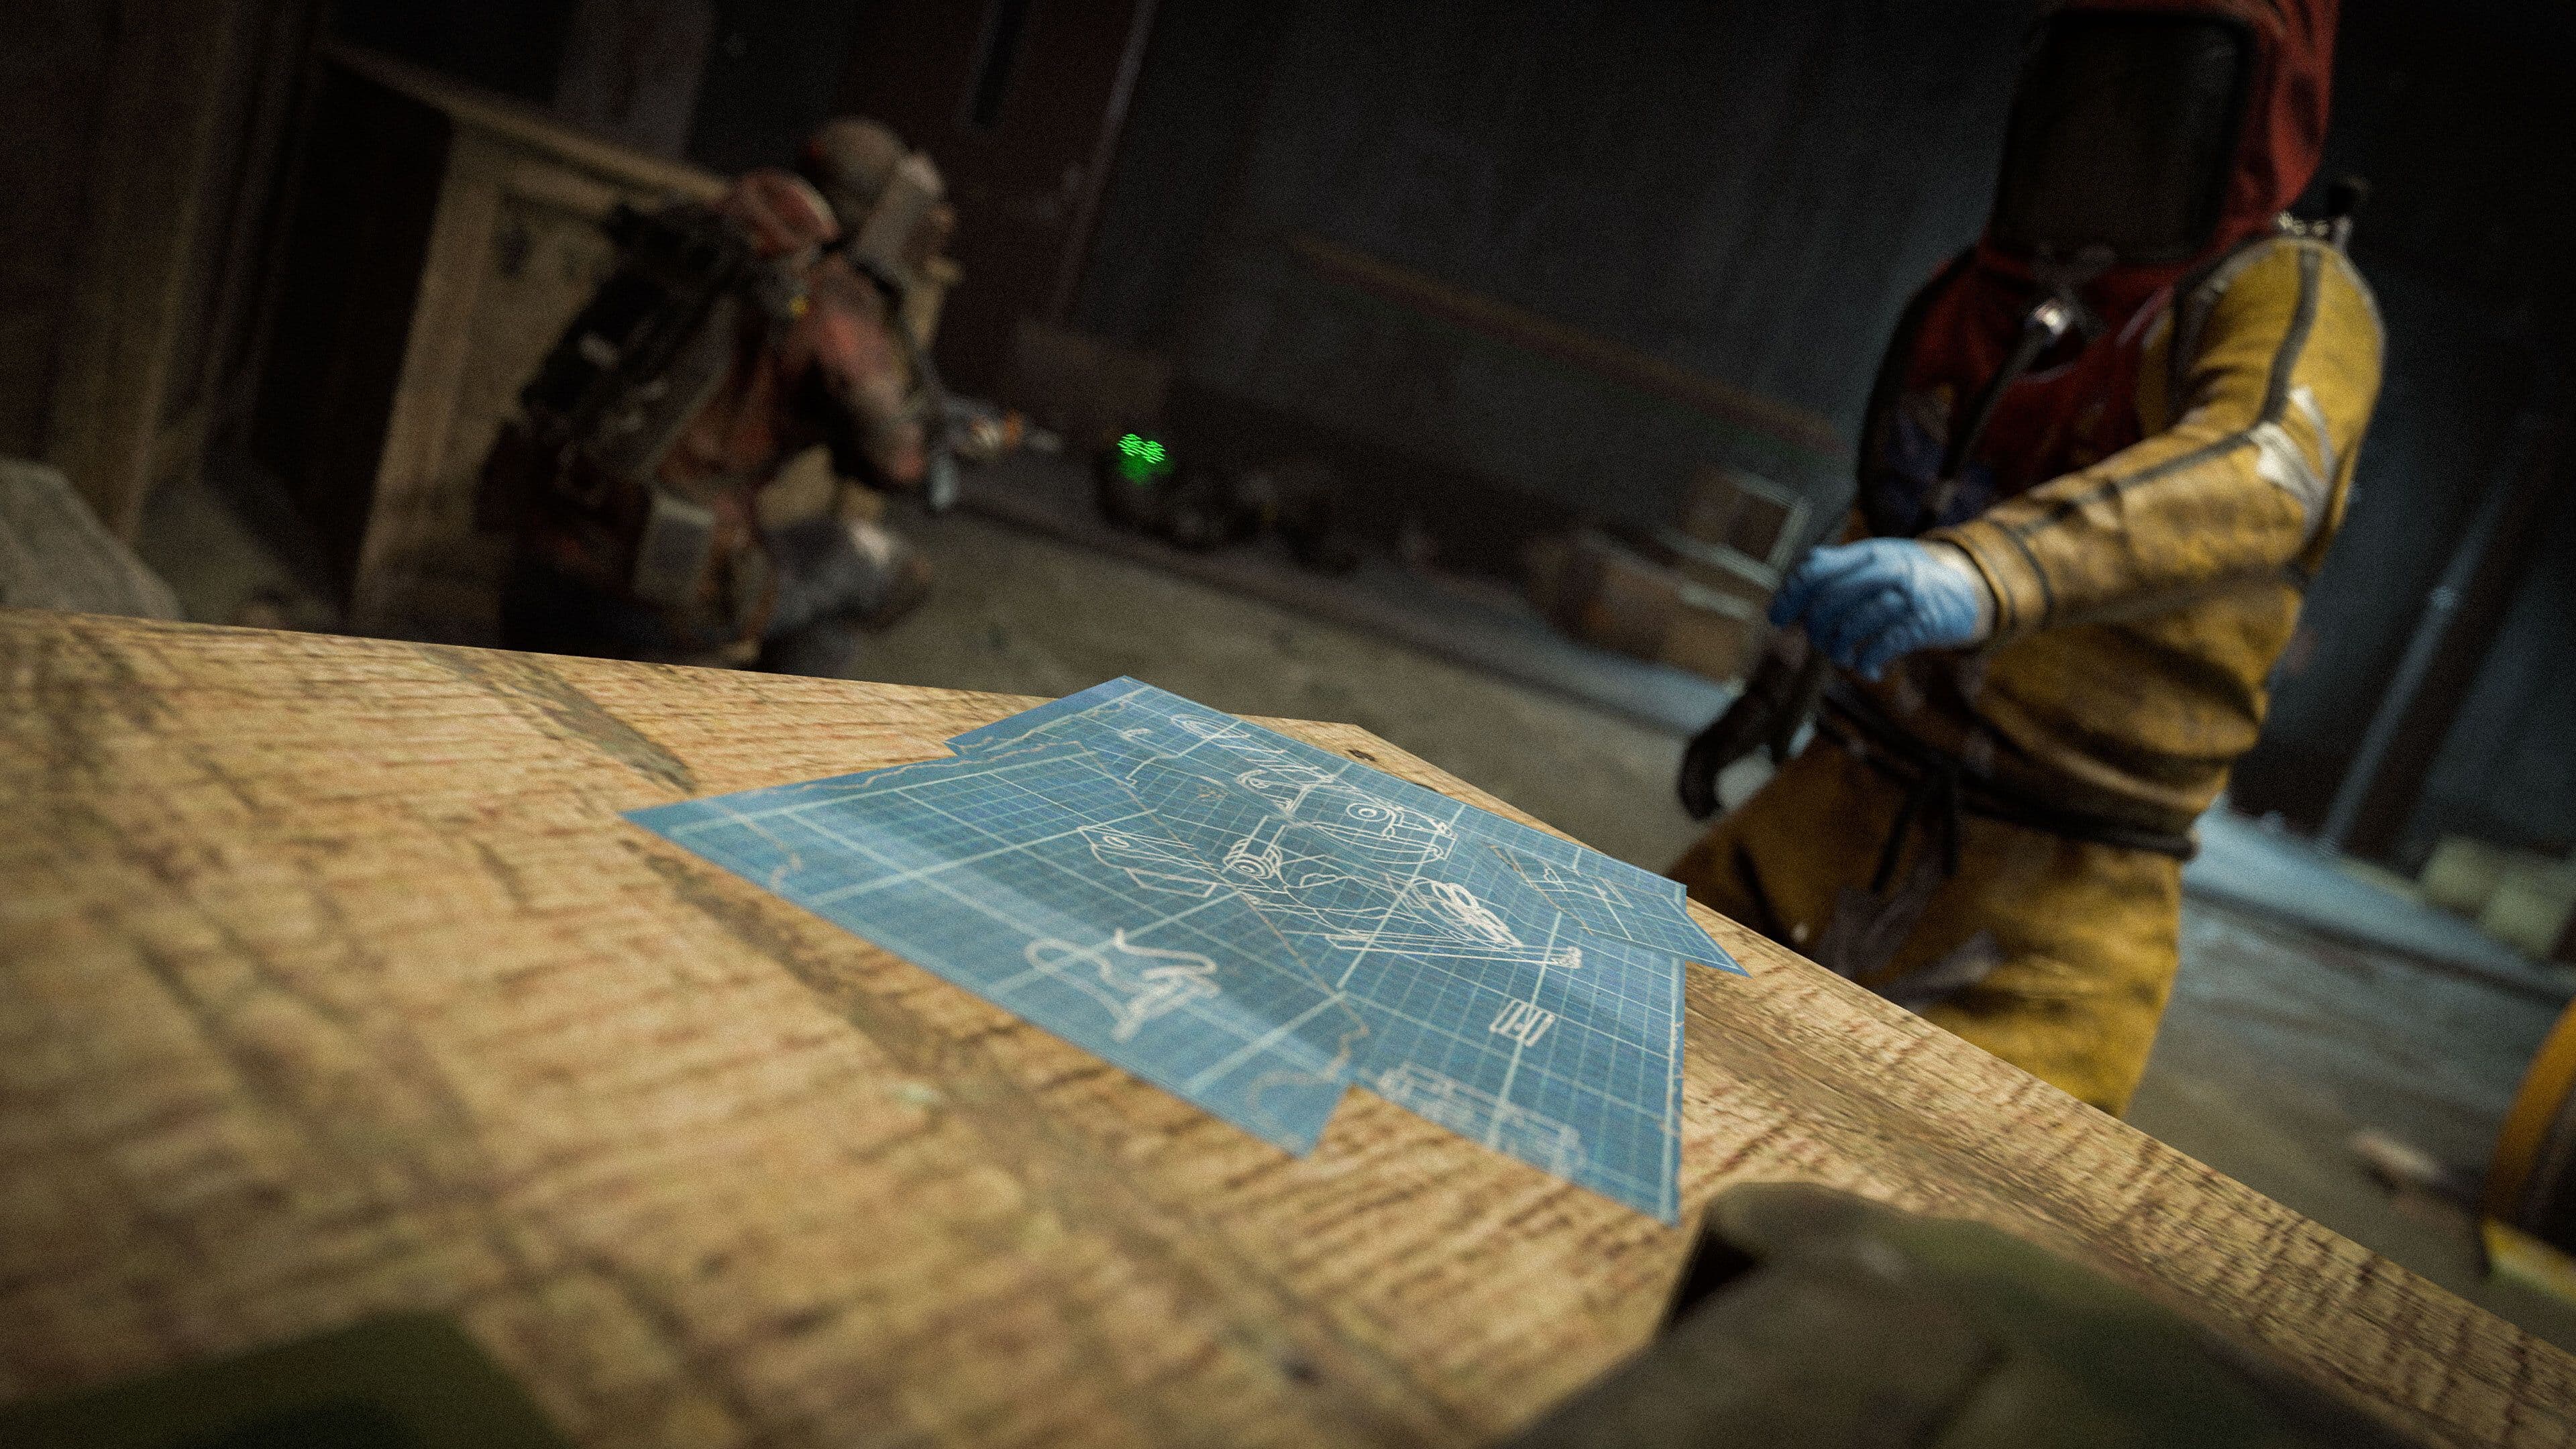
Five Basic Blueprint Fragments now stand between you and a Workbench Level 2, and only puzzle rooms guarantee them.
Facepunch published the full list of places a Basic fragment turns up, and it is not a short one: medium and large monuments in general, airdrops, Military Crates, Large Underwater Crates, junkpile scientists, even roadside metal detecting. Read the list closely, though, and only two entries carry the word always. A green puzzle room always holds one. A blue-card puzzle always holds two, sitting beside the red keycard. Everything else on that list is unguaranteed — Facepunch marks only the Military crate, the Large underwater crate, junkpile scientists and roadside metal detecting as a chance to find, and lists the rest without promising anything either way — and that distinction does all the work here. Five fragments out of crates and barrels is not impossible, it is simply unbudgetable — it might take one lucky hour or five unlucky ones, and you cannot plan a wipe around a percentage. Five fragments out of puzzle rooms is a countable number of doors.
Facepunch supplied the arithmetic in the same post: chain one green puzzle and one blue puzzle in a single outing and you have already collected three of the five. Two rooms, most of the way to a Workbench 2, on a schedule you control. Set that beside what the studio said when it shipped the puzzle system in June 2018 — "We aren't trying to gate loot behind these puzzles. They're supposed to add bonus loot" — and the reversal documents itself. Same rooms, same card readers, seven years apart: first explicitly not a gate, now the most reliable way through one.
If you were waiting for that to be undone, part of it was. On 6 November Facepunch cut research and tech-tree costs hard, with the most expensive blueprints dropping from 500 scrap to 120, and removed scrap crafting costs from workbenches altogether. In the same patch notes, the fragment requirements were stated as unchanged. That was not an oversight. On the October devblog the fragment section had drawn 525 upvotes against 1,183 down, comfortably the least popular thing in the update, while the new puzzle rooms immediately below it drew 618 up against 29 down. Facepunch made the bench cheaper in every currency people were not complaining about, and kept the one they were.
The same October patch also pushed most monument diesel spawns behind the puzzle doors. At Water Treatment Plant, Power Plant and Airfield the diesel barrels now sit inside the puzzle rather than out in the open, which means the room behind the card reader is not only your route to a workbench — it is also where the fuel for a quarry or the Excavator now lives. Two separate progression paths were moved behind the same doors in a single afternoon.
So put a puzzle run in the first few hours of a wipe, next to your first base and ahead of your first serious research spree, rather than treating it as the mid-wipe luxury it was until last October. The fragments are the bottleneck, every alternative source of them is a dice roll, and the gap between "I'll pick them up eventually" and "I need five" is the gap between a Workbench 2 on day one and a Workbench 2 whenever the game feels like it. Which turns the next question into a logistics problem rather than a strategic one: which monuments actually have those rooms, and how does someone who has never held a keycard get their first one.
Which Monument Gives the Card, and Which One Eats It
You do not need a keycard to get a keycard. That is the first thing to straighten out, because the phrase "keycard ladder" implies a rung below the bottom rung that you have to buy your way onto, and there isn't one. A Green Keycard is a guaranteed spawn at ten locations, and five of those are roadside monuments a naked player can walk into: Oxum's Gas Station, the Abandoned Supermarket, the Lighthouse, the Junkyard and the Abandoned Cabins. In each case the card is lying on a desk — an office, a back room, a bridge shack — with no keycard needed to reach it, though the December 2025 census that maps those desks notes the Lighthouse one may be gated off. It costs a walk.
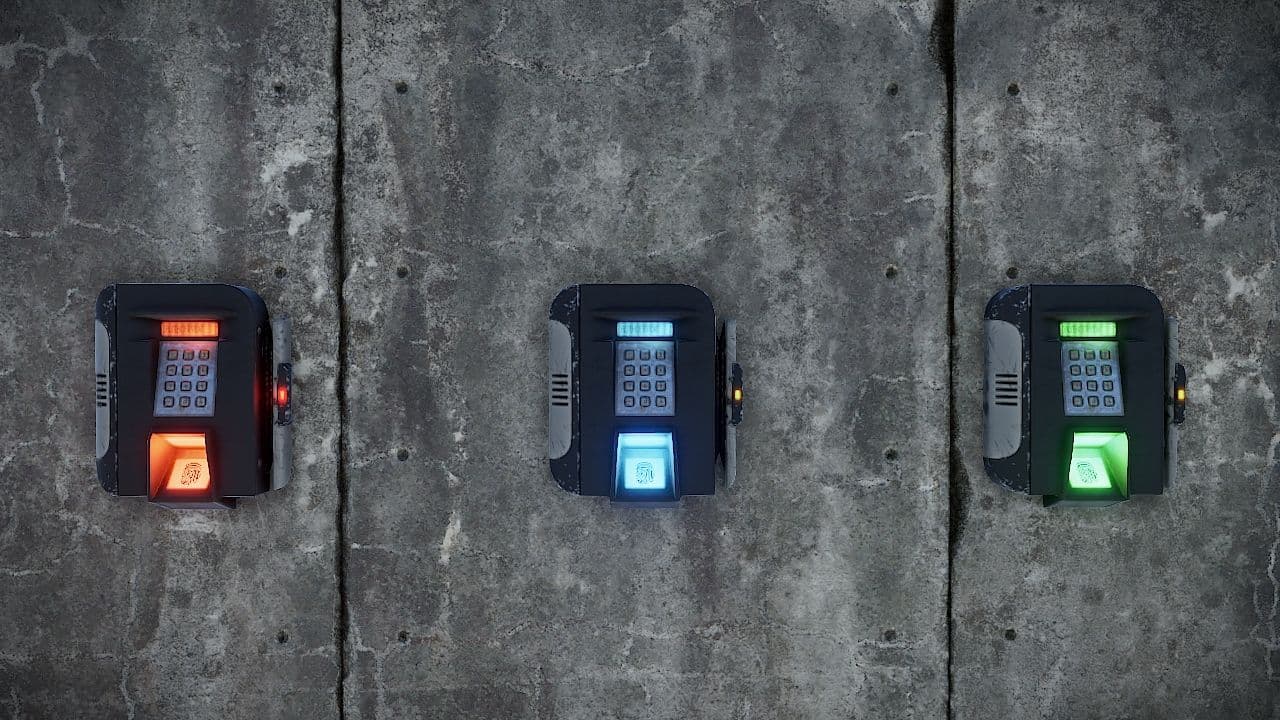
Three readers, three tiers: green rooms make blue cards, blue rooms make red cards, red rooms make loot.
Two of the other five are monuments that both give and take. Ferry Terminal spawns a free green card and runs a green-card puzzle. Power Plant does the same, and its puzzle wants a green and a blue together. The last three — Oil Rig, Large Oil Rig, and the Underwater Labs, where two spawn rather than one — are real sources on paper and unreachable in practice this early, because getting to them costs a boat, a diving kit and a fight. There is also a chance route: Military Tunnel, PT Boat and RHIB scientists carry a green card about 36% of the time, and Road Scientists about 24%. Useful if it happens to you; not something to plan a run around, and not necessary when the desk version is free.
Now follow that one card. You take it off a roadside desk, walk it to a monument with a green card reader, put a fuse in the box to make the reader live, and swipe. Behind the door is a Blue Keycard. That is not a lucky roll — it is the room's product, guaranteed, one per puzzle. And here is the symmetry that makes the whole system legible: Blue Keycards exist at exactly seven monuments in the game — Ferry Terminal, Harbor Large, Harbor Small, Radtown, Satellite Dish, Sewer Branch and The Dome — and every single one of those seven is a green-card puzzle room. There is no blue card lying on a desk anywhere. Every blue keycard in the world was manufactured by somebody spending a green one.
The blue card then does the same job one tier up. Five monuments spawn a Red Keycard — Airfield, Arctic Research Base, Power Plant, Train Yard and Water Treatment Plant — and all five put it behind a blue-card puzzle. Same pattern, same guarantee, one per room, and again no red card exists outside a puzzle room. Then the chain stops. Six monuments consume red cards — Underwater Lab, Oil Rig, Large Oil Rig, the Nuclear Missile Silo, Military Tunnel and Launch Site — and not one of them produces a keycard of any colour in return. Whatever is behind those doors is elite crates and Advanced Blueprint Fragments, not another card. The red card is where the chain terminates: you spend it on loot, and the ladder does not continue.
One column in the table below needs reading carefully. Spent at counts every monument carrying a reader of that colour, which is more monuments than there are puzzles of that colour, because the top of the chain stacks readers of several colours on one run: Military Tunnel wants a green, a blue and a red before it gives up everything it has, and Launch Site wants a green and a red. A green card is not only the entry ticket to the green tier — it is still on the shopping list four rungs up, which is why fifteen monuments take one.
| Card | Guaranteed source | Chance source | Spent at |
|---|---|---|---|
| Green | Ten locations, free on a desk: Oxum's Gas Station, Abandoned Supermarket, Lighthouse, Junkyard, Abandoned Cabins, Ferry Terminal, Power Plant, Oil Rig, Large Oil Rig, Underwater Lab (×2) | Military Tunnel / PT Boat / RHIB scientists ~36%; Road Scientists ~24% | 15 monuments — every puzzle in the chain except Water Treatment Plant, Arctic Research Base and Missile Silo |
| Blue | Seven green-puzzle rooms: Ferry Terminal, Harbor Large, Harbor Small, Radtown, Satellite Dish, Sewer Branch, The Dome | Gutting Catfish, Orange Roughy, Salmon or Small Shark — 20% per fish | 9 monuments: Water Treatment Plant, Train Yard, Power Plant, Airfield, Arctic Research Base, Underwater Lab, Oil Rig, Large Oil Rig, Military Tunnel |
| Red | Five blue-puzzle rooms: Airfield, Arctic Research Base, Power Plant, Train Yard, Water Treatment Plant | None | Underwater Lab, Oil Rig, Large Oil Rig, Missile Silo, Military Tunnel, Launch Site |
One entry in that middle column is the only genuine exception to the whole structure. Gutting a Catfish, an Orange Roughy, a Salmon or a Small Shark drops a Blue Keycard 20% of the time — the single way a blue card can enter the world without a green puzzle having produced it. Everything else in the table is the chain feeding itself: green rooms make blue cards, blue rooms make red cards, red rooms make loot.
What the table does not have is a price column, and that is deliberate. On 6 November 2025 Facepunch's patch notes listed, under Notable Changes, one line: "Blue Keycard Vendor — Removed Keycard Purchase from Vendor." That deleted the last vendor trade in cards. Outpost's current inventory runs to seven vending machines across Components, Resource Exchange, Weapons, Building Supplies, Farming, Output Outfitters and Tools & Stuff, and there is no keycard anywhere in it — nor, for that matter, an Electric Fuse. Scrap buys sheet metal, gears, a snow jacket and a lot of other things. It does not buy a way into the chain at any price.
So the practical shape of a puzzle run is a chain of monuments, not a destination. You are not "going to Sewer Branch"; you are collecting a green card somewhere it is free, carrying it to a green reader, and coming out with the input to the next tier. Plan the sequence before you leave, because the thing you need to enter each stage is manufactured at the stage before it, and no amount of scrap substitutes for a missing card. That last part is worth saying twice, because most of the guidance currently in circulation still says otherwise — which means the article now has to prove it is describing the game you are actually playing.
If Your Guide Says You Can Buy a Blue Card, It Predates November 2025
Search for a blue keycard and the first page of results will tell you to take 100 scrap to Outpost. Two of them will add that a green card costs 20 at Bandit Camp. At least six separate guides say some version of this, a number of them carry 2026 dates, and one is a vendor calculator that will cheerfully do the arithmetic for a trade that no longer exists. None of them is lying. Every one of them was correct when it was published — the Outpost blue card was real for years, and buying one was genuinely the right advice. It stopped being real the day Facepunch pulled the trade, and not a character on those pages changed to say so. That is how Rust guidance fails: not visibly, not with a correction notice, just a page that still looks fine while the game underneath it moved.
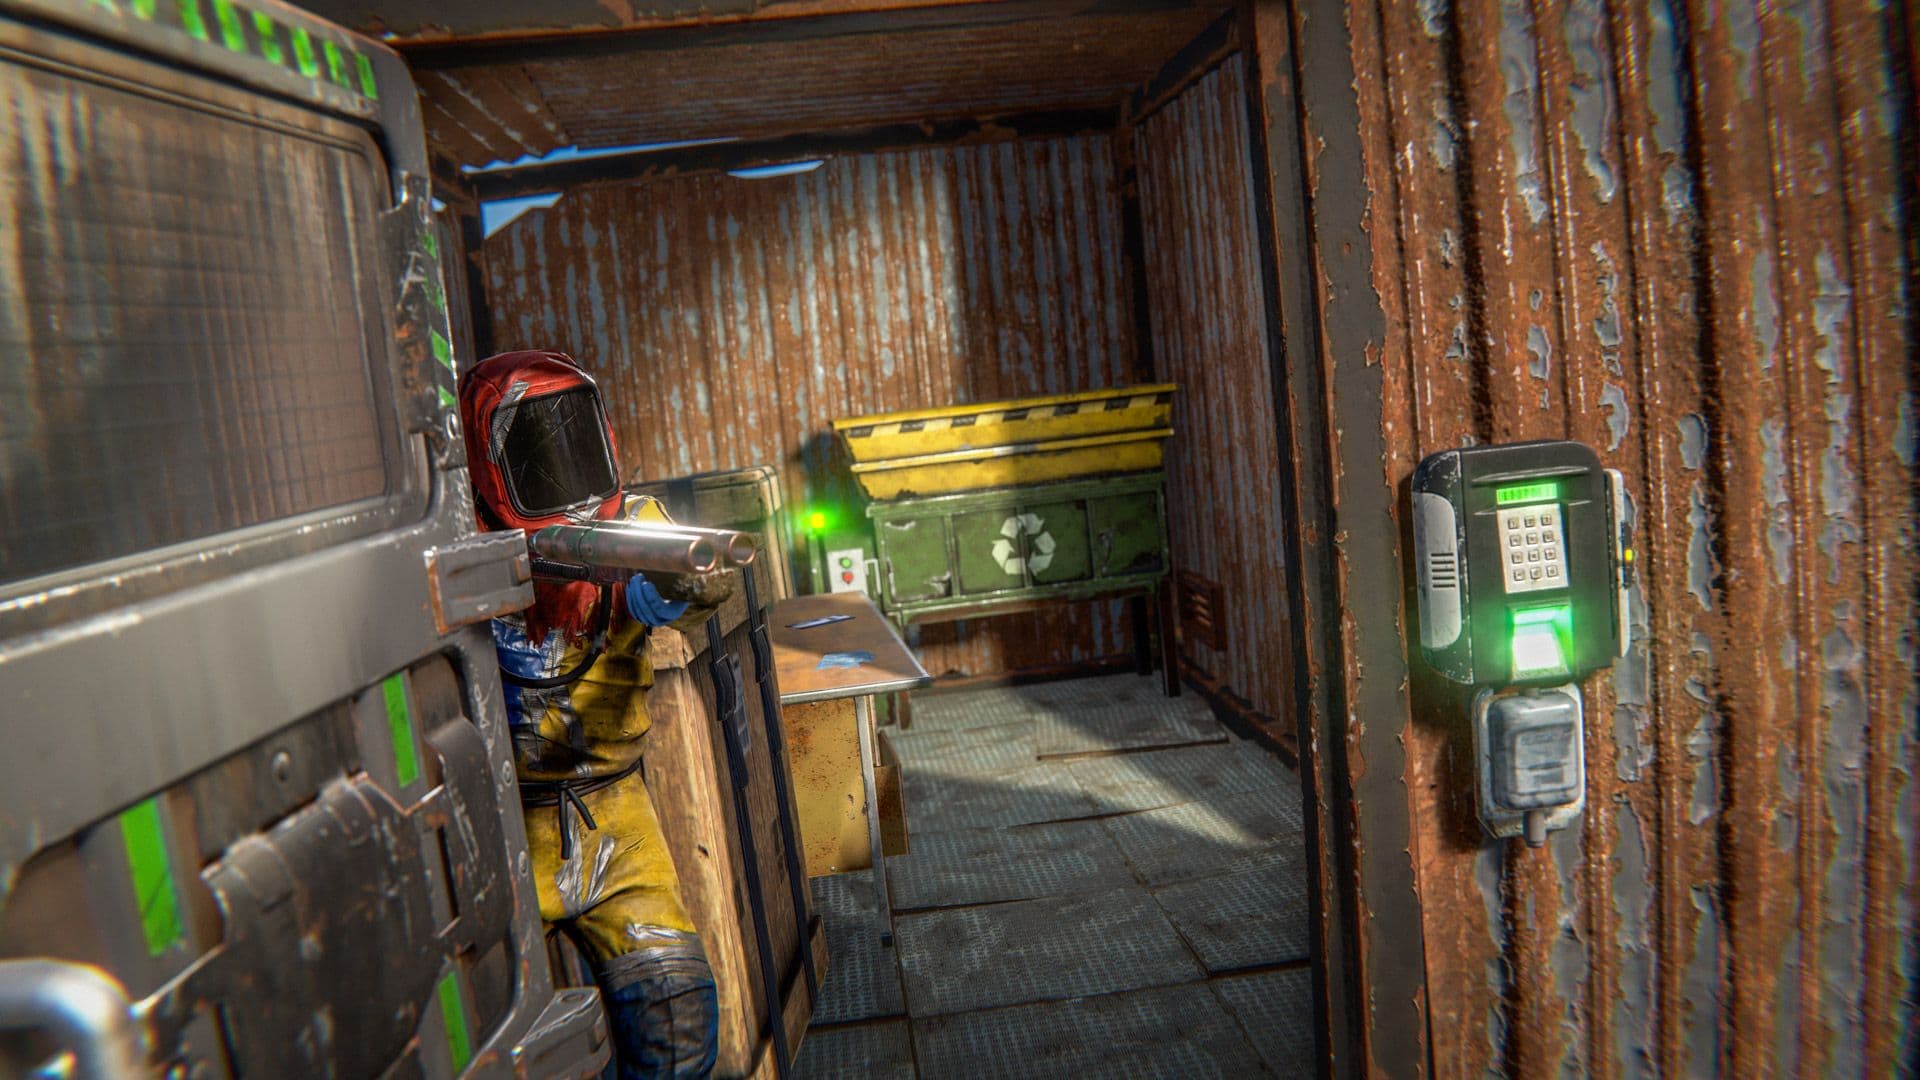
The Dome’s puzzle room and its recycler both arrived on 2 October 2025 — which is why references written before that date describe a different monument.
The damage is concentrated in two updates six weeks apart, and it is worth knowing exactly what each one did. On 2 October 2025, Facepunch added basic green keycard puzzles to three monuments that had never had one — The Dome, Ferry Terminal and Radtown — and put a recycler in The Dome's new puzzle room at the same time. The Nuclear Missile Silo, a blue-card monument since it was added in 2023, became a red-card monument that same afternoon and picked up three extra elite crates in the process. And underneath all of it sat the line with the widest blast radius: "almost every monument has had the majority of its loot moved to new locations," as Facepunch put it, with dead areas refreshed and new loot paths opened deliberately. Then on 6 November the vendor purchase went.
Read that middle change twice, because it invalidates more words than the vendor line does. A guide that tells you which building holds the fuse box is probably still right — buildings did not move. A guide that tells you which crates to hit on the way there is describing a distribution that was rearranged on purpose, at almost every monument, in a single patch. That is why this article works at the level of the system — which monument produces which card, what a door costs you, what is waiting behind it — and leaves interiors to this wiki's per-monument write-ups of Airfield, Water Treatment Plant, Trainyard, Sewer Branch, Large Harbor, The Dome and the Nuclear Missile Silo. Card and fuse requirements sit in the game's own data and can be checked. A walking route cannot be checked from outside the game, and nobody should publish one as current when the loot along it was moved ten months ago.
Not everything wrong out there is merely old, either, and Mining Outpost is the clean example. Several 2026 guides list it as a place to pick up a green keycard. The game's records show no keycard of any colour spawning there — it is not on the monument's contents, and it is not among the ten locations where a green card is guaranteed. A December 2025 census of green-card desks, compiled after the October shuffle by someone who evidently went and looked, does not include it either. There is no patch note retiring Mining Outpost's keycard, because there is no evidence it ever had one. That mistake is not age. It is one page copying another, which is worth knowing about precisely because a recent date does nothing to catch it.
And the date test gets thinner still. A recycler census updated in February 2026 — four months after The Dome's puzzle room and its recycler shipped, and accurate on every other monument in the game — still lists The Dome among the monuments that have no recycler. An "updated" date tells you somebody touched the page; it does not tell you they re-verified the specific line you are about to act on.
None of which makes older guides worthless, and it pays to be precise about what survives in them. The card and fuse requirements at the long-standing puzzle monuments have been remarkably stable — a puzzle table written in 2020 still matches the data for the monuments that had puzzles in 2020. What changed is which monuments have puzzles at all, what their rooms hand out, where the loot around them sits, and, the part that breaks a plan rather than a detail, how you obtain the cards at all. An old guide's cost column is usually fine. Its shopping advice and its walking directions are the parts to discard.
The other half of the question is whether any of this has since been undone, which is a fair thing to wonder given how badly the fragment gate polled. It has not. The December 2025 update was cancelled as a content patch — Facepunch shipped a wipe and nothing else, pushing the naval update to 5 February 2026 — so there was no progression follow-up in which to revise anything. And every devblog from February through July 2026 is silent on keycards, fuses and monument puzzles. The October and November rules are ten and nine months old, unamended, and current.
So date any Rust puzzle page before you act on it. Where it carries no date, these flags will date it for you:
- It tells you to buy a keycard from a vendor, at any price. Written before 6 November 2025, or copied from something that was.
- It describes The Dome as a climb-and-loot monument with no keycard cost. Before 2 October 2025.
- It calls the Nuclear Missile Silo a blue-card monument. Before 2 October 2025.
- It names Mining Outpost as a green-card stop. Never checked against the game's own records at all.
- It walks you crate by crate through a monument without saying when that was re-verified. Its door costs may well still be right; its loot positions predate the October shuffle.
So the acquisition half of any older guide is the part to discard wholesale. What a puzzle actually costs you is an item, and it is not the card.
The Fuse, Not the Card, Is the Thing You Have to Go and Find
The item is an Electric Fuse, and everything inconvenient about it follows from four flags in the game's own item data: not craftable, not repairable, not researchable, and — as we have just established — not for sale anywhere. There is no recipe for it and no tech-tree entry. It enters the world exactly one way, which is that something you opened happened to contain one. That is the difference between the two things a puzzle needs. The green card is free, but more usefully it has an address: you know the desk, you know the monument, you can decide to go and get one. The fuse has no address. It is a percentage.
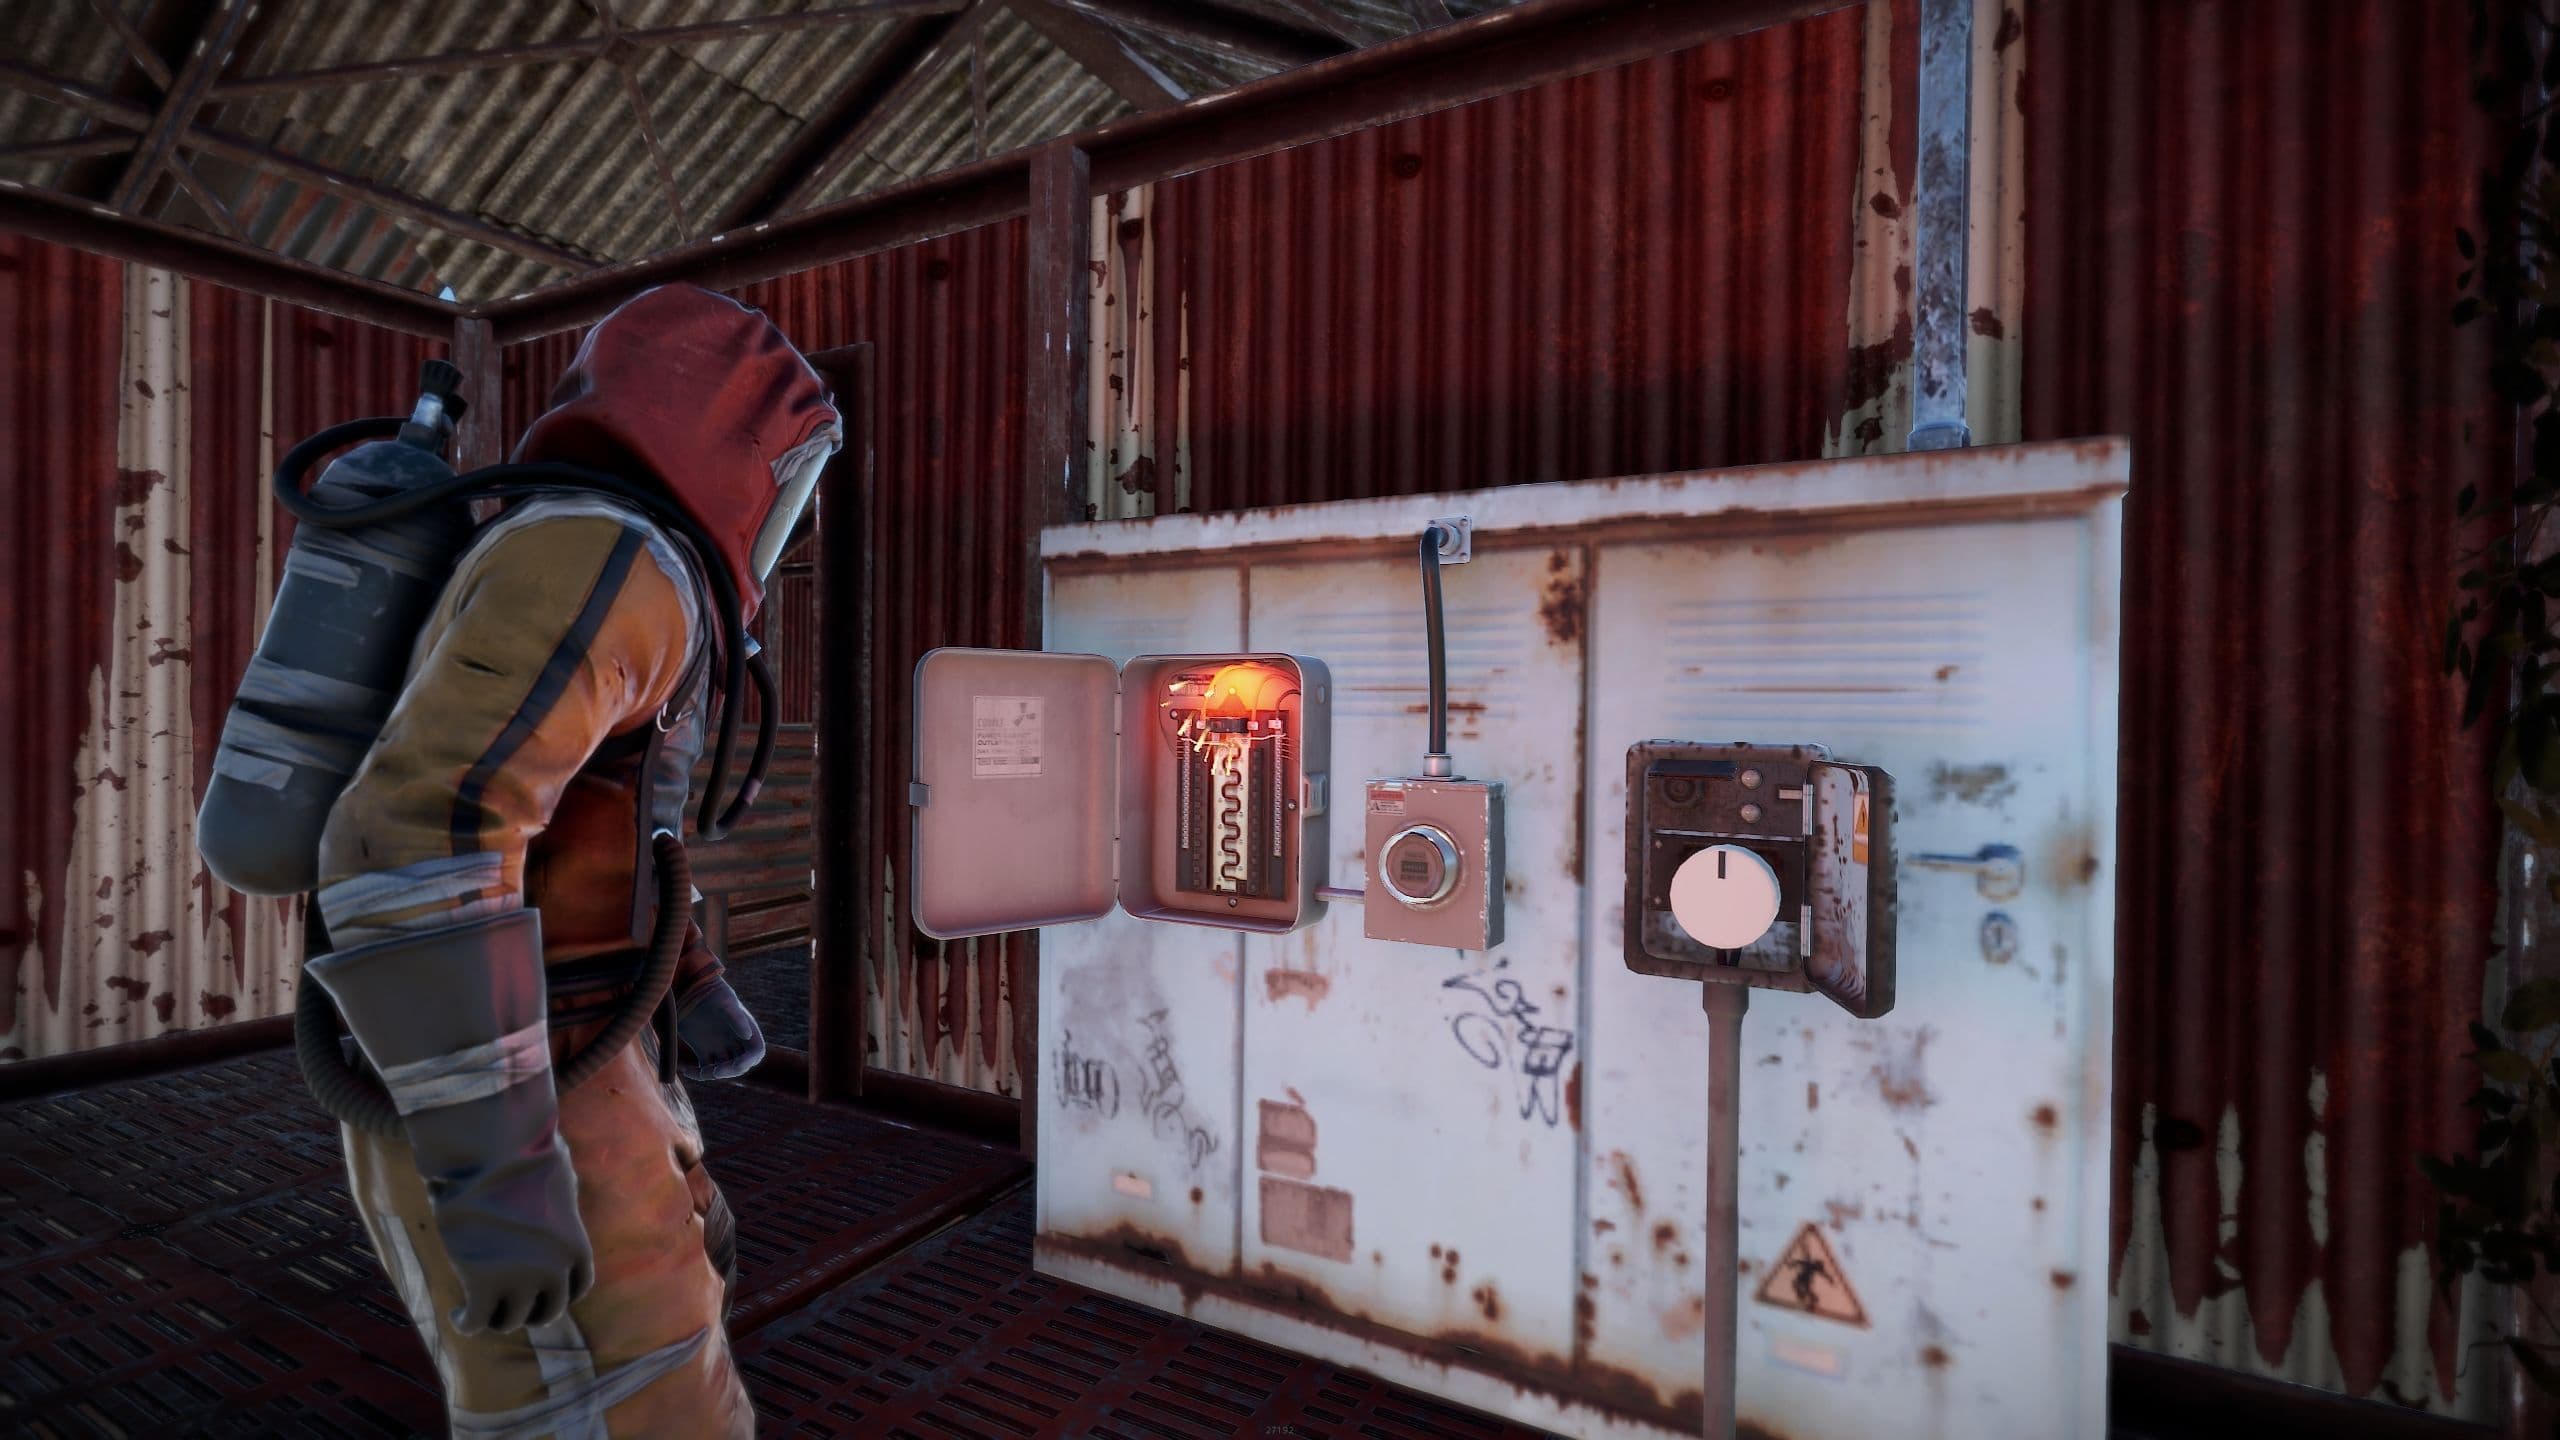
A fuse loses durability while current is flowing, then breaks and disappears from the box.
Those percentages are worth carrying around in your head, because they decide where the farming time goes. A Normal Crate — the plain wooden crate scattered through every monument — holds a fuse 14.29% of the time, near enough one in seven. Any named scientist carries one 4.73% of the time. A loot barrel, the thing a fresh spawn breaks more of than anything else on the map, sits at 1.43%: about seventy barrels for one fuse on average, which is a polite way of saying barrels are not a fuse plan. The best rate in the game is 26.53% for one or two, on the Tier-2 component crates in the Underwater Labs — and that is precisely the wrong errand for a player whose entire kit is a stone hatchet and some cloth. In practice your first fuse comes out of the crates at the roadside monuments you were already going to run, which is convenient, because that is where the free green card is too.
There is exactly one way to manufacture one rather than find it. A Test Generator, put through a recycler, breaks down into fuses rather than scrap — the recorded output is two at a monument recycler and one in a safe zone, on separate probability branches rather than a flat yield. It is the only conversion in the game that runs in your favour, so if a Test Generator ever passes through your inventory, do not break it down at Outpost.
Now the part that makes a fuse a budget line rather than a checklist item: a spare one recycles for 24 scrap at a monument recycler, 16 at a safe-zone one. That is among the highest single-item scrap yields you will ever hold, and it is the actual price tag on a puzzle door. Opening a green room does not cost you a card — the card is free and survives the swipe. It costs you 24 scrap you chose not to make. So the ledger for one green puzzle reads: 24 scrap of foregone recycling in; one Basic Blueprint Fragment out, which is a fifth of a Workbench 2, plus the Blue Keycard that exists nowhere else outside a fish, plus whatever the room's crates rolled. That trade is not close. But it is a trade, and knowing the number is what stops you burning a fuse on a door you were not ready to walk through.
Because the fuse does not come back. It degrades while current is flowing through it, eventually breaking and vanishing from the box you put it in, and a partly used one will not stack with fresh ones — it takes up its own slot in your pack as a reminder. Note flowing: the burn is metered by the power, not by the wall clock, which is why you do not want a fuse sitting in a live box while you decide what to do next. How long that gives you is the one thing nobody can currently tell you honestly. When Facepunch announced the puzzle system in June 2018 they wrote that fuses "can currently last 180 seconds when plugged through flowing current inside a fuse box" — their word "currently" doing a lot of quiet work. The official item page today says only that a fuse "will allow electrical passthrough for a period of time," and no one has restated a number in eight years. Take 180 seconds as a 2018 figure and a rough sense of scale, not as a stopwatch you can plan against; take the behaviour — one use, then gone — as certain.
The bill also is not the same at every door, which is the other thing to know before you commit:
| Door | Fuses |
|---|---|
| Any of the seven green-card puzzles | 1 |
| Most blue-card puzzles — Water Treatment Plant, Train Yard, Power Plant | 1 |
| Airfield | 2 |
| Launch Site | 2 |
| Arctic Research Base | 0 |
| Nuclear Missile Silo | 0 |
Airfield and Launch Site want two fuses in hand before they want anything else, which turns a one-in-seven find into a two-in-seven wait, and is a real reason to leave both alone early. At the other end, two monuments that hand out cards ask for no fuse whatsoever: Arctic Research Base opens on a blue card alone, and the Missile Silo on a red card and a button. Do not read that as a discount. A door with no fuse cost is charging you in a different currency, and what that currency is comes up shortly.
The practical version, then. Do not set off for a puzzle monument until a fuse is already in your inventory — the walk is wasted otherwise, and the card you carried is no help without it. Farm Normal Crates for it rather than barrels. Carry a second only if you are actually going to Airfield or Launch Site. Fuses stack to ten and sit on the ground for forty minutes before despawning, so a small stockpile travels fine but should not be left lying anywhere you are not coming straight back to. And stop thinking of a fuse as a key. It is ammunition — you spend it, it is gone, and the door behind it had better be one you meant to open.
Which leaves the other thing a run spends. The fuse is the item you have to find; the card is the item you have to not waste, and it is worn down by the simple act of touching it to a reader — including the times nothing opens.
Every Swipe Spends Card Condition, Including the Ones That Open Nothing
Here is what actually happens when you hold a card up to a reader. The reader compares the card's access level against its own, checks that the card still has condition left above zero, and on a successful swipe takes a bite out of that condition. That is the entire transaction, and it is visible in the game's own card reader code. Which means a keycard is not a key and it is not a token. It is a tool with durability, the same way a hatchet is, and the reader is the thing that wears it down.
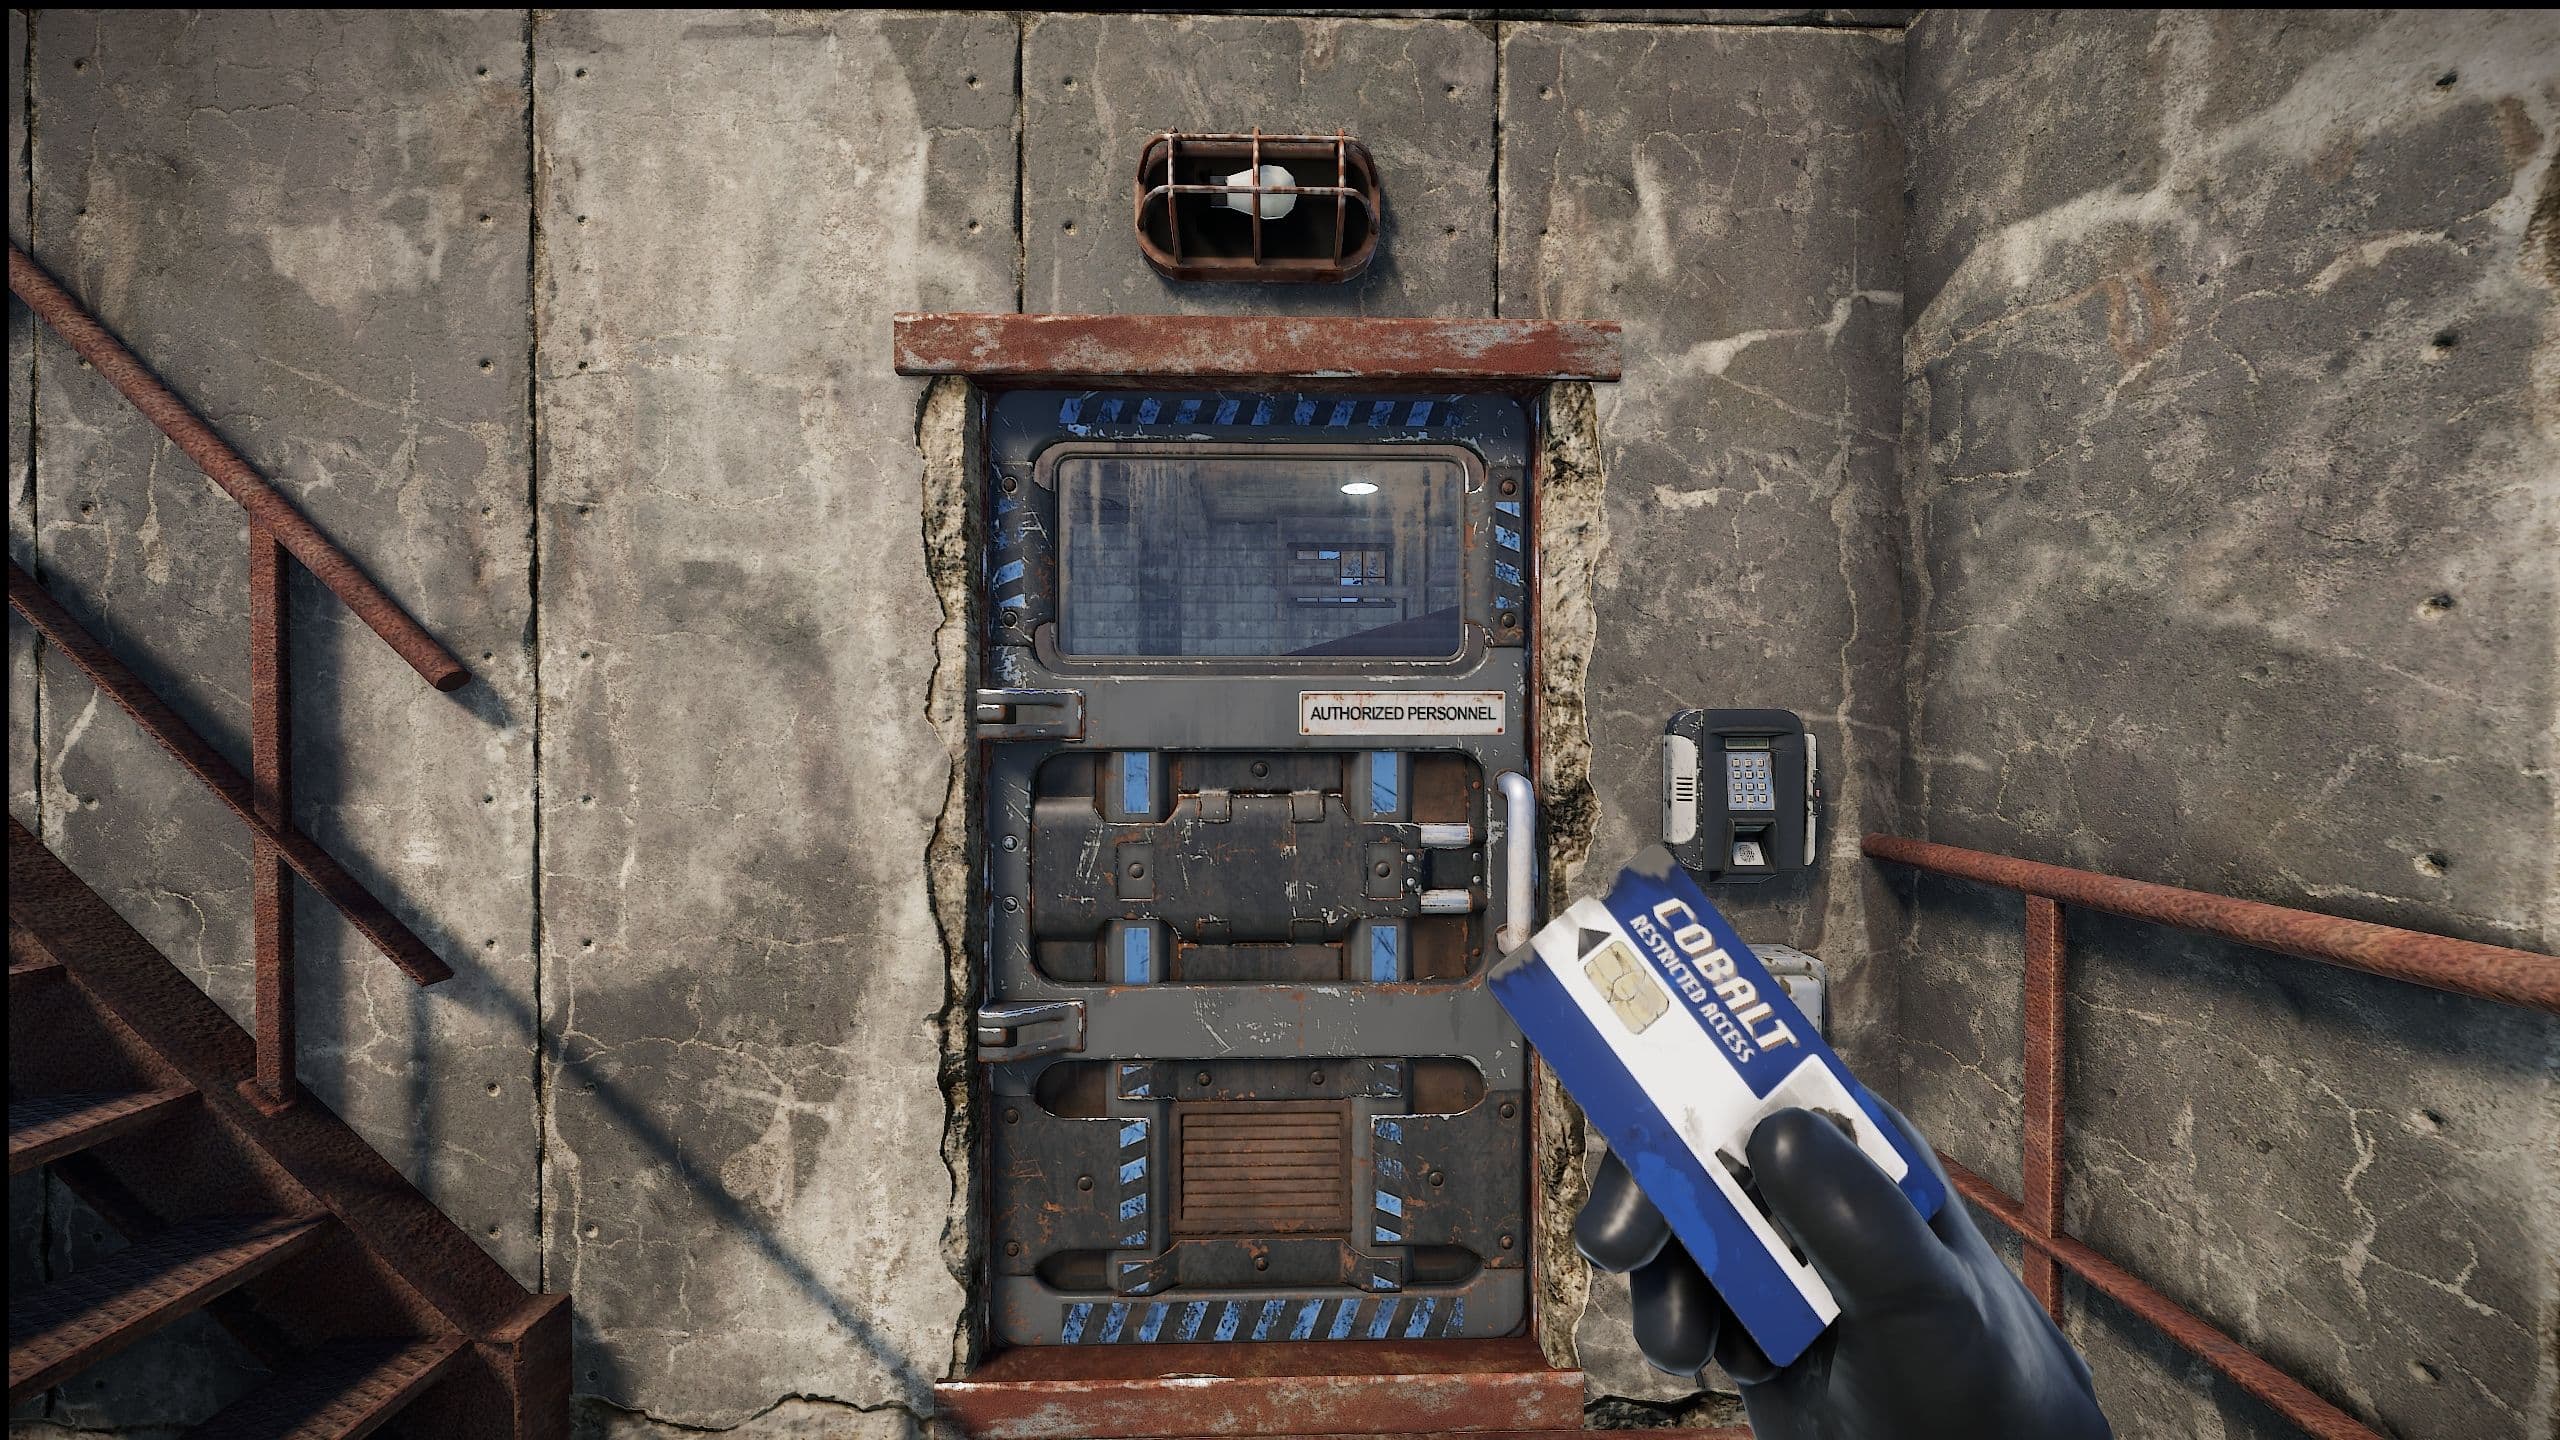
A swipe at a dead reader costs card condition and opens nothing — power first, swipe second.
Two consequences fall out of that, and they pull against each other. A card is not spent by one swipe — the green card you lifted off a desk will open more than one door, and it is worth carrying past the first monument that takes it. But it is not permanent either, and nothing on your screen tells you how much of it is left. There is no durability bar on a keycard the way there is on a tool.
So: how many swipes? The honest answer is that nobody outside Facepunch can currently tell you, and the shape of the disagreement is worth seeing. The figure in circulation across 2026 guides is four swipes for a green card, four for a blue and two for a red. Facepunch's own last public word on it is from June 2018, when the puzzle system shipped, and it says something else entirely: "Key cards have 10 uses." No official source has restated a number in the eight years since, and no current condition value has been pulled out of the game files to settle it. The spread on the table runs from two to ten depending on which card and whose page you are reading.
That is not a range you can plan against, which is exactly why it produces a rule rather than a caveat. You cannot count what is left, so you spend as though every swipe is the second-to-last one. Under the community figure that is prudent. Under Facepunch's figure it costs you nothing. And it makes the difference between the two irrelevant to how you play, which is the most useful thing an unresolved number can do.
The way players actually lose swipes is not by opening too many doors. It is this: fuse into the box, walk to the reader, swipe — and the switch that sends current to the thing was never flipped. The door stays shut. The card is worn anyway. The reader charges you for the attempt rather than the result, and the same holds for a swipe at a door that is already standing open. You get nothing, and the card does not know that.
Facepunch flagged this in the original announcement and the wording has aged better than most of that post: to preserve your cards, always swipe them at powered card reader terminals. Power first, swipe second. It is a small habit and it is worth more than any amount of monument knowledge, because knowing the layout of a room saves you a minute and a wasted swipe can cost you the run — you carried a fuse to get here, and the card that opens the door may be closer to breaking than you think.
There is no way to walk it back, either. Keycards carry four flags in the game's item data: not craftable, not repairable, not researchable, not recyclable. No blueprint makes one. No repair bench tops one up. And a worn card returns nothing at any recycler on the map — the fuse you burned at least breaks down into scrap when it is spare, while the card is the rare item in your inventory with no salvage value whatsoever.
With one exception, at one counter. Bandit Camp's Scrap 4 Sale machine trades scrap for keycards — 15 for a green, 40 for a blue, 80 for a red — and it only runs in that direction. It buys; it sells nothing. That is the sole conversion between cards and scrap left in the game, and it is worth calibrating what those numbers mean before you build a plan on them. At the Black Market a few metres away, an LR-300 costs 500 scrap and an M92 costs 250. A red keycard is therefore roughly a third of a pistol. That is real money in the first days of a wipe and it is nowhere near a route to a rifle. The machine is a way to stop carrying something, not an income stream.
The case where it earns its keep is the card you cannot use. A blue puzzle room hands out a Red Keycard whether or not you were equipped for what a red card opens, and it comes out at full condition, with every swipe it has still in it. If you have no radiation gear, no rifle and nobody to go in with, that card is not a trophy — it is 80 scrap or it is nothing, and it has a clock on it. Left on the ground, a red card despawns after an hour, a blue after forty minutes, a green after twenty. Dropping a spare is just the slow way of throwing it away.
Two habits, then, and the card half of a run takes care of itself. Never touch a reader you have not powered — fuse in, switch flipped, current flowing, then swipe. And walk your spares out instead of leaving them on the desk, because 15, 40 and 80 scrap are the only numbers a keycard will ever convert into, and only at that one machine.
All of which gets you through the door with your card budget intact. It says nothing about which door you should have walked to, and that is the choice most players get wrong — because they make it by the tier the monument is filed under, and tier is not measuring what they think it is measuring.
Tier Predicts Loot, Not Danger
The tier labels are older than several of the monuments they get applied to. When Facepunch shipped the puzzle system in June 2018 they sorted the monuments into four buckets — Basic, Easy, Medium and Harder — and said what the sorting key was: the puzzles would link monuments "into a coherent path, with increasing rewards and difficulty as you progress through a wipe cycle". Basic granted green cards. Easy granted blue. Medium granted red. Harder granted elite crate loot. It was a reward ladder, with difficulty assumed to travel alongside the rewards. The numbered tiers monuments carry today — Tier 1, Tier 2, Tier 3 — are that scheme's descendants; the labels changed, the ranking key did not. The game's records also hand several monuments a compound tag rather than a single number, and nothing in those records says what the compound is measuring, which is one more reason not to plan a run around the digit. Seven years and several monument reworks later, the reward half of that promise still holds and the difficulty half has come apart. A tier tells you roughly how much loot is in a monument and how much ground it covers. It does not tell you what is standing in the loot room.
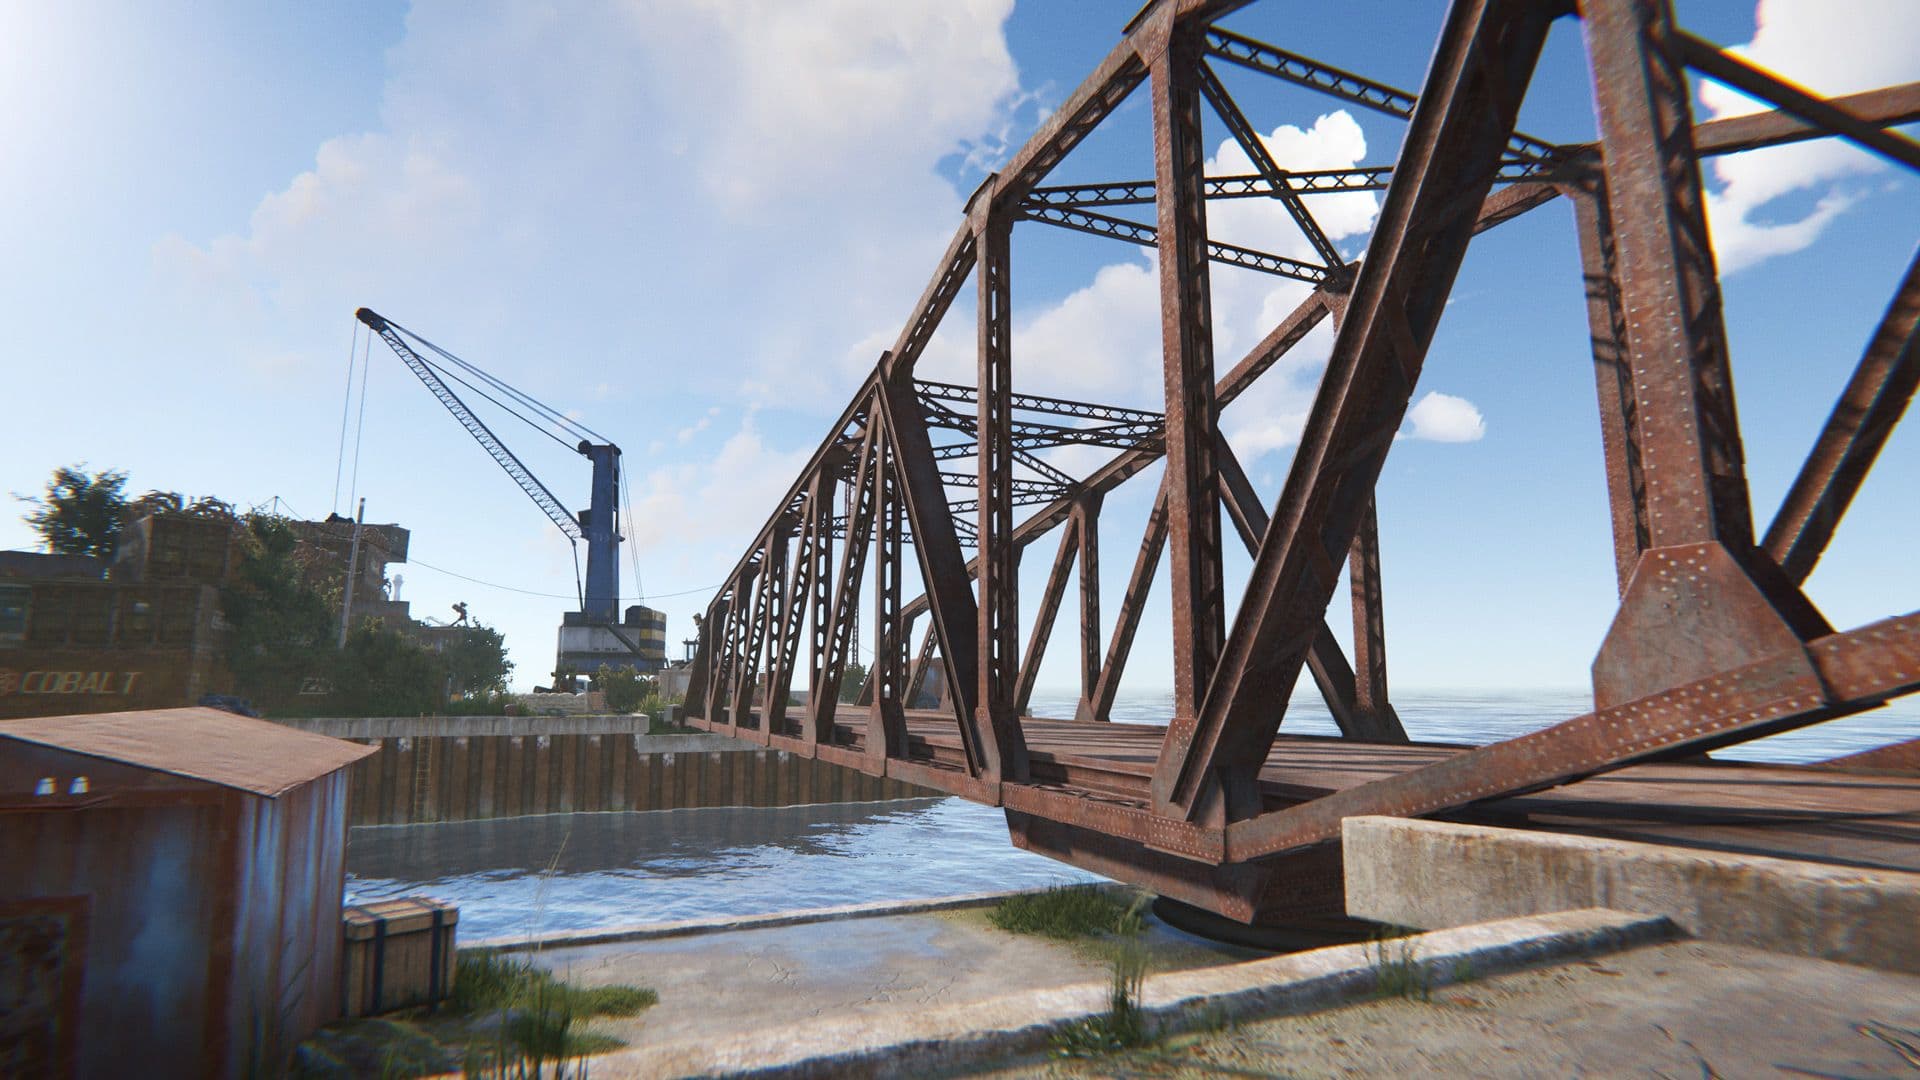
Harbor Large runs a green-card puzzle with no scientists anywhere on it. Its tier label tells you none of that.
Two numbers do. The first is the scientist count, and it is the one that matters most to a player with no rifle, because a scientist does not care that you were only passing through. The second is the monument's ambient radiation level, which decides whether you need gear you probably do not own yet. Both are in the game's own monument records, and both produce an answer that the tier ordering actively obscures.
Start with the green tier, because the answer there is uniform and slightly startling. All seven monuments that run a green-card puzzle — Ferry Terminal, Sewer Branch, Satellite Dish, The Dome, Harbor Large, Harbor Small and Radtown — field zero scientists. Not few. None. There is no NPC at any of them to shoot at you, walk up on you while you are looting, or wait in the room where the blue card sits. The radiation picture is nearly as flat: Ferry Terminal and both Harbors are flagged as having no radiation at all, The Dome and Radtown sit at a median of zero, and Sewer Branch and Satellite Dish carry a light background level that ordinary clothing covers without a hazmat suit.
A caution on that last point, because it is the one place this article will not give you a number. Three different scales for radiation protection are in circulation and they are not compatible with one another — one common reference describes the Hazmat Suit as 50% radiation protection, another gives it a flat value of 25, and the data-mined monument records report radiation levels rather than protection requirements. Any single "you need X protection at monument Y" figure you find is quoting one of those three scales without saying which. What the monument records support is the comparison, and the comparison is what you need: these are the levels, they are near the floor of the scale on the green tier, and the monuments flagged as having no radiation need no protection because there is nothing to protect against.
| Monument | Puzzle produces | Scientists | Radiation (median / max) |
|---|---|---|---|
| Ferry Terminal | Blue Keycard | 0 | none |
| Harbor Large | Blue Keycard | 0 | none |
| Harbor Small | Blue Keycard | 0 | none |
| The Dome | Blue Keycard | 0 | 0 / 11 |
| Radtown | Blue Keycard | 0 | 0 / 26 |
| Sewer Branch | Blue Keycard | 0 | 3 / 11 |
| Satellite Dish | Blue Keycard | 0 | 3 / 11 |
| Water Treatment Plant | Red Keycard | 0 | 0 / 26 |
| Power Plant | Red Keycard | 0 | 0 / 52 |
| Airfield | Red Keycard | 3 | 11 / 11 |
| Train Yard | Red Keycard | 4 | 11 / 26 |
| Arctic Research Base | Red Keycard | 10 | 3 / 11 |
The bottom half of that table is where the tier label gives out completely. Five monuments produce a Red Keycard, and two of them — Water Treatment Plant and Power Plant — have no scientists either. The other three do: Airfield fields three, Train Yard four, and Arctic Research Base ten. Nothing about a monument's tier predicts which is which.
Follow the consequence all the way through and you get the route that this whole article has been circling. A green card off a roadside desk, a green puzzle at any of the seven zero-scientist monuments, then the blue card it produced spent at Water Treatment Plant — a monument with no scientists and a median radiation of zero. That is a Red Keycard in your inventory without having fought a single NPC anywhere in the chain. Set that against Arctic Research Base, which is where the promise made back at the fuse bill gets paid: it hands over the same red card and asks for no fuse at all, which looks like the cheapest red card in the game right up until you notice the ten scientists standing between you and it. The door with no fuse cost is charging you in bodies.
The clearest single case is the pair that ought to be impossible if tier meant danger. Power Plant is Tier 3 — the same label as Launch Site — with zero scientists and three recyclers on site. Airfield is Tier 2, with three scientists and a puzzle that wants two fuses before it wants anything else. Sort those two by tier and you will walk past the safer, better-equipped monument to reach the one that costs more and shoots back. Power Plant's radiation runs higher at its peak than Airfield's, which is a real reason to arrive with something on, but it is a gear problem you can solve once, not a fight you have to win every run.
There is a second reason not to trust the labels, and it is that some of the tier lists carrying them are also wrong about the thing they are ranking. A widely circulated 2026 monument tier list asserts scientists at Sewer Branch, Satellite Dish, the Harbor and Water Treatment Plant. The game's records show zero at all four. This is not a close call about spawn rates or server settings — it is four monuments where a published guide is telling new players to expect defenders that the monument does not have, which makes them either avoid a safe run or over-equip for it. If a tier list gives you a scientist count without saying where the count came from, check it against something that reads the game's data before you plan a route around it.
None of which means Rust ran out of dangerous places. It means the danger is concentrated at the far end of the chain rather than distributed along it. The monuments that consume red cards are the ones that earn their reputation: Launch Site fields eight scientists and the Bradley APC, Military Tunnel fields thirty-three, and the Nuclear Missile Silo holds twenty-seven — twenty-three inside and four on the surface — behind the highest radiation levels in the puzzle circuit, at a median of 26 and a peak of 81, with no recycler, repair bench or research table anywhere in it. That is a genuine difficulty ladder. It just does not start until after the point where a first-run player is doing anything.
So the operational version is short. Before you commit to a monument, look up two things — how many scientists it has and what its radiation level is — and ignore the tier entirely. The tier is a statement about the loot table. It was designed as one in 2018 and it has been drifting away from the threat model ever since. And keep the limit of the claim in view: zero scientists is a fact about the monument, not about the server. Nothing in the game files knows how many players are standing on the pier at Harbor Large on a Saturday night, and a monument with no NPCs is often exactly the monument other naked players decided was safe too.
Which leaves the hazard that no monument record can list, because you generate it yourself the moment you open the first crate. Pick the safest monument on the table, arrive with your fuse and your card and your swipe discipline intact, and there are still two mechanics waiting inside the room that most guides written before last November do not mention at all.
The Loot Room Runs on a Clock, and the Exit Isn't the Door You Came In By
The clock starts when someone opens a container in the puzzle room. Not when you reach the monument, not when you seat the fuse, not on a server-wide loop — the first crate looted inside that room is what sets it running. That is the November 2025 rework in a sentence, and the trouble is all in the second half of it: once started, the timer keeps counting whether or not anyone is standing in the room.
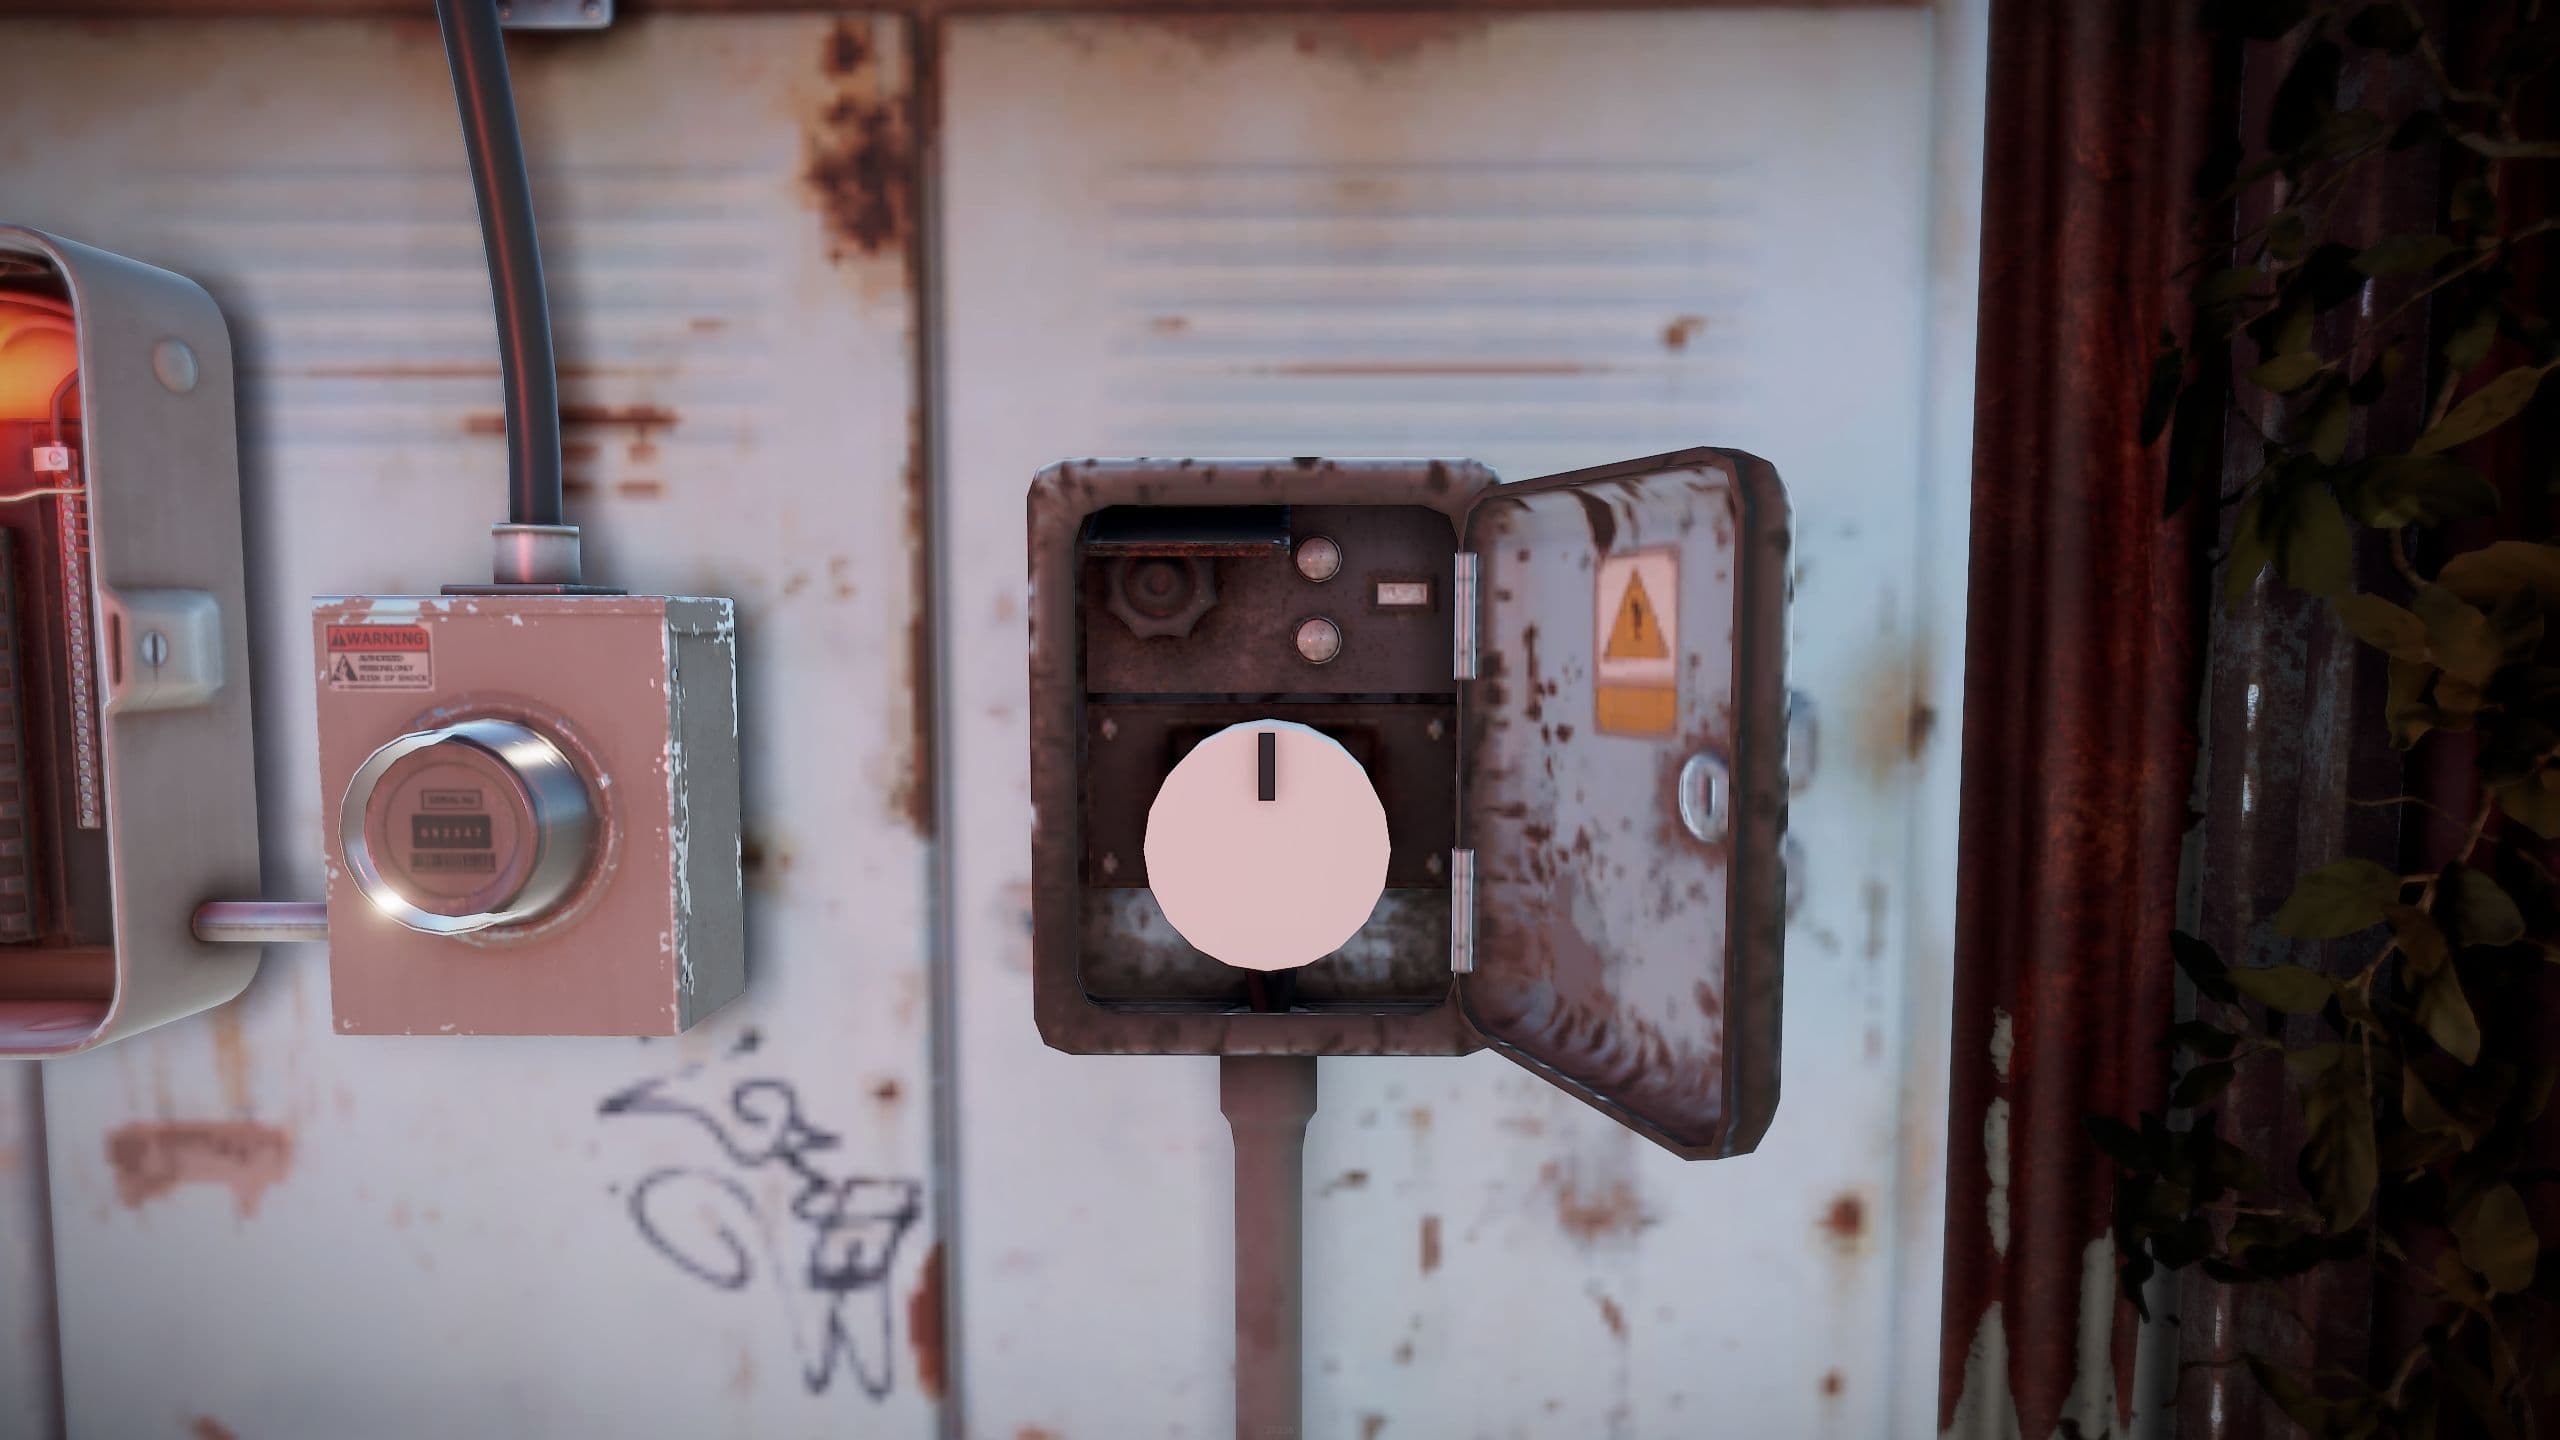
Timers, switches and fuse boxes are all inside the zone that floods with radiation before a puzzle refreshes.
The old version is worth a paragraph, because it explains the habit that now kills people. Before November, the puzzle ran a 30-minute cycle that refreshed on its own schedule, and it paused itself the moment a player came within range of the monument. Loot behind a puzzle door has always turned over faster than loot in the open — half an hour against two hours when the system shipped in 2018 — so the room really is worth a second visit, and the obvious way to catch the second visit was simply not to leave. Facepunch eventually looked at what that produced. Camping monuments to ambush people had become its own playstyle, and some of those campers were parked close enough to the loot rooms that they were, in the studio's words, inadvertently preventing the loot from respawning. The people waiting for the refresh were the reason there wasn't one.
The fix removed the pause and added a warning you can see, in this order:
- A player loots a container in the puzzle room. The refresh timer starts. Nothing else starts it — an untouched room is not counting down.
- The timer runs regardless of who is standing where. Presence no longer pauses anything.
- Ten minutes before the refresh is due, radiation floods the loot room and the puzzle elements — the switches and the fuse boxes included. Facepunch's description of it is "severe and unsurvivable," and around it sits a small band of much milder radiation, put there deliberately to tell anyone walking toward it to stay clear.
- The puzzle only resets once the area has been clear of players for five minutes in total. Not five minutes from when the radiation appeared — five minutes of nobody there.
Notice what the fourth step does to the third. The radiation is not a countdown you can sit out at the edge of. As long as anyone keeps stepping back into the area, the clear-time requirement keeps failing and the lethal zone keeps standing. A room that is currently gassing you is not ten minutes from being safe; it is five minutes from being safe after everyone gives up on it.
There is one thing this article cannot give you, and it is the number you probably want: how long a puzzle takes to come back. A data-mined monument census puts nearly every puzzle at roughly half an hour; a widely read 2026 keycard guide says 45 to 60 minutes for the blue and red rooms; and since November both figures describe a timer that no longer behaves the way either was measured against. The reset is conditional now — it depends on when the first crate was touched, and then on whether the area empties. Anyone printing a single stopwatch figure is quoting a mechanic that stopped existing. What you can carry instead is the shape of it: opened, ticking, irradiated, then clear.
Which makes the death easy to describe. A player finishes the room, sees crates worth returning to, and settles in to wait for the respawn — exactly what a guide written in 2020 would tell them to do. The clock they started by opening the first crate has been running the whole time, invisibly, with nothing on screen to say how much of it is left. Then the ten-minute mark arrives and the radiation generates around them where they are sitting. The milder band is not a ramp they get to feel first; it sits around the outside of the severe zone, and it is there to turn back somebody walking in. Somebody already in the loot room is simply in the unsurvivable part. Retreating to the fuse box does not help either, because the fuse box is one of the elements the radiation covers by design.
The good news, and it is real, is that the hazard is local. Facepunch shrank the player-presence check areas across most monuments in the same patch, specifically so that ordinary looting and movement elsewhere on the monument stays possible while a refresh is running. You are not being evicted from the Harbor because a room in it is cycling. You are being evicted from that room and the switches that serve it. Get out of the loot room and you are out of the problem.
Getting out is the second mechanic, and it is older than the first. Puzzle doors relock behind you — the contemporaneous 2018 write-up of the system put it flatly, that an opened door "will automatically lock for a next visitor", and nothing since has restated it — which is also why a friend cannot walk in on the back of your swipe and why a duo needs to think about who is going through. Then there is the deliberate version of the same idea. Facepunch built certain card rooms to trap you: you get in, the door shuts, and the way out is not the door. It is an interior release — a switch or a button, often within sight of the desk you just took the card off — and until you find it you are in a sealed room with a timer you started running.
Put those two together and the sequence inverts. The instinct is to open crates first and work out the exit on the way back; the room is built to punish exactly that order. Walk in, find the release before you touch anything, then loot in one continuous pass and leave. Do not clear the room and settle in to wait for the refresh — the behaviour that used to be efficient is now the one that gets you irradiated in a locked box. And treat the room as though the clock may already be well advanced, because it may be: the timer starts when a player loots a container, and nothing tells you whether that player was you.
Get out clean and you are holding a blue keycard, a blueprint fragment, and whatever the crates gave up. None of that is progress yet. It is inventory, and inventory has to survive a walk home — unless the machine that turns it into scrap happens to be standing in the same monument you are already leaving.
Pick the Monument by Its Recycler, Not Its Crate Count
Not all recyclers pay the same. The machines standing out in the world — the one in the shack at a roadside monument, the one bolted into a puzzle room — return 20% more than the baseline for whatever you feed them. The ones inside Outpost and Bandit Camp return 20% less. Line those up and the gap is not a rounding error: 1.2 against 0.8 means a monument recycler pays exactly one and a half times what a safe-zone recycler pays for the identical stack, three scrap for every two, and it works through that stack faster while it does it — a five-second cycle against eight. Nothing about the components changes. The only variable is which machine you were standing in front of.
Which makes the habit most players fall into — bag everything up, walk it to Outpost, break it down where nobody can shoot you — a tax you are charging yourself. You carry more weight further, across the open ground between the monument and the safe zone, and at the end of the walk you are paid a third less than you would have been paid before you set off. The safe zone is genuinely safer. It is not free.
So the useful question about a puzzle monument is not how many crates are in it. It is whether the thing that converts those crates into scrap is inside the fence with you. Across the puzzle circuit, most of the time it is:
| Stage in the chain | Monument | Recyclers |
|---|---|---|
| Green-card puzzles | Ferry Terminal, Satellite Dish, The Dome, Harbor Large, Harbor Small, Radtown | 1 each |
| Green-card puzzles | Sewer Branch | 2 |
| Blue-card puzzles | Water Treatment Plant, Train Yard, Arctic Research Base | 1 each |
| Blue-card puzzles | Airfield | 2 |
| Blue-card puzzles | Power Plant | 3 |
| Red-card monuments | Military Tunnel, Launch Site | 1 each |
| Red-card monuments | Nuclear Missile Silo | none |
One row in that table has a hole in it, and it belongs to the richest red-card monument in the game. The Missile Silo — already this article's example of what the far end of the chain actually costs — has no recycler anywhere in it. Every elite crate you open down there produces components you have to carry out and take somewhere else, at the end of a run that has already been the most expensive thing you have done all wipe. It is not alone in that, either. The monuments with no recycler at all are the Missile Silo, both Oil Rigs, Abandoned Cabins, the Abandoned Military Base, Large Barn, Ranch and the Fishing Villages — and note that three of them hand out a free green card: both Oil Rigs and Abandoned Cabins. A monument can hand you a keycard and still leave you holding a haulage problem.
The bootstrap leg is better served than the top of the chain. Four of the five roadside monuments where a Green Keycard is lying free on a desk — Oxum's Gas Station, the Abandoned Supermarket, the Lighthouse and the Junkyard — carry a recycler each, which means the trip to collect a card is never only a card errand. Whatever the barrels there gave you can go into the machine before you move on, at the good rate, without adding a step. Abandoned Cabins is the exception: a free green card and nothing on site to process anything with.
That criterion also picks a different winner on the green tier than a loot count does, and Sewer Branch is the clean demonstration. It is the only green-card monument in the game with two recyclers, and it is not a big monument — 4 barrels, against 32 at Ferry Terminal and 45 at Harbor Large, the smallest barrel count on the tier by some distance. By what is lying around on the way in, it looks like the poor relation of the seven. By the criterion that decides whether loot becomes scrap, it is the strongest: twice the processing capacity across the smallest footprint, and the monument is vertical and largely below grade, so the looting and the recycling both happen under cover rather than out on an open pier. For a solo, that is the best recycler-to-exposure ratio on the tier. It costs the same one Green Keycard and one Electric Fuse as any of the other six — the price of admission is identical across all seven, so every difference between them is a difference in what surrounds the door rather than what is behind it. The honest limit on Sewer Branch is that being below grade cuts both ways: every route out of it surfaces into open ground, so the cover you loot under ends the moment you decide to leave.
That is the same three-part test this wiki already applies in Rank monuments by their exit, not their loot, its rule for where to put your first base: score a monument on whether the recycler is on site, whether you are enclosed while looting, and how many ways off it there are. The reasoning behind it was that radiation and scientists are equipment you buy once, while exposure is a cost you pay on every single run. It was written about early-game monument selection, and it transfers to the puzzle circuit without a word changed, because a puzzle run is that same transaction on repeat — walk in light, walk out heavy, and hope the heavy part survives the trip.
So rank the recycler above the crate count when you are deciding where to spend a card and a fuse. The crate count tells you how much you might pick up. The recycler tells you how much of it you still have an hour later. A monument stuffed with crates and no machine hands you inventory and a walk; a thinner monument with a recycler in it hands you scrap before you have left the fence, at the better rate, with nothing left in your bag worth killing you for. The green tier makes that choice cheap to act on, since none of the seven has a scientist in it and all seven cost the same to open.
Which puts every criterion on the table at once — a card that costs nothing, a fuse that does, no scientists in the room, a clock that starts when you open the first crate, and a recycler inside the fence. They are not independent requirements to be traded off against each other. There is one monument that satisfies all five at once, and it is not the one with the most crates in it.
Ferry Terminal, One Fuse, and Where the Blue Card Goes Next
Ferry Terminal is the monument that satisfies all five. It is the only place in the game that spawns a free Green Keycard and runs a puzzle that asks for nothing but that card and a fuse — Power Plant also gives a green and takes one, but its puzzle wants a blue card as well. The card and the door it opens are inside the same fence — no roadside detour, no second monument, no carrying a card across open ground and hoping it is still in your pocket when you arrive. It is flagged as having no radiation at all, not a low median but none. It has no scientists. It has a recycler standing in the middle of it, with a public modular car lift next to the recycler, so the run ends with your components converted and, if the lift cooperates, a vehicle to leave on. And the puzzle itself is the cheapest configuration in the game: one Electric Fuse, one Green Keycard, one switch, and the room hands you a Blue Keycard, a Basic Blueprint Fragment and two crates. Thirty-two barrels and eleven crates sit around it on the way in.
Ferry Terminal: free green card, no scientists, no radiation, and a recycler between the desk and the door.
Which collapses the entire prerequisite to a single item. The card is free and on site. Nothing in the chain can be bought at any price. The fuse cannot be crafted or traded for, so it has to come out of something you opened — and once it is in your bag, you are equipped. That is the whole shopping list for a first monument run: one fuse. Not a hazmat suit, not a gun, not a partner, not a stack of scrap. If you have been putting the puzzle off until you were "ready", the readiness threshold is one item you have probably already thrown away once without noticing.
The run itself is short enough to describe as a shape rather than a route. Arrive with the fuse. Take the green card off the terminal's office desks. Seat the fuse, throw the switch, and only then touch the reader — the card you are about to spend is the one the room gives back, but a swipe at a dead terminal still costs condition and you may want that card again later. Loot the room in one pass, remembering that the refresh clock started the moment you opened the first container in it. Then stop at the recycler on your way out and break down everything that is going to be scrap eventually, because the machine standing in front of you pays half again what the one at Outpost pays and you would be carrying the weight past it either way. You walk in with a fuse and walk out with a blue keycard, a fragment, and scrap you have already banked.
Now the honest part, because the word "safe" has been doing precise work in this article and it should not start doing loose work in the last section. Every safety claim here has been about hazards: no scientists, no radiation, no unsurvivable loot room if you do not linger. None of it is a claim about the pier being empty. Ferry Terminal's recycler sits in a compact central area with limited ways out of it, which is exactly the place you will be standing, stationary, with a full inventory, at the end of the run — and the monument's exits are the terminal building, the dinghy piers with their rope ladders, and the water. That is a short list, and two-thirds of it involves committing to open ground or open sea. A monument with nothing in it that wants to kill you is also, reliably, a monument other players have worked out is easy. Recycle in stages if the server is busy, keep the water in mind as a genuine exit rather than a last resort, and do not treat "no scientists" as "nobody home".
If Ferry Terminal is on the wrong side of the map, or somebody has built on top of it, the substitution is free. All seven green-card puzzles cost the identical one green card and one fuse, and every one of them is scientist-free. What differs is what surrounds the door.
| Green-card puzzle | Barrels / crates | What else the trip gives you |
|---|---|---|
| Ferry Terminal | 32 / 11 | free green card on site, recycler, car lift |
| Harbor Large | 45 / 11 | the largest barrel count on the tier |
| Harbor Small | 40 / 10 | nearly the same, smaller footprint |
| Radtown | 15 / 29 | puzzle pays two Military Crates instead of normal ones |
| The Dome | 20 / 15 | 2 Diesel Fuel in the room, plus the parkour crates |
| Satellite Dish | 18 / 9 | the thinnest of the seven |
| Sewer Branch | 4 / 20 | two recyclers, almost all of it under cover |
Read that as a menu, not a ranking. The blue card at the end is identical in all seven cases; you are choosing what you pick up on the way and how exposed you are while you do it.
There is also a route that skips the green tier altogether, and it belongs to anyone who spawned on the coast. Gutting a Catfish, an Orange Roughy, a Salmon or a Small Shark drops a Blue Keycard 20% of the time — the action is butchering the fish, not catching it, and the going assumption is that catfish and salmon are the two you will realistically pull out of shallow water early, with shark and roughy sitting further out. The 20% is the solid half of that claim; which species are actually within reach of a fresh spawn is the softer half. One in five, per fish, for an item that is otherwise manufactured only behind a card reader — and a blue card is the input to the red tier. Take it straight to Water Treatment Plant: no scientists, a recycler on site, one fuse and one blue card for a Red Keycard and two more Basic Blueprint Fragments. It is not a zero-radiation monument the way Ferry Terminal is — its readings peak at 26 against a median of zero — but it is the better of the two red-card sources with nothing standing in them. Power Plant is scientist-free as well, and it peaks at 52 and wants a green card and a blue one together.
And Water Treatment is worth the walk even if you turn up with no card at all, which is the detail almost nobody mentions. It carries a second puzzle that costs nothing: activate a garage door and you get another Basic Blueprint Fragment and four more crates, no keycard, no swipe, no condition spent. Train Yard has a similar side door — a second green-card puzzle at the train-car unloader, one fuse and one green card and three switches for a fragment, a crate and three barrels — which is a sensible place to spend a green card you are carrying with nowhere else to put it.
Add up what those two trips actually produce. Ferry Terminal's green room gives you one fragment. Water Treatment gives you three — two beside the red keycard, one from the free garage-door puzzle — for four of the five that Workbench 2 wants, out of two monuments, neither of which contains an NPC. The fifth comes from a second green room, or from any of the chance sources you will be turning over anyway. Every one of those doors costs one fuse, which makes the fuse count the only number worth tracking on the way out.
So: find one fuse, and go. Ferry Terminal if it is reachable, whichever of the other six is closest if it is not. Then put the blue card somewhere safe and start looking for the second fuse, because that one has a destination already — Water Treatment Plant, and the red card behind it.