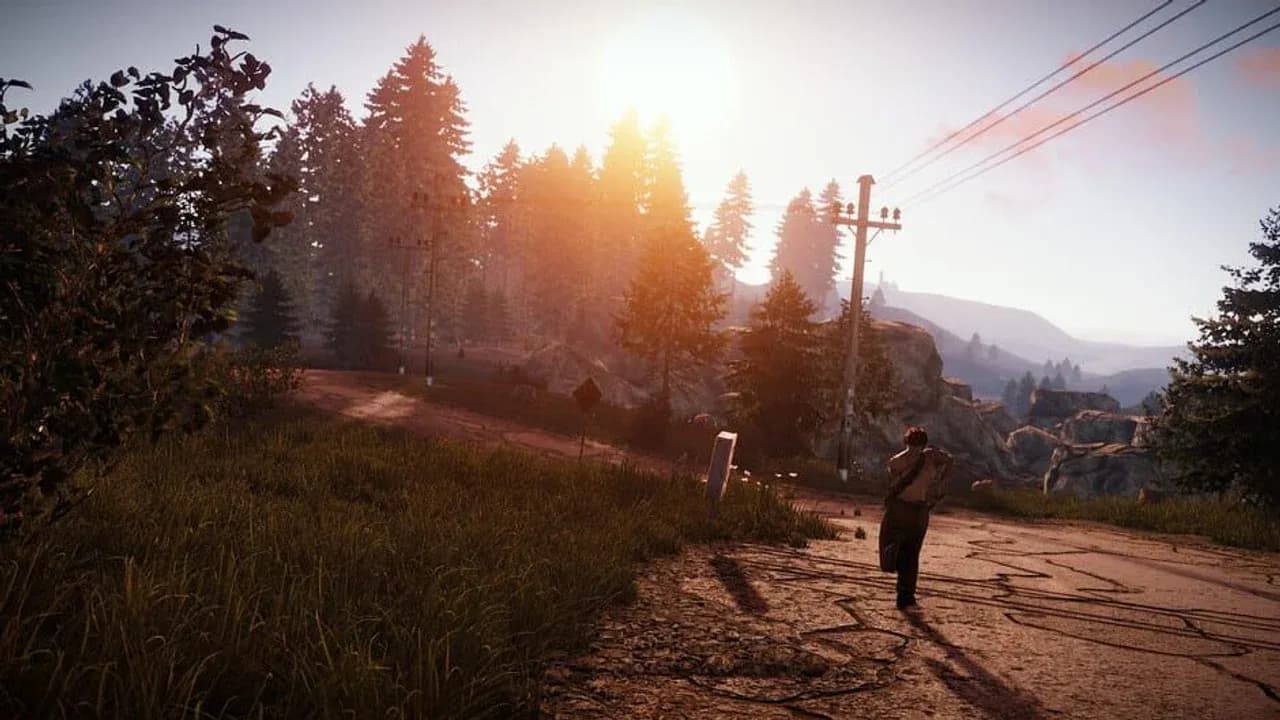
Solo monument tier lists all score the same three things: loot per run, radiation, scientist count. All three are the wrong measurement. Radiation is a purchase you make once. Scientists stand where they stood last wipe and shoot for the same damage. Neither is what ends solo wipes. What ends solo wipes is the part gear cannot fix, which is how long you stand still with your inventory open and how many people can see you while you do it. Score monuments on that and the order comes out almost backwards from every list you have read: the best military-crate density in the low tier finishes last, and the monument most solos write off as a group destination finishes second.
Score a Monument on Three Questions, Not on Its Crate Count
Is the recycler on site? A monument without one does not end when you finish looting it. It ends wherever you cash out, which means walking open ground with an inventory of unrecycled components that is heavy, slow and far more worth killing for than scrap.
Are you enclosed while you loot? Barrels under a roof and crates behind a container stack are a different job from barrels on an open pier. Enclosure decides whether you get spotted at 200 metres or at 20.
How many ways off the monument are there? One entrance means one ambush point, and it is the ambush point everybody already knows.
Run the roadside monuments through that and the Abandoned Supermarket and Oxum's Gas Station score two out of three. Both are zero-radiation, both have a recycler, both let you loot indoors. Both are also single buildings sitting on a road, which is where the rest of the server already is, and the road is the only realistic way off either one. That third answer is what separates the monuments below, and it is the answer nobody scores.
1. Mining Outpost: The Only Roadside Monument That Ends a Loop
Mining Outpost is the one monument on the map that answers all three questions well, which is why it wins despite having the smallest loot table on this list.
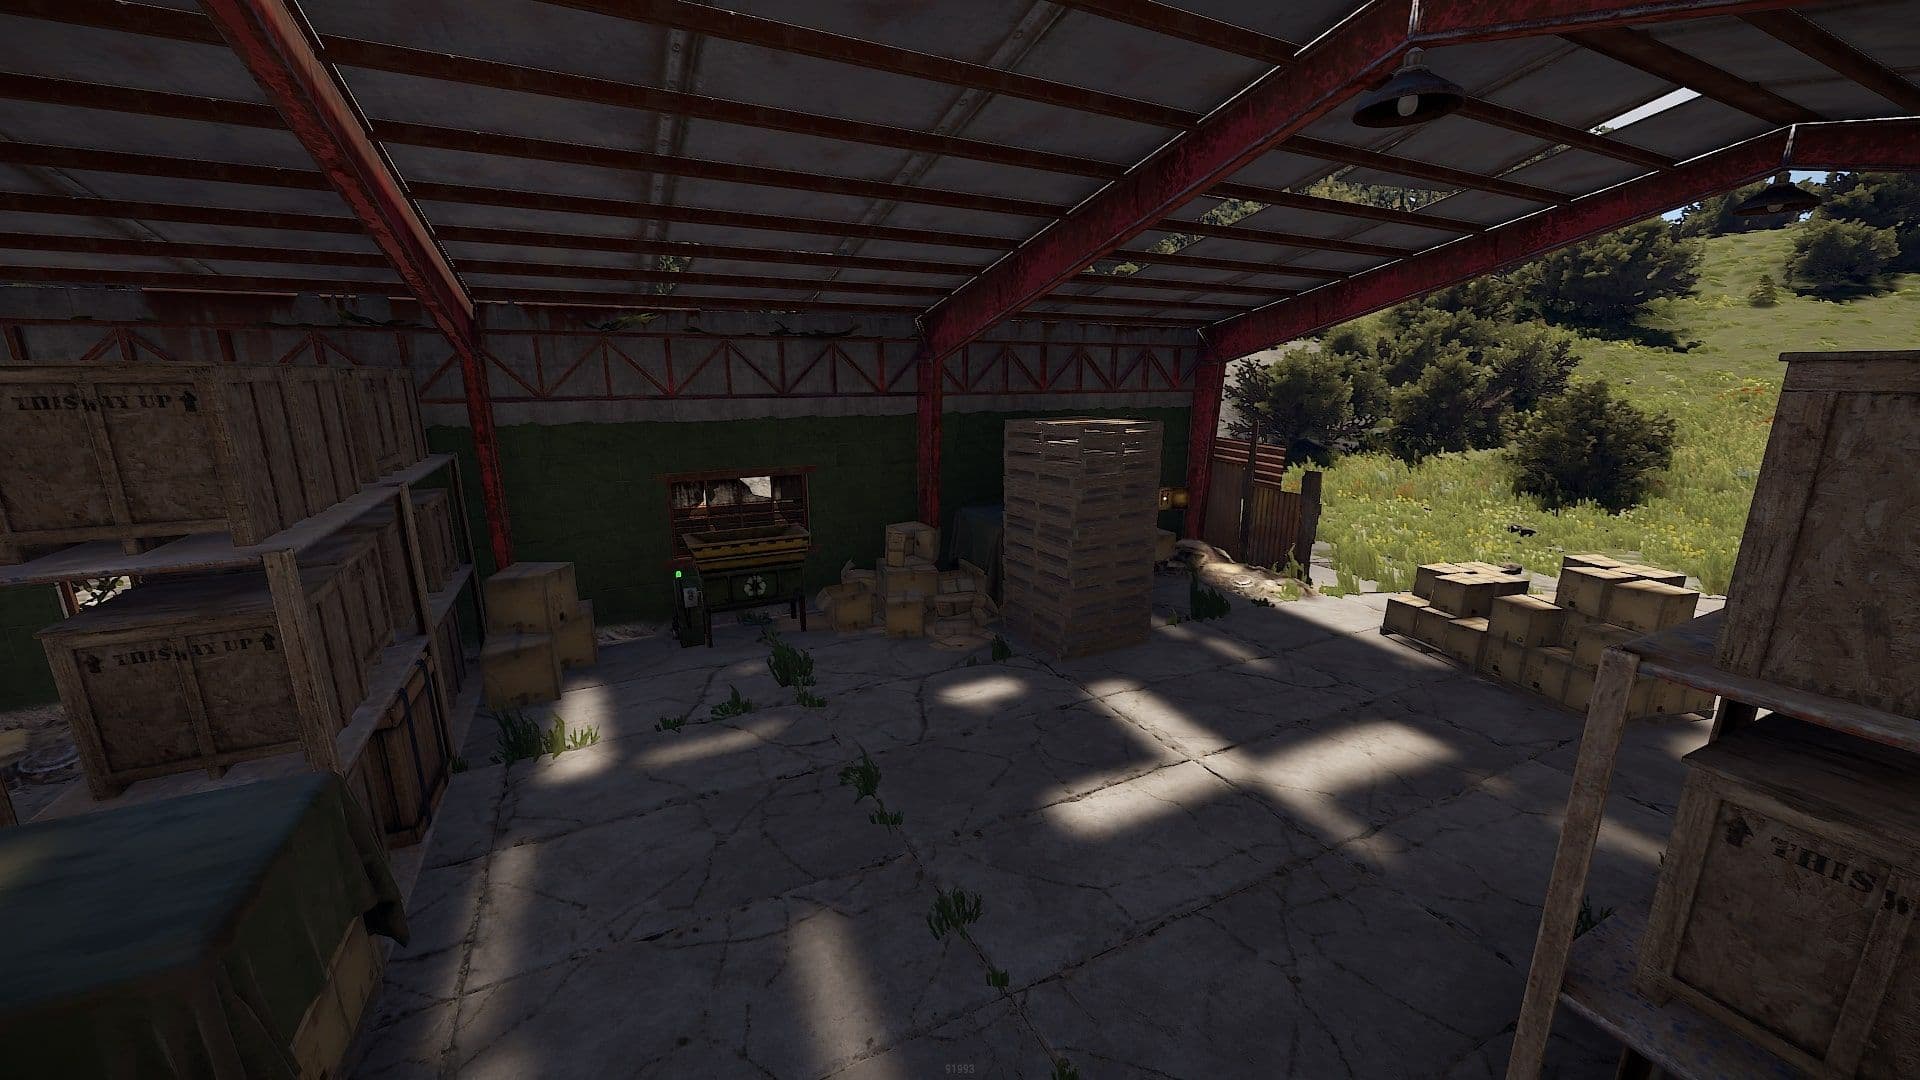
Mining Outpost keeps the whole loot circuit, the recycler and the Repair Bench under one roof.
It is a warehouse hangar with large shelves, a forklift, storage containers and a small shack, so the whole circuit happens under a roof. Eight crates spawn across it, up to two of them inside the single-door room, plus car-part crates on the wooden skids outside. Nothing is irradiated and nothing shoots at you.
The recycler sits directly across from a Repair Bench, and that pairing is the actual argument for the monument. It makes Mining Outpost the only zero-radiation stop where you can cash your components and top a worn tool back up without going anywhere else. Every second stop you delete is exposure you never spend, and the Supermarket and the Gas Station both cost you that second stop.
On the third question it is unusual for a small monument. The hangar is open at either end, and two tire-jump routes put you on the roof. That is an elevated position if somebody contests you and a way off the monument that is not the road, which neither of the other two roadside monuments can offer.
One thing to unlearn before you go, because Rust wikis have repeated it for years: Mining Outpost is not a safe zone. The name invites the mistake, since Outpost is the turret-protected compound with the vendors. Mining Outpost has no turrets and no vendors. Nothing there stops a player from shooting you at the recycler.
2. Large Harbor: Tier 2 Volume Behind a Tier 1 Threat Level
Most solos never learn Large Harbor, and the reason is a reasonable-sounding mistake. It looks like a group monument. It is enormous, it is the docking point for the Cargo Ship event, and its barrel count reads like a carrying problem rather than an opportunity. So people assume it comes with the threat profile of a monument that size, and it does not.
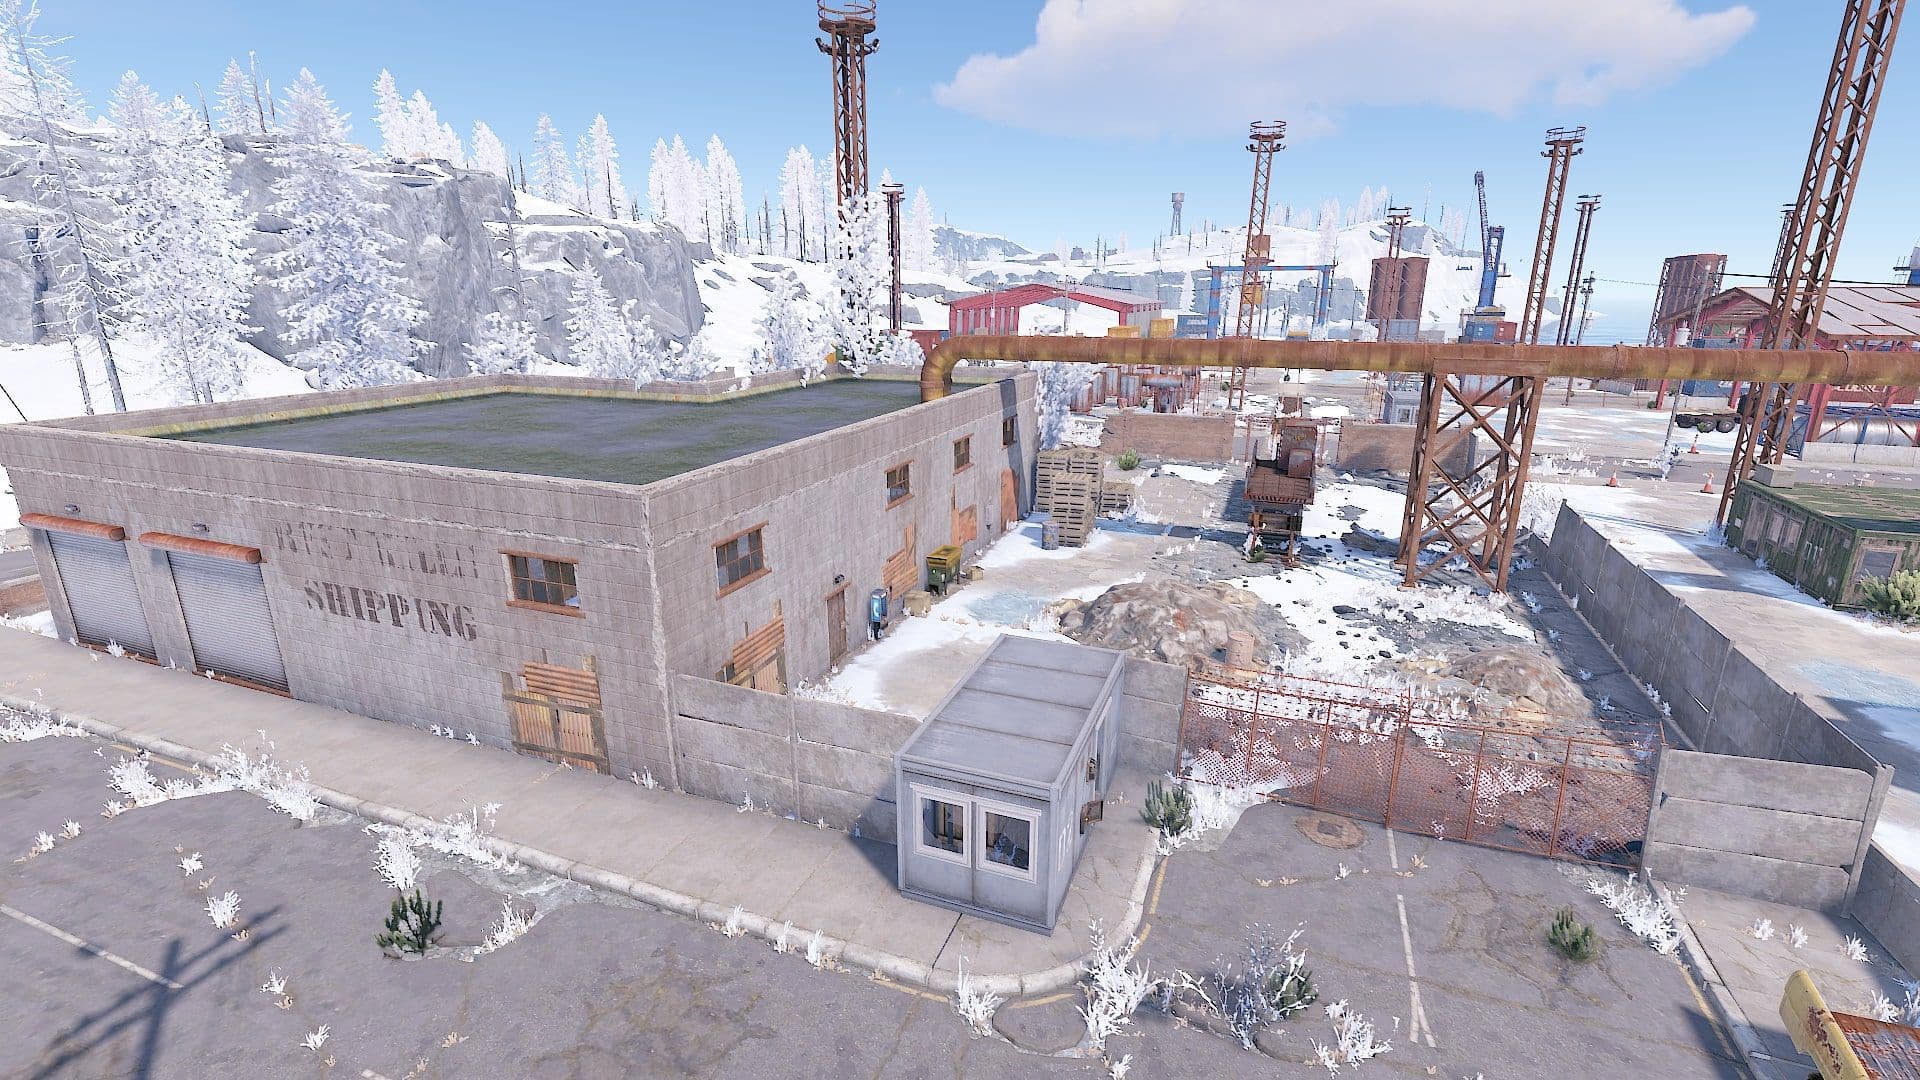
Large Harbor's recycler sits in cover near the middle of the monument, which is what makes 45 barrels runnable solo.
Large Harbor holds 45 barrels and ten crates. It has no radiation and no scientists at all as long as the Cargo Ship is not docked. With a Green Keycard and one Electric Fuse there is a Blue Keycard waiting on a desk in the locked building, though the barrels are the reason to go.
The volume is only runnable because the recycler answers question one, and it does so well: it sits in a fenced courtyard beside the grey Shipping building, in cover and near the middle of the monument, so the cash-out is not a separate trip.
Question two is where the shape of the place pays off. A harbor is long and thin, so you are rarely exposed along more than one axis, and container stacks, sheds and pier walls break line of sight every few steps. Compare that with the open apron at the Airfield, where a rifle anywhere on the horizon has you.
Question three is answered twice over. One flank is water, which is a flank that does not exist. The piers give you several separate ways inland, and the underground rail tunnel near the recycler is an exit no one watching the roads is covering.
There is one loud exception and it is easy to read. When Cargo docks, all of that reverses at once. Scientists arrive, the piers fill with players who came for the ship, and the water flank becomes the direction the threat is coming from. Docked Cargo is a cue to leave, not a cue to fight.
3. Sewer Branch: The Cheapest Radiation You Will Ever Pay
Sewer Branch is the only monument here that charges radiation, and it is the cheapest charge in the game. A basic burlap set covers it, so the entry fee is cloth rather than a hazmat. A Green Keycard plus one Electric Fuse buys you a puzzle room holding a Blue Keycard, one or two Military Crates and two or three component crates. The recycler is beside the metal shack, and an oil refinery sits past the green door.
That Blue Keycard is what you actually came for. It is the key that opens the Water Treatment Plant puzzle and the armory route at the Airfield, which means a Sewer Branch run is not just its own loot: it is the thing that makes the tier above it affordable. Run it the day you can first put burlap together, not once you feel ready for it.
Where it drops to third is the exit question, and the same geometry is responsible for both halves. Sewer Branch is vertical and largely below grade, so most of the run happens somewhere nobody outside the monument can see you, and the pipes give covered rotations instead of open sprints. That is a genuine advantage while you are inside. The cost is that being below grade means every route out is a surface, and anyone who arrived while you were down there is already looking at all of them. You are safe until the moment you leave, which is a different thing from being safe.
4. Oxum's Gas Station and the Abandoned Supermarket: Openers, Not Loops
These two are the monuments the ranking question usually gets asked about, and they are genuinely good at one job that has nothing to do with their loot table.
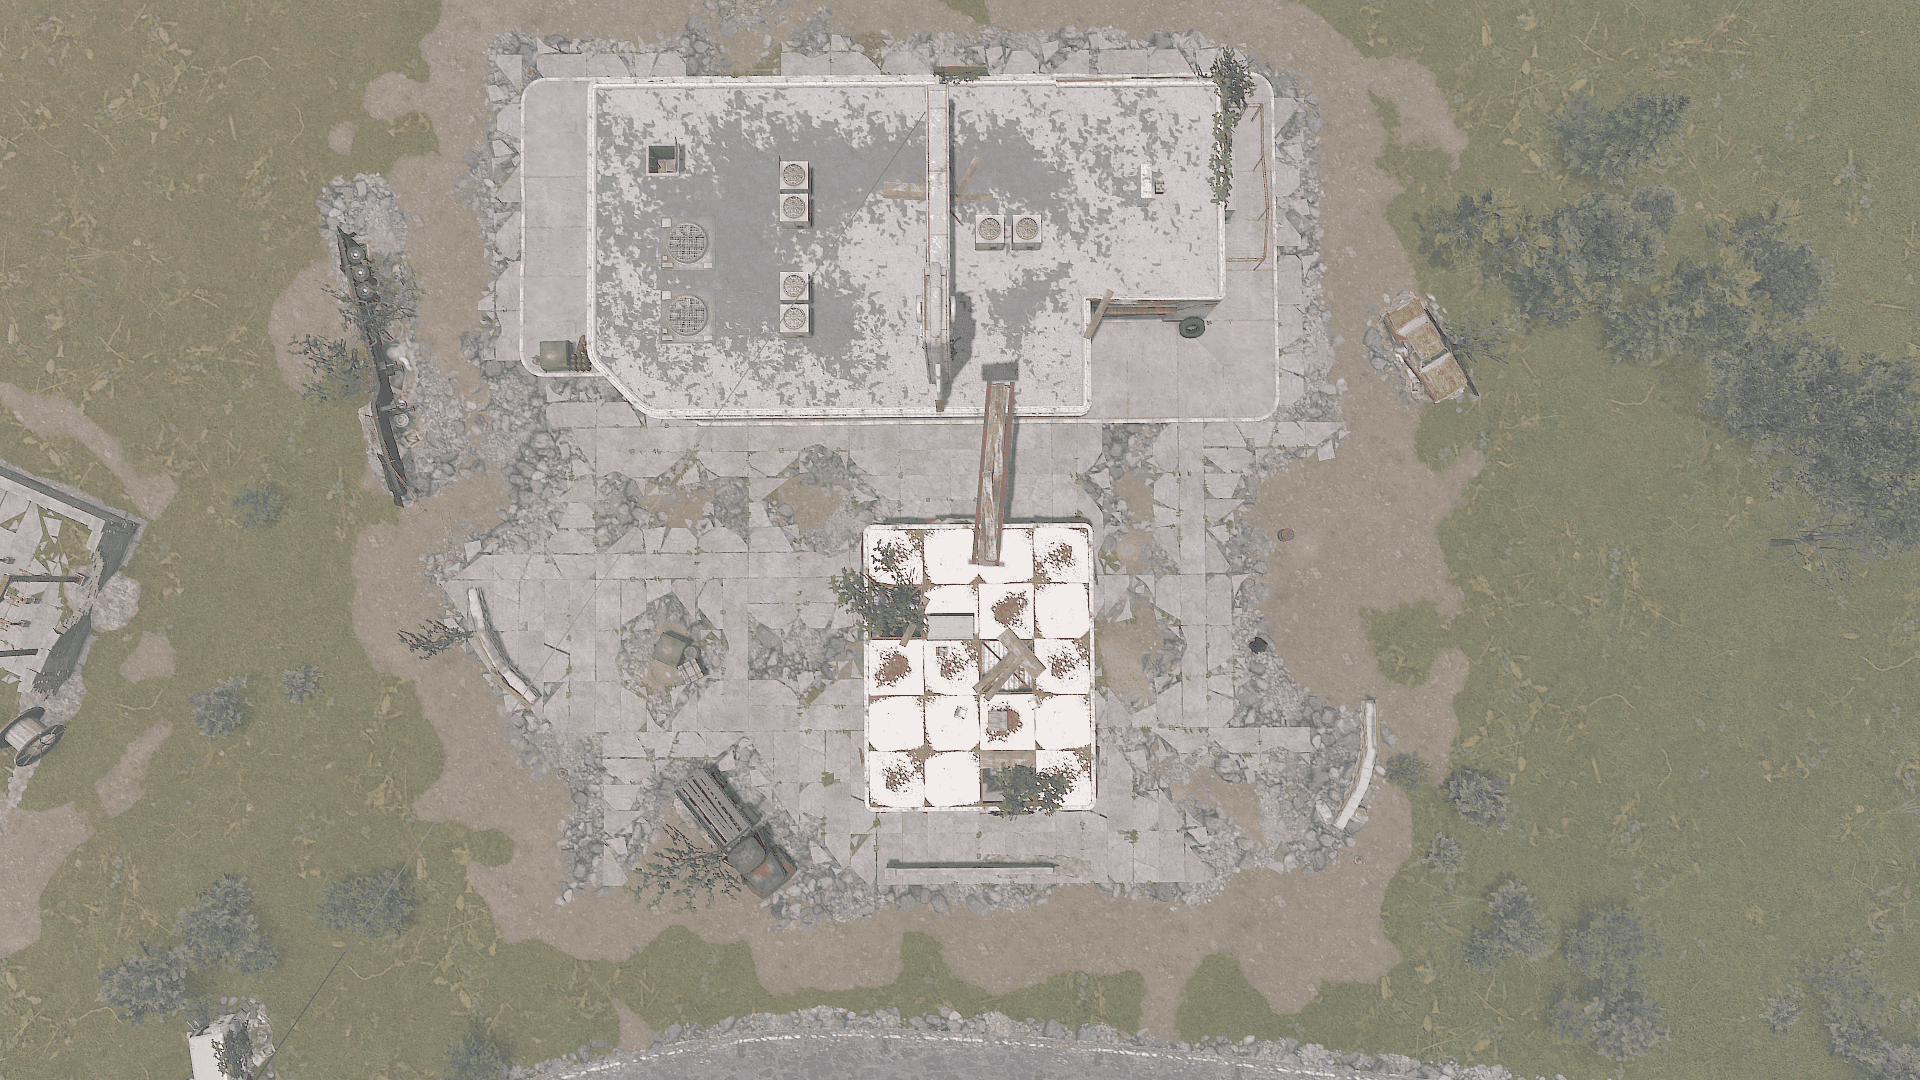
Oxum's Gas Station is one building on a road: good cover while you loot, and only one way out.
Both are zero-radiation, both keep you indoors, and both have their own recycler, so you can complete a run without carrying anything home. Each also carries a green-card route, which is the first keycard most solos get their hands on. What they do not have is a second way out. They are one building on a road, the road is the exit, and the road is also how every geared player on the server is travelling.
That makes them openers rather than loops. Run them in the first hour, while the roads are still empty and the only thing you can lose is a stone hatchet. Take the food, take the green card, recycle on the way out and be somewhere else. The mistake is coming back to them at hour six, geared, when the exposure they carry is priced for a naked player and you are not one any more.
5. The Dome: Best Crates on the Map, No Way to Cash Them
Four Military Crates sit on the top ring of the Dome, with another crate at the entrance and five basic crates below. There is no radiation, no scientists, no keycard and no fuse. That is the best military-crate density available anywhere at zero equipment cost, and it still finishes last, because it fails the two questions that matter most.
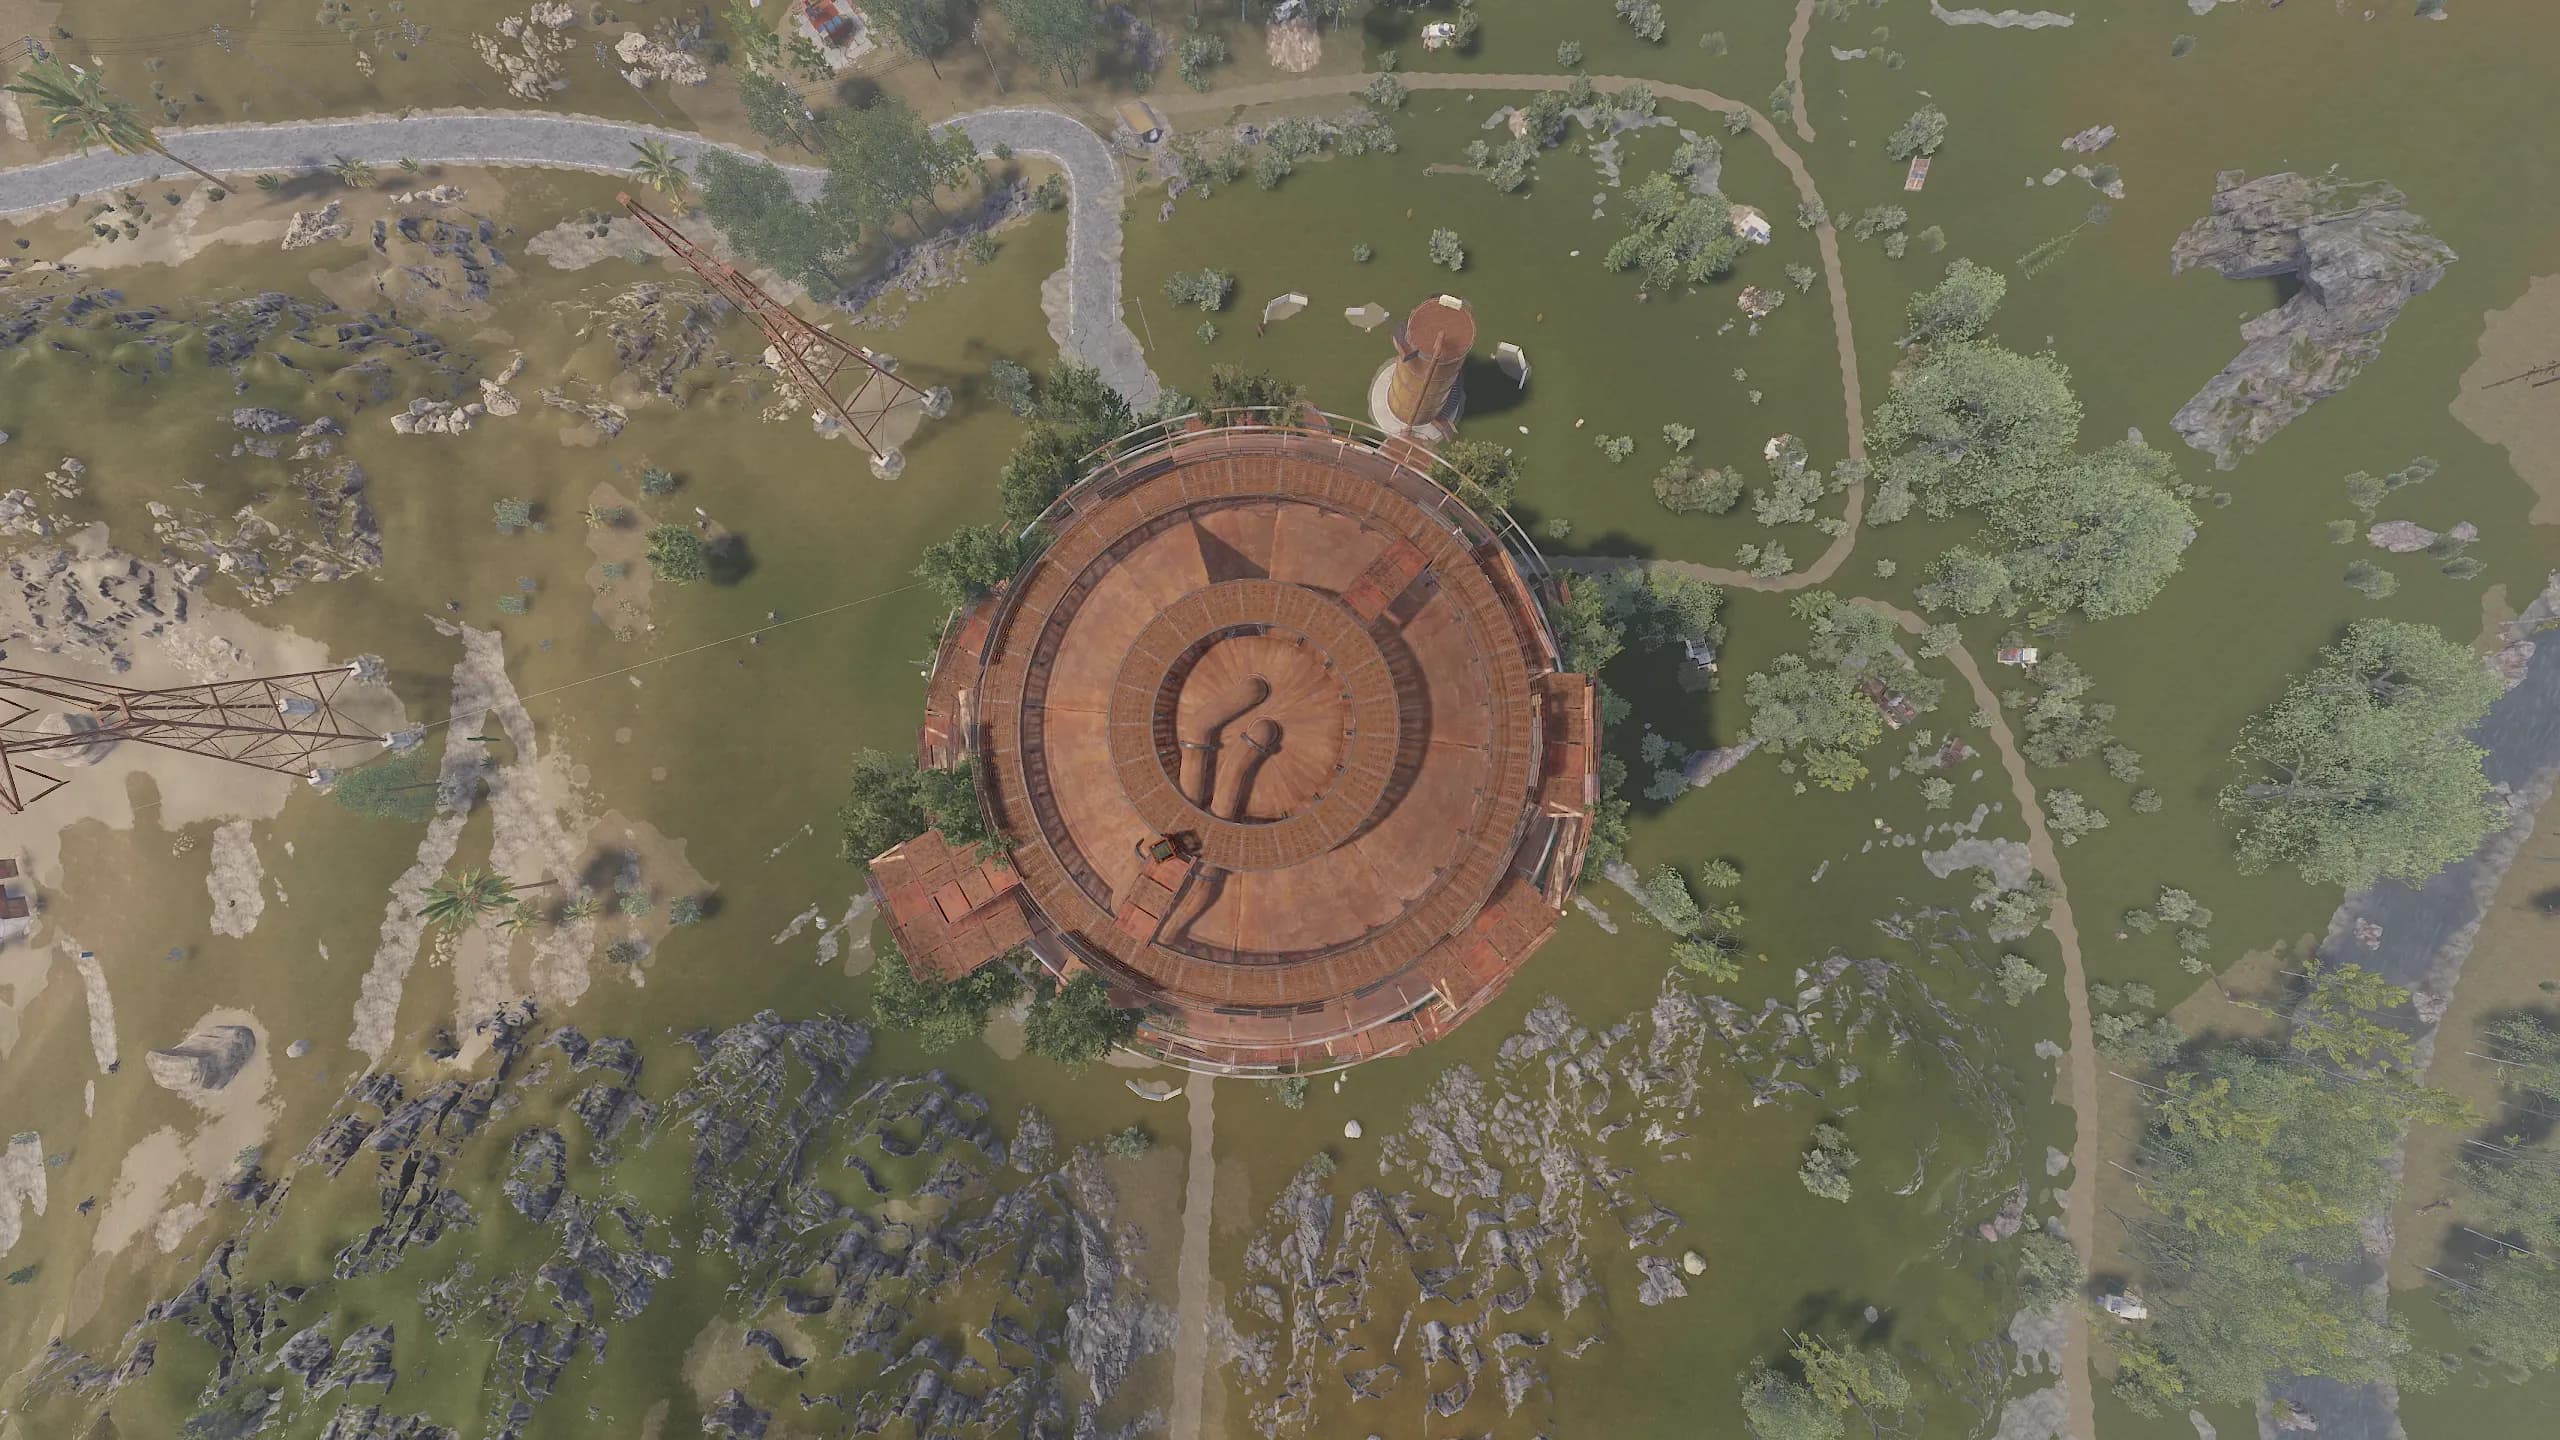
The Dome's top ring holds four Military Crates, and no recycler anywhere on the monument to cash them at.
The Dome is the only major monument in Rust with no recycler. Two oil refineries sit in sheds around it and nothing there will break a component down. The run therefore does not end at the Dome. It ends at whichever monument you walk to next, carrying everything you just found, along a route that is not hard to predict, because there are only ever a few recyclers within reach of a Dome and everyone knows which ones they are.
The exit question is worse, and the climb is the reason. The fast route up includes a jump that will kill you if you misjudge it; the safe route uses a second pipe and takes longer. Either one puts you on the outside of an enormous rust-red sphere with nothing between you and the skyline, and the way down, crouched between the pipes, puts you there a second time with a full inventory. There is no second route in the sense the other four monuments have one. The Dome has an ascent and a descent, and both are performed in the open, in view of anything nearby.
None of that makes the loot bad. It makes the Dome something you run when the surrounding ground is already yours: a bag prepared, a route to a recycler cleared, and no reason to be surprised on the way down. It is the worst possible way to open a wipe and a very good way to spend a stretch you have already made safe.
Build Near the Recycler, Not Near the Loot
The ranking above is really an argument about one decision, and it is not a looting decision. It is where you put your first base.
Most solos site a base by loot: near the Dome for the crates, near the Airfield for the scrap, near whatever the map's densest monument happens to be. That choice optimises the wrong half of the run. Getting to loot is easy and quiet. It is coming back that gets you killed, because that is the trip where you are slow, loaded and predictable, and a base sited for reach makes the cash-out leg longer every single time you run.
Site it by cash-out instead. Put the first base inside a short, covered walk of a monument with a recycler and more than one approach, which on most maps means Mining Outpost or Large Harbor, and let the richer monuments be the places you visit rather than the place you live. The crates you can reach matter far less than the ground you have to cross with them.