The efficient Water Treatment Plant run is decided before you touch a crate: the blue card and fuse are only valuable if you reserve a route through the wheel building, card room, warehouse, and auxiliary exit. Clear it in that order and the plant becomes a short progression run with optional loot, not a long fight over every spawn.
Find the Wheel, Warehouse, and Exit Switch
Use three landmarks to orient yourself. The central wheel building has the large rotating wheel and blast doors. The main processing building and long warehouse carry the route upward to the blue-card room. The auxiliary power room is on the lower level and contains the switch that opens your return path.
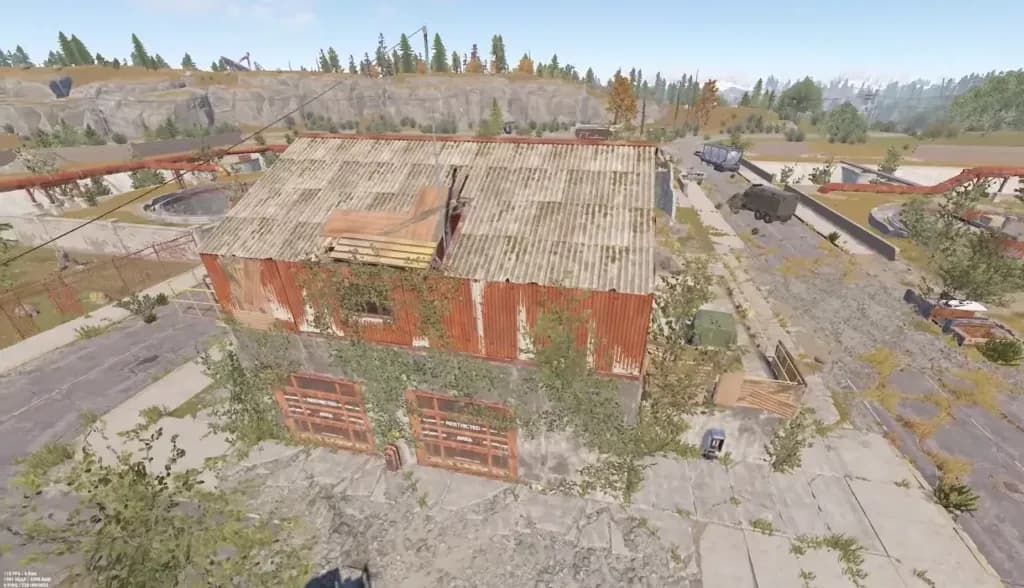
The plant’s roofs, roads, tanks, and pipes form the route’s main landmarks.
Most of the approach has no radiation, and the current layout has no scientist patrols. The final card room is radioactive, so bring protection if you intend to loot it instead of taking the red card and leaving. Pack one blue keycard, one electric fuse, a weapon, healing, and enough inventory space. Water Treatment does not require a green keycard.
Use One Fuse and a Blue Card for the Red Card
Follow the Water Treatment puzzle in this order:
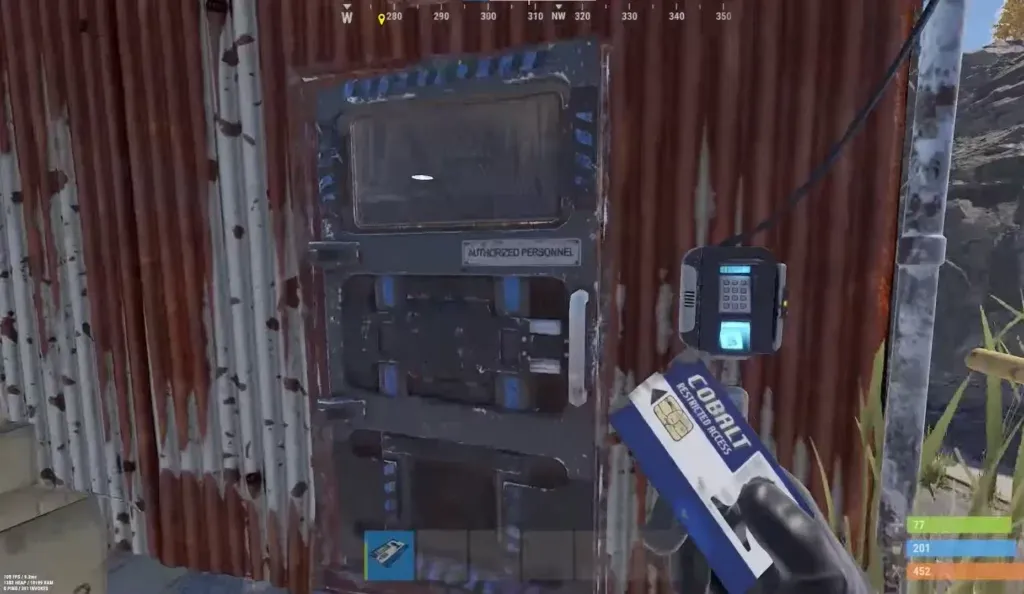
The blue-card door marks the monument’s progression route.
- Approach the central wheel building and turn the large wheel until the blast doors open.
- Enter the central structure, climb to the fuse box, insert one electric fuse, and activate the switch.
- Leave the central building and move to the large building at the corner of the compound. Climb to its upper level and follow the walkways to the blue-card door.
- Swipe the blue keycard. The room contains the red keycard, blueprint fragments, and puzzle crates. Take the red card before sorting the rest.
- Drop to the lower auxiliary power room and flip the exit switch. Return through the opened route instead of jumping from the roof.
This is the Water Treatment puzzle’s advantage: the blue card leads straight to a red card without a green-card pre-route. The auxiliary switch gives you an exit you can plan before the first shot, which matters more than shaving a few seconds off the climb.
Take the High-Ground Loot, Then Recycle
Once the card room is open, sweep the loot in layers. Take the red card and blueprint fragments first, then check the central building and the outer structures. Tanks, pipes, rooftops, smaller buildings, and the underground routes all carry crate and barrel spawns; use the structures as landmarks and scan every landing before you climb.
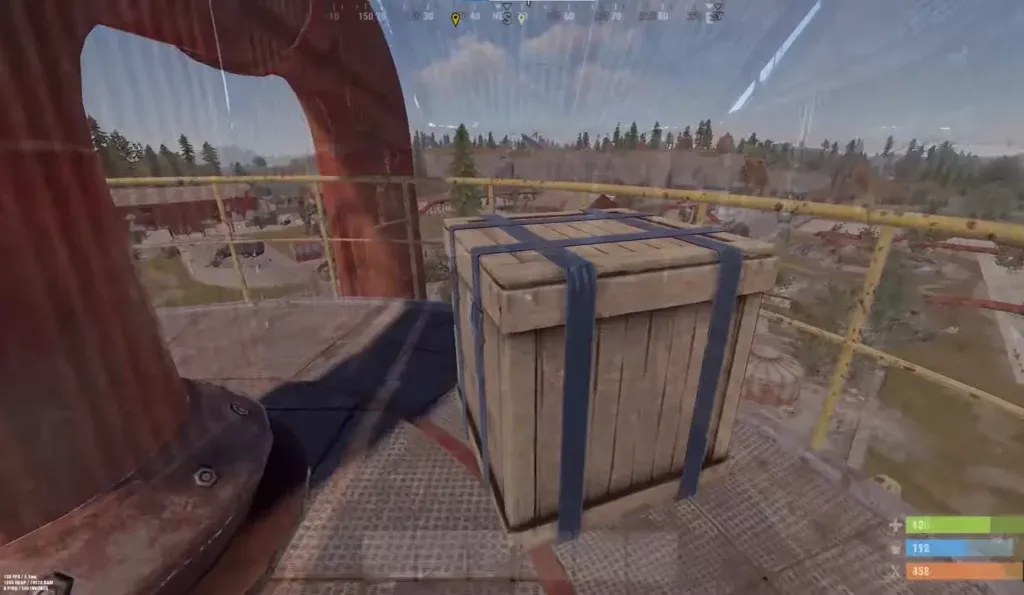
Rooftop crates are exposed, so scan each landing before climbing.
The Water Treatment recycler is on the top floor of the long warehouse on the lower-left side of the monument. It sits against a partition wall shared with a repair bench. Treat that warehouse as the last stop: the recycler is a predictable destination, and its sound gives nearby players a reason to check the building. If the roofline is occupied, keep the components and leave rather than turning a completed card run into a stationary fight.
Skip a Contested Room and Keep the Card
Make three checks before you start the timed section: the wheel entrance is quiet, no player is holding the roofline, and the blue-card route is not already active. If any check fails, take only the outer loot you can reach safely and leave. There is no value in spending a fuse while another group controls the exit.
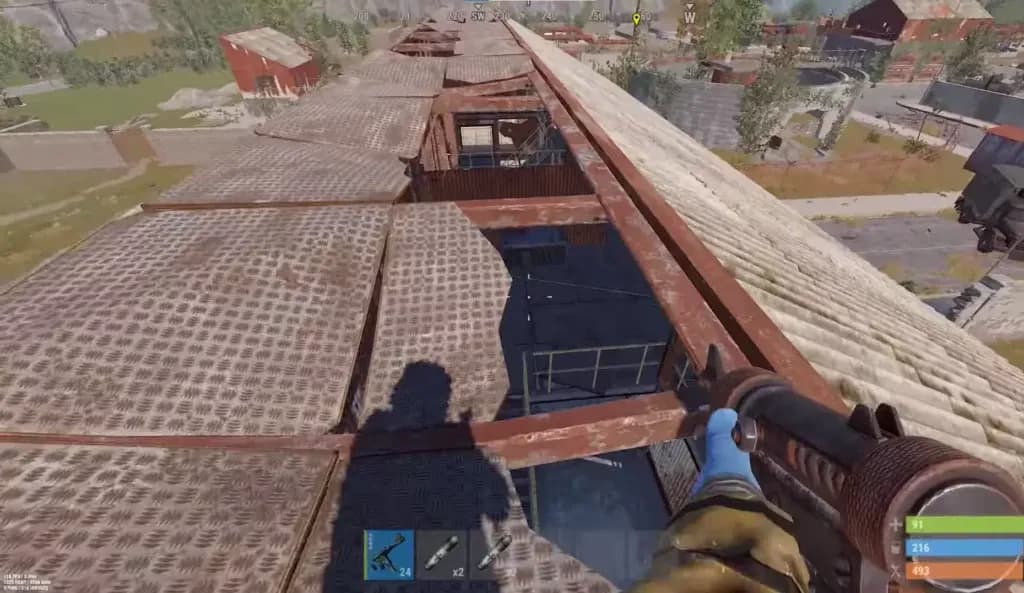
A clear roofline is the difference between a clean exit and a forced fight.
After you take the red card, drop to the auxiliary switch and use the opened return path. If the warehouse or recycler is contested, skip it. The card is the progression prize; the recycler and extra crates are optional exposure.