How to Unlock the Pelican Town Mines in Stardew Valley
The adventure truly begins when you unlock the Pelican Town Mines. This sprawling, 120-floor dungeon in Stardew Valley is your ticket to essential ores, rare gems, and powerful gear, but a boulder blocks the way. Don't worry—the path clears soon, and you'll be descending in no time.
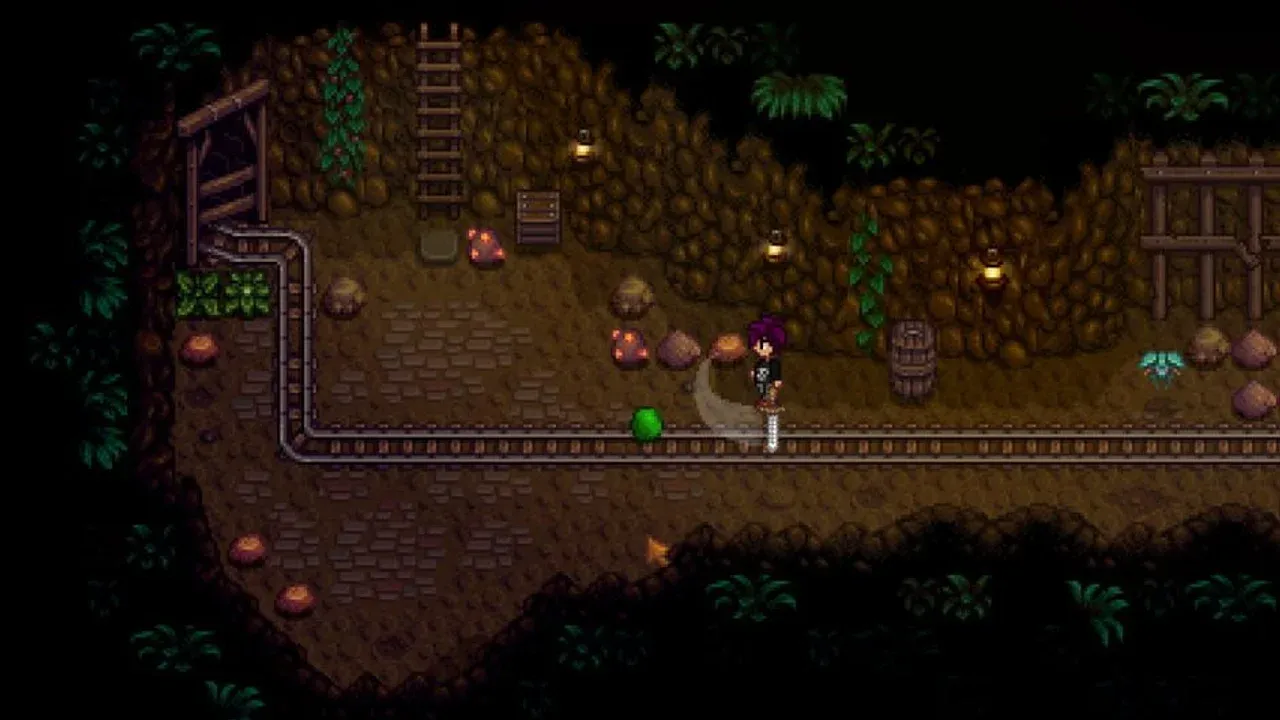
Exploring the early levels of the Pelican Town Mines.
Your journey starts on Spring 5, Year 1. After waking up, you'll receive a letter from Joja-Corp stating that the Mine Entrance Boulder north of the Mountain Lake has been cleared. Head to the Mountain region, northeast of Robin's Carpenter's Shop, and you'll find the open entrance. Trust me, this is a game-changing moment—the mines will become your primary source of copper, iron, and gold for tool upgrades and crafting.
When you enter The Mines for the first time, you'll be greeted by Marlon, the seasoned leader of the Adventurer's Guild. He'll gift you the Rusty Sword, your first proper weapon. It's not much, but it's essential for defending yourself against the slimes and bugs you'll encounter on the early floors. He'll also explain the basics: break rocks with your pickaxe to find ladders down, and fight monsters to survive.
Your first few trips should be short scouting missions. Focus on reaching the elevator on floor 5 to unlock a permanent checkpoint. This lets you start future runs deeper in the mines, saving precious in-game hours.
Later, you can make the trek to the mines much faster. By completing the Boiler Room bundle in the Community Center (or purchasing the development from JojaMart), you'll repair the Minecart System around town. Interact with the cart on The Mines entry floor to instantly travel from the Bus Stop or other key locations, turning a long walk into a quick commute.
With the entrance open, your trusty Rusty Sword in hand, and fast travel unlocked, you're ready to take on the depths of Stardew Valley. Let's gear up and get mining.
Best Gear and Preparation for Stardew Valley Mining
Walking into the Pelican Town Mines with just your wits and a rusty sword is a surefire way to end up broke and exhausted by 2 PM. In Stardew Valley, the difference between a frustrating wipe and a triumphant haul comes down to one thing: what you pack. Let’s get your inventory sorted so you can descend with confidence.
Gameplay mechanics in Stardew Valley.
Your Essential Mining Kit
Think of your gear in three categories: what you swing, what you wear, and what you carry. Getting this right means you can focus on finding ladders and ore, not fighting for your life.
First, the Tools of the Trade:
Your Pickaxe is your lifeline. Upgrading it at Clint's Blacksmith in town is your top priority. Each tier—Copper, Steel, Gold, and Iridium—significantly reduces the number of [X] hits needed per rock and saves precious energy. Trust me, swinging a basic pickaxe on the frozen floors is pure agony.
Your weapon is next. The Rusty Sword from Marlon won't cut it for long. Visit the Adventurer's Guild right outside the mine entrance to buy something better, like the Steel Smallsword, or hope for a lucky monster drop. A good sword turns scary encounters into manageable ones.
Next, Light and Utility:
The Floors 31-39 are notoriously dark. While you can place Torches (crafted from 1 Wood and 1 Sap), a Glow Ring is a game-changer. This ring, found as a random drop or in chests within The Mines, creates a permanent light radius around you. Pair it with a Magnet Ring (from the same sources) to vacuum up loot from further away, and you’ve got two inventory slots working overtime for you.
Finally, Your Backpack Strategy:
Space is limited, so pack smart. Here’s the non-negotiable checklist for any serious mining trip:
- Your best Pickaxe and Weapon.
- A large stack of Food (aim for 20-30 pieces minimum).
- Bombs (Cherry, Regular, or Mega) for clearing clusters fast.
- 99 Stone to craft an emergency Staircase.
- A few Torches if you don’t have a Glow Ring yet.
Before you even enter, place a Storage Chest right at The Mines entrance. Use it to dump excess stone, geodes, and tools. You can also stash a backup stack of food here for a mid-day resupply run. It turns a one-shot trip into a sustainable mining operation.
Choosing Your Fuel: The Best Mining Food
Your energy and health bars are your real timers underground. What you eat makes all the difference.
For the Early Game:
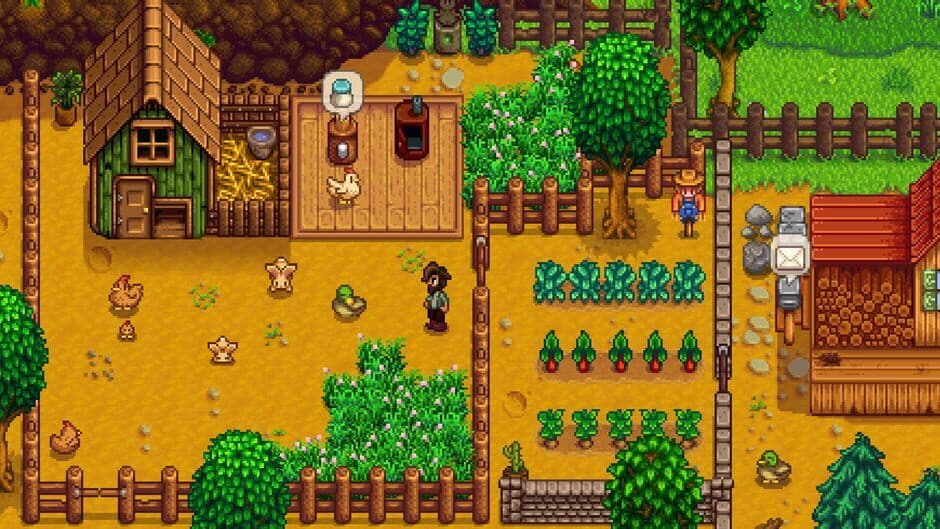
When money is tight, Field Snacks are your best friend. Craft them from 1 Acorn, 1 Maple Seed, and 1 Pine Cone—materials you get just from clearing your farm. They restore a decent chunk of energy for zero gold. For a more substantial boost, buy Trout Soup from Willy's Fish Shop for 250g; it gives a +1 Fishing buff and a solid 100 energy.
For the Mid to Late Game:
Once your farm is producing, Gold-quality Cheese from a Cheese Press becomes the healing king. It restores massive health and energy without overwriting any combat or luck buffs you might have from other foods, making it perfect for dangerous deep dives.
Putting It All Together
With a Copper or Steel pickaxe, a proper sword, a stack of Field Snacks, and a Glow Ring, you’re ready to tackle the first 40 floors efficiently. As you push deeper, you’ll swap to Iron-fueled bombs, upgrade to a Gold pickaxe, and rely on Cheese or buff foods like Spicy Eel.
Remember, the goal isn’t to clear every rock on every floor—it’s to find the ladder, manage your resources, and get out before you pass out. With this kit prepared, you’re not just surviving the mines; you’re farming them. Now, let’s talk about how to actually get down there.
How to Reach the Bottom of the Mines: Floors 1-39
Alright, you’ve geared up and stepped through the entrance—now the real work begins. In Stardew Valley, the first 39 floors of the Earthy Depths are your proving ground, a winding cavern where Copper Ore is king and every shadow hides a lesson. This section is all about building momentum, unlocking those crucial elevator stops, and farming the resources that’ll fuel your farm’s early growth.
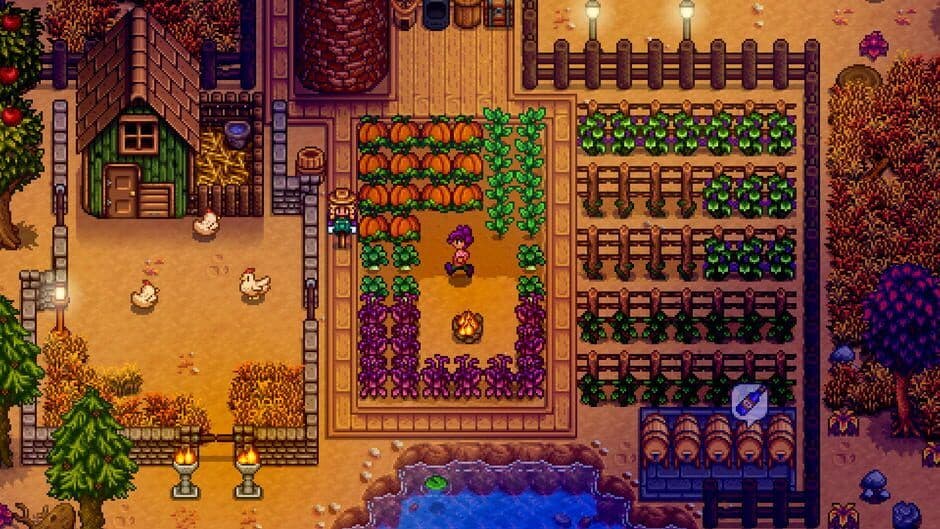
Navigating the first 40 floors of the Mines.
Mastering the Earthy Depths (Floors 1-39)
Think of these levels as your mining boot camp. The rocks break easily, the monsters are manageable, and Copper Ore is everywhere. Your primary goal here isn’t to clear every single rock—it’s to reach the next elevator floor as efficiently as possible. Every five floors you conquer, you unlock a permanent fast-travel point. Press [A] at an Elevator to save your progress and return to that depth anytime. Trust me, hitting floors 5, 10, 15, and so on should be your only focus on a descent run.
You’ll encounter two tricky enemies that define early combat. The Rock Crab blends in perfectly with the scenery—it looks just like a gray rock until it starts moving. When you spot one, hit it with your pickaxe to flip it over, then finish it with your sword. The Duggy is a subterranean nuisance that pops out of dirt patches. Keep your sword ready and swing the moment you see dirt shifting; it’ll retreat quickly if you miss.
If you’ve wiped here before, you’re not alone. The key is to never stop moving. Focus on finding the ladder, not mining every node. Your energy is precious early on.
Your First Major Upgrades
As you push deeper, you’ll find treasure chests on specific milestone floors, and they contain game-changing gear. On Floor 10, you’ll find the Leather Boots in a chest, granting a solid +1 Defense boost. A much more significant power spike waits on Floor 20: the Steel Smallsword chest. With 4-8 damage, it’s a massive upgrade from your starter sword and will make the next twenty floors far less dangerous.
Finally, when you break into Floor 40 (the last floor of this section), you’ll claim the Slingshot. This tool can fire stones for minor damage or, later, explosive ammo for clearing rocks. It’s a bit niche early on, but grabbing it here means you have it for future strategies.
With these tools secured and the elevator stops unlocked, you’ve successfully turned the Earthy Depths from a daunting cave into a reliable resource pipeline. You’re now ready to face the colder, tougher challenges that begin on floor 41. Let’s go.
Navigating the Frozen Tiers: Floors 40-79
The temperature drops, the crunch of frost replaces the sound of earth, and you've officially entered the most lucrative—and dangerous—stretch of the Pelican Town Mines yet. In Stardew Valley, the Frozen Tiers (covering Floors 41-79) are where your mining operation goes from a hobby to a serious business, delivering the iron you desperately need for tool upgrades and sprinklers, but demanding better gear and smarter tactics in return.
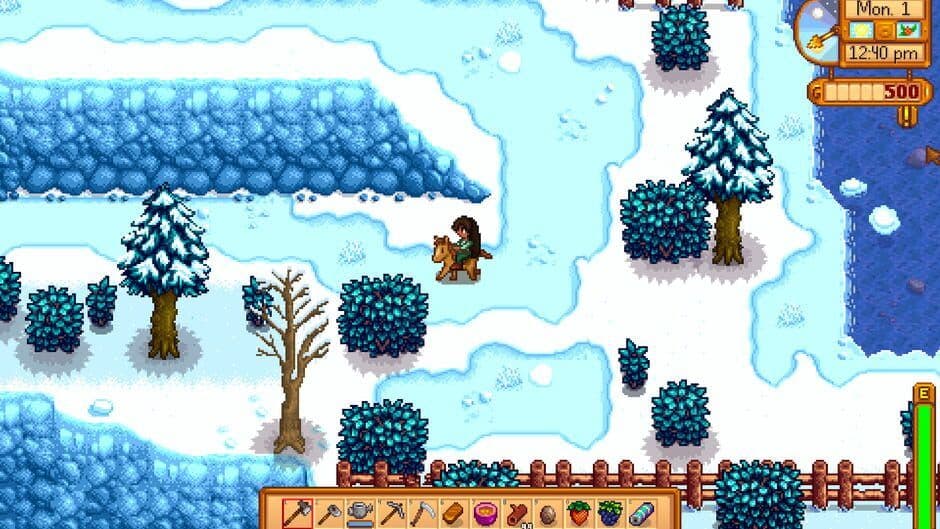
Deep exploration in the Mines
Gear Up for the Cold
Before you dive deep into these icy levels, a gear check is non-negotiable. Your trusty copper pickaxe will feel sluggish here; you'll want an Iron Pickaxe to break the tougher frozen rocks efficiently. Combat gets real, too. The Steel Smallsword from the Adventurer's Guild is a solid upgrade, but the real prize is waiting for you at the milestones ahead. And don't forget food—this is where a stack of Cheese or energy-rich meals becomes your lifeline.
Meet the New Threats
The Frozen Tiers introduce a roster of chilly foes that will test your combat skills. Your new best friends (for farming, at least) are Dust Sprites—those bouncing black puffballs found on Floors 41-79. They swarm in groups, drop Coal frequently, and have a rare chance to gift you a Coffee Bean. They're the best reason to revisit these floors later.
The real headaches are the Ghosts (appearing from Floors 51-79) and the Frost Jellies. Ghosts teleport and can pass through rocks, making them tricky to pin down. The key is to time your sword swing to hit them as they materialize, knocking them back before they vanish again. Frost Jellies are slower but hit harder than their green cousins.
For Dust Sprite farming, use the elevator to hop between Floors 55-65. Clear a floor, take the ladder back up to the elevator, and re-enter to respawn them. It’s the most reliable early-game Coal and Coffee Bean source.
Treasure Floors: Your Icy Rewards
Every ten floors in this section holds a treasure chest with a game-changing reward. Make these floors your primary targets.
- Floor 50: Here, you'll find the Tundra Boots (+2 Defense, +1 Immunity). This is a massive defensive upgrade that will help you weather the attacks from Ghosts and Skeletons.
- Floor 60: Open the chest to get the Crystal Dagger. It's a very fast, short-range weapon perfect for dealing with swarms of Dust Sprites or getting quick hits in on Ghosts.
- Floor 70: Your reward is the Master Slingshot. While not a primary weapon, it's excellent for triggering distant rocks or dealing safe damage to flying Frost Bats, especially if you've stocked up on explosive ammo.
Strategy: Iron and Descent
Your goal here is twofold: gather Iron Ore (the primary resource from Floors 41-79) and reach the next elevator checkpoint as fast as possible. Don't get bogged down trying to clear every single rock. Use your upgraded pickaxe to break ore nodes and obvious rock clusters, and keep moving. If you hit an infested floor swarming with Dust Sprites or Skeletons, consider crafting a Staircase (99 Stone) to skip it—your time and health are valuable.
The environment itself is a clue. The blue-tinged frozen earth gives way to a literal icy castle aesthetic on Floors 70-79, where Skeletons join the fray. This is your signal that the Frozen Tiers are culminating, and the searing heat of the Lava Caves is just one floor away.
With the Tundra Boots on your feet, a Crystal Dagger in hand, and a pocketful of Coal from your Dust Sprite hunts, you're not just surviving the cold—you're conquering it. You're now perfectly equipped to push toward floor 80 and the next great challenge the mines have to offer.
Conquering the Lava Caves: Floors 80-120
This is it—the final stretch. The air grows thick with heat, the stone glows crimson, and the monsters here don’t just hit hard—they hit smart. In Stardew Valley, conquering the Lava Caves (Floors 81-119) is your ultimate test before claiming the grand prize at the bottom. This is where gold flows like lava and every shadow hides a threat.

Stardew Valley official artwork.
Your primary goal here is Gold Ore, the essential material for your final tool upgrades and high-tier crafting. You’ll find it in abundance alongside Magma Geodes, which can yield valuable gems like Rubies and Fire Quartz. But the riches come with real danger. You’ll face the Shadow Shaman, hooded figures that cast a health-reducing debuff—take them out first, every time. The Shadow Brute is their tanky counterpart, a high-HP melee enemy that demands you master the ‘swing and step’ technique to avoid its heavy blows.
⚠️ Pro tip: Always prioritize killing the Shadow Shaman the moment you see one. Their debuff can quickly turn a manageable fight into a desperate scramble for food.
Thankfully, the descent is punctuated by some of the game’s best loot, found in chests on specific milestone floors. On Floor 80, you’ll find the Firewalker Boots (+3 Defense, +3 Immunity), a crucial upgrade for surviving the environmental hazards. Ten floors later, the Floor 90 chest holds the Obsidian Edge (30-45 damage), a weapon powerful enough to carry you through the rest of the mines and beyond. Push to Floor 100 for a life-changing reward: a Stardrop that permanently increases your Max Energy. And just before the end, Floor 110 rewards you with the Space Boots (+4 Defense, +4 Immunity), the best footwear you can find in the main mines.
Final Push to Floor 120
The last ten floors (110-119) maintain the intense challenge but offer the highest concentration of Gold Ore nodes. The layouts can be sprawling, so consider using a bomb or two to quickly reveal ladders if you’re low on time. Your patience and combat skill are about to pay off. When you finally descend that last ladder to Floor 120, you’ll find a single chest containing the Skull Key—your ticket to the endgame challenges of the Skull Cavern.
With the Obsidian Edge in hand and the Space Boots on your feet, you’re not just surviving the Lava Caves; you’re dominating them. Grab that key, and let’s see what lies beyond.
Advanced Descent Strategies and Ladder Mechanics
You’ve mastered the basics of mining in Stardew Valley—now it’s time to think like a strategist. The difference between a slow, frustrating descent and a swift, profitable one comes down to understanding the hidden rules of the mine itself. This is where you learn to manipulate the very mechanics of ladder spawns, turn bombs into your primary tool, and turn a bad floor into a distant memory.

Stardew Valley official art.
Understanding Ladder Logic
First, let’s demystify how you find a way down. When you load into a new floor, there’s a 95% chance on floor load that a ladder will already be hidden under a random rock. If you don’t get that initial spawn, breaking more rocks increases the odds. But here’s a key trick: killing monsters over unobstructed tiles also has a 15% chance from monsters over clear tiles to spawn a ladder. This is your stamina-free backup plan on floors swarming with enemies.
On monster-heavy floors, sometimes it’s faster to clear a few foes in an open area than to spend energy smashing every rock. That 15% chance adds up.
The Ultimate Shortcut: Staircases and Bombs
When the RNG isn’t on your side, or you hit a dreaded infested floor, you need to take control. That’s where crafted shortcuts come in.
- The Staircase: Once you reach Mining Level 2, you can craft a Staircase from 99 Stone. Place it on the ground with [A] for an instant ladder to the next floor. This is your “get out of jail free” card for Infested Floors, which are marked by a skull icon and require you to kill all monsters before a ladder appears. Don’t waste time and health—skip it.
- The Bombing Run: For rapid rock clearing, nothing beats explosives. Start with Cherry Bombs (4 Copper Ore + 1 Coal), graduate to Regular Bombs (4 Iron Ore + 1 Coal), and for late-game efficiency, craft Mega Bombs (4 Gold Ore + 1 Solar Essence + 1 Void Essence). Tossing a bomb into a dense cluster of rocks is the fastest way to test for that hidden ladder or uncover precious ore veins.
Combat Efficiency for Faster Descent
Fighting shouldn’t slow you down. Master the ‘Swing and Step’ technique: hit an enemy at max range with [X] to knock it back, then immediately use the Left Stick to step forward and swing again before it recovers. This rhythm lets you dispatch most threats without taking damage, keeping your food for emergencies and your momentum high.
Let Luck Be Your Guide
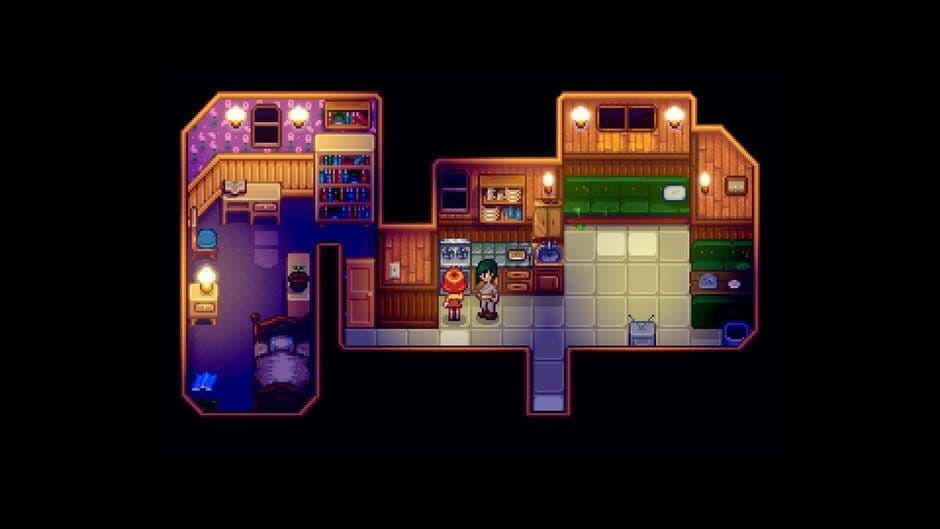
In Stardew Valley, fortune favors the prepared miner. Your daily luck, forecast by the TV Fortune Teller in your farmhouse, directly impacts your success underground. On ‘Very Lucky’ days, the chance for ladders (and the shafts that drop you multiple floors) increases significantly, as do your odds of finding gem nodes and treasure rooms. Plan your deep dives for these days. If the spirits are displeased, maybe stay home and tend to your crops instead.
With these advanced strategies—understanding ladder spawns, crafting strategic shortcuts, mastering efficient combat, and mining on lucky days—you’re no longer just reacting to the mines. You’re commanding them. Every trip will be faster, safer, and far more rewarding.
Stardew Valley Mines Rewards and Post-Game Unlocks
You’ve conquered the lava caves, fought through swarms of monsters, and finally, you’ve reached it—floor 120. The chest before you isn’t just a reward; it’s a key to the next chapter of your Stardew Valley adventure. Let’s see what you’ve earned and what changes now that you’ve mastered the mines.

Stardew Valley promotional art.
The Ultimate Prize: The Skull Key
Opening the chest on floor 120 grants you the Skull Key. This cryptic item is your ticket to the late game. Its primary use is to unlock the Skull Cavern in the Calico Desert, an endless, far more challenging dungeon that’s the only reliable source of Iridium Ore and Prismatic Shards. It also unlocks the Junimo Kart arcade machine in The Stardrop Saloon for a bit of fun.
Don’t rush to the desert the moment you get the key. Stock up on bombs, staircases, and top-tier food first. The Skull Cavern is a different beast entirely.
Permanent World Changes
Reaching the bottom doesn’t just give you a key—it permanently alters the mines and the wider world. After you grab the Skull Key, several changes kick in:
- Stronger Monsters: Enemies throughout the mines become tougher, dealing more damage and sometimes moving faster.
- New Quest Items: Gems and purple mushrooms can now be requested in random NPC quests.
- Trash Treasure: You’ll have a rare chance to find those same gems and mushrooms when rummaging through trash bins around town.
- Rare Drops: Prismatic Shards and Diamonds now have a tiny chance to drop from any monster in the game.
This “hard mode” toggle, often called the Shrine of Challenge, keeps subsequent mining trips exciting and profitable.
Unlocking the Dwarf’s Shop
Back at the mine entrance, you’ve likely seen the Dwarf on the right side. You couldn’t speak to them before because you didn’t know Dwarvish. To learn the language, you must find all four Dwarf Scroll artifacts (I, II, III, IV) in the mines and donate them to the Museum. Once you have, you can finally talk to this friendly NPC and access their shop.
The Dwarf sells essential mining gear, including bombs (Cherry, Regular, Mega) and rare items like the Treasure Totem. Building a relationship with them is key for stocking up on explosives for Skull Cavern runs.
Hunting the Mushroom Floor
In the lower section (floors 81-119), you might randomly stumble upon a special Mushroom Floor. Identified by colored lanterns (usually including a green one), this floor has massively increased spawns of Red and Purple Mushrooms. The mushrooms respawn throughout the day, so you can leave and return to farm them repeatedly.
Here’s the community trick: the mushroom floor moves up one level each day. If you find it on floor 94 one day, check floor 93 the next. Track it until it lands just below an elevator floor (like 89 or 99) for ultra-efficient harvesting.
Choosing Your Mining Profession
Your mining skill hits major milestones at levels 5 and 10. At Mining Level 5, you must choose between Miner (+1 ore per vein) and Geologist (chance for gems to appear in pairs). For progression and gathering resources for tool upgrades, the Miner profession is widely recommended.
If you choose Miner at level 5, your Mining Level 10 choice is between Blacksmith (metal bars sell for 50% more) and Prospector (chance to find coal doubled). Since coal is constantly needed for crafting bombs and smelting bars, Prospector is an excellent choice to support your ongoing expeditions.
You’ve done it. The Pelican Town Mines are conquered, and with the Skull Key in hand and the Dwarf as your ally, you’re ready for the true endgame challenge. Your mining journey is just beginning.