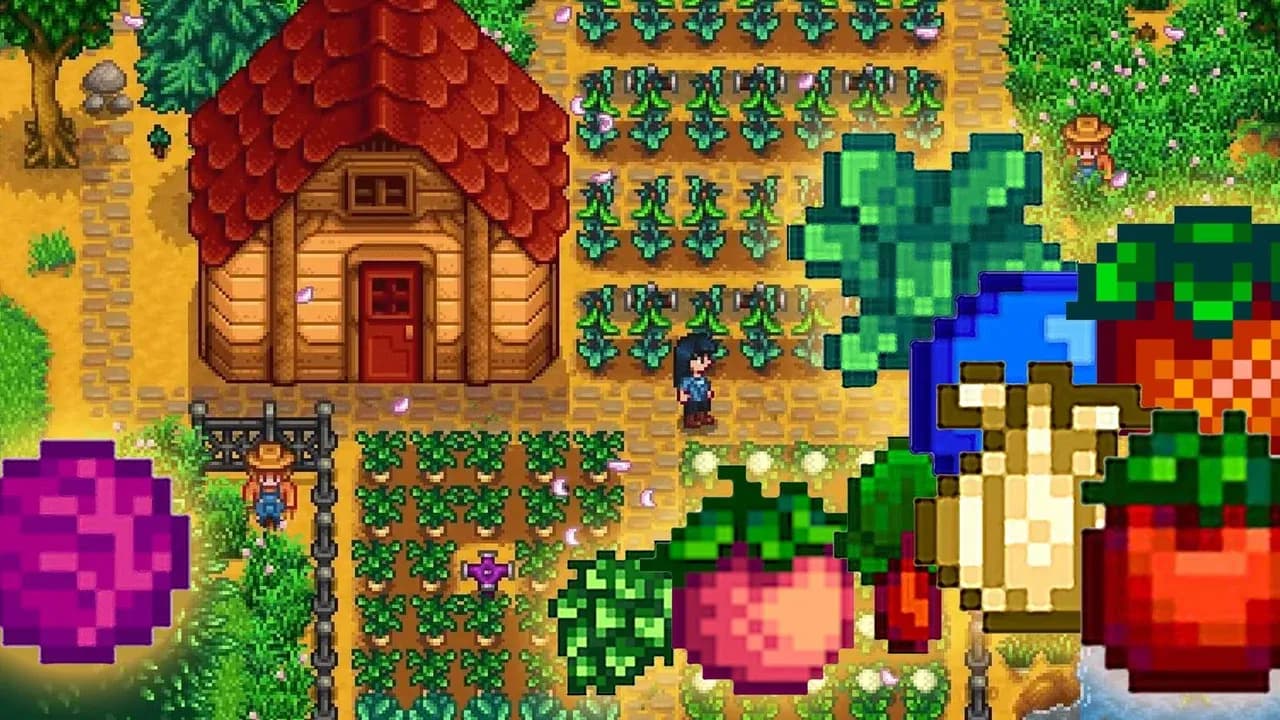
Stardew Valley Profitability Ranking Criteria
Before we dive into the definitive list of the most lucrative items in Stardew Valley, we need to establish the rules of the game. Ranking profit isn't as simple as looking at the final sell price of an item. A diamond sells for a flat 750g, but is it a good source of income? Not really. True profitability is a complex equation that balances raw gold output against the time and resources required to produce it.
To create a fair and useful ranking, we evaluated every potential money-maker against four core criteria. These metrics separate the genuinely game-changing investments from the mere novelties.
1. Gold-Per-Day (GPD): The Ultimate Metric
This is the most critical measure. We’re not just interested in how much an item sells for, but how much consistent income it generates over time. This accounts for growth cycles, processing time, and daily harvest rates. For example, a single bottle of Iridium-quality Starfruit Wine sells for a staggering 6,300g, but it takes time to grow the fruit, turn it into wine, and then age it. The true measure is how much gold that entire production chain puts in your pocket each day on average. Passive income sources, like animals that produce daily, are judged heavily on their reliable GPD.
2. Character Progression & Profession Synergy
An item's value isn't static; it scales with your farmer's development. We prioritize items that synergize powerfully with late-game professions. The Artisan profession (a 40% price increase on artisan goods) is non-negotiable for the top spots, transforming good profits into exceptional ones. Similarly, the Botanist profession (ensuring all foraged items are Iridium quality) is a massive force multiplier for certain animal products. An item that's merely good early on but doesn't scale with your end-game capabilities won't rank highly here.
3. Resource Management & Input Efficiency
What does it cost you to produce this gold? This includes:
- Initial Investment: Seed cost, animal purchase price, and equipment (Kegs, Casks, Fish Smokers).
- Ongoing Labor: Daily feeding, watering, harvesting, and processing time. A crop that requires re-planting is judged against a crop that regrows on its own.
- Space & Infrastructure: Does it require precious Greenhouse or Ginger Island farm space? Does it tie up a Keg for a week or a Cask for two seasons?
The best items minimize ongoing labor and maximize the value derived from limited resources like farm space and machine time.
4. Late-Game Scaling & Sustainability
Anyone can make a one-time profit. We're ranking systems. The top contenders are engines of wealth that work year-round, unaffected by seasons. This is why the Greenhouse and Ginger Island farm are so pivotal—they allow perpetual cultivation. Furthermore, we value items that are sustainable; the best production chains either regrow, reproduce, or have a renewable input source. Planting one Ancient Fruit seed that yields fruit every week for eternity is a fundamentally stronger model than buying new Starfruit seeds every harvest, even if the latter has a higher peak price.
The Takeaway: Using these criteria, we move beyond simple price tags. The following ranked list identifies the items that represent the most efficient, scalable, and powerful economic engines in Stardew Valley. It’s a guide to building not just a profitable farm, but a perfected gold-generating empire.
1. Iridium Quality Starfruit Wine (Aged)

Managing a successful farm requires balancing many high-value crops.
1. Iridium Quality Starfruit Wine (Aged)
Why it's here: This is the undisputed king of single-unit profit in Stardew Valley. No other item you can produce sells for more gold in one inventory slot. It represents the pinnacle of the artisan production chain, combining a high-value base crop with the maximum possible quality enhancement.
To understand its supremacy, you must follow its journey from seed to cellar. It begins with a Starfruit Seed, purchased from the Oasis in the Calico Desert for 400g. The crop takes 13 days to grow and sells for a base 750g (or 800g for a gold-quality fruit). This raw profit is decent, but the real magic happens in processing. Placing a Starfruit in a Keg for 7 days transforms it into Starfruit Wine with a base value of 2,250g. This is where the Artisan profession (a level 10 Farming choice) becomes non-negotiable, as it increases the sell price of all artisan goods by 40%, bumping the wine to 3,150g.
However, the journey isn't over. To reach its final, legendary form, this wine must be aged. Moving it from the Keg to a Cask in the upgraded farmhouse cellar begins a slow but immensely rewarding two-season (56-day) aging process. The wine progresses from Silver (14 days, 3,937g with Artisan) to Gold (28 days total, 4,725g with Artisan), and finally to Iridium quality. At this peak, the wine's base value is doubled, resulting in a staggering sell price of 6,300g per bottle with the Artisan profession.
The Pros and Cons of Each Stage:
- Raw Starfruit (750g): Fast to sell, low effort. Use case: Early-game capital or when you have a massive surplus and no Keg capacity.
- Base Starfruit Wine (3,150g): Excellent profit per week, efficient use of Kegs. Use case: The workhorse of a mature winery operation when your Cask capacity is limited. It provides a strong, regular income stream.
- Iridium Quality Starfruit Wine (6,300g): Maximum possible profit per unit, unparalleled for building wealth. Use case: The definitive endgame money-maker. It’s for the patient farmer who has optimized their crop layout (often on Ginger Island for year-round growth) and filled their cellar with Casks to create a slow-drip infusion of extreme wealth.
The Verdict: While base Starfruit Wine offers a fantastic Gold-Per-Day return due to its faster cycle, Iridium-aged Starfruit Wine claims the #1 spot because it represents the absolute ceiling of value. It is the benchmark against which all other profitable items are measured. You pursue this not for efficiency, but for supremacy.
2. Ancient Fruit Wine
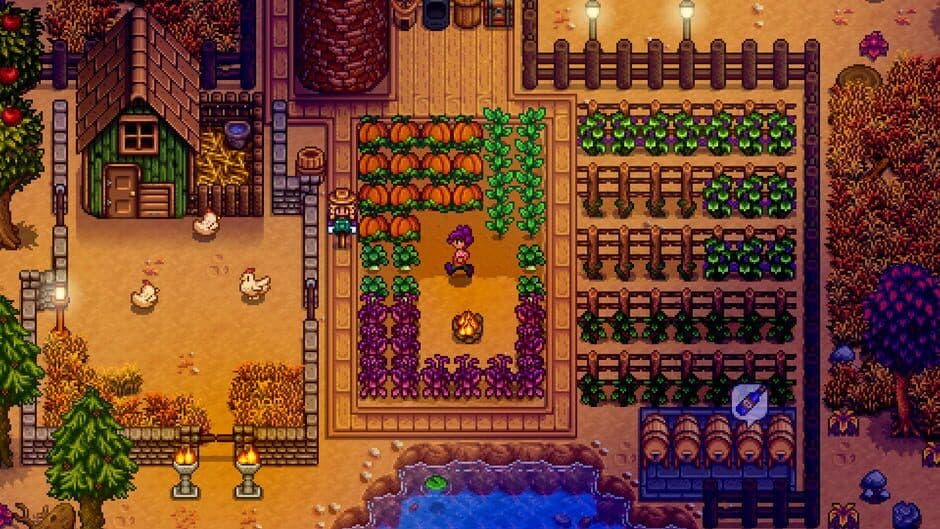
Ancient Fruit grows across multiple seasons, making it a low-maintenance choice.
2. Ancient Fruit Wine
Ancient Fruit Wine is the undisputed king of consistent, low-maintenance profit in Stardew Valley. While it cedes the absolute peak of per-item value to its aged, iridium-starred cousin from the desert, it claims the throne for sustainable, high-volume wealth generation. Its placement here is a direct result of its superior Gold-Per-Day (GPD) efficiency and its unique ability to create a self-perpetuating economic engine on your farm.
Why it's here: The Engine of Passive Income. The argument between Ancient Fruit and Starfruit is the classic battle of efficiency versus peak output. Our top-ranked Starfruit Wine (Aged) is the undisputed heavyweight champion in a single bout. However, Ancient Fruit is the relentless marathon runner who wins the race through sheer consistency and lower overhead. The key metric is GPD: when processed into wine, Ancient Fruit yields approximately 100g per day per plant, compared to Starfruit's roughly 80g. This is because Ancient Fruit, once mature, produces a new fruit every 7 days without needing to be replanted, while each Starfruit requires a new seed, gold, and 13 days of growth.
This section will break down the ecosystem that makes Ancient Fruit Wine the backbone of a billionaire farmer's empire, covering the five critical components that elevate it above all other crop-based strategies.
1. The Ancient Fruit Crop: A Perennial Powerhouse. The foundation is the crop itself. With a base sell price of 550g (825g with the Artisan profession), it has the highest raw value of any regularly harvestable fruit. Its growth cycle is its masterstroke: a 28-day initial maturation, followed by a 7-day regrowth period. It grows in Spring, Summer, and Fall, but its true potential is unlocked when you free it from the calendar entirely.
2. The Greenhouse: Liberating the Cycle. The Greenhouse is the non-negotiable linchpin of this operation. By planting Ancient Fruit on its tillable soil, you nullify seasons. Your plants will produce fruit every week, year-round, without ever dying. A single harvest from a fully-planted Greenhouse can fund entire seasons of expansion elsewhere on the farm. It transforms Ancient Fruit from a superior three-season crop into a perpetual printing press for raw materials.
3. The Seed Maker: The Key to Exponential Growth. Your first Ancient Seed artifact is a treasure, but your second is a business plan. The Seed Maker is what allows you to scale this operation infinitely. Instead of selling every early fruit, you process them through the Seed Maker to get 1-3 new seeds (on average, 2). This creates a snowball effect: one plant becomes two, two become four, until your Greenhouse and eventually your entire farm is a sea of these blue jewels. It turns initial scarcity into limitless abundance.
4. The Keg: Maximizing Value. Selling the fruit raw is profitable; processing it is transformative. Turning an Ancient Fruit (825g with Artisan) into Ancient Fruit Wine boosts its value to 2,310g with the same profession—a 180% increase. While it doesn't reach the astronomical heights of Iridium Starfruit Wine, the weekly, reliable output of fruit means your battery of Kegs is never idle, generating a massive, predictable cash flow.
5. The Skill System: Optimizing the Pipeline. Your profession choices directly amplify this engine. The Agriculturist profession (Level 10 Farming) reduces crop growth time by 10%. This shaves days off the initial 28-day growth cycle, getting your perpetual harvest online faster. For the final sale, the Artisan profession is mandatory, applying its 40% price boost to every bottle of wine you sell, solidifying the profit margin.
The Verdict: Consistency is King.
Ancient Fruit Wine wins not with a knockout punch, but with a thousand precise jabs. It demands an initial investment of time to secure the seed and scale up production, but once established, it requires minimal ongoing input: just weekly harvesting and kegging. You never buy another seed, you rarely worry about season changes, and your income becomes a rhythmic, dependable tide. For the farmer who values a sleek, self-sustaining empire over the frantic cycle of replanting Starfruit, Ancient Fruit Wine is the ultimate set-it-and-forget-it wealth generator. It is the economic bedrock upon which you can finance every other late-game aspiration.
3. Iridium Quality Truffles

3. Iridium Quality Truffles
Why it's here: This entry showcases the immense profitability of livestock, specifically the Pig, when combined with the Foraging skill's most powerful profession. While crops and artisan goods dominate the top rankings, Iridium Truffles represent a uniquely passive and high-value income stream that requires no processing, minimal daily input, and scales effortlessly with farm space.
The Power of the Pig and the Botanist Profession: The Pig is, without question, the most profitable animal in Stardew Valley. Its singular product, the Truffle, has a base sell price of 625g. While you could process it into Truffle Oil (1,065g with the Artisan profession), the truly game-changing synergy comes from the Foraging skill’s level 10 Botanist profession. This profession guarantees that all foraged items—including Truffles—are collected at Iridium quality. An Iridium-quality Truffle sells for a staggering 1,250g, effectively doubling its base value instantly and with zero extra work. This single profession elevates the humble Pig from a good investment to an economic powerhouse.
Unit Types and Daily Output: Unlike coops or barns that produce inside, Pigs generate Truffles outside on your farm's open ground during Spring, Summer, and Fall. A single, well-loved Pig (max friendship) produces an average of three Truffles per day. With the Botanist profession, that translates to a daily gross income of 3,750g per pig. This is a completely passive yield; you simply let the pigs out each morning and collect the goods they've scattered by evening. The only daily cost is their hay (or grass), making the profit margin exceptionally high.
Essential Equipment and Setup: To maximize this system, you need two key structures: a Deluxe Barn (to house Pigs) and ample, clear outdoor space. The ideal setup involves fencing a large, debris-free area around your barns to keep the Truffles concentrated for easy collection. No other machines like Kegs or Casks are required. Your only "gear" is your own foraging level and the crucial choice of the Botanist profession. This makes it one of the least equipment-intensive, highest-return strategies in the game.
Comparison and Ranking Justification: Iridium Truffles rank below the supreme wines because their production is seasonally limited (no Truffles in Winter) and because they don't benefit from the Artisan profession's multiplier for further processing. However, they surpass almost every other crop and animal product in terms of gold-per-day effort. A barn full of 12 pigs, as noted in source material, can generate over 45,000g daily during three seasons—a figure that requires vast fields and intensive processing to match with crops. It represents the pinnacle of livestock profitability and a perfect endgame complement to a winery empire.
The Takeaway: For players who prefer to spend their days mining, fishing, or socializing rather than constantly tending crops and machines, a Pig farm with the Botanist profession is the ultimate "set it and forget it" fortune. It requires a significant upfront investment for barns and pigs, but the daily return in raw, unprocessed Iridium Truffles provides a flood of gold that effortlessly funds every other venture in the valley.
4. Smoked Lava Eel

A look at the gameplay experience in Stardew Valley.
4. Smoked Lava Eel
While kegs and casks dominate the late-game economy, the 1.6 update introduced a dark horse contender for raw, immediate profit: the Fish Smoker. This single machine fundamentally changed the value proposition of fishing, and no fish benefits more from its sizzling embrace than the Lava Eel. This entry isn't just about a fish; it's about a powerful new mechanic that catapults a difficult catch into the upper echelon of daily earners, offering a uniquely active and high-skill path to wealth that rivals passive farming.
Why It's Here: The Power of the Fish Smoker
The Fish Smoker’s mechanic is beautifully simple yet devastatingly effective: for the cost of 1 Coal, it doubles the sell price of any fish while preserving its quality. This instantly makes high-value fish exponentially more lucrative. Compare this to the traditional fish-pond-to-Aged-Roe pipeline: Lava Eel Roe sells for 380g, and Aged Roe sells for 760g, but that process takes days in a Preserves Jar and requires pond management. The Fish Smoker, in contrast, provides an immediate 2x multiplier. A raw, base-quality Lava Eel sells for 700g. Smoke it, and it's instantly worth 1,400g. This is the core of its ranking—it leverages a new, highly efficient processing method for a premium raw material.
The Ginger Island Goldmine
The Lava Eel’s profitability is intrinsically linked to Ginger Island, specifically the Volcano Caldera. This is the most reliable location to catch this fiery prize, available year-round. While it can also be found on Floor 100 of the Mines, the Caldera offers a crucial advantage: your hook chance is a direct function of how far you cast from land (roughly 10% per tile). With high Fishing skill, a Curiosity Lure, and a long cast, your odds become very respectable. This transforms a day at the volcano from a mining run into a high-stakes fishing expedition. The requirement to access Ginger Island places this method firmly in the mid-to-late game, but once unlocked, it provides a consistent, renewable source of one of the game's most valuable base items.
Maximizing the Profit: From 700g to 2,800g
The true potential of the Smoked Lava Eel is unlocked with professions and quality. Here’s how the math scales:
- Base: Lava Eel (700g) → Smoked (1,400g).
- With Angler Profession: The fish sells for 1,050g → Smoked (2,100g).
- Iridium Quality with Angler: This is the pinnacle. An Iridium Lava Eel with the Angler profession sells for 1,400g. Process it through the Fish Smoker, and its value doubles to 2,800g. If you also have the Artisan profession, that smoked product gets a further 40% boost, reaching a staggering 3,920g for a single inventory slot.
This puts its per-item profit in the same league as Iridium Starfruit Wine (4,200g with Artisan) but without the two-season aging period. It’s a trade-off: wine is passive and batch-based; smoked eels are active, skill-based, and immediate.
Comparison & Ranking Justification
Smoked Lava Eel earns its #4 spot by being the most powerful application of a game-changing new mechanic. It outpaces all other smoked fish by a massive margin due to the Lava Eel's unparalleled base price. It surpasses the average daily output of even the best Fish Ponds (like the Legend, averaging ~582g/day) by a wide margin, provided you’re actively fishing. While it can't compete with the set-and-forget, mass-produced billions of an Ancient Fruit wine empire (#2) or the sheer density of Iridium Truffles (#3) from a pig farm, it offers a thrilling, high-engagement alternative. It’s for the player who enjoys mastering the fishing mini-game and wants to see direct, monumental rewards for their skill. The takeaway: If you've unlocked Ginger Island and enjoy fishing, dedicating a day to catching and smoking Iridium-quality Lava Eels with the Angler profession is one of the most potent active money-making activities in the game.
5. Golden Eggs and Mayonnaise

Official game artwork.
5. Golden Eggs and Mayonnaise
Why it's here: This entry represents the ultimate endgame and completionist's reward, a luxury income stream that is less about raw efficiency and more about the prestige of achieving Perfection. While not the highest gold-per-day earner compared to optimized ancient fruit or truffle farms, the Golden Chicken and its products are the game's final financial unlock, signifying that you have truly mastered Stardew Valley.
The journey to this point is the longest in the game. You cannot simply buy a Golden Chicken from Marnie. You must first achieve 100% Perfection, a monumental task that requires maxing skills, forging friendships, completing all collections, and eradicating every last walnut on Ginger Island. Only then does the option to purchase a Golden Chicken for a staggering 100,000g appear. This is not an investment for the faint of heart or the profit-obsessed early farmer; it is a trophy.
Once acquired, the Golden Chicken operates on a beautifully simple, high-value principle. It lays one Golden Egg every single day. With the Rancher profession, this egg sells for a flat 1,000g. This translates to a reliable, zero-effort daily income of 1,000g per chicken, or 56,000g per animal per year. You could process the egg into Mayonnaise (yielding three jars for a total of 1,395g with the Artisan profession), but the direct sale is more convenient and still highly profitable. The true power lies in scaling: a coop filled with 12 Golden Chickens generates a passive 12,000g daily with almost no maintenance beyond petting.
So, why does this rank below Smoked Lava Eel or Iridium Truffles? It’s a question of accessibility and opportunity cost. The upfront cost is astronomical, and the return, while excellent, is ultimately outclassed by the sheer density of profit from a fully-optimized greenhouse of ancient fruit or a barnyard of pigs. A single pig with the Botanist profession can find multiple 1,250g truffles in a day, potentially outperforming one chicken’s set 1,000g. The Golden Egg's placement here is deliberate: it is the best "coop money" and the ultimate symbol of farm completion, not the most efficient gold engine.
The Takeaway: Golden Eggs are not a strategy for getting rich; they are the reward for already being rich and accomplished. They offer a supreme, low-maintenance income for players who have done everything else and want their coop to reflect their Perfection status. It’s the final, gleaming piece of the profitability puzzle.