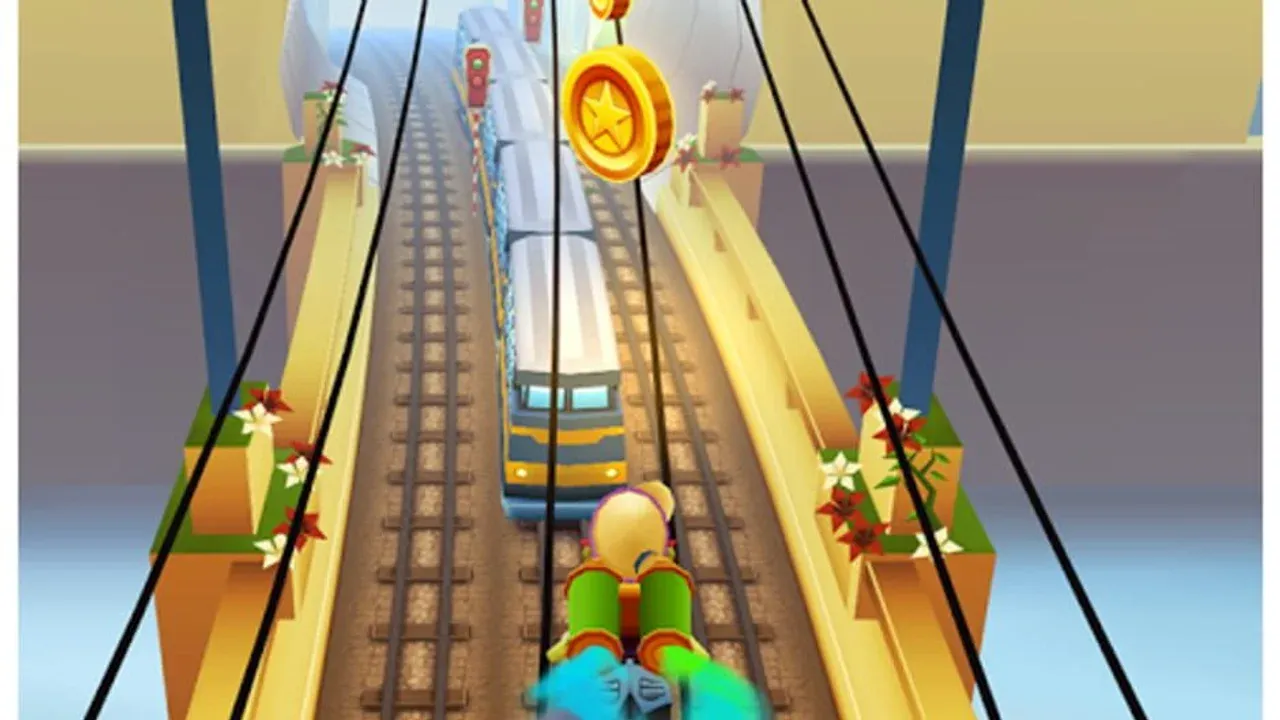
How to Master the Stomp and Bubblegum Shield in Subway Surfers City
Welcome to Subway Surfers City—the 2026 sequel that transforms the classic endless runner into a vertical, multi-layered playground. If you're coming from the original, get ready to rewire your instincts; your survival and high scores now hinge on mastering two new core abilities. This guide will break down the Stomp Move and the Bubblegum Shield, giving you the precise timing and combos you need to dominate the new city streets.
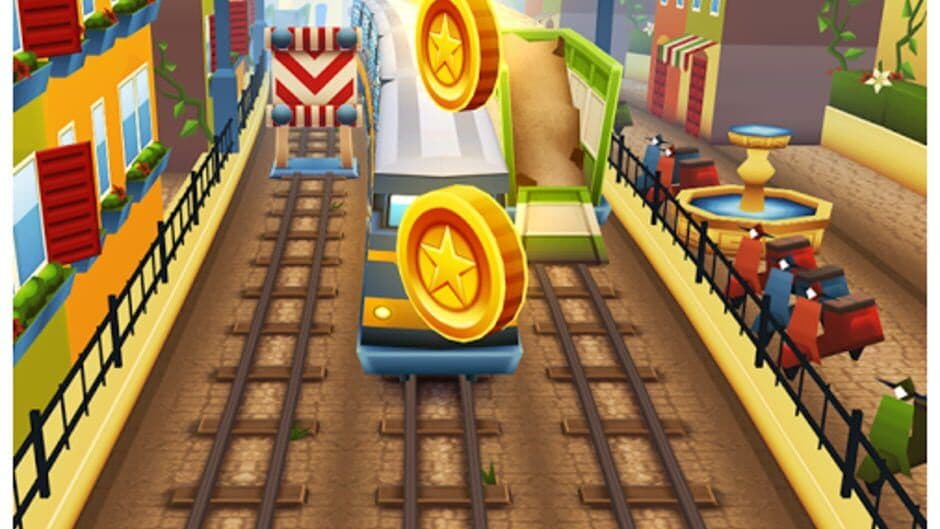
Navigating the city tracks
How to Use the Stomp Move
Think of the Stomp Move as your new offensive tool and shortcut key. This isn't just a fancy animation; it's a game-changing mechanic for crowd control and exploration.
To activate it, swipe down while you're mid-air. You can also double-tap the dedicated ability button on your screen. The goal is to ground-pound directly onto targets like crates, low obstacles, or specific floor tiles.
The timing is everything. The sweet spot is at the peak of your jump, about 50-80ms after your vertical velocity shifts downward. On modern 120Hz phones, this feels like a tight but learnable window. Stomp too early on the way up, and you'll whiff. Stomp too late, and you'll land with a sluggish recovery animation. Nail it, and you'll crush obstacles, trigger score multipliers, and even reveal hidden paths by breaking shaking floor grates.
Use the Stomp to cancel a small portion of your landing lag. This lets you chain into a grind or lane change much faster than a normal landing.
Mastering the Bubblegum Shield
While the Stomp is your sword, the Bubblegum Shield is your shield—and your trampoline. This ability wraps you in a protective, bouncy bubble that serves two vital purposes: defense and enhanced mobility.
Tap the ability button on the ground or mid-air to activate it. While active, it provides a one-hit buffer against collisions with low obstacles. More importantly, it amplifies your jumps. The real magic happens with the Shielded Boost: tap the Bubblegum Shield while grounded and immediately swipe up to perform a boosted jump with extra hang-time and height. This is your ticket to reaching those out-of-the-way rails and elevated coin lanes in districts like Sunrise Blvd.
Trust me, you’ll want to use this proactively. Pop it just before entering a dense cluster of vertical barriers or use it mid-air to safely soak up a hit from a surprise train, giving you precious time to correct your lane.
Putting It All Together: Essential Combos
Knowing the buttons is one thing; using them together is how you win runs. Here are two foundational combos to drill into your muscle memory.
The Survival Reset (Bubblegum into Stomp):
If you’re cornered by trains, activate your Bubblegum Shield to absorb a hit and get extra air time. While you're floating safely from the bubble's bounce, use the Stomp Move over a clear lane to create a shockwave and land running. This combo is your emergency escape hatch.
The Score & Pathfinder (Shielded Boost into Stomp):
Need to access a high-altitude shortcut or a rooftop coin cluster? On the approach, execute a Shielded Boost (Bubblegum + swipe up). Use the extended air time to position yourself over a target like a neon vent or weak crate, then Stomp down to break it open and reveal a secret path or collect a Secret Star.
This next part can feel overwhelming, but don't panic. Start by practicing each ability separately in the finite City Tour levels, where mistakes are forgiving. Once you see how the Stomp shatters grates and the Bubblegum Shield cushions your falls, you can't unsee the opportunities they unlock on every run.
With the Stomp's precise destruction and the Bubblegum Shield's protective bounce in your toolkit, you're ready to move beyond basic survival and start exploring the vertical secrets of Subway Surfers City. Let's go.
Best Character and Board Builds for Subway Surfers City
Your character and board aren't just for show in Subway Surfers City—they're the foundation of your entire strategy. This isn't the old game where you just picked your favorite skin. In the 2026 sequel, these choices directly shape whether you’re dominating the leaderboards or filling your virtual wallet with coins. Let’s break down the best builds so you can stop guessing and start optimizing every run.
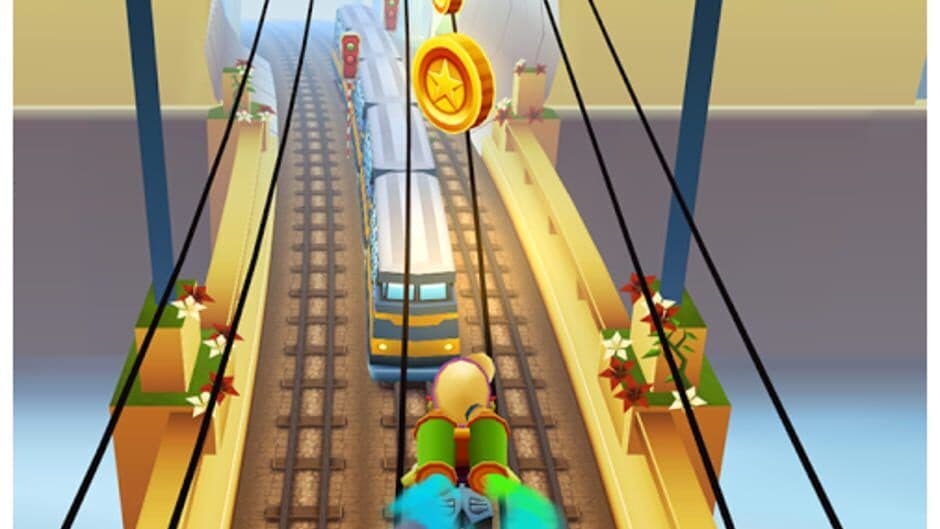
Choosing the right board for agility.
High-Score Build: The Multiplier Machine
If your goal is to climb the global ranks, you need a character and board that synergize to push your multiplier into the stratosphere. The undisputed king of this playstyle is Fresh.
Fresh, available in the Character Select screen, is the S-Tier Score Chaser. His power comes from the Secret Stars you find hidden throughout the city. At level 8, his buff increases from +15% to a massive +30% per star. This means every hidden star you grab supercharges your score exponentially, not just adds to it. In testing, this specialization pushed 10-minute run averages from 1.2 million to over 1.6 million.
To maximize this, you need the perfect board. Pair Fresh with the Grandmaster Board from the Board Shop, which grants a flat +20% score multiplier whenever it's active. This board’s passive boost stacks beautifully with Fresh's star-hunting, creating a compounding effect that consistently outperforms other setups by 10-15%. Your entire focus becomes surviving long enough to find those stars while the Grandmaster Board amplifies every point you earn.
This build shines in Sunrise Blvd and Delorean Park, where secret paths and verticality make finding Secret Stars easier. Use your Bubblegum Shield for safe exploration.
Coin Farming Build: The Gold Rush
When you need cash for upgrades and new unlocks, shift gears to a dedicated coin farming setup. For this, you want Tricky.
Tricky, also in Character Select, is the S-Tier Coin Farmer. Her skills are built for wealth generation: she boosts your coin multiplier over time and, most importantly, at level 8 adds a 25% bonus to every single coin pickup. This turns every golden trail into a windfall. Equipped with the right board, her per-run coin average can jump from 45,000 to a staggering 75,000.
That "right board" is the Cobweb Board, found in the Board Shop. It doesn't just give you more coins; it increases the coin spawn rate by +15%, flooding the tracks with more pickups for Tricky to buff. It’s the essential engine for this build. For an even more specialized approach, Miss Maia is another top-tier option who gains a stacking coin bonus the further you run, and she also pairs perfectly with the Cobweb Board for marathon farming sessions.
Hybrid & Support Builds
Not every session is about extremes. Sometimes you want a balanced character for general progress or a specific utility.
- For Power-Up Synergy: Yutani is an S-tier pick for players who love chaining boosts. At level 8, she doubles all power-up durations. Pair her with the Djinn’s Fortune Board (which randomly spawns power-ups) for near-constant Magnet or Score Booster uptime.
- For Survival & Learning: Tasha is invaluable. Her bubblegum ability can auto-refresh, giving you multiple "get-out-of-jail-free" cards. This safety net is perfect for practicing risky shortcuts or pushing your survival limits in late-game speeds.
- The Solid All-Rounder: Don't sleep on Billy or Jay. Billy’s ability to spawn extra skateboards gives you more safe uptime, while Jay offers a reliable, balanced boost to both scores and coins, making him a great "daily driver."
Your Actionable Game Plan
Stop switching characters randomly. Decide your goal before you hit "run."
- For a High Score Push: Equip Fresh and the Grandmaster Board. Focus on survival and actively hunt for Secret Stars.
- For Coin Farming: Equip Tricky and the Cobweb Board. Prioritize lanes with dense coin clusters and use the Magnet power-up whenever possible.
- For General Progression: Use a hybrid like Billy or Jay until you have the resources to level up your specialists to level 8, where their true power unlocks.
With these optimized builds, you're not just running—you're executing a strategy. Now go turn that strategy into a new personal best.
How to Perform the Stomp-Boost-Rail Combo for High-Altitude Shortcuts
You’ve mastered the basic jump, but the real high-score secrets in Subway Surfers City are hidden far above the train tracks. Reaching these secret vertical routes requires more than just a quick thumb—it requires a frame-perfect sequence that turns a simple ground-pound into a high-altitude launch.

Mastering the Stomp-Boost-Rail Combo
If you want to access the most exclusive shortcuts in the game, you need to learn the Stomp-Boost-Rail Combo. This strategy is best performed at Launch pads or on Train roofs within Subway City. To pull it off, you must first [Swipe Down] Stomp to hit the surface, then [Tap] Boost during rebound to gain extra vertical momentum. Finally, [Swipe] to latch onto rail as you reach the peak of your jump. Nail this, and you’ll find yourself grinding on overhead tracks that most players never even see.
The timing window is tight, but once you see it, you can't unsee it. Watch for the instant your character’s vertical velocity switches from upward to downward—that’s your cue to activate the next move.
Precision Timing and Landing Lag
Speed is everything in Subway Surfers, and every millisecond you spend stuck in a landing animation is a millisecond you aren't scoring. To keep your momentum, you need to master the Stomp-to-Slide Window. When you hit the ground at Ground impact, you have a tiny 0.2-0.4s after impact to [Swipe] and cancel landing lag. This "soft-reset" allows you to transition instantly into a slide or lane change, keeping your run fluid and your multiplier alive.
Managing Your Board Energy
Your hoverboard is no longer just a "second life"—it’s a tactical tool powered by the Board Energy System. As you run along the Tracks, you must collect Energy Cells or Batteries to activate and extend hoverboard duration. A board with zero energy is just a piece of plastic, so prioritizing these pickups is essential for high-altitude play.
To get the most out of your gear, use the Hoverboard-Stomp Loop. While you have an Active Board, you should [Swipe Down] at tail end of board duration to cancel crash animation. This trick cancels the board-crash lag and maintains your momentum, allowing you to chain directly into a grind or another jump sequence without losing a beat.
⚠️ Watch out: Don't just stomp over empty space! It wastes your cooldown. Always read the shadows on the ground to ensure you're timing your impact over crates or rails.
With these high-altitude techniques in your pocket, you’re no longer just running through the city—you’re dominating its skyline. Get out there and start looking for those neon vents and rooftop chains; the view from the top is much better for your high score.
Secret Star Locations and Hidden Paths in Subway Surfers City Districts
You've mastered the stomp and nailed the combos, but the true heart of Subway Surfers City lies in its hidden corners. This sprawling metropolis is packed with shortcuts and collectibles that don't just boost your score—they completely change how you navigate each district. Let's map out the secret paths.
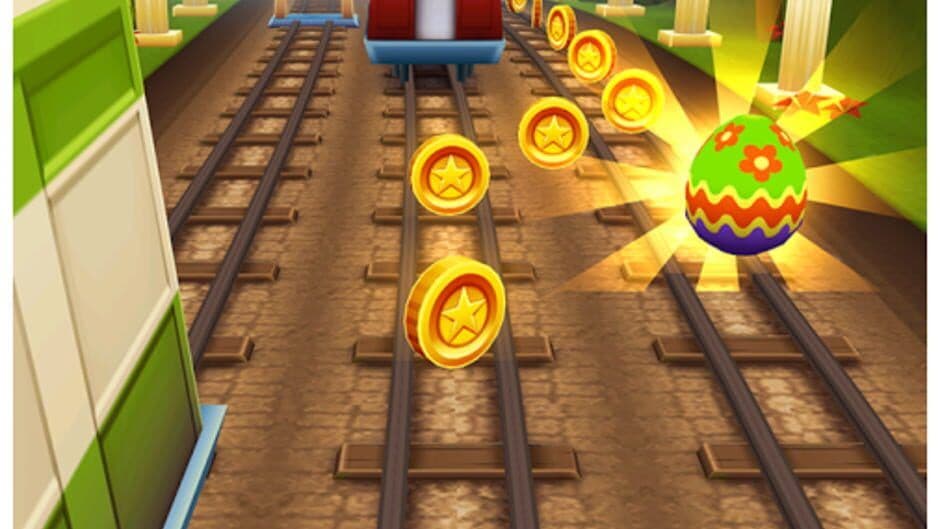
Choosing the right path for collectibles.
Hunting for Hidden Paths and Secret Stars
Your primary tools for discovery are the Stomp Move and the Bubblegum Shield. While you know the basics, their real power is unlocking the game's layered environments. Here’s exactly where and how to use them.
The Docks: Under-Dock Loot Tunnels
The industrial The Docks district is your first major test in vertical exploration. Keep an eye out for shaking red containers scattered across the tracks. These aren't just scenery—they're weak floor grates hiding the Under-Dock Loot Tunnels.
The visual cue is subtle. Look for containers that vibrate or have a slightly different, cracked texture compared to static objects.
When you spot one, time a jump to land directly above it and [Swipe Down] to perform a Stomp. This breaks the grate, dropping you into a hidden underground tunnel packed with coins, power-ups, and sometimes, a Secret Star. It’s a high-reward detour that’s easy to miss if you’re not looking down.
Southline: Overhead Rail Shortcuts
Next, head to the tight, machinery-packed lanes of Southline. Here, the secret paths lead up, not down. Watch for neon vents emitting a faint glow or puffs of steam on the track.
⚠️ Watch out: These vents are often placed just before or after a dense cluster of trains, making the timing tricky.
Landing a [Swipe Down] Stomp directly on a neon vent triggers a powerful vertical launch, propelling you onto Overhead Rail Shortcuts. These elevated grind rails let you bypass entire sections of ground-level chaos and often lead to isolated platforms holding valuable loot.
Sunrise Blvd: Rooftop Chains
For pure coin density, Sunrise Blvd is unmatched, but its best loot is on the roofs. The key to reaching them is the Shielded Boost combo. On approach to the right-side elevated tracks, tap your Bubblegum Shield ability while grounded, then immediately swipe up.
This Shielded Boost gives you the extra hang time needed to latch onto these Rooftop Chains. Once up high, you'll find lanes dense with coins and, crucially, clearer paths to spot and collect Secret Stars.
The Ultimate Prize: Secret Stars
Speaking of Secret Stars, these are the crown jewels of Subway Surfers City exploration. They're hidden in the hardest-to-reach spots: at the end of loot tunnels, on isolated overhead platforms, or tucked behind moving cranes. Collecting them grants a permanent score multiplier boost for your entire run:
- Star 1: Grants a +1x multiplier.
- Star 2: Adds a +2x boost and triggers a Coin Rain.
- Stars 3 & 4: Together provide a +4x permanent boost.
Finding all four can transform a good run into a record-breaking one. They are the single biggest reason to master these hidden paths.
With these locations memorized, you're no longer just running—you're exploring. You'll start to see the city not as a flat track, but as a multi-layered playground full of opportunities. Go find those stars.
Subway Surfers City Rewards and Resource Management
Alright, you’ve mastered the abilities, nailed the combos, and found the secret stars. Now, let’s talk about the real endgame in Subway Surfers City: turning those resources into consistent wins and record-breaking scores. This final section is all about smart resource management and leveraging the game’s ultimate team strategy.
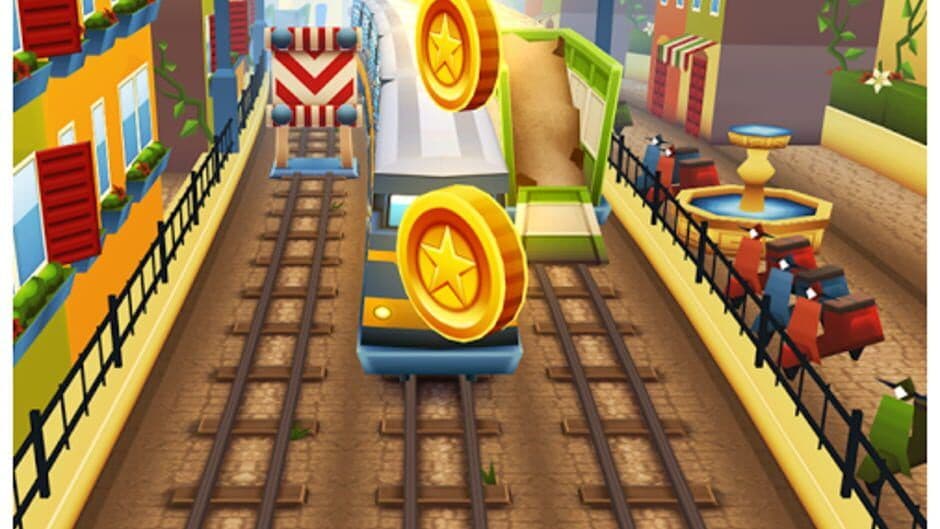
Score and multiplier tracking
Managing Your Keys, Multipliers, and the 3-Surfer Relay
The difference between a good run and a legendary one often comes down to discipline—knowing when to spend your keys, how to build your multiplier, and how to structure your crew for the long haul.
First, let’s talk about your most precious commodity: Keys. The golden rule is to never waste them on a mediocre run. The research is clear: you should not spend Keys on revivals until reaching the Base 30x Multiplier. Early runs are for practice and coin farming. Save your revivals for when you’re pushing a personal best, especially after you’ve crossed the 1,000,000 point mark. Since revival costs double each time (1, 2, 4, 8 Keys...), using them strategically is the only way to sustain a top-tier score chase.
Building that high multiplier is your next priority. Beyond the base cap, your main tools are Secret Stars and power-up synergy. Remember, the first star gives you a +1x boost, the second adds +2x and triggers a Coin Rain, and the third and fourth together grant a permanent +4x boost for the rest of that run. Actively hunting these in high-risk areas is non-negotiable for high scores.
To consistently spot oncoming trains and star locations, practice Horizon Focus. Instead of staring at your character, train your eyes on the top horizon of the screen. This gives you more reaction time and helps you plan your route several moves ahead.
When it comes to maximizing your haul, don’t forget about Diamond Coins. You’ll find these on ceiling paths in tunnel sections. To reach them, you need the Super Sneakers power-up, which lets you stick to the inverted tracks above you. It’s a high-risk, high-reward maneuver that can significantly boost your coin total during a run.
For the ultimate test of endurance and strategy, you need to master the 3-Surfer Crew Relay in Trials Mode. This isn't about one life; it's about managing a team of three with specialized roles:
- Opener (Coin Magnet): Your first surfer should be a coin-focused character like Tricky or Lucy. Their job is to build a massive early bank of coins to fund upgrades and power-ups.
- Mid-Runner (Super Jump): Your second character should be paired with a board like the Monster, which has Super Jump. Their sole purpose is to target and collect Secret Stars in Vertical Zones to permanently boost your team’s multiplier before the final push.
- Anchor (Super Speed): Your final, highest-level character should be equipped with a speed-focused board like Skull Fire. When the game is at its fastest and most chaotic, their Super Speed ability is for pure distance and score accumulation.
This relay strategy transforms a single run into a multi-phase operation, with each specialist setting the stage for the next. It’s how you structure runs that last 30 minutes or more.
With your keys saved for the right moments, your multiplier maximized, and your three-surfer crew ready for action, you’re not just playing Subway Surfers City—you’re optimizing it. Now go put that resource discipline to the test and watch your name climb the leaderboards.