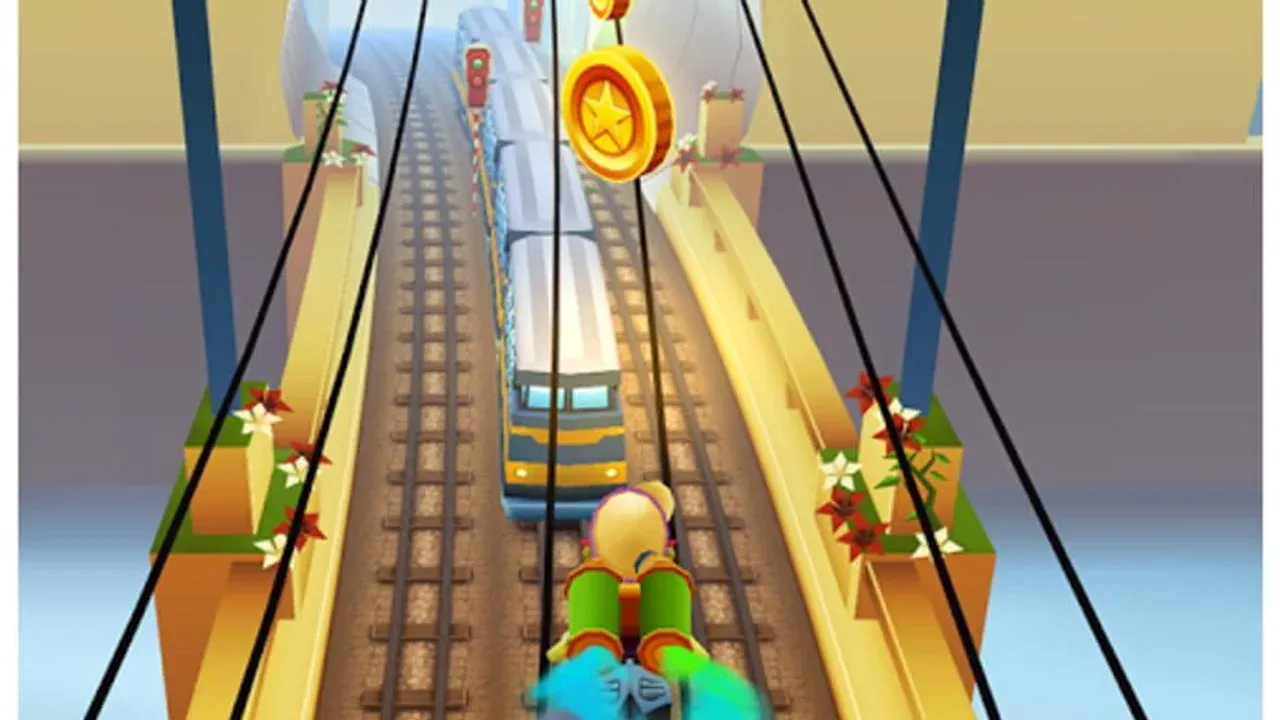
How Hoverboards Function as a Safety Net in Subway Surfers
Ever been milliseconds from a crash, only to see your character hop onto a board and glide safely through the oncoming train? That’s the hoverboard in Subway Surfers—your ultimate get-out-of-jail-free card. More than a cool cosmetic, it’s a critical survival tool that can be the difference between a frustrating wipe and a new personal best.
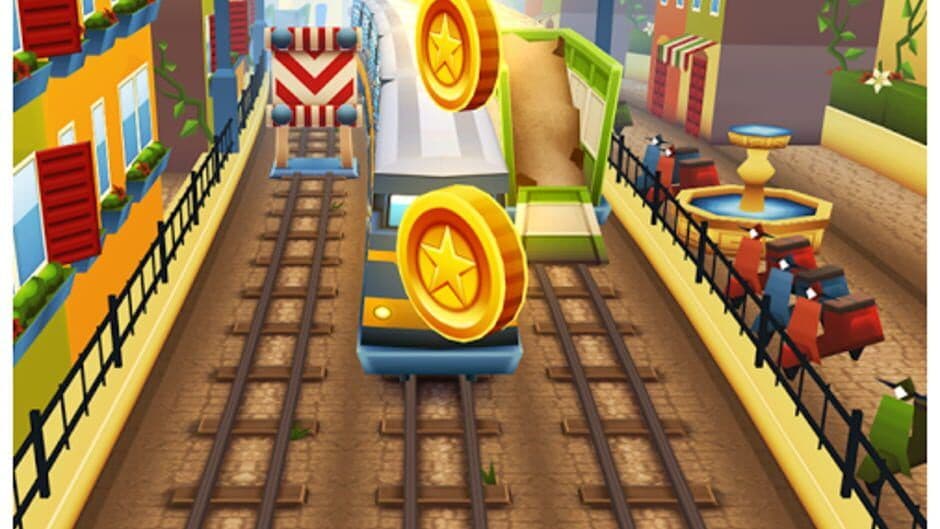
Hoverboards are essential for surviving tight spots between trains.
At its core, a hoverboard functions as a Crash Shield. Once activated, it absorbs one collision with trains, barriers, or the Inspector, letting your run continue unscathed. To deploy this lifesaver mid-run, simply [Double-tap] anywhere on your screen on mobile, or press the [Spacebar] on PC. The Hoverboard Duration is a generous 30 seconds, giving you a solid window of invulnerability—unless you hit a second obstacle, which will end the board’s effect and your run.
Don’t wait until you’re about to crash. Train yourself to double-tap a moment before you think you need it. The activation is instant, and that buffer can save a run headed for disaster.
In the newer Subway Surfers City, the mechanic evolves with the Board Energy System. Here, you don’t just tap to activate. Instead, you collect Energy Cells scattered on the tracks to fill a meter. Once full, your hoverboard engages. The smart part? The Energy Extension mechanic lets you prolong the ride: collecting additional Energy Cells while the board is active adds precious seconds to its duration, letting you strategically stretch your safety net through dense obstacle zones.
Think of your hoverboard as your run’s emergency brake and turbo boost combined. It’s there to catch your mistakes, protect your hard-earned score multiplier, and buy you time to regroup when the speed becomes overwhelming. Mastering when to save it and when to spend it is your first step toward dominating the leaderboards. Let’s get you rolling.
Best Survival Hoverboards: Monster and Bouncer Guide
When the speed ramps up and obstacles become a blur, you need a hoverboard that doesn’t just protect you—it transforms how you play. In Subway Surfers, two boards stand out for their incredible survival utility: the aggressive Monster and the nimble Bouncer. Here’s how to unlock their full potential.
Activating a board provides a safety net against crashes.
Monster Board: The Aggressive Powerhouse
For players who like to dominate the track, the Monster board is your top-tier choice. You can purchase this beastly green truck tire design from the Shop for 500,000 Coins. It’s a hefty investment, but its upgraded abilities are game-changers for aggressive playstyles.
Once you own the Monster, you can unlock its signature moves with Keys. The first is Zap Sideways. When active, a simple [Swipe] left or right triggers an electric dash, instantly teleporting you to the adjacent lane. This is a lifesaver in dense, high-speed sections where a standard slide would be too slow.
⚡ Pro tip: Practice the Zap Sideways dash on straightaways first. The instant lane change feels different from sliding, and mastering it lets you weave through impossible traffic.
The second key ability is Super Jump. Activate it with a [Swipe] up, and your character launches into a high-altitude jump, easily clearing entire trains. This pairs perfectly with the Zap, letting you leap over a barrier and immediately dash to a safer lane. With these tools, the Monster becomes less of a passive shield and more of an active offensive weapon.
Bouncer Board: The Survival Specialist
If your goal is simply to survive longer and rack up distance, the Bouncer board is your best friend. This bright yellow arrow design is also bought from the Shop, costing a more accessible 280,000 Coins. Its strength lies in its consistent, forgiving mechanics.
The Bouncer’s passive ability is Super Bounce. There’s no special activation—every time you [Swipe] up to jump, you get a significantly higher and more floaty leap. This constant high-jump capability makes avoiding low barriers and hopping onto trains effortless. It’s the ultimate training-wheel board that remains effective even at expert levels.
🛡️ Watch out: The Bouncer’s floatiness can take getting used to. You’ll cover more horizontal distance in the air, so time your jumps earlier than you normally would to avoid overshooting your landing lane.
Upgrade Path and Final Verdict
Both boards require you to stock up on single-use blue shield tokens to activate them during a run. The real power, however, comes from investing your hard-earned Keys into their special abilities.
For the Monster, prioritize Zap Sideways first for its incredible dodging utility, then Super Jump to complete your mobility toolkit. For the Bouncer, its Super Bounce is always on, so any Key investment directly makes every jump safer.
If you play aggressively and love high-risk, high-reward maneuvers, save up for the Monster. If you value consistent, long survival runs above all else, the Bouncer is your undisputed champion. With either of these boards fully upgraded, you’re equipped to push your runs into legendary territory.
High-Speed Mastery: Skull Fire and Great White Boards
When you've mastered the basics of survival in Subway Surfers, it’s time to shift gears. This is where the game transitions from dodging trains to dominating the tracks, and two legendary boards—the Skull Fire and the Great White—are built for that high-speed mastery. Forget just staying alive; these are your tools for aggressive score pushing and blistering distance gains.

The tracks where high-speed mastery is essential.
Skull Fire: The Legendary Showstopper
Earning its place as one of the most coveted items in the game, the Skull Fire is a legendary board unlocked from the Shop for 75 Keys. Its fiery trail aesthetic isn't just for show—it signals you're playing with elite gear. Its signature Trail Flames ability is a passive visual effect that leaves a blaze of fire in your wake, adding serious style points to every run. While the flames themselves don't alter gameplay mechanics, this board is a status symbol that experienced players use to intimidate the leaderboards.
The Skull Fire is a major investment. Before spending your hard-earned Keys, ensure you have a comfortable stockpile of single-use blue hoverboard shields, as owning the board design doesn’t grant you unlimited uses during a run.
Great White: Precision Speed Machine
If raw, controlled velocity is your goal, the Great White is your apex predator. This shark-themed board is obtained as a reward from a Key Hunt Event, making it an epic prize for dedicated players. It excels in giving you command over chaotic, high-speed sections. Its core ability, Smooth Drift, lets you execute extended aerial glides. The input is simple: [Swipe] up + hold after a jump to gracefully float over obstacles, buying you precious milliseconds to plan your next move.
The real game-changer, however, is its upgrade. Once enhanced, the Great White gains the Speed Up ability, which increases your base movement speed for faster distance gain. This is where it separates from the pack—more speed means more meters covered per second, directly translating to higher scores. It’s the perfect board for when you need to weave through dense traffic without sacrificing momentum.
⚠️ Watch out: The Speed Up ability makes the game genuinely faster. It’s incredibly powerful for score chasing, but it also demands sharper reflexes. Don’t equip it until you’re completely confident in your lane-switching muscle memory.
Choosing Your Champion
So, which board is for you? It boils down to your goal for the run.
- Choose the Skull Fire if you want a legendary flex and a visually stunning ride that marks you as a top-tier player.
- Choose the Great White if you’re all about efficiency—its Smooth Drift control and Speed Up boost are practical tools for setting new personal bests.
Both boards represent the pinnacle of Subway Surfers gear, turning high-speed sections from a threat into your greatest opportunity. Equip one, trust your reflexes, and watch your name climb the ranks.
Specialty Maneuvers: Dino, Lowrider, and Teleporter Boards
Ready to move beyond simple speed and survival? In Subway Surfers, the Dino, Lowrider, and Teleporter boards offer unique movement mechanics that can completely change how you navigate the tracks. These aren't just crash shields—they're specialized tools that let you defy gravity, teleport through obstacles, and master the game's physics in new ways.

Boards allow for unique movement patterns.
Mastering the Dino Board
First up is the Dino Board, a prehistoric-themed reward you can earn from limited-time events. While its design is a fun throwback, its true value lies in its unique feel on the rails. It doesn't have a flashy, named ability like some premium boards, but many players report it offers a slightly different, more stable weight during jumps and turns. This makes it a great board for practicing tight maneuvers without the pressure of a high-speed run. If you see it as an event prize, grab it—it’s a solid, fun addition to your collection that helps build foundational control.
Defying Gravity with the Lowrider
For a truly different jumping experience, seek out the Lowrider. This is an epic rarity board unlocked as a Key Hunt Reward, and it comes with a game-changing passive ability: Low Gravity. This isn't just a visual trick; it genuinely increases your air time and slows your descent during every jump.
Use the Lowrider on maps with lots of elevated trains or gaps. The extended hang time lets you plan your next move mid-air, making complex sequences of jumps feel effortless and safe.
This ability transforms risky leaps into controlled glides. Instead of frantically swiping to land on a narrow train car, you float smoothly onto it. It turns the core mechanic of jumping from a reaction test into a strategic advantage, perfect for players who prefer a more measured, precise playstyle over raw speed.
Precision Movement with the Teleporter
When pure precision is the goal, nothing beats the Teleporter. This high-tier board is a reward from the Monthly Hunt, and its Phase Shift ability is a top-tier movement tool. When active, a simple [Swipe] left or right doesn't slide your character—it makes them instantly blink to the adjacent lane with zero travel time.
This is a game-changer in dense obstacle clusters or at terminal speeds where a standard lane change is too slow. You can weave through impossible gaps and correct mis-swipes instantly. It turns lane management from the game's biggest challenge into its greatest strength.
⚠️ Watch out: The instant teleport can be disorienting at first. Spend a run or two just getting used to the feel before you rely on it in a serious score attempt.
With these three boards in your arsenal, you're no longer just surviving the subway—you're mastering its very geometry. Pick the Lowrider for floaty control, the Teleporter for surgical precision, or the Dino for reliable practice. Each one unlocks a new way to play and dominate Subway Surfers.
Best Character and Board Synergy Combos for High Scores
This is where your run transforms from a decent score into a legendary one. In Subway Surfers, your character and board choice isn't just about style anymore—it's about synergy. The game's 2025/2026 mechanics introduced hidden Synergy Bonuses, which activate when you pair a character, board, and power-up from the same theme, granting a massive +10–15% boost to your base score multiplier. Ignoring this is like leaving millions of points on the tracks.
Character and board pairings define the current meta.
The key is to build a complete, matching set. Here are the top synergy combos that dominate the leaderboards.
Top Synergy Combos for High Scores
Neon Zoe + Sky Glider is the premier scoring engine. This Neon-themed combo is unlocked through the ‘Neon Nights’ Event. When paired, Neon Zoe's slim hitbox and Sky Glider's wider coin collection radius work in perfect harmony, letting you collect more coins safely to fuel your multiplier. This setup truly shines with the Score Booster Max power-up for a stacked multiplier effect.
For free-to-play players, Pixel Jake + Retro Rocket is your best bet. This Retro-themed set is earned through Daily Hunts and login rewards. The synergy here grants a practical +2s Jetpack duration, giving you more safe, high-scoring airtime per pickup. It’s a reliable, always-available path to scores over 20 million.
Always check your power-up before a run. Using a Score Booster Max with a full synergy combo can push your total multiplier over 3.5x, turning a good run into a record-breaker.
Seasonal players should grab the Autumn Maya + Leaf Glider combo during the limited Halloween Event. This Nature-themed pair is a survival specialist; the synergy grants an auto-jump over low obstacles, which is a game-changer in dense, fast-paced sections where every millisecond counts.
The Subway Surfers City Meta
If you're playing Subway Surfers City, the synergy game evolves further with character-specific abilities. The top meta builds focus on maximizing one aspect of gameplay.
For pure score chasing, Fresh + Grandmaster is unmatched. Fresh's skills boost score pickups, and when paired with the Grandmaster board, you unlock a synergy that provides a +20% score multiplier. This combo is built for pushing your personal best into the tens of millions.
For a power-up focused playstyle, Yutani + Djinn’s Fortune creates endless chains. Yutani's ability doubles power-up duration, and the Djinn’s Fortune board synergizes by spawning random power-ups. Together, they create marathon scoring segments where Coin Magnets and 2X Multipliers seem to never end.
Trust me, once you experience the smooth, high-scoring flow of a perfect synergy combo, you’ll never go back to a mismatched set. Pick a theme, build your loadout, and watch your scores skyrocket.
How to Use the Jay and Grandmaster 'Crash to Win' Strategy
This is the high-skill ceiling—the strategy that separates good players from the leaderboard legends. In Subway Surfers, the conventional wisdom is to avoid crashes at all costs. But with the right character and board, the ultimate power move is to crash on purpose.
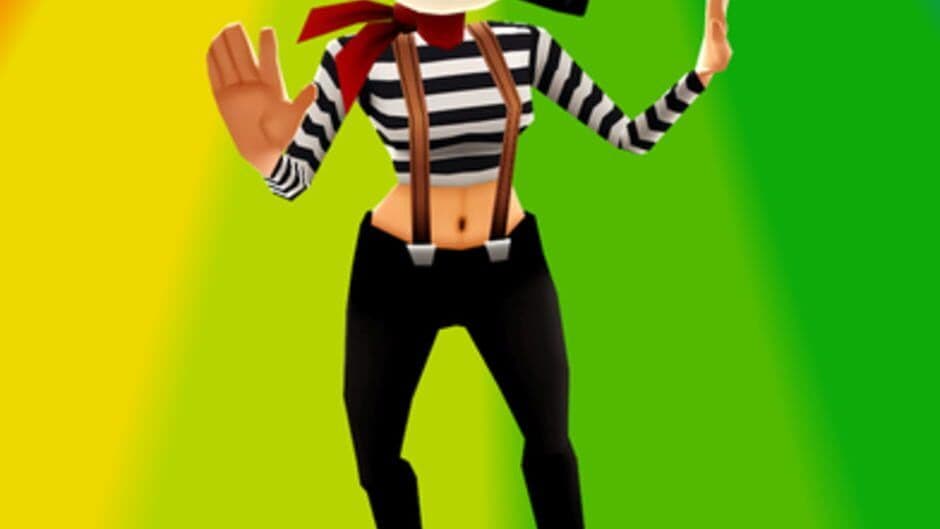
Maintaining momentum while preparing for a strategic crash.
Mastering the "Crash to Win" Loop
The Jay and Grandmaster Board combo inverts the entire game’s logic. Your goal isn't to survive; it's to strategically sacrifice your safety net for explosive score gains. This isn't for casual runs—it’s a high-risk, high-reward playstyle that demands precision and practice.
Here’s how the core mechanic works: you must activate a board → intentionally hit an obstacle → gain a power-up + bonus score. This is the "Crash to Win" loop. The trick is finding a safe obstacle (like a single barrier) to crash into before your board’s 30-second duration expires. If the board runs out naturally, you miss the payoff.
⚠️ Watch out: The biggest mistake new players make is using the board to avoid crashes. With this build, that’s wrong. The board is a consumable scoring tool, not a shield.
Breaking Down Jay’s Kit
Your success hinges on three specific passive abilities from the character Jay:
- Daredevil: This is the engine of the strategy. It grants you a bonus score and a power-up every single time you crash while actively riding a board.
- Brash & Broken: This ability supercharges your board economy. Your board meter fills faster, allowing you to get boards more frequently. The trade-off is that it also drains faster, forcing you to use (and crash) them promptly.
- Energy Drink: To fuel this rapid cycle, you need board charges. Jay’s Energy Drink ability lets you gain extra board charges by smashing into buried caches—those breakable objects like crates and barrels on the track.
The Grandmaster Board Synergy
The Grandmaster Board is non-negotiable for this build. Its special ability grants a large bonus score simply for activating the board. Since Jay’s Brash & Broken lets you fill your meter rapidly, you’ll be activating the Grandmaster constantly, stacking its activation bonus on top of the crash bonus from Daredevil.
Start by practicing the crash timing in short, low-pressure runs. Don’t worry about score at first—just focus on the cycle: collect energy, activate board, find a safe crash target, and execute. Once the rhythm feels natural, your score will skyrocket.
This combo truly shines in marathon runs (20+ minutes) where the constant cycle of board activations and intentional crashes becomes a powerful engine for managing the insane late-game speed and multiplier.
If you’ve ever felt stuck at a score plateau, this aggressive, counter-intuitive strategy is your key to breaking through. Commit to the crash, master the loop, and watch your name climb the ranks.
Pro Tips for Hoverboard Management and Scoring
This is the final stretch—where your hoverboard management separates a good score from a legendary one. In Subway Surfers, knowing when to use your resources is just as important as having them. Let's lock in the expert-level habits that will push your runs into the millions.

Adapt your board usage to the specific environmental hazards.
Pro Tips for Hoverboard Management and Scoring
The difference between a 10-million and a 50-million point run often comes down to a single, well-timed hoverboard activation. This is where you master the art of resource conservation and strategic timing to maximize every second of your run.
First, get your foundation rock solid. Before any serious high-score attempt, complete your mission sets to reach the Score Multiplier Cap of 30x. This is your single most important objective—a run with a maxed-out multiplier earns exponentially more points per meter than one without. Trust me, don’t waste your best boards on a run with a low multiplier.
With your multiplier maxed, it’s time to manage your boards like a pro. The most critical rule is The 5-Minute Rule. The game's speed increases dramatically over time, and the most dangerous, obstacle-dense sections typically hit their peak after the five-minute mark. Save your hoverboards for this phase. Using one in the first two minutes is a waste of a precious safety net when the game is still forgiving.
Activate your board preemptively, about one second before you enter a known dense obstacle zone or a tricky train tunnel. This gives you a buffer instead of trying to react at the last possible millisecond.
Be smart about overlapping abilities to avoid waste. A key example is Jetpack Redundancy. Never activate a hoverboard while a Jetpack is already active. The Jetpack already makes you invulnerable to ground obstacles, so using a board on top of it is just burning a valuable resource for zero extra benefit. Let the Jetpack run its course, then deploy your board for the dangerous section that follows.
If you’re playing Subway Surfers City, you have an extra tool in your kit: the Stomp Move. Swipe down while mid-air to perform this move, and use it on shaking red containers or neon vents you see on the track. This action can unlock secret loot tunnels packed with coins and Energy Cells, giving you a huge boost to your board meter and score.
Here’s the trick most guides miss: hoverboards aren't just for survival; they're for scoring. When your board is active, you can take aggressive, coin-heavy paths you’d normally avoid. Pair a board with a Coin Magnet or 2x Multiplier power-up to create a massive scoring window where you’re both safe and efficient.
With these strategies—maxing your multiplier, saving boards for the speed peak, avoiding redundancy, and using advanced moves—you’re not just playing reactively. You’re controlling the run. Now go put that management to the test and watch your name climb the leaderboards.