How to Start The Beast of White Orchard in The Witcher 3
Your adventure in The Witcher 3: Wild Hunt truly begins here, in the war-torn fields of White Orchard. After the opening cutscenes, your first major task is to take on a contract that will test your budding Witcher skills: hunting the griffin terrorizing the region.
Engaging the beast in the open fields.
This quest, The Beast of White Orchard, is initiated during the preceding main story quest, Lilac and Gooseberries. To get the contract, you must speak with Peter Saar Gwynleve, the garrison commander. You’ll find him at the Nilfgaardian Garrison, a military camp located north of White Orchard village. Exhaust his dialogue, and he’ll officially task you with finding and slaying the beast that’s been attacking his patrols.
Before you rush off, it’s highly recommended you reach Level 3 before engaging the griffin. The fight is balanced for this level, and being under-leveled will make it significantly tougher. Spend a little time exploring White Orchard and tackling a side quest or two first.
With the contract in your journal, you’re ready to start your investigation. Your next steps are to gather intel from a local hunter and an herbalist, which we’ll cover in the following sections. For now, know that your path to the first major boss of The Witcher 3 starts right here, with a simple conversation at a Nilfgaardian camp. Let’s go find that griffin.
How to Find Mislav and the Griffin's Nest in White Orchard
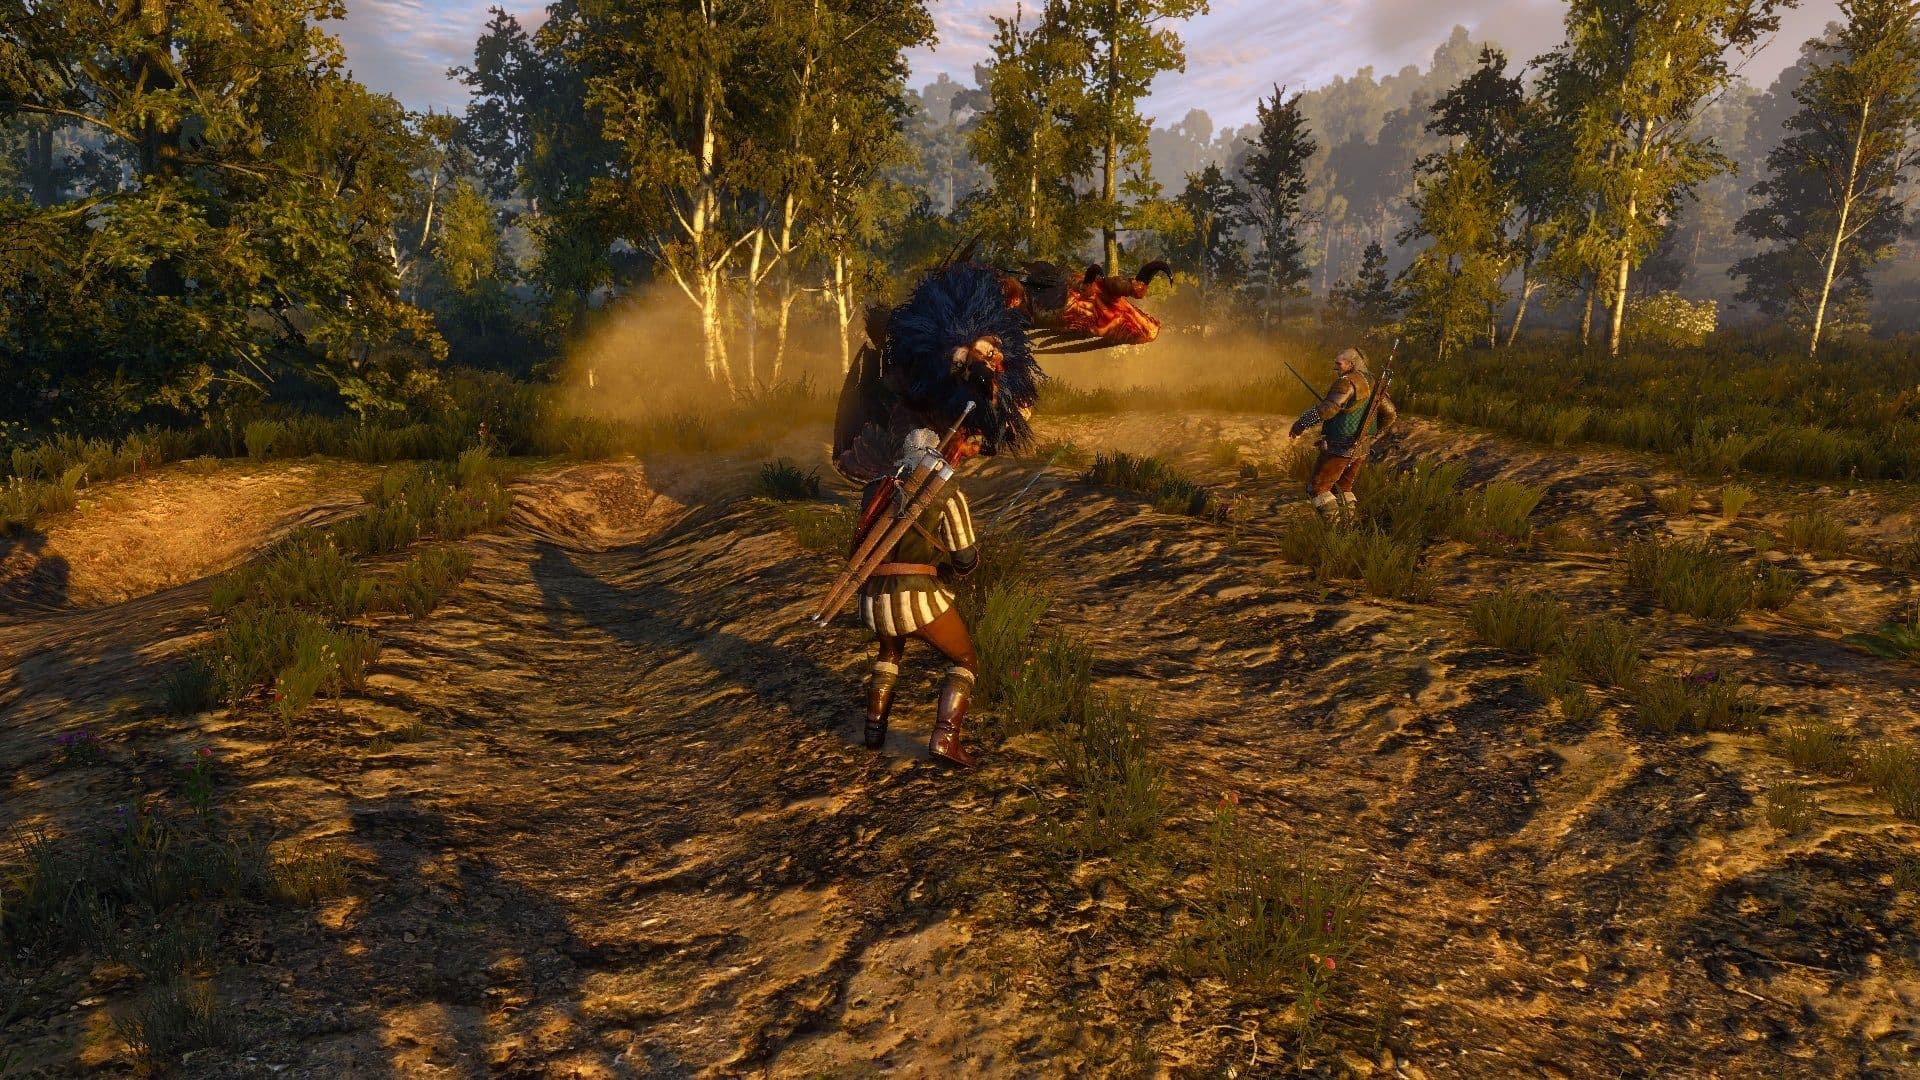
Now it’s time to hunt the hunter. The Nilfgaardian captain wants the griffin dead, but first you need to understand the beast you’re tracking. This part of The Witcher 3: Wild Hunt sends you into the woods to find the man who discovered the attack and to walk the griffin’s own deadly path.
Tracking the beast across the White Orchard map.
Find the Hunter, Mislav
Your first stop is the home of Mislav, the local hunter, located south of White Orchard village. When you arrive, the house is empty. Here’s where your Witcher training kicks in. Press and hold [L2] on PlayStation or [LT] on Xbox to activate Witcher Senses. You’ll see a trail of red footprints leading into the forest—follow them.
You’ll find Mislav hiding in the woods, wary of both you and a pack of nearby wild dogs. You have a choice here: you can immediately demand he show you the attack site, or you can help him deal with the three Wild Dogs first.
Trust me, take the time to help him. It’s a quick, easy fight and nets you a solid 350 XP. It’s one of the first big experience boosts in the game, and you’ll want every point you can get.
Investigate the Griffin Attack Site
After the dogs are dealt with, Mislav will lead you to the griffin’s first strike—a scene of carnage where a Nilfgaardian patrol was slaughtered. This is your first real detective work. Activate your Witcher Senses again to scour the area. You need to examine four key clues:
- The soldiers’ bodies.
- Their abandoned supplies.
- The griffin’s massive tracks.
- Its droppings.
Once you’ve examined the clues, focus on the griffin’s tracks. Follow them out of the clearing, across a Broken Bridge, and up a steep hill. You’ll need to climb a ledge and make a jump to a nearby path. This path leads you to your goal: the Griffin’s Nest, high on a hill overlooking White Orchard.
Discover the Griffin’s Motive
At the nest, use your Witcher Senses one final time. Among the bones and debris, you’ll find the crucial clue: the corpse of a Dead Female Griffin. Examine it. This discovery changes everything—it reveals the Royal Griffin you’re hunting is a male driven to vengeance. The Nilfgaardian soldiers killed his mate, and now he’s taking his fury out on anyone in their colors. Understanding this motivation is key to anticipating its behavior.
With the nest investigated, you’ve completed the first half of your investigation. You now know what you’re hunting and why it’s so aggressive. The next step is to figure out how to trap it, which means a visit to the local expert on herbs and creatures.
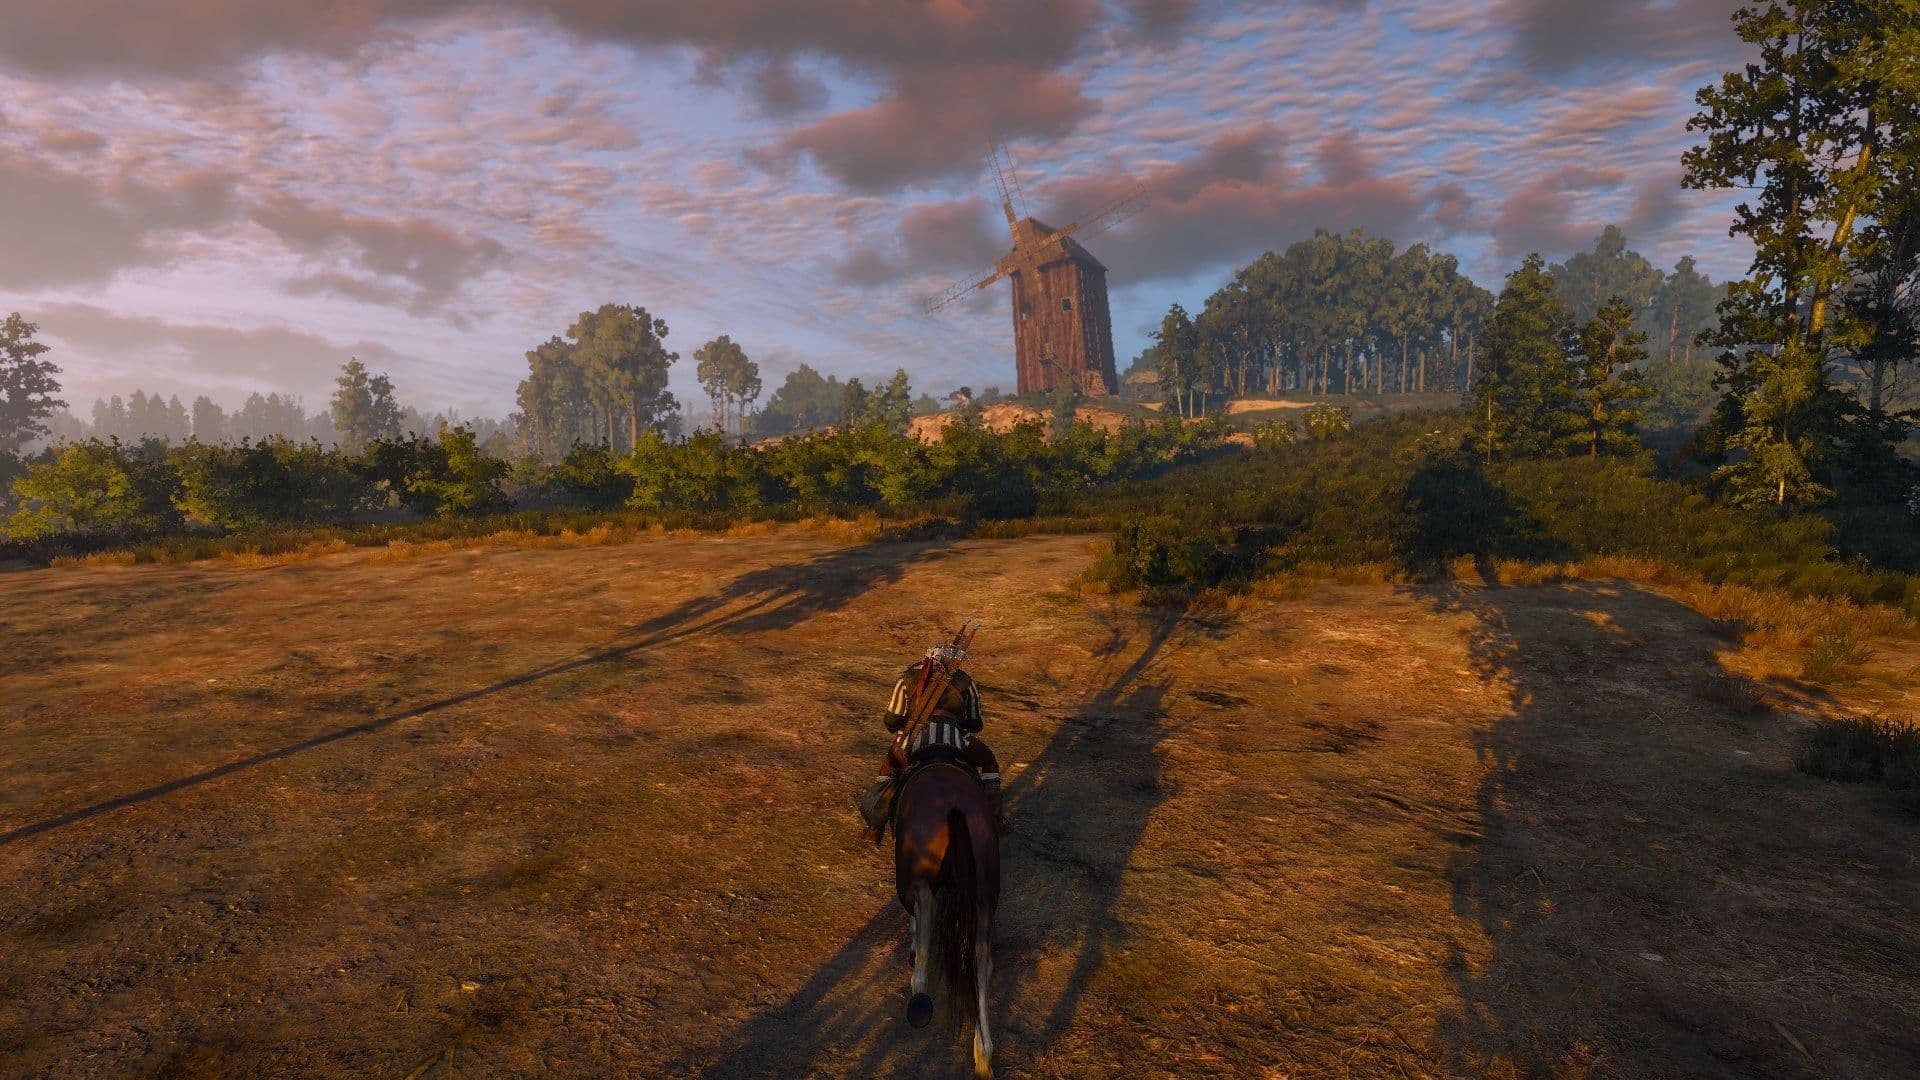
How to Find Buckthorn and Visit Tomira in The Witcher 3
With the griffin’s nest scouted, it’s time to secure the bait and get some professional advice. This next stop is a welcome breather before the big fight, but it’s packed with opportunity.
Exploring the outskirts of White Orchard to find rare herbs.
Head east from the Sawmill in White Orchard to find the home of Tomira, the local herbalist. She’s the one who can help you figure out how to actually lure the beast out. When you speak with her, ask about the griffin—she’ll point you toward Buckthorn, a plant that grows in the riverbed.
While you’re at Tomira’s house, ask about her patient to start the optional side quest On Death's Bed. It’s a quick, rewarding detour that nets you extra experience and gold, and it’s your last easy chance before the main quest pushes you forward.
To find the Buckthorn, go to the river marker on your map. You’ll need to dive in—hold [Circle]/[B] to dive and use [X]/[A] to swim. Once underwater, activate your Witcher Senses to highlight the glowing plants. Grab at least one cluster.
⚠️ Watch out: Be quick and keep an eye out for Drowners. You can’t fight effectively while submerged, so if you see them, it’s best to grab the Buckthorn and surface immediately.
With the Buckthorn in your satchel, your next stop is the White Orchard Inn to meet Vesemir and finalize the hunt. You’ve got the bait and the beast’s location—now all that’s left is the preparation.
Best Preparation and Gear for the White Orchard Griffin
You’ve tracked the griffin and gathered your clues—now it’s time to make Geralt ready for the hunt. In The Witcher 3: Wild Hunt, this first boss is a skill check, but with the right gear and potions, you can turn a brutal fight into a manageable victory. Here’s exactly how to prepare.
Preparation ensures you can survive the Griffin's physical tackles.
First, sort your gear. The Viper School Silver Sword diagram is hidden in the White Orchard Cemetery inside a crypt. Crafting this sword gives you a significant early-game damage boost. While exploring, be sure to visit the White Orchard Places of Power scattered around the region. Each one grants a permanent Ability Point and temporarily supercharges a Sign—specifically, you’ll find boosts for Quen (for defense) and Aard (the griffin’s key weakness).
Next, open your Alchemy menu. You need to craft three crucial items:
- Thunderbolt Potion: This is non-negotiable. Brew it using the tutorial prompt after talking to Vesemir at the inn. During the fight, press [Up] or [Down] on the D-pad to consume it for a massive temporary increase to your attack power.
- Grapeshot Bomb: The griffin is weak to these. You’ll need to find its diagram first—check lootable containers around White Orchard, or buy it from the herbalist Tomira if you’re missing ingredients.
- Hybrid Oil: This oil provides a 10% damage bonus against hybrid monsters like the griffin. Craft it in the same Alchemy menu, then apply it to your Silver Sword before you ride out to meet Vesemir for the ambush. Once the fight dialogue starts, you won’t get another chance.
Don’t rush to the main quest. Spend time clearing side content like “Devil by the Well” and looting White Orchard thoroughly. Reaching Level 3 before the fight makes a noticeable difference in your survivability and damage output.
With your Viper Silver Sword oiled, your Thunderbolt Potion slotted, and Grapeshot Bombs at the ready, you’ve done everything a seasoned Witcher would. You’re not just prepared—you’re overprepared. Let’s go collect that bounty.
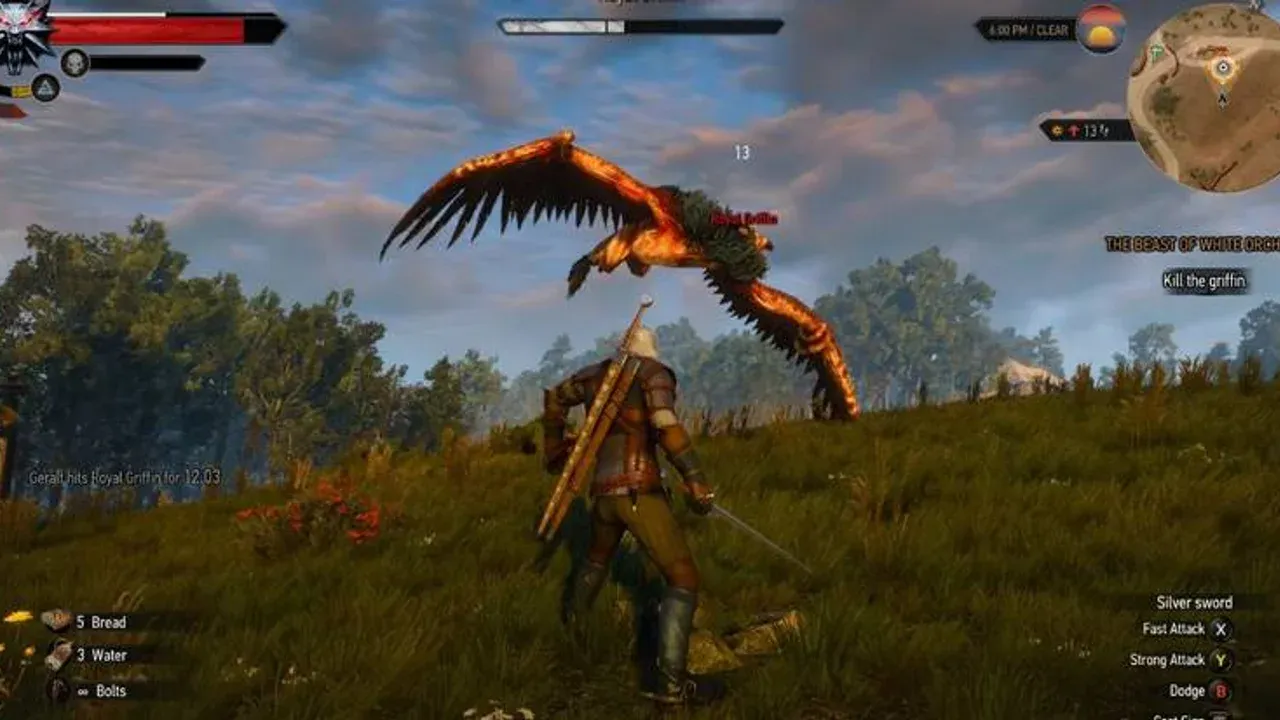
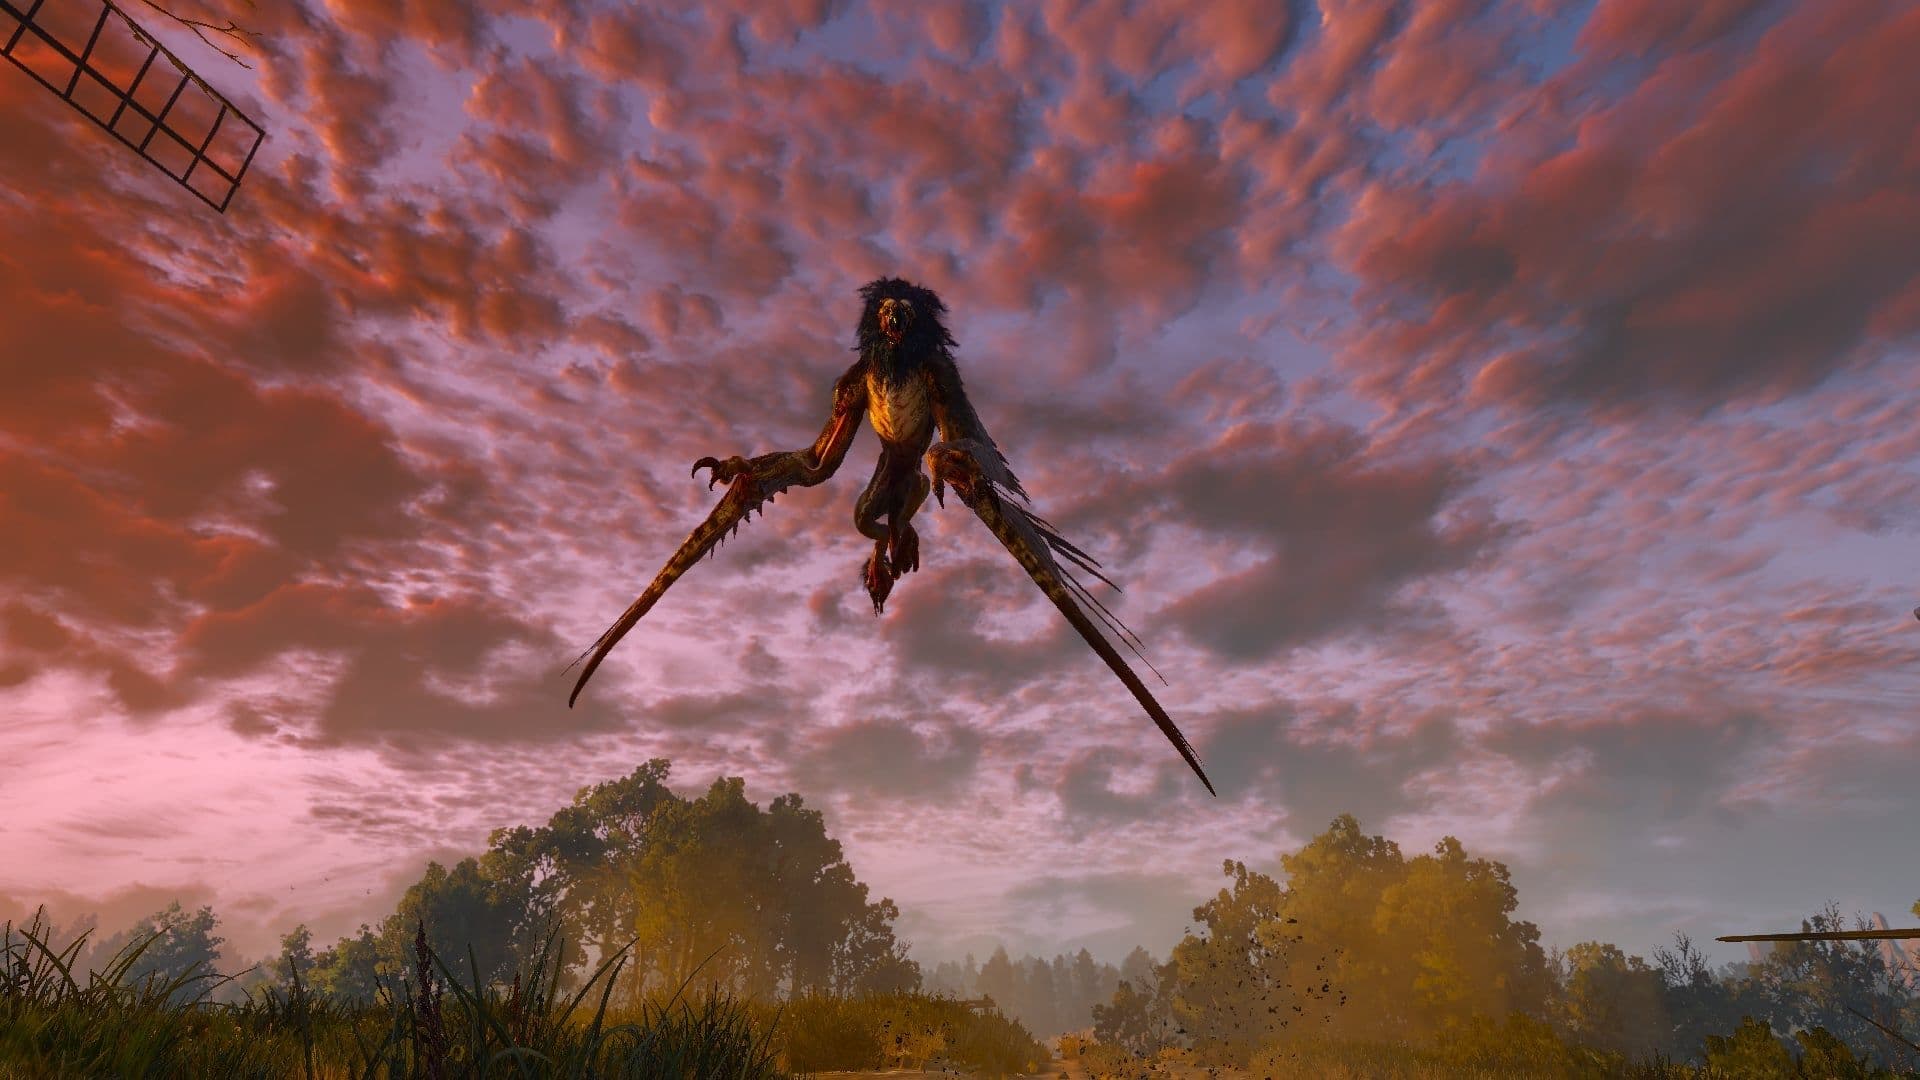
White Orchard Griffin Phase 1: The Ambush Field
Here’s the moment you’ve been preparing for. In The Witcher 3: Wild Hunt, you’ve baited the field, and now you’re standing shoulder-to-shoulder with your mentor, waiting for the beast to take the hook. This first phase is all about controlling the chaos and forcing the griffin to fight on your terms.
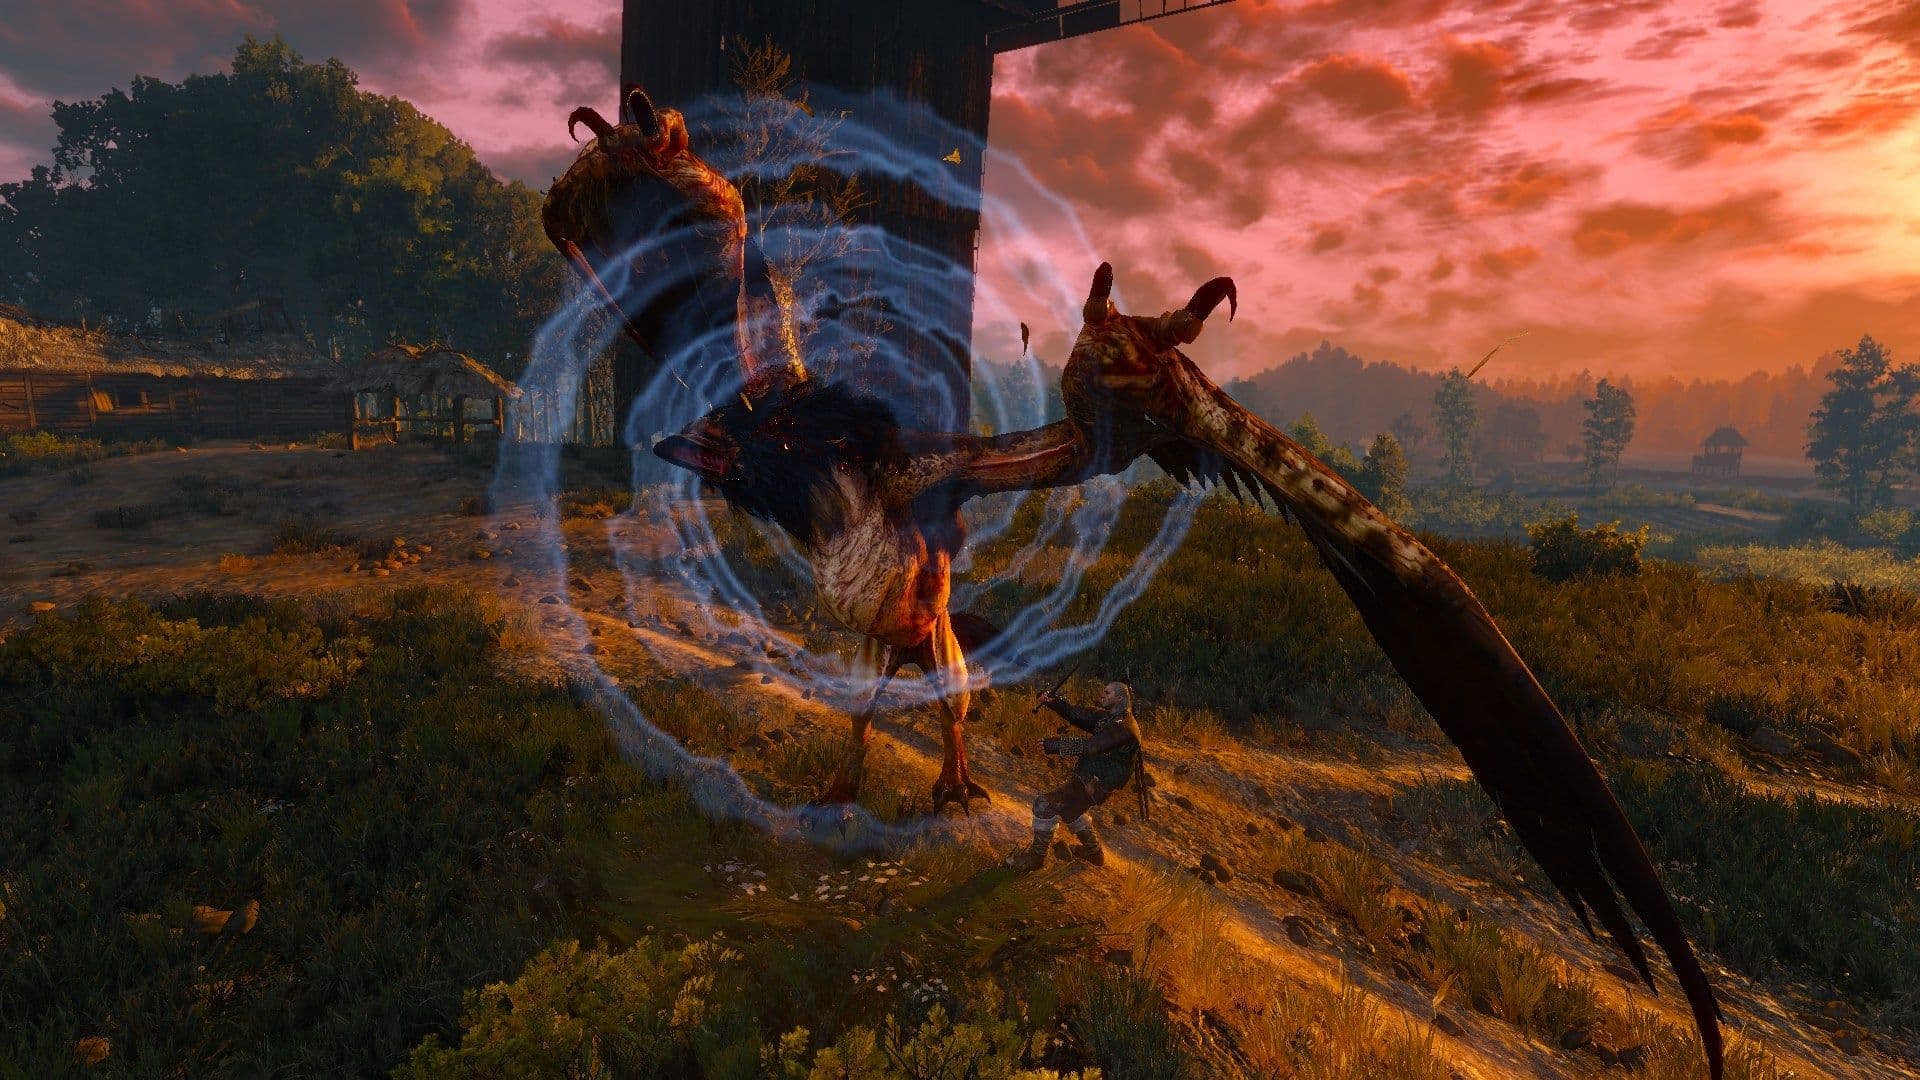
The Griffin's stunning sonic attack.
Head to the White Orchard Inn to find Vesemir waiting outside. As your mentor and the one who devised this ambush, he’ll hand you the key tool for this fight: the Crossbow. When the griffin inevitably takes to the air, select the crossbow with [L1]/[LB] and fire with [R1]/[RB]. A solid hit during its Dive Bomb will send it crashing to the ground, stunned and vulnerable. If you’re caught without a shot ready, don’t hesitate to roll away with [X]/[A] to avoid the impact.
Listen for the distinctive whoosh of the griffin’s wings just before it dives—that’s your cue to ready the crossbow or start your dodge.
Once the griffin is grounded, the real work begins. It will frequently use a close-range Wing Swipe; dodge this by rolling to the side or, better yet, getting behind it with [Circle]/[B]. This is your chance to attack. Switch to your silver sword and use the Aard Sign (selected with [L1]/[LB], cast with [R2]/[RT]) to stun it, opening it up for several fast attacks. Don’t get greedy—land a few hits, then reposition. If the pressure feels too high, fall back and cast the Quen Sign (same controls) for a protective damage shield that can absorb one hit and give you breathing room.
This cycle—crossbow it down, dodge its swipes, stun with Aard, attack—is the core of Phase 1. Vesemir will draw aggro at times, giving you perfect openings to strike. Keep an eye on your health and don’t be afraid to use a Swallow potion if you take a hit. The parry window against its claws is tight, so relying on dodges and Quen is safer for most players.
If you’ve wiped here before, you’re not alone—the transition from tracking to fighting a boss in The Witcher 3 can be jarring. Stick to this rhythm: ground it, control it, damage it. With the crossbow in hand and your signs ready, you’ve got everything you need to wear the beast down and trigger its retreat. Let’s go.
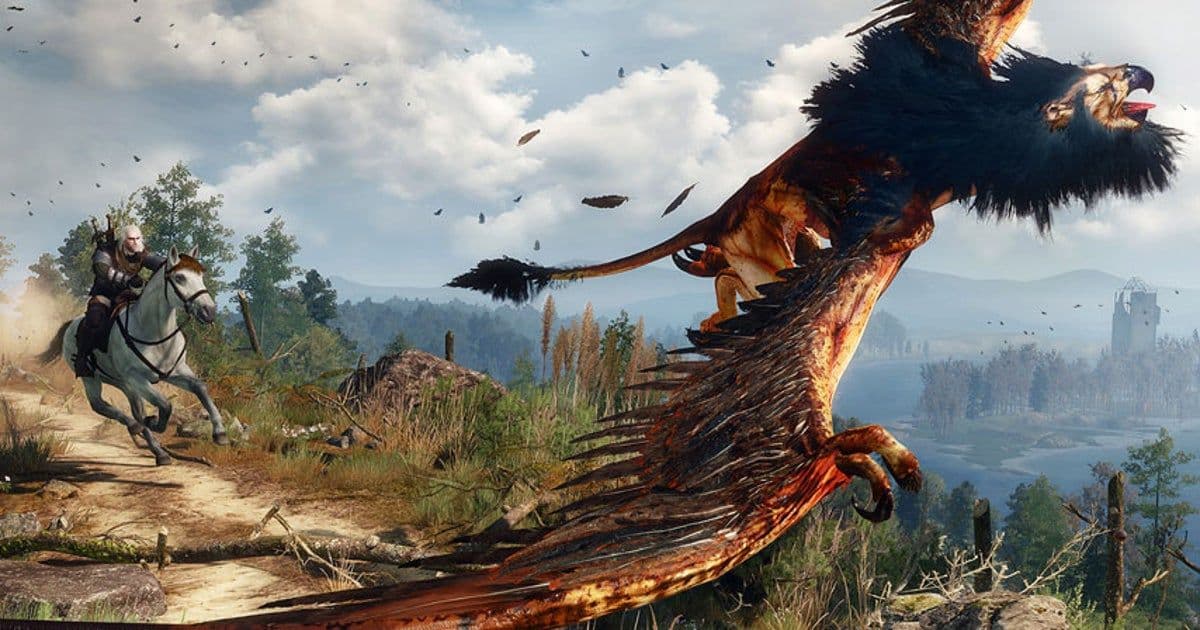
White Orchard Griffin Phase 2: The Mill Pursuit
You've wounded the beast, but the hunt isn't over. In The Witcher 3: Wild Hunt, the White Orchard Griffin will retreat when its health drops to about 50%, forcing you to track it down for the final confrontation. Don't get complacent—this second phase at the Mill is where many players get caught off guard.
Boss fight mechanics overview.
Follow the blood trail north from the ambush field using your Witcher Senses. The path leads directly to the Mill, a secondary location north of the initial battlefield. You'll find the Griffin perched here, wounded and angry, ready for round two. The arena is more confined, which changes the flow of the fight.
⚡ Pro tip: Before you re-engage, take a second to reapply Hybrid Oil to your silver sword if it's worn off and pop another Thunderbolt potion. That damage boost is crucial for finishing the fight quickly.
Your core strategy remains the same: use the crossbow ([L1]/[LB] to select, [R1]/[RB] to fire) to knock it out of the sky when it dives. However, the Griffin is more aggressive on the ground here. Stick to a disciplined hit-and-run approach—land two or three fast attacks with your silver sword, then dodge away immediately to avoid its swift wing counters. Getting greedy is the fastest way to a Game Over screen.
This is where your Grapeshot bombs truly shine. When the Griffin is grounded, especially if you've just stunned it with an Aard Sign, throw a bomb for massive burst damage. It will stagger the creature, giving you a perfect window to get behind it for several safe strikes.
Watch out for one new, telegraphed move: the sonic screech. The Griffin will stand on its hind legs and let out a deafening roar that can stun Geralt. The best counter is positioning—by maintaining a hit-and-run rhythm and circling, you'll naturally stay to its side or rear, avoiding the frontal cone of the attack entirely. If you see it rearing up, just roll away.
The combination of bombs, well-timed signs, and disciplined attacks will melt its remaining health. Once you land the final blow, the first major contract of your The Witcher 3: Wild Hunt journey is complete. Loot the corpse thoroughly—your well-earned rewards await.
White Orchard Griffin Rewards and Quest Completion
The griffin lies defeated, its reign of terror over White Orchard ended. Now, it’s time to claim your hard-earned spoils and face the final choice of this opening chapter in The Witcher 3: Wild Hunt.
Loot the Fallen Beast
Approach the griffin’s corpse and loot it thoroughly. This is more than just a victory lap—the items you collect are your first major rewards and essential crafting materials for the long road ahead.
- Griffin Trophy: This is the griffin’s head. You can equip it to Roach in your inventory’s trophy slot, granting a passive 10% chance to dismember humanoid enemies in combat—a small but satisfying boost.
- Griffin Mutagen: A vital alchemy ingredient. Head to your Character menu to slot it into one of the four mutagen slots. This specific mutagen provides a base +150 Vitality, significantly boosting your health pool right from the start.
- Griffin’s Egg: Another key alchemy component. Hold onto this, as it can be dismantled into other useful materials like Monster Egg and Monster Feather for future potions and bombs.
You’ll also pick up other standard loot like Griffin Feathers, Monster Tongue, and Infused Dust. Trust me, you’ll be glad you have these when you start crafting your next batch of potions and oils.
The Commander’s Reward
With the beast slain, your final objective is to return to Captain Peter Saar Gwynleve at the Nilfgaardian Garrison. Ride back or use the nearby fast-travel signpost. When you report your success, the captain will offer you payment.
⚠️ Watch out: This dialogue triggers a timed choice. You have only a few seconds to decide, so think fast.
Here’s the critical decision:
- Accept the Reward: Choose this to receive 150 Crowns and the standard amount of experience points for completing the quest. It’s immediate, useful gold for your early adventures.
- Refuse the Reward: If you turn down the coin, you’ll receive 0 Crowns but gain a significantly higher amount of XP. This choice leans into the classic Witcher code and can give you a nice leveling head start as you leave White Orchard.
Whichever you pick, Gwynleve will then reveal that Yennefer has traveled to Vizima, setting you on the path to the next main quest, Lilac and Gooseberries. Your work in White Orchard is complete.
With the Griffin Mutagen slotted for extra health, valuable alchemy ingredients in your pouch, and a key story lead, you’ve officially graduated from the prologue. You’re now ready to venture beyond White Orchard and into the vast, war-torn lands of Velen. The hunt continues.