How to Start Playing Gwent in The Witcher 3: Wild Hunt
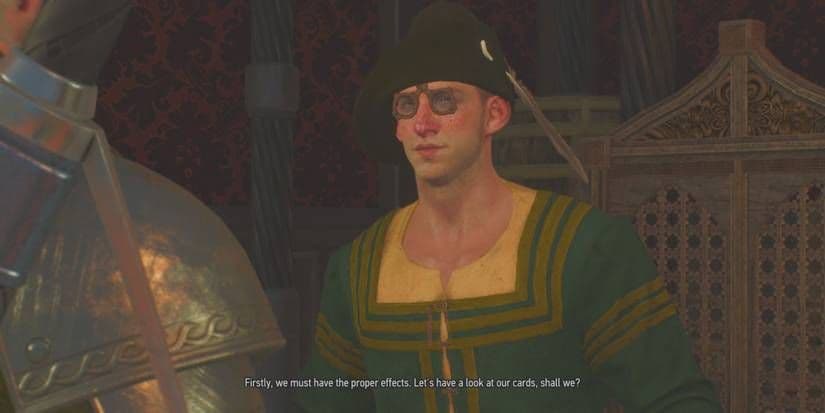
Welcome to the world of Gwent—the addictive card game that turns taverns across The Continent into your personal proving grounds. In The Witcher 3: Wild Hunt, this isn't just a side activity; it's a deep strategy game waiting for you to dive in. Your journey to becoming a master starts with a simple chat.
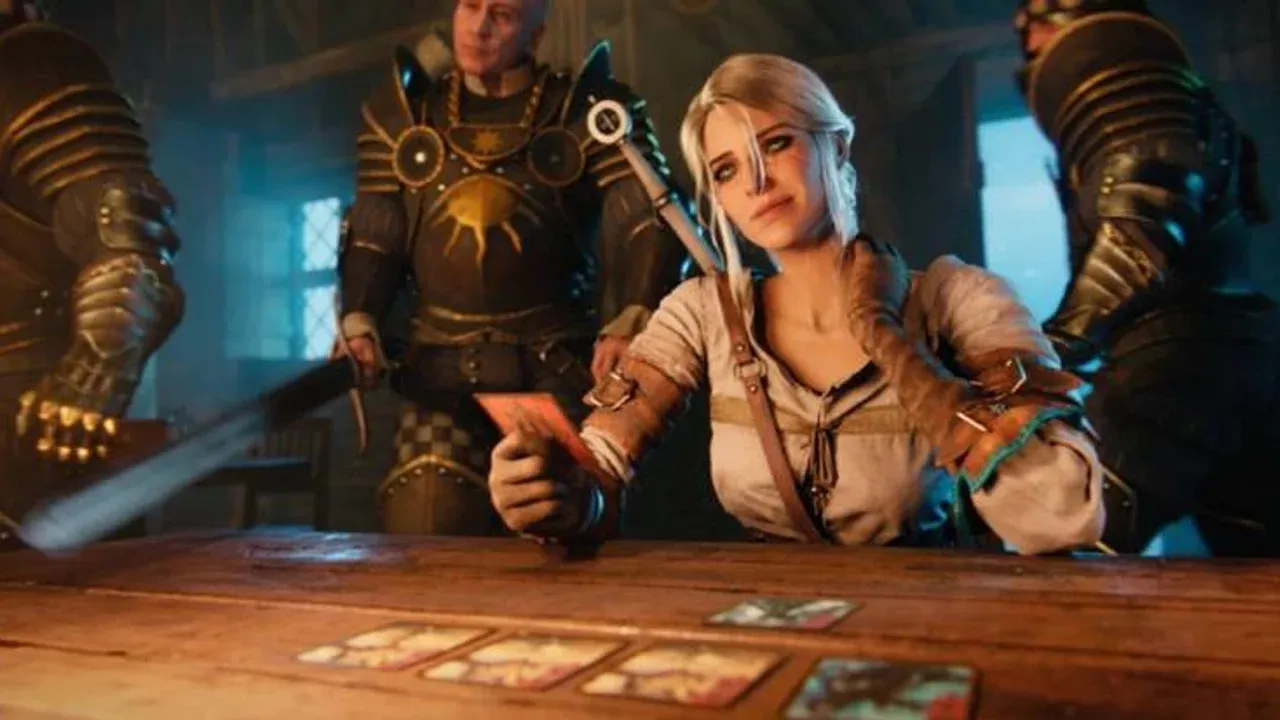
Understanding the Gwent game table is essential for beginners.
Head to the tavern in White Orchard and seek out Aldert Geert, a traveling scholar obsessed with the game. Talking to him serves two critical purposes: he hands you your first Northern Realms starter deck, and he officially begins the sprawling "Collect 'Em All" side quest. This quest tracks your progress toward finding all 199 unique cards in the game, turning every merchant and blacksmith into a potential source for your collection. Trust me, accepting this quest early is the best way to ensure you never miss a card.
Before you challenge the innkeep, take a moment to understand the battlefield. The Gwent board is divided into three rows for each player: Melee (marked by a sword icon), Ranged (a bow icon), and Siege (a catapult icon). You’ll place your unit cards on the corresponding row. The core objective is straightforward: win two out of three rounds by having a higher total power on the board than your opponent when the round ends.
Don’t be afraid to intentionally lose a round. If your opponent plays their strongest cards early, passing can conserve your best units for the next two rounds, where you’ll have a card advantage.
With your deck in hand and the basics down, you’re ready for your first match. The scholar will even point you to the White Orchard innkeep for a practice game. Remember, Gwent in The Witcher 3 is about smart resource management, bluffing, and knowing when to fold. Go win that first round—your collection awaits.
Gwent Rules and Card Types Explained
Think of Gwent in The Witcher 3: Wild Hunt as a game of layered strategy—it’s not just about playing big numbers, but understanding how different cards interact on the board. Once you know the pieces, the puzzles of each match start to click into place.
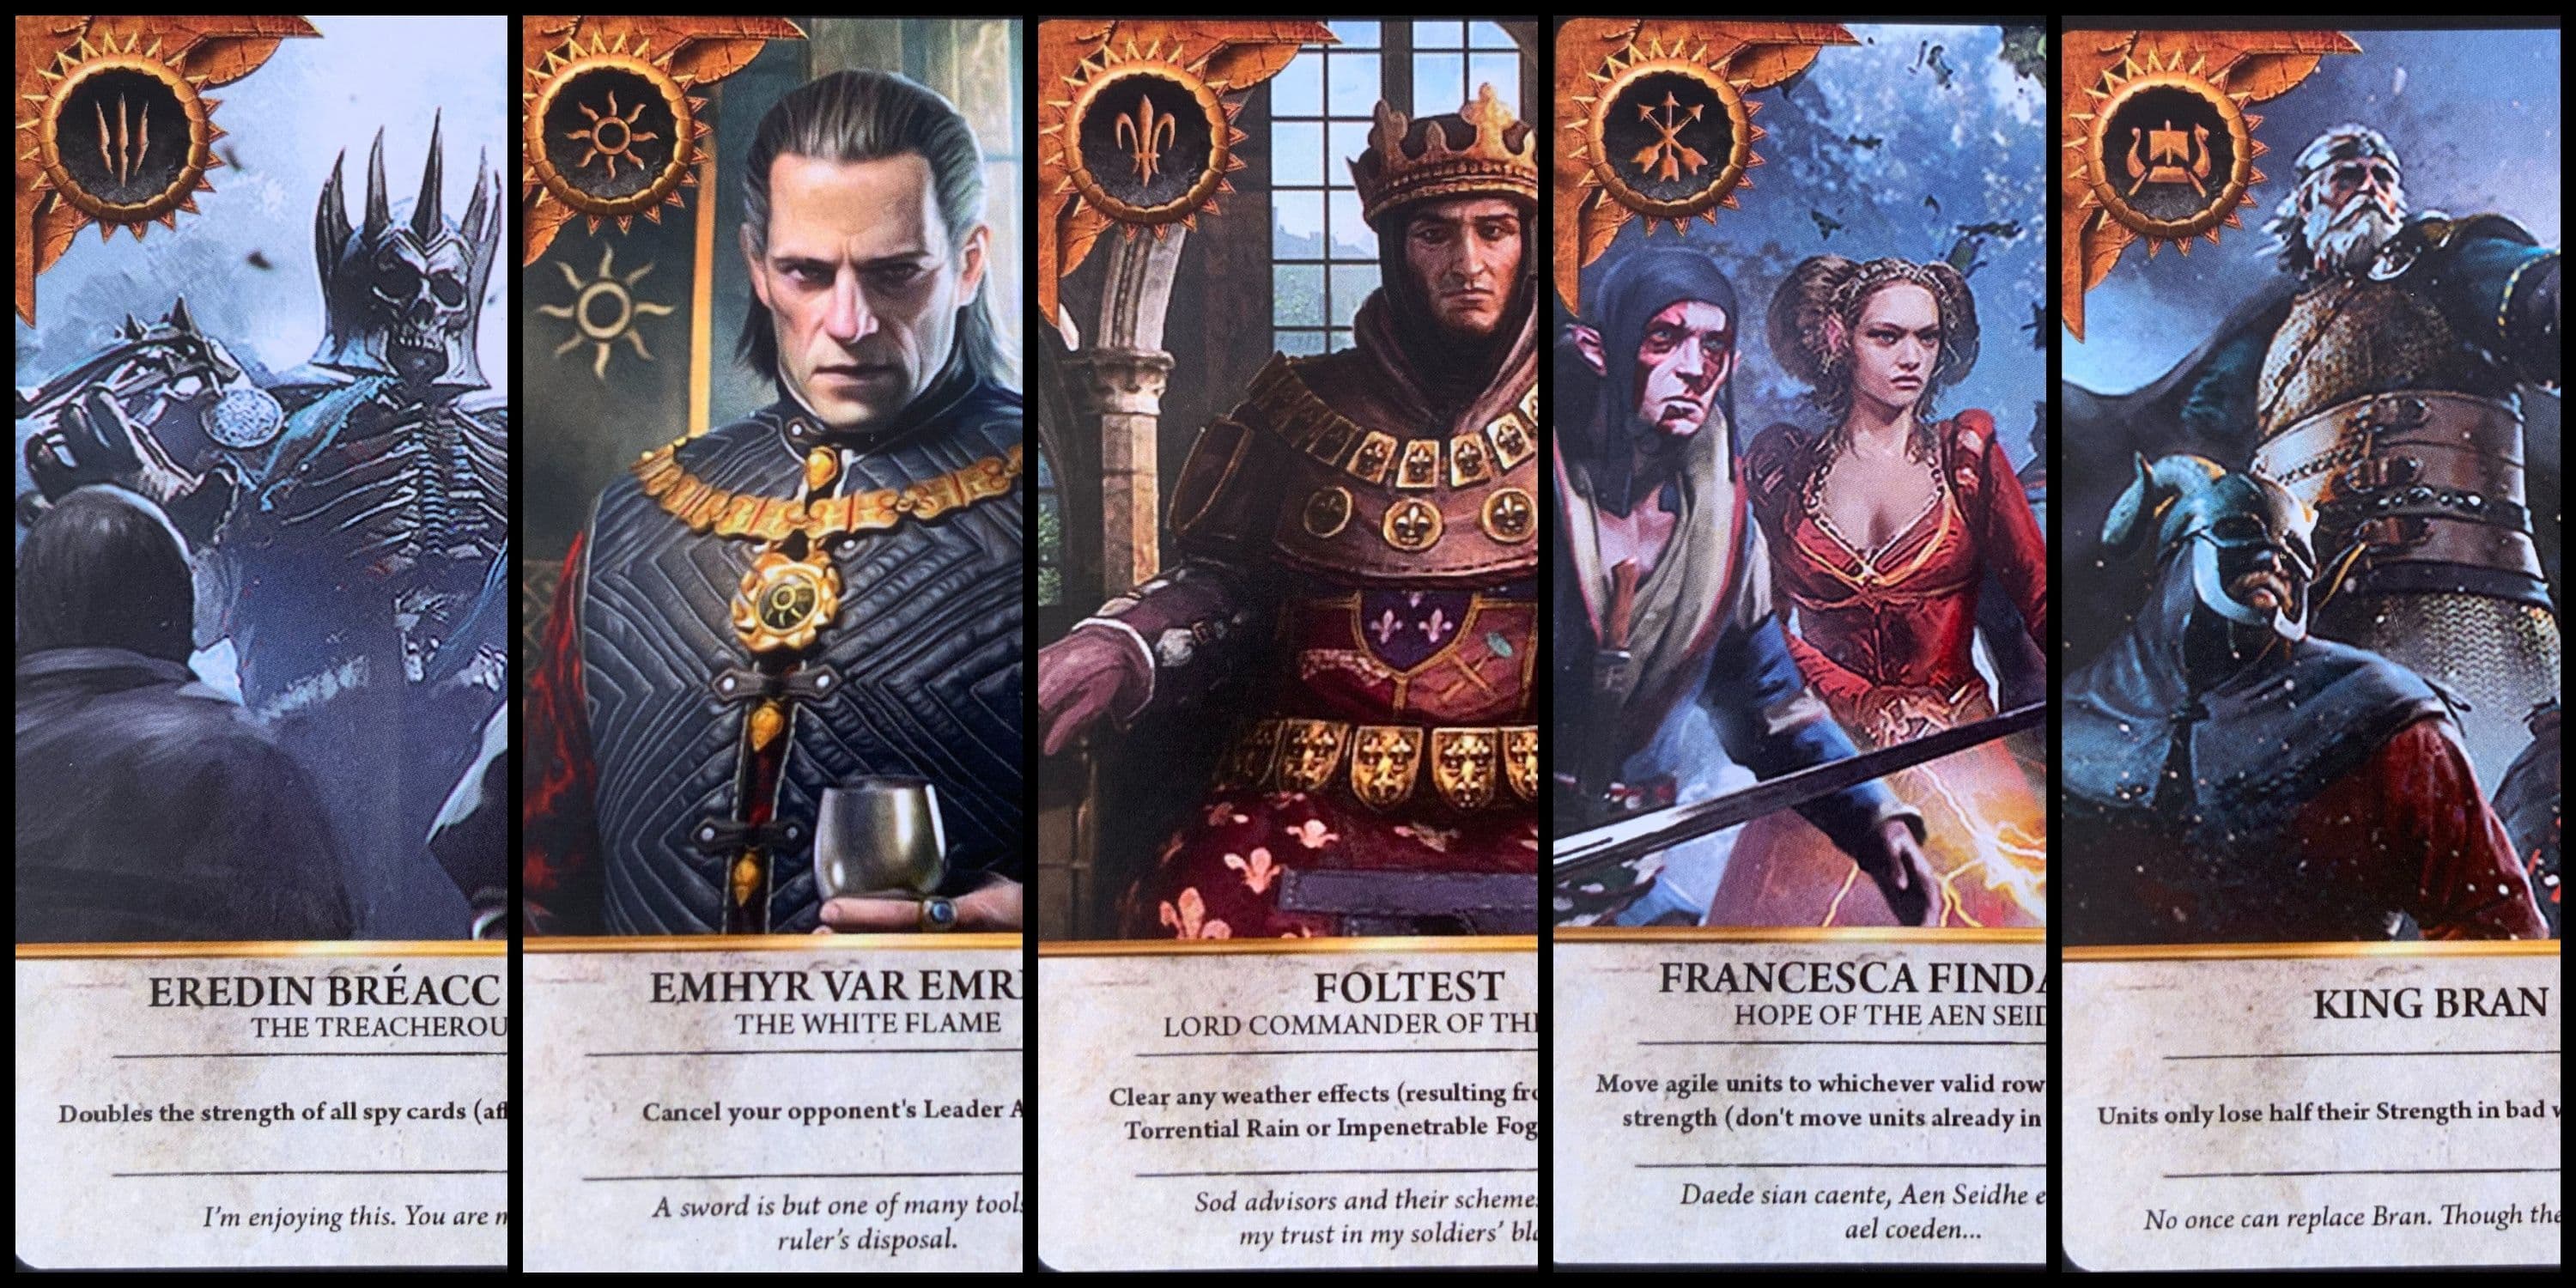
Faction leaders provide unique passive and active abilities during a match.
At its core, every match follows a simple Turn Structure. On your turn, you press [A] to play one card from your hand onto the board. If you have no good plays or want to save resources, you can press and hold [Y] to pass the round. Passing ends your involvement for that round, so timing it right—forcing your opponent to waste more cards than you—is a crucial skill. The first player to win two out of three rounds takes the match.
Your deck is built from four distinct card types, each serving a unique purpose.
Unit Cards and Hero Cards: Your Army on the Board
Unit Cards are your standard soldiers, archers, and siege engines. They have a numeric power value (ranging from 0 to 10) and must be placed on their corresponding row: Melee, Ranged, or Siege. Their strength is straightforward, but many have special abilities that make them far more valuable than their base number suggests.
Hero Cards are the legendary characters of the Witcher world, like Geralt of Rivia or Ciri. They boast high power values and, most importantly, are completely immune to all special effects and weather cards. They’re your reliable anchors in a chaotic match.
Special Cards and Leader Cards: Your Tactical Arsenal
Special Cards are your spells and tricks. These are non-unit cards you play to alter the state of the board. This category includes devastating Scorch cards that wipe out the highest-value units, Weather cards like Biting Frost that reduce entire rows to 1 strength, and utility cards like Decoy or Commander’s Horn. They don’t add points themselves, but they decide which points count.
Finally, each deck has one Leader Card, a unique faction commander with a powerful, once-per-game ability. You activate it by pressing [X], and timing it right can swing a round. For example, Foltest’s “The Siegemaster” ability acts as a free Commander’s Horn for your entire Siege row.
Don’t just look at a card’s power number. A low-strength Unit Card with a game-changing ability like Spy or Medic is often worth ten times a vanilla high-number card. Always read the fine print.
With these card types and the turn-based rhythm in mind, you’re no longer just playing random cards—you’re commanding a hand with intention. Let’s see how these pieces come together to form winning strategies.
How to Build a Powerful Northern Realms Starter Deck
Here's the secret to dominating Gwent early in The Witcher 3: Wild Hunt—build a Northern Realms deck that turns the game’s basic mechanics into an overwhelming advantage. This faction is your best friend for the first 20 hours, offering a straightforward path to a powerful deck that can crush every merchant and blacksmith in Velen and Novigrad.
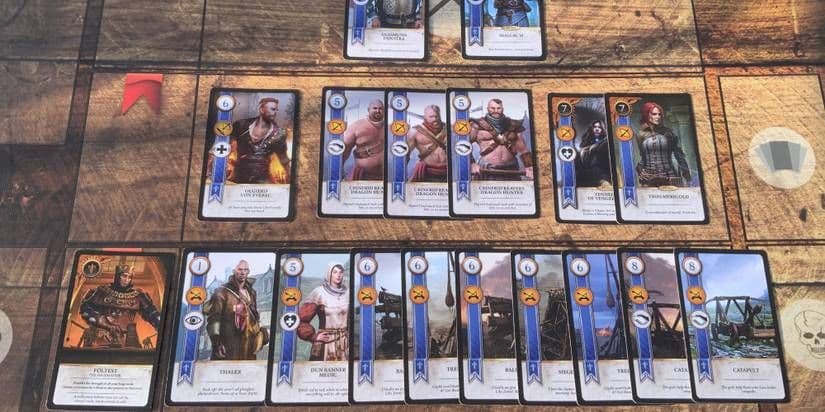
Key Northern Realms cards for building a strong early-game deck.
Your foundation is the Northern Realms faction ability: you draw an extra card from the deck after winning a round. This simple perk is a game-changer, letting you out-resource opponents by the final round. The strategy is to build a lean, mean deck focused on two powerful unit synergies you can grab almost immediately.
Your Early-Game Deck List
Your goal is a tight deck of 22-24 unit cards plus 8-10 specials. Here’s the core you should hunt for first:
Leader: Foltest: Lord Commander of the North. His Clear Weather ability is your insurance policy against opponents who try to shut down your rows. If you haven't won him yet, the default Foltest works fine to start.
Close Combat Row: Your bread and butter here is the Blue Stripes Commando. Buy every copy you see from Innkeepers in White Orchard and Velen. You want three. Their Tight Bond ability doubles their strength when played together—two Commandos are worth 8 points, and three are worth 12. Fill the rest of the row with Poor F---ing Infantry (also a Tight Bond card) or any other 4-5 strength units you win.
Siege Row: This is your finishing blow. The star here is the Kaedweni Siege Expert, a card you can buy from Merchants in Velen. Get three. Each one gives a +1 Morale Boost to other units in its row. Stack three of them with a Catapult (another high-value Siege unit with Tight Bond from Innkeepers) and watch your points soar.
Special Cards: Pack three Decoys to reuse your own Medics or steal opponent Spies, and at least one Commander’s Horn (buy the first from the Innkeeper in White Orchard). Include one Biting Frost and one Clear Weather for flexibility.
Always keep your deck as close to the 22-unit minimum as possible. A bloated deck with weak filler cards drastically lowers your chance of drawing your powerful Blue Stripes Commandos or Kaedweni Siege Experts when you need them.
How to Pilot Your Starter Deck
Your game plan is mechanical and brutal:
- Round 1: Apply Pressure. Lead with your Blue Stripes Commandos. Playing two together gives you an instant 8-strength row. Use your leader's Commander's Horn ability (if you have the default Foltest) or a Commander's Horn card to double it to 16. This often forces an opponent to overcommit their good cards or pass early. If they pass, you can pass too and intentionally lose the round—you’ve made them waste resources while you keep yours.
- Round 2 or 3: Unleash the Siege. Play your Kaedweni Siege Experts. One gives the row 2 strength. A second adds another point to the first, making it 3, and itself is 2 (total 5). A third makes the first two 3 and 4 strength, itself is 2 (total 9). Now drop a Commander’s Horn on that row to double it all. That’s an 18-point swing from three lowly 2-strength cards.
- Win with Card Advantage. Thanks to the Northern Realms faction perk, winning a round nets you an extra card. By round three, you should have 2-3 more cards than your opponent. Use this advantage to overpower them with your remaining Tight Bond pairs and heroes.
Your First Crucial Upgrades
Once this core is winning matches in Velen, seek these three cards to triple your deck's power:
- Vesemir: Win him from the banker Vimme Vivaldi in Novigrad. He's a solid 6-strength Close Combat unit.
- Yennefer of Vengerberg: A 7-strength Medic Hero card. Win her from Stjepan at the Alchemy Inn in Oxenfurt.
- Ciri: The ultimate prize—a 15-strength Hero. Win her from Dijkstra at the Bathhouse in Novigrad.
With this focused build, you’re not just playing Gwent in The Witcher 3—you’re farming opponents for their rare cards and building unstoppable momentum for the tournaments ahead.
Best Gwent Strategies for Winning Every Match
Alright, you've built a solid Northern Realms deck—now it's time to learn the advanced tactics that separate good players from unbeatable ones. In The Witcher 3: Wild Hunt, Gwent isn't just about playing your biggest cards; it's a three-round chess match of resource management and psychological warfare. This section covers the core strategic maneuvers that will let you outthink any opponent.
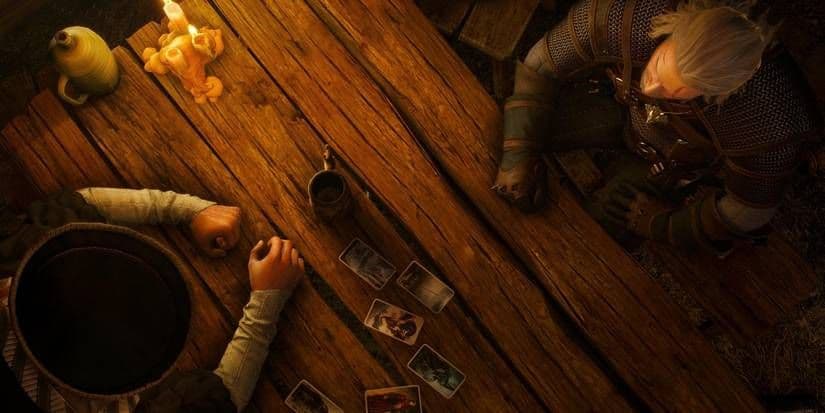
Analyzing the opponent's board to determine when to pass.
The Sacrifice: Winning by Losing Round 1
Your first major tactical shift is learning that sometimes, you win the match by losing the first round. The goal of The Sacrifice is to force your opponent to overcommit their best cards while you spend as little of your own power as possible.
Play your low-value units or Spy cards early. This baits your opponent into matching your score to win the round, often causing them to burn through multiple high-power cards or even a Hero. Once they've invested heavily, you simply pass. You lose the round, but you've preserved your strongest cards and drained their hand. Now you have a massive card advantage heading into Rounds 2 and 3. This is especially effective against aggressive Monster decks that love to swarm the board early.
Mastering Card Advantage
Winning in Gwent often comes down to who has more options. Card Advantage is the practice of ending a round with more cards in your hand than your opponent. The most direct way to achieve this is with Spy units.
When you play a Spy, it goes to your opponent's side of the board, adding to their score. In return, you draw two cards from your deck. The trick is to play Spies during a round you plan to lose (like the sacrificial Round 1) or when you can immediately negate the points you just gave away.
A Spy played well is worth more than a 10-power Hero. The two extra cards you draw are fuel for your later rounds, while your opponent gains a temporary, and often negligible, point boost.
Executing the Weather Trap
Here’s a brilliant combo that turns a risky play into a masterstroke. Let’s say you have a Close Combat Spy with a value of 5 or 6—playing it raw gives your opponent a big boost. This is where The Weather Trap comes in.
First, play that high-value Spy onto your opponent's Melee row. Then, immediately follow it with a Biting Frost weather card. The frost sets the strength of all Close Combat units to 1, including your newly placed Spy. You've just drawn two cards for the cost of giving your opponent a single point, and you may have crippled their entire Melee row in the process. This move is a cornerstone of high-level play.
The Medic and Decoy Engine
Two Special cards turn your discard pile into a second hand: Medic units and the Decoy.
A Medic card lets you revive any non-Hero unit card from your own discard pile and play it instantly. Use this to bring back a powerful Tight Bond unit or, even better, to replay one of your own Spy cards from the graveyard to draw yet another two cards.
The Decoy is even more versatile. Its primary use is to pick up one of your own units from the board (before a round ends) and return it to your hand. Fantastic targets include:
- Your own Medic, so you can use its ability again.
- Your own Spy that an opponent foolishly played on your side, turning their advantage against them.
- A high-value unit you want to protect from an incoming Scorch.
Used together, these cards create a recursive engine that can generate overwhelming value, especially for the Nilfgaardian Empire faction.
With these four strategies—The Sacrifice, leveraging Card Advantage, springing The Weather Trap, and cycling cards with Medics and Decoys—you’re no longer just playing cards; you’re controlling the flow of the entire match. Go make those tavern champions sweat.
Mastering the Nilfgaardian Empire and Monsters Factions
Ready to graduate from the straightforward might of Northern Realms? In The Witcher 3: Wild Hunt, the Nilfgaardian Empire and Monsters factions offer a deeper, more specialized kind of power. Mastering them means trading brute force for cunning and overwhelming numbers, turning Gwent from a simple card game into a masterclass in strategy.
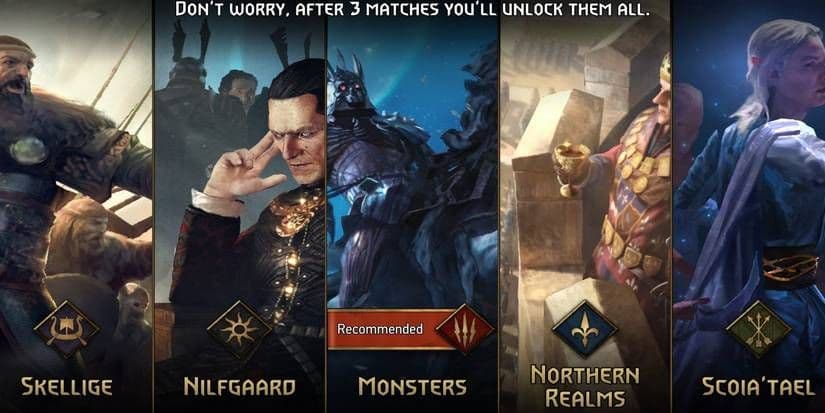
Choosing the right faction is the first step in mastering Gwent.
Mastering the Nilfgaardian Empire: The Art of the Tie
If you love playing a long, psychological game, Nilfgaardian Empire is your deck. This faction’s core strength isn't just a powerful card—it's a rule-bending perk: Nilfgaard wins the round in the event of a tie. This single ability flips the script. Your goal isn't just to win by more; it's to win by exactly the same number, or to force your opponent to run out of cards trying to beat you.
To execute this, you need two key card types: Spies and Medics. Your strategy is all about card advantage. Play your Spy cards on the opponent's side to give them a few points while you draw two new cards from your deck. Then, use Medic cards to pull those same Spies back from your discard pile and play them again. This cycle lets you burn through your deck faster than your opponent, exhausting their hand while you stockpile options. By the final round, you’ll have more cards and can often engineer a tie or a narrow win they can't contest.
Pair a high-value Spy with a Decoy card. Play the Spy to draw two cards, then use the Decoy to return it to your hand and play it again next round. It’s a brutal engine for card advantage.
Conquering with the Monsters Faction: The Swarm
Prefer to flood the board with terrifying force? The Monsters faction is built for overwhelming, aggressive plays. Their unique perk is that they keep one random unit on the board after a round ends. This means a powerful card can carry over into the next round, giving you a head start that can be demoralizing for your opponent.
The heart of the Monsters deck is the Muster ability. When you play a card with Muster, it instantly pulls all other cards with the same name from your deck to the board. Imagine having three Celaeno Harpy cards in your deck. Playing one summons the other two automatically, creating a massive point swing with a single card. Your deck should be packed with Muster units, primarily in the Close Combat row, to create these explosive turns.
⚠️ Watch out: The Monsters' greatest strength is also its greatest weakness. A well-timed Biting Frost weather card will set all your Close Combat units to 1 strength, neutralizing your entire swarm. Always pack at least one Clear Weather card in your deck as insurance.
Key Abilities for Advanced Play
To pilot these factions effectively, you need to master two crucial card abilities beyond the basics:
- Tight Bond: This effect doubles the strength of units with the same name when placed in the same row. If you have two Blue Stripes Commandos (each 4 strength) in the same Close Combat row, they become 8 strength each for a total of 16. This is a cornerstone of the Northern Realms deck, but understanding it is key to countering it when you face it with Nilfgaard or Monsters.
- Muster: As described, this is the Monsters' signature move. It doesn't just add points—it thins your deck, increasing the odds of drawing your best remaining cards in later rounds.
With the Nilfgaardian Empire's tie-breaking cunning and the Monsters faction's relentless swarm, you now have the tools to outthink and overpower any opponent in The Witcher 3. Choose your style, master its rhythm, and claim your victory.
How to Find Rare Gwent Cards in The Witcher 3
Now that you’ve mastered the strategies, it’s time to hunt down the cards that make them work. In The Witcher 3: Wild Hunt, the best cards are often rewards for beating specific characters, and knowing who to play—and where to find them—is the key to building an unbeatable deck.
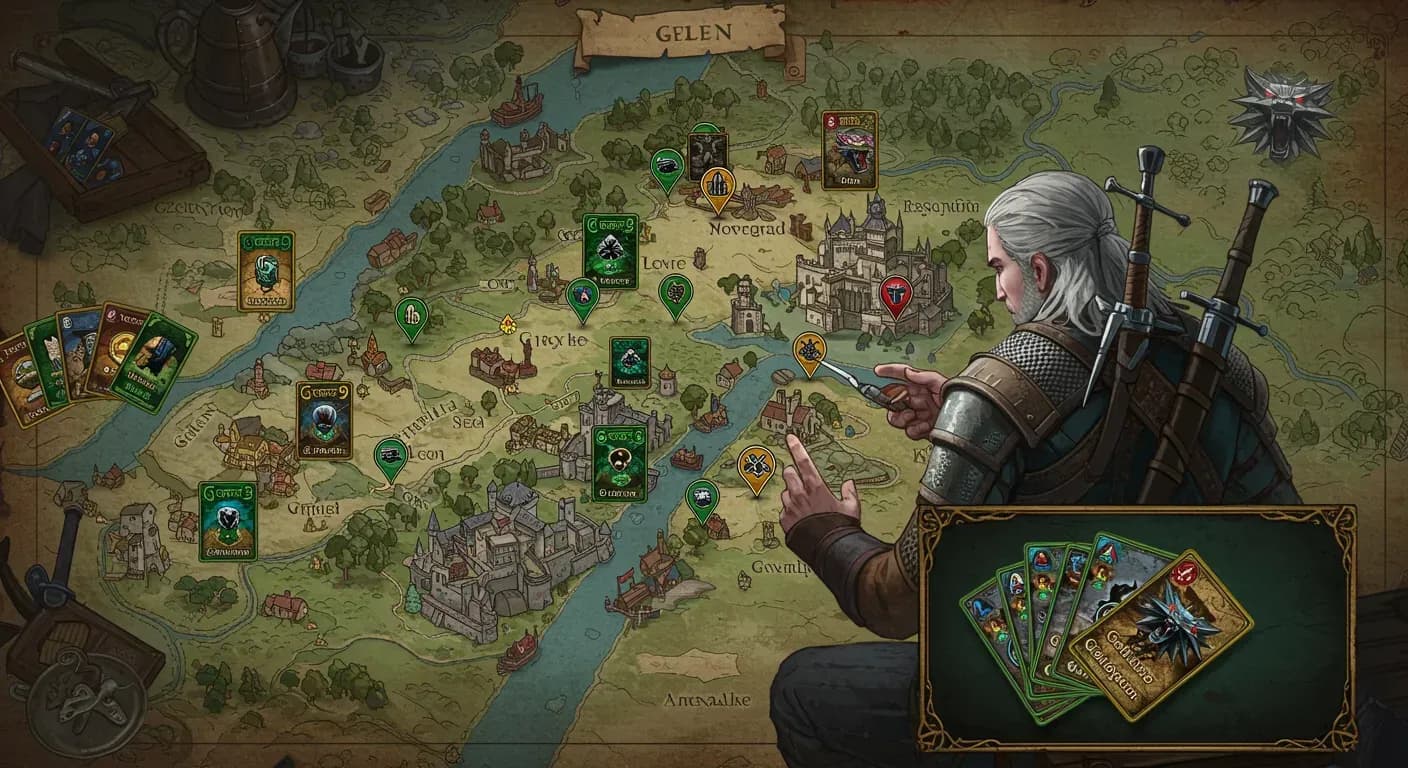
Tracking down every card involves exploring major hubs like Novigrad and Skellige.
Your first major card-hunting hub is Novigrad. Here, you’ll find several key opponents who hold some of the game’s most powerful Hero and Spy cards. The quests that lead you to them are your treasure map.
Start with the quest ‘Gwent: Old Pals’, which you can pick up from various notice boards or by talking to players. This quest points you toward several major figures, including Dijkstra. You’ll find him at the Bathhouse in Novigrad. Beating him rewards you with the incredible Cirilla Fiona Elen Rianno, a 15-power Hero card for your Neutral deck.
Another quest, ‘Big City Players’, will lead you to Vimme Vivaldi at the Vivaldi Bank in Novigrad. Win against him to add the solid Vesemir unit card to your collection. For a powerful Medic, seek out Stjepan at The Alchemy Inn in Novigrad during the quest ‘Playing Innkeeps’. Defeat him to win Yennefer of Vengerberg, a 7-strength Hero with the Medic ability.
Always save your game right before a high-stakes Gwent match. If you lose and miss out on a unique card, you can simply reload and try again without consequence.
Don’t neglect Velen in your search. Head to Crow’s Perch, the Baron’s castle in Velen, and challenge the Bloody Baron himself to a game. His defeat grants you the invaluable Sigismund Dijkstra Spy card, a cornerstone for any Nilfgaardian or spy-heavy strategy. Finally, keep an eye out for matches during the ‘Gwent: Old Pals’ quest chain, as winning them will also net you the legendary Geralt of Rivia card, another 15-power Neutral Hero.
With these rare cards in your deck, you’re not just playing Gwent—you’re dominating it. Let’s go claim your prizes.
Common Gwent Mistakes and How to Avoid Them
Even the best Gwent players in The Witcher 3: Wild Hunt started by making blunders. The difference between a frustrating loss and a dominant victory often comes down to avoiding a few common pitfalls. This section covers the tactical missteps that trip up new and veteran players alike, ensuring your deck plays to its full potential.
Ensure your deck meets tournament requirements to avoid disqualification.
The Perils of a Bloated Deck
Your first instinct might be to throw every decent card you own into your deck. This is a classic mistake. In Gwent, a smaller, focused deck is almost always superior. Remember, you need a minimum of 22 unit cards, but going far beyond that number dilutes your strategy. By keeping your deck size near that minimum, you dramatically increase your chances of drawing your high-value Hero cards and powerful synergistic units in your opening hand. Think quality over quantity; a deck of 25 excellent cards will consistently outperform a deck of 35 mediocre ones.
The Round 1 Overcommit
Winning feels good, but winning the first round at all costs can lose you the match. A common error is playing all your Hero cards and strongest units in Round 1 to secure an early lead. You might win the round, but you'll enter Rounds 2 and 3 with a weak hand, watching helplessly as your opponent dominates. The strategy is to manage your resources across all three rounds. Sometimes, it's smarter to play a few decoy cards, force your opponent to spend their best cards, and then pass to concede Round 1, saving your power for the deciding rounds.
Playing Scorch Carelessly
The Scorch special card is a powerful board wipe, but it's a double-edged sword. Its effect destroys the highest-value card(s) on the entire board, and if you have units matching that value, they get incinerated too. This "friendly fire" can completely backfire, turning your game-winning play into a self-inflicted disaster.
⚠️ Watch out: Before playing Scorch, count the points. If you have a 10-power unit and your opponent just played a 10, Scorch will destroy both. Sometimes it's still worth it if you wipe multiple enemy cards, but always check.
The smart play is to bait out your opponent's high-value cards first. Start a round with your lower-strength units, let them commit their giants, and then drop the Scorch to clear their side while yours remain safe.
Protecting Your Progress
This next tip is less about in-game strategy and more about safeguarding your collection. In The Witcher 3, many powerful cards are unique rewards for beating specific opponents, and if you lose, that opportunity is gone for good.
Get in the habit of saving the game before every new Gwent match. This simple act of "save scumming" lets you retry immediately if you lose, ensuring you never miss out on a rare card. It takes five seconds and saves hours of regret.
Master these fundamentals—trim your deck, manage your resources across rounds, wield Scorch with precision, and protect your card gains—and you'll stop beating yourself. Your opponents will provide enough challenge on their own.
The Witcher 3 Gwent Rewards and Tournaments
This is where your Gwent journey pays off. After collecting cards and honing your skills across the Continent, The Witcher 3: Wild Hunt offers its ultimate test: the High Stakes tournament. Held at the Passiflora in Novigrad, this is your chance to prove you’re the best and walk away with a legendary prize. Trust me, this is the Gwent challenge you’ve been preparing for.
The Gwent reward system provides unique cards and XP for winning matches.
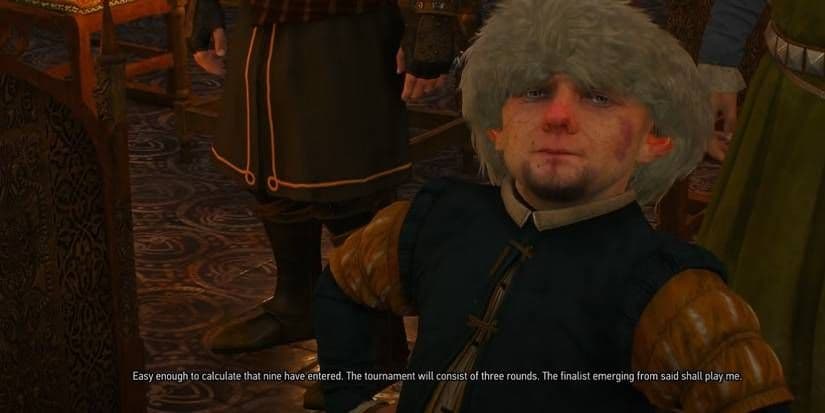
The High Stakes Tournament
To enter, you’ll need to find the tournament notice on a board in Novigrad, or head straight to the Passiflora. Speak to the scribe at the door, present your deck for inspection, and pay the 1000 Crown entry fee. You’ll face four formidable opponents in a row, with no chance to leave and buy new cards—so make sure your deck is tournament-ready and save your game before each match.
Your first opponent is Bernard Tulle, who wields a powerful Northern Realms deck. His signature card is Foltest: The Siegemaster, a leader card you’ll win for defeating him. This card’s ability destroys your strongest Siege unit if your combined Siege strength is 10 or more, so be cautious about stacking that row. Use Torrential Rain to counter his own siege units and focus on winning the card advantage war with your Spies.
Next up is Sasha, a cunning player with a Nilfgaardian Empire deck packed with Spy, Medic, and Decoy cards. Her leader, Emhyr var Emreis: The Relentless, can steal a card from your discard pile. This is a tough match—you’ll need to use your own Decoys to recycle her Spies and maintain your hand size. Win, and you’ll claim her leader card as your prize.
The third round is against Finneas and his Scoia’tael deck. He’s considered the easiest of the bunch, but don’t get complacent. After you beat him at Gwent, he’ll challenge you to a fistfight. Win that scuffle to claim the Francesca Findabair: Queen of Dol Blathanna card.
The final showdown is with Count Tybalt and his Monster deck. His strategy revolves around swarming the board with Muster units. Your best weapon here is Biting Frost to neutralize his Close Combat rows. Let him play a few cards to commit, then drop the frost to cripple his army. Defeating him rewards you with the Eredin, Destroyer of Worlds leader card and crowns you champion.
Save your game before each match in the High Stakes quest. A bad draw can happen to anyone, and this lets you retry without losing your 1000 Crown entry fee.
Legendary Rewards and the Ultimate Prize
Victory in the High Stakes tournament is about more than just glory. Your total winnings come to a massive 4500 Crowns, a huge sum that can fund your entire late-game adventure. More importantly, you’ll have collected four of the game’s most powerful and unique leader cards, which are essential for any serious deck.
But the ultimate reward for a true collector is the Card Collector achievement, awarded for finding every single Gwent card in the base game. The unique cards from High Stakes are mandatory for this, making the tournament a non-negotiable step on the path to 100% completion. It’s the final, definitive stamp on your mastery of The Witcher 3’s beloved card game.
With the High Stakes championship under your belt and your card collection complete, you’ve truly conquered Gwent. You’ve gone from a novice in White Orchard to a legend in the Passiflora. Now, deal 'em.