
Understanding the D20 System in Baldur's Gate 3
In Baldur's Gate III, every swing of your sword, every whispered persuasion, and every desperate dodge hinges on a single, fateful dice roll. This isn't just a game of stats and spells—it's a game of chance, governed by the iconic 20-sided die. Understanding this core d20 system is your first step from a bewildered adventurer to a tactical mastermind, turning moments of pure luck into calculated victories.
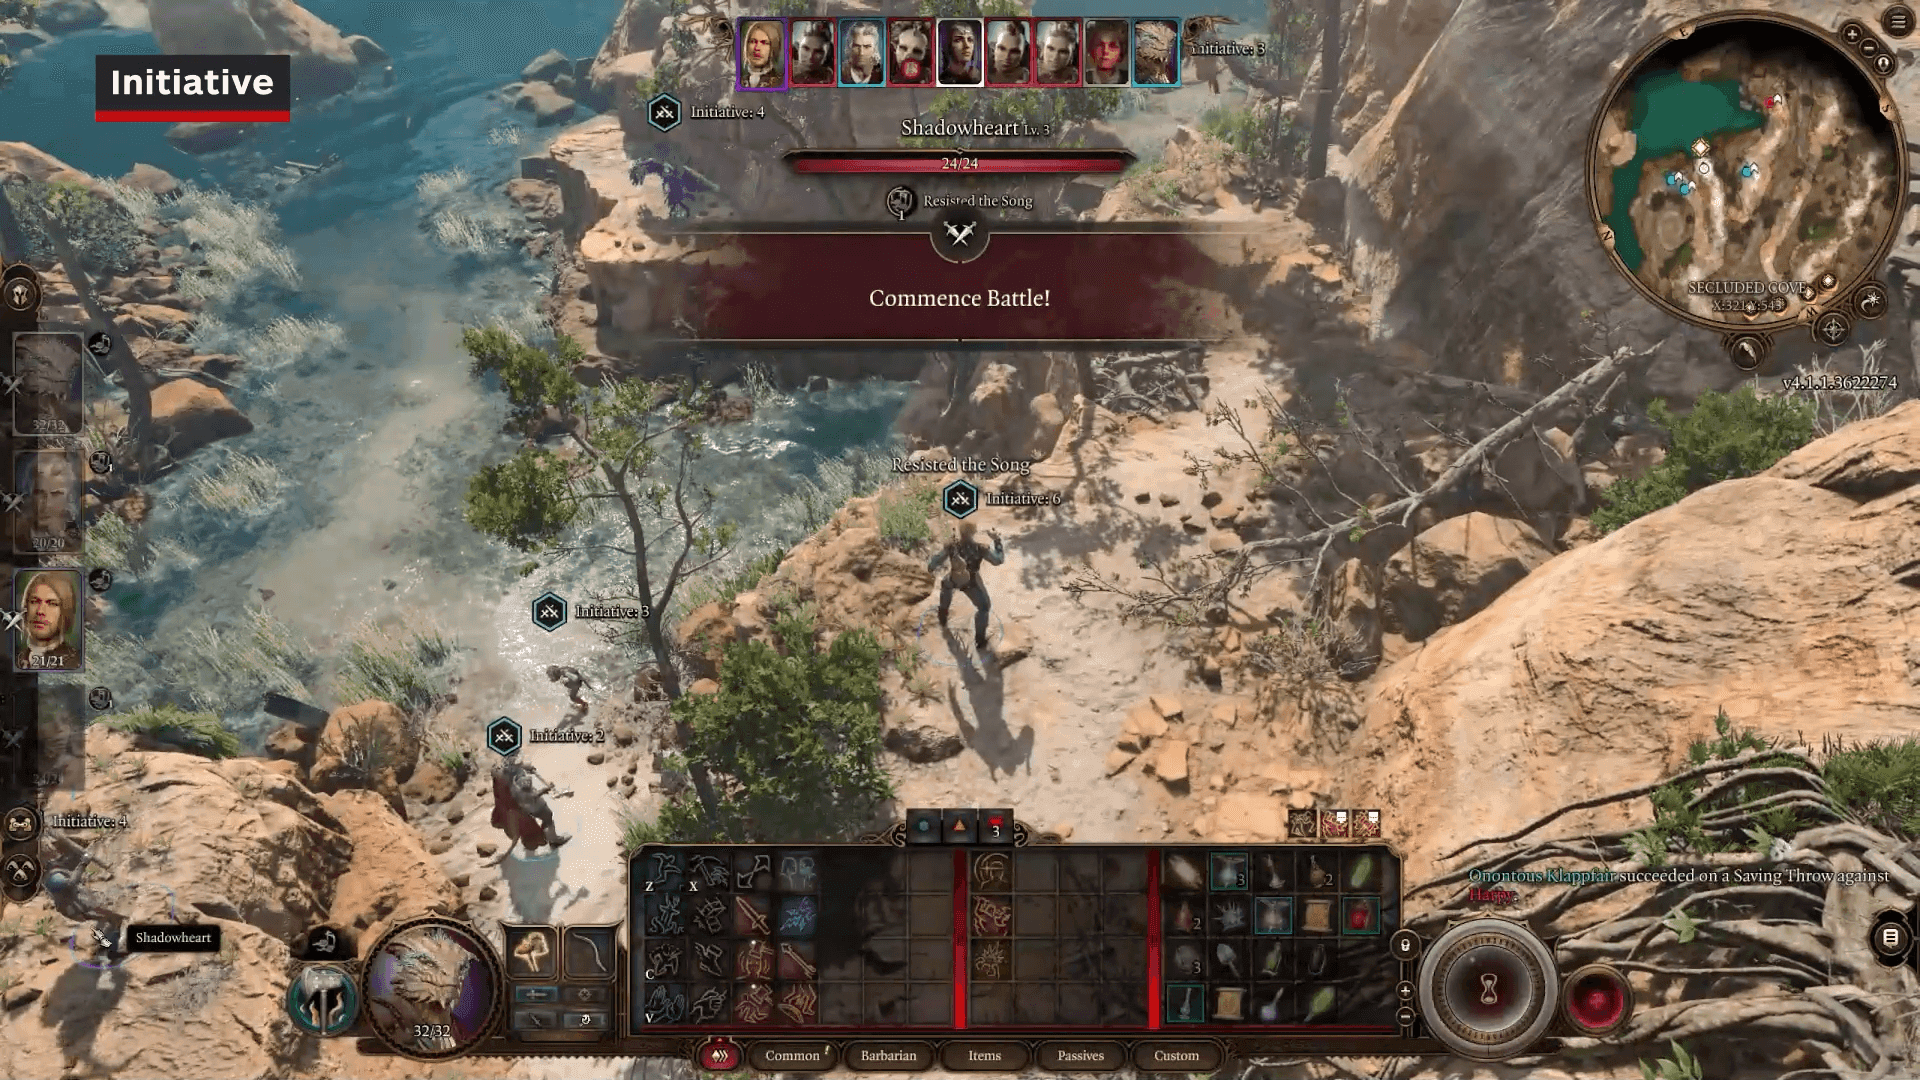
Initiative rolls determine the turn order in the D20 combat system.
The Heart of Every Action
At its core, the d20 system is beautifully simple. Whenever you attempt an action with a chance of failure—be it attacking a goblin, picking a lock, or resisting a spell—the game rolls a virtual d20. The result of that roll, plus any relevant modifiers, is compared against a target number. Meet or beat that number, and you succeed. Fall short, and you fail. This single mechanic determines the outcome of virtually everything you do in Baldur's Gate III, from combat to exploration to social encounters.
Breaking Down the Rolls
There are three primary types of d20 rolls you'll encounter, each with its own target number:
- Attack Rolls: When you swing your weapon or cast a targeted spell, you make an Attack Roll. Your roll is d20 + Ability Modifier + Proficiency Bonus (if you're proficient with the weapon or spell). This total is checked against the target's Armor Class (AC). If your total equals or exceeds their AC, you hit.
- Ability Checks: These cover everything outside of combat. Persuading a guard, sneaking past a monster, or investigating a strange rune all trigger an Ability Check. Here, your d20 + Ability Modifier + Proficiency Bonus (if proficient in the skill) is measured against a Difficulty Class (DC). This DC is a static number set by the game's designers to represent the challenge's complexity.
- Saving Throws: When a spell or trap tries to affect you, you get a chance to resist with a Saving Throw. You roll d20 + relevant Ability Modifier + Proficiency Bonus (if proficient in that type of save) to meet or exceed the attacker's Spell DC. This DC is calculated by the creature casting the spell (8 + their Ability Modifier + Proficiency Bonus).
The game does all the math for you. Before you take an action, look at the percentage chance displayed—it’s your real-time preview of that d20 roll's odds, factoring in all your bonuses and the target's defenses.
The Weight of a Natural 20 or 1
The d20 holds two legendary results that bypass all the math:
- A natural 20 (rolling a 20 on the die before modifiers) is a Critical Hit on an attack roll. It's an automatic hit that deals increased damage, often doubling your damage dice. It's a moment of spectacular success.
- A natural 1 (rolling a 1 on the die) is a Critical Failure. On an attack roll, this means an automatic miss, no matter how high your modifiers are. In other contexts, it simply represents the worst possible outcome.
These extremes add thrilling unpredictability. That desperate, low-odds attack can turn the tide with a lucky 20, while a confident strike can embarrassingly whiff on a 1.
Think of the d20 not as a random annoyance, but as the pulse of your adventure. By knowing what modifies its roll—your ability scores, proficiencies, and the tactical advantages covered in later sections—you stop leaving your fate to chance and start scripting your own legend. Master this, and you've mastered the foundation of Baldur's Gate III.
How to Master Advantage and Disadvantage in Baldur's Gate III
In Baldur's Gate III, your success hinges on more than just raw stats—it’s about tilting the dice in your favor. Mastering the mechanics of Advantage and Disadvantage is your key to turning desperate gambles into calculated victories, whether you’re swinging a sword or picking a lock.
Environmental factors often determine if you have Advantage.
When you have Advantage, the game rolls [2d20] and takes the higher result. This isn't just a minor boost; it increases your average roll from 10.5 to 13.825, a solid +3.325 bonus. Conversely, Disadvantage forces you to roll [2d20] and take the lower result, tanking your average to a dismal 7.175, a penalty of -3.325. You’ll see these states clearly on-screen: a Green Up Arrow next to your attack chance means Advantage, while a Red Down Arrow signals Disadvantage.
The power of Advantage isn't static. It provides the biggest relative boost (around a 24-25% better chance) when you need to roll a 9 through 13 on the d20. It’s your best friend for hitting well-armored foes.
The rules for stacking these effects are beautifully simple but crucial: they do not stack. Having five sources of Advantage doesn't mean you roll ten dice. More importantly, if you have at least one source of Advantage and one source of Disadvantage, they cancel each other out completely, resulting in a neutral [1d20] roll as if neither condition was present. This Cancellation Rule means you should never assume more is better; focus on applying your chosen condition while negating the enemy's.
Beyond Combat: Passive Checks and Saving Throws
These mechanics shape exploration and defense, too. For contested ability checks like Shoving or Hiding, the game uses a Passive Skill value (10 + the creature's skill bonus). Here, Advantage adds +5 to this passive value, and Disadvantage subtracts -5, effectively changing the Difficulty Class for the active roller.
They also apply to Saving Throws, your defense against spells and hazards. Rolling with Advantage on a save means rolling two d20s and taking the higher, dramatically increasing your chance to shake off a Hold Person or avoid a Fireball. As in combat, having both conditions cancels them out.
Putting It All Together
Think of Advantage as your tactical currency and Disadvantage as a debt to avoid. A Rogue attacking from the shadows, a spellcaster blinding a foe, or a fighter shoving an enemy prone—these are all investments that pay off in more reliable, devastating hits. Conversely, firing a bow with an enemy in your face or fighting in magical darkness are quick ways to waste your turn.
By actively seeking out Advantage and mitigating Disadvantage, you move from leaving your fate to chance to dictating the terms of every encounter. Now that you understand the rules, you’re ready to bend them to your will.
Pro Tactics for Gaining Advantage in Baldur's Gate 3 Combat
Now that you know how Advantage and Disadvantage work in Baldur's Gate III, let's turn that knowledge into power. This is where theory meets the battlefield—here are the pro tactics to consistently tip the dice in your favor.

High Ground (Environment > Stand at higher elevation than target, grants Advantage to Ranged Attacks)
Elevation isn't just for a better view; it's your best friend for ranged characters. When you stand at a higher elevation than your target, you gain Advantage on all ranged attack rolls. This is your cue to have your archers and spellcasters climb ladders, scale cliffs, or hop onto crates before unleashing hell. That extra +3.325 average bonus to your roll translates into far more reliable hits and nearly double the chance for a critical strike.
Stealth and Obscurity (Combat > [C] press to Hide or use Invisibility, grants Advantage on first attack)
Striking from the shadows is a classic for a reason. Press [C] to Hide your character (or use spells like Invisibility). If you successfully remain unseen and attack a target that hasn't detected you, your first attack roll against them is made with Advantage. This is the bread and butter for Rogues looking to enable Sneak Attack, but any character can use a well-timed hide to land a crucial, high-accuracy opening shot.
Backstabbing (Combat > Position character directly behind enemy, grants Advantage for Melee Attacks)
Flanking isn't just a tactical concept—it's a mechanical reward. When you position your melee character directly behind an enemy (so you're attacking from their rear arc), you gain Advantage on your melee attack rolls. It encourages smart positioning and team play, as having an ally engage the foe from the front makes it easy for another to slip behind for a devastating backstab.
Prone Targets (Combat > Use Shove or Grease to knock enemy down, grants Advantage to Melee within 3m)
A downed enemy is a vulnerable enemy. Use the Shove bonus action or spells like Grease to knock a target Prone. Any melee attack made against a Prone enemy within 3m is made with Advantage. Just remember: ranged attacks against a prone target suffer Disadvantage, so coordinate with your party.
⚠️ Watch out: Prone enemies automatically stand up at the end of their turn, ending the condition. Make sure your melee attackers are positioned to capitalize on it immediately.
Reckless Attack (Barbarian Class > [Action] grants Advantage on all attacks but grants enemies Advantage against you)
Sometimes the best defense is a furious, all-out offense. The Barbarian's Reckless Attack action is a powerful trade: it grants you Advantage on all melee attack rolls using Strength for the turn, but it also grants Advantage to all attack rolls made against you until your next turn. Use it to guarantee your hits when you need to burn down a priority target, but be ready to take a pounding in return.
Combine these tactics. Have your Barbarian use Reckless Attack on a Prone enemy you've flanked from behind. Multiple sources of Advantage don't stack mathematically, but layering conditions ensures your attack will happen even if one condition (like Prone) ends before your turn.
Mastering these five methods will transform your approach to Baldur's Gate III combat. You'll land more hits, score more criticals, and control the flow of every encounter. Let's go.
How Saving Throws Function in Baldur's Gate 3
Ever landed a Fireball dead-center on a group of enemies, only to see them shrug it off? Welcome to the other side of the dice—where Saving Throws decide your fate. In Baldur's Gate III, not every threat comes as a sword swing aimed at your Armor Class. Some of the most dangerous effects, from spells to traps, target your ability to resist them directly.
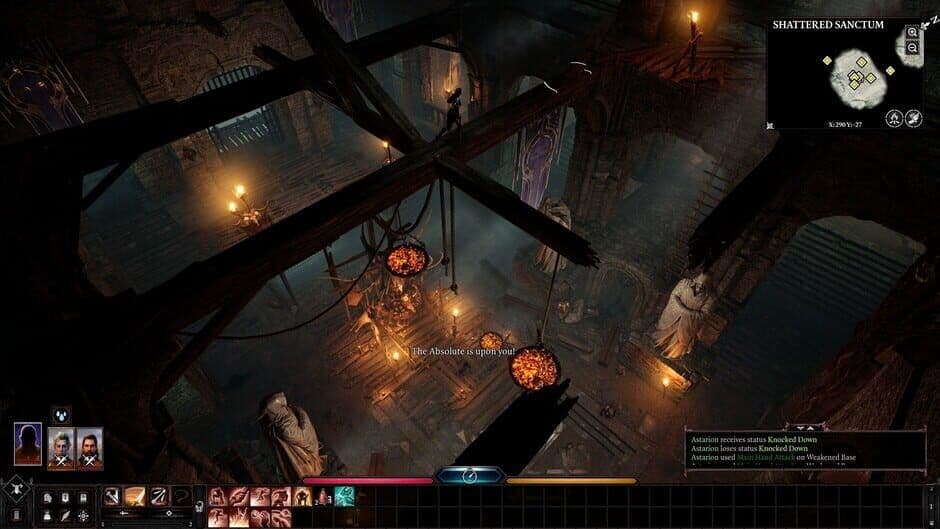
Understanding the difference between AC-based attacks and attribute-based saving throws is vital.
This is where the Saving Throw comes in. Think of it as your character's reactive defense. When a spell like Hold Person is cast on you, or you step on a poisoned trap, the game doesn't roll to see if it "hits." Instead, it automatically triggers, and you must roll to resist. You roll a d20 and add your relevant Ability Modifier (like Wisdom to resist mind control) and your Proficiency bonus if you're proficient in that type of save. Your total must meet or exceed the attacker's Difficulty Class (DC) to succeed.
Many damaging spells, like Fireball, deal half-damage on success. Even if enemies make their Saving Throw, they still get hurt—just not as badly. This makes targeting weak saves a reliable way to chip away at groups.
The Six Saves: Know Your Enemy (And Yourself)
Baldur's Gate III uses all six ability scores for Saving Throws, split into two familiar categories for veterans. The most common are the legacy saves: Fortitude (Constitution), Reflex (Dexterity), and Will (Wisdom). You'll face these constantly. Spells like Lightning Bolt and Fireball target Dexterity saves to dodge, while Blindness and Stunning Strike test your Constitution to endure. Effects like Hold Person and Charm Person challenge your Wisdom to see through the magic.
Then there are the three 5E Attribute Saves: Strength, Intelligence, and Charisma. These are rarer but often have severe consequences. Failing a Strength save against Entangle roots you in place. Failing an Intelligence save against Phantasmal Force can leave you battling terrifying illusions. And failing a Charisma save against Banishment can see you instantly removed from the fight.
The Ultimate Combat Strategy: Targeting Weaknesses
Here’s the trick most guides miss: you don't have to guess which save an enemy is bad at. Press [T] to Inspect any enemy and look at their Ability Scores. That creature with a 8 Intelligence? It's practically begging for you to hit it with an Intelligence-based spell. This is the core of high-level strategy in Baldur's Gate III. Instead of just throwing your strongest damage spell, choose the spell that targets the save your enemy is most likely to fail.
For example, a hulking, armored knight might have a sky-high Armor Class but a pitiful Dexterity. A Fireball (Dexterity save) will likely deal full or half damage more reliably than your fighter's sword swings will hit. This system rewards knowledge and preparation, turning seemingly tough encounters into puzzles with clear solutions.
So, the next time you prepare for a big fight, take a moment to Inspect. Identify the lowest Ability Score, and choose a spell that targets it. With this knowledge, you're not just casting spells—you're surgically dismantling your enemies' defenses.
Best Proficiency and Ability Score Setup for Beginners
Now we get to the heart of your character’s power—the numbers on your sheet. In Baldur's Gate III, your success isn't just about what you do, but the raw stats that make it possible. This section demystifies the math so you can build a hero who doesn't just look cool, but consistently hits hard and stands strong.

Turn-based math is calculated using your character's modifiers.
Let's break down the two pillars of every roll: your Ability Modifiers and your Proficiency Bonus.
First, your Ability Modifiers are derived directly from your six core stats (Strength, Dexterity, etc.). The formula is simple but critical: (Attribute Value - 10) / 2. For example, an 18 in Strength gives you a powerful +4 modifier. This number is added to nearly every relevant roll you make, from attack and damage to skill checks. It’s the primary driver of your character's effectiveness, so placing your highest scores in the abilities your class uses most is your first and most important build decision.
Second, the Proficiency Bonus represents your trained expertise. It starts at +2 at Level 1 and increases by +1 every 4 levels. You add this bonus to any action you're proficient in: attacking with weapons you're trained with, making skill checks you're skilled in, and resisting effects with saving throws your class is good at. It's a scaling reward for your adventure, ensuring your specialized talents keep pace with the game's challenges.
When creating your character, a 17 in your main stat gives you a +3 modifier. Planning to take a feat at level 4 that grants a +1 to that stat? That’s a perfect way to hit 18 for a +4 modifier early on.
These two numbers come together to define your class's role, especially for spellcasters. Your Spellcasting Ability determines which modifier fuels your magic. A Wizard uses Intelligence, a Cleric or Druid uses Wisdom, and a Sorcerer, Bard, Paladin, or Warlock uses Charisma. This modifier is added to your spell attack rolls and, crucially, is part of the formula that sets your Spell Save DC (8 + Proficiency Bonus + Spellcasting Ability Modifier). Picking a class that aligns with the personality and stats you want to play is key.
A common pitfall that can cripple this entire system is ignoring Armor Proficiency. Wearing armor without proficiency imposes Disadvantage on ALL rolls and prevents spellcasting. It doesn't matter if that plate mail looks amazing on your Wizard; if you aren't proficient, you'll be rolling with Disadvantage on every attack, check, and save, and your spells will fizzle. Always check your class's proficiency list before equipping new armor or shields.
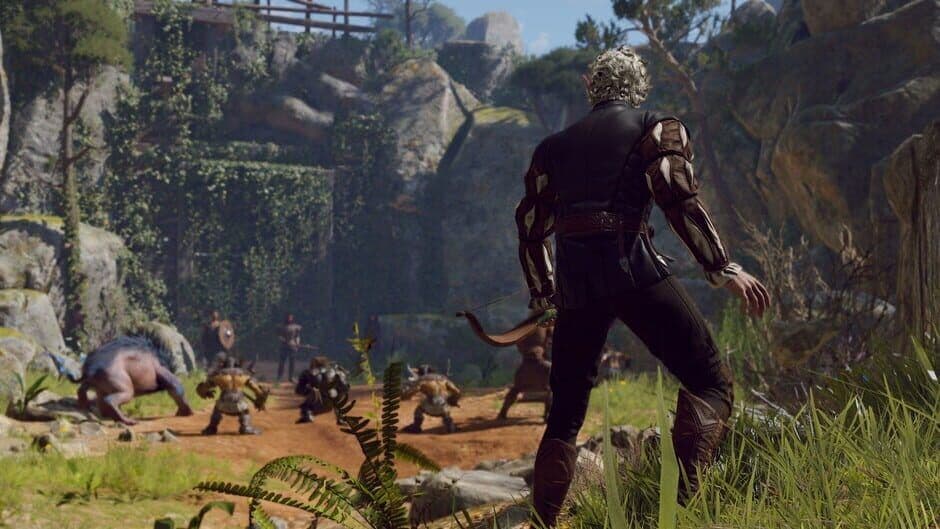
Your party members operate under the same rules, and one excels at turning these mechanics into massive damage: Astarion. As a Rogue party member, his core feature, Sneak Attack, deals extra damage whenever he has Advantage on an attack roll or when an ally is near his target. By using his Cunning Action: Hide bonus action to gain Advantage, he consistently triggers these devastating strikes, making him a master of exploiting the proficiency and advantage systems.
Understanding this internal math transforms the game from a series of lucky rolls into a predictable engine of success. Assign your stats wisely, wear the right gear, and play to your strengths—your character sheet is the most powerful weapon in your arsenal.
Baldur's Gate 3 Action Economy and Turn Basics
You’ve learned the dice, mastered Advantage, and built a solid character. Now it’s time to put it all into motion. In Baldur's Gate III, combat is a turn-based chess match, and knowing exactly what you can do on your turn is the key to victory.

Action bars display what you can do during your turn.
Your Turn: The Action Economy Breakdown
Think of your turn as a small pool of resources you spend to make things happen. The most important of these are your Action, Bonus Action, and Reaction. Most characters get one of each per turn, and they recharge at the start of your next turn. Here’s what each one means for you.
Your Action is your primary combat resource. This is what you use for your big moves: most weapon attacks, casting powerful spells, or using the Dash action to cover more ground. If you only do one thing on your turn, it’s probably going to be your Action.
Your Bonus Action is a secondary, smaller resource. It lets you perform quick, supplemental tasks like Jump, Shove an enemy, make an offhand attack with a second weapon, or cast specific spells designed to be swift. Not every class uses Bonus Actions every turn, but when you can, it’s free damage or utility.
Always look for ways to use your Bonus Action. Even a simple Shove can knock an enemy off a ledge for instant damage or create space for your ranged characters.
Your Reaction is a special resource that triggers automatically outside your turn when a specific condition is met. The most common use is an Attack of Opportunity, which lets you swing at an enemy who foolishly leaves your melee range. Spells like Shield or Counterspell also use your Reaction. You only get one per round, so use it wisely.
Setting the Pace: Initiative and Movement
Before you can spend any of those resources, you need to know when your turn comes up. That’s determined by Initiative, rolled at the start of combat. The game rolls [1d4] and adds your Dexterity Modifier. The higher your total, the sooner you act. A high Dexterity not only makes you harder to hit but often lets you strike first and control the flow of battle.
Once it’s your turn, you also have your Movement Speed. This isn’t a resource you “spend” like an Action, but it defines how far you can go. Your speed is based on race: Slow is 7.5m (like Halflings), Normal is 9m (like Elves and Humans), and Fast is 10.5m. This movement is halved in Difficult Terrain like deep water or thick swamp, so always keep an eye on the ground.
Putting It All Together
A typical turn might look like this: Use your Action to cast Guiding Bolt, spend your Bonus Action to jump to a higher vantage point, and move your full 9m to get behind cover. Then, hold your Reaction for an Attack of Opportunity if an enemy approaches your wizard.
Remember, the action economy is about efficiency. The side that uses their Actions, Bonus Actions, and Reactions most effectively usually wins. Now that you understand the clockwork of a turn, you’re ready to step into any fight in Baldur's Gate III and command the rhythm of battle.