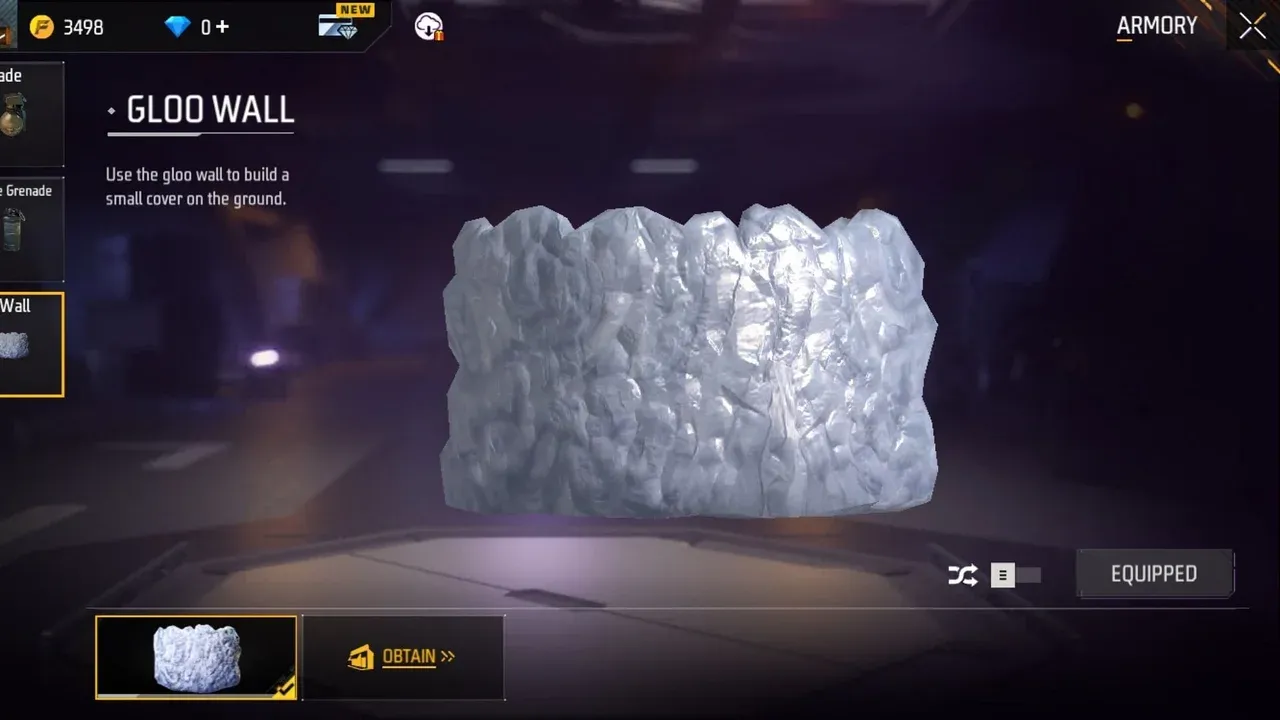
Best Custom HUD Layouts for 360-Degree Gloo Walls in Free Fire
In Free Fire, milliseconds decide firefights. Before you can master the 360-degree Gloo Wall trick or any advanced placement, you need a control setup that lets you build walls as fast as you think of them. This isn’t about having the fastest reflexes—it’s about giving your thumbs the shortest path to victory.

Combat environment in Free Fire.
The foundation of speed is your Custom HUD. Head to Settings > Controls and find the Gloo Wall button. Your first move is to enlarge it to 80-100% size. A bigger button is easier to hit under pressure, eliminating those frustrating mis-taps when you need cover now.
Test your new HUD in Training Mode. If you find yourself hesitating or missing the button in a stress drill, it’s a sign to tweak the size or position further.
Next, consider placement. For most players using a two-thumb layout, positioning the enlarged Gloo Wall button on the left side of the screen is a game-changer. This allows your left thumb to access it quickly without lifting off the movement joystick, keeping you mobile while you deploy. For players using advanced grips, this left-side placement also becomes prime real estate for your left index finger in a claw setup.
Speaking of claw setups, they’re the secret weapon of top builders. In a 3-Finger Claw Setup, you’ll place the Gloo Wall button at the top-left of your screen. Here, your left index finger presses to select and place walls, while your right thumb handles camera rotation. This分工 of labor lets you build and look around simultaneously.
For the ultimate in control and speed, the 4-Finger Claw Setup takes it further. You still position the Gloo Wall button top-left for your left index, but you also move your Crouch button to the top-right for your right index. This lets you execute the crucial crouch-place combo—where your left index selects the wall and your right index hits crouch—while your right thumb is free to perform the rapid 360-degree rotation. This seamless coordination turns a complex trick into a single, fluid motion.
Trust me, spending ten minutes optimizing this now will save you from countless defeats later. With your HUD tailored for speed, you’ve built the perfect cockpit to pilot your Gloo Walls to mastery. Let’s configure the rest of your settings.
How to Configure Settings for 360-Degree Gloo Wall Mastery
This is where milliseconds decide the match—in Free Fire, your ability to spin and place a Gloo Wall in a flash is the difference between a clutch revival and a frustrating elimination. The 360-degree trick isn't just about speed; it's about giving your thumbs the perfect environment to react. Let’s dial in the settings that turn frantic button-mashing into a smooth, controlled rotation.
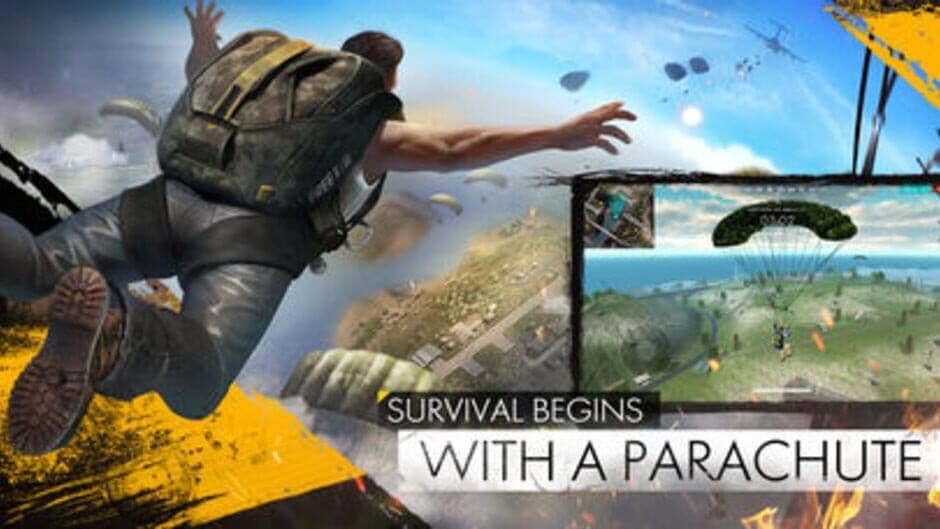
Strategic positioning is key to effective gloo wall deployment.
Sensitivity: Your Camera's Turbo Button
Your camera movement is the engine of the 360 trick. To spin a full circle and place walls without lag, you need to crank up the responsiveness. Head to Settings > Sensitivity and make two critical adjustments.
First, set your General sensitivity to 100. This maxes out your base look-around speed, allowing for the fastest possible camera rotation when you swipe your screen. Next, set your Red Dot sensitivity to 100 as well. While this seems aimed at aiming, a high Red Dot sensitivity ensures your close-range camera adjustments—crucial for fine-tuning wall placement at your feet—are instant and precise.
Practice these high sensitivities in the Training Grounds first. Do a few laps just spinning and getting a feel for the speed. It’ll feel twitchy at first, but your muscle memory will adapt quickly.
Control Settings: Removing the Training Wheels
Speed also comes from removing automated helpers that get in the way. In Settings > Controls, you’ll find two essential toggles.
Turn Smart Throw to [OFF]. This feature adds a targeting delay as the game tries to predict where you want to throw your Gloo Wall. For the 360 trick, that delay is a death sentence. With it off, you get manual, instantaneous placement the moment you tap the button.
Also, ensure your Left Fire Button is set to [Always ON]. This is non-negotiable. The standard technique for the 360 wall involves holding the Left Fire Button to continuously place walls while you use your right thumb to rotate the camera 360 degrees. If this button is hidden or set to context-sensitive, you simply cannot execute the trick fluidly.
With your sensitivity maxed for speed and your controls stripped down for direct input, your device is now an extension of your intent. You’ve eliminated the software barriers between your decision to wall up and the game’s response. Now you’re ready to build.
Step-by-Step 360-Degree Gloo Wall Execution Guide
Alright, it's go time. You've got your HUD dialed in, your settings are perfect, and now it's time to execute the move that turns you from a target into a fortress. In Free Fire, mastering the 360-degree Gloo Wall trick is your ultimate "get out of jail free" card for those moments when you're caught completely in the open. Let's break down the exact finger dance you need to learn.

Navigating the map in Free Fire.
The Core Execution Sequence
This technique isn't about spamming buttons—it's a precise, three-part sequence. The goal is to deploy three walls around you in under a second, creating an instant bunker.
First, nail the starting position. Your crosshair positioning is everything. Before you even think about the wall button, use your [Right Thumb] to drag your aim down until your reticle is hovering right at your character's feet. This low angle is critical for the walls to snap into place around you, not in front of you.
Next, initiate the combo. This is where the Crouch-Place Combo comes in. In one fluid motion, press your Crouch button, then immediately tap your Gloo Wall selection button, and follow it with a tap of your Fire button to place the first wall. Think of it as a single action: crouch-select-place. This crouching start helps anchor the first wall tightly to your position.
Finally, complete the rotation. Here’s where speed meets technique. For the fastest wrap, use the 360-Rotation Technique. After placing the first wall, hold down your Left Fire button (the one you typically use for continuous fire or alternate actions). While holding it, use your [Right Thumb] to swipe horizontally across your screen in a full, smooth 360-degree circle. If your sensitivity is set high (as recommended in the previous section), this rapid spin will automatically place the remaining two walls around you, completing the protective triangle.
Practice the thumb swipe in the Training Grounds first without walls. Get used to making a fast, consistent 360-degree spin. The muscle memory for that rotation is just as important as the button presses.
What If You're a One-Button Shooter?
If you don't use the left fire button and rely solely on the right side for everything, don't worry—you can still pull this off. Use the Right Fire Button Alternative method. Instead of the left fire hold, you'll need to coordinate two inputs: use your right thumb to drag the Right Fire button in a circular motion while simultaneously using your left thumb to rotate the movement Joystick in the opposite direction. This counter-rotation helps spin your camera view quickly enough to trigger the rapid placements. It’s trickier to master but absolutely viable once you get the rhythm down.
With these steps internalized, you can create a life-saving pocket of cover anywhere, anytime. It’s the perfect reset button for a heal, a reload, or just a moment to breathe and plan your next move. Now that you can build the bunker, let's learn how to fight from it.
Advanced Gloo Wall Movement and Peeking Tactics
Now that you can deploy a 360-degree shield, it’s time to make it move. In Free Fire, a stationary Gloo Wall is a target. This section transforms your static cover into a dynamic tool for controlling fights, turning your defensive shield into an offensive weapon.
Mastering the Movement Loop
The core of advanced Gloo Wall play isn't flashy placement—it’s a repeatable, disciplined pattern. Think of it as your combat heartbeat: Peek → Fire a short burst → Place wall → Shift to a new edge → Re-peek. This Movement Loop breaks enemy pre-aim and turns every engagement into a series of favorable, unpredictable trades. If you peek, take damage, and just stand still behind your wall, you're giving the enemy a free shot at the exact spot you'll reappear. The shift to a new edge is what makes you elusive.
Don’t wait to be hit to place a wall. Deploy it during your burst if the trade feels even, forcing your opponent to react while you’re already moving to a new angle.
Offensive Peeking and Defensive Formations
To turn your wall into a shooting platform, master the Peek-and-Shoot technique. Crouch behind your wall, then stand briefly to fire before immediately crouching again. This minimizes your exposed hitbox to a fraction of a second, making you incredibly hard to hit. For shotguns, keep your crosshair at head height before you peek; for SMGs, strafe across the wall's edge instead of making wide swings.
When you need absolute safety to heal, revive, or reset a chaotic fight, build the Triangle Defense. Place three walls around yourself in roughly 120-degree increments to create a complete 'triangle bunker'. This eliminates all exposed angles, giving you a critical few seconds to breathe. Remember, this isn't for camping—use it to listen for flanks, pop a medkit, and plan your exit from the safest side before grenades or wall-breaking skills like Skyler's arrive.
Advanced Deployment: The Slide-and-Tap
Speed is everything when you're caught in the open or pushing aggressively. Beyond the basic tap, use the Slide-and-Tap technique. Instead of pressing the button multiple times, quickly slide your thumb across the Gloo Wall button. This leverages the game’s auto-repeat feature to deploy 2-3 walls under 1 second, letting you build a forward chain or a layered defense almost instantly. This is how top players create a "walking fortress" during a push.
⚠️ Watch out: Even with perfect movement, never treat a Gloo Wall as permanent cover. Always assume it could be destroyed or flanked, and have your next move planned.
Integrate these movement and peeking tactics into your gameplay, and you’ll stop just surviving fights and start dictating them. Your shield is now an extension of your will on the battlefield. Let's control the flow.
Best Character Synergies for Gloo Wall Combat in Free Fire
Your Gloo Wall is only as strong as the character standing behind it. In Free Fire, the right character synergy can transform your temporary cover into an unbreakable fortress or a lethal tactical advantage. This section breaks down the best heroes to pair with your walls for ultimate durability and utility.

Free Fire character artwork.
The Core Synergy Picks
These characters directly interact with Gloo Wall mechanics, making them essential for any wall-centric playstyle.
First, meet Skyler, available in your Character Menu. His Riptide Rhythm ability is the premier offensive wall-breaker in the game. When activated, it sends out a sonic wave that damages and destroys enemy Gloo Walls in its path. The genius part? Each wave you deploy also recovers some of your own HP. This creates a punishing cycle: you destroy their cover, heal yourself, and force them into the open.
For pure, unshakeable defense, Nairi (also in the Character Menu) is your go-to. Her Ice Iron ability is a game-changer for bunkering down. When activated, it instantly restores the durability of all your deployed Gloo Walls and provides a burst of healing to you and nearby allies. If you're holding a position with a Triangle Defense, Nairi can reset its HP, making your temporary bunker last significantly longer under fire.
When facing a Skyler, always carry at least two Gloo Walls. His first Riptide Rhythm will break your initial cover, but having a second ready lets you re-wall instantly and counter-attack while his ability is on cooldown.
The Defensive & Support Anchors
Some characters don't directly affect the wall itself but provide incredible value when used within its safety.
Consider Chrono, unlocked via the Character Menu. His Time-Turner ability creates a forward-moving force field that blocks incoming bullets. The synergy here is perfect for rotation: use your Gloo Walls for static, anchored cover during a fight, and save Chrono's shield for when you need to sprint across open ground to a better position. Never overlap them—use each tool for its dedicated purpose.
For squad sustainability, Dimitri is unmatched. From the Character Menu, his Healing Heartbeat ability creates a stationary 3.5-meter diameter zone where you and your allies recover HP. The synergy is obvious and powerful: drop your 360-degree Gloo Wall bunker, then place Dimitri's healing zone inside it. Your squad can safely heal to full, reload, and reset the fight without a single point of exposure.
Building Your Loadout
Choosing your character is about filling your team's needs. If you're the entry fragger pushing with walls, Skyler lets you shatter the enemy's defense. If you're the anchor holding the final zone, Nairi makes your fortress last. For flexible playmakers, Chrono offers mobility, and for the ultimate support, Dimitri turns any Gloo Wall into a mobile clinic.
Trust me, mastering one of these synergies will make your Gloo Walls feel indestructible. Pick your specialist, and start controlling the battlefield.
Common Mistakes and How to Fix Them
Even the best Gloo Wall strategy can crumble if you fall into a few common traps. In Free Fire, your walls are precious resources—wasting them or using them predictably hands control of the fight to your enemy. This final section is about diagnosing those critical errors and giving you the fixes to become an unbreakable player.
The High-Ping Pitfall
Your network connection directly impacts how your walls work. This is the Ping-Reality Gap. If your ping is low (under 30ms), you can reactively place a wall when you're shot. But if your ping is over 70ms, that reactive wall will arrive too late on the server, and you'll be downed before it appears.
⚠️ The Fix: If your ping is high, you must switch to proactive placement. Don't wait to get shot. Place walls before you peek a risky angle or while rotating through open ground. Assume you can't rely on a panic wall and use your walls to build safe paths in advance.
Don't Telegraph Your Next Move
A static wall is a magnet for pre-aimed shots and grenades. The 'Telegraph' Problem is when you become predictable. If you always peek from the right side of your wall, a smart enemy will simply hold their crosshair there, waiting for your head to pop out.
Avoiding the 'Telegraph' is all about breaking patterns. Consciously vary your peek sides—go left sometimes, right others. Use the 'Ambidextrous Peek' technique. Better yet, place a wall, let the enemy see you at one edge, then quietly reposition to the opposite side or even abandon the wall entirely to flank them. Your walls should confuse, not announce.
When Walls Just Won't Stick
Sometimes, the game itself works against you. Terrain Interaction Failures happen on specific map geometry where Gloo Walls fail to deploy or embed weirdly. Problem spots include the railings on Bermuda's Peak, the uneven rubble at Kalahari's Command Post, and the complex surfaces of Factory rooftops.
The rule here is simple: in areas with complex geometry, assume a 15-20% chance your wall will fail. The fix is to test placements in Training Mode to learn these spots and, more importantly, never rely on a single wall in these areas. Have a backup plan or use pre-placement on known, flat ground nearby.
Managing Your Most Valuable Resource
This is the most common strategic mistake: wasting walls early. Gloo Economics means treating every wall as a finite, high-value resource for winning the match. Placing a wall after taking minor chip damage or using all three in the first fight leaves you defenseless for the final, forced rotations.
The Strategy: Save 2-4 walls for the final zone. Do not waste them on minor damage if you have natural cover. Before placing any wall, ask: Is the enemy in knock range? Is there no other cover? Does this wall create a kill opportunity? If the answer is "no," save it. Your last walls are for crossing the final open field, reviving a teammate under fire, or creating that crucial Triangle Defense when the zone closes.
Your Takeaway: Mastery in Free Fire isn't just about placing walls fast—it's about placing them smart. Respect your ping, break your patterns, learn the terrain, and hoard your resources for the moments that truly decide the Booyah. With these mistakes corrected, your Gloo Wall game is now complete. Go secure that victory.