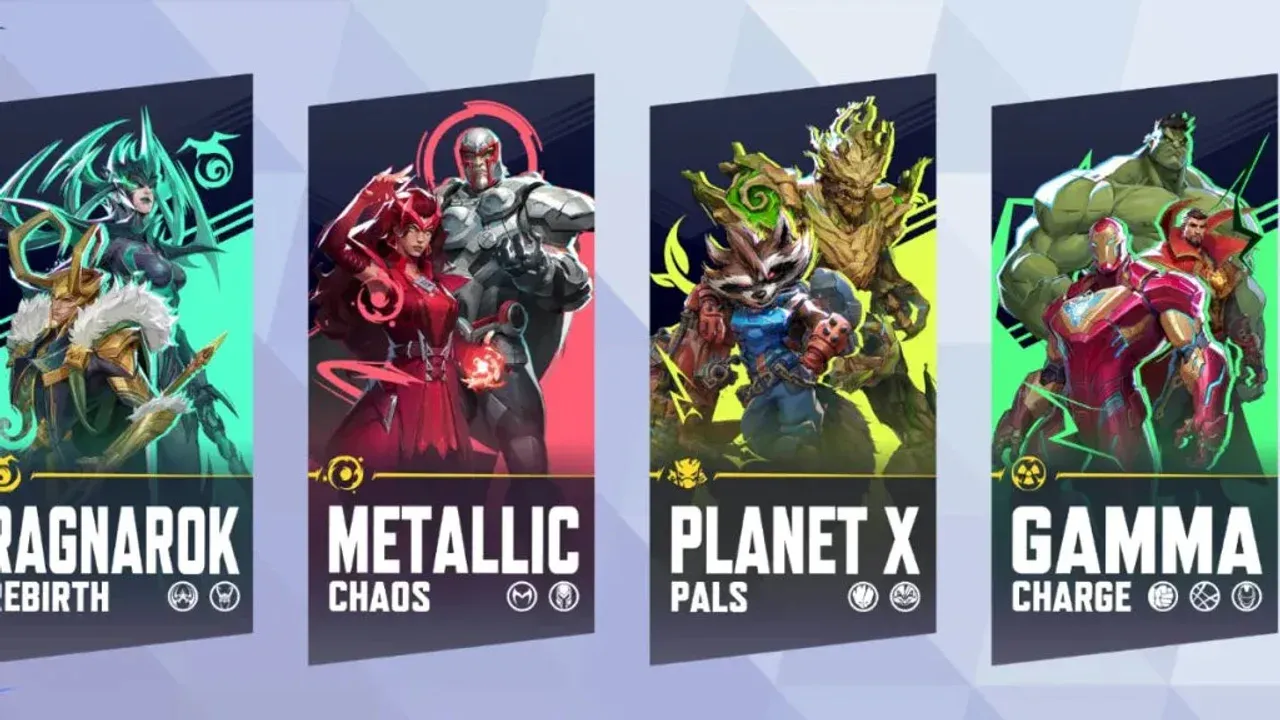
How to Counter the Rocket Raccoon and Punisher 'Ammo Overload' Duo
Hearing the relentless brrrrt of a minigun that never needs to reload is a unique kind of pressure in Marvel Rivals. The Ammo Overload synergy between Rocket Raccoon and Punisher creates exactly that nightmare: Punisher gains infinite ammo and a fire rate boost, turning him into an unstoppable turret that can lock down entire lanes. If you’re getting shredded before you can even peek a corner, you’re facing this duo. The good news? Their power has a single, fragile source. Here’s how to dismantle their infinite pressure and turn the tables.
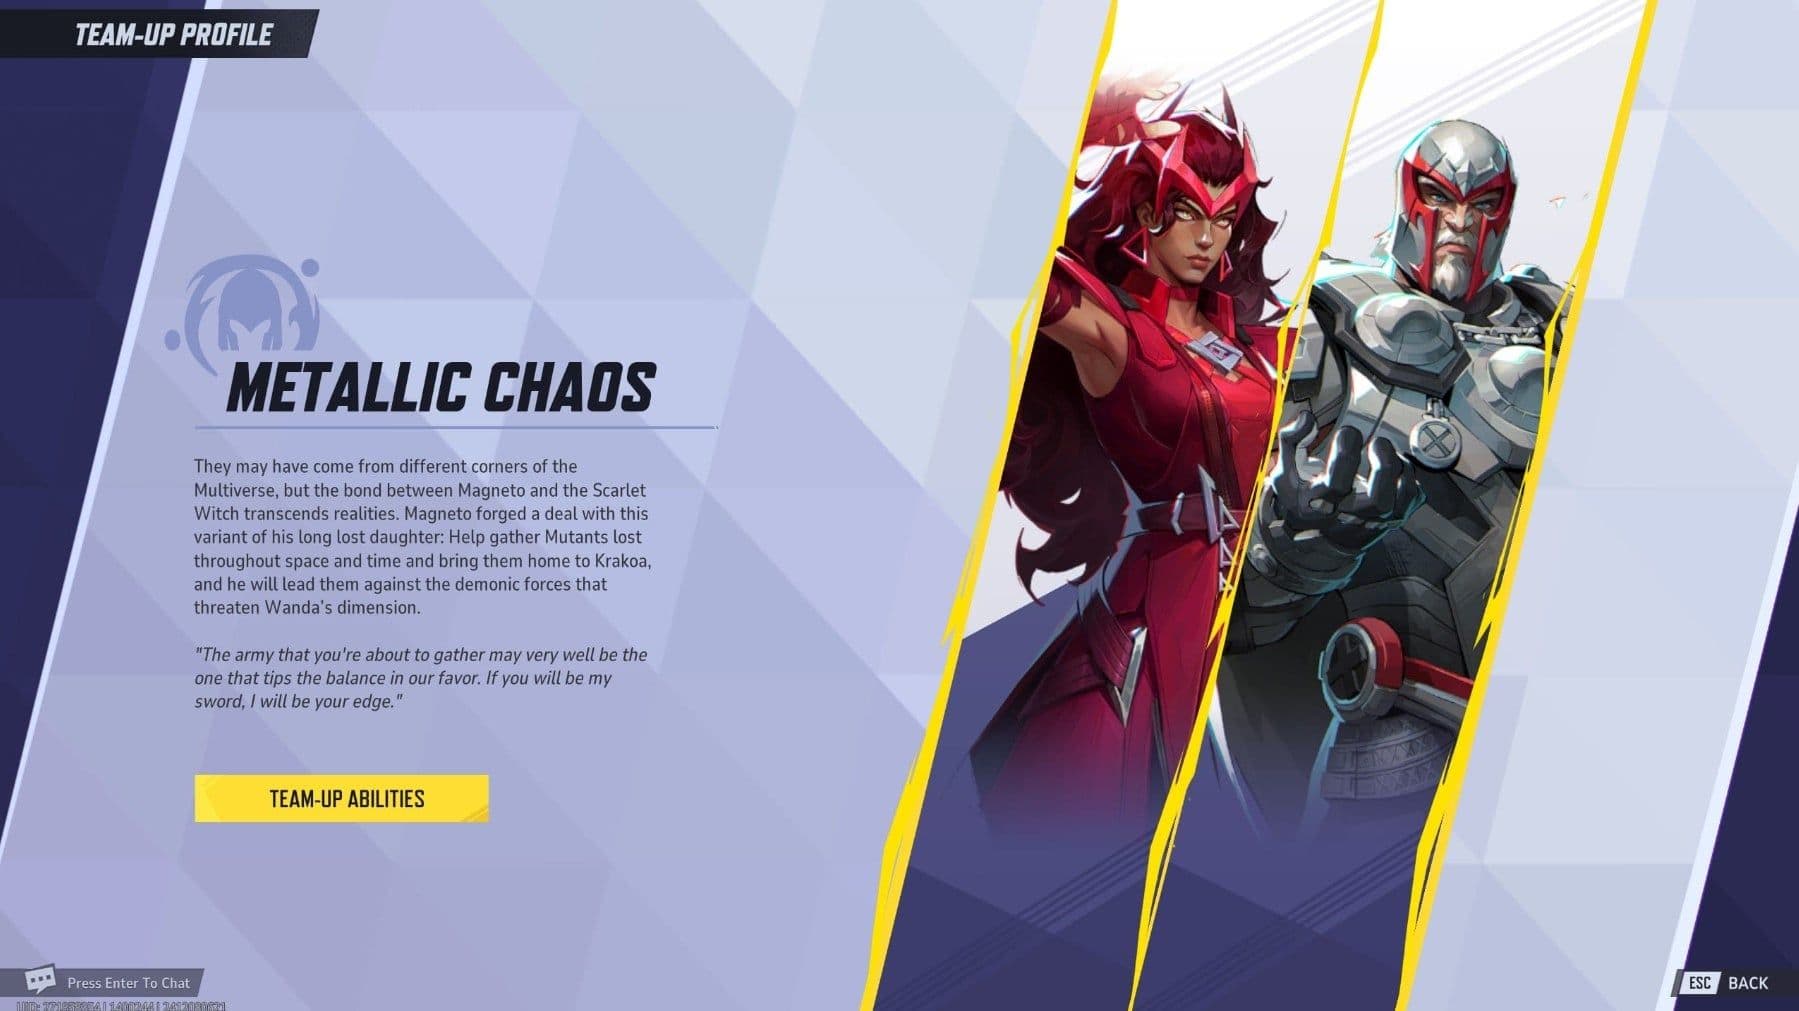
Magneto and Scarlet Witch's synergy is a key counter to the Ammo Overload duo.
The core of their strength is the Ammo Overload mechanic. Rocket Raccoon deploys a special device, and when Punisher enters it with [F], he gains infinite ammo and a boosted fire rate. This turns him from a high-damage threat into a non-stop barrage that can melt tanks and deny space. The entire strategy revolves around keeping this buff active, which means your first and most important target isn't the Punisher—it's his enabler.
Target the Enabler First
Your primary objective is to target the enabler, Rocket Raccoon. He’s the lynchpin. By focusing him down first, you destroy his Amplifier (or the Ammo Overload device) and remove the buffs from Punisher, instantly cutting the duo's lethality in half. This forces Punisher back into his standard reload cycle, creating windows for your team to push. Dive heroes who can get on top of Rocket are perfect for this job.
Strategic Hero Swaps to Break Their Combo
If you’re locked in this matchup, a smart hero swap can completely neutralize their plan. Here are the most effective counters:
- Swap to Groot (Vanguard): This is a classic and highly effective counter. Use Groot’s [E] to place a wall directly between Rocket Raccoon and Punisher. This blocks Rocket's line of sight, preventing him from healing Punisher or maintaining the Ammo Overload connection. It forces Rocket to reposition, often into vulnerable spots, and gives your team a clear window to focus fire.
- Swap to Phoenix (Duelist): For a more aggressive dismantling, Phoenix is your pick. Her [Q] Ultimate doesn't just deal damage—it can destroy Rocket's Amplifier in one go. The massive area damage and stun also hit both targets, disrupting their positioning and giving your team a huge opening to secure eliminations.
Listen for the distinct sound of Punisher’s minigun spinning up without pause—that’s your audio cue that Ammo Overload is active. Immediately call out Rocket’s position to your team.
By surgically removing Rocket Raccoon from the fight or using area control to break their synergy, you strip the “Overload” from their Ammo. This duo relies on overwhelming, sustained pressure; once you break the chain, they become two separate, manageable threats. Focus the enabler, control their sightlines, and watch their oppressive firepower sputter out.
Dismantling the Magneto and Scarlet Witch 'Metallic Chaos' Synergy
Seeing Scarlet Witch and Magneto on the enemy team in Marvel Rivals is a signal to tighten up—their Metallic Chaos synergy turns Magneto into a relentless, high-charge engine of destruction. This isn't just about raw damage; it's about the oppressive tempo they create. When Scarlet Witch infuses Magneto, he gains a Chaos Greatsword and, critically, a massive Ultimate charge boost. This means you'll face his devastating ultimate, Magnetic Catastrophe, far more often than normal, creating a constant pressure loop that can overwhelm unprepared teams.

Magneto and Scarlet Witch combine their powers for the Metallic Chaos synergy.
The core threat is a double-layered one: Magneto's empowered, sustained pressure and his rapidly charging fight-winning ultimate. Your defense must be just as layered.
Neutralize the Chaos Projectiles
Your frontline's first job is to manage the incoming storm of metal. Doctor Strange is a premier pick for this. As a frontline Vanguard, his [RMB] hold Shield of the Seraphim is your team's primary bulwark. Time it to block the volley of Chaos Greatsword projectiles, protecting your backline and making Magneto's pressure inefficient. This shield isn't just for defense—it creates the safe space your damage dealers need to operate.
⚠️ Watch out: The synergy's true danger is the ultimate charge. Even if you block the damage, you're still feeding his meter. The goal is to create windows to strike back.
Disrupt the Source
A more aggressive, and often more effective, counter is to mirror their strategy. Swapping to Magneto yourself turns their greatest strength against them. Your [E] hold ability allows you to absorb and redirect Scarlet Witch's own projectiles directly back at her. This serves a dual purpose: it damages the enabler of the synergy and, more importantly, forces her to reposition and waste cooldowns, breaking the clean flow of Metallic Chaos.
If you're playing a Duelist, your target priority is clear: Scarlet Witch. A perfectly timed pick on her collapses the entire combo. Bucky Barnes excels at this surgical strike. Use your [RMB] hook to pull Scarlet Witch out of her safety zone or, crucially, to yank her out of her channeled Ultimate. Breaking her concentration not only saves your team but severs the link to Magneto at the most critical moment.
With smart shield management on your Vanguard and focused disruption on Scarlet Witch, you dismantle the Metallic Chaos engine before it can ever truly rev up. They rely on synergy—your job is to force them to play as isolated heroes.
How to Beat the Devil Dinosaur and Punisher 'Primal Punishment' Meta
This is the frontline pressure cooker of Marvel Rivals Season 8: a hulking dinosaur creating chaos while a mounted Punisher rains down hell. The Devil Dinosaur and Punisher ‘Primal Punishment’ meta feels oppressive because it layers constant chip damage with unshakeable frontline presence. But this powerhouse has a critical, exploitable flaw in its timing.
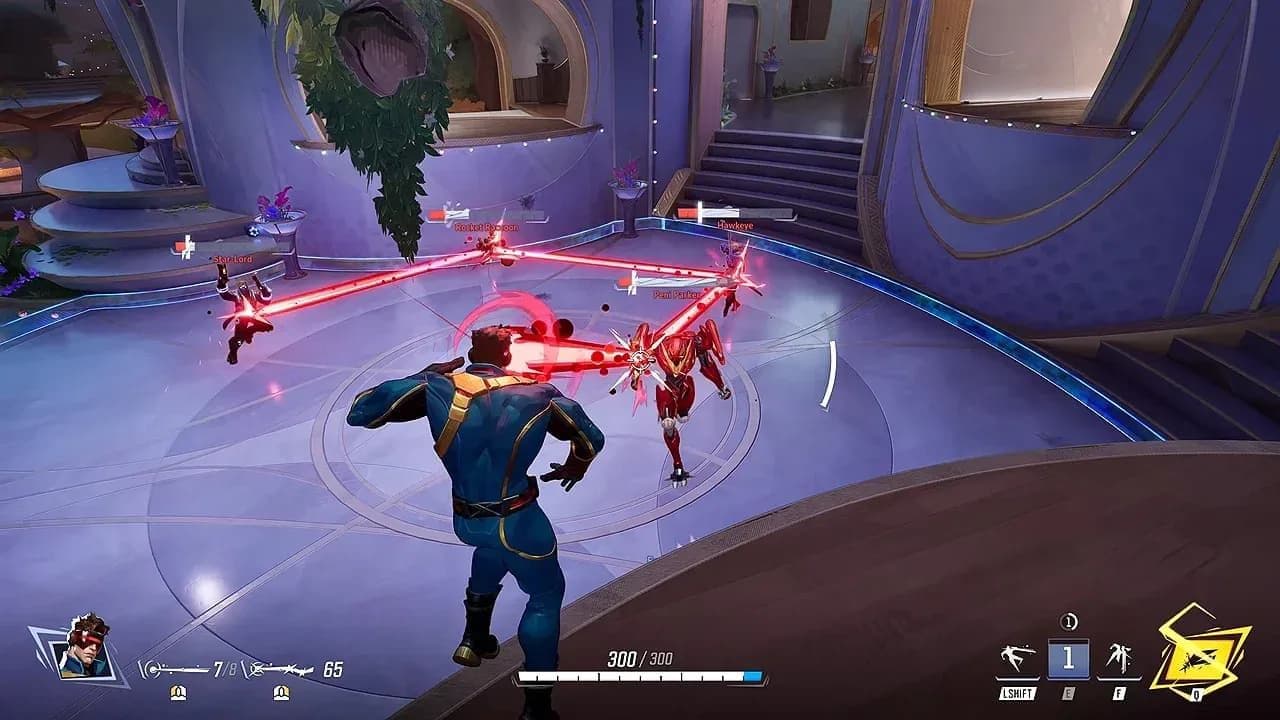
Exploiting timing windows requires picking heroes with high mobility.
The core of the problem is the Primal Punishment team-up. When Devil Dinosaur is the anchor, Punisher can mount him by pressing [F]. This grants Punisher a damage reduction buff and shared healing interactions, making him incredibly hard to burst down while he enjoys perfect, stable firing angles. They become a single, terrifying unit that excels at grinding down teams in tight corridors and objective chokes.
Your primary strategy isn't to out-brawl them head-on; it's to exploit the one moment they're forcibly separated. Remember this: Punisher is forced off the mount during his own Ultimate ability. This creates a brief but crucial disruption window. The moment you see Punisher activate his Ultimate and dismount, your entire team must immediately focus fire Devil Dinosaur. Without his rider providing additional pressure, Devil Dinosaur is suddenly a large, solo target. This is your best chance to burn through his health pool and break their formation before Punisher's Ultimate ends and he remounts.
⚠️ Watch out: Their strength is sustained pressure in confined spaces. If you fight them in a choke point, you're playing right into their hands. Force engagements in more open areas where their slow repositioning and large hitboxes become liabilities.
To create openings and punish their aggression, smart hero swaps are key. For a Duelist, Spider-Man is a nightmare for this duo. Use your mobility to flank and target Punisher directly. The combo is [RMB] Web Cluster to interrupt, followed by [E] Get Over Here! to pull Punisher in for a burst combo. Your goal is to force Punisher to use his cooldowns defensively or, ideally, eliminate him before he can mount up.
On the Vanguard front, Peni Parker shines at halting their coordinated push at an objective. Use [LShift] Cyber-Bond to deploy SP//dr for area denial, and your [E] Web Snare is a perfect tool to stun Devil Dinosaur, stopping his advance dead in its tracks. A stunned dinosaur is a sitting duck for your team's focus fire and completely disrupts the "Primal Punishment" pressure loop.
Don't get worn down by the bleed and slow effects. By targeting their separation window and using disruptive heroes to break their synergy, you turn Marvel Rivals' most intimidating frontline duo into a manageable, if still dangerous, encounter.
Countering the Human Torch and Storm 'Burning Hurricane' Team-Up
This is it—the aerial onslaught you can't afford to watch from the ground. In Marvel Rivals, few team-ups feel as oppressive as Human Torch and Storm activating their Burning Hurricane ultimate. The sky darkens, a massive Fire Tornado engulfs the point, and entire teams get wiped in seconds. Trying to survive it with your own support ultimates is a trap—you'll burn crucial cooldowns just to lose the next fight. The real strategy is simple: stop them from ever hitting that button.
The diverse roster offers multiple ways to counter specific team synergies.
The Core Strategy: Prevention Over Cure
Your entire game plan revolves around proactive pressure. The Burning Hurricane mechanic is devastating, but it requires both heroes to charge their ultimates. Your goal is to make their lives a living hell long before that happens. This means denying them safe farming time in the air and forcing constant repositioning.
Listen for Storm’s voice lines as she gains altitude—that’s your cue to find cover or, better yet, have your hitscan hero immediately pressure her out of the sky.
The most reliable method is the Proactive Prevention strategy. Focus on Hitscan Heroes who can reliably damage flying targets from any distance. Hela, with her rapid basic attacks and summoned warriors, is perfect for keeping constant pressure. Star-Lord is another top-tier pick; his jet boots let him match their mobility while his rapid-fire gun shreds them. Punisher and a buffed Adam Warlock also excel here, creating dangerous zones that force the duo to move or take massive damage. If they're always worried about their health, they'll never get their ult.
Key Hero Swaps to Shut Them Down
Sometimes, you need a specialist to hunt them. Here are two hero swaps that turn this matchup on its head.
First, consider Iron Fist. As a Duelist, his kit is built for this. Use [Space] Crane Leap to close the vertical gap. His secret weapon is his auto-lock tracking, which lets him consistently hit evasive aerial targets. Your mission is to eliminate Storm before she ascends to her full height, breaking the combo at its source.
Second, Luna Snow is a phenomenal Strategist counter from the backline. Her freeze is a death sentence for Human Torch. The combo is [E] Share the Stage into [LShift] Absolute Zero—time it as he hovers to freeze Human Torch mid-air, leaving him a helpless, falling target for your team to focus fire. This not only stops his damage but completely disrupts the duo's rhythm.
Trust me, if you've been wiped by this tornado before, switching to this mindset changes everything. Don't wait for the storm to come to you—go out there and break it before it forms. With these picks and a focus on early aggression, you'll ground that hurricane for good.
Breaking the Hela, Thor, and Loki 'Ragnarok Rebirth' Loop
Here’s the trick most guides miss about the Ragnarok Rebirth loop: it’s not just about killing Thor or Loki over and over—it’s about making Hela irrelevant before she can even trigger her win condition. In Marvel Rivals, this trio can feel unstoppable, cycling their Vanguard and Strategist back into the fight endlessly. But once you understand the anchor, the loop breaks wide open.

The core of the problem is the Ragnarok Rebirth Team-Up ability. When Hela is the anchor and secures a kill during its cooldown period, she can instantly resurrect a fallen Thor or Loki. This creates a punishing cycle where you waste resources burning down a tank or support, only for them to pop right back up because you left Hela uncontested.
The cooldown timer for Ragnarok Rebirth is your most important clock. If you see it’s active, do not commit your ultimate abilities to killing Thor or Loki unless you know Hela is already dead or completely out of the fight.
Your entire strategy hinges on one rule: Kill Priority. Hela, often perched on high ground for clean sightlines, must be eliminated first to disable the resurrection passive. If she’s alive and scoring kills, you’re not fighting three enemies—you’re fighting five or six. This forces a shift in your team’s focus from the frontline brawler to the backline duelist.
To execute this, you need heroes who can reliably dive her position and secure the pick. Venom is your premier Vanguard for the job. Use [LShift] Symbiotic Resilience to close the gap while mitigating damage, then hit her with [E] Cellular Corrosion to apply corrosion and slow her escape. Your goal is to force her to burn her cooldowns and retreat, making her unable to safely line up the killing blows that fuel the loop.
If a direct dive isn’t working, switch to a surgical strike with Black Widow. As a Duelist, her long-range precision is perfect for this. Scope in with [RMB] Scope and land headshots on Hela from an off-angle. Even if you don’t secure the kill, consistent pressure forces her to play defensively, preventing her from securing the kills she needs to resurrect her teammates. A Hela who’s constantly ducking for cover is a Hela who breaks the loop.
Remember, in Marvel Rivals, the most powerful abilities are the ones you never let the enemy use. Shut down Hela, and the feared Ragnarok Rebirth cycle collapses before it can even begin.
Best Hero Swaps for General Team-Up Disruption in Marvel Rivals
Sometimes, the best defense against a powerful Team-Up isn't a specific counter-pick, but a flexible hero who can erase its advantage. In Marvel Rivals, the most disruptive heroes are the ones who can cleanse debilitating effects, interrupt combos, and save teammates from burst damage. Here’s your quick-reference list for utility heroes who can nullify the most common status effects thrown at you.
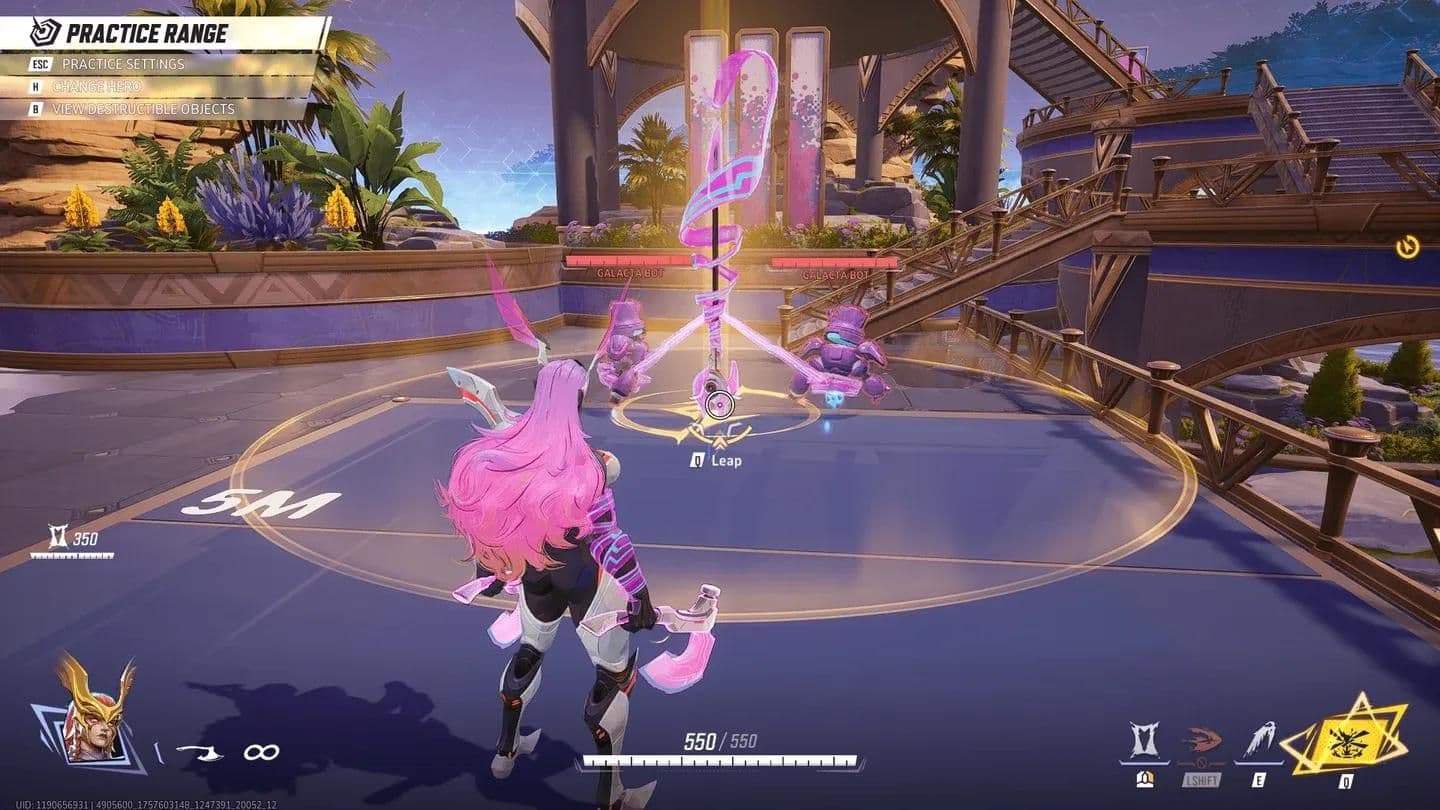
Angela's mobility and shields make her a prime candidate for disrupting backline synergies.
The Ultimate Cleanser: Gambit
When your team is getting hammered by anti-heal, blinds, or freezes, Gambit is your Swiss Army knife. His [LShift] Spin-Dash is the most versatile cleanse in the game, instantly removing negative status effects like Anti-heal, Blind, and Freeze from himself and any allies he passes through. This makes him the premier counter to heroes like Luna Snow, Cloak & Dagger, and anyone relying on debuffs to secure kills.
Use Gambit’s Spin-Dash proactively. If you see a Luna Snow winding up her freeze or a Cloak & Dagger setting up a blind window, dash through your frontline to preemptively cleanse them before the effect even lands.
The Disruption & Sustain Duo
Two other Strategists provide fight-altering utility that can shut down enemy momentum.
- Invisible Woman offers powerful team-wide disruption with her [Q] Ultimate, Psionic Vortex. This ability pulls enemies into its center, completely halting dives and pushes. Crucially, it also grants bonus health to her team, turning the tide of a brawl.
- Mantis specializes in shutting down aggressive dives. Her combo of [E] Natural Anger followed by [LShift] Life Burst puts a Sleep effect on enemy Duelists, interrupting their combo and leaving them vulnerable for your team to focus fire.
The Burst Damage Negator
For teams that get deleted by sudden, coordinated bursts (a hallmark of many Team-Up combos), Adam Warlock is your anchor. His [E] Soul Bond ability links him to an ally, distributing incoming burst damage between them. This can single-handedly save a key teammate from being one-shot by a Punisher ultimate or a Magneto greatsword combo, giving your healers time to react.
With these heroes in your rotation, you’re equipped to handle almost any status effect or burst combo the enemy throws your way. Remember, in Marvel Rivals, sometimes the best way to win a fight is to simply stop the other team from playing their game.