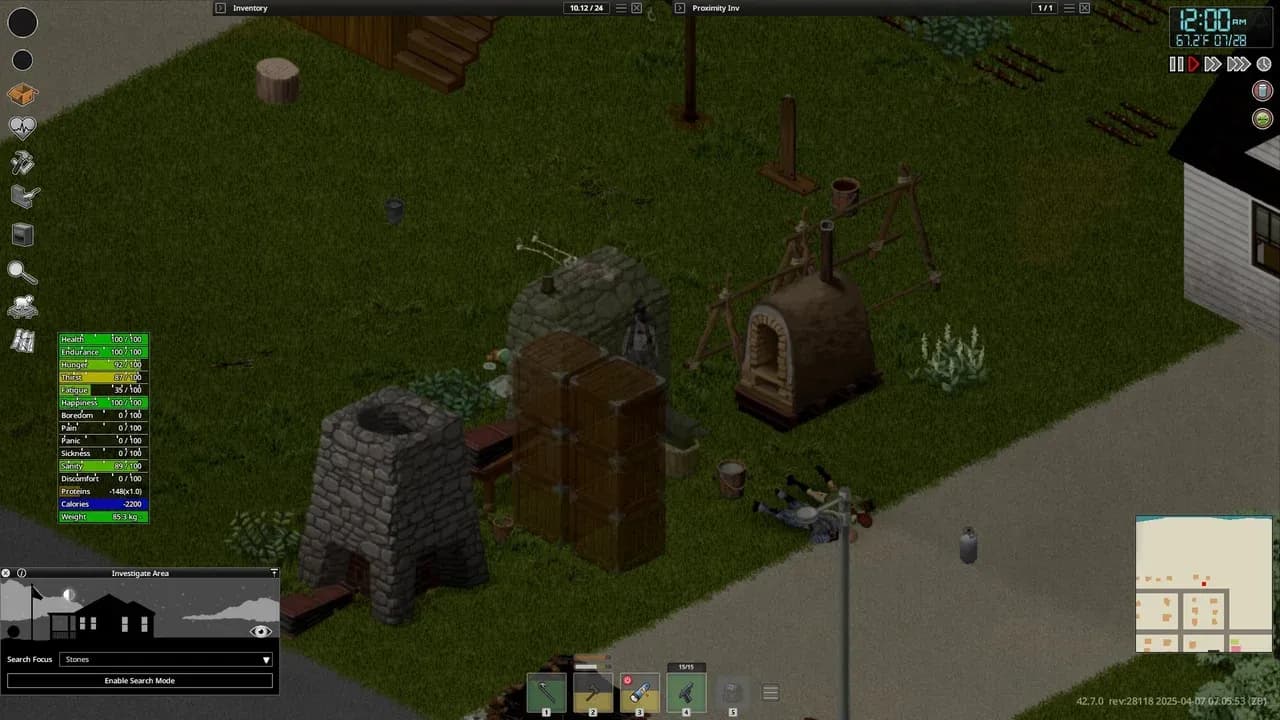
Building the Advanced Forge and Blast Furnace in Build 42.20 is one dependency project disguised as two build-menu entries. The final stations alone require 70 Stone Blocks, two filled buckets of Concrete or Clay Cement, and two Large Bellows; the forge then adds a Blacksmith Anvil, Wooden Bucket, and Log. The expensive mistake is quarrying first: neither build is ready until you have solved two recipe magazines, a two-piece Leatherworking chain, and the pottery-and-smelting route to a cast anvil. This guide prices those immediate dependencies separately from infrastructure you may already own, then turns them into a gather order that prevents double-counting tools or hauling heavy components twice. The recipe figures were checked against Build 42.20 game-file data on July 31, 2026; later patches can change them.
Count the Final Build as One 70-Block Project
Price the two stations together, but keep their materials separated for construction:
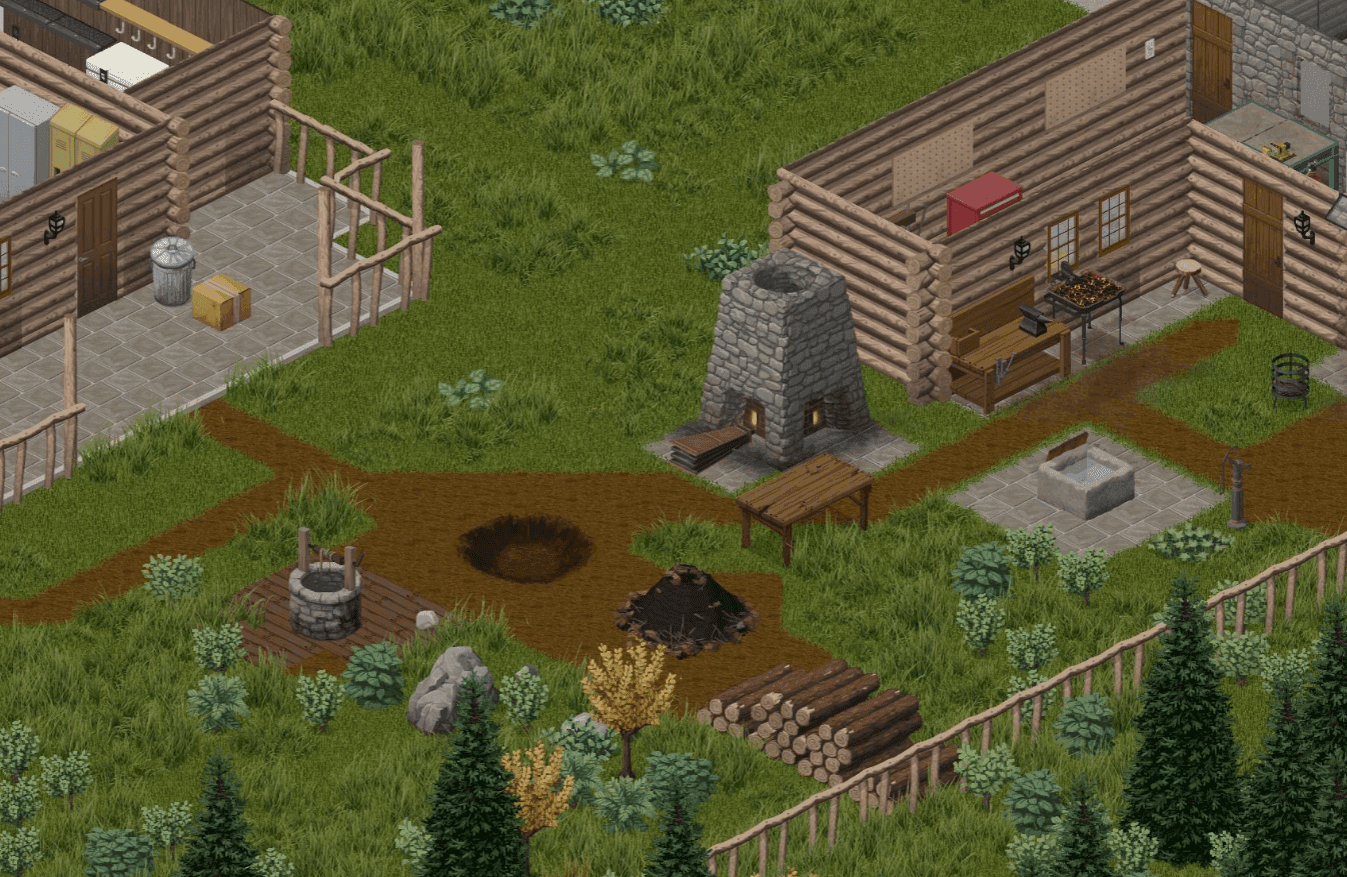
Treat the forge and furnace as one material project, then keep their piles separate.
| Station | Consumed materials |
|---|---|
| Advanced Forge | 30 Stone Blocks, 1 filled Bucket of Concrete or Clay Cement, 1 Blacksmith Anvil, 1 Wooden Bucket, 1 Log, and 1 Large Bellows |
| Blast Furnace | 40 Stone Blocks, 1 filled Bucket of Concrete or Clay Cement, and 1 Large Bellows |
Your combined direct bill is therefore 70 Stone Blocks, two filled buckets of Concrete or Clay Cement, and two Large Bellows, plus the forge-only anvil, Wooden Bucket, and Log. Both recipes require a mason's trowel, but keep it outside the material total because construction does not consume it; the tool may still lose condition. The current game-file recipes list no separate skill-level or workstation requirement for placing either final station. Their construction gates are the learned magazine recipe, the trowel, and the listed materials.
The concrete requirement is flexible, but not shared. Each station needs its own filled bucket. One bucket, 10 units of water, and a Bag of Concrete Powder produces a Bucket of Concrete. For Clay Cement, combine a bucket and 10 units of water with two Clay plus either a Sack of Sand or 50 Grass Cuttings or Hay. Each mix produces one build-eligible filled bucket, so make two.
Stone Blocks are straightforward by comparison: at Masonry 1, one item accepted by the Stone tag becomes one block while the required hammer and chisel are kept. The scale is the trap. Reaching 30 blocks means you can supply the Advanced Forge pile; it does not mean the smithy is nearly finished. The Blast Furnace still needs another 40 blocks, its own concrete mix, and its own bellows.
Stage the project as two labeled floor piles at the final site: 30 blocks for the forge and 40 for the furnace, with one concrete bucket and one bellows assigned to each. Put the shared trowel beside the piles rather than inside either total. That layout makes missing materials obvious and prevents the build menu's separate recipes from hiding the real 70-block commitment.
The Anvil Is a Pottery Project Before It Is a Forge Part
Those two material piles cover the final stations, but the Advanced Forge pile hides its deepest dependency: the Blacksmith Anvil. Of the two builds, only the forge consumes one, and producing it crosses four separate crafting systems before any forge masonry matters.
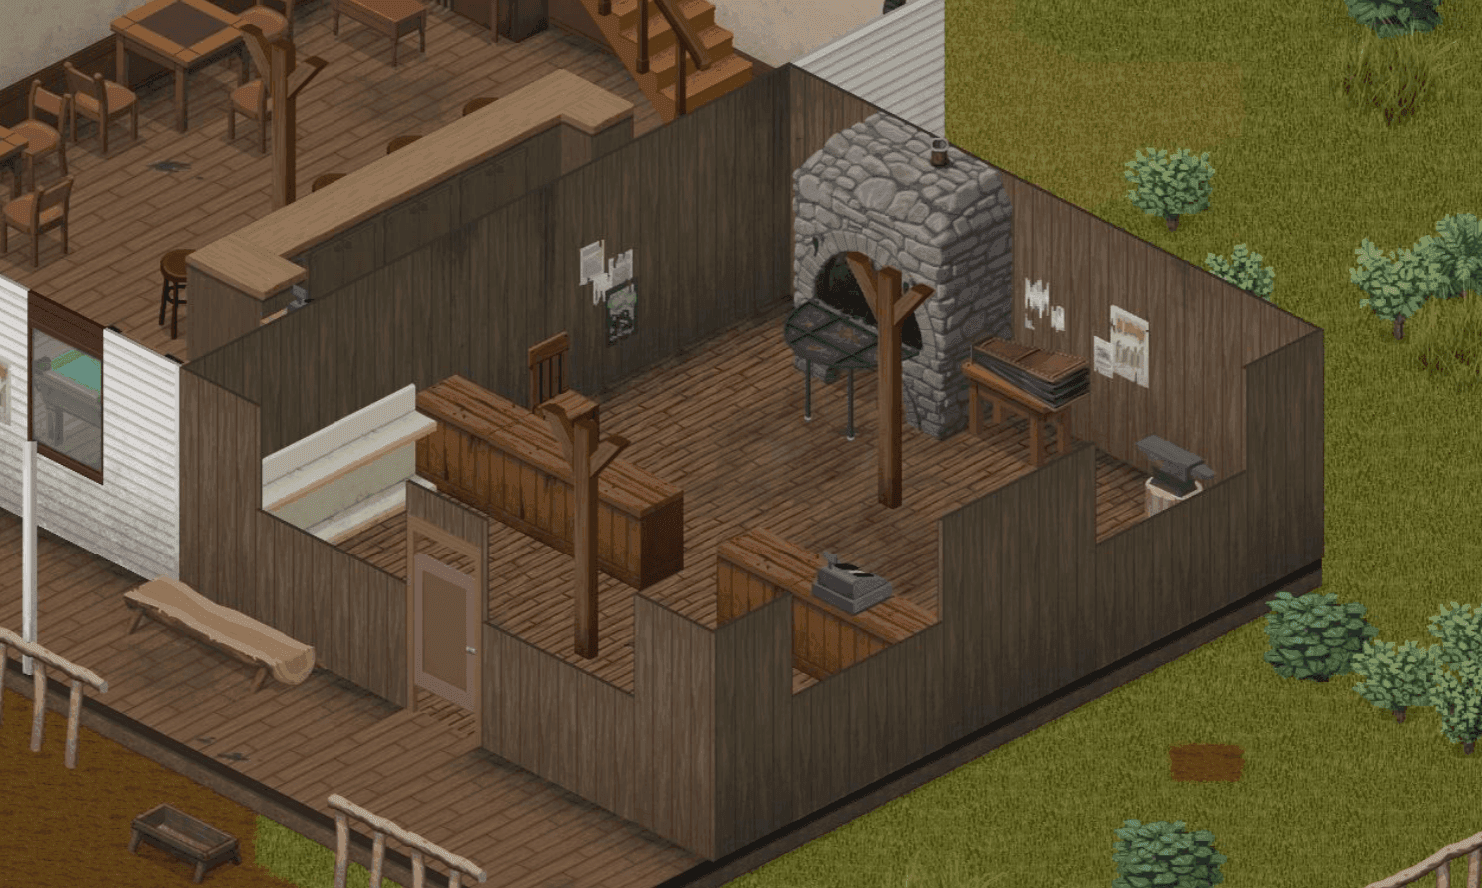
The finished anvil is a forge component, but its production starts with molds and pottery.
- At Woodwork 2, make a reusable wooden anvil mold from four planks and one nail. The hammer and saw are kept.
- Use that mold with eight clay in a Hand Press. The press produces an unfired clay anvil mold while preserving the wooden mold.
- Fire the unfired mold in a Pottery Kiln with one startfire item and either a Log or a charcoal-tag item. This creates the ceramic mold required for casting.
- At a Simple Furnace, combine the ceramic mold with 10 charcoal-tag units and 32 units of iron held in small or large ceramic crucibles. Tongs are required but kept, and the cast produces the Blacksmith Anvil.
The Hand Press, Pottery Kiln, ceramic crucibles, and Simple Furnace are prerequisite workshop infrastructure, not part of the two final stations' direct bill. This article does not calculate a fully from-scratch workshop total. If you lack only the Simple Furnace, that one prerequisite adds another 40 Stone Blocks and one filled Bucket of Concrete or Clay Cement. Costs for the press, kiln, crucibles, and leather-processing stations remain separate; none changes the direct 70-block total for the two final stations.
A survivor can therefore have all 70 final-station blocks ready and still be unable to place the Advanced Forge because there is no press, kiln, or furnace route to its anvil. Audit that production lane before committing the 30-block forge pile. Once the anvil is cast, keep the weight-40 item at the workshop until the construction site is ready, then include it in the final delivery.
Two Bellows Require Two Crude Tanned Medium Leathers
The second hidden dependency is simpler than the anvil chain, but you must complete it twice. The Advanced Forge and Blast Furnace each consume one Large Bellows during construction. A bellows is therefore a station component, not a shared workshop tool that you can move from the first completed build to the second.
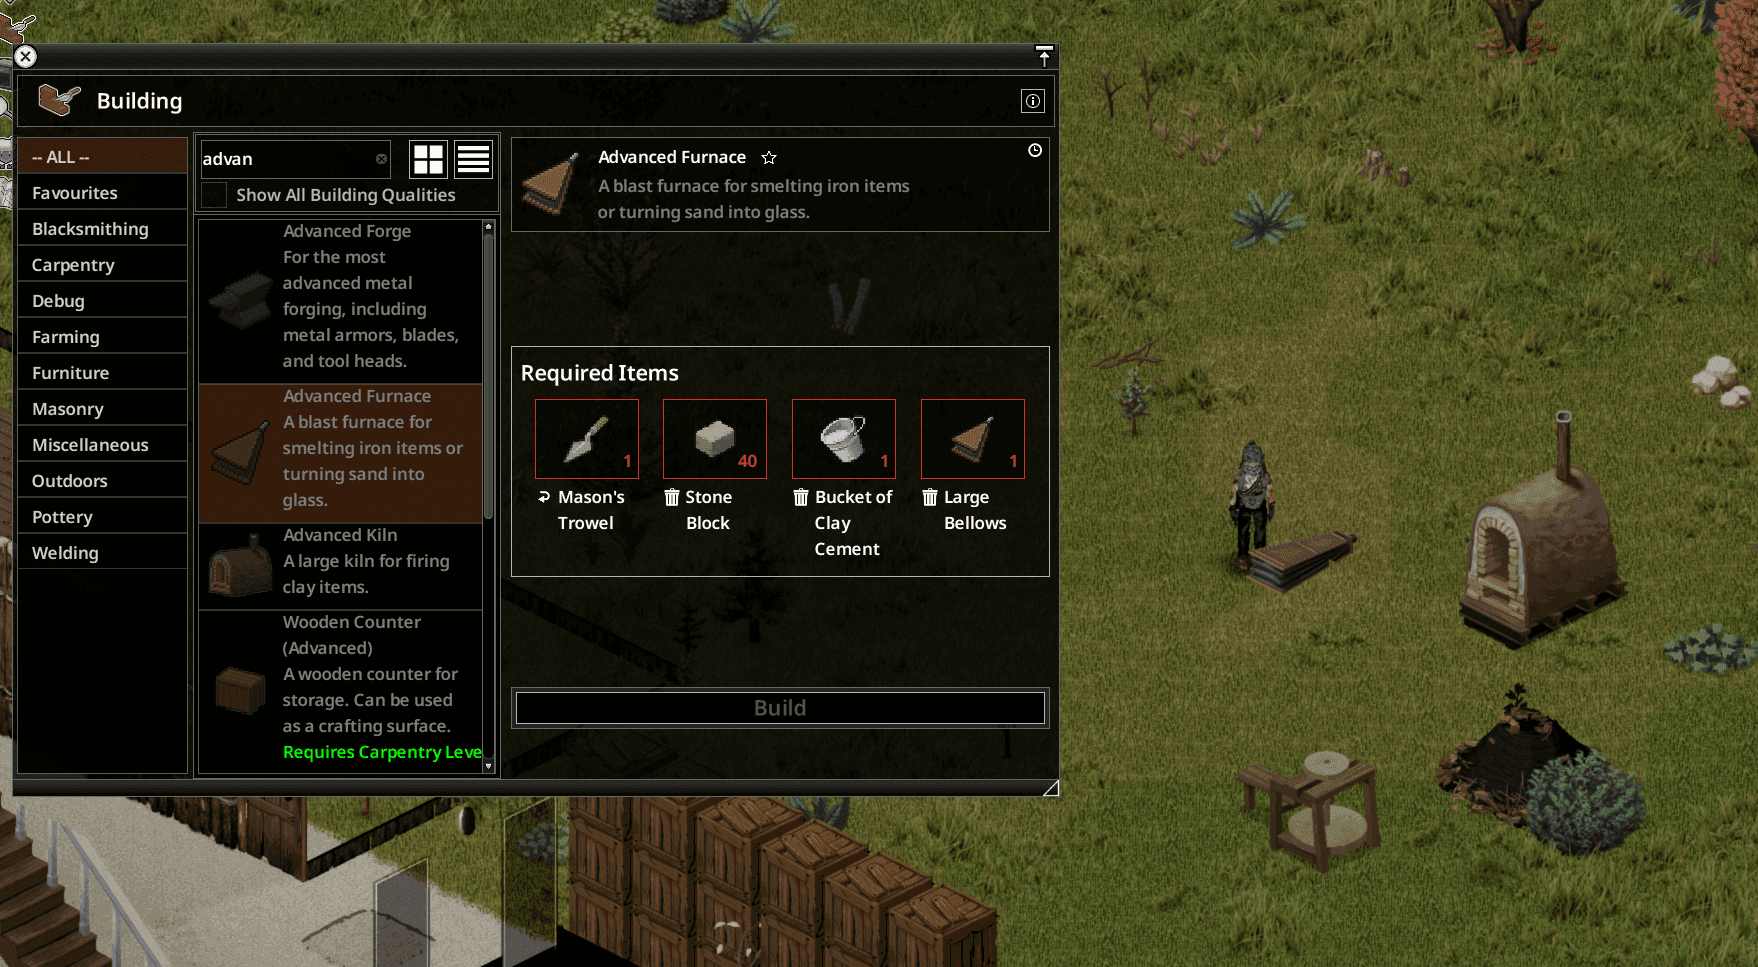
A Large Bellows is consumed as a station component, so the second build needs another.
At Woodwork 1, one Large Bellows consumes two Planks, two Nails, two Medium Handles, and one piece of crude tanned medium leather. The required hammer and saw are kept, so they do not belong in the consumed-material total. For both stations, prepare four Planks, four Nails, four Medium Handles, and two pieces of crude tanned medium leather.
The leather specification is where an apparently complete batch can fail. The minimum sequence is butcher hook, Softening Beam, Tannin Barrel, then drying rack. Remove Fur at the Softening Beam before the leather enters the Tannin Barrel. Once it has been tanned, it no longer matches the Remove Fur recipe, while the bellows recipe accepts only de-furred crude tanned medium leather. The full Leatherworking guide covers that processing chain; for this project, run two medium pieces together and verify both are de-furred before tanning.
One valid leather piece produces one bellows, and one bellows unlocks only one of the two final stations. Building that station consumes it, so the second build remains blocked even if its Stone Blocks and concrete are already waiting. Because each completed Large Bellows weighs 40, start both leather pieces early and craft both bellows, but keep them at the workshop until the final site and lighter materials are ready for one last delivery.
Find the Magazines Before You Move the Masonry
The build order should follow uncertainty and processing time, not the order in which the stations appear in the menu. In current stable Build 42.20, Modern Blacksmithing at Home teaches the Advanced Forge recipe, while Medieval Blacksmithing teaches the Blast Furnace and Smelting Furnace recipes. A survivor with every block, bucket, and component staged can still be stopped by a missing magazine, so treat both publications as readiness gates rather than optional reading.
Search for them before starting the bulk haul. Blacksmithing crates are the most targeted place to check, followed by tool-store, library, hobby, and homesteading-type literature pools. Those locations are search priorities, not guaranteed drops; finding one magazine does not establish that the other will be nearby.
Once both recipes are known, execute the project in this order:
- Audit the workshop and tools. Secure the mason's trowel and other kept tools, then confirm that your Hand Press, Pottery Kiln, Simple Furnace, and ceramic crucible route is operational. Repairing that production gap now is cheaper than discovering it beside 70 staged blocks.
- Start two suitable leather pieces. Put both through the de-furring, tanning, and drying process early. Their processing time can run while you work on the anvil.
- Finish the mold and cast the anvil. Do not count the Advanced Forge as ready until the ceramic mold, iron, and charcoal have become the actual Blacksmith Anvil.
- Produce the masonry last. Chisel all 70 Stone Blocks and mix two filled buckets of Concrete or Clay Cement only after the recipe and component gates have passed.
- Stage and build at the final site. Make a 30-block forge pile and a 40-block furnace pile, assign one concrete bucket and one bellows to each, then add the Wooden Bucket, Log, and anvil to the forge pile. Build the stations separately so no consumed component is accidentally counted twice.
Move the two Large Bellows and the Blacksmith Anvil only when the site is ready for them. Each weighs 40, so carrying those components through the quarrying phase only creates unnecessary hauling. Before the first bulk Stone Block trip, check three gates: both magazines learned, both bellows finished, and the anvil cast. If any gate remains unmet, keep the masonry where it is.