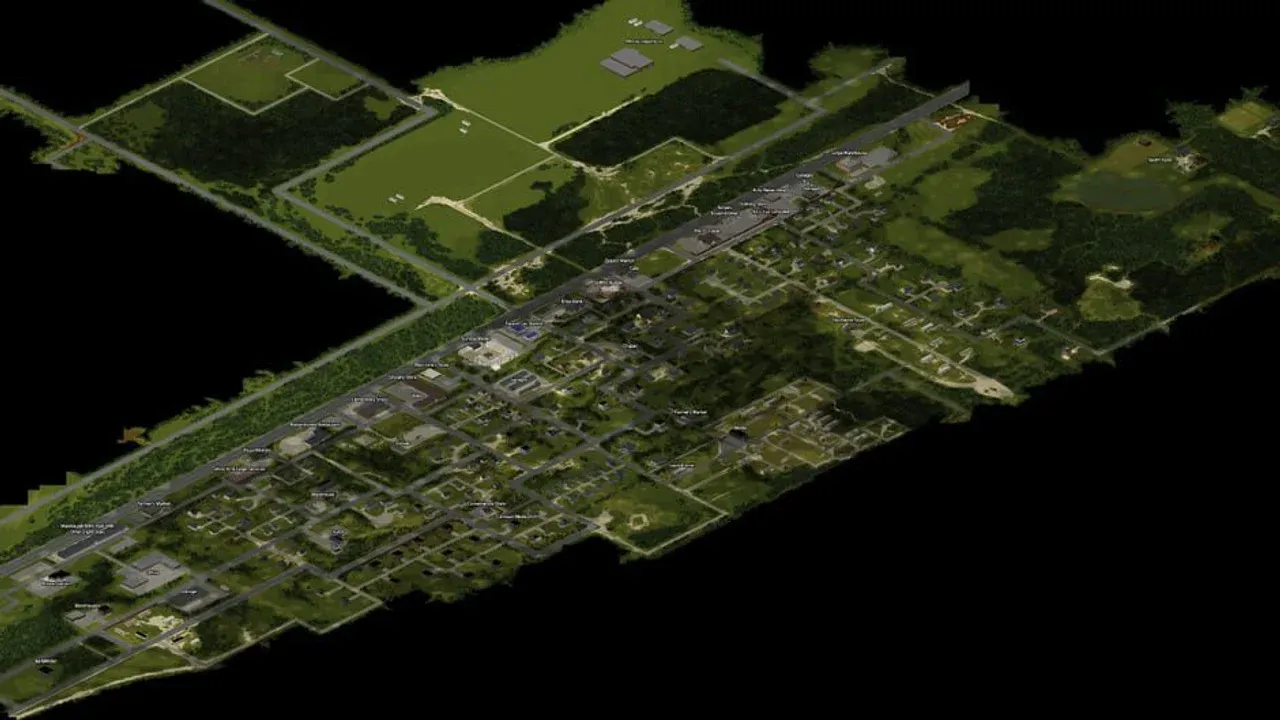
A generator is only useful when four things line up: you can connect it, it sits outside your living space, its load fits your fuel supply, and the appliances you care about are inside its range. Set up those constraints before the grid fails and your first outage becomes a controlled maintenance problem.
This guide targets Build 42.20, which reached the stable branch on July 29, 2026. For a new base, protect cold storage first, light only the work area, and build a refueling route before you spend fuel on comfort.
Unlock the generator before you haul it
You can connect a generator if you chose the Electrician occupation, reached Electrical level 3, or read the exact How to Use Generators magazine. Build 42 later added the generator recipe as an Electrical level 3 autolearn, but the magazine remains the quickest route for a survivor who did not start as an electrician.
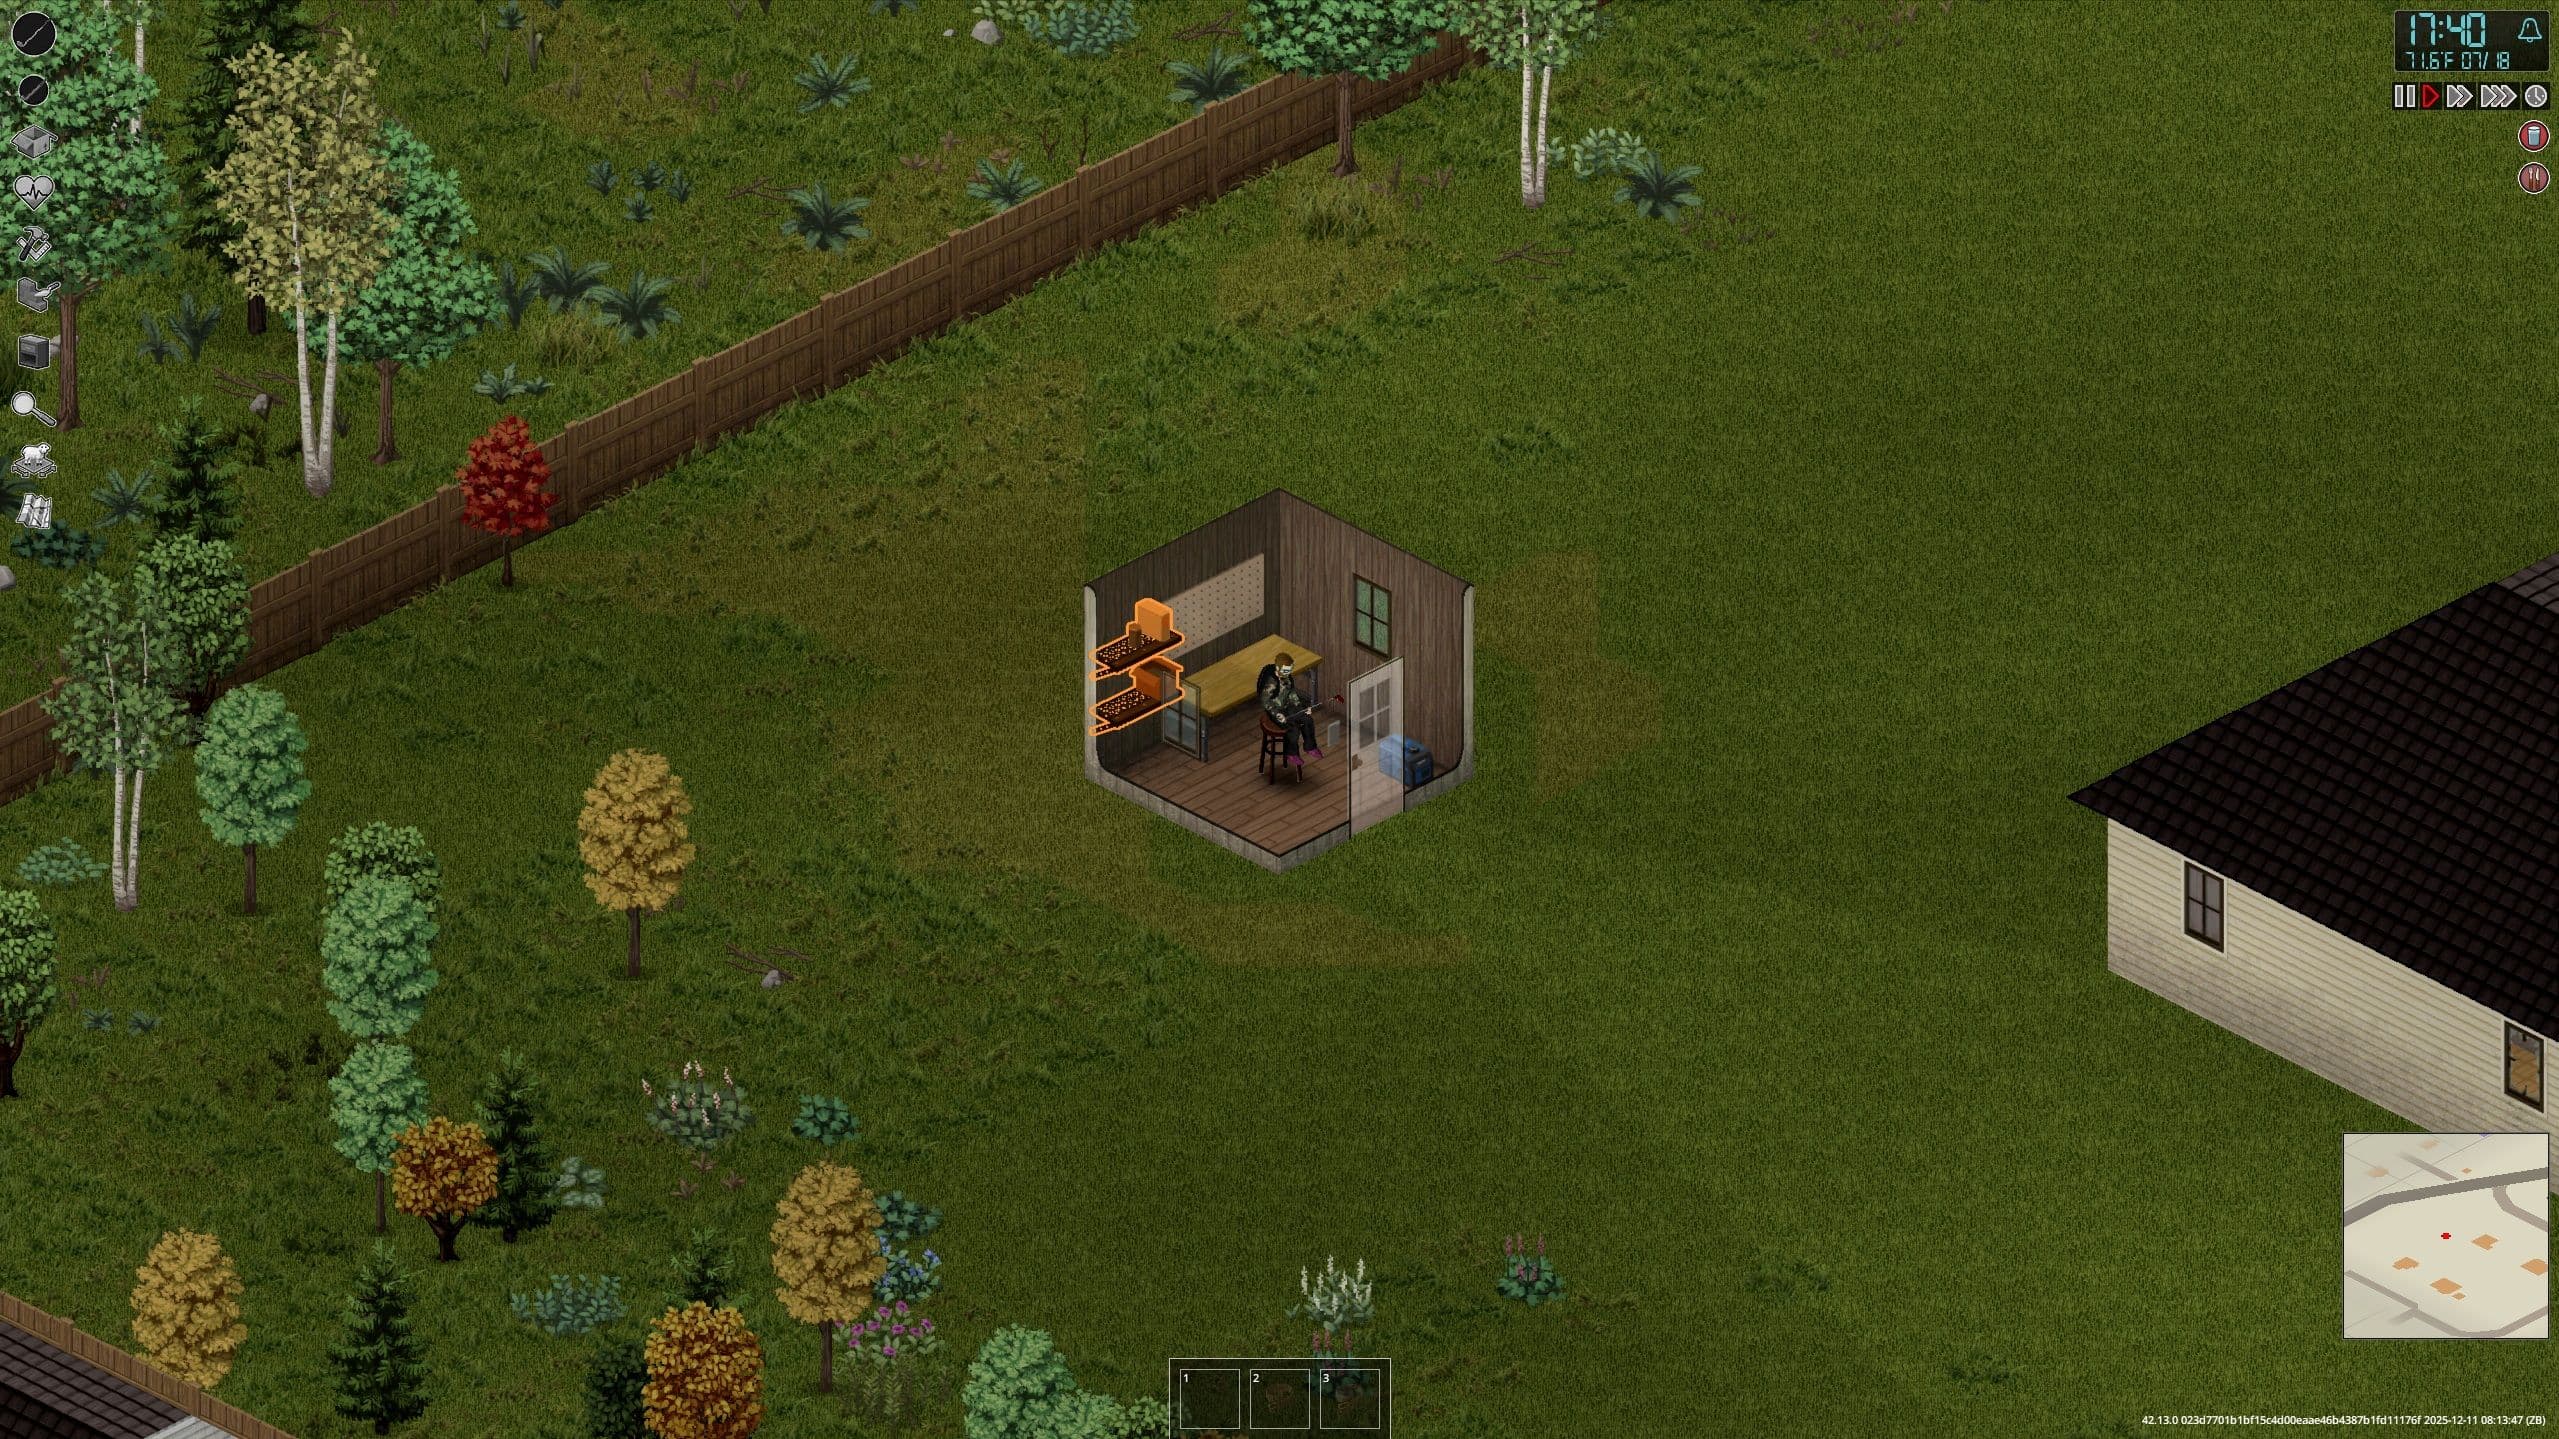
A generator is useful only after you have permission to connect it.
Search bookstores, school libraries, magazine racks, and gas-station shops during normal loot runs. The generator itself is commonly found in warehouses, garages, tool sheds, and self-storage facilities. Secure the permission and the machine as one objective; carrying a unit home before you can connect it creates a heavy problem you cannot use.
A carried generator weighs 40 encumbrance, so clear its route before picking it up. With a vehicle, empty a trunk and make the final move from the car after clearing the base entrance. Without one, move it along a path you already know is safe and have the destination ready first.
Place the generator outside its powered footprint
Run the unit outdoors or in a separate structure that does not share the enclosed air of the rooms you occupy. An open garage door is not a dependable safety plan, and a gas mask does not solve generator fumes. Keep the machine outside, then keep the appliances inside its powered footprint.
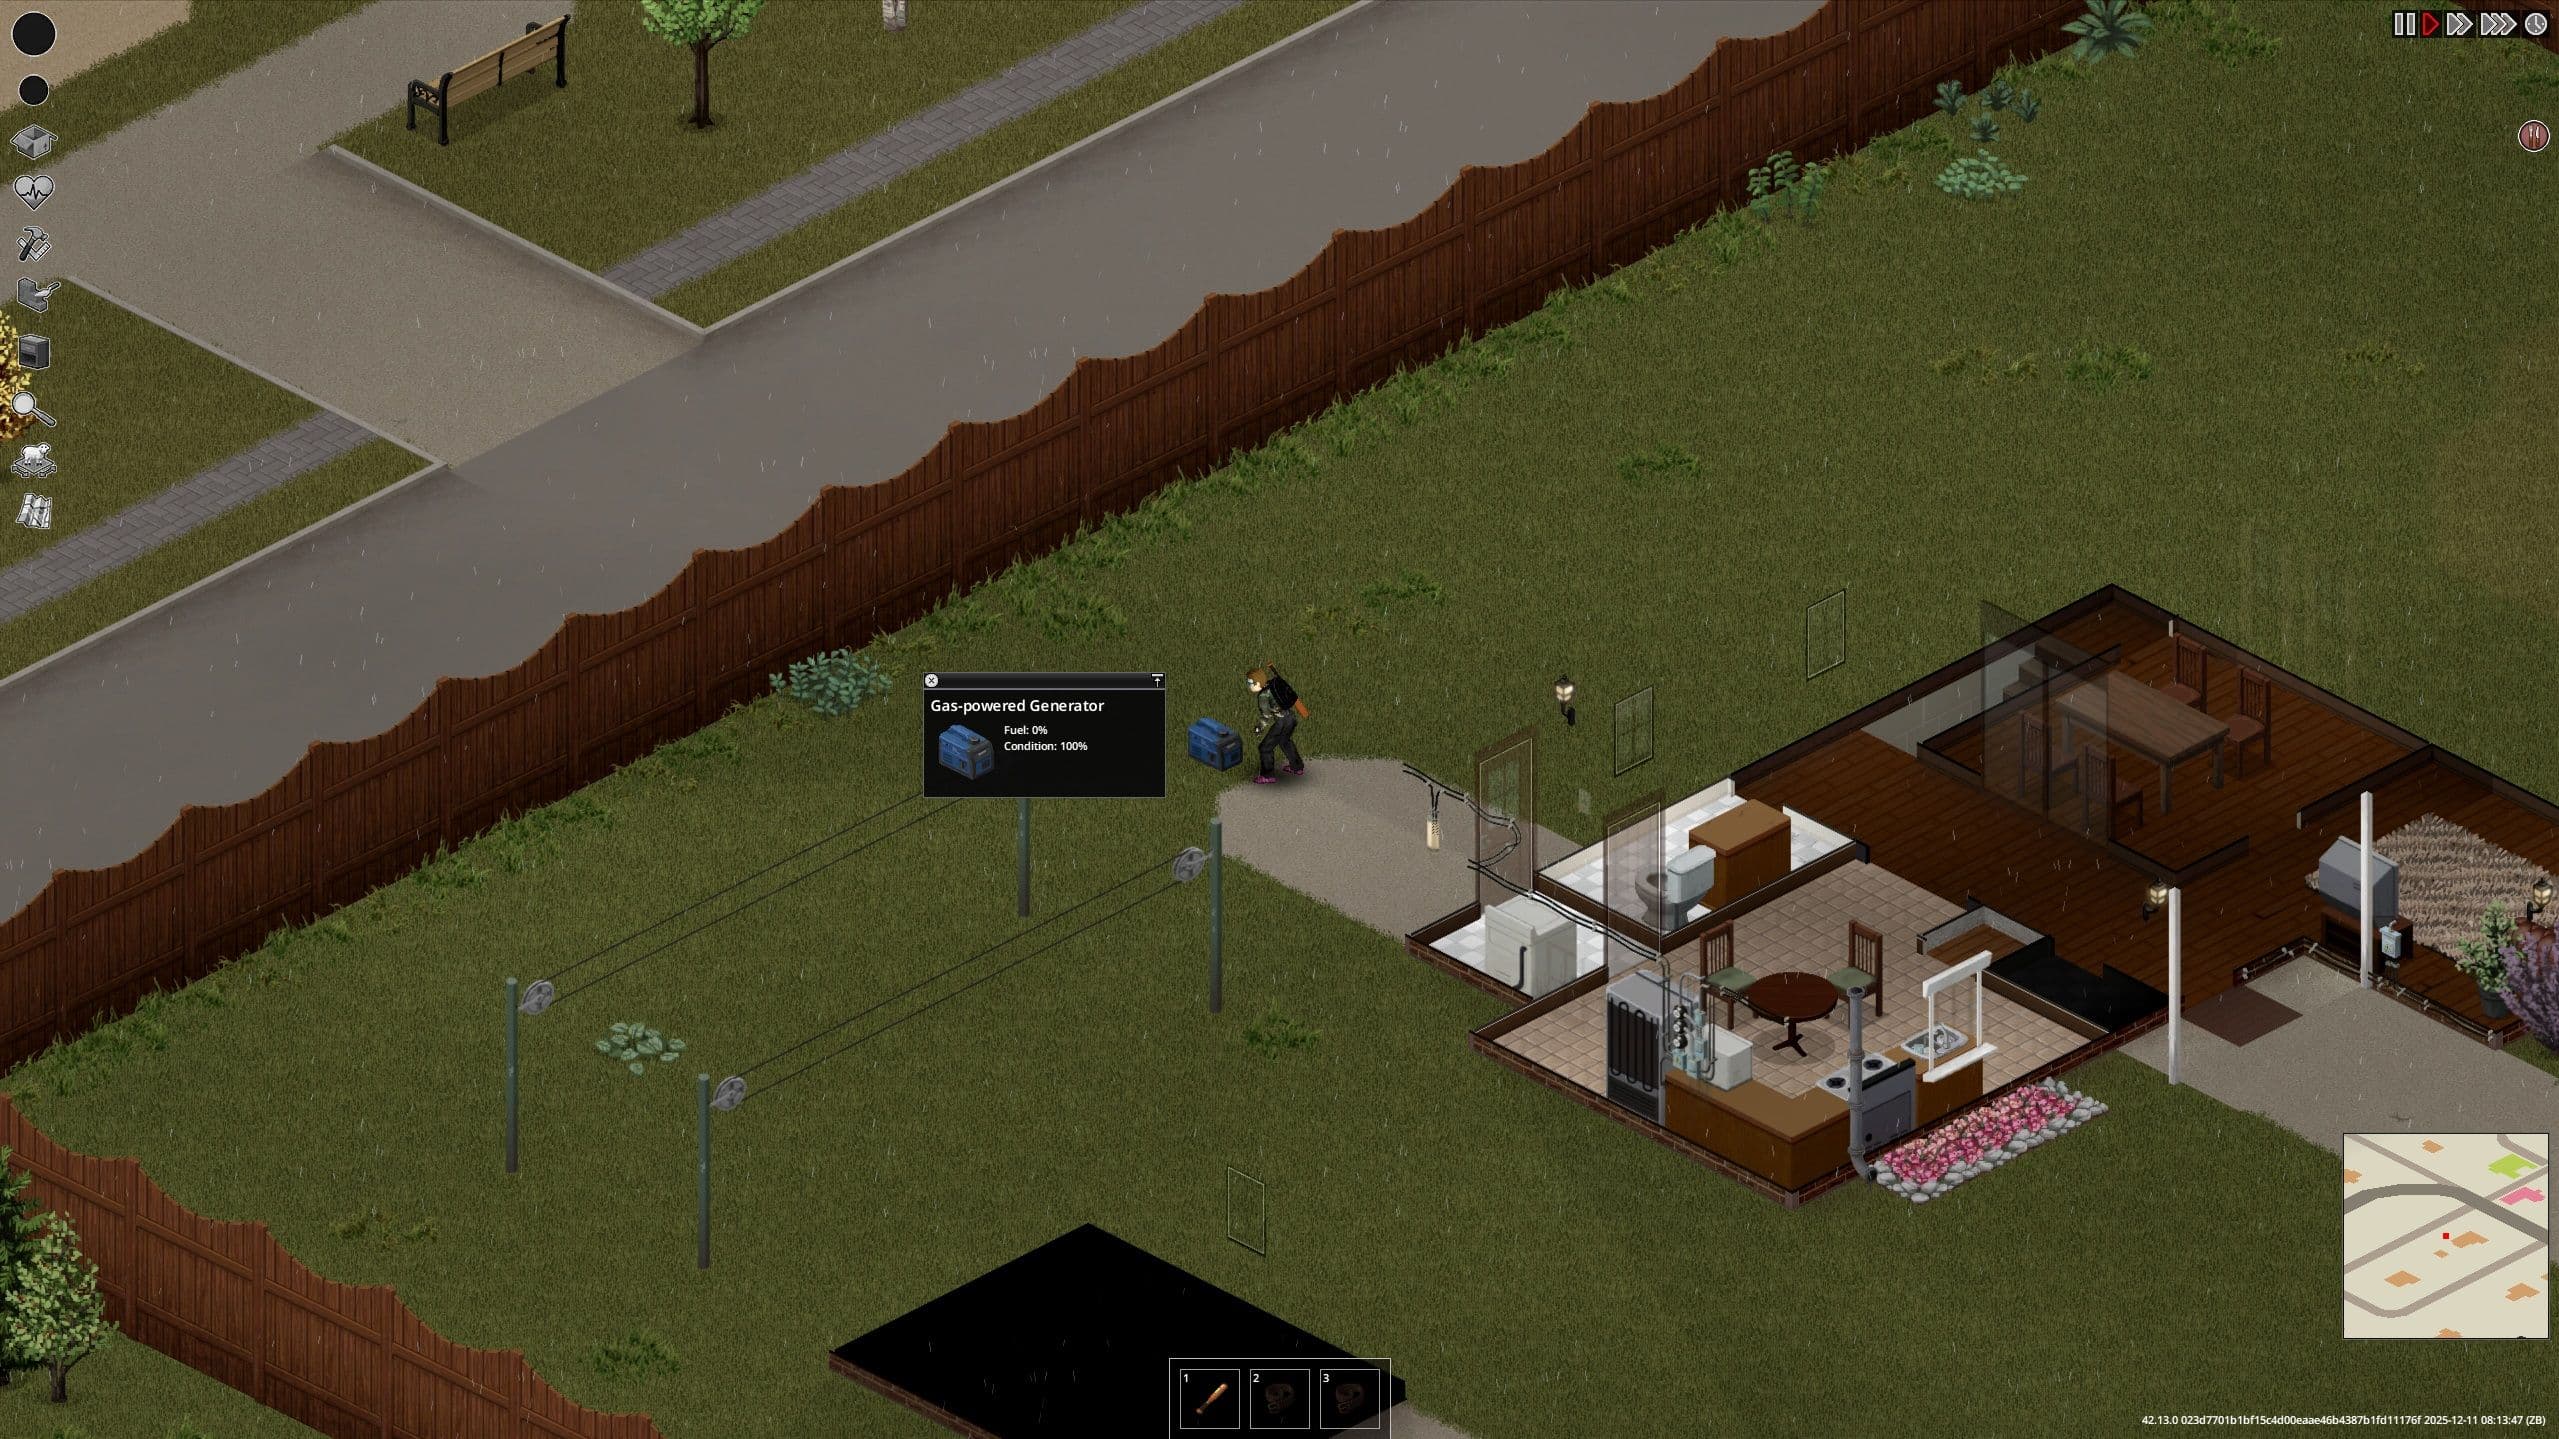
Keep the generator outside while the nearby base remains inside its powered range.
The range is a 20-tile radius on the ground plane and extends across multiple floors. Put the generator on the cleared side of the base where you can refuel it without opening your main entrance to zombie traffic. Then check the distance to the refrigerator, freezer, work lights, and any upstairs room you intend to use. The generator's noise can pull zombies toward a wall, so do not place it beside the part of the base you defend most often.
Complete the setup in this order:
- Place the generator outside.
- Right-click it and choose Connect Generator.
- While it is off, choose Add Fuel.
- Choose Turn On, then open Generator Info.
If Connect Generator is missing, stop and fix the permission problem; moving the machine will not unlock the option.
Read Generator Info before you promise a runtime
A generator has a baseline fuel draw even with no appliance running, and every powered device adds to the load. One current reference lists that baseline as 0.002 L/h, but your save's Generator Info panel is the authority because your connected appliances and settings determine the total. Read the total consumption in litres per hour after every major change.
Estimate runtime by dividing the remaining fuel by the total load shown in Generator Info. Treat that as a planning number, not a guarantee: leave enough fuel for the next trip and check again after adding a freezer, a bank of lights, or a neighboring room.
Condition is the stop line that prevents a fuel plan from becoming a fire. The same current reference puts the risk threshold at 20% condition or lower, so repair at 25% instead of waiting for the warning. Each repair uses one Scrap Electronics. The repair return is 4% plus 0.5 percentage points per Electrical level, which makes early Electrical investment more valuable when you are maintaining a long-term base.
Store Scrap Electronics and a screwdriver beside your spare fuel. Before each startup, check the fuel, condition, connection, and appliance list. If one check fails, leave the generator off until you correct it.
Protect cold storage before adding comfort appliances
Power the refrigerator or freezer that protects food you cannot replace quickly. Then power only the lights covering cooking, repairs, storage, and the route to the exit. Connected devices contribute to the load even when they feel incidental, so a hallway light or distant appliance can quietly shorten the next refueling interval.
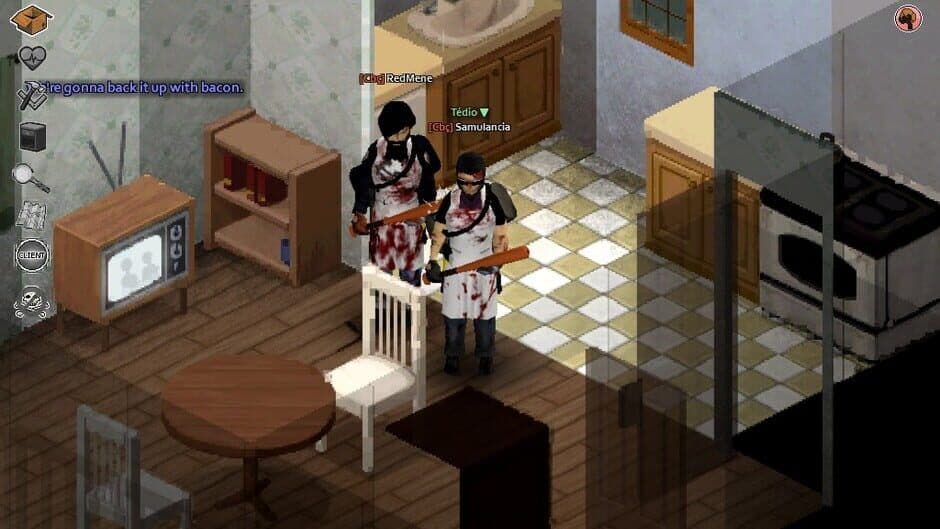
Protect cold storage first, then add only the appliances your fuel plan can support.
Use this priority order:
- Cold storage: Keep the refrigerator and freezer inside the generator's range.
- Work light: Keep a small set of lights over the areas you actually use.
- Occasional appliances: Run the stove, microwave, television, and other comforts only when needed.
- Everything else: Turn off stray lights and disconnect appliances that are outside the base plan.
If the kitchen is upstairs or in an attached room, test its distance before moving all your food there. The range is measured from the generator, not from the building's entrance.
Use a powered gas station only if Sandbox allows it
After the grid fails, a gas station pump still needs power. It can work from a generator only when the Sandbox option Generator Working In Exterior allows exterior generator use. Check that setting before you rely on a station for your long-term fuel route; if it is disabled, the trip will not solve the outage.
For the first run, bring the generator, one full Gas Can for the machine, empty Gas Cans for the pumps, and a vehicle positioned for a quick exit. Clear the station lot, place the generator close enough to the pump tiles, use Connect Generator, Add Fuel, and Turn On, then fill the vehicle and spare cans. Keep the unit outside while you work and turn it off before leaving.
Once Generator Working In Exterior is enabled, mark the station on your map and keep the route short enough that your base reserve survives the return trip. That is the point of the setup: the next outage should require a fuel run, not a rescue mission.