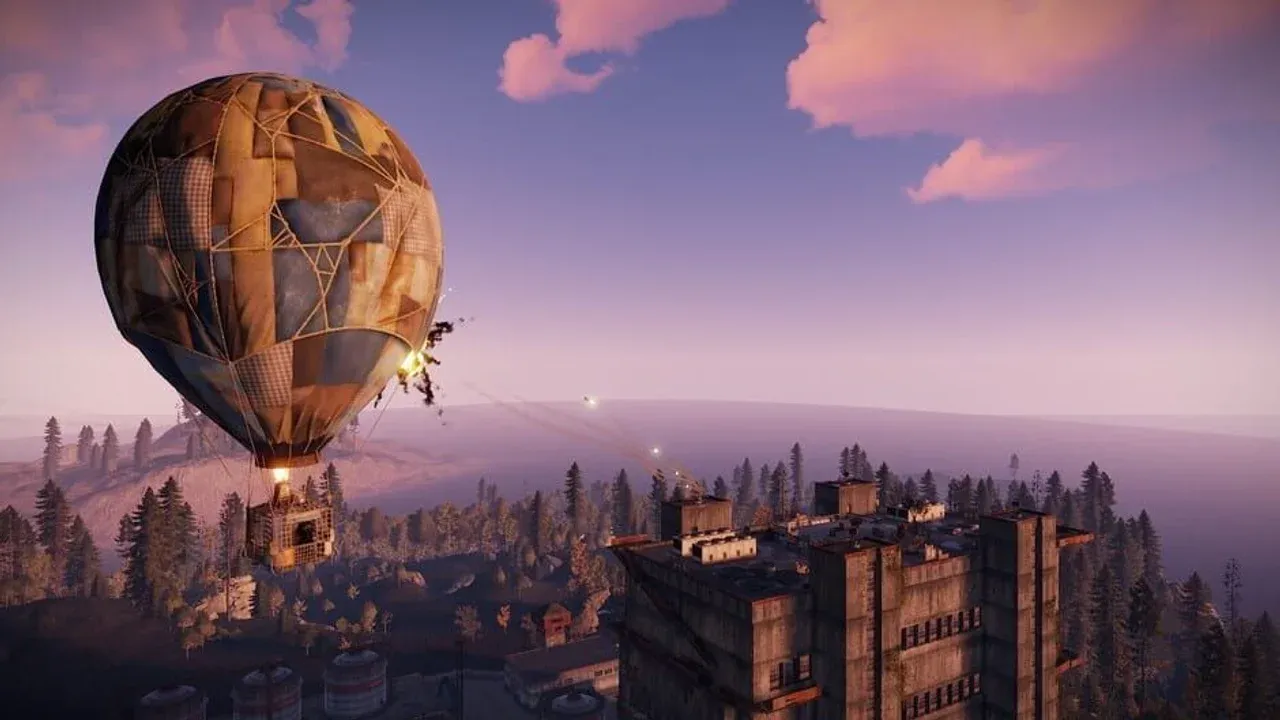
Airfield is easiest to run as two decisions: take the exposed loot and utilities first, or cross once to start the underground puzzle. The second choice needs both keycards and two fuses, so starting it before you are ready turns the runway into an expensive retreat.
Airfield Layout: Office, Hangars, and Runways
Airfield has two runways, three hangars, watchtowers, an office building, and tunnels below the surface. Procedural placement changes the exact approach, but the route logic does not: the office holds the first fuse box, the hangars hide the tunnel entrance, and the underground corridor leads to the Green and Blue doors.
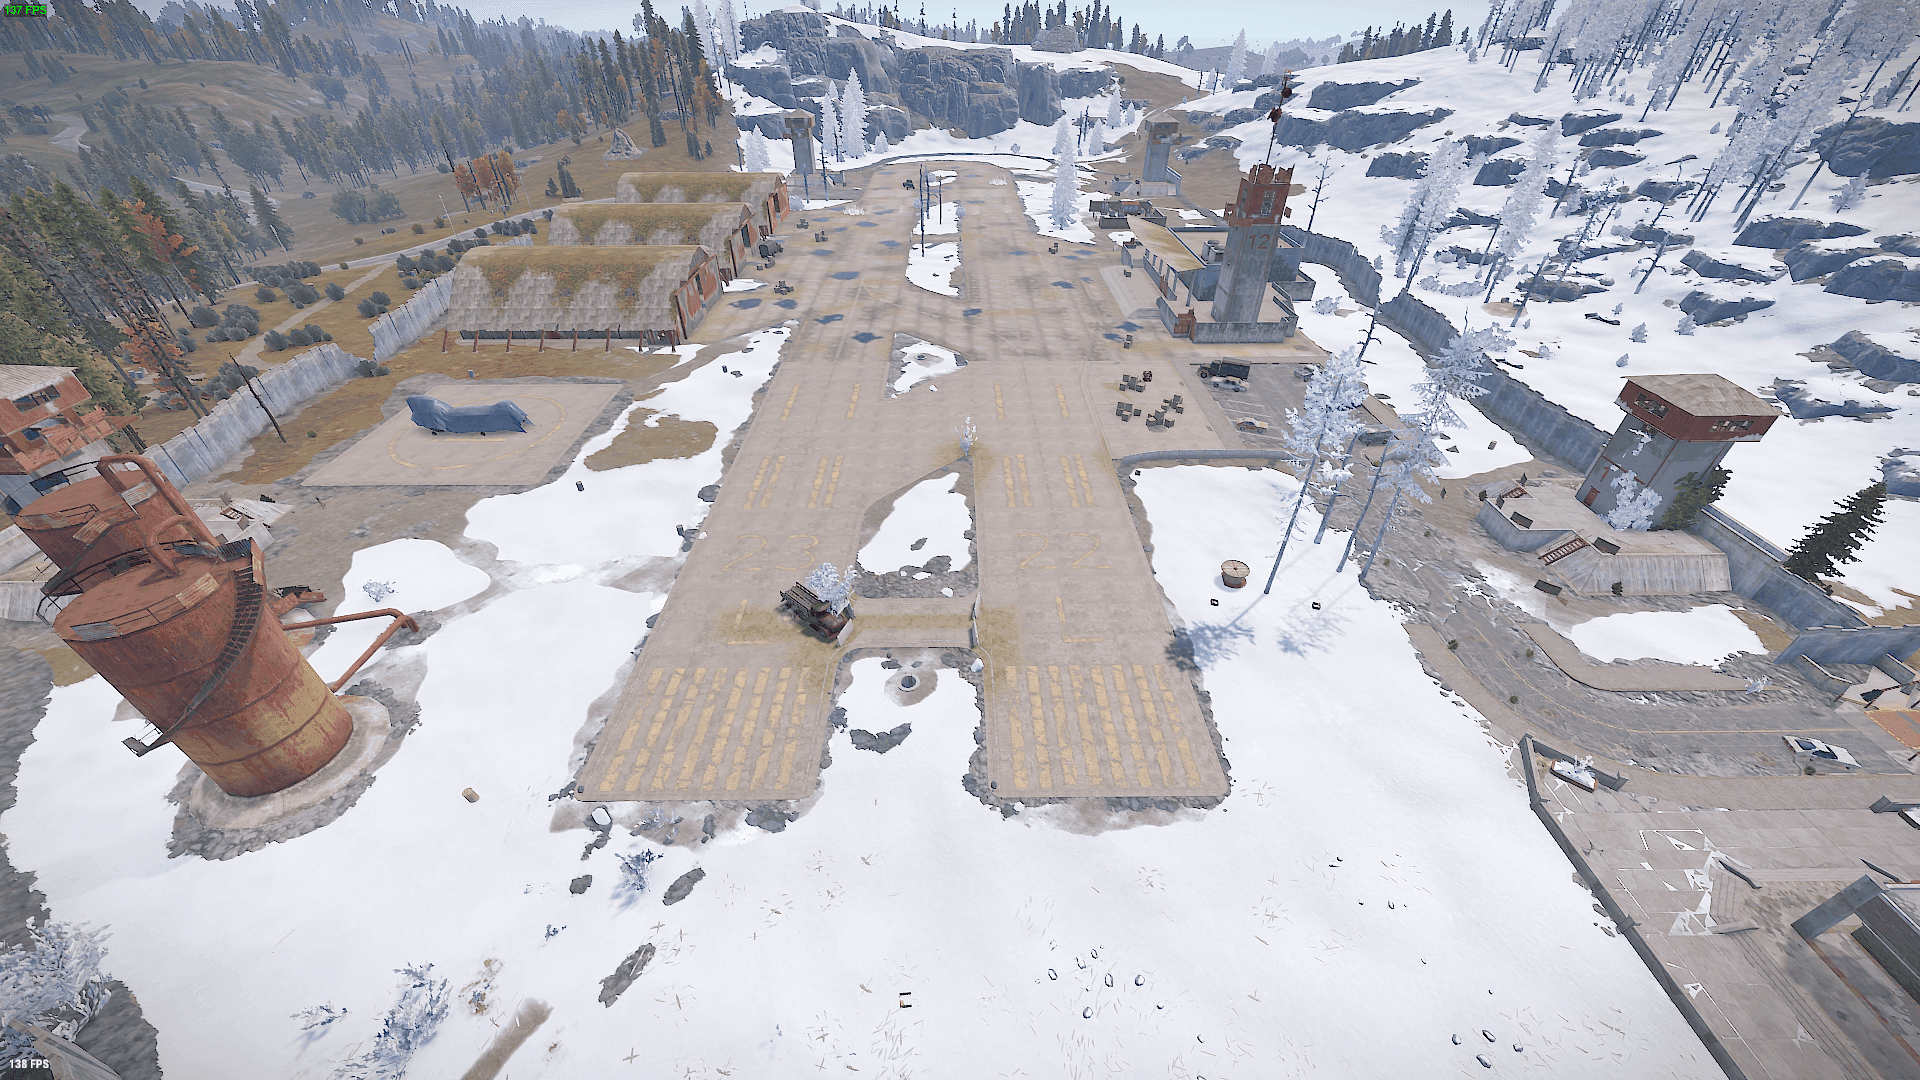
Airfield's open layout makes the runway crossing the first decision.
Pick one objective before entering:
| Objective | Start here | Why it works |
|---|---|---|
| Quick early-wipe loot | Office, hangars, and towers | You can check crates and barrels without spending cards or fuses. |
| Recycler or utility stop | Office-side buildings | Airfield has recyclers plus a refinery, research table, and repair bench. |
| Red Keycard run | Office, then the tunnel entrance by the hangars | The first fuse starts the route; the card doors are underground. |
The runway is the dangerous middle. Windows, roofs, and towers can watch the open concrete from several angles, so cross once with a destination instead of zigzagging between crates. Use hangar walls and the outer concrete wall to break sightlines; rooftops are useful for a quick scan but expose your silhouette.
Airfield Loot: Use the Office Before the Tunnels
For a loot-only run, check the office and hangars first, then the towers or perimeter containers. Airfield mixes ordinary, food, medical, and military loot with barrels and containers around the outside. It also has two recyclers, a refinery, a research table, and a repair bench, so the office side can be the entire objective when you do not have cards.
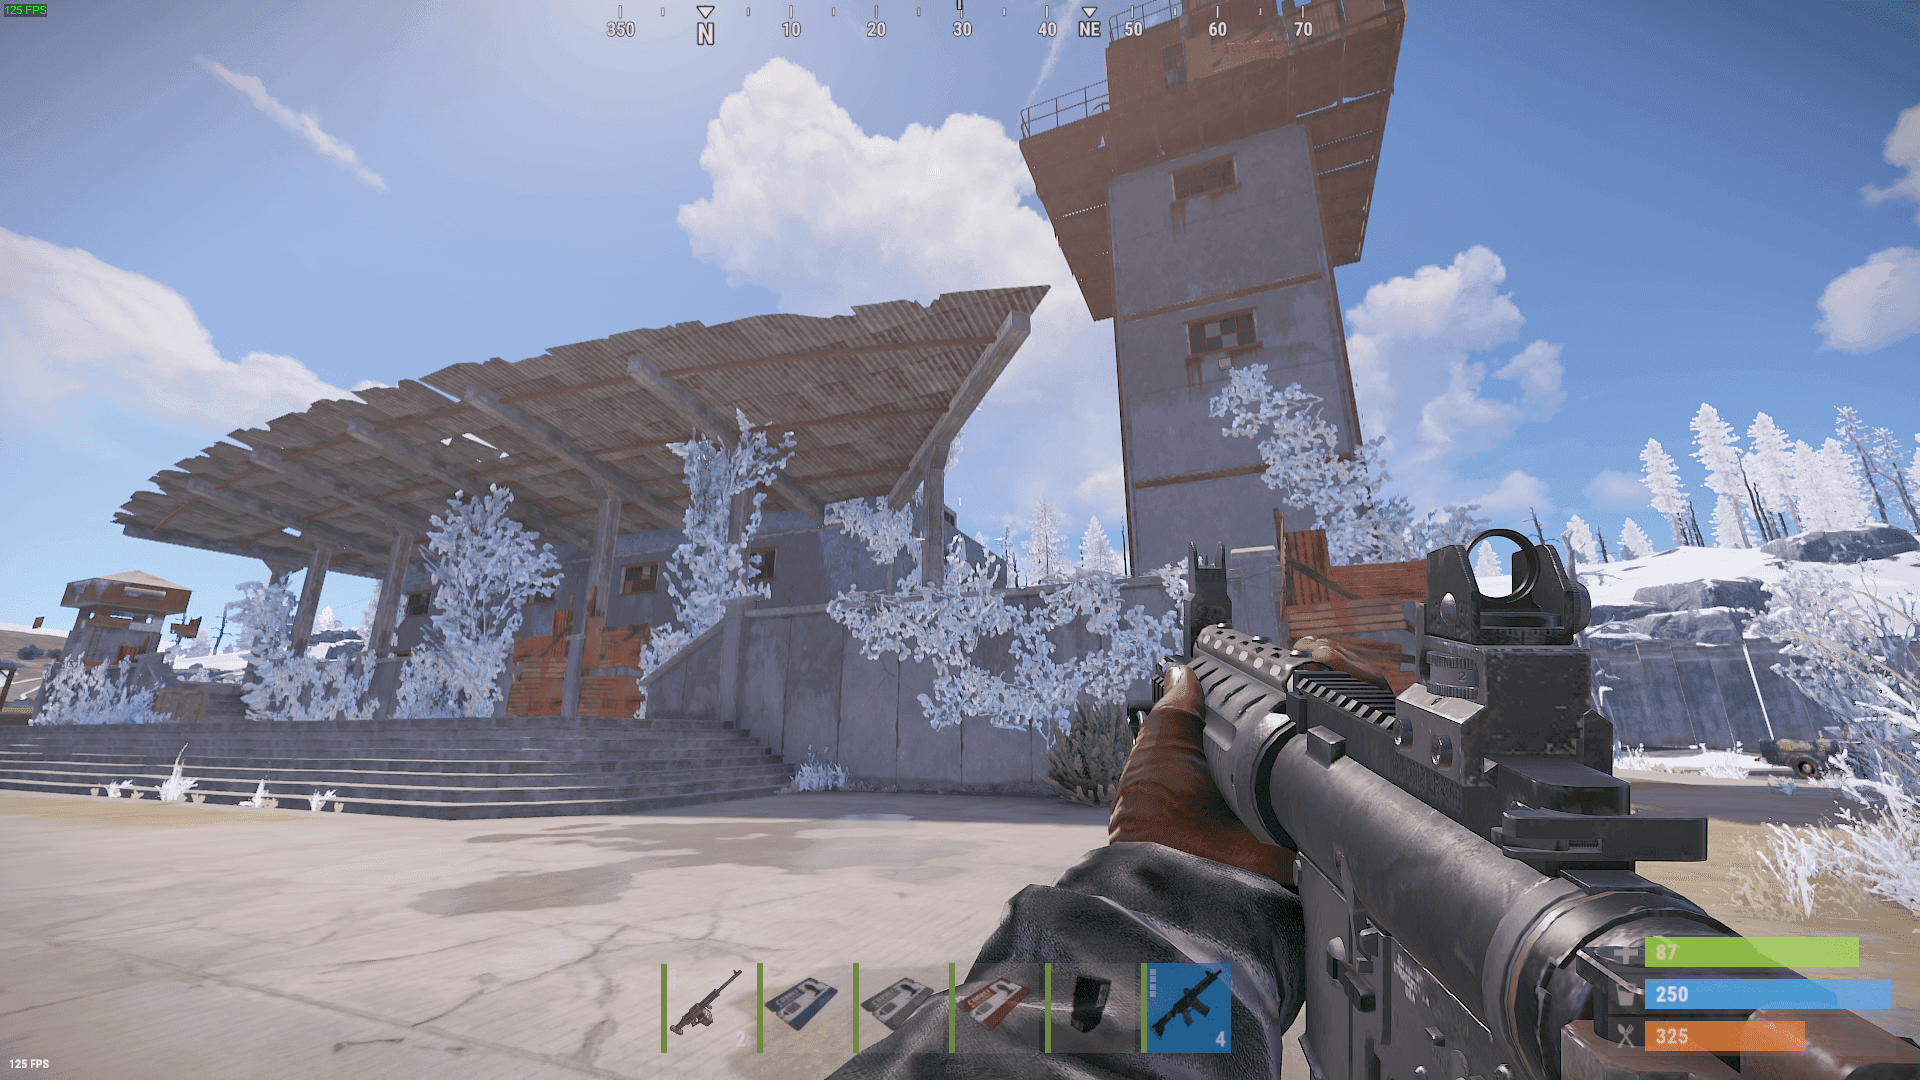
The office is the first landmark for a card run.
For the Airfield puzzle, carry radiation protection, a flashlight, one Green Keycard, one Blue Keycard, and two Electric Fuses. The second fuse is underground; arriving with only one forces you back across the runway after you have already announced your position.
The first fuse is in the office building. Insert it only when you are ready to move toward the hangars and tunnel entrance. The aerial view below shows the office, hangars, runway crossings, and sightlines that make this crossing dangerous.
Airfield Puzzle Route: Office Fuse to Red Keycard
The Airfield puzzle is a Green-to-Blue route that ends with the Red Keycard. The doors and fuse boxes are easier to remember as a chain than as a map:
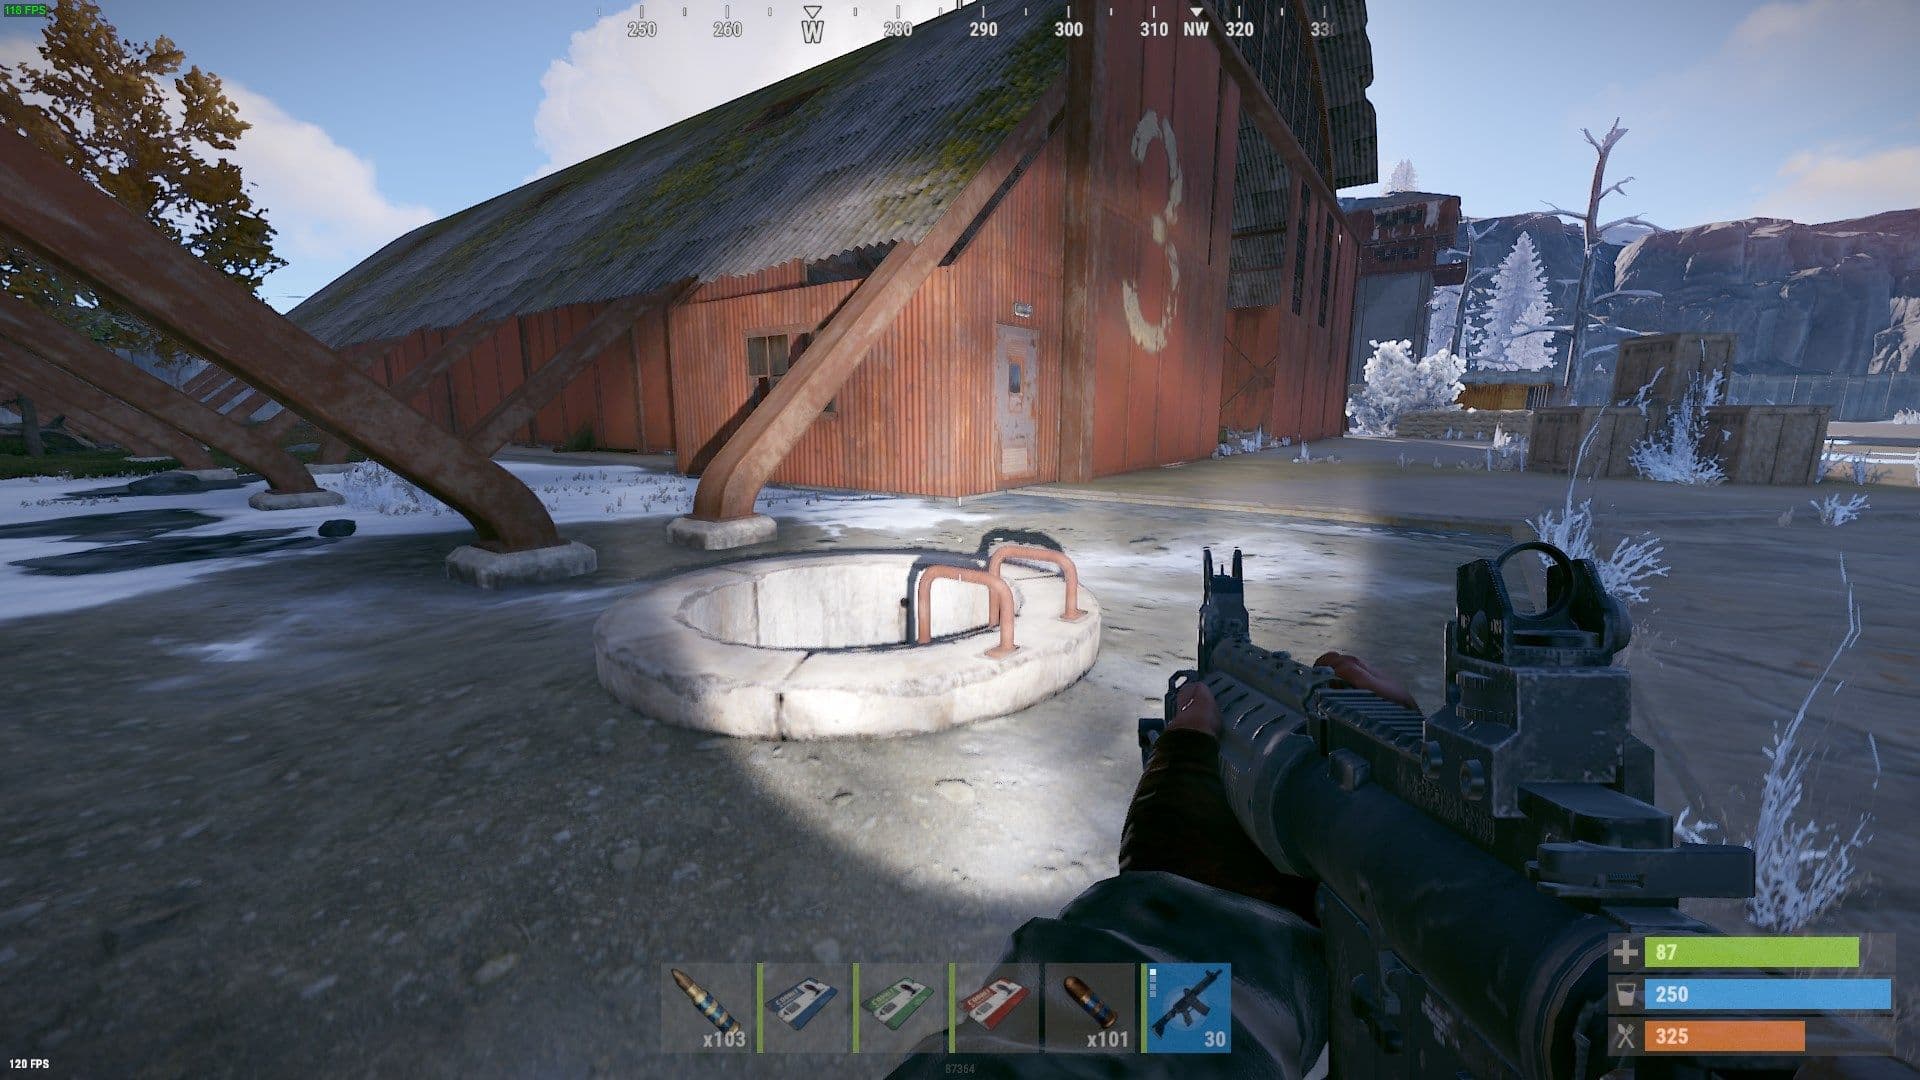
The tunnel beside the hangars starts the Green-to-Blue route.
- Enter the office building, place the first Electric Fuse in its fuse box, and activate it.
- Leave toward the hangars and find the tunnel entrance. Descend the ladders and follow the tunnel to the Green door marked 3.
- Swipe the Green Keycard, then stay underground. Follow the corridor toward the Armory.
- Place the second Electric Fuse in the box by the Armory. Turn back around the nearby corridor and swipe the Blue Keycard at the powered door.
- Clear the room and take the Red Keycard from the table, then loot the military and ordinary crates before choosing an exit.
The Green door is only the midpoint. The second fuse and Blue door are in the Armory section, where Airfield scientists guard the corridor and card-room approach. The fuse, doors, and gunfire also broadcast that the puzzle is active, so expect a contest after you enter.
After the first fuse is active, the office-to-hangars crossing is the only exposed leg. Once underground, use the doors and corners to control the fight. In a group, one player can watch the tunnel while another works the fuse box; solo, clear the next corner before interacting.
Airfield Extraction: Leave After the Red Keycard
The Red Keycard is the reason to run the puzzle. Use this cutoff list after the first fuse:
| Situation | Decision |
|---|---|
| You have no cards or only one fuse | Loot the accessible buildings, use the utilities if safe, and leave. |
| The first fuse is active but the runway is contested | Abort the puzzle unless your exit is covered; the card is not worth a predictable crossfire. |
| The Blue door is open and the Red Keycard is secured | Stop searching for marginal crates and take the tunnel or a known outside exit. |
| Scientists or players are pushing the corridor | Fall back behind a door or corner, heal, and let the angle settle instead of chasing into the next room. |
| You want to recycle a full inventory | Do it only after both approaches are quiet; the recycler is a utility, not cover. |
Airfield scientists mark the puzzle side as occupied; footsteps, doors, and recycler noise mark a player contesting the same route. Once the Red Keycard is secure, use the tunnel or a covered outside exit and skip the final marginal crate.
Airfield FAQ
Does Airfield's layout change between maps?
The monument is procedurally placed, so entrances and sightlines change. The office, hangars, runway split, watchtowers, and underground puzzle relationship remains consistent.
Does Airfield have useful utilities besides loot?
Yes. Airfield has two recyclers, a refinery, a research table, and a repair bench. Use them only after you have checked the approach for players.
Is Airfield worth running solo?
The outer loot and utilities can be worth a solo visit, but the full Airfield puzzle is a commitment. Bring the complete card-and-fuse kit, keep the tunnel route in mind, and leave as soon as the Red Keycard is secure.