How to Find and Prepare for the Rat King in The Last of Us Part II
You’re about to descend into the most terrifying fight in The Last of Us Part II. The Rat King isn't just another infected—it's a grotesque fusion of nightmares waiting in the abandoned lower levels of the Seattle Ground Zero hospital. This guide will get you to the door of that boss fight, prepped and ready for what comes next.
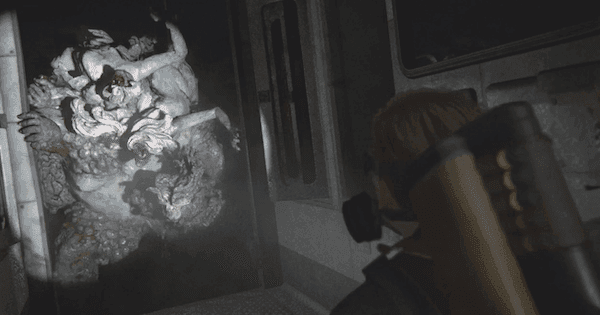
The Rat King encounter in the hospital basement.
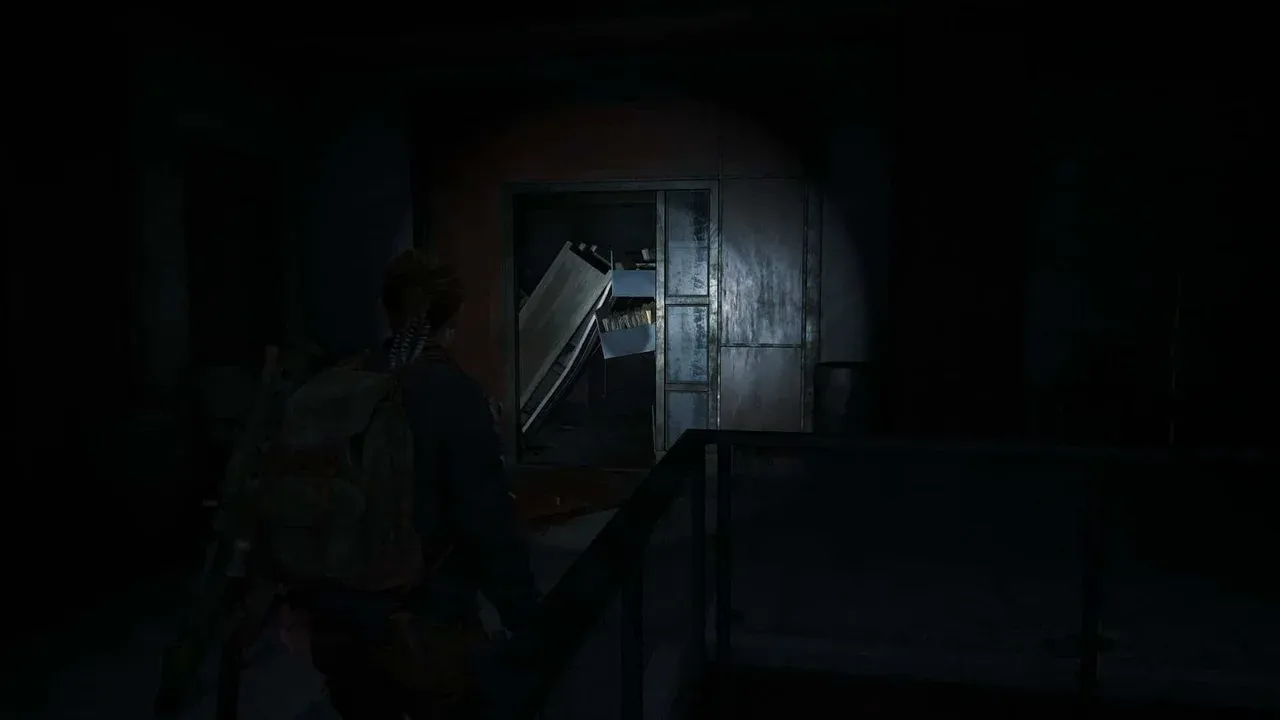
You’ll face the Rat King during Abby’s Ground Zero chapter (her Day 2). Your objective is clear: find a medkit for Yara in the hospital’s decaying depths. As you push deeper into the Hospital Basement, listen for the lore from Nora—she hints that the creature you’re hunting is composed of Seattle’s very first infected, fused together over decades. The atmosphere here is pure dread, and you can’t skip it.
Before you even step foot in the basement, hit every workbench you can find. Upgrading your weapons’ damage and stability isn’t just helpful—it’s essential for surviving the Rat King’s massive health pool.
Your first encounter with the beast is a frantic chase. You’ll be ambushed, and the goal is pure survival: run, and don’t look back. Keep an eye out for a door containing a Fire Axe—interacting with it triggers a scripted escape event. Throughout this entire fight, remember one cardinal rule: avoid the Instant Death Grab. If the Rat King gets too close, be ready to tap [L1] to dodge laterally. Getting caught means a game over screen.
Trust me, if you’ve felt overwhelmed reading about this fight, you’re not alone. But with your location locked in, your objective clear, and your weapons upgraded, you’re now prepared to step into the darkness. Let’s go.
Best Loadout and Weapons for The Last of Us Part II Rat King
This is it—the basement of Seattle's Ground Zero hospital. The Rat King is a grotesque fusion of nightmares, and in The Last of Us Part II, your survival hinges on what you bring into the arena. You can't out-muscle it, so you need to out-think it with a loadout built for maximum damage and control.
Abby's loadout is crucial for surviving the Rat King.
Your primary goal is to break the unified mass and then burn down what's left. To do that, you need a specific arsenal. Here’s the essential kit that will turn this terrifying encounter into a manageable challenge.
Essential Weapons for the Rat King
Pipe Bombs are your opening trump card for high burst damage. Hold [L2] to aim and press [R2] to throw them at the Rat King’s feet, especially after you dodge its charge attack. The explosion deals massive damage and can stagger it, creating a crucial window to reload or reposition.
The Flamethrower is arguably your most important tool for area control and consistent damage. Its weakness to fire is well-documented. Hold [L2] to aim and [R2] to hold down the trigger, bathing the creature in flames. It’s perfect for when the boss advances in a straight line during the later phases. Trust me, you’ll want to save most of its fuel for after the split.
For raw stopping power up close, nothing beats the Double Barrel Shotgun. This is your workhorse for the "hit-and-run" strategy during Phase 2. Its effectiveness skyrockets when paired with Incendiary Shells, a special crafted ammo type that deals devastating initial impact and leaves behind punishing burn damage over time. This combination is a game-changer against the tankier Bloater half.
Don’t overlook precision. The Hunting Pistol is excellent for targeting the Rat King’s pustules—those glowing weak points on its body—from a safer distance. A well-placed shot can inflict significant damage and cause a valuable stagger, buying you those precious seconds you need.
Vital Support Items and Tools
You will take damage. Health Kits are non-negotiable. Select one with the [Up D-pad] and hold [R2] to heal, but only when you’ve created enough distance. Trying to heal while it’s bearing down on you is a death sentence.
Craft every Pipe Bomb and Incendiary Shell you can before triggering the fight. The resources in the basement are finite, and you’ll thank yourself for having that extra firepower when the Stalker detaches.
Finally, don’t underestimate utility. Smoke Bombs and Stun Bombs might seem less flashy, but they are brilliant tools for disrupting the Rat King’s relentless aggression. Tossing one at your feet or in its path can create the breathing room you desperately need to heal, reload your Flamethrower, or simply sprint to the other side of the lab.
With this loadout prepared—prioritizing fire, explosives, and healing—you’re not just entering a boss fight. You’re walking in with a plan to systematically dismantle one of gaming’s most terrifying creatures. Let’s go.
Rat King Phase 1: The Hospital Basement Chase
The chase is on—this isn’t a fight yet, it’s pure survival. In The Last of Us Part II, the Rat King ambushes you the moment you think you’re safe, and your only job here is to run. Don’t try to stand your ground; being caught means an instant death.

The Ground Zero hospital environment.
The sequence begins inside an Ambulance in the hospital basement’s parking garage. As Abby searches for supplies, the Rat King smashes its way in, forcing you into a desperate sprint. This entire phase is a scripted escape through the decaying corridors. The creature is relentless and will use Environmental Breach to cut off your path, frequently breaking through walls to appear ahead of you. Your goal is simple: keep moving forward. Follow the linear path, sprinting with [L1] and using [X] to vault over obstacles when prompted.
The chase culminates at a door blocked by a Fire Axe. As you approach, the Rat King will grab Abby. Here, you must rapidly press [Square] to complete the Escape Struggle and break free. Succeed, and the floor immediately gives way, sending both you and the monstrosity crashing down into the Laboratory on a lower level. This fall marks the end of the chase and the start of the real battle.
This section is about momentum. Don’t stop to look back or hesitate at forks—the path is linear. Just run, vault, and when that grab happens, mash that [Square] button like your life depends on it (because it does).
You’ve survived the hunt. Now, in the wreckage of the lab, it’s time to turn and fight. Catch your breath—the real challenge begins now.
Rat King Phase 2: Damaging the Unified Mass
You’ve crashed through the floor into the lab—the chase is over. Now, in The Last of Us Part II, the real fight begins. This is Phase 2: a brutal, direct confrontation where you must damage the unified Rat King before it can split.
Abby exploring a dark interior.
Your first goal is to create space. Immediately retreat to the opposite corner of the laboratory to let Abby recover. This is a large, multi-room arena, and the key to survival is mastering the Arena Circuit. Move in a wide loop through the connected rooms, using pillars and doorways to break line of sight. Never let yourself be cornered. This constant movement is your foundation for the Hit-and-Run strategy that defines this phase.
When you’re ready to engage, the Double Barrel Shotgun is your best friend. The tactic is simple but relentless: close the distance just enough to land 2 shotgun blasts, then immediately use [L1] and the [Left Stick] to sprint back to the opposite side of the arena. This hit-and-run pattern is your bread and butter. Be patient and repeat this cycle—aggression without a safe retreat is a death sentence.
Listen for the Rat King’s roars and footsteps. If you lose sight of it, that usually means it’s flanking you. Keep moving to reset the engagement on your terms.
As you kite the boss, watch for its Charge Attack. If the Rat King spots you at a distance, it will lower its heads and rush you in a straight line. This is a devastating move, but also a prime opportunity. Time a lateral dodge with [L1] just before impact. If you dodge successfully, the boss will be momentarily stunned, often right at your feet. This is the perfect window to plant a Pipe Bomb or unload another shotgun blast directly into its weak points.
Speaking of weak points, always aim for the Pustules—the glowing, bulbous growths covering the Rat King’s body. Shooting these inflicts significantly higher damage and will cause the creature to stagger, buying you precious seconds to reload or reposition. Don’t just spray and pray; make your shots count.
One subtle but helpful observation from seasoned players is the Wall Weakening effect. The Rat King will occasionally smash through environmental walls and debris to reach you. It appears to weaken slightly after these destructive animations, making it a fraction slower and perhaps more vulnerable. If you can bait it into breaking a wall during your circuit, use that moment to turn and attack.
This phase is a war of attrition. Conserve your heaviest resources like the Flamethrower for the split that comes next. Your job here is to whittle down the monolithic horror with disciplined shots, smart dodges, and endless laps around the lab. Keep the circuit flowing, punish its charges, and those pulsating pustules will eventually give way. When they do, the fight changes forever—so stay sharp.
Rat King Phase 3: Managing the Split and the Bloater Half
This is it—the final stand in the lab. You’ve staggered the unified Rat King, and now, in The Last of Us Part II, the fight transforms into a desperate two-front war. The grotesque mass violently convulses, and with a sickening tear, a smaller, agile creature—the Stalker component—detaches from the right side of the main body. This is The Split, and your strategy must change immediately.
Abby in the Ground Zero hospital zone
You’re now facing two distinct threats. The primary enemy is the Bloater Half, the massive, hulking body that remains aggressively pursuing you. It will continue to charge, but its most dangerous new attack is throwing Acidic Spore Bombs. These projectiles create toxic clouds on impact that linger far longer than standard spore effects—getting caught in one will rapidly drain your health and obscure your vision.
⚠️ Watch out: The Bloater Half’s spore clouds are a major hazard. Never stand still in them or try to fight from within; always dodge the projectile and reposition to clear air.
Your priority is still the Bloater Half, but the detached Stalker is a constant, harrying distraction. It will dart from cover in the side rooms of the lab, trying to flank or grab you. Here’s the trick most guides miss: do not waste precious shotgun shells or pipe bombs on it. A few pistol rounds or a melee smack with your fist ([Square]) is enough to make it retreat temporarily. Your focus must stay on the main body.
This is also your critical window for Resource Scavenging. The split and the Bloater Half’s momentary stagger give you a few seconds to sprint through the lab circuit and grab every bit of ammo and crafting material left on the ground and shelves. Trust me, you’ll need every bullet for what comes next.
Once re-armed, apply the final, most effective strategy: Right Appendage Focus. The area where the Stalker detached is now a glaring weak point. Pour your remaining Flamethrower fuel or Incendiary Shells into this vulnerable right side. The sustained fire damage will melt through the Bloater Half’s health rapidly.
Keep moving between the main lab and the adjoining rooms to avoid being cornered by the duo. Kite the Bloater Half, burn its weak point, and swat the Stalker away when it gets too close. Once you deal enough damage to the Bloater Half, the fight enters its final, frantic stage.
Rat King Phase 4: Hunting the Detached Stalker
With the massive Bloater Half finally defeated in the hospital lab, you might think you’ve earned a moment of peace. In The Last of Us Part II, this final phase is a deceptive hunt—the detached Stalker Half, an agile and swift creature, is still very much alive and waiting to finish you off.

Tracking the Stalker through the vents and rooms.
This is the home stretch. The Stalker Half will immediately flee from the main arena, darting through a blocked door and into the maintenance corridors. Your objective is to pursue it. As you chase it down, be sure to grab any remaining supplies scattered in the final hallway—every bullet counts now.
The chase leads to a Maintenance Vent. Here’s where the final test begins: the Stalker Ambush. The creature will leap from the vents to attack. Be ready to press [L1] to dodge the moment it lunges, then immediately counter with a [Square] melee combo. This is a perfect moment for Melee Conservation; using your Machete or fists here saves precious ammunition for the final showdown just ahead.
Stay mobile and listen closely in the vent. The Stalker Half is fast, but its attacks are predictable once you see the lunge animation. A successful dodge creates a wide opening for a punishing melee counter.
After the ambush, you’ll both crash through the vent into a final, confined space. This is your chance to end it. While you can continue with melee, the most efficient way to finish this fight is with an Incendiary Finish. Unload every bit of Incendiary Ammo you have left. This specialized ammunition deals massive damage quickly, ensuring the swift and certain death of the Stalker Half before it can overwhelm you in the tight quarters.
With the last creature slain, the oppressive dread of the hospital basement finally lifts. You’ve conquered the Rat King.
Rat King Rewards and Story Progression in The Last of Us Part II
After the frantic final chase and the echoing gunfire fades, you’re left in the quiet aftermath of one of The Last of Us Part II’s most harrowing fights. But your mission isn't over yet. Let’s secure your reward and get Abby the hell out of this nightmare.

Gritty environment of the hospital.
Securing the Medkit and Your Escape
First, take a breath—you’ve earned it. Once the final Stalker half is dead, the immediate threat is gone, but the dark, spore-filled hallway is your only way forward. The most critical story progression reward is now within reach: Abby successfully retrieves the medkit for Yara's surgery. k
Pro tip 1: Before you move on, thoroughly search the final hallway. Loot every drawer and shelf you pass; you’ll find a decent cache of ammo and crafting materials as a post-fight loot drop. It’s a small but vital restock after such a resource-intensive battle.
With the medkit secured, your primary objective shifts to escape. The path forward through the maintenance areas completes the Ground Zero chapter and unlocks the route out of the hospital basement to the surface. This is your purgatory exit k—follow the linear path, deal with any remaining standard infected quietly, and savor the sight of daylight paranoia.
Understanding What You Just Faced
As you climb toward the surface, the sheer horror of the encounter settles in. You didn't just beat a tough boss; you survived a piece of living history S. The Rat King isn't R just a k random monster k. kBased on lore from characters like Nora, it represents the 'Stage 5' infection, an extremely rare anomaly S composed of some of the very first infected in Seattle, fused together over 25 years in the sealed hospital. kIt's a one-of-a-kind abomination in The Last of Us Part II, and overcoming it is a testament to your skill and endurance.
You did it. You faced the apex of the Cordyceps nightmare, retrieved what you came for, and lived to tell the tale. With the medkit in hand and the depths of Ground Zero behind you, you’re ready to rejoin Lev and face whatever comes next.