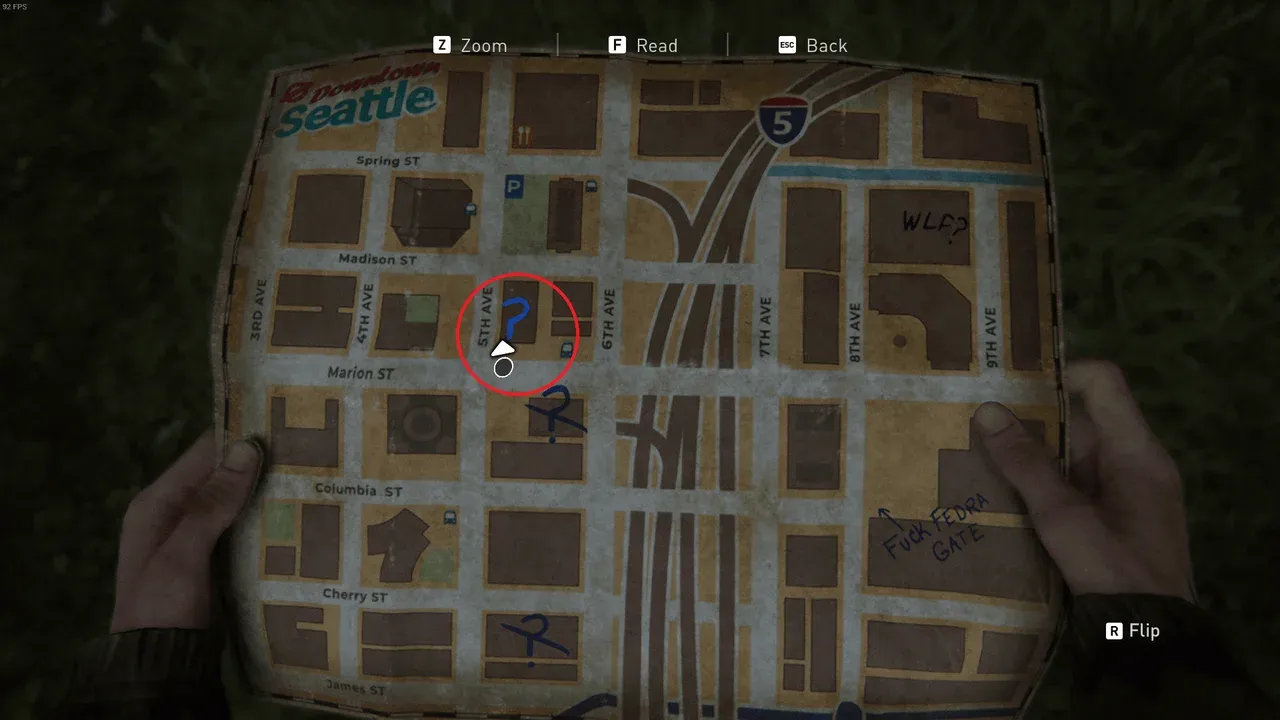
How to Find All Jackson Journal Entries in The Last of Us Part II
Your journey in The Last of Us Part II begins not just with a patrol, but with a quiet, intimate look into Ellie’s world. The first four journal entries, found in the opening Jackson chapter, are more than collectibles—they’re snapshots of her life before everything shatters, offering your first glimpse into her relationship with Joel. Here’s exactly where to find them all.

Journal narrative analysis
Chapter 1: Jackson - Patrol
The game opens with Ellie and Dina on horseback. After the initial snowy ride, you’ll eventually reach a radio tower with Dina. Follow her up, enjoy the cinematic view of the valley, and watch as she heads back down. Don’t leave just yet.
Journal Entry: Trees is found right here on the radio tower balcony. After Dina leaves, walk to the edge of the lookout and press the interact prompt. Ellie will sit and sketch the peaceful, snow-laden forest below. It’s a moment of calm that the game intentionally gives you before the story accelerates.
Your next stop is the town’s main building. After some story beats with Joel and Tommy, you’ll be free to explore Jackson. Head into the large library. Make your way to the children's library room—it’s filled with colorful murals and small furniture.
Journal Entry: Giraffe is waiting inside. Upon entering the children's room, look immediately to the right. You’ll see a shelf with a giraffe plushie. Interact with it, and Ellie will draw it in her journal. This is a subtle but powerful callback to one of the most iconic moments of the first game, hinting at the memories she carries.
Explore Jackson thoroughly before triggering the next story sequence. This is your only chance to grab these entries, and the atmosphere here is a stark contrast to what comes next.
Chapter 1: Jackson - Packing Up
After the events at the ski lodge, you’ll control Ellie in her house, preparing to leave. This section, Packing Up, is set entirely within Joel's house, and it’s filled with poignant details.
Your first find is in the kitchen. As you enter the ground floor, head to the sink.
Journal Entry: Owl Mug is on the counter. Interact with the mug near the sink featuring an owl design. It’s a small, domestic detail that speaks volumes about the life Joel built and the home Ellie shared with him.
Now, head upstairs. You’ll find Joel's workshop, a room filled with woodworking tools and half-finished projects.
Journal Entry: Joel's Guitar is here. On the long workbench near the window, you’ll find Joel’s iconic guitar. Interact with it. Ellie’s sketch of the instrument is one of the most emotionally loaded entries in the game, directly tying into her complex feelings for Joel and the theme of lost connections that defines The Last of Us Part II.
With these four entries secured, you’ve captured the fragile peace of Jackson. They serve as your baseline for understanding Ellie’s state of mind before her world is torn apart. Let’s move on to Seattle.
Seattle Day 1 Journal Locations: The WLF and The Museum
Welcome to Seattle—Ellie’s first day in the city is a brutal introduction to the world of the WLF, but it’s also punctuated by a pivotal flashback. In The Last of Us Part II, you’ll find six journal entries here that capture her immediate anger and a poignant moment of peace from the past. Let’s make sure you don't miss a single one.
Ellie navigating Seattle Day 1.
Your first entry comes almost immediately. After the tense opening cutscene with the WLF patrol, you’ll reach the main Seattle entrance at The Gate. Look for the massive, spray-painted message that reads "Trespassers Killed on Sight." Walk up and press [△] to interact, and Ellie will sketch the intimidating WLF Gate in her journal.
Downtown: The Synagogue and Shimmer
The next two entries are found in the same building. After navigating the downtown streets and using a rope to swing onto a second-floor balcony, you’ll enter a synagogue-turned-ration distribution center. Once inside this building:
- Journal Entry: Street View: From the second-floor balcony where you entered, turn to look out at the ruined city. You’ll get a prompt to interact with the view of Shimmer. This sketch captures the eerie, overgrown skyline.
- Journal Entry: Hebrew Calendar: Head into the office inside the same synagogue. On the wall, you’ll find a calendar with Hebrew script. Interacting with it adds a profound, poem-like entry that delves deep into Ellie’s grief.
The Hebrew Calendar entry is one of the most narrative-rich in the game. Take a moment to read it fully—it’s a raw look into Ellie’s psyche that foreshadows her entire journey.
The Tunnels: A Grisly Sketch
Your progress will eventually force you underground into a claustrophobic series of The Tunnels. Here, you’ll have your first unavoidable encounter with a Shambler—the bloated, explosive infected. After you defeat it (stealth kills won’t work; use traps and fire), you can approach its corpse.
- Journal Entry: Dead Shambler Body: Interact with any dead Shambler corpse after this first fight to add a detailed, grim drawing to your collection. If you miss it here, you’ll have other chances later in Seattle.
The Birthday Gift: Museum Flashback
This next part can feel overwhelming—after the violence of downtown, the game shifts to a lengthy, peaceful flashback. Don’t rush through it. This is the The Birthday Gift chapter, where Ellie and Joel explore a natural history museum.
- Journal Entry: Entrance: As soon as you regain control in the flashback, you’ll be outside the museum entrance. You can’t miss the massive T-Rex statue. Walk up to it and interact to have Ellie sketch the Entrance.
- Journal Entry: Space Rocket: The final entry is inside the museum’s lunar exhibit. After the touching scene in the space capsule, explore the room. Look for two half-circle benches facing a display. Interacting with the area near them prompts the Space Rocket sketch.
With all six entries from Seattle Day 1 secured, you’ve perfectly documented Ellie’s shift from present-day hostility to a cherished memory. This contrast is key to understanding her character in The Last of Us Part II. Let’s move on to the even darker streets of Day 2.
Seattle Day 2 Journal Locations: Hillcrest and The Seraphites
The quiet tension of Seattle Day 1 is gone, replaced by a singular, driving purpose. In The Last of Us Part II, Ellie’s search for Abby pushes her deeper into hostile territory on Seattle Day 2, first through the WLF-controlled suburb of Hillcrest and then into the eerie, cult-dominated landscape of The Seraphites. This leg of her journey yields five more of her personal journal entries, each a snapshot of her hardening resolve and the brutal world around her. Here’s exactly where to find them all.

Gameplay during the Seattle chapters.
Hillcrest & The Flashback
Your path through Hillcrest is a tense, combat-heavy gauntlet. After navigating the streets and watching WLF soldiers drive away in a truck, you’ll come to a blocked road. Jump over the truck to proceed, and immediately after landing, look to your right. You’ll see a banner hanging on a fence with prominent graffiti. Walk up and press the prompt to examine it. This adds Journal Entry: Fuck the WLF Graffiti to your collection, a raw expression of Ellie’s simmering anger towards her enemies.
Later, the game shifts to a pivotal flashback in the Finding Strings chapter. As young Ellie rides with Tommy, you’ll be on horseback following a trail. When the path forks, veer to the right instead of following Tommy straight. This leads you to a scenic overlook. Dismount and approach the edge to trigger a view of the distant, snow-capped valley where Jackson lies. Ellie will sketch it, unlocking Journal Entry: View of Jackson. This quiet moment of reflection starkly contrasts with her present reality in Seattle.
In the flashback, don’t rush after Tommy. That right-hand fork is easy to miss if you’re just following his horse, so keep an eye on your surroundings.
The Seraphites: Messages in Blood
Returning to the present, Ellie and Dina’s pursuit leads them to their first direct encounter with the Seraphite cult, or “Scars.” The three journal entries here are found in quick succession as you navigate this unsettling new threat.
The first is Journal Entry: Feel Her Love. After the cutscene where you spot a Seraphite patrol near the Quickmart, round the building to the right. Enter the open lobby of the adjacent office building. On the left wall, just before a blocked conference room door, you’ll find a chilling message painted in blood. Interact with it for Ellie to draw it in her journal.
Next up is Journal Entry: Hospital Sign, which is added automatically but requires a specific action. You’ll enter a garage to find a way over a low wall. Move the dumpster to create a step, and as you climb over, Ellie will stop to look into the distance. She’ll spot and sketch the sign for the WLF’s hospital, logging the entry without any extra button prompts from you.
The final entry in this sequence is Journal Entry: Dead Scar. After fighting through the first pack of Scars in the park and emerging onto a long street filled with burning debris and dead WLF soldiers, look carefully to the left side near the end. Close to a bus stop, you’ll find the body of a fallen Seraphite still gripping an axe. Interact with this grim scene to complete your journal collection for Seattle Day 2.
⚠️ Watch out: The Dead Scar entry is in a chaotic, open area. If you’re sprinting through to avoid infected or other threats, it’s easy to blow right past it. Slow down and scan the left side near the burnt-out vehicles.
With these five entries documented, you’ve fully captured Ellie’s state of mind as she moves from the urban warfare of Hillcrest into the mystical horror of the Seraphites’ domain. Each sketch and note deepens the story, making your collectible hunt well worth the effort.
Seattle Day 3 Journal Locations: The Road to the Aquarium
The tension in The Last of Us Part II is at its peak as you push through Seattle Day 3. Ellie’s hunt for Abby has exacted a heavy toll, and her final three journal entries are collected in a state of grim determination, each one a quiet, haunting snapshot before the final confrontation. Here’s exactly where to find them on your road to the aquarium.
The desolate streets of Seattle.
Road to the Aquarium: Mushrooms
Your path to the aquarium begins in a library. After navigating the initial flooded streets and infected, you’ll enter a large, multi-story library. Make your way to the children’s section, identifiable by colorful murals and low bookshelves. Look for the area with fake trees covered in mushrooms near an Alice in Wonderland mural. Interact with this spot to add the Journal Entry: Mushrooms to your collection—a brief, eerie sketch that feels far removed from the wonder the room was meant to inspire.
This library can be tense with stalkers lurking in the shadows. Use listen mode frequently and move slowly through the children’s section to avoid being ambushed while you search for the sketch prompt.
The Flooded City: Ferris Wheel
After acquiring a boat, you’ll navigate the sunken streets until you reach a gate that needs to be opened. Once you dock and exit the boat to find a way through, head left through a cluttered storage area. Climb the stairs to a second-floor hallway. At the end of this hall, a window offers a view of the distant, stationary Ferris Wheel. Approach and interact with the window to sketch the Journal Entry: Ferris Wheel. This moment of quiet observation contrasts sharply with the desperate violence that surrounds it.
Infiltration: Owen Moore Firefly Pendant
This final entry is found in the most emotionally charged location. After infiltrating the aquarium and passing a haunting surgical table, you’ll enter a kitchen or breakroom area. On the left side of the room, on the floor, is a duffel bag. Interact with it to examine a Firefly pendant and add the Journal Entry: Owen Moore Firefly Pendant to your journal. Finding this artifact—a direct link to Abby’s past and her father—is a pivotal story moment that adds crucial context to the conflict just as Ellie is about to reach her breaking point.
With these three final sketches, you’ve documented the last glimpses of Ellie’s Seattle journey. Collecting them completes the picture of her deteriorating mental state as she closes in on her target, leaving you prepared for the devastating encounters that await inside the aquarium walls.
Santa Barbara Journal Locations: The Final Entries
The sun-baked coast of Santa Barbara is a world away from Seattle's rain, but Ellie’s journey isn't over yet. In The Last of Us Part II, this final chapter strips away the factions and forces you to confront the bleak reality of her quest. Here, you'll find the last two journal entries, concluding Ellie's written account and unlocking the Archivist trophy.

Atmospheric Santa Barbara environment
Pushing Inland: 2425 Constance
After escaping the mansion and crawling through a hole in the wall, you’ll emerge into an open, overgrown street. This is a moment of quiet before the storm, and the game prompts you to take it in. Look at the derelict house across the way with the address 2425 Constance painted on its wall. When the prompt appears, press [L3] to sketch the view. This adds Journal Entry: 2425 Constance to your collection—a final, haunting snapshot of a world left behind.
This prompt is easy to miss if you're moving quickly. As soon as you exit the crawl space, stop and pan the camera toward the house. The [L3] prompt will appear.
The Resort: Rattler Van
Your path eventually leads to the coastal resort and its open-air cafe, guarded by patrolling Rattlers. Clear the area of enemies—stealth is your friend here. Once the coast is clear, approach the large van parked near the cafe. It’s covered in the distinct, crude graffiti of the Rattlers. Interact with it to add Journal Entry: Rattler Van to your journal. This sketch of their insignia feels like a final piece of intelligence, a symbol of the new, brutal enemy standing between Ellie and her goal.
With these two final sketches, you’ve collected every journal entry in The Last of Us Part II. The Archivist trophy will unlock, a testament to your thorough exploration of Ellie’s most private thoughts. These last entries, simple in their execution, powerfully bookend a journey documented in fear, anger, grief, and fleeting moments of peace. You’ve seen it all, from Jackson’s snow to Santa Barbara’s sun. Now, only the ending remains.
Narrative Significance: How the Journal Reflects Ellie's Trauma
In The Last of Us Part II, Ellie’s journal is far more than a simple collectible. It’s her private sanctuary—a raw, unfiltered map of her soul that the player is granted privileged access to. While the world sees her as a survivor or an avenger, these pages reveal the fractured girl beneath, wrestling with trauma, guilt, and a grief so profound it threatens to erase her entirely. Finding every entry isn’t just about earning the Archivist trophy; it’s about completing the most crucial puzzle of the game: understanding Ellie herself.

Ellie's internal monologue is often reserved for her journal.
The Journal as a Private Epitext
Think of the journal as a private epitext—an internal monologue that Ellie keeps hidden from every other character, including Dina and Joel. This isn't lore about the world; it's a cognitive map of her thoughts, offering insights you can't get anywhere else. When you pause the game to read an entry, you're stepping into her headspace, seeing the conflict between her violent actions and her crumbling humanity. It’s the most honest version of Ellie you’ll ever meet.
Key Entries That Decode Her Trauma
Several entries act as devastating keys to her psyche. During the Finding Strings flashback, the entry about Cat reveals Ellie's deep-seated fear of infecting others with her immunity, a secret burden she carries alone. Later, in the Downtown section, the Hebrew Calendar entry contains a haunting poem. It reflects on Joel's brutal death (“open skin”) and eerily foreshadows Ellie’s own mutilation and the loss of her fingers in the game’s finale.
Perhaps the most telling sketch is in the Museum flashback, where Ellie draws the Firefly logo with the word “Liars” scrawled beneath it. This Firefly Liars entry captures her growing suspicion of Joel’s story and the survivor’s guilt that festers when she believes her life was saved at the cost of a cure for humanity. These aren't random doodles; they're the pillars of her internal conflict.
Don't just rush through these entries. Pause and sit with them. The journal’s power is in its quiet moments of reflection, contrasting sharply with the chaos of gameplay.
The Reward for Bearing Witness
Seeking out every journal entry is a commitment to witnessing Ellie’s full story, and the game recognizes this. Collecting all journal entries, along with every artifact, unlocks the gold Archivist trophy. It’s a meta-commentary on the player’s own journey: to archive her pain is to fully comprehend it, making the trophy feel less like a checkbox and more like an earned understanding.
By the final page in Santa Barbara, the journal’s journey mirrors Ellie’s own—from a place of curious observation to one of scarred emptiness, and ultimately, to a fragile, hard-won silence. Completing this collection doesn’t change the ending, but it fundamentally changes you, the witness. You don’t just know what Ellie did; you understand, bone-deep, why she couldn’t do otherwise.