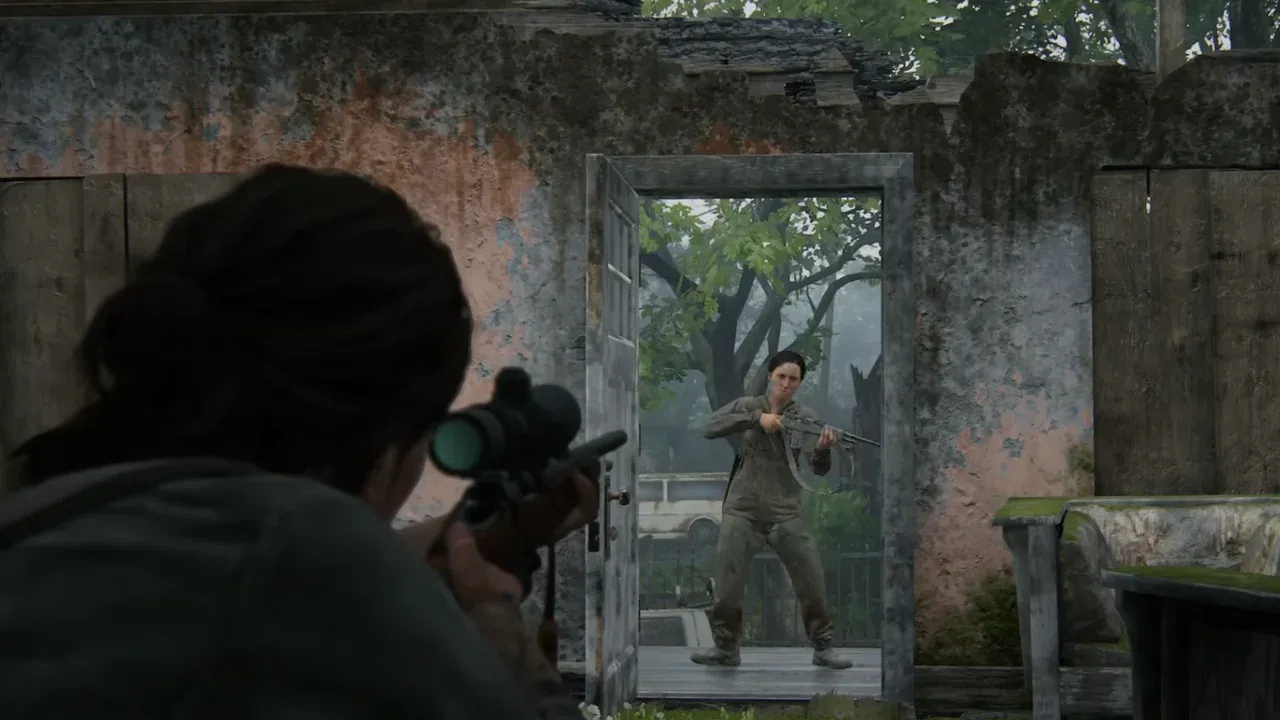
How to Configure Accessibility and Difficulty in The Last of Us Part II
Before you step into the rain-soaked streets of Seattle, take a crucial moment in the menu. In The Last of Us Part II, your first and most important survival tool isn't a weapon—it’s the game’s groundbreaking suite of customization options. This is where you tailor the brutal, beautiful experience to your exact comfort level, ensuring your journey is as challenging or as accessible as you need it to be.
The game offers extensive visual accessibility options.
Fine-Tune Your Challenge
Your first stop should be the Difficulty Sliders. Found in the Options menu from the main menu or pause screen, they let you adjust the game wholesale from Very Light to Survivor. But the real power lies in creating a custom difficulty. You can fine-tune specific criteria: dial up enemy aggression and accuracy for a true test, or increase resource frequency if you’d rather focus on the story without the constant ammo anxiety. You can even adjust how much damage you deal and receive. This isn’t cheating—it’s crafting the exact kind of tension you enjoy.
For your first playthrough, try setting enemy behavior to a higher difficulty but keeping resources on a medium setting. This maintains the combat challenge without making every bullet feel like a miracle.
Unlock the Game for Everyone
Next, explore the Accessibility Presets. Under Options > Accessibility, you’ll find over 60 options designed to make The Last of Us Part II playable for everyone. There are comprehensive vision, hearing, and motor presets that can be applied with one click. Features include high-contrast modes, audio cues for critical gameplay elements, and the ability to remap every control. Trust me, this menu is a masterclass in inclusive design.
For combat, dive into the Combat Accessibility sub-menu. Here, you can toggle options that fundamentally change engagements. Turn on Invisible While Prone to stay hidden as long as you’re not aiming, or enable Slow Motion during aim to give yourself a crucial moment to line up shots in frantic fights. You can even widen the dodge window or make enemies less likely to flank you.
Make Exploration Effortless
Finally, don’t miss the Advanced Listen Mode under Navigation and Traversal. Activate this, and you can press [R1] + [Circle] to have Ellie ping the environment. You’ll get an audio cue and a visual highlight for any nearby collectibles or resources. If you’re worried about missing crucial upgrades or lore-heavy artifacts, this setting is a game-changer.
Take ten minutes before you press “New Game” to explore these menus. Whether you need to tweak one setting for comfort or engage with the full suite for accessibility, configuring The Last of Us Part II to suit you is the first and most rewarding step to surviving its unforgettable world.
How to Master Stealth and Movement in The Last of Us Part II
The combat in The Last of Us Part II is a desperate, claustrophobic dance where staying still means death. To survive Seattle, you need to master movement itself—learning when to creep, when to dive, and when to vanish entirely.

Scouting ahead is vital for resource management.
Your most fundamental tool is the Prone and Crawl ability. Hold [Circle] to drop to the ground, then use [L] to move silently. This isn't just for hiding in tall grass; you can crawl under vehicles, through tight gaps, and into dark corners, completely breaking an enemy's line of sight. Trust me, when a patrol is hunting you, sliding under a truck as they search overhead is a heart-pounding, life-saving move.
Your crawl speed is initially slow, but investing Supplements into the Stealth skill tree will make you move just as fast prone as you do crouched—a game-changer for repositioning unseen.
When stealth fails and a fight breaks out, the new Dodge Mechanic is your lifeline. Press [L1] and push [L] in a direction to sidestep melee swings, avoid infected grabs, and even evade some gunfire. This isn't about button-mashing; it's about reading your opponent's wind-up and timing your dodge just before impact. Against human enemies with melee weapons or the terrifying lunge of a Clicker, mastering this dodge is the difference between a counterattack and a game over screen.
Mastering Dynamic Stealth
Forget simple stealth meters. The Last of Us Part II uses Dynamic Stealth, where your visibility depends on light, sound, and cover. You can be spotted, sprint away into tall grass or mud, and successfully break their line of sight to return to a 'hidden' status. The AI will remember your last known position and search intelligently, but if you’ve slipped away cleanly, you can reset the encounter on your terms. This system rewards patience and observation—watch patrol patterns first, then move.
Escape Is Always an Option
Some encounters are designed to overwhelm you, and your best weapon is often a tactical retreat. The Escape and Reposition strategy is key: hold [L2] to sprint, and you can even tap [Circle] to dive into cover. If you’re low on health and ammo, don’t be a hero. Turn tail, create distance, and use the environment to lose your pursuers. Once they’ve lost you, you can silently pick them off from a new angle or sometimes even bypass the fight entirely.
⚠️ Watch out: Human enemies, especially the WLF, will check under vehicles and coordinate their searches. If you’re hiding prone, keep moving and don’t assume you’re completely safe.
With these movement fundamentals—prone crawling for infiltration, precise dodging for survival, and smart repositioning to control the flow of battle—you’re no longer just reacting to threats. You’re controlling the space, the pace, and ultimately, your own survival in The Last of Us Part II. Let’s move.
Best Scavenging and Resource Management Strategies for Beginners
Scavenging isn't just a side activity in The Last of Us Part II—it's the lifeline that separates a desperate survivor from a dead one. Resources are brutally scarce, and every piece of tape or scrap you find can be the difference between a clean escape and a messy death. Here’s how to think like a true scavenger and manage your precious inventory.
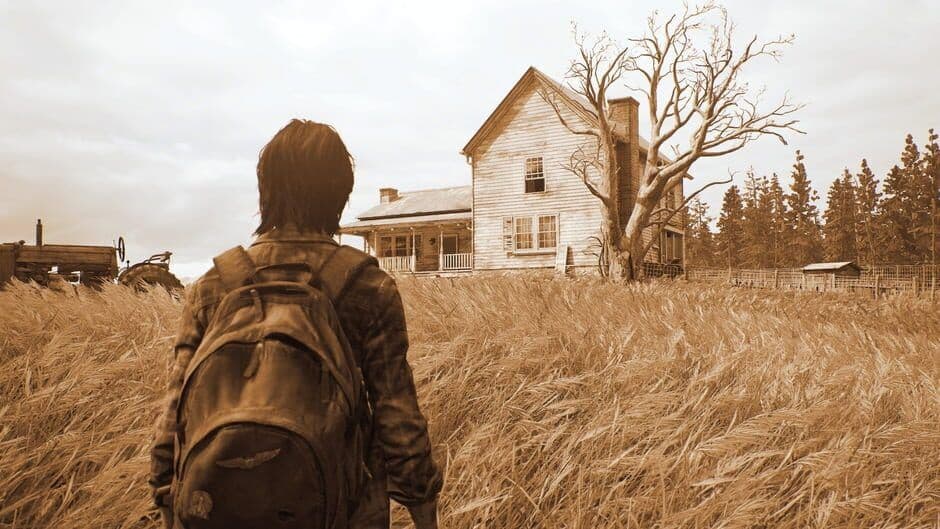
High-risk areas often contain the best scavenging rewards.
Master the Art of Looting
Your first lesson starts in the opening hours. While following Jesse through the snowy streets of Jackson, don’t just follow him blindly. Look around. You’ll find a blacksmith's stall marked with a sign that reads 'Free Parts'. Grab them immediately. These Parts are a limited currency used exclusively for upgrading your weapons at workbenches, and this early freebie gives you a crucial head start.
This principle applies everywhere: leave no drawer unopened, no cabinet unchecked. The game rewards thorough exploration with essential supplies. Breakable glass often hides rooms, open vents lead to stashes, and safes (which you’ll find codes for in nearby notes) contain caches of Supplements (pills) and Parts. In the large downtown Seattle area on Day 1, exploring every marked building on your map is non-negotiable. You’ll find not just resources, but key upgrades like the Secondary Holster, which lets you quick-swap between two sidearms.
Use Advanced Listen Mode (found in Options > Accessibility > Navigation and Traversal). When you press [R1] + [Circle], Ellie will ping her surroundings. If there’s a collectible or resource nearby, you’ll get an audio and visual cue. This turns a tedious search into a quick sweep.
Understand Your Inventory Limits
Here’s a critical system most guides miss: your backpack has hard caps. You can only carry 3 units of each crafting resource at a time—that’s Alcohol, Binding (tape), Blades, Canisters, Explosives, and Rags. If you’re full on Rags and find more, you’ll leave them behind. The solution? Craft proactively.
Don’t wait until you’re in a firefight. If you’re nearing a cap, craft a Health Kit (Alcohol + Rag) or some Arrows (Binding + Blade) to free up space. This habit ensures you never miss a precious pickup.
Speaking of precious, nothing is more valuable than Binding (tape). It’s the golden ticket for crafting Arrows, Explosive Arrows, and upgrading melee weapons. You’ll constantly be hunting for it, so when you see it, grab it—and manage your inventory to make room.
Strategic Saving and Spending
The autosave in The Last of Us Part II is generous, but that can be a curse. It often saves mid-encounter when you’re low on health and ammo, potentially trapping you in a doomed state. The fix is simple: manual saving.
Before entering any area that looks like a combat arena (e.g., a wide-open space with lots of cover), pause and go to Options > Save Game. Create a new manual save. This gives you a clean restart point with full resources if things go south.
This discipline extends to your other currencies: Supplements and Parts. Don’t spend them the moment you get them. New weapon types and skill trees unlock as you progress. You might regret dumping all your Parts into your pistol’s capacity when you find a rifle you love an hour later. Wait, assess your playstyle, and invest in upgrades that matter most to you.
With these strategies, you’ll transform from a desperate scavenger into a prepared survivor, always one step ahead of the game’s brutal economy. Now, let's find you some weapons.
How to Find Essential Early Game Weapons and Gear
Seattle’s streets are unforgiving, and in The Last of Us Part II, your survival hinges on the gear you carry. While scavenging is key, knowing where to find the most impactful tools early can turn a desperate struggle into a controlled hunt.

Combat effectiveness depends on the gear you find early on.
Your first major power spike comes during Seattle Day 1 in the sprawling Downtown area. After getting your bearings, make the Westlake Bank a priority. It’s a landmark building you can spot on your map, but be warned—it’s usually guarded by Clickers. Clearing it out is worth the risk: inside the main vault, you’ll find the Pump-Action Shotgun. This weapon is a game-changer for close-quarters emergencies, especially against the tougher infected you’ll soon face.
Don’t just rush to the vault. The bank has multiple floors and offices to loot. Check every desk and behind every teller window for extra ammo, supplements, and crafting materials to stock up before you grab the big prize.
While exploring Downtown, you’re not just looking for a single weapon. This open area is packed with optional buildings, and thorough exploration here unlocks a critical quality-of-life upgrade: the Secondary Holster. You’ll find it tucked away in one of the many explorable structures (often hinted at by map clues or notes). Once equipped, it allows you to quick-swap between two small firearms using the [D-pad], letting you adapt from your silenced pistol to your revolver in an instant without fumbling in a menu mid-fight.
The real treasures in The Last of Us Part II, however, are often behind locked doors. Keep your eyes peeled for Hidden Safes in various Seattle buildings. These aren’t just for extra bullets; they often contain caches of 15-20 supplements or parts. The combination is always nearby—check for notes on desks, bodies, or whiteboards. If you see a code scrawled somewhere, there’s almost certainly a safe in the immediate vicinity.
Perhaps the most significant finds are Training Manuals. These vital books are often the reward for solving those safe puzzles or for thoroughly searching side rooms. Each manual you collect unlocks an entirely new skill tree for Ellie, such as Stealth or Explosives. You start with only the Survival tree, so finding these manuals early opens up powerful new abilities, like crafting silencers or explosive arrows, much sooner.
Trust me, taking the time to methodically clear the Downtown area and hunt for these specific items will arm you not just with better guns, but with the foundational upgrades that make the rest of Ellie’s harrowing journey manageable. With the shotgun for power, the holster for flexibility, and new skills unlocked, you’re ready to face Seattle’s horrors on your own terms.
Best Skill Tree and Weapon Upgrade Paths for Ellie
Your journey through The Last of Us Part II is defined by scarcity, forcing you to make every bullet and pill count. With limited Supplements and Parts, you can’t unlock everything on a first run, so your choices must be sharp. This guide cuts through the noise to prioritize the upgrades that will keep you alive and lethal from Seattle to Santa Barbara.
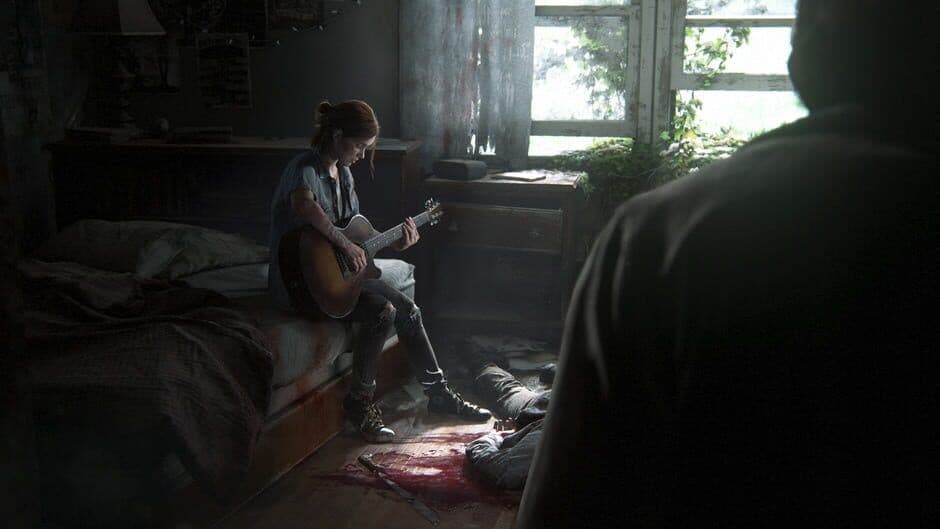
Environmental awareness is bolstered by specific character upgrades.
Prioritizing Ellie's Skill Trees (Supplements)
You’ll find Supplements (pills) everywhere—in drawers, on shelves, and in safes. Don’t spend them impulsively. Focus on these trees in this order to build a resilient foundation.
First, max out the Survival Tree. This is your non-negotiable lifeline. Key unlocks here include Faster Healing, which drastically reduces the time it takes to apply a medkit—a lifesaver when you’re cornered. The crown jewel is Endure, a final-tier skill that lets you survive a lethal blow with a sliver of health (except against Clickers and Bloaters). It’s a get-out-of-death-free card that will save your run countless times.
Next, invest in the Stealth Tree. Your first purchase here should be Craft Silencers, allowing you to turn binding and a pistol into a temporary stealth tool. Follow this with Faster Prone Movement, which makes your crawl speed equal to your crouch—letting you reposition quietly without sacrificing pace. These skills turn tense encounters into manageable puzzles.
Ignore the Precision tree on your first run. While steadying your breath is nice, you can replicate its benefits with weapon upgrades. The Survival and Stealth trees offer unique, irreplaceable advantages.
Strategic Weapon Upgrades (Parts)
Parts are rarer than Supplements. You’ll find them at workbenches and in hidden stashes, but you’ll only have enough to fully upgrade a few weapons. Dump capacity upgrades—you’ll rarely have the ammo to need them. Instead, focus on lethality and utility.
Your top priority should be the Bolt-Action Rifle Damage upgrade. It’s expensive, but it transforms the rifle into a monster. Once fully upgraded, it can kill standard human enemies with a single shot to the body, not just the head. This conserves ammo and lets you handle armored WLF soldiers with terrifying efficiency.
For your silent option, invest in the Bow Draw Speed upgrade. The standard bow is slow, making it risky in open combat. Increasing the draw speed turns it from a pure stealth weapon into a viable tool for active engagements, letting you fire follow-up shots quickly when stealth breaks down.
⚠️ Watch out: Always scavenge the area around a workbench before you start upgrading. There are almost always a dozen or more extra Parts hidden in nearby drawers or on shelves, giving you more currency for those crucial damage boosts.
With your Supplements funneled into survival and stealth, and your Parts dedicated to making your rifle and bow truly formidable, you’ve built an Ellie who can adapt to any hell Seattle throws at her. You’re not just surviving now—you’re in control.
How to Combat Human Factions and The Infected in The Last of Us Part II
In The Last of Us Part II, Seattle’s streets and forests are crawling with threats that will punish you for fighting them the same way. This is where your survival instinct gets tested—learning enemy behaviors isn’t just helpful, it’s the difference between life and death. Each faction and infected type demands a different approach, and mastering those counters will turn desperate scrambles into calculated victories.

Tactical positioning can give you the upper hand against larger groups.
Washington Liberation Front (WLF): The Aggressive Military Faction
You’ll face the Washington Liberation Front (WLF) throughout Seattle. These are trained, aggressive soldiers who communicate clearly and use real military tactics. Once they spot you, they’ll flank, lay down suppressive fire, and call out your last known position to their squad. Staying in one spot after an attack is a death sentence.
After taking a shot or making a kill, immediately relocate. Use cars, walls, and buildings to break line of sight. Their communication is your warning system—listen for them calling out “He’s over here!” to know they’re repositioning.
Seraphites: The Silent, Flanking Cult
In the forested and overgrown areas of Seattle, you’ll encounter the Seraphites. This cult communicates through eerie, coded whistles instead of spoken words, making it harder to track their movements. They are masters of stealth and will attempt to flank you quietly if you stay stationary.
The key here is constant, careful movement. Crouch-walk to stay quiet, but keep shifting your position to avoid being surrounded. If you hear a whistle change pitch or frequency, it often means they’ve spotted something or are coordinating an attack—be ready to defend your new flank.
Infected: Know Your Enemy Type
The Infected are relentless, but each class has a fatal flaw you can exploit.
- Runners & Stalkers: These are your basic and sneaky threats. Runners charge directly, while Stalkers hide and ambush. For both, the 1-2 Strike is your best friend: throw a brick or bottle with [R2] to stun them, then follow up with a quick [Square] melee strike for an instant kill. This saves precious ammo and durability.
- Clickers: These are the blind but deadly veterans. Never engage them head-on—they have a one-hit kill grab. The only safe takedown is a Clicker Stealth Kill: sneak directly behind them, press [Triangle] to grab, then [Square] to kill. This requires either a Shiv (for Abby) or Ellie’s switchblade. If you’re out of stealth kills, Molotovs or two well-placed shotgun blasts are your only other reliable options.
- Shamblers & Bloaters: These are the heavyweights. Shamblers emit a damaging spore cloud, so keep your distance. Bloaters have thick armor. For both, fire is your greatest ally. A Molotov will burn away a Bloater’s armor and damage a Shambler significantly, making follow-up attacks much more effective.
Putting It All Together: Faction Infighting
One of the most powerful advanced tactics in The Last of Us Part II is turning enemies against each other. In areas where human factions and Infected are present, you can use a thrown bottle to lure Clickers or Runners toward a group of WLF soldiers or Seraphites. While they’re busy tearing each other apart, you can slip past or clean up the survivors.
⚠️ Watch out: If you’ve struggled with crowded encounters, you’re not alone. This strategy feels brutal, but it’s smart survival. It conserves your resources for the fights you can’t avoid.
Understanding these behaviors transforms chaos into a manageable puzzle. Listen to the WLF’s calls, decode the Seraphites’ whistles, and always respect the Clicker’s personal space. With these counters in mind, you’re ready to control the battlefield and survive whatever Seattle throws at you.
Advanced Combat Tactics and Crowd Control in The Last of Us Part II
When the horde descends in The Last of Us Part II, it can feel like a desperate scramble for survival. But with the right tools and tactics, you can turn chaotic crowds into a controlled battlefield. This final section pulls together advanced strategies for managing large groups, letting you dictate the terms of engagement.

Atmospheric combat in ruined urban settings.
Mastering Environmental Chaos
The key to crowd control is letting your enemies do the work for you. The environment is your greatest ally, and your throwable items are the perfect catalyst.
First, embrace faction infighting. In areas where human enemies and the Infected are both present, you can manipulate them into fighting each other. Toss a bottle or brick to lure a pack of Runners toward a patrol of WLF soldiers. The ensuing chaos will thin out both groups without costing you a single bullet. This is especially effective against tougher Infected like Clickers, who can quickly overwhelm human foes.
Listen for enemy chatter. If you hear WLF soldiers mention "clickers," that's your cue to hang back and let nature take its course.
For pure Infected hordes, you need area denial. The Molotov Cocktail (crafted from Alcohol and Rag) is your best friend here. It deals persistent fire damage over a wide area, perfect for blocking choke points or roasting a group of Stalkers. Crucially, while enemies will know an attack came from somewhere, a well-placed Molotov won't immediately pinpoint your exact location, giving you time to relocate.
Optimizing Your Arsenal Under Pressure
Managing your gear efficiently is what separates a survivor from a victim. This means understanding durability and timing your upgrades perfectly.
For melee durability management, always wait until your melee weapon has 1 use left before upgrading it at a Workbench. Upgrading not only increases its power but also restores it to full durability. This gets you the maximum value from your precious Binding (tape) and blades, turning a nearly-broken pipe into a one-hit-kill machine that lasts for several more encounters.
Stay vigilant against ambushes. In the spore-infested zones of Seattle, beware of the Stalker ambush. These cunning Infected hide within fungal growths on walls that can burst open as you pass. The moment you see the wall shudder, get ready to use [L1] to dodge their initial leaping attack. A successful dodge leaves them vulnerable for a quick counter with your upgraded melee weapon.
With these advanced tactics, you're no longer just reacting to threats—you're orchestrating them. You know how to turn enemies against each other, control space with fire, and make every swing of your weapon count. In The Last of Us Part II, controlling the crowd means controlling your fate. Now go finish your journey.