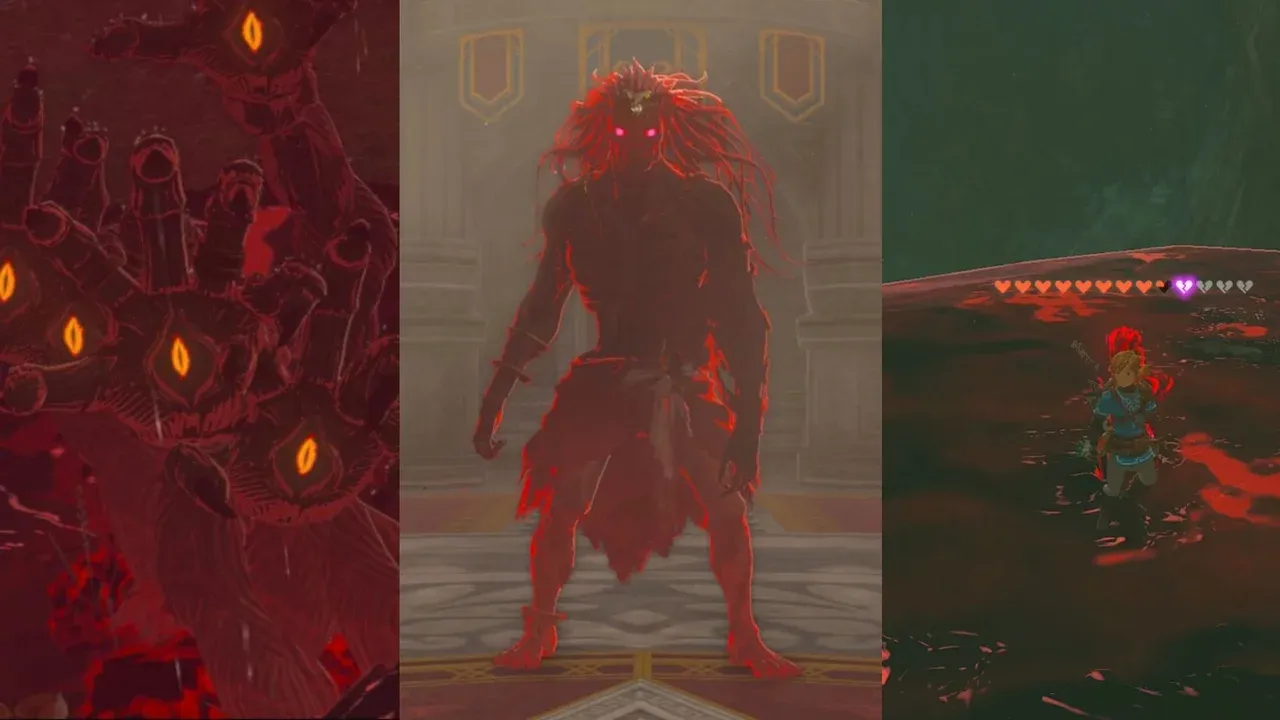
How to Find Gloom Spawn and Phantom Ganon in Tears of the Kingdom
The creeping dread of Gloom Spawn, often called Gloom Hands, is one of the most iconic and terrifying experiences in The Legend of Zelda: Tears of the Kingdom. These five grasping hands don’t wander—they lie in wait at fixed, predictable locations, and knowing where to find them (or avoid them) is key to managing your adventure. This guide maps out their known lairs and the conditions that summon the even greater threat: Phantom Ganon.
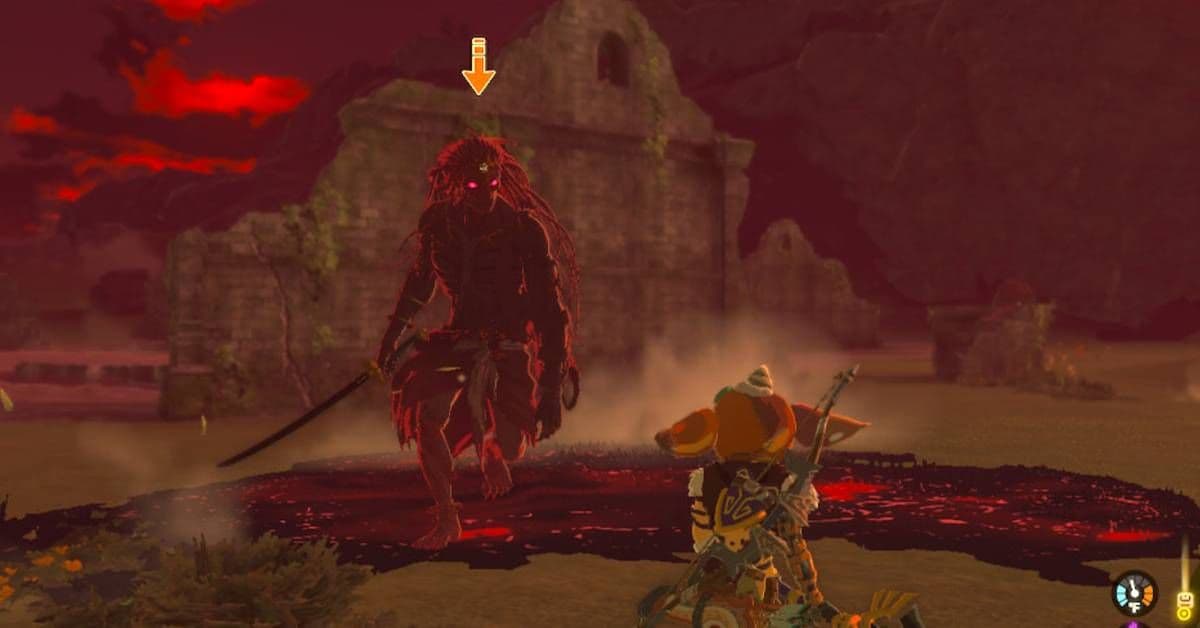
A typical Gloom Spawn encounter found in the game's ruined landscapes.
Your first warning is visual. In areas saturated with Gloom, watch the ground for a subtle pre-spawn pulse—a slight, ominous shimmer just before the hands erupt. This is your cue to either prepare for combat or get ready to run.
On the Surface, you’ll find them in several key regions. The most notorious hotspot is the Hyrule Castle Dungeon in Central Hyrule, where multiple groups patrol the lower floors. In Akkala, approach the Akkala Citadel Exterior from the east wall to trigger an encounter. Travelers crossing the Lanayru Wetlands near the main trail should stay vigilant, while the Faron Region along the Dracozu River contains two separate trigger zones. Finally, explorers in Eldin Lower Canyon can stumble upon them in a cave area near the lava border.
In the Depths, the ambient Gloom can obscure that pre-spawn pulse, making encounters feel more sudden. Always be ready to react when exploring down there.
Speaking of the Depths, that’s where these encounters become more common. You’ll frequently find Gloom Spawn lurking near inactive Lightroots, along main travel corridors between Lightroot clusters, and close to Abandoned Mines. If you’re trying to activate a Lightroot and the area feels too quiet, be on high alert.
Defeating all five hands in any location is what summons Phantom Ganon. However, not every Gloom Spawn encounter guarantees his appearance—some areas are just traps. But if you defeat the hands and he does manifest, you’re locked into the fight. The only exception is the scripted battle in the Hyrule Castle Sanctum; everywhere else, if you flee far enough away, Phantom Ganon will despawn, leaving behind only Dark Clumps as a consolation prize until the next Blood Moon.
With these locations in mind, you can now choose your battles wisely. Whether you’re hunting for the powerful rewards or just trying to navigate safely, knowing where the danger lies is half the victory.
Best Preparation and Gear for Phantom Ganon in Zelda: TotK
Stepping into a patch of Gloom unprepared is a quick way to get overwhelmed. In The Legend of Zelda: Tears of the Kingdom, Phantom Ganon and his Gloom Hands are designed to punish you for mistakes. But with the right gear and consumables, you can turn a terrifying ambush into a manageable—and profitable—fight.
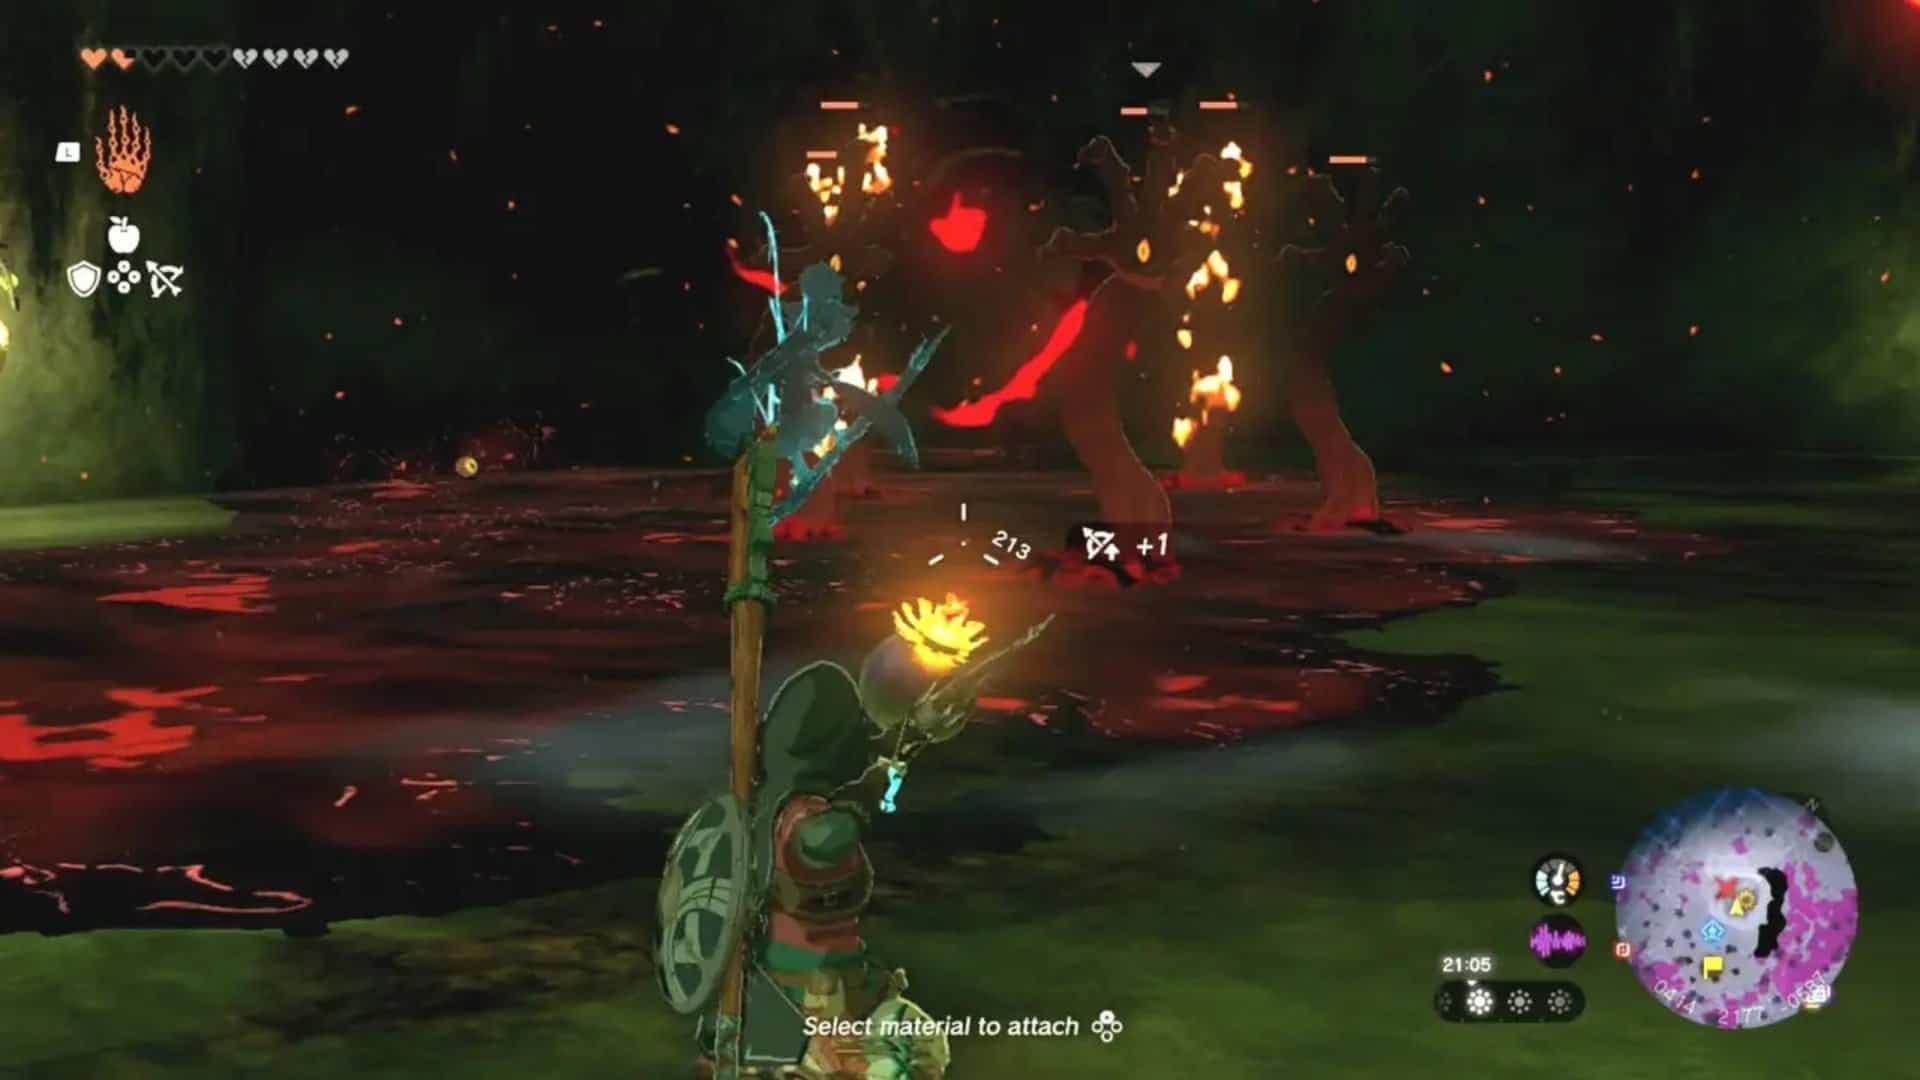
Ranged combat is a vital preparation strategy for surviving Gloom encounters.
Your first line of defense is your armor. The absolute best choice is the Of The Depths Set, which you can purchase from Poe Statues scattered throughout the Depths. This armor provides innate Gloom protection, drastically reducing the damage you take from those heart-draining pools. The first piece, the Tunic of the Depths, costs 150 Poes and grants 1 Heart of protection. It’s a worthwhile early investment if you plan to farm these encounters.
If you haven’t collected enough Poes yet, don’t worry. A fully upgraded Hylian Set, purchased from the shop in Lookout Landing, offers exceptionally high defense. While it won’t stop Gloom from reducing your max hearts, it will mitigate the raw physical damage from grabs and sword strikes, giving you more room for error.
Gloom protection from the Depths armor doesn't make you immune—it just reduces the damage. You’ll still need to manage your heart count carefully.
Your inventory is just as critical as your defense rating. You must stock up on Sundelion Meals. Cook a Sundelion with any other food to create a dish that restores hearts lost to Gloom. This is your emergency reset button mid-fight. For prevention, cook Dark Carrot Dishes by combining a Dark Clump with a carrot; these provide temporary Gloom resistance, slowing the rate your max hearts are depleted.
Don’t go in with a bare health bar, either. Hearty Meals, made with Hearty Truffles or Hearty Radishes, give you temporary bonus yellow hearts that act as a buffer before Gloom touches your real ones.
Finally, if you’re hunting in the Depths—where many of these encounters occur—carry plenty of Brightbloom Seeds. In the pitch black, hold [R] to aim and press [A] to throw one to light up your surroundings. Good visibility means you can spot the Gloom patch’s subtle pulse before the hands erupt, and you won’t get cornered in the dark.
With your armor fortified and your pouch stocked with restorative and resistant meals, you’ve negated Phantom Ganon’s greatest advantage. You’re not just surviving the Gloom now—you’re ready to conquer it.
How to Survive the Gloom Spawn (Hands) Encounter
You round a corner, and the ground pulses with a sickly red light. Before you can react, five grasping Gloom Hands erupt from the gloom, lunging with terrifying speed. This is The Legend of Zelda: Tears of the Kingdom’s most panic-inducing moment, but you don't have to fight. Your first priority is survival.
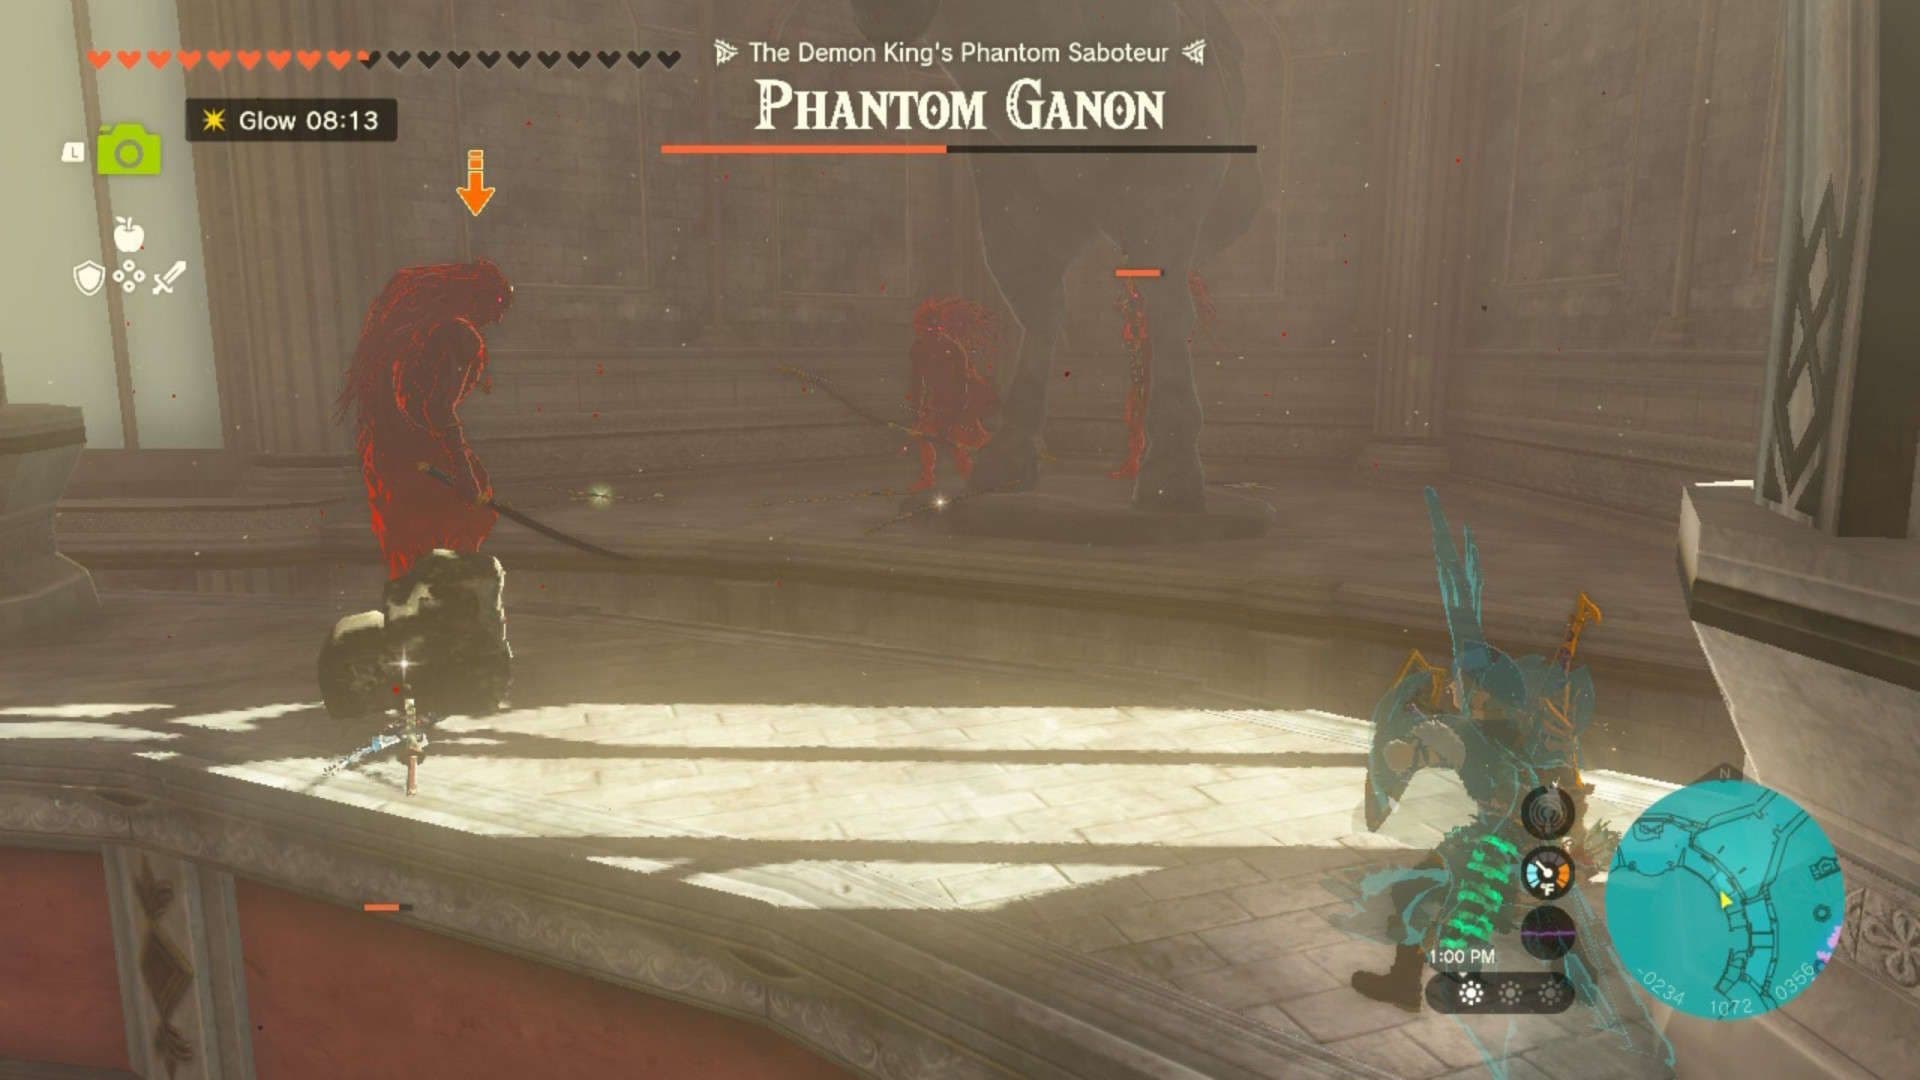
Defeating the hands triggers the second phase of the encounter: Phantom Ganon.
Understanding the Threat
The Gloom Spawn is a unique enemy made of five independent hands, and each of the 5 hands has its own health bar. Their goal is simple: grab you. If a single hand latches on, you’ll take Gloom damage, which temporarily reduces your maximum hearts. The real danger, however, is the Simultaneous Grab. If all 5 Gloom Hands grab Link at once, a cutscene triggers, summoning Phantom Ganon right then and there. If you’re not ready for that fight, your only option is to escape.
If you do get grabbed, don’t just stand there—fight back! Rapidly shake the [L-stick] to break free. The faster you shake, the less damage you take. It’s a small window, but it can save your life.
Your Escape Toolkit
When those hands claw out of the ground, you have three primary escape routes. Choose based on your surroundings.
- The Paraglider Ascent (Most Reliable): The moment you see them, jump and press [X] to glide. Stay airborne. The hands are ground-bound and cannot follow you vertically. This gives you a perfect vantage to either rain down attacks or simply glide to safety.
- The Fast Travel Escape (Risky but Instant): If you’re near a shrine or tower, you can open your map with [-] and select a waypoint. The catch? The map takes 2-3 seconds to open, a window where you’re completely vulnerable to being grabbed. Only use this if you have a bit of distance.
- The 50-Meter Sprint (Terrain Dependent): Sometimes, you just have to run. Click the [L-stick] to sprint and put as much distance as you can between you and the hands. This is safe if you have at least 50+ meters of clear, open terrain ahead of you. Do not try this in tight caves or Depths corridors—you will get cornered.
If you’re caught in the open, look for any tall rock, broken pillar, or cliffside. The Tall Structure Cheese method—climbing to a spot the hands cannot reach—is a perfect way to catch your breath and plan your next move.
To Fight or to Flight?
Fighting is optional. If you leave the encounter area, the Gloom Hands will eventually despawn. They—and any Phantom Ganon they might summon—will return after the next Blood Moon. So if you’re low on resources or just not in the mood, escaping is a perfectly valid strategy.
But if you choose to stand your ground, remember the goal: eliminate all five hands to stop the spawn. Their independent health bars mean you need to focus fire. While later sections will cover combat in detail, your survival here hinges on controlling the space. Use elevation, keep moving, and never let yourself get surrounded.
With these escape plans in your pocket, the sight of those pulsing red pools will trigger strategy, not panic. You’ve got this.
Best Combat Strategies for Defeating Gloom Hands
You’ve survived the initial panic of the Gloom Hands’ emergence. Now, it’s time to turn the tables and wipe them from the map. In The Legend of Zelda: Tears of the Kingdom, these hands aren’t just a horror show—they’re a puzzle with a clear, exploitable solution. Here’ s how to dismantle them efficiently and trigger the real boss.
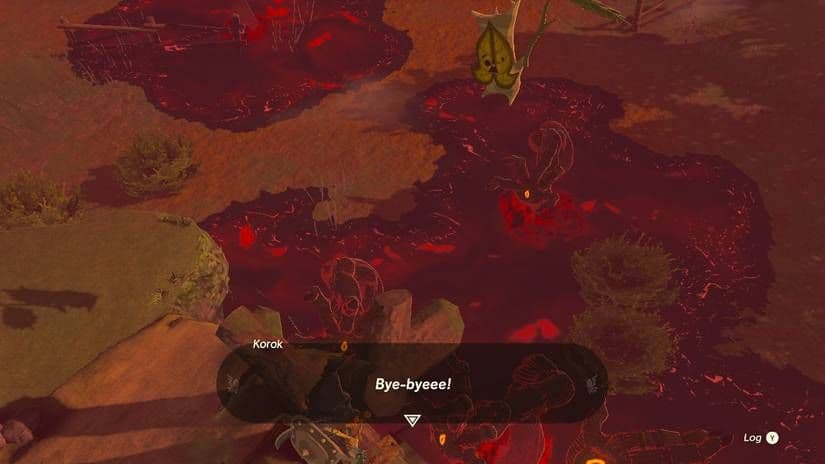
Gloom Spawn appearing in various environments.
Ranged Supremacy: Your Safest Bet
The golden rule for fighting Gloom Hands is simple: don’t get close. Their grab attacks and the damaging Gloom muck they leave behind make melee a risky gamble. Your bow is your best friend here. The most cost-effective method is the Fire Arrow Barrage. Hold [ZR] to aim, then press [D-pad Up] to select a Fire Fruit from your inventory to fuse to your arrow. Gloom Hands are notably vulnerable to fire, making this a potent and resource-efficient way to pick them off from a distance.
For a more dramatic and instantaneous solution, nothing beats the Bomb Flower Cluster. Fuse a Bomb Flower to your arrow the same way. A single well-placed shot into the center of the writhing mass will hit all five hands at once, dealing massive area damage. This is the fastest way to clear the encounter from a safe perch.
If you’re low on Bomb Flowers, try fusing a Splash Fruit with a Bomb Flower to create a Stagger Effect. The water splash will interrupt the hands’ movements, giving you a crucial moment to follow up or reposition.
Understanding Their Core Mechanic
Before you start blasting, you need to understand one critical rule: you must destroy all of them, and fast. The Respawn Logic for Gloom Hands is brutal. If even one hand remains alive after you’ve damaged the others, the defeated hands will respawn quickly. Your goal isn’t to whittle them down one by one—it’s to eliminate the entire group in one focused assault. This is why area-of-effect attacks like Bomb Flowers are so powerful.
The Risky Melee Alternative
If you’re confident in your movement and have a high-damage weapon, a melee approach is possible, but it demands precision. The key is the Melee Spin Attack. Equip a two-handed Greatsword or Claymore, hold [Y] to charge a spin attack, and unleash it while carefully staying off the Gloom patches on the ground. This can clear multiple hands quickly, but it leaves you vulnerable if you get surrounded or caught in a grab.
Whether you choose a fiery barrage, a explosive cluster, or a daring spin attack, mastering these strategies turns a terrifying ambush into a controlled demolition. With the hands gone, the stage is set for the main event: Phantom Ganon. Let’s bring him out.
Phantom Ganon Phase 1: Defeating the Shadow Clones
The final echoes of the Gloom Hands fade, and the air in the Hyrule Castle Sanctum grows cold. This is it—five spectral clones of Phantom Ganon materialize around you, weapons drawn and Gloom pooling at their feet. In The Legend of Zelda: Tears of the Kingdom, this multi-clone phase is a chaotic endurance test where survival depends on smart target priority and clever crowd control.
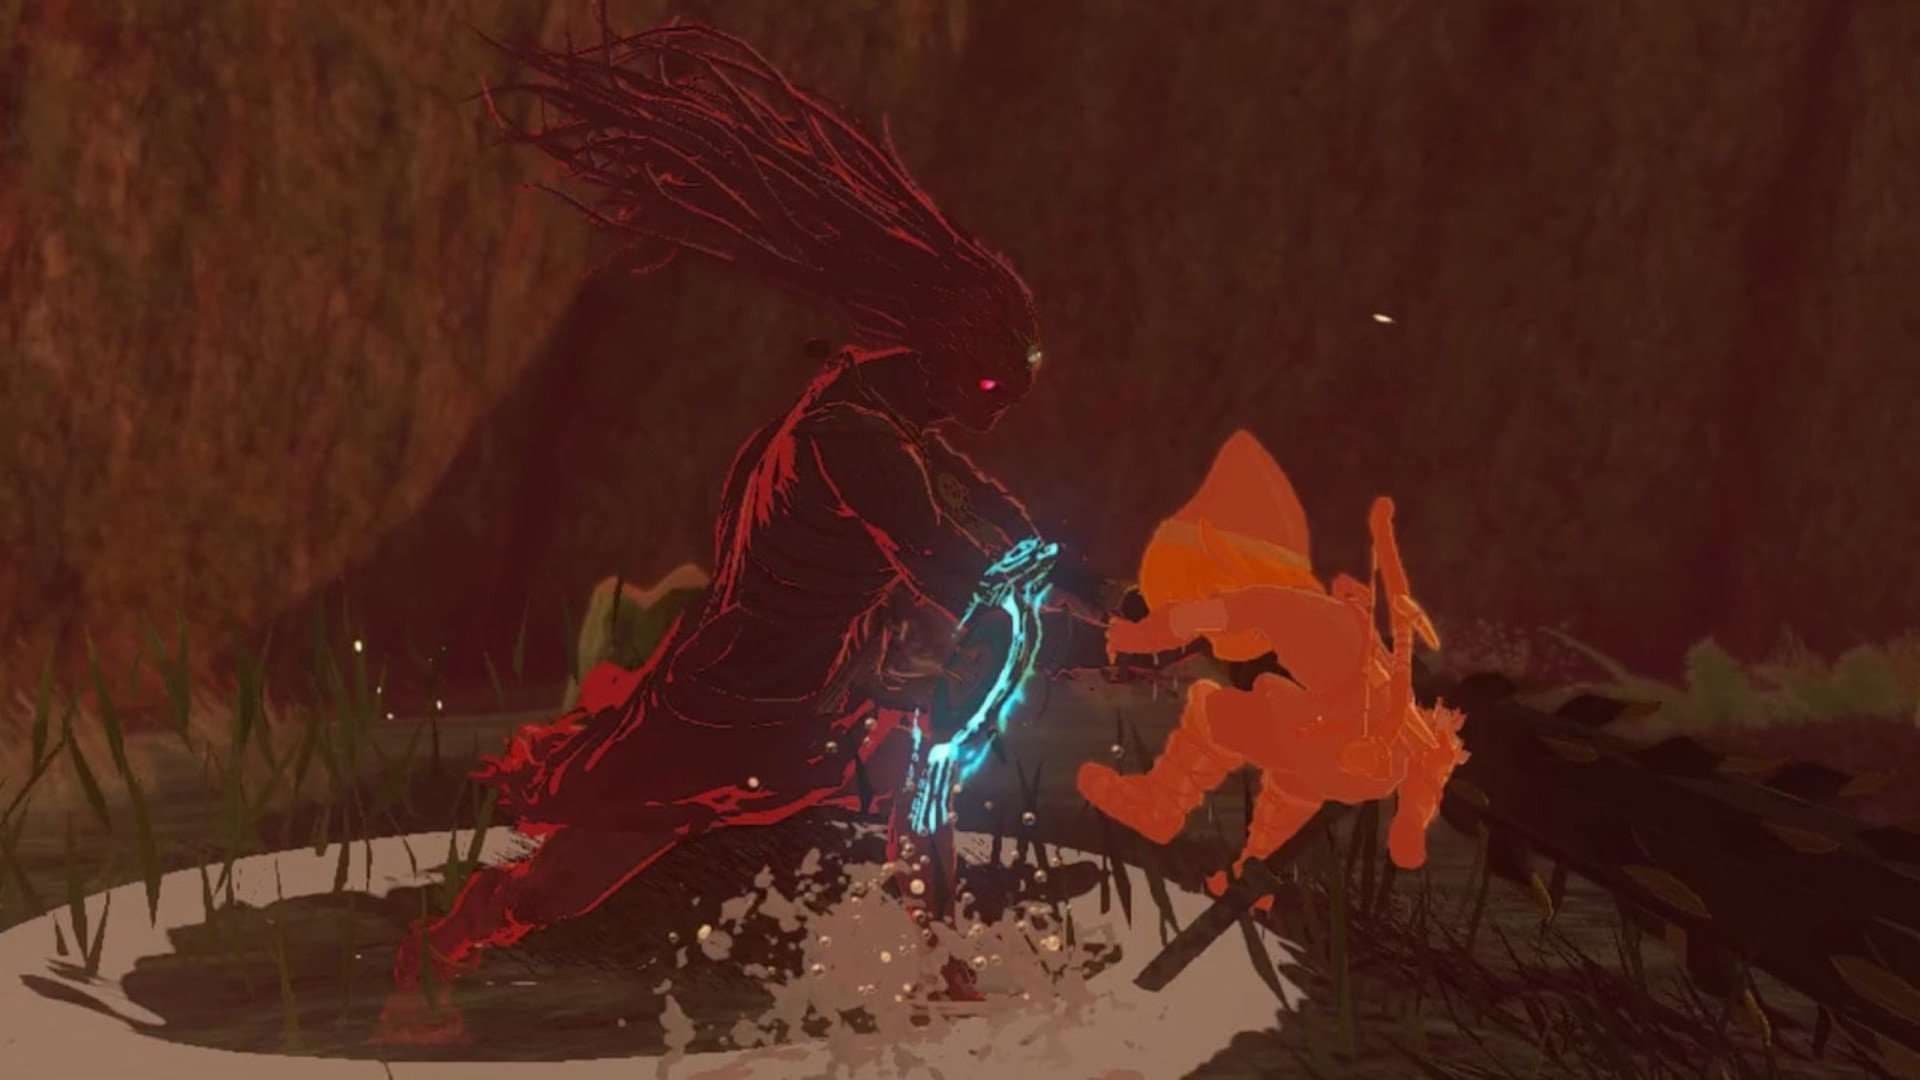
Timing dodges against Phantom Ganon's aggressive charge attacks.
Your first rule of engagement: manage the Clone Priority. Focus on eliminating the Spear-wielding clones first, as their fast, long-range thrusts are the hardest to react to in a crowd. Next, take down the Greatsword clones; their wide, sweeping attacks can catch you even when you're focused on another target. The Sword clones, while dangerous, are the slowest and easiest to dodge, so save them for last. By thinning the herd in this order, you systematically reduce the most immediate threats.
Use your bow to pull individual clones. A single arrow can lure one away from the pack, letting you fight it solo near the arena's center.
Here's the trick most guides miss: you don't have to fight fair. Puffshroom Blinding and Muddle Bud Chaos can trivialize this entire phase. By holding [ZR] to aim your bow and selecting a Puffshroom from your [D-pad Up] menu, you can fire it into the group to create a thick smoke cloud that blinds all clones inside, giving you free hits. Even better, firing a Muddle Bud (also via [ZR] and [D-pad Up]) will infect a clone, turning it against its allies and letting them whittle each other down while you stay safe.
Movement is your lifeline. Adopt a Clockwise Movement pattern, constantly circling the outer edge of the arena. This prevents Gloom patches from stacking up beneath you and stops the clones from flanking or surrounding you. If you've ever felt cornered here, this simple habit changes everything—it keeps your escape routes open and the fight manageable.
When you do go on the offensive, remember the Shared Stagger Bar. Landing a perfect dodge to trigger a Flurry Rush on one clone doesn't just hurt your target; the dramatic slowdown and impact can briefly interrupt the attack animations of the nearby clones as well. This gives you a crucial window to deal heavy damage safely.
With these tactics, you'll dismantle the group one by one. The chaos of five becomes a manageable duel, then silence. Four clones defeated, the last one standing... and then the real fight begins.
Phantom Ganon Phase 2: Mastering Weapon Variants and Counters
The clones are gone, and now it’s just you and the real deal—a Phantom Ganon wielding one of three deadly weapons. In The Legend of Zelda: Tears of the Kingdom, each variant has a distinct moveset, and knowing how to counter them is the key to ending this fight for good.
Tears of the Kingdom gameplay.
Sword-Wielding Phantom Ganon
This is the classic version you might recognize from the Great Deku Tree. His attacks are aggressive and wide. Watch his arm movements closely: a quick sword raise signals a horizontal slice, while a wind-up often precedes his spin attack. Both can be blocked with a sturdy shield, but the real payoff is dodging. Hold [ZL] to lock on, then press [X] and a direction on the [L-stick] to dodge at the last second. A perfect dodge triggers a Flurry Rush, letting you unleash a devastating counterattack.
If you stay too far away, he’ll switch to using a bow. Keep the pressure at medium range to force his melee attacks, which are easier to punish.
Spear-Wielding Phantom Ganon
Considered the easiest of the three, this variant is all about straightforward, telegraphed thrusts. His main moves are a forward spear thrust and a rushing attack. The animations are clear, making them perfect for practicing your dodge timing. A shield works wonders here too—simply block his strikes to stay safe. His teleportation is also common; he’ll vanish into smoke and reappear behind you for a quick stab, so be ready to spin your camera.
Club-Wielding Phantom Ganon
This heavy hitter brings a different rhythm. He’s fond of using a backflip to dodge your swings, so don’t get greedy with long combos. His most dangerous move is an overhead jump slam where he brings the club crashing down. This is best avoided with a well-timed side-dodge—backflips can leave you in the impact zone. You can dodge or block with a shield against his standard swings. Unlike the spear variant, he can’t teleport as smoke, keeping the fight more grounded.
Universal Counters and Key Mechanics
No matter which weapon he has, two strategies always apply. First, Flurry Rush timing is your greatest asset. Master the dance of holding [ZL], then pressing [X] with the [L-stick] at the moment his weapon flashes. Second, if you’re confident with a bow, you can attempt a forehead stagger. Hold [ZR] to aim and shoot his forehead for a brief stun, opening him up for melee strikes—though this is tricky and leaves you vulnerable.
Remember, all your attacks except one suffer a 10% damage reduction against him. The glorious exception is the Master Sword, which is exempt from the 10% damage reduction, making it a top-tier choice for this duel. Pair it with the strategies above, and you’ll carve through his health bar efficiently.
With the patterns for each Sword, Spear, and Club variant now in your arsenal, you’re ready to stand your ground. Watch his tells, trust your dodges, and claim your victory.
Phantom Ganon Rewards: Gloom Weapons and Loot
After the tension of the battle fades, you’re left standing in the gloom, and the spoils of your victory in The Legend of Zelda: Tears of the Kingdom are yours for the taking. Phantom Ganon’s defeat isn’t just a checkmark—it’s your ticket to some of the most uniquely powerful gear in the game, if you know how to handle it safely.

Your Loot Haul: Gloom Weapons and Dark Clumps
Defeating Phantom Ganon guarantees you’ll receive a few specific rewards. You’ll always get a Dark Clump, a key cooking ingredient for crafting Gloom-resistant meals. More excitingly, you’ll also receive one of his signature Gloom weapons, dropped at random. There are three variants:
- Gloom Sword: A devastating one-handed sword with a 70+ base attack.
- Gloom Spear: A long-range weapon that deals high damage.
- Gloom Club: A heavy, high-damage two-handed weapon.
You might also be lucky enough to receive the Demon King’s Bow, a powerful ranged weapon whose damage scales directly with Link’s maximum heart containers—the more hearts you have, the harder it hits.
Here’s the critical catch that every victor needs to know: while these weapons inflict Gloom damage on enemies, reducing their max HP, they also inflict Gloom damage on Link if you wield them directly and they break in your hands. That heart-reducing effect is no joke.
The Safe Way to Wield Your Power
So, are these incredible weapons just dangerous collector’s items? Absolutely not. Here’s the trick most guides miss: you should almost never use a Gloom weapon by itself. Their true, risk-free power is unlocked through Fusing.
Treat Gloom weapons as supreme Fuse materials, not primary arms. Attach a Gloom Sword to the end of a sturdy Royal Broadsword, and you’ll add that massive 70+ attack power and the Gloom effect to your strikes, without any risk of the fused weapon breaking and hurting you.
This Safe Fusing strategy lets you bypass the self-damage mechanic entirely. You get the monstrous stat boost and the enemy-debuffing effect, while your base weapon takes the durability hit. It’s the best of both worlds.
Farming and the Blood Moon Cycle
If you’re thinking of building an arsenal, remember that defeated Gloom Hands and Phantom Ganon only respawn after a Blood Moon. This makes locations like the Hyrule Castle dungeon, with its multiple encounter zones, perfect for farming runs. Clear an area, collect your Dark Clumps and Gloom weapon, and return after the next crimson moon to do it all again.
With these powerful—and safely fused—rewards in your inventory, you’re not just a survivor of one of Tears of the Kingdom's toughest fights; you’re a warrior armed with the Demon King’s own strength, turned against whatever darkness comes next.