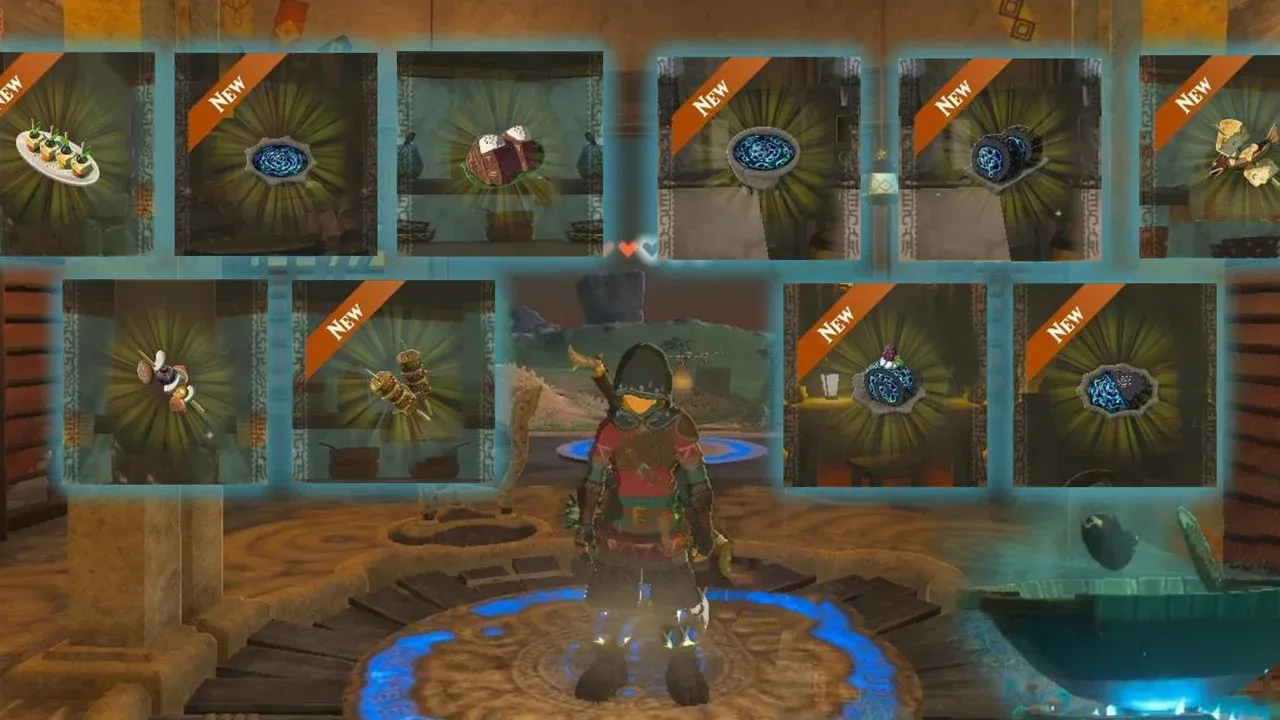
How Gloom and Gloom Hearts Work in Tears of the Kingdom
Venturing beneath Hyrule in The Legend of Zelda: Tears of the Kingdom introduces you to the game's most insidious new threat: Gloom. This red-black, viscous substance is more than just an environmental hazard—it’s a life-draining force unleashed by Ganondorf that poses a unique and permanent danger to Link’s very being. Understanding how Gloom works is your first and most critical lesson for surviving the Depths.
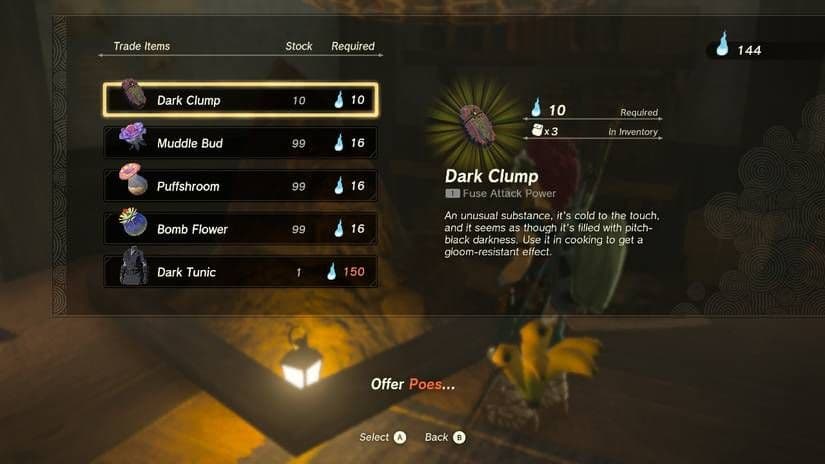
Dark Clumps are essential for crafting Gloom-resistant gear.
When Link stands in a puddle of Gloom or takes a hit from a Gloom-infused enemy (which is nearly every foe down there), he doesn’t just lose red hearts—he suffers Heart Cracking. This effect turns his precious, hard-earned heart containers into grayed-out Gloom Hearts. Here’s the kicker: these Gloom Hearts cannot be healed by any standard food or potion. That hearty simmered fruit that usually refills your health bar? It’s useless here. Your maximum health pool is literally reduced until you find a way to cure the Gloom effect itself.
If you see your last red heart start to flicker while standing in Gloom, get out immediately! That flicker means your next heart is about to be cracked and locked away.
While most Gloom exposure can be reversed (a topic for the next section), the game introduces a far more terrifying possibility: Permanent Damage. This isn't from the common puddles or Bokoblins. During specific, high-stakes boss encounters—namely against Ganondorf himself and his ultimate Demon Dragon form—certain of his Gloom-infused attacks can permanently destroy one of Link’s Heart Containers. That heart is gone for the rest of that fight, irrevocably lowering your max health. It’s the ultimate penalty for a mistimed dodge or parry, raising the stakes in The Legend of Zelda: Tears of the Kingdom's climax to breathtaking heights.
In essence, Gloom shifts the survival paradigm. It’s not about managing a health bar that refills, but protecting the very size of that bar from being chipped away. Now that you know the stakes, you’re ready to learn how to fight back.
How to Heal Gloom Damage in The Legend of Zelda: Tears of the Kingdom
So you’ve taken a hit from Gloom in The Legend of Zelda: Tears of the Kingdom, and a chunk of your life bar is now cracked and unusable. Don't panic—this isn't permanent damage, and you have several reliable ways to get those hearts back. Here’s exactly how to heal Gloom damage and get back to full strength.
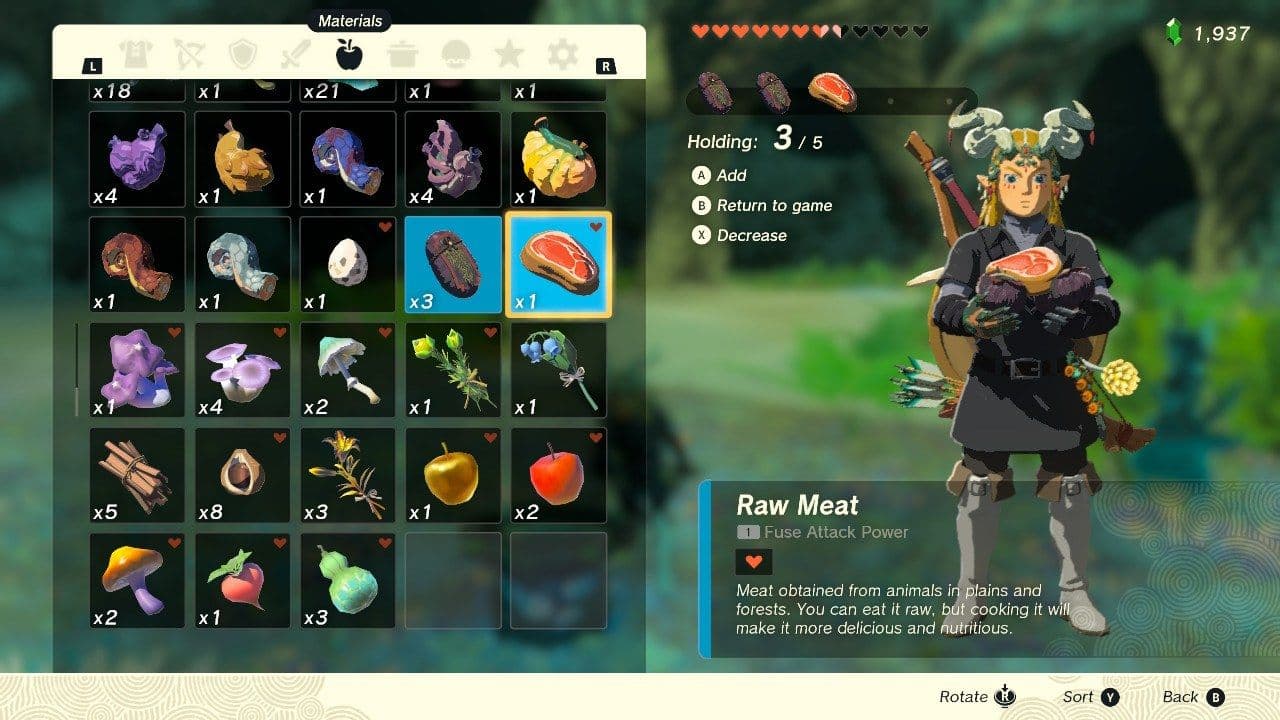
Sundelions can be cooked into meals to cure the effects of Gloom.
The most straightforward method requires no items at all: simply return to the surface of Hyrule. Stepping into the sunlight will automatically begin restoring your cracked heart containers. The restorative rate is consistent, healing one heart per second as long as you’re bathed in natural light and not actively being pursued by Gloom Spawn. This is your go-to, zero-cost recovery plan after a trip to the Depths.
If you’re deep underground and can’t easily return to the surface, seek out a Lightroot. These massive, glowing roots are your lifelines in the dark. Standing within the light radius of an active Lightroot will instantly begin healing your Gloom hearts at the same rate of one heart per second. It also illuminates the map, making this a perfect two-for-one recovery stop. Trust me, activating every Lightroot you find is a habit that pays off massively.
For a more proactive, portable solution, you’ll want to cook. While specific Sundelion recipes are covered in another section, one standout dish for recovery is Sunny Veggie Porridge. This recipe, made with Sundelion, Fresh Milk, and Hylian Rice, not only restores cracked hearts but can also cure the specific Gloom Borne Illness status. It’s a fantastic meal to cook in bulk before a long Depths expedition.
Always carry a few Sunny meals. When you're in a tense fight with a Gloom enemy and can't retreat to a Lightroot, popping one of these can be the difference between life and a game over.
With these methods—sunlight, Lightroots, and restorative meals—managing Gloom damage in Tears of the Kingdom becomes a manageable part of your adventure, not a roadblock. Stock up on Sundelions, memorize your nearest Lightroot locations, and you’ll never fear a cracked heart again.
Best Sundelion Recipes for Gloom Recovery
Okay, you’ve got your Sundelions and you know they heal Gloom damage—now it’s time to cook. In The Legend of Zelda: Tears of the Kingdom, you’re not just making food; you’re crafting survival kits for the Depths. Here’s how to get the most out of every petal.
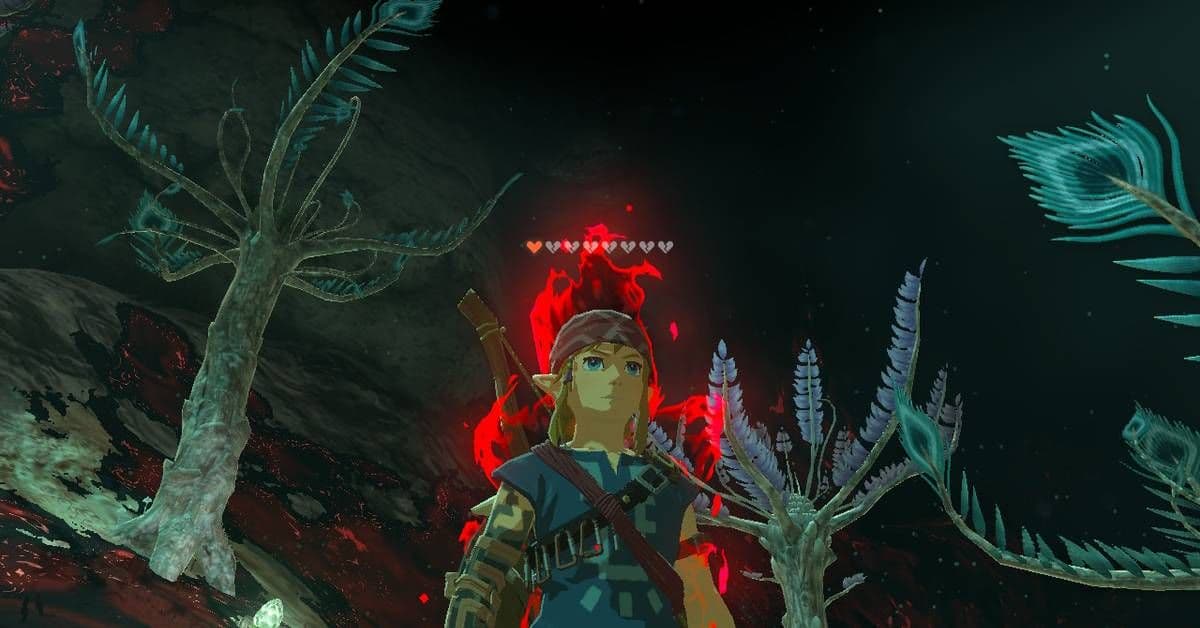
The Depths environment where gloom recovery is essential.
Essential Sunny Recipes for Gloom Recovery
While any dish with a Sundelion will restore some cracked hearts, the amount healed is directly tied to how many you toss into the pot. A single Sundelion will restore about three Gloom hearts, and you can add up to four for a massive boost. The base ingredient you choose just determines the extra HP you’ll get back on the side.
Here are the most efficient and accessible recipes to stock up on:
Sunny Steamed Meat
- Ingredients: 1 Raw Bird Drumstick + 1-4 Sundelions
- Effect: Restores 3 to 12 Gloom Hearts (based on Sundelion count) and a chunk of red health.
- Why it’s great: Bird Drumsticks are incredibly common from hunting birds all over Hyrule, making this a reliable, easy-to-farm option.
Sunny Steamed Fruit
- Ingredients: 1 Apple (or any non-status fruit) + 1 Sundelion
- Effect: Restores 3 Gloom Hearts.
- Why it’s great: It’s the simplest recipe possible. Apples are everywhere, so this is your go-to for quick, efficient Gloom healing with minimal resource cost.
Sunny Steamed Mushrooms
- Ingredients: 1 Hylian Mushroom + 1 Sundelion
- Effect: Restores 3 Gloom Hearts.
- Why it’s great: Another fantastically simple recipe. Hylian Mushrooms grow on trees and in caves all over, making them just as easy to gather as Apples.
Sunny Fried Wild Greens
- Ingredients: 1 of any Plant or Vegetable (like a Hyrule Herb) + 1 Sundelion
- Effect: Provides basic HP recovery plus Gloom heart restoration.
- Why it’s great: It’s the vegetarian-friendly option. If you’re swimming in herbs and veggies, this is a perfect way to use them while patching up your max hearts.
Always cook with a full stack of four Sundelions when you can spare them. A Sunny Steamed Meat made with four Sundelions restores a whopping 12 Gloom hearts—that’s enough to completely undo a brutal encounter in a single bite.
Finding Sundelions Efficiently
Your main source for Sundelions will be the Sky Islands. Look for them growing in grassy, sunlit areas, particularly around Hyrule Field and Eldin Canyon in the skies. If you’re in a pinch and need a lot quickly, you can also farm them from Yiga Clan enemies. Both the Yiga Footsoldier (64 HP) and the tougher Yiga Blademaster (400 HP) have a chance to drop them alongside their usual Mighty Bananas.
With a satchel full of these sunny recipes, you can dive back into the gloomiest corners of Hyrule with confidence, knowing you have the cure right in your pocket. Let’s cook.
How to Find and Use Dark Clumps for Gloom Resistance
The Depths are unforgiving, but you don’t have to be. While other sections of this The Legend of Zelda: Tears of the Kingdom guide cover healing the damage after the fact, here’s how to build a buffer against it before you even take a step into the gloom. The key is Dark Clumps, the essential ingredient for all Warding meals that grant Gloom Resistance.

Exploring the vast world of Hyrule.
Think of Gloom Resistance as your personal force field. When active, it grants you temporary ghost hearts—empty hearts with a blue outline that appear above your health bar. These ghost hearts absorb damage from Gloom puddles and enemy attacks before your real maximum hearts are touched, letting you explore hazardous areas safely. The best part? Once you step back onto normal ground, these ghost hearts restore themselves automatically after a short wait, ready to protect you again.
So, where do you get this crucial ingredient? Dark Clumps are your ticket. While they can drop from defeating Gloom Spawn and Phantom Ganon, the most reliable farm is through trade. Head to a Bargainer Statue. The first one you’ll likely meet is in Lookout Landing, in the chamber next to Josha. These ancient statues trade in Poes, the glowing spirit orbs you collect in the Depths. For 10 Poes each, you can buy as many Dark Clumps as you need.
If a Gloom Spawn feels too tough, you can sometimes force it to despawn by running far enough away. It will leave behind a few Dark Clumps without summoning Phantom Ganon, giving you a (slightly safer) farming method.
Once you have your Dark Clumps, cooking is simple: toss 1 to 3 of them into any standard recipe. The more clumps you use, the more ghost hearts you get (up to three) and the longer the buff lasts. Just don’t use four or more in a single dish—too much gloom energy makes the meal inedible. With a few Warding dishes in your pouch, you can walk through the red mist with confidence, your real hearts safe behind a wall of blue.
Best Warding Recipes for Gloom Resistance in Tears of the Kingdom
Exploring The Legend of Zelda: Tears of the Kingdom’s Depths is a tense, thrilling experience, but stepping into that sea of Gloom doesn’t have to mean watching your hearts shatter. The key to long, safe expeditions lies in cooking the right preventative meals. While Dark Clumps are your essential ingredient, what you mix them with makes all the difference in duration and convenience. Here are the best recipes to keep you protected.

Link in action.
Top-Tier Warding Recipes
For the ultimate in preparation, nothing beats Warding Milk. This single dish provides maximum Gloom Resistance for a staggering 30 minutes, making it perfect for tackling massive areas like the Hyrule Castle Sanctum or hunting down multiple Lightroots. To craft it, you’ll need 1 Dragon Horn (obtained by landing on a dragon and striking its horn), 1 Fresh Milk, and 1-3 Dark Clumps. The more Dark Clumps you add, the longer the effect lasts.
Farm Dragon Horns from the Light Dragon’s path early. With a 30-minute Warding Milk active, you can explore huge swaths of the Depths without a single worry.
If you're after a fantastic all-around meal, Warding Cheesy Baked Fish is a standout. It grants maximum resistance for 14 minutes and 20 seconds. You'll need 1 non-status-affecting fish (like a Sanke Carp), 1 Hateno Cheese, and 1-3 Dark Clumps. You can farm fish easily by purchasing a pond for your house near Tarrey Town.
For carnivores, the Warding Prime Meat Skewer offers a robust 9 minutes and 30 seconds of protection. Combine 1 Prime Meat (dropped by larger animals like bears or moose), 1 Goron Spice (bought in Goron City), and 1-3 Dark Clumps. Using regular meat works but shortens the duration.
Simple & Reliable Options
Sometimes you just need a quick, effective buffer. Warding Simmered Fruit is incredibly easy to make and provides a solid 8 minutes and 30 seconds of max resistance. Simply mix 2-4 common fruits like Apples or Hylian Tomatoes with 1-3 Dark Clumps. It’s a perfect use for the abundant fruit you’ve likely already collected.
Similarly, Warding Mushroom Skewer is a forager's friend, also lasting 8 minutes and 30 seconds. Grab 1-2 basic mushrooms and 1-3 Dark Clumps. This recipe is ideal when you’re low on other ingredients but need to dash into a Gloom-filled area for a short task.
Remember, these "Warding" meals create protective ghost hearts (blue-outlined hearts) that absorb Gloom damage for you. They don’t heal existing Gloom damage—that’s what your Sundelion recipes are for. Think of them as your essential pre-game ritual before any deep dive.
Stock up on a few of these before your next descent. With the right meal active, you can focus on the wonders and challenges of the Depths, not the ticking clock on your health bar.
How to Get the Hero of the Depths Armor Set
Forget cooking for protection—The Legend of Zelda: Tears of the Kingdom offers one permanent solution to Gloom: the Hero of the Depths armor set. This is the only armor in the game with built-in Gloom Resistance, letting you explore the Depths with confidence without constantly watching your meal timers. The catch? You’ll need to complete a specific quest and pay a hefty price in Poes.

First things first: you must complete the Side Adventure: A Call from the Depths. This quest, given by Josha at Lookout Landing, introduces you to the Depths and Bargainer Statues. Finish it to unlock the ability to purchase the full armor set from these statues.
Once the side adventure is complete, you can start collecting the pieces. Each is sold at a different Bargainer Statue, so you’ll need to do some exploring.
- Hood of the Depths: Purchase this headpiece from any Bargainer Statue for 300 Poes. The statue near Josha in the emergency shelter at Lookout Landing is the easiest one to reach.
- Tunic of the Depths: For the chest piece, head to the Great Abandoned Central Mine in the Depths. A Bargainer Statue there sells it for 150 Poes.
- Gaiters of the Depths: The leg armor is sold by any Bargainer Statue for 200 Poes.
⚠️ Watch out: The Great Abandoned Central Mine is deep in the Depths. Stock up on Brightbloom Seeds and Gloom-resistant food before you go—it’s a long, dark trek.
Here’s the real power of this set: the Depths Set Bonus. When you wear all three pieces, you gain a massive 4 ghost hearts of Gloom Resistance. These blue-outlined hearts act as a shield, absorbing Gloom damage before your real hearts are touched. It’s a game-changer for long expeditions.
Those 4 ghost hearts start out damaged when you first equip the set. You’ll need to stand on safe, non-Gloomy ground for a short time to let them fully recharge before diving into danger.
With the full Hero of the Depths set equipped, you’ve got the ultimate passive defense against the Depths’ greatest threat. No more frantic cooking—just pure, unbreakable exploration.
Combat Strategies for Gloom Enemies and Phantom Ganon
This is where your preparation pays off. The Gloom Spawn and its terrifying boss, Phantom Ganon, represent the peak of The Legend of Zelda: Tears of the Kingdom's Gloom-based threats. If you've ever felt your heart sink as those red hands burst from the ground, you're not alone. This guide will turn that dread into a clear, actionable combat plan.

Combat mechanics in action.
Fighting Gloom Spawn: The Hands of Doom
You’ll encounter Gloom Spawn (also called Gloom Hands) both on the surface near chasms and throughout The Depths. These arm-like tendrils are fast, aggressive, and can grab you from a distance. The key to victory is exploiting their weakness to area-of-effect damage and maintaining a Height Advantage.
Your best tool is Bomb Arrows. Hold [ZR] to aim and fire into the center of the group; the explosion can hit all five hands simultaneously, dealing massive damage. Ice weapons or Electric Arrows are also highly effective for crowd control.
Use your paraglider to get above them. Staying airborne lets you avoid their grabs and, when you pull your bow, triggers slow-motion aiming ([ZR]) for easy, precise shots. Look for higher ground or ledges in the arena.
If you’re overwhelmed, it’s perfectly valid to run. Moving far enough away causes certain Gloom Spawn to de-spawn, often leaving behind Dark Clumps without forcing you to face what comes next. But if you stand and fight...
Surviving Phantom Ganon
Defeating a Gloom Spawn summons Phantom Ganon. This powerful entity wields a Gloom Sword, Gloom Club, or Gloom Spear, and a small pool of Gloom surrounds him, damaging you on contact. He hits hard and his attacks inflict Gloom damage directly to your heart containers.
Your Gloom Resistance from meals or the Hero of the Depths armor is essential here—it creates those protective "ghost hearts" to absorb the Gloom he radiates. Keep moving to avoid his weapon swings and the pool at his feet. A strong shield and flurry rush attacks are your best melee options. Upon defeat, he drops Dark Clumps and has a chance to drop his powerful Gloom weapons.
A Double-Edged Sword: The Gloom Weapons
Speaking of those drops, weapons like the Gloom Sword are incredibly powerful but come with a severe cost. When you swing it ([Y]), it inflicts one heart of Gloom damage to Link with every hit, gradually eating away at your maximum health. It’s a devastating tool against regular enemies, but you must use it sparingly and have a plan to heal the Gloom damage it causes immediately afterward.
Putting It All Together
Here’s your battle plan for a full encounter:
- Spot the Spawn: Use your height. Scout for ledges or use the paraglider.
- Eliminate the Hands: Bomb Arrows ([ZR]) from above are king. Don’t let them surround you.
- Face the Phantom: With Gloom Resistance active, engage carefully. Dodge, parry, and attack during openings.
- Claim Your Prize: Collect the Dark Clumps and any Gloom Sword or other weapon drops, but use them wisely.
With these strategies, you’re no longer fleeing from the shadows—you’re hunting them. Go claim your victory.