How to Unlock the Autobuild Ability in Tears of the Kingdom
In The Legend of Zelda: Tears of the Kingdom, the Autobuild ability is a game-changer, turning tedious construction work into instant creation. This guide will get you into the Depths and straight to the Great Abandoned Central Mine where this power awaits, whether you follow the main quest or decide to forge your own path.
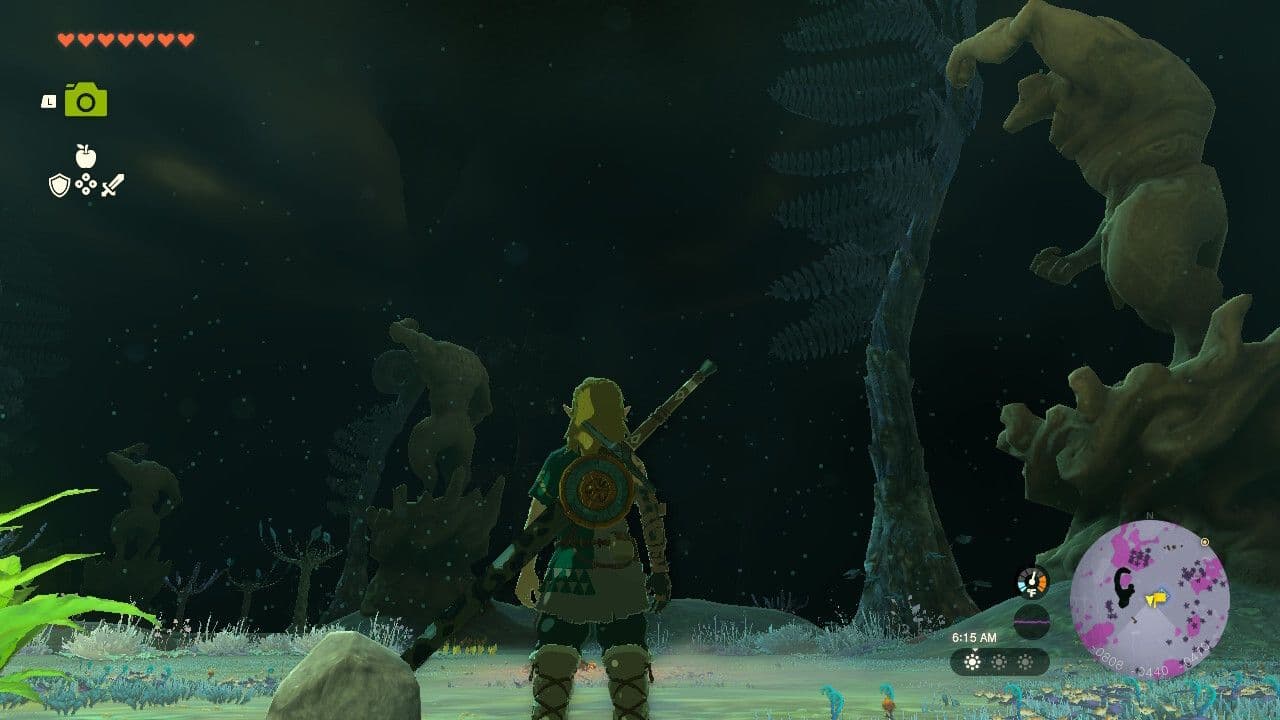
Statues in the Depths point the way toward the Great Abandoned Central Mine.
Follow the Quest or Forge Your Own Path
You can unlock Autobuild organically through the main quest “A Mystery in the Depths.” After completing one of the Regional Phenomena temples, speak with Josha and Robbie at Lookout Landing. They’ll task you with investigating strange statues in the Depths, kicking off this quest. The statues act as a breadcrumb trail—starting from the Hyrule Field Chasm south of Lookout Landing, you simply follow the direction each large statue is facing. They’ll lead you deeper, past threats like a Frox, and straight to your destination.
If you’re following the statues, bring plenty of Brightbloom Seeds or Giant Brightbloom Seeds. Fusing them to arrows is the best way to light your path in the oppressive darkness.
Alternatively, you can head straight for the mine. The most direct entry point is the Great Plateau East Chasm on the Great Plateau's eastern side. From there, you’ll need to navigate south through the dark, using minecarts and fans to reach the central area.
Locating the Great Abandoned Central Mine
Your goal is the Great Abandoned Central Mine in the Depths, which sits directly under the surface world’s Temple of Time. If you’re coming from the Great Plateau East Chasm, you’ll find a minecart track leading there. Once you arrive, use your Brightbloom Seeds to illuminate the towering ruins ahead.
Climb to the top of these ruins, and look to your right. You’ll spot a glowing green pedestal with a Steward Construct standing beside it. This is your final stop. Walk up and press [A] to interact with the green altar. The Steward Construct will awaken and, after a brief scene, grant you the Autobuild ability.
What Happens Next (The Kohga Encounter)
Once you have Autobuild, the nearby “researchers” (who are actually Yiga Clan members in disguise) will ask for a demonstration. You’ll use Ultrahand to fix one vehicle, then use your new Autobuild power to instantly assemble another. This triggers the arrival of Master Kohga and a boss fight. You can engage him immediately for a Schema Stone reward, or if you’re not prepared, you can fast-travel away once the researchers ask for the demo and return later.
With Autobuild now in your arsenal, you’re ready to revolutionize how you explore Hyrule. This ability saves your last 30 creations and lets you rebuild them in an instant, paving the way for incredible creativity and efficient travel. Let's go.
Mastering Autobuild Controls and Construction Mechanics
Got the Autobuild ability in The Legend of Zelda: Tears of the Kingdom? Good—now let’s master it. This isn't just a menu; it's your personal workshop, letting you summon complex builds instantly. The difference between fumbling with Ultrahand and deploying a perfect vehicle in seconds comes down to understanding these core mechanics.
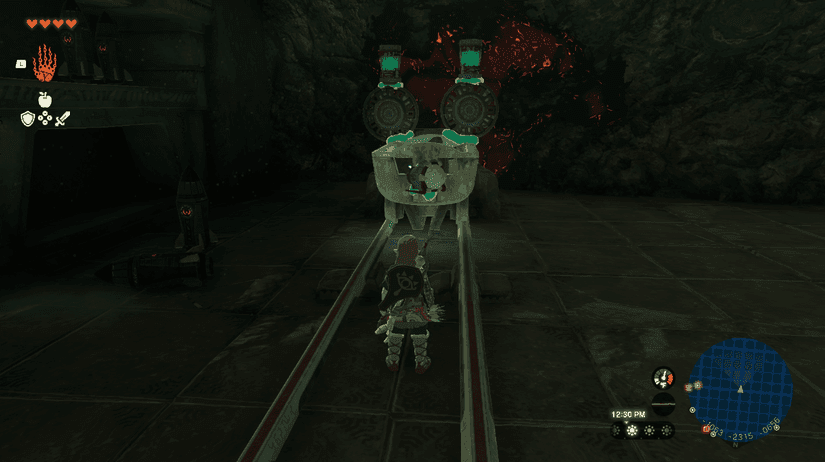
Using construction mechanics to create functional vehicles in the Depths.
Activating and Placing Your Builds
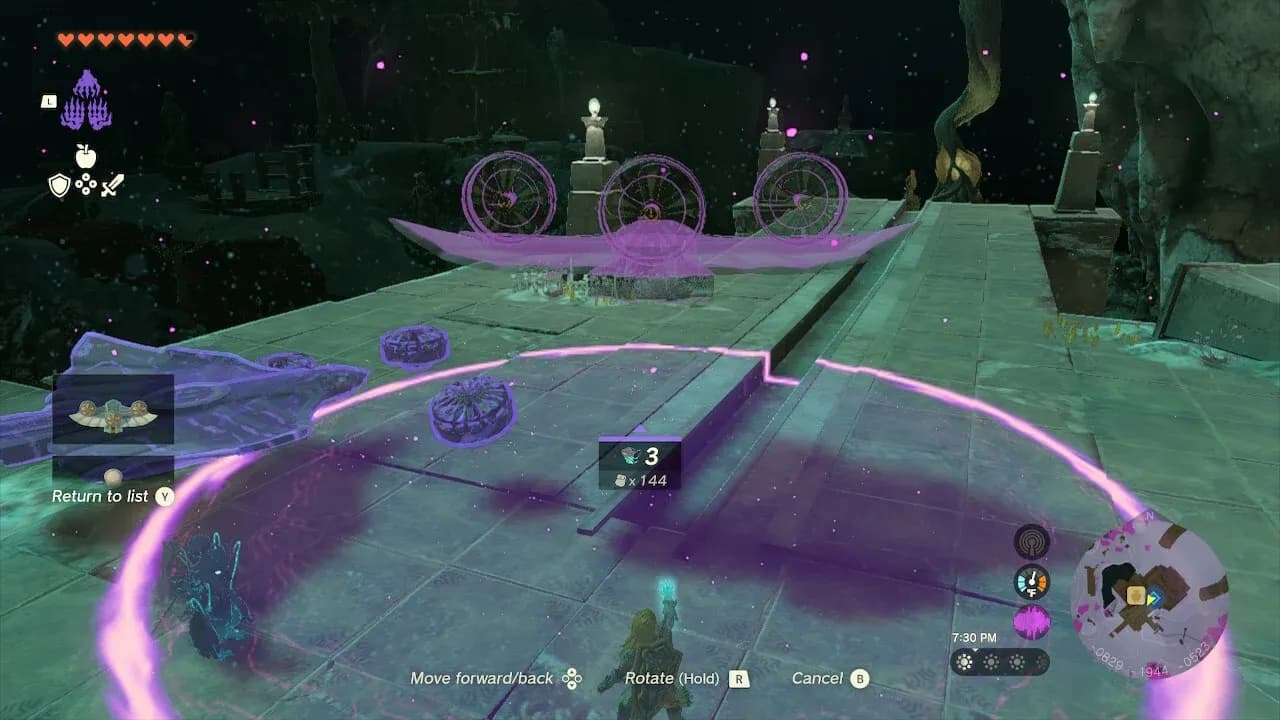
First, call up your ability wheel by holding [L]. Select Autobuild and press [A] to confirm. A transparent, ghostly preview of your selected build will appear, surrounded by a purple aura. This aura is your construction zone—any compatible parts within it will snap into place for free. Use the [L-stick] to move this preview around, positioning it exactly where you need it. When you're happy with the placement, press [A] again to instantly assemble everything.
The Cost of Convenience: Zonaite vs. Scavenging
Here’s the magic and the catch of Autobuild. If all the parts for your selected build are lying within that purple aura, they’ll snap into the preview and assemble for 0 Zonaite cost. This is Component Snapping at its best, letting you rebuild favorite vehicles using parts you’ve collected.
But if you’re missing a Steering Stick or a couple of Fans, Autobuild has a solution—for a price. It will create glowing green replicas of any missing parts by spending your Zonaite. The cost varies by device complexity; a simple cart might cost 3 Zonaite, while a complex flying machine with multiple devices will be much more expensive.
A Crucial Warning on Green Replicas
Those glowing green parts come with a major limitation: they are fragile and permanent. Green Zonaite replicas cannot be detached once placed. If you try to wiggle the [R-stick] to separate them, they will instantly disintegrate, and the Zonaite you spent is gone for good. You cannot salvage or reposition them. This means you need to be absolutely sure of your build's layout before committing Zonaite to fill in the gaps.
⚠️ Watch out: Never try to detach a green part. If you make a mistake with a Zonaite replica, you’re better off canceling the build and starting over. Plan your builds carefully to minimize expensive do-overs.
With these mechanics in hand, you’re no longer just building—you’re commanding a construction crew. Use the environment to your advantage, spend your Zonaite wisely, and your favorite creations are just a button press away.
How to Manage Favorites and Build History in Tears of the Kingdom
You've mastered the controls for Autobuild in The Legend of Zelda: Tears of the Kingdom, but the real magic is in managing your creations. The game's storage system is generous, but it's not infinite—here’s how to protect your most ingenious contraptions from being lost to the void.
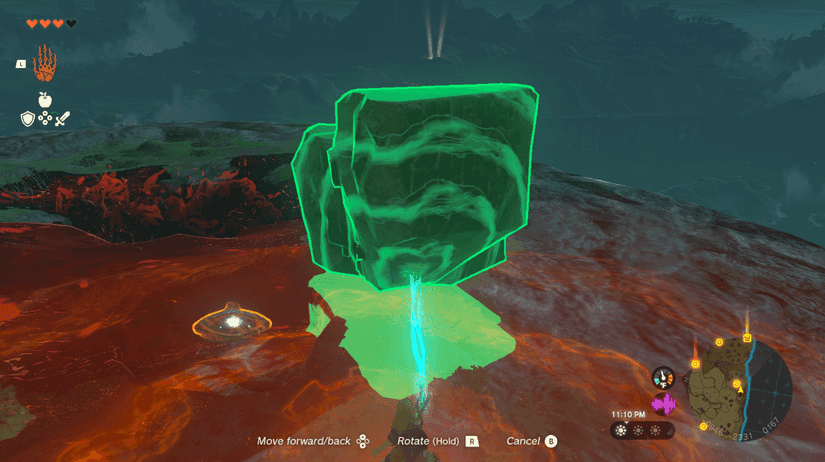
Ultrahand builds are recorded in the Autobuild history for later reproduction.
Think of your Autobuild history as a constantly updating log of your creativity. Every time you create something with Ultrahand—from a simple two-log raft to a complex flying machine—it gets automatically recorded. This build history holds your last 30 Ultrahand constructions, which is a lot, but it’s also a rolling list. As you build your 31st unique contraption, your very first one gets pushed out and deleted forever. If you’ve ever spent twenty minutes perfecting a vehicle only to realize it’s gone later, you know why this system needs managing.
That’s where your Favorite Slots come in. You can permanently protect your best designs by marking them. Head into the Autobuild menu, scroll through your History tab, and select any saved creation. Press [Y] to Register as Favorite. You have 8 custom build slots for this purpose; anything saved here is immune to being overwritten when your history fills up. It’s your personal blueprint vault for the machines you rely on most.
Choosing Your Top Eight Favorites
So, what should you save? Prioritize designs that are either incredibly useful or surprisingly cheap to remake. Here’s a breakdown of two essential categories:
Cost-Effective Favorites for Traversal:
Your 8 favorite slots are precious, so use them wisely. One of the best early investments is a simple ground vehicle. Save a design that combines a Cart with a Steering Stick. This combo costs only 6 Zonaite to fully replicate from scratch and offers far more control and speed over rough terrain than a horse. It’s a reliable fallback when you need to cover ground fast and have no parts nearby.
Utility Favorites for Problem-Solving:
Don’t underestimate simple structures. Saving a basic design like Attached Logs or a Plank Bridge gives you an instant solution for crossing gaps, reaching higher ledges, or creating makeshift platforms. These builds cost very little Zonaite and can be spawned in seconds to get you out of a tight spot. It’s the kind of trick that feels obvious once you start using it.
When selecting favorites, consider the Zonaite cost displayed in the preview. A complex war machine might be cool, but if it costs 150 Zonaite to summon, you won’t use it often. The best favorites are versatile, reliable, and affordable.
Managing Your Blueprint Library
Your strategy should evolve as you play. Found an amazing Schema Stone design for a Fanplane? That’s a perfect favorite candidate, as it won’t count against your 30-history limit. Built a specialized mining rig for the Depths? Favorite it before you start experimenting with something new. Remember, you can always unfavorite an old design by selecting it in your favorites list and pressing [Y] again to make room for a new masterpiece.
With your 8 custom builds safely saved, you can experiment freely, knowing your go-to machines are always one button press away. This system turns Autobuild from a simple recall tool into your personal engineering handbook, ready for any challenge Hyrule throws at you.
Finding Schema Stones and Yiga Schematics in the Depths
Now that you've got Autobuild in The Legend of Zelda: Tears of the Kingdom, the real fun begins. This ability isn't just for your own creations—it's your key to a hidden library of pre-made, expert-level blueprints scattered across the Depths. Here’s how to find them.
Schema Stones: The Depths' Official Blueprints
The first and most straightforward type of blueprint is the Schema Stone. There are 12 of these in total, and they’re handed out by Steward Constructs at major Abandoned Mines throughout the Depths. Think of these as official Zonai engineering schematics.
Your very first one is the Fanplane Schema Stone, which you receive as a reward for defeating Master Kohga at the Great Abandoned Central Mine. It’s a perfect introduction. Another example in that same mine is the Launch Pad Schema Stone; the Construct there provides the parts so you can use Autobuild to launch yourself to a distant chest. These stones unlock designs for practical machines like the Hot-Air Balloon, Hovercraft, and Rocket Platform.
When you find a Steward Construct at a mine, it will often supply the physical parts needed to build its schema right there. Build it once for free to understand how it works before saving it to your favorites.
Yiga Schematics: Stolen Clan Tech
For more… aggressive engineering, you'll want Yiga Schematics. There are 34 of these to collect, and they’re hidden in treasure chests inside Yiga Clan Bases in the Depths. You can spot these bases by their distinctive red lights and the Yiga Footsoldiers standing guard.
Here’s the process: find a base, defeat the Yiga guard, and the sealed door to the storehouse will open, revealing the chest. These schematics are where the game’s creativity really shines, offering blueprints for everything from the practical Instant Kitchen (a portable cooking station) to wild combat vehicles like the Tank, Raiding Plane, and Flamethrower Balloon.
How to Hunt Them Down
Your map is your best tool for this treasure hunt. The Abandoned Mines housing Schema Stones are large, distinct structures on your Depths map. For Yiga Schematics, look for clusters of small, square buildings marked by those red lights. Since both types are tied to specific locations, activating Lightroots to illuminate the Depths is non-negotiable—it turns a frightening scavenger hunt into a manageable checklist.
⚠️ Watch out: The Yiga Footsoldiers in the Depths hit harder than their surface counterparts. Come prepared with strong weapons and a few Sunny dishes to counter the Gloom.
With a mix of 12 Schema Stones and 34 Yiga Schematics to find, your Autobuild menu will transform from a notepad into a full engineer's handbook. Start with the mines you discover naturally, and soon you'll be deploying complex machines at a moment's notice.
Master Kohga Boss Fight: Great Abandoned Central Mine Strategy
This is it—the moment your newfound power is put to the test. In The Legend of Zelda: Tears of the Kingdom, unlocking Autobuild in the Great Abandoned Central Mine isn't the end of the journey; it's a direct invitation from an old foe. The two suspicious "researchers" will shed their disguise, and you'll face Master Kohga, leader of the Yiga Clan, in your first major Depths showdown.
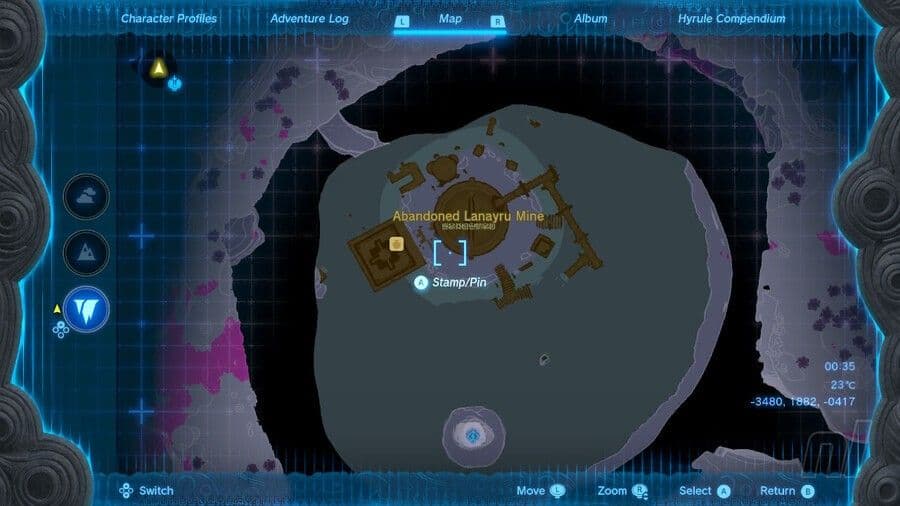
Avoiding Master Kohga's unique attacks.
The Battle Arena and Kohga's Vehicle
The fight begins immediately in the central chamber of the Great Abandoned Central Mine. Master Kohga pilots a spiked, wheeled battle car, and he’s not holding back. His primary tactic is to charge at you. The key mechanic to understand is his Shielded Vehicle—he often reinforces the front of his car with a metal plate, making head-on attacks useless. Your goal is to stun him.
Here’s the trick most guides miss: you don't need a fancy build to win. The simplest strategy is to use your bow. Press [ZR] to aim and [A] to fire arrows directly at Kohga himself. Attaching a Keese Eyeball to your arrow creates a homing shot, making it much easier to hit him while he’s moving. A direct hit will stun him, causing his vehicle to stop momentarily.
The Flanking Strategy
Once Kohga is stunned, you need to close the gap. He’ll often crash into the arena walls, giving you a perfect opening. Use this moment for a Side Flanking maneuver: sprint with the [L-stick] to the side of his car, then press [Y] to unleash a melee combo while he’s vulnerable. You can also climb onto the vehicle itself by scaling its wheels for a few extra hits. He’ll recover and restart his rampage, so be ready to repeat the process—dodge, stun with an arrow, and flank for melee damage.
If you're low on arrows or eyeballs, use the environment. Let Kohga charge into one of the stone structures in the arena; the impact will stun him briefly, letting you run in for free hits.
Securing Your Rewards
After you deplete his health, Master Kohga will make a dramatic retreat, ending the battle. Your victory in The Legend of Zelda: Tears of the Kingdom is rewarded with two crucial items. First, you’ll automatically receive the Schema Stone: Fanplane, a blueprint that demonstrates the power of the Autobuild ability you just earned.
Second, don't leave the arena just yet. Look for a chest that appears after Kohga flees. Inside, you’ll find a Huge Crystallized Charge, which is worth 100 charges for upgrading your Energy Cell at a Forge Construct. This is a massive boost to your battery capacity early on.
With Master Kohga defeated and your first major blueprint in hand, you’ve truly mastered the initiation into the Depths. You’re now ready to use Autobuild to explore deeper and hunt down the Yiga leader in his other hidden mines.
Best Resource Farming for Autobuild in Tears of the Kingdom
Autobuild in The Legend of Zelda: Tears of the Kingdom is your ultimate creative freedom—but it runs on a very specific currency. To build on a whim without scrounging for parts, you need a reliable source of Zonaite. Let's get your resource pipeline flowing so you're never caught short when inspiration strikes.
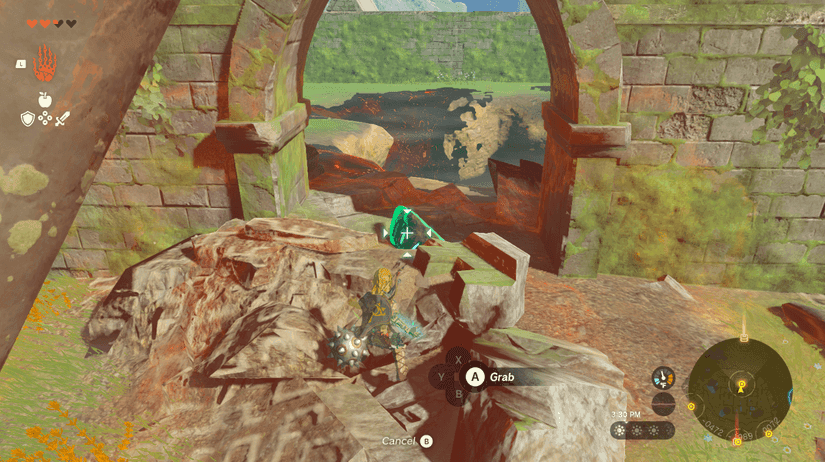
Exploring the Depths reveals the materials needed for advanced Autobuild projects.
The heart of your Autobuild economy is Zonaite, mined from the teal-green ore deposits found exclusively in the Depths. These deposits are everywhere down there, but the most efficient farming loop starts at a key landmark: the Nogukoyk Lightroot in the Depths, west of the Great Plateau North Chasm. Activate this root for permanent light and a fast-travel point, then start exploring the surrounding caverns. You'll find clusters of deposits on walls and in open areas.
Don't waste arrows or weapon durability on mining. The fastest, most durable method is to use [A] to activate Yunobo's Charge (if you have him) or fuse a boulder to a weapon for a makeshift "Boulder Hammer." Both smash deposits in one hit.
For large-scale projects, keep an eye out for the rarer Large Zonaite. You'll get these from the bigger, glowing ore deposits or as a drop from defeating Boss Bokoblins in the Depths. They're essential for replicating expensive items like the Sky Platform, which costs a whopping 100 Zonaite.
Your goal is to build a healthy stockpile. Trust me, you'll want to maintain a minimum of 200 Zonaite at all times. This ensures you can handle emergency vehicle construction during tense explorations or when you're far from your personal cache of physical Zonai Devices. Think of it as your construction insurance policy.
The beautiful thing about farming in Tears of the Kingdom is that nature provides—repeatedly. Remember the Blood Moon Respawn mechanic. Every time that crimson moon rises, all the ore deposits you've mined and all the trees you've chopped for lumber will regrow completely. This means you can establish a highly efficient farming route near your favorite Lightroots and run it after each Blood Moon cycle for a guaranteed renewable yield.
With a mapped route, the right mining tools, and the patience to wait for the Blood Moon, you'll transform from a resource-scrounger into a master builder with a bottomless wallet. Go forth and create without limits.