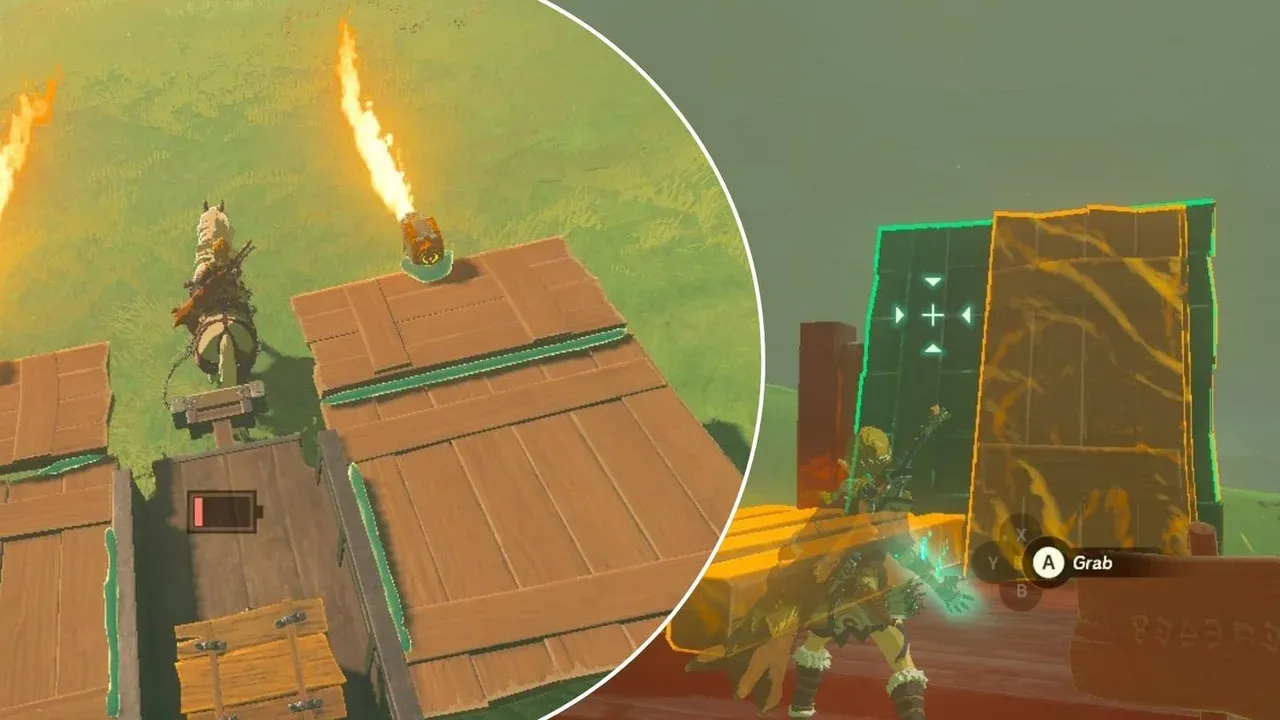
How to Unlock Ultrahand in The Legend of Zelda: Tears of the Kingdom
Your adventure in The Legend of Zelda: Tears of the Kingdom truly begins the moment you step off the Great Sky Island and into the world below—but to get there, you need the key to the kingdom’s secrets. That key is the Ultrahand ability, the game-changing tool that lets you build anything from simple rafts to flying machines. Here’s exactly how to unlock it.
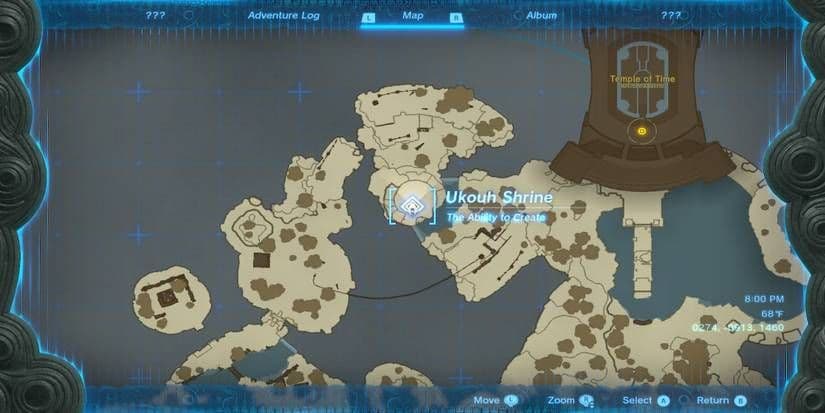
The Ukouh Shrine is the first destination for obtaining the Ultrahand ability.
The path starts at the Temple of Time on the Great Sky Island. After the opening sequence, you’ll find the temple’s door is locked. Here, you’ll meet Rauru, the first King of Hyrule, at the temple entrance. He directs you to prove your worth by completing trials at three shrines to open the door. This is the main quest The Closed Door.
Your first stop is the Ukouh Shrine, located on the island’s northern side at coordinates 0274, -0914, 1460. This shrine is part of the "The Ability to Create" trial. Walk inside, watch the brief cutscene, and the Ultrahand ability will be granted to you immediately. This is not optional—it’s a mandatory step to progress the main story and unlock the core mechanic that defines Tears of the Kingdom’s entire gameplay loop.
After getting Ultrahand, spend a few minutes right there in the shrine playing with the nearby objects. Get a feel for grabbing and moving things before you head out into the wider world—it’ll save you frustration later.
With Ultrahand now in your ability wheel, you’ve got the foundational tool for everything to come. Rauru will guide you to the remaining two shrines to complete The Closed Door quest, but with this first power secured, you’re ready to start manipulating the world. The true adventure—and the endless building possibilities—are now yours to discover. Let’s go.
Mastering Ultrahand Controls and Object Manipulation
You’ve got the power—now it’s time to learn the controls. In The Legend of Zelda: Tears of the Kingdom, the Ultrahand ability is your key to reshaping Hyrule, but mastering its precise manipulation is what separates a wobbly raft from a sleek hoverbike. This isn't just about picking things up; it's about moving them with intention.
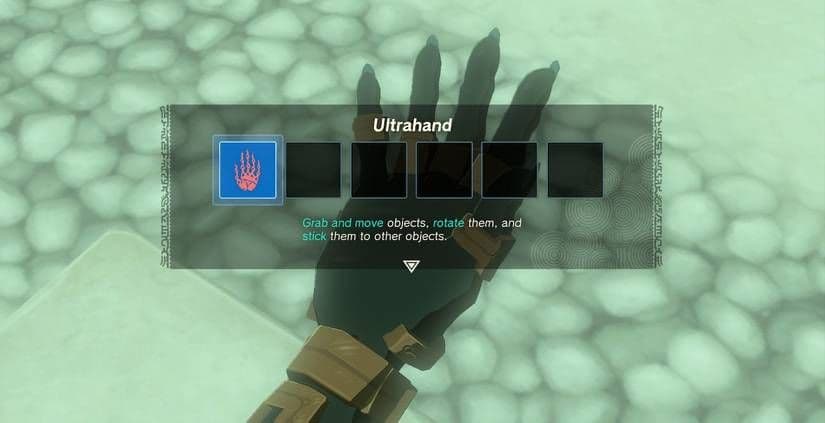
The initial tutorial for Ultrahand controls and object manipulation.
Here’s the complete control breakdown to turn you into a building expert.
Activating and Grabbing Objects
First, hold [L] to open your Ability Wheel, then use the [Right Stick] to select the red hand icon for Ultrahand. The world will light up—objects you can manipulate glow in orange. When you aim directly at one, it turns green. Press [A] to grab it. This is your foundation; everything else builds from this simple grab.
Positioning with Precision
Once you’re holding an object, you have full control over its placement. Use the [Right Stick] to freely move the object around in 3D space, shifting it left, right, up, or down. Need to fine-tune the distance from Link? That’s where the [D-pad] comes in. Press [D-pad Up] to push the object further away from you, or [D-pad Down] to pull it closer. This combo of free movement and distance adjustment lets you slot objects into exact positions.
When lining up two pieces to attach, use the [D-pad] to get them roughly aligned at the right distance, then make micro-adjustments with the [Right Stick]. This saves a ton of fiddling.
Resetting for a Clean Slate
Things can get rotated and tilted while you’re building. If your board or fan is at a weird angle and you want to start over, just press [ZL] while holding the object. This resets its orientation, often laying it flat on the ground. It’s a lifesaver for when your build gets visually confusing and you need a clean reference point.
With these controls internalized—grabbing, moving, distancing, and resetting—you’ve mastered the essential language of creation in Tears of the Kingdom. Now you’re ready to start attaching, rotating, and bringing your wildest vehicle ideas to life. Let’s build.
How to Rotate and Attach Objects in Zelda: Tears of the Kingdom
Now that you’ve got the hang of grabbing and moving things with Ultrahand in The Legend of Zelda: Tears of the Kingdom, it’s time to master the magic of turning and sticking them together. This is where your scattered logs and loose wheels transform into functional machines.
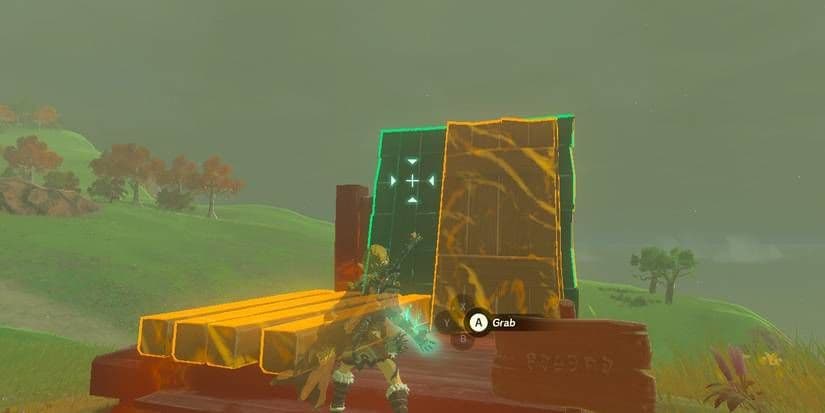
Aligning and attaching simple objects like boards is the first step in building.
Precision Rotation and Bonding
Holding an object is one thing, but positioning it perfectly is the real key to stable builds. Here’s how to get total control:
- To rotate an object vertically, hold [R] and press [D-pad Up/Down] to flip it forward or backward.
- To rotate an object horizontally, hold [R] and press [D-pad Left/Right] to spin it in 45-degree increments.
That 45-degree snap is perfect for aligning wheels and fans symmetrically. For micro-adjustments, you can’t rotate in smaller increments—instead, reposition Link himself to change your perspective and fine-tune the angle.
Once your piece is oriented, bring it close to another object. You’ll see a glue-like substance appear between them. The exact attachment point is shown as a bright dot surrounded by transparent green slime—this is your visual cue for where the bond will form. When you’re happy with the placement, press [A] to attach the objects.
Made a mistake? No problem. If objects are attached incorrectly, grab the piece you want to remove and rapidly wiggle the [Right Stick] left and right. After a moment, the glue bond will break, letting you reposition and try again.
Building with Intention
The glue in Tears of the Kingdom forms a rigid bond, but it’s not a magic cure for physics. A tower of logs glued at a sharp angle will still topple over. The goal is to create stable, logical connections. Think about real-world structure: wheels should be perpendicular to the ground, fans should point in the direction you want thrust, and heavy objects should be placed low and centered.
⚠️ Watch out: The attachment point can sometimes be finicky on complex objects. If the green slime dot isn’t appearing where you want, try rotating the object to expose a flatter surface.
With the ability to rotate with precision and attach with confidence, you’re no longer just moving objects—you’re engineering solutions. Every stable cart or floating raft starts with these fundamentals.
Essential Early-Game Vehicle Blueprints and Builds
Now that you've mastered the basics of Ultrahand in The Legend of Zelda: Tears of the Kingdom, it's time to put theory into practice. This is where the magic happens—taking the physics-driven world and bending it to your will with a few essential builds that will carry you through the game's early challenges.
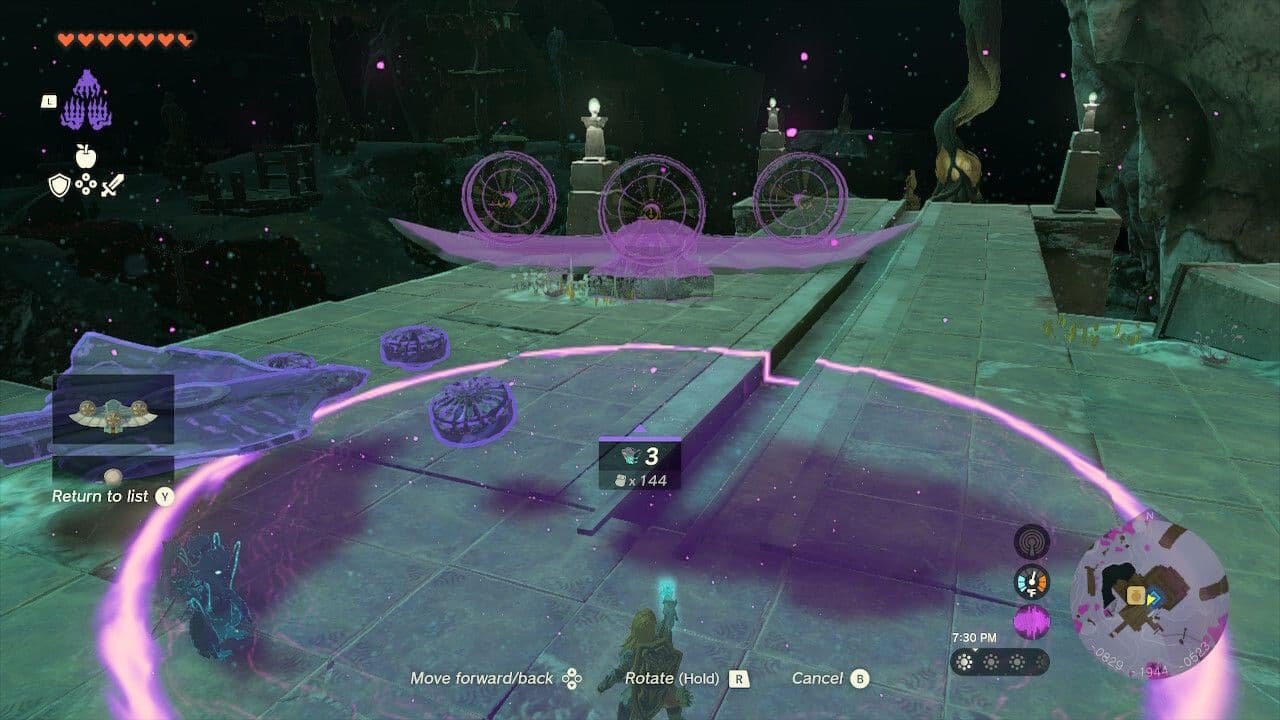
The Autobuild ability automatically pulls nearby parts to construct saved blueprints.
Your First Four Essential Builds
These four contraptions are your starter kit. They use simple, common parts and are often required to solve puzzles or reach new areas, especially on the Great Sky Island.
Build: Basic Boat
This is your go-to for crossing water. Grab 3x Logs and arrange them side-by-side to form a simple raft. Attach a Sail or a Fan to the rear for propulsion. The Basic Boat is perfect for navigating the lakes on the Great Sky Island and beyond.
If you're using a Fan, angle it slightly downward to push the boat forward more efficiently. A single fan will drain your battery slowly, making it ideal for short trips.
Build: Minecart Trolley
When you find a rail line, this is your ticket. Grab a 1x Minecart and attach a 1x Fan directly to its back. The Minecart Trolley will propel itself along the tracks, carrying you across gaps and through caves. It’s a straightforward solution that the game expects you to use.
Build: Hook Trolley
This is the clever cousin of the basic trolley. Start with your 1x Minecart + 1x Fan combo, but add a 1x Hook on top. The Hook Trolley is specifically designed for hanging rail lines you’ll find in certain shrines and sky islands, allowing you to traverse upside-down tracks.
Build: Simple Airplane
Your first taste of flight! Combine a 1x Wing with a 1x Fan attached to its center-rear. The Simple Airplane needs a bit of help to get airborne—a running start down a slope or a drop from a ledge. Once it's moving, the fan provides the thrust to keep you gliding. It’s not for long-haul journeys, but it’s perfect for crossing canyons or reaching a nearby sky island.
Putting It All Together
Don't overthink these early builds. The beauty of Tears of the Kingdom is that these simple concepts just work. The game's physics system was designed so that these intuitive combinations function as you'd expect. If a build feels wobbly, check your symmetry—a Fan placed dead-center on the back of a boat or cart will give you much straighter travel than one bolted on at an angle.
⚠️ Watch out: Always save before testing a new vehicle over a chasm or deep water. Physics can be unpredictable, and a quick reload is better than watching your masterpiece (and Link) plummet.
With these four blueprints in your mental toolkit, you're no longer just exploring Hyrule—you're engineering your path through it. Grab some logs, find a fan, and let's get moving.
Advanced Building: Integrating Zonai Devices for Power
Now it's time to think like an engineer. In The Legend of Zelda: Tears of the Kingdom, basic vehicles will get you across the Great Sky Island, but mastering Hyrule requires integrating specialized Zonai Devices. These are the game-changers that transform a floating log into a nimble fighter jet or a stable exploration rig. This section is where your builds go from functional to phenomenal.
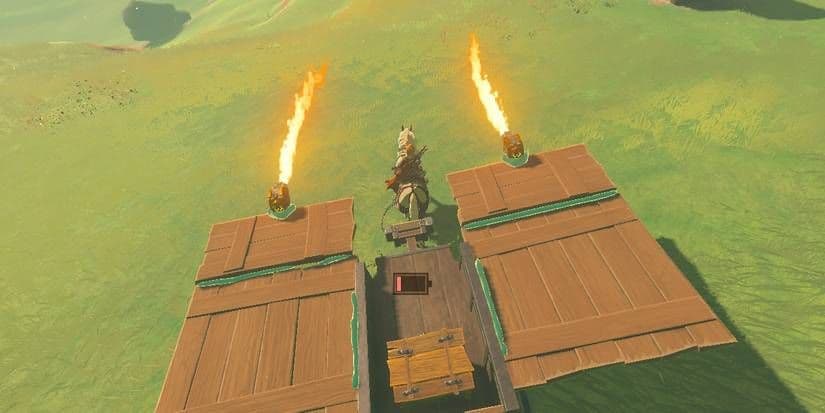
A makeshift cart utilizing Zonai Flame Emitters for combat and propulsion.
Core Zonai Devices for Power and Control
Think of these five devices as your essential toolkit. You'll find them in Zonai Device Dispensers scattered across the Sky Islands, activated by offering Zonai-based items like Construct Horns.
- Steering Stick: This is your command center. Found in a device dispenser in the Northern Hyrule Sky Archipelago, attaching one to your creation lets you take direct control, turning a static contraption into a drivable vehicle. Always attach it last, as it becomes the primary control point.
- Fan: The workhorse of propulsion. Attach one (or several) to provide forward or upward thrust. For balanced flight, place two symmetrically. For raw lifting power, you can even stack them vertically.
- Balloon: Your ticket to gentle ascent. On its own, it does nothing, but pair it with a heat source like a Flame Emitter or a lit torch, and it provides steady vertical lift—perfect for leisurely Sky Island exploration or creating airships.
- Rocket: For when you need speed, now. This device provides a high-speed burst, ideal for a quick vertical ascent to clear a cliff or a sudden horizontal boost to escape danger. It's single-use but incredibly powerful.
- Stabilizer: The unsung hero of stable builds. When activated, it fights to keep whatever it's attached to perfectly upright. Attach one to the bottom-center of a flying machine to prevent flipping, or to the front of a ground vehicle to stop it from tipping during sudden stops.
Symmetry is your best friend when placing Fans or Wheels. An off-center thruster will send you spinning, while a balanced build travels straight and true with minimal steering correction.
Integrating Devices for Specific Functions
With your toolkit understood, let's talk application. It’s not just about slapping parts together; it’s about solving physics puzzles.
For flight, the iconic Hoverbike (2x Fans + 1x Steering Stick) is beloved for its efficiency. Angle the fans roughly 45 degrees downward and place the Steering Stick just behind them. This build is a battery drain but offers unmatched control. Need to carry heavy cargo? That's where stacking Fans or adding a Balloon comes in.
For combat, automation is key. Attach a Construct Head to your vehicle, then mount a Cannon or Beam Emitter to it. The Construct Head will automatically track and engage enemies, turning your ride into a moving turret. Just be mindful of ammunition and battery use.
For rough terrain, think about suspension. This is where the game's physics shine. While not a Zonai Device, players creatively use items like the Portable Pot—which has a built-in joint to sit flat—as a ball-and-socket connector to make advanced suspension systems, smoothing out bumps and keeping wheels on the ground.
⚠️ Watch out: Every part adds weight and drains battery. A majestic flying fortress with a dozen weapons is cool until it can't lift off or dies in 10 seconds. Start simple, then add complexity once the core vehicle works.
Principles of a Stable, Powerful Build
Here’s the trick most guides miss: The Legend of Zelda: Tears of the Kingdom has an entirely physics-driven world. The game calculates mass, buoyancy, and thrust based on an object's material, size, and shape. This means you must manage your center of gravity. Keep heavy components like Cannons or Batteries low and centered. A top-heavy vehicle will flip.
Always test new integrations in a safe spot like the fields near Lookout Landing. See how it handles, tweak fan angles, and check balance. If your creation lists to one side, add a little weight or buoyancy to the opposite side to counter it.
Trust me, once you start seamlessly combining Steering Sticks for control, Fans for thrust, and Stabilizers for balance, you'll see Hyrule not as a map to traverse, but as a playground for your engineering genius. Now, let's build something incredible.
Best Vehicle Designs for Exploration and Combat
Now you've got the basics down and a few Zonai Devices in your pocket, it's time to build some of the most legendary, game-changing machines in The Legend of Zelda: Tears of the Kingdom. The community has spent countless hours perfecting these designs—here are the best vehicles for exploring every corner of Hyrule and dominating its toughest enemies.
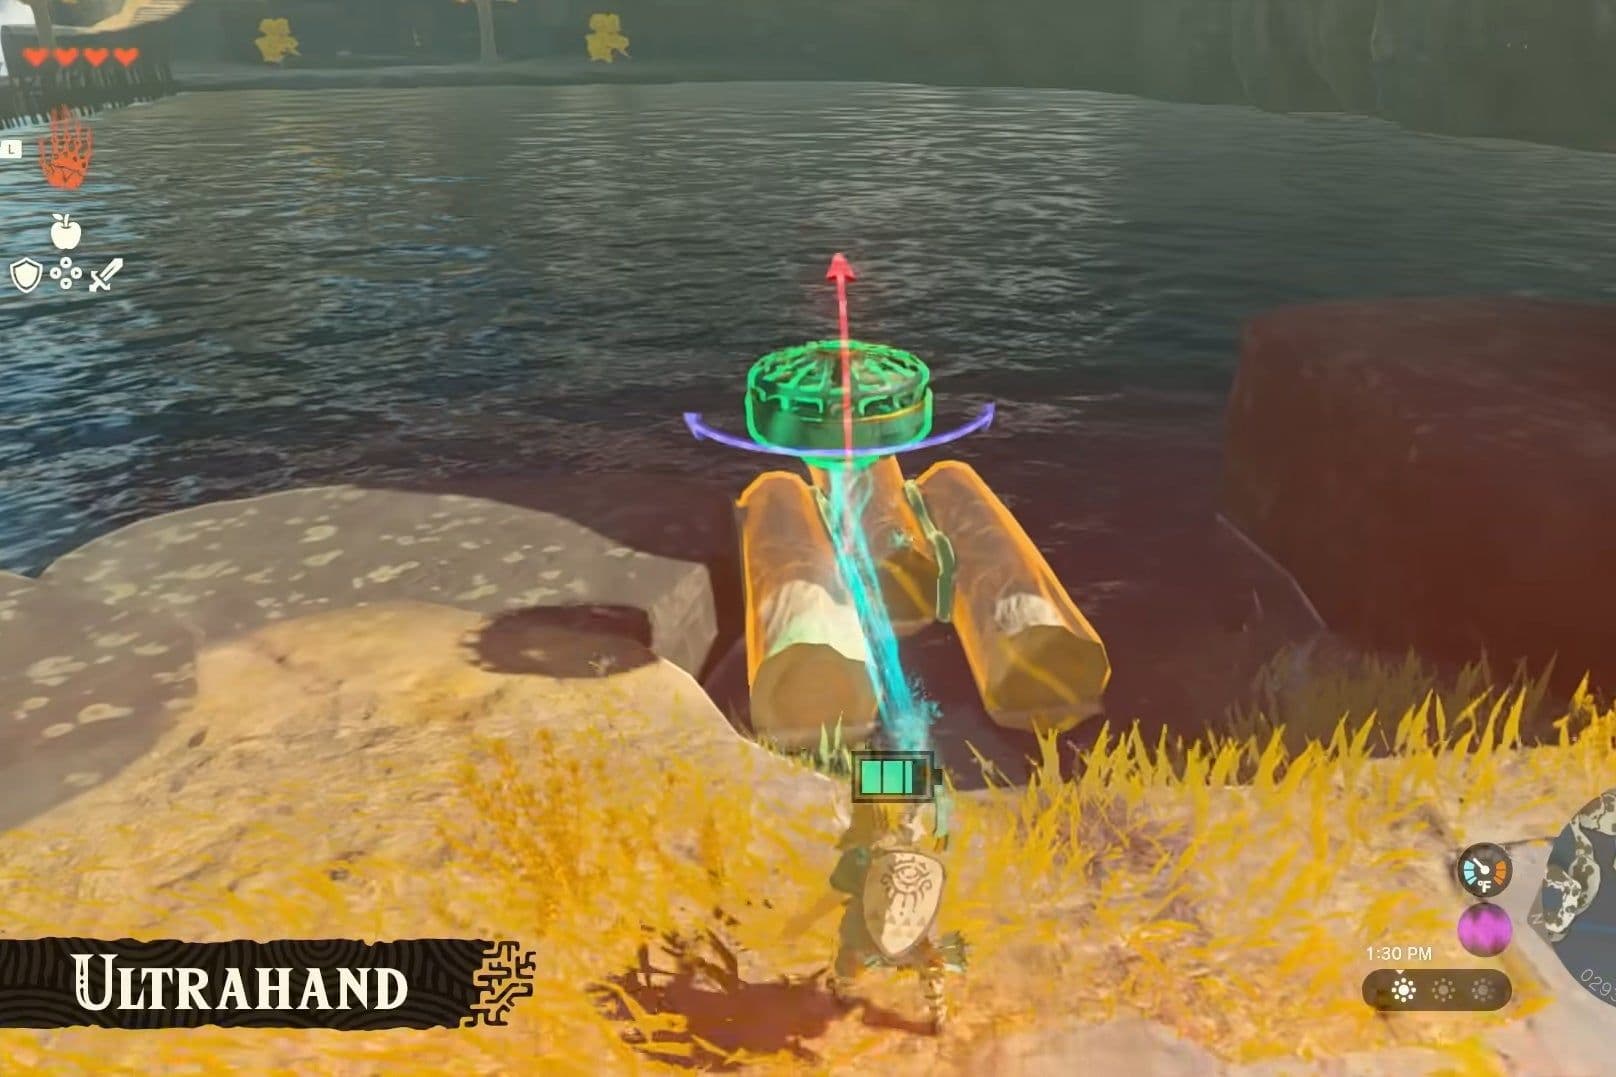
A specialized watercraft design for exploring Hyrule's lakes and rivers.
Skyward: The Hoverbike
When you need to reach a distant Sky Island or just want to travel fast, nothing beats the Hoverbike. This simple, elegant design uses 2x Fans and 1x Steering Stick. The trick is to angle both fans forward at about 45-degrees down; this provides both lift and forward thrust for incredibly efficient flight. It’s a staple for late-game exploration.
Attach the Steering Stick last, placing it directly between and slightly behind the two fans. This keeps your center of gravity perfect and prevents unwanted flips.
Over Land and Water: The All-Terrain Vehicle
Need a single vehicle that can handle rivers, hills, and rocky paths? The All-Terrain Vehicle is your go-to. Start with 1x Cart as your chassis. Attach 2x Small Wheels to the bottom for land travel, and then add 1x Fan to the back for reverse thrust and extra power in water. Finally, mount your Steering Stick on top. This build gives you the climbing power of wheels and the versatility of a fan boat, all in one package.
Peaceful Ascent: The Hot Air Balloon
For a serene, battery-efficient way to reach high places like Sky Islands, build a Hot Air Balloon. You’ll need 1x Balloon, 1x Base (like a wooden platform or cart), and 1x Flame Emitter. Attach the Flame Emitter to the base, pointing up into the Balloon. The heat will cause it to rise. It’s slow, but it’s perfect for scouting or when you’re low on energy cells.
Mobile Fortress: The Combat Tank
When you need to clear an enemy camp in the Depths or just want to feel unstoppable, roll out in a Combat Tank. Use a Large Stone Slab as your armored hull for protection. Attach 4x Big Wheels for powerful traction. On top, mount a Construct Head and attach a Beam Emitter (or Cannon) to it. The Construct Head will automatically target and fire at enemies, letting you focus on driving.
⚠️ Watch out: Keep your weaponized Construct Head elevated and pointing forward. If it’s too low, it might target the ground in front of you and cause self-damage.
With these four community-proven designs in your building repertoire, you’re ready to conquer any terrain and challenge Tears of the Kingdom throws at you. Happy building, engineer
Physics and Balance: Tips for Stable Contraptions
Ever watch your masterpiece cart veer off a cliff or your glorious flying machine flip over mid-air? In The Legend of Zelda: Tears of the Kingdom, the freedom to build anything comes with the responsibility of understanding the physics that hold it all together. This section is your troubleshooting toolkit—the principles that turn wobbly contraptions into reliable machines.
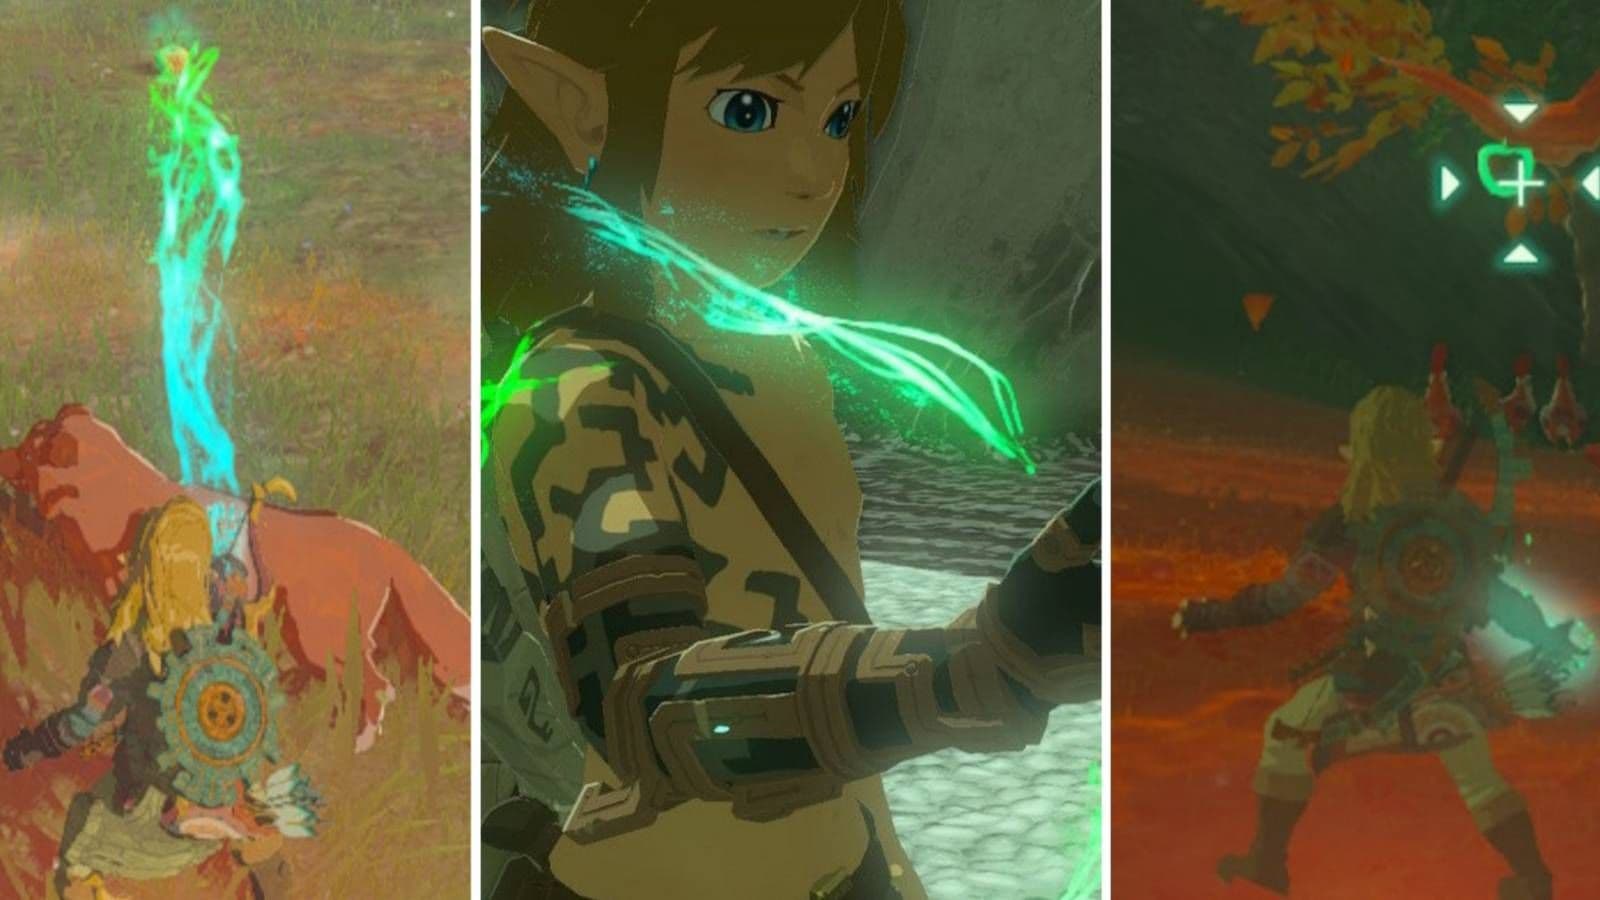
Connecting parts securely is the first step in troubleshooting a build.
Mastering Stability and Balance
The key to any successful build is stability, which comes down to managing two core forces: weight and thrust. When things go wrong, it’s almost always because one of these is off-kilter.
First, always consider your build's center of gravity. Place heavy items like Cannons or Batteries low and centered on your vehicle to prevent flipping. A top-heavy machine is a disaster waiting to happen, especially during sharp turns or sudden stops. For ground vehicles, this means mounting weapons on the chassis, not on a tall mast. For flying machines, keep the heaviest components directly below or between your lift sources.
Before adding weapons or cargo, test your vehicle's base chassis. If it handles smoothly empty, you can confidently add weight where it won't compromise control.
Second, employ symmetrical placement for propulsion and movement. Attach Fans and Wheels in identical positions on both sides of your vehicle to ensure straight, predictable travel. A fan placed slightly left of center will constantly pull your craft to the right, wasting battery on constant steering corrections. This rule is absolute for anything meant to travel in a straight line, from simple cars to complex aircraft.
Understanding Weight, Buoyancy, and Performance
The Legend of Zelda: Tears of the Kingdom simulates materials with surprising depth. Wooden boards provide natural lift in water, making them ideal for raft hulls, while stone slabs sink but offer more protection for armored boats. Choose your base materials based on the environment: wood for the sea, and heavier, sturdier materials for land tanks that need to withstand impacts.
Finally, be mindful of part count optimization. While it's tempting to build a colossal fortress on wheels, the game's physics engine works best with leaner designs. As a general rule, limit builds to 8-12 parts to maintain performance and reduce lag. A simpler build is not only more reliable but also easier to control and less taxing on your system. Strip away unnecessary decorative pieces and focus on the functional core—a steering stick, a power source, and your movement components.
⚠️ Watch out: Overcomplicating a design is the fastest way to a frustrating failure. If a puzzle requires a bridge, two planks and a stabilizer often work better than a multi-part, rotating drawbridge.
By respecting the center of gravity, committing to symmetrical placement, choosing materials for their weight and buoyancy, and practicing part count optimization, you move from fighting the physics to working with them. Your builds will stop fighting you and start faithfully executing your vision, whether that’s crossing a chasm or dominating a battlefield. Now go build something that actually works.
How to Use Autobuild to Save Custom Creations
You’ve mastered the art of building—now it’s time to master the art of saving and summoning. Autobuild, the final and most transformative ability in The Legend of Zelda: Tears of the Kingdom, is your key to turning your best creations into reusable blueprints, letting you call upon your favorite vehicles and contraptions at a moment's notice. It’s the ultimate quality-of-life upgrade for any dedicated builder.
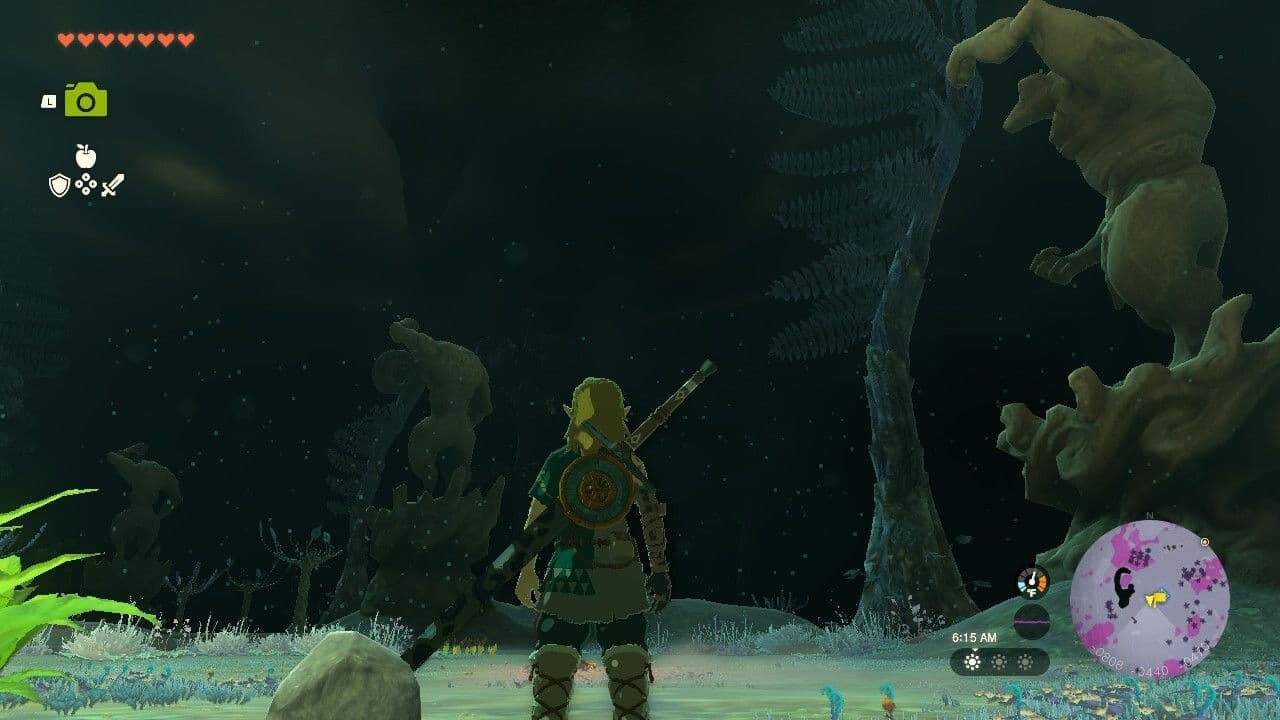
Following statues in the Depths leads to the Autobuild ability location.
Unlocking the Ultimate Building Tool
To claim Autobuild, you must venture deep into The Depths and complete the quest chain that begins with Robbie and Josha at Lookout Landing. After helping Robbie with his camera, Josha will give you the quest “A Mystery in the Depths.” This leads you on a journey following a trail of statues, which eventually guides you to the Great Abandoned Central Mine in the heart of the underground. Here, you’ll speak with a Construct Steward who grants you the ability—right before you’re thrown into a boss fight against Master Kohga. Defeat him to fully secure Autobuild for yourself.
Stock up on Brightbloom Seeds and Gloom-resistant food before this trek. The path is dark and perilous, but the reward is worth every step.
How Autobuild Works
Once unlocked, hold [L] to open your ability wheel and select the icon with three purple hands. This opens a menu showing two key tabs: your History and your Favorites.
- History automatically saves the last 30 distinct actions you performed with Ultrahand. Attaching two logs is one entry; adding a fan to them is another.
- Favorites are where you save your masterpiece builds for quick access. You can store up to eight favorites.
When you select a build, a large purple aura appears. Sweep it over the area—if the required physical parts are nearby, they’ll fly into the aura and snap together instantly. If you’re missing parts, don’t worry. Autobuild will spend Zonaite, the glowing green ore from The Depths, to materialize the missing components on the spot. These Zonaite-created parts glow bright green, so you’ll know which ones aren’t “real.”
⚠️ Watch out: Never detach a glowing green part created with Zonaite. If you do, it will vanish permanently, as it was never a physical object.
Smart Strategies for Master Builders
This ability changes how you approach building in Tears of the Kingdom. Here’s how to use it like a pro:
1. Save Cost-Effective Favorites: Be strategic about what you save. A simple but versatile build like a Cart fused to a Steering Stick costs only six Zonaite to summon and offers better control than a horse on roads. Save your complex, device-heavy builds for when you really need them.
2. Always Carry Zonai Capsules: While Autobuild can create parts from Zonaite, it’s cheaper to use real components. Zonai Capsules are portable versions of devices like Fans and Rockets that you can carry in your inventory. Having a stock means you can summon a favorite build and supply the real parts yourself, saving your precious Zonaite for emergencies.
3. Use It as a Climbing Tool: One of the simplest yet most brilliant uses is for traversal. Save a favorite that’s just a few planks or logs stuck together in a tall stack. When you face a ledge that’s just out of reach, summon your “climbing tower” and ascend. It’s a instant solution that feels like a clever hack.
With Autobuild in your arsenal, you’re no longer just a builder—you’re an architect with a catalog of proven designs. Experiment, save what works, and let this powerful ability turn your creative visions into instantaneous reality anywhere in Hyrule.