How to Find and Reach Margit the Fell Omen in Elden Ring
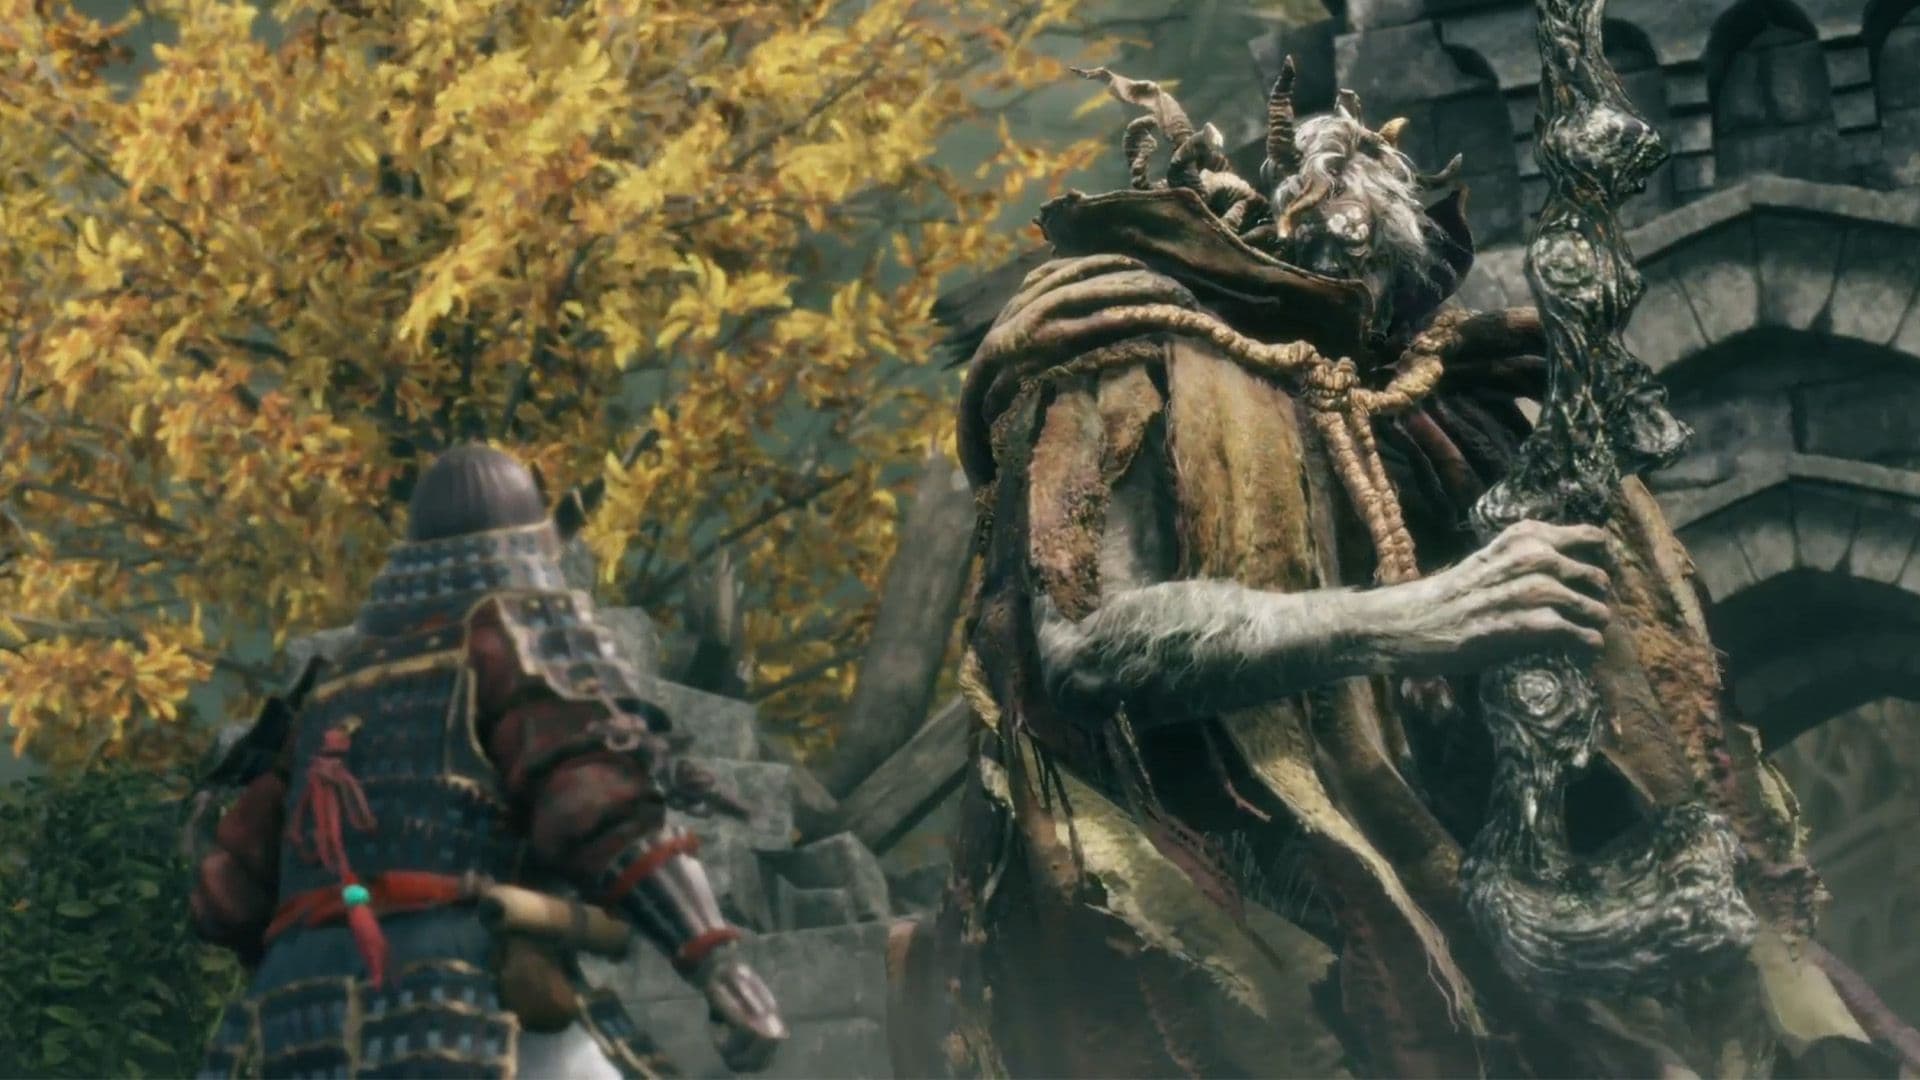
Your first real test in Elden Ring stands defiantly in the mountain pass. The imposing figure of Margit the Fell Omen blocks the path to Stormveil Castle, but before you can even think about fighting him, you need to know how to get there. This guide will lead you to his arena and make sure you're properly grounded with the nearest Site of Grace.
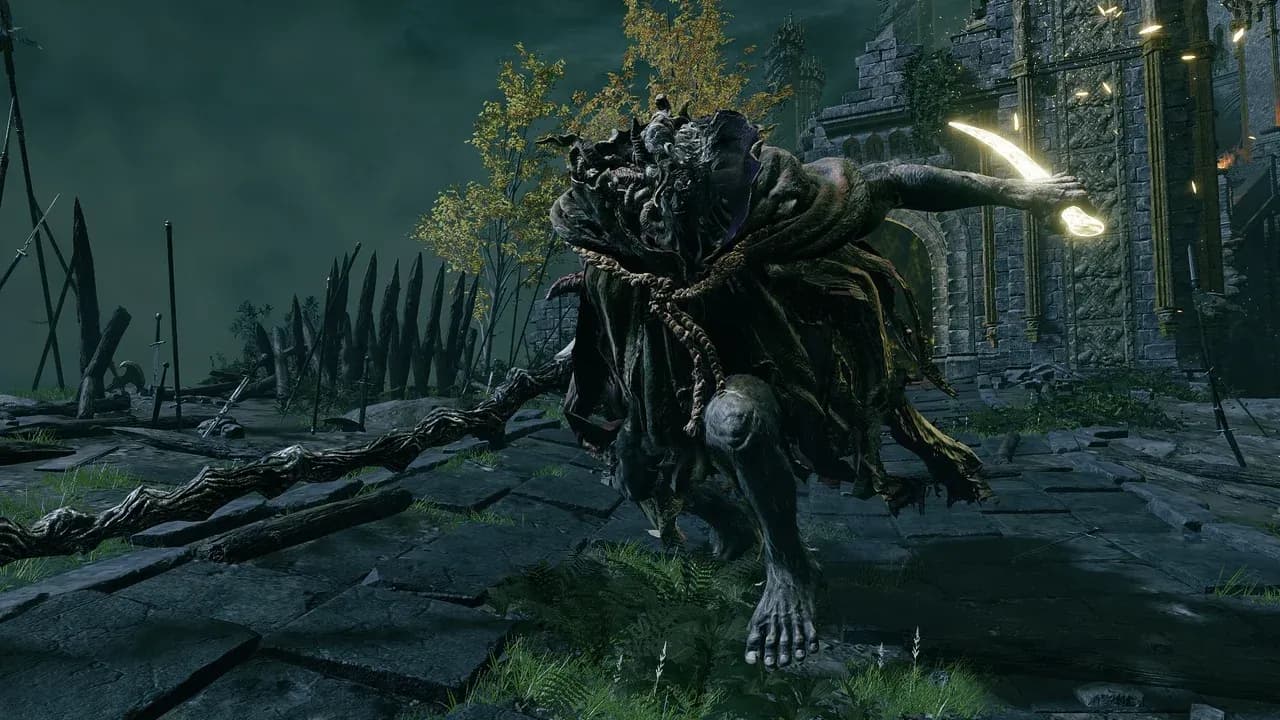
Margit the Fell Omen guarding the entrance to Stormveil.
Locating the Omen’s Gate
Your journey to confront Margit begins at the Stormhill region in Limgrave, north of the Stormhill Shack Site of Grace. Follow the road north until it forks. Trust me, you’ll want to take the path leading to Stormveil Castle that ascends the steep hill—this is the main approach, and it’s guarded by a patrol of Godrick Soldiers. You can choose to engage these standard enemies or simply run past them; your real goal is the ridge above.
The hill path is guarded, but the enemies are spread out. A sprinting dash from the fork can get you to the top without a single fight, saving your resources for the boss.
At the summit, you’ll see the massive gates of Stormveil Castle looming ahead. To the left, just before the glowing golden boss fog, you’ll find the Castleward Tunnel Site of Grace. This is your checkpoint—activate it immediately. This grace is located directly before the boss fog gate, giving you a safe spot to regroup, heal, and summon allies without worrying about the trek back.
With this Site of Grace secured, you’re standing at the threshold. Defeat Margit and you will unlock Stormveil Castle Access, granting you entry to the game’s first major legacy dungeon. Take a breath at the grace, prepare your gear, and get ready—the Fell Omen awaits.
Best Preparation and Level for Margit the Fell Omen
Margit stands between you and the first great legacy dungeon of Elden Ring—a daunting gatekeeper designed to test your readiness. Rushing in unprepared is a common mistake that leads to frustration. Instead, let's ensure you have the stats and gear to meet him on equal footing, turning a brutal skill check into a manageable, rewarding challenge.
Effective strategies for the Margit encounter.
Your Preparation Checklist
Before you even think about crossing the fog gate, your priority is exploration. Elden Ring rewards those who venture off the main path, and the Limgrave region is packed with everything you need. Aim to be around Level 20-25 for balanced difficulty. This gives you enough Vigor to survive a few hits and the necessary points in your primary damage stat (Strength, Dexterity, etc.) to actually hurt him.
Your weapon is just as important as your level. Don't fight Margit with a basic, unimproved armament. Your goal should be to upgrade your main weapon to +2 or +3. To do this, you'll need Smithing Stones. A reliable early source is Limgrave Tunnels, a mine to the east where you can find these upgrade materials lining the walls. Once you have a few, you can visit the Blacksmith at Roundtable Hold (unlocked after meeting Melina) to perform the upgrades.
If you're struggling to find enough stones, the Tunnel itself is a mini-dungeon with a boss at the end that drops a Bell Bearing, allowing you to buy more stones from the Twin Maiden Husks. It's worth clearing.
Essential Resources & Buffs
Your survival hinges on your healing. In Limgrave, seek out Golden Seeds to increase the number of uses for your Flask of Crimson Tears, and find Sacred Tears at churches to boost how much health each sip restores. Having 5 or 6 strong healing charges makes a world of difference when learning a boss.
One of the most powerful tools you can bring is the Flask of Wondrous Physick. You'll find it at the Third Church of Marika in northeastern Limgrave. This reusable flask lets you mix two Crystal Tears for powerful, temporary buffs. For Margit, consider a combination that boosts your physical damage or negates a chunk of damage from a single hit—both can be the difference between victory and defeat.
Gearing Up for Success
While specific builds are covered later, your general approach matters. If you're using a shield, one with 100% physical damage negation (like the Beast Crest Heater Shield) is invaluable for blocking his cane swings, though be warned: his magical dagger and weapon attacks will still chip through. More importantly, ensure your equipment load is at Medium or lower. Fat-rolling will get you killed against his rapid combos.
If you've wiped here before, you're not alone—Margit is Elden Ring's first major wall for a reason. But with a character around level 25, a +3 weapon, upgraded flasks, and the Wondrous Physick in your pocket, you've done the work. You're no longer under-leveled prey; you're a prepared Tarnished ready for the fight.
How to Get Margit's Shackle and Summon Allies in Elden Ring
You don’t have to face Margit alone. In Elden Ring, this boss is designed to be tackled with every tool at your disposal—and two of the most powerful aids are a special shackle and a crew of summoned allies. Here’s how to tip the scales in your favor.
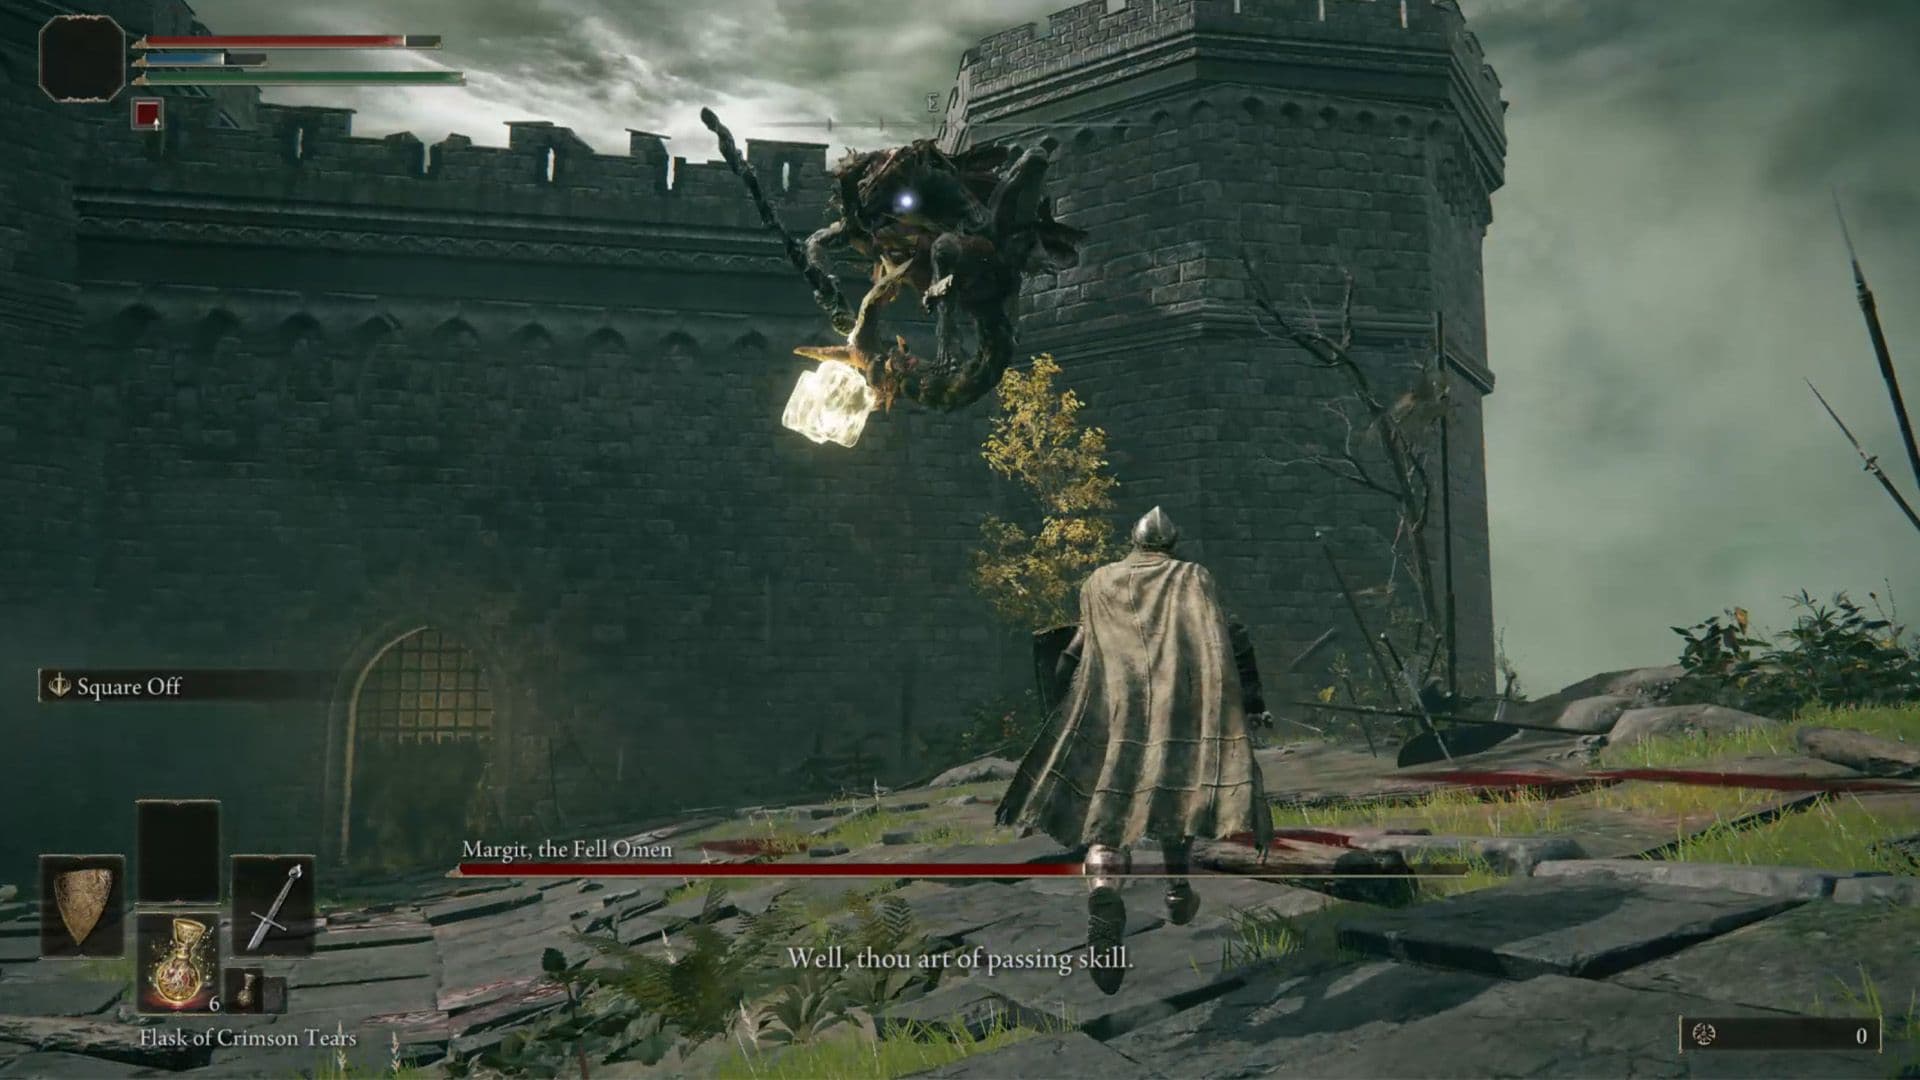
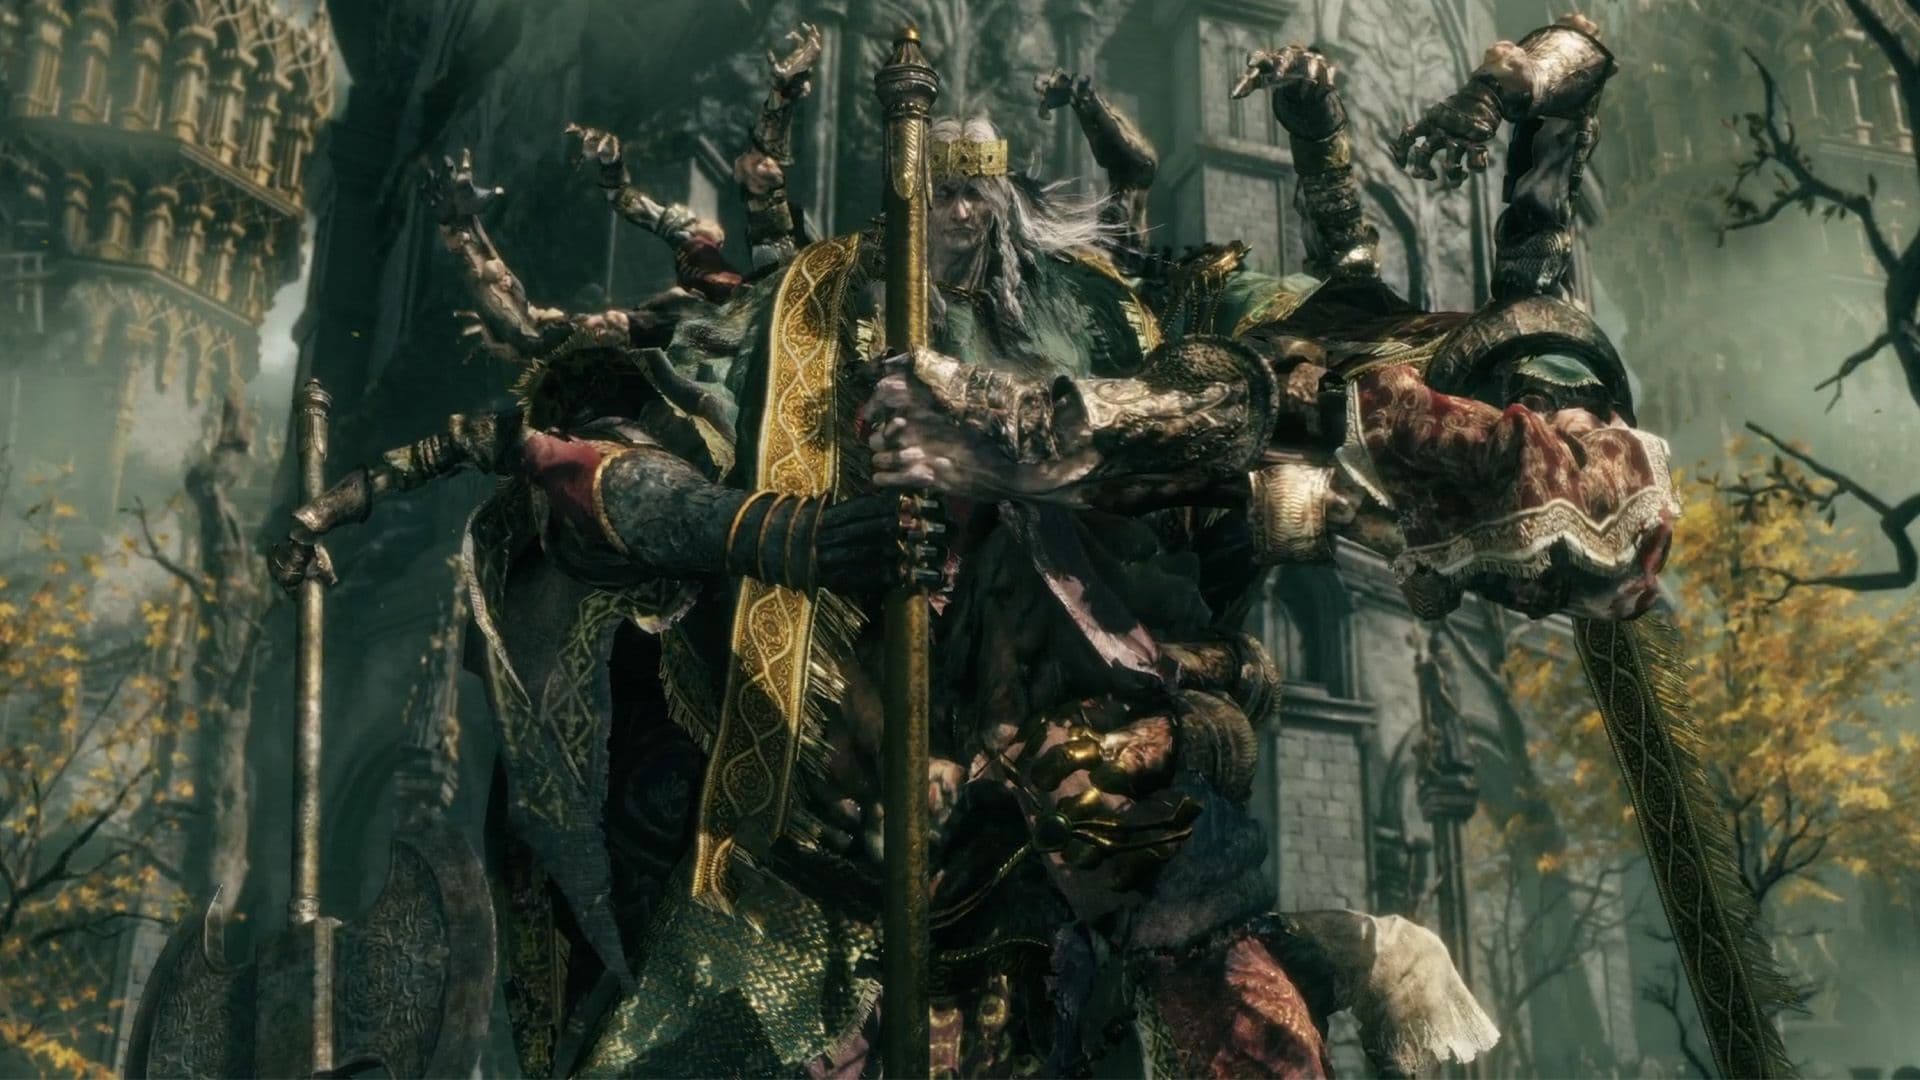
Margit's second phase introduces new glowing weapon attacks.
Acquiring Margit's Shackle
Your first major advantage is Margit's Shackle, a unique item that can briefly stun the boss. To get it, you must venture to Murkwater Cave in northern Limgrave. Inside, you’ll be invaded by Patches, a tricky merchant. Spare him during the boss fight to unlock his shop, where you can purchase the shackle for 5,000 Runes.
The shackle can only be used twice per attempt and only during Phase 1—it stops working once Margit summons his spectral hammer. It’s perfect for creating a safe window to heal or land a heavy attack.
Summoning Sorcerer Rogier
For direct in-fight assistance, look for the golden summon sign for Sorcerer Rogier on the ground to the right of the boss fog gate in the Castleward Tunnel. Summoning this sorcerer won’t deal massive damage, but he’s an excellent distraction, drawing Margit’s aggression and giving you crucial breathing room.
Calling Upon Spirit Ashes
Spirit Ashes provide reliable backup. Two excellent early-game options are:
- Spirit Jellyfish Ashes: Talk to Roderika at the Stormhill Shack multiple times until she gives you these ashes. The jellyfish has high HP and can poison Margit over time.
- Lone Wolf Ashes: These are obtained from the witch Renna at the Church of Elleh during your first nighttime visit. They summon three swift wolves that excel at harassing and diverting the boss's attention.
⚠️ Watch out: You can summon both Rogier and a Spirit Ash for this fight. Enter the arena, summon your Spirit Ash, and let your allies divide Margit’s focus—it completely changes the dynamic of the encounter.
With Margit’s Shackle in your pocket and a summon sign ready, you’ve turned a daunting duel into a manageable team effort. You’re now equipped to control the pace of the fight.
Margit Phase 1: Attack Patterns and Counter Strategies
Alright, Tarnished. The fog gate is behind you, and the arena stretches ahead. This is where Elden Ring separates the prepared from the panicked. Margit’s first phase is a brutal lesson in patience—he’s designed to punish every instinct you’ve learned so far. If you've struggled here, you're not alone; this is the game's first major skill check. Let’s break down his opening moves so you can survive long enough to see his second act.
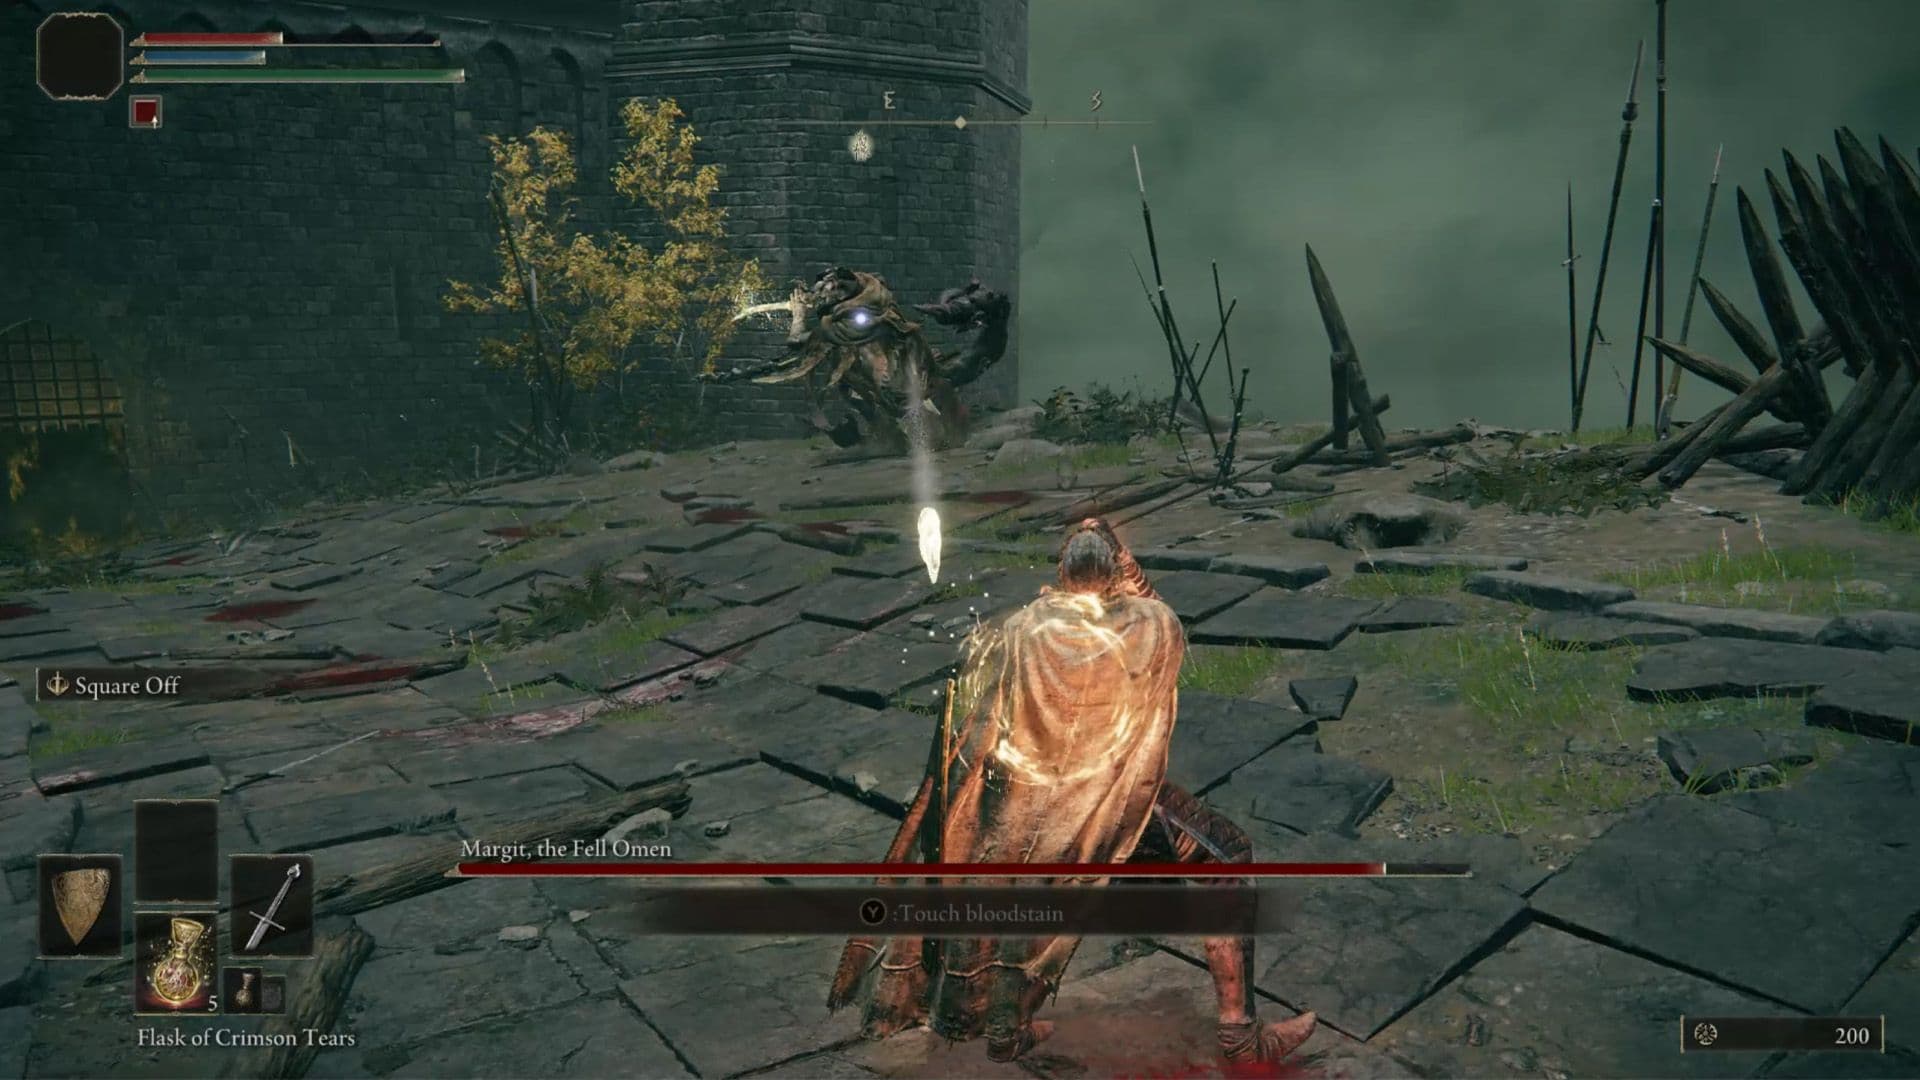
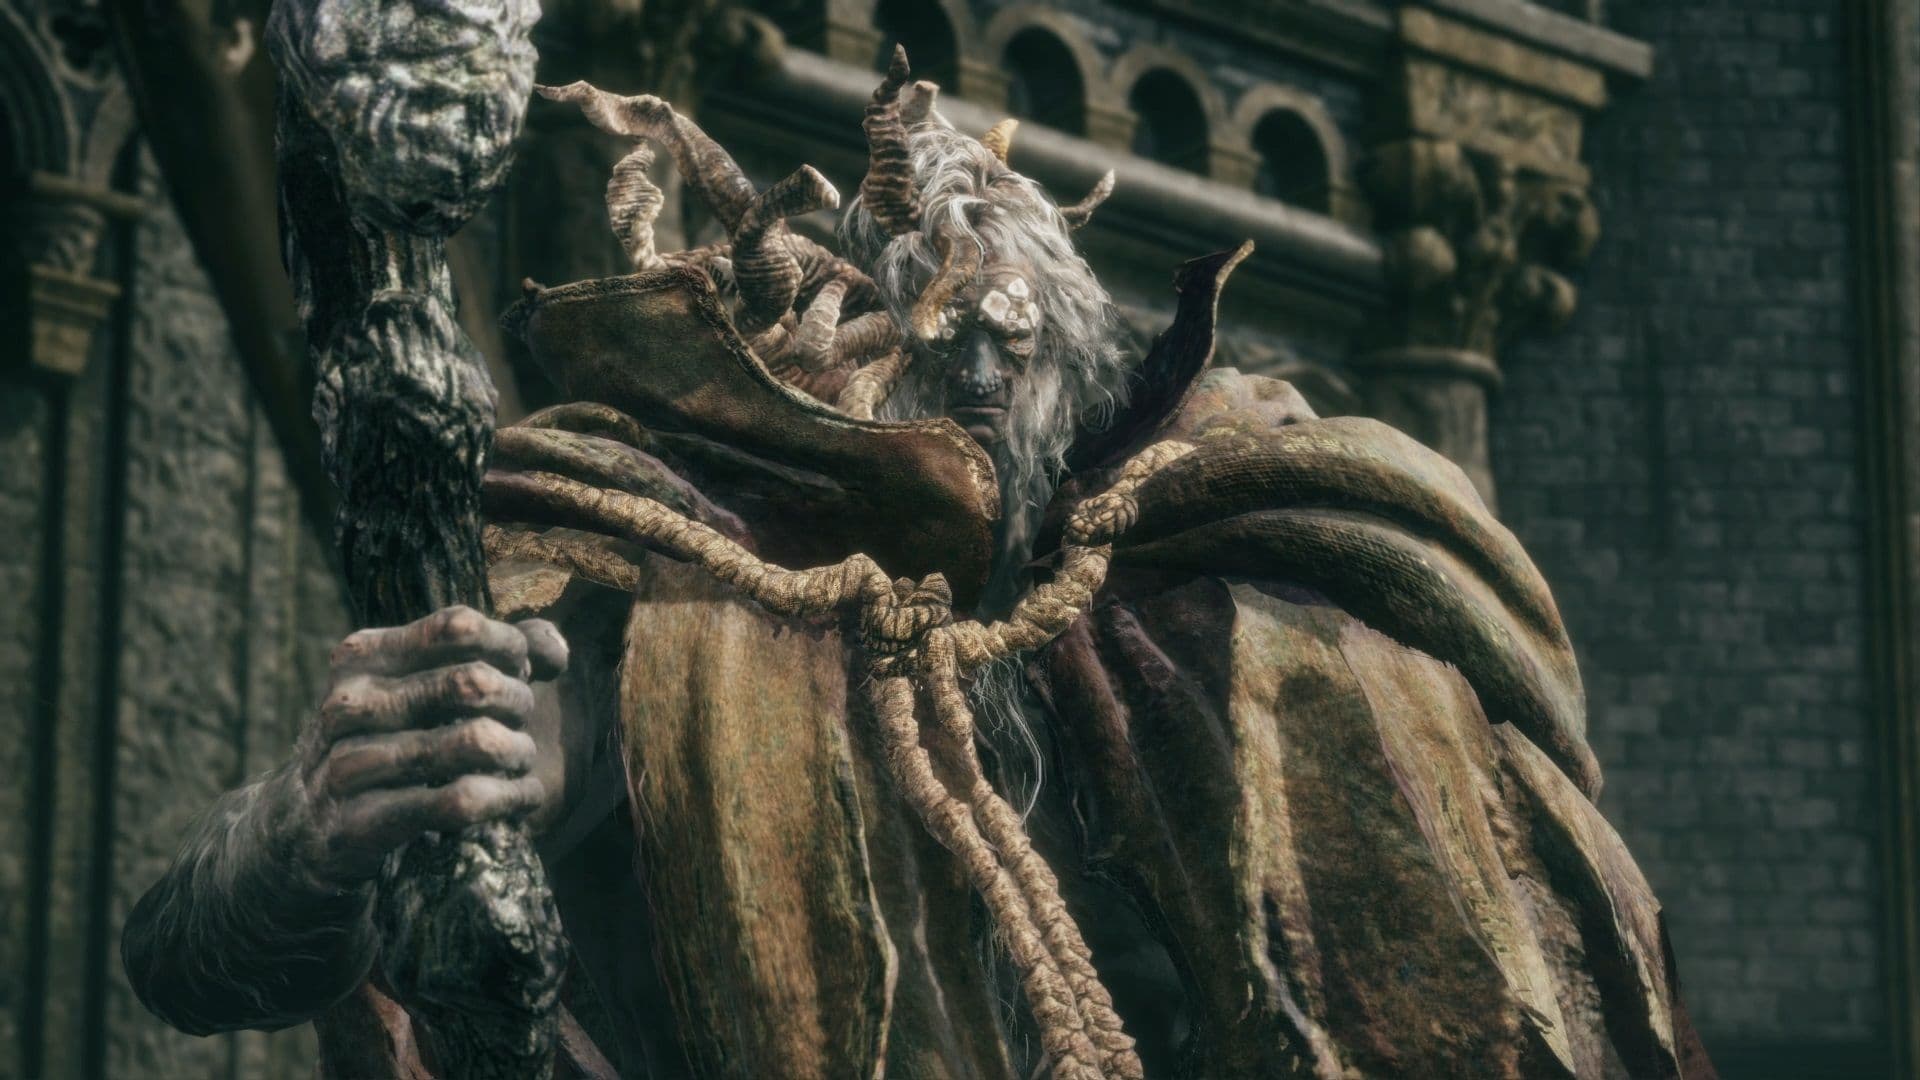
Margit's stance before a heavy attack.
Reading Margit’s Rhythm
Margit’s entire design philosophy is built around one core mechanic: Delayed Attacks. He’ll raise his staff, hold it for an agonizing beat, and swing just as you finish your panic roll. The trick most guides miss is to watch his weapon, not the wind-up. Roll only when the attack commits—when the weapon actually starts moving toward you. This is the single most important lesson for this fight.
Your goal here isn't to deal damage, but to learn the rhythm. Start by staying at mid-range. This lets you see his full animations and react without being caught point-blank in a combo you can't escape.
Phase 1 Attack Patterns and Punishes
Here are the key moves you’ll see in his first phase and exactly how to handle them.
- Staff Swing: This is his bread-and-butter. He’ll chain two or three swings, sometimes from different directions. The timing between swings can vary. Don’t roll spam. Roll back to create space or, with practice, roll through the swing to position yourself at his side.
- Staff Stab: A quicker, forward thrust with his staff. It’s often followed up by a swift dagger combo. The safest response is to roll to your left (his right) to avoid both the initial thrust and the likely dagger follow-up.
- Dagger Throw: When you create distance, he’ll summon glowing, holy daggers and hurl them at you. You can roll sideways just as he flicks his wrist, or simply sprint perpendicular to him to avoid them entirely. This is one of your safest healing windows.
- Tail Swipe: If you circle behind him for more than a second or two, he’ll punish you with a swift 180-degree spin. Always be ready for it when you’re at his back. Roll away from the tail to avoid the hit and reset.
- Leaping Stab: Margit will leap into the air and spear down with his staff. This looks terrifying but is a huge opportunity. As he descends, roll toward him. You’ll end up behind him during his long recovery animation—this is your prime window for one or two solid hits.
Listen for the audio cue. Many of his slower wind-ups, like the big overhead smash, are preceded by a distinct whoosh sound. Let that be your signal to dodge, not the start of the animation.
The Discipline of Phase 1
Your strategy here should be methodical. Bait out an attack, avoid it cleanly, and land one safe punish—maybe two after the Leaping Stab—then immediately back off and regain your stamina. Greed is your worst enemy. This phase is about control. Use your Margit’s Shackle here if you have it; you can activate it twice to pin him to the ground for several free hits, making this phase much shorter.
Trust me, if you master the rhythm of these opening moves, you’ll have the stamina and confidence needed for the much faster second phase. Let’s get you there.
Margit Phase 2: Hammer Attacks and New Combos
The fight changes here. In Elden Ring, Margit the Fell Omen isn't just testing your patience anymore—Phase 2 is where he tests your composure. When his health drops to around 60% HP, he’ll roar and summon a massive, glowing spectral Giant-Crusher hammer. This is your signal: the real fight starts now, and the old rules of Phase 1 no longer apply.

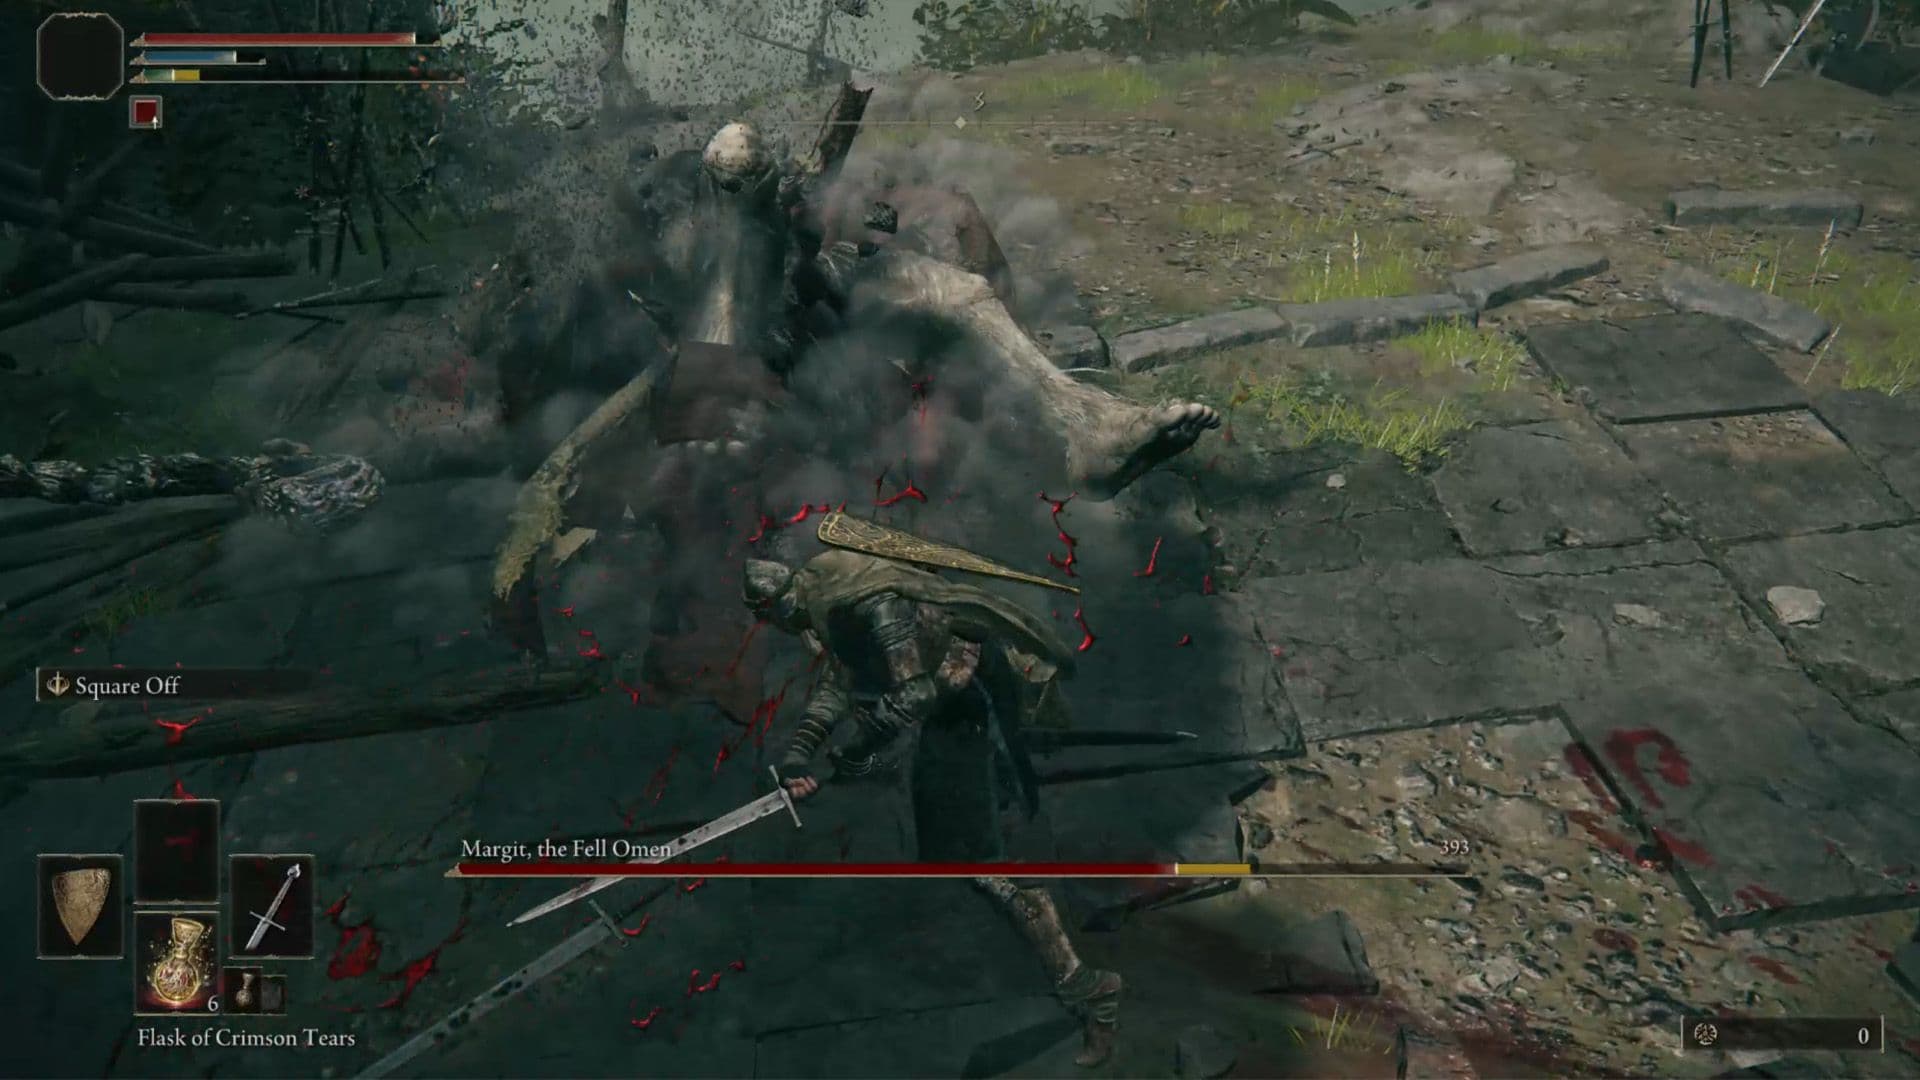
Watch for the spectral hammer during Margit's high-damage combos.
The New Arsenal: Hammer Attacks and Extended Combos
Margit’s new hammer fundamentally changes the rhythm of the battle. The Hammer Slam is his signature Phase 2 move, where he raises his leg high before bringing the hammer down in a devastating smash. The recovery is long, but the hitbox is wide. The trick most guides miss? Don’t roll backward. Instead, [Roll] forward to get behind him as he swings. This puts you in a perfect spot to land a quick counter.
His other new hammer move, the Hammer Leap, is a massive gap-closer. He’ll launch high into the air before crashing down, creating a shockwave. If you panic-roll too early, he’ll track you. Time your dodge for the moment he starts his descent and [Roll] forward as he descends to pass under him and avoid the impact entirely.
The audio cue for the Hammer Slam is distinct—listen for a deep grunt as he raises his leg. That’s your signal to start moving forward for the roll.
Beyond the hammer, his combos get longer and more deceptive. He’ll now weave his staff and sword together. Watch out for the Sword Spin, where he summons the Carian Knight Sword and spins up to five times. The safest response is to [Sprint] away to create distance and wait for the flurry to end. Trying to dodge through it is a gamble you’ll usually lose.
Adapting Your Strategy for Phase 2
This phase punishes greed harder than ever. The One-Hit Discipline rule from Phase 1 becomes your law. After a big, committed attack like the Hammer Slam, you might have time for two hits. But the safest, most consistent path to victory is to land one hit after heavy recovery then reset to neutral. Back off, let your stamina recover, and wait for the next opening. Getting greedy is how you eat a hammer to the face.
His old moves also get new, dangerous follow-ups. The Dagger Retreat is a classic example: he’ll do a quick slash and leap back, but now he’s more likely to instantly follow up with another attack. When you see the back-jump, be ready to [Roll] twice in succession to avoid the thrown dagger and any potential chase.
⚠️ Watch out: His aggression spikes here. Healing windows are shorter. Only drink your Flask after a fully committed attack animation, like the end of his Sword Spin or when he’s focused on a summoned ally.
If you’ve struggled here before, you’re not alone—this phase trips up everyone on their first attempt. The key is to stay calm, respect his new tools, and stick to your disciplined punishes. Master the dodge into his Hammer Slam, create space for the Sword Spin, and your patience will be rewarded with a clear shot at victory.
Best Build Strategies for Defeating Margit
This is where your build truly shines. Margit is a brutal teacher, but in Elden Ring, he’s also a canvas for showcasing your character's unique strengths. Whether you’re a heavy-hitting knight, a cunning spellcaster, or a bloodthirsty rogue, there’s a path to victory tailored to your playstyle.
Preparing for the Margit encounter
Melee Build: Break His Stance
For the warriors who like to get up close, your goal is to overwhelm his posture. Your most powerful tool is the heavy jump attack (sprint forward and press [R2]). This attack deals massive poise damage, directly contributing to the Stance Breaking mechanic. Land enough of these (along with charged heavy attacks) and you’ll see him stagger, dropping to a knee and opening himself for a critical hit with [R1].
The safest time for a jump attack is right after dodging his big, committed moves like the Hammer Slam. Dodge towards him, then immediately leap into the air for a punishing counter.
Magic Build: Control the Range
As a spellcaster, your priority is space. Summon your Spirit Ashes (like the Lone Wolf Ashes or Spirit Jellyfish Ashes) to hold his attention, then unleash a steady barrage of spells. Glintstone Pebble is your reliable workhorse for efficiency, while Glintstone Stars can track him as he moves. Keep a shield in your off-hand for emergencies, and always be ready to reposition when he turns his aggression back on you.
Bleed Build: Proc the Hemorrhage
If you’ve found weapons like the Reduvia dagger or Uchigatana, you have a secret weapon. Margit is susceptible to Hemorrhage. Each hit builds up an invisible bleed meter; when it fills, it triggers a massive burst of percentage-based damage, chunking his health bar regardless of your weapon’s base power. Be aggressive, land quick combos, and watch for the visceral blood spray effect that signals a successful proc.
The Art of the Parry
For the confident duelist, Parrying is the ultimate display of skill. Equip a small or medium shield and press [L2] just as his staff attacks are about to land. Most of his Phase 1 staff swings are parryable, but beware: his magic dagger and Phase 2 weapon attacks are not. The timing is tight, and it requires two successful parries to break his stance for a riposte. It’s high-risk, but the payoff in control and damage is unparalleled.
No matter which path you choose, the core lesson remains: patience and precision beat brute force. Pick the strategy that fits your Tarnished, master its rhythm, and you will extinguish the Fell Omen’s flame.
Margit the Fell Omen Rewards and Drops in Elden Ring
The hardest part is over. As Margit, the Fell Omen, dissolves into golden mist and you catch your breath, the true rewards for conquering Elden Ring's first major gatekeeper are finally yours—both for your character and your adventure.
Beating Margit unlocks the path to Godrick the Grafted's throne room.
Immediately upon victory, you'll receive two tangible spoils. First is the Talisman Pouch, a key item that permanently grants you one additional talisman equip slot. This is a huge boost to your build's flexibility, allowing you to equip a third talisman from your inventory to enhance your stats, damage, or defenses. Second is a hefty 12,000 Runes—the standard New Game (NG) reward. This is a perfect windfall to invest in several character levels or to fund significant weapon upgrades at the blacksmith, solidifying your power for the challenges ahead.
With Margit defeated, the path forward literally opens up. The massive gates behind his arena now grant access to the Stormveil Castle Entrance. This is your gateway into Elden Ring's first legacy dungeon, a sprawling, multi-level fortress filled with new enemies, treasures, and ultimately, the demigod Godrick the Grafted. Trust me, the sense of progression as you step through those gates for the first time is one of the game's best moments.
Don't rush into Stormveil Castle immediately. Use your new 12,000 Runes. Return to a Site of Grace, level up your Vitality and primary damage stat, or upgrade your weapon. Being stronger makes exploring the castle's dangerous halls much more manageable.
Your victory also unlocks a critical piece of the world's lore. Margit the Fell Omen is later revealed to be a projection of Morgott the Omen King, the veiled ruler of Leyndell, Royal Capital. This boss was essentially a test sent by a distant king to “extinguish thy flame of ambition.” Understanding this adds a deeper layer to the encounter and foreshadows a much more significant battle waiting for you much later in your Elden Ring journey.
You’ve earned your passage. With a Talisman Pouch to strengthen your build, a pile of Runes to invest, and the gates of Stormveil Castle standing open, you’re officially ready to leave the pastures of Limgrave behind and step into the heart of the conflict. Well done, Tarnished.