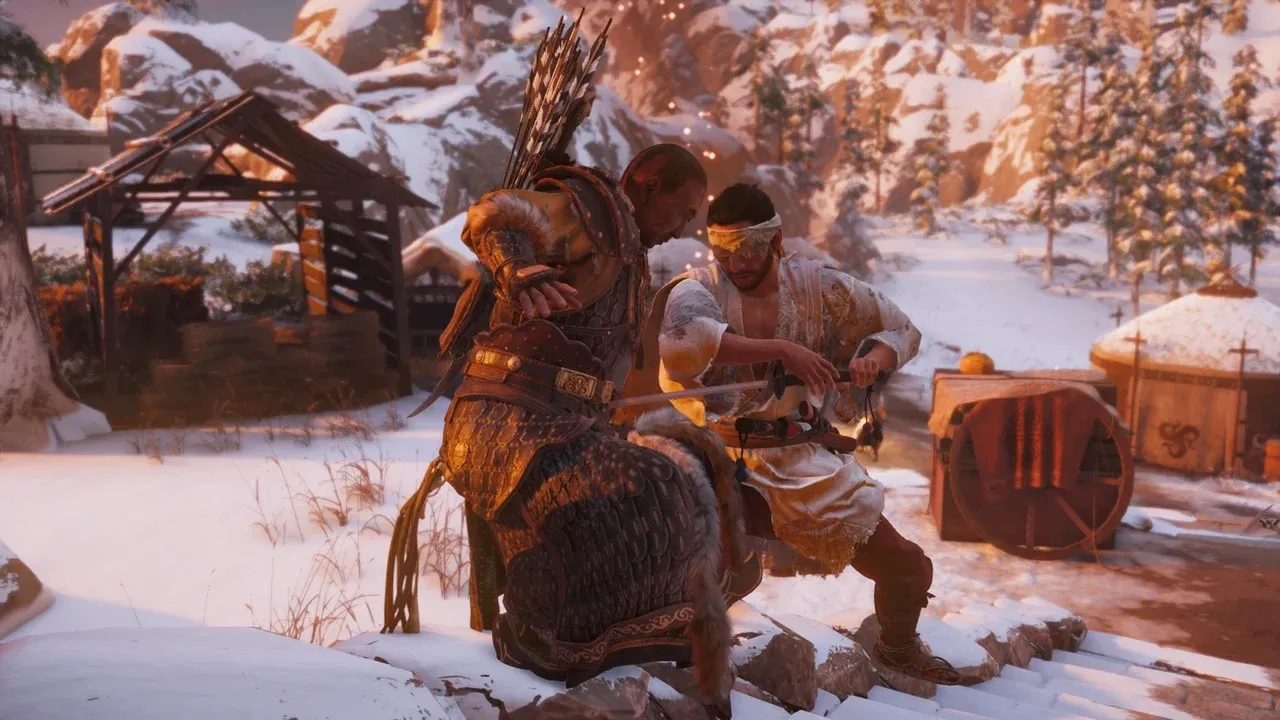
How to Earn Technique Points in Ghost of Tsushima
Your adventure in Ghost of Tsushima begins with a simple goal: become strong enough to drive the Mongols from your home. The key to your power lies in Technique Points, the currency you spend to unlock devastating new skills. This guide will show you exactly how to earn them efficiently and where to spend your first precious points to build an unstoppable foundation.
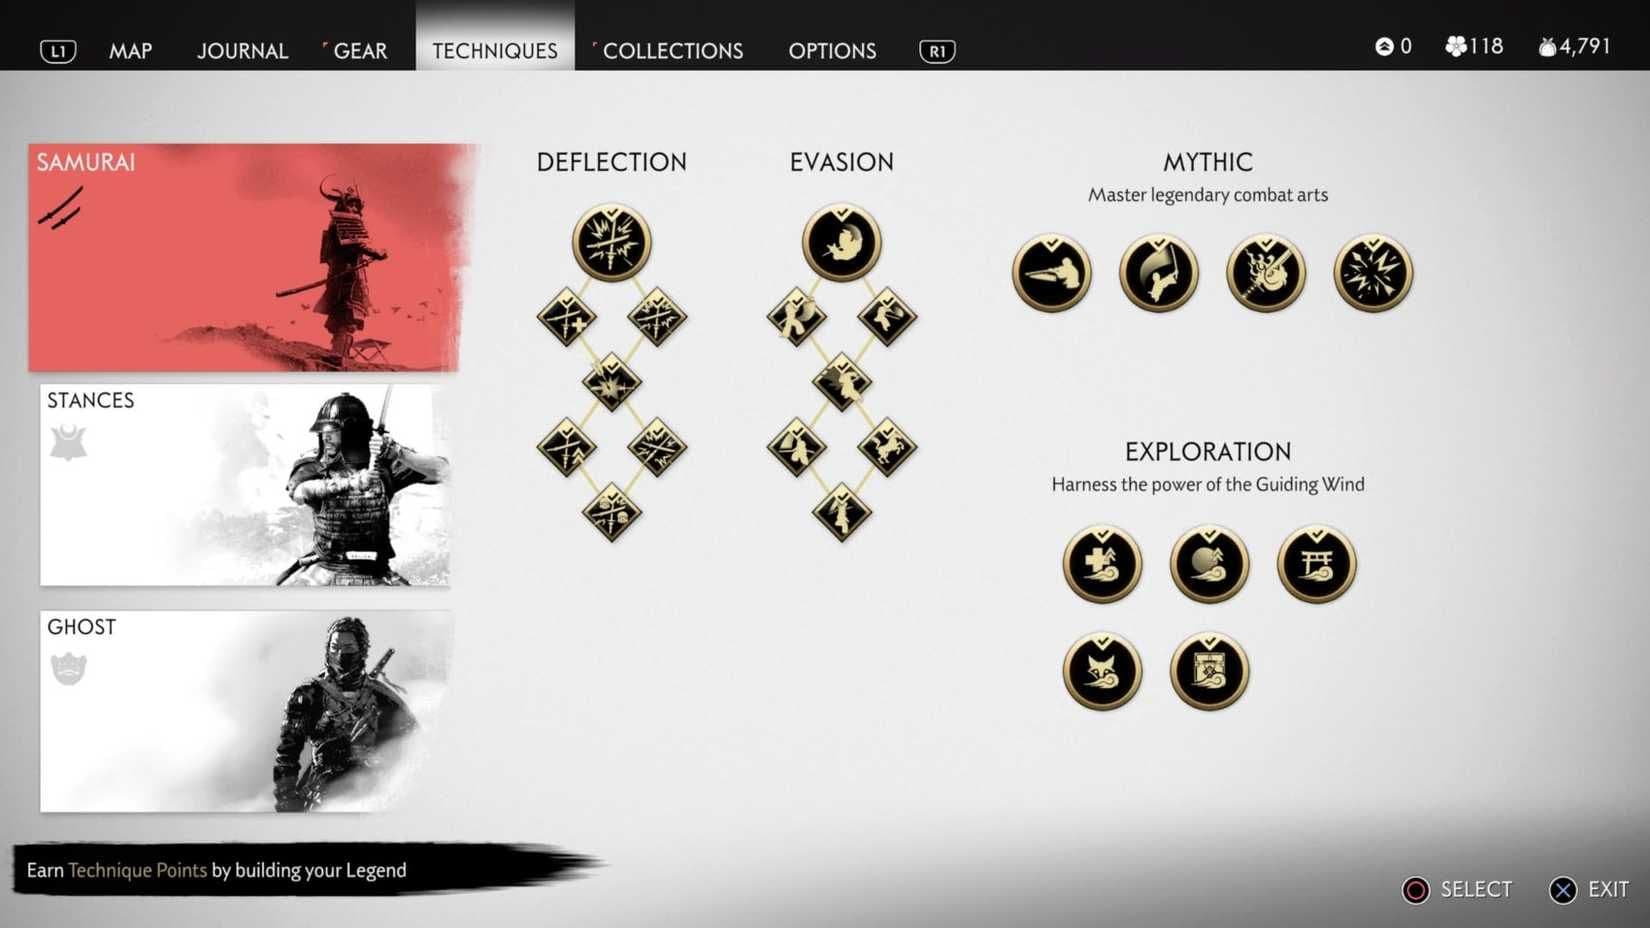
The technique menu allows players to spend points on various combat and exploration skills.
The Core Progression Loop: Legend Rank
Everything in Ghost of Tsushima revolves around your Legend Rank. Think of it as your overall reputation and experience level. You increase your Legend by completing activities across Tsushima:
- Main Story Quests (Tales of Tsushima)
- Side Quests (Tales of Tsushima)
- Mythic Tales
- Liberating Mongol territories and winning battles
As your Legend grows, a bar fills on your screen. Each time it fills completely, you earn a Technique Point. It’s the game’s primary progression system, so your main focus should always be on advancing your Legend through quests and combat.
Fast-Track Your Early Game
To get the ball rolling, prioritize these two critical early missions:
- Complete 'The Warrior's Code': This unlocks Focused Hearing, a vital stealth tool that lets you listen for nearby enemies.
- Complete 'The Tale of Sensei Ishikawa': This grants you the ability to use a bow, opening up ranged combat and making many encounters far more manageable.
Trust me, tackling these two quests first removes major gameplay limitations and sets you up for success. They’re your gateway to the full Ghost of Tsushima experience.
A Pro-Tip for Mastering Combat
Here’s a trick most guides miss that will save you hours of grinding. When you encounter a Mongol camp, don’t just charge in. First, find the camp’s leader—often patrolling or giving orders.
Before engaging, stealthily observe the Mongol leader. If you watch them undetected for a short time, you’ll gain 2 stance points instead of 1 when you defeat them. This is the fastest way to unlock the powerful combat stances you’ll need to counter different enemy types.
With this knowledge, you’re ready to start your journey. Focus on building your Legend, complete those first two key tales, and use observation to master stances quickly. Your Technique Points will start flowing, and you'll be well on your way to becoming the ghost Tsushima needs.
Best Samurai Deflection Upgrades in Ghost of Tsushima
Mastering the blade is the heart of Ghost of Tsushima, and your first major combat decision is choosing a defensive style. While dodging has its place, committing to the Samurai > Deflection skill tree early on is the most practical path to survival, transforming you from a reactive warrior into an unbreakable force.
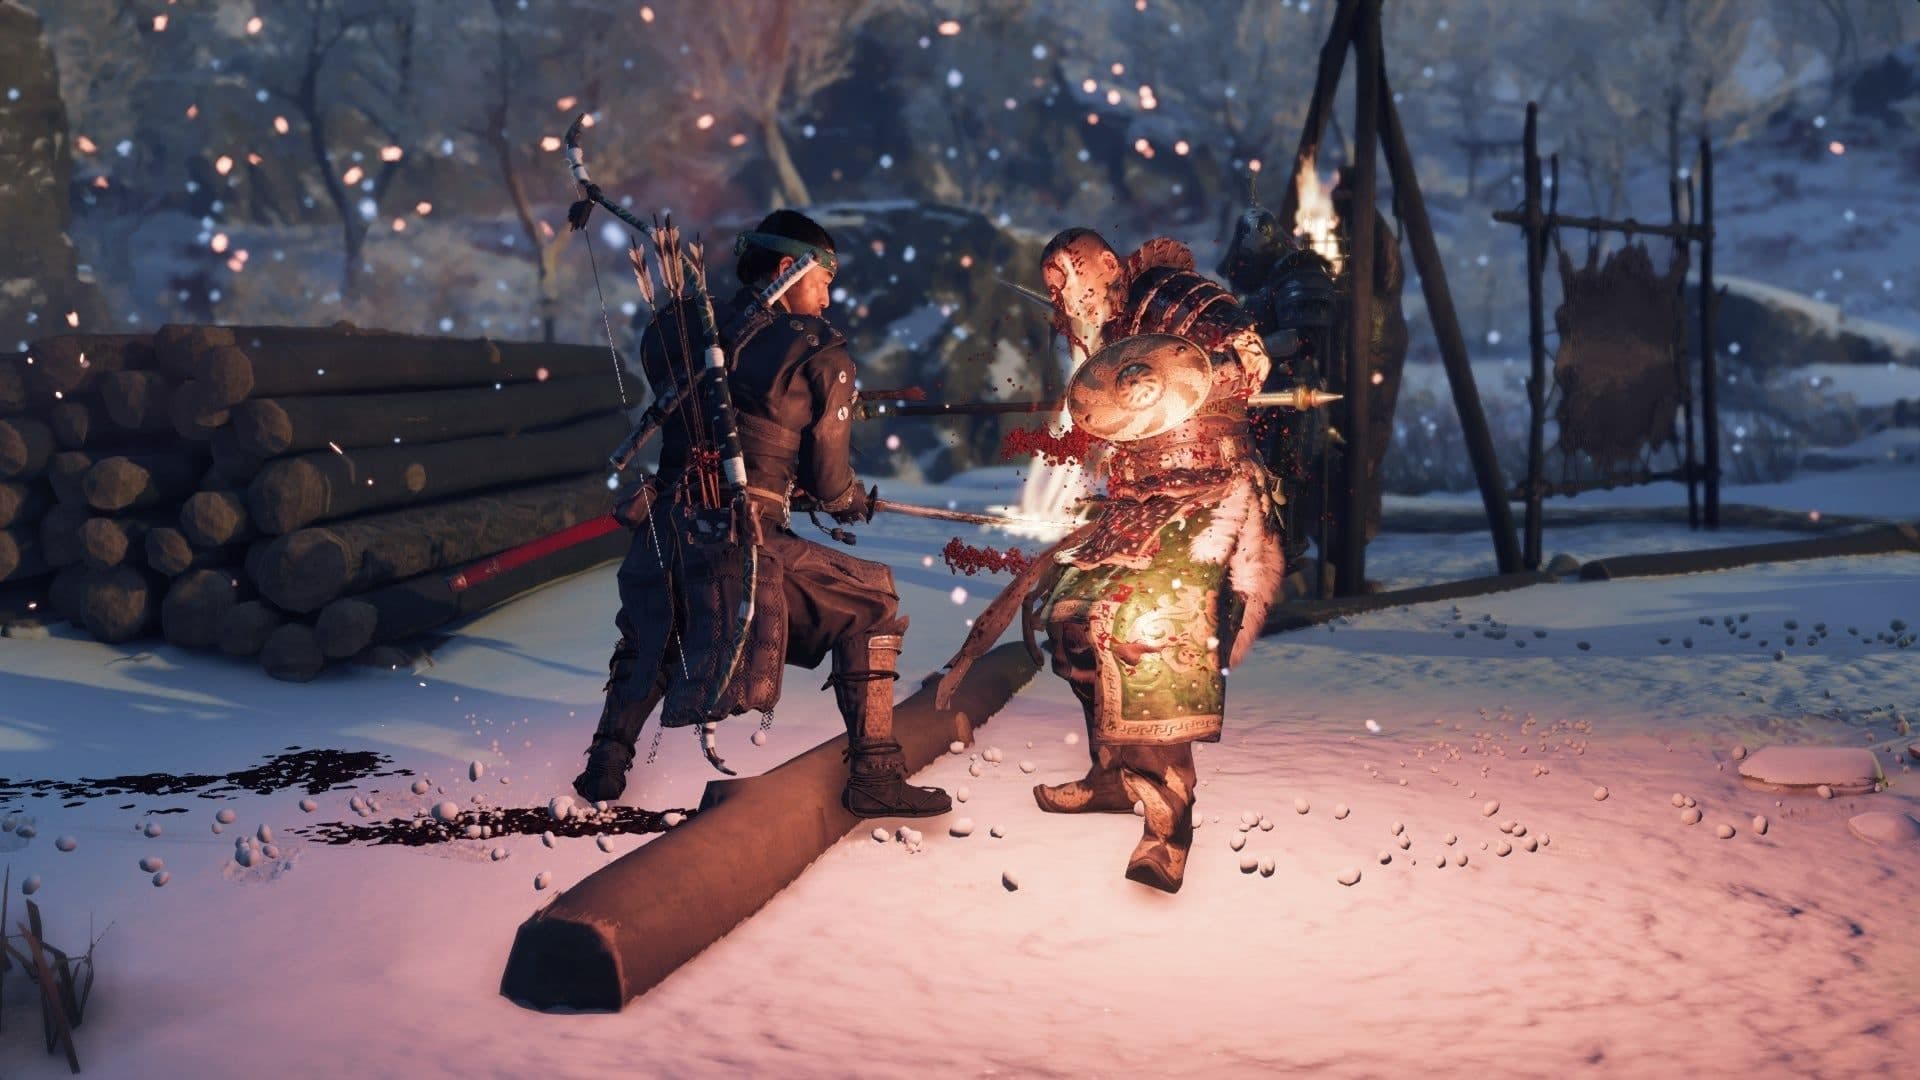
Mastering the parry is the first step toward unlocking advanced deflection techniques.
Here's the core philosophy: in Ghost of Tsushima, a perfect defense is the deadliest offense. By investing your first four Technique Points into the Deflection tree, you'll build a foundation that works against every enemy type from the very first Mongol camp to the final duel.
Your Deflection Priority List
Your first and most important purchase is Perfect Parry. This skill unlocks the core timing mechanic: press [L1] at the exact moment an enemy's blue-glint attack lands. Successfully doing so slows time, allowing you to unleash a devastating and often lethal counterattack. This isn't just a skill; it's the rhythm of combat you need to internalize.
Listen for the distinctive sword whoosh just before impact—the audio cue is often more reliable than the visual flash for nailing the Perfect Parry timing.
Next, grab Unyielding Sword Parry. This passive upgrade is a game-changer, as it allows you to parry the wide, sweeping blue-glint sword attacks that would normally force you to dodge. This turns dangerous, unblockable strikes into golden opportunities for a Perfect Parry counter, giving you control over fights against swordsmen.
Your third point should go to Deflect Arrows. There's nothing more frustrating than being locked in a tense sword duel only to be interrupted by a distant archer. This skill solves that: simply hold [L1] while moving to automatically block incoming arrows. It lets you focus on the enemies in front of you without constantly breaking your guard to dodge projectiles.
Finally, invest in Unyielding Spear Parry. Spear-wielding Mongols are some of the trickiest early-game foes with their long reach. This passive skill mirrors Unyielding Sword Parry, allowing you to parry their thrusting blue-glint attacks. Once you have this, no common enemy type has an attack you can't turn against them.
With these four skills, you've built an impenetrable defense. You can stand your ground against any combination of swords, spears, and arrows, creating a flow of combat where every enemy attack is a chance for you to strike back. You're no longer just surviving encounters—you're dominating them.
Best Samurai Evasion and Stance Upgrades
In Ghost of Tsushima, mastering movement and breaking through enemy guards is the key to turning from a reactive defender into an unstoppable offensive force. While the previous section covered the essential Deflection tree, your next priority should be the Evasion tree and upgrading your Stances—these skills let you control the battlefield and dismantle any foe.
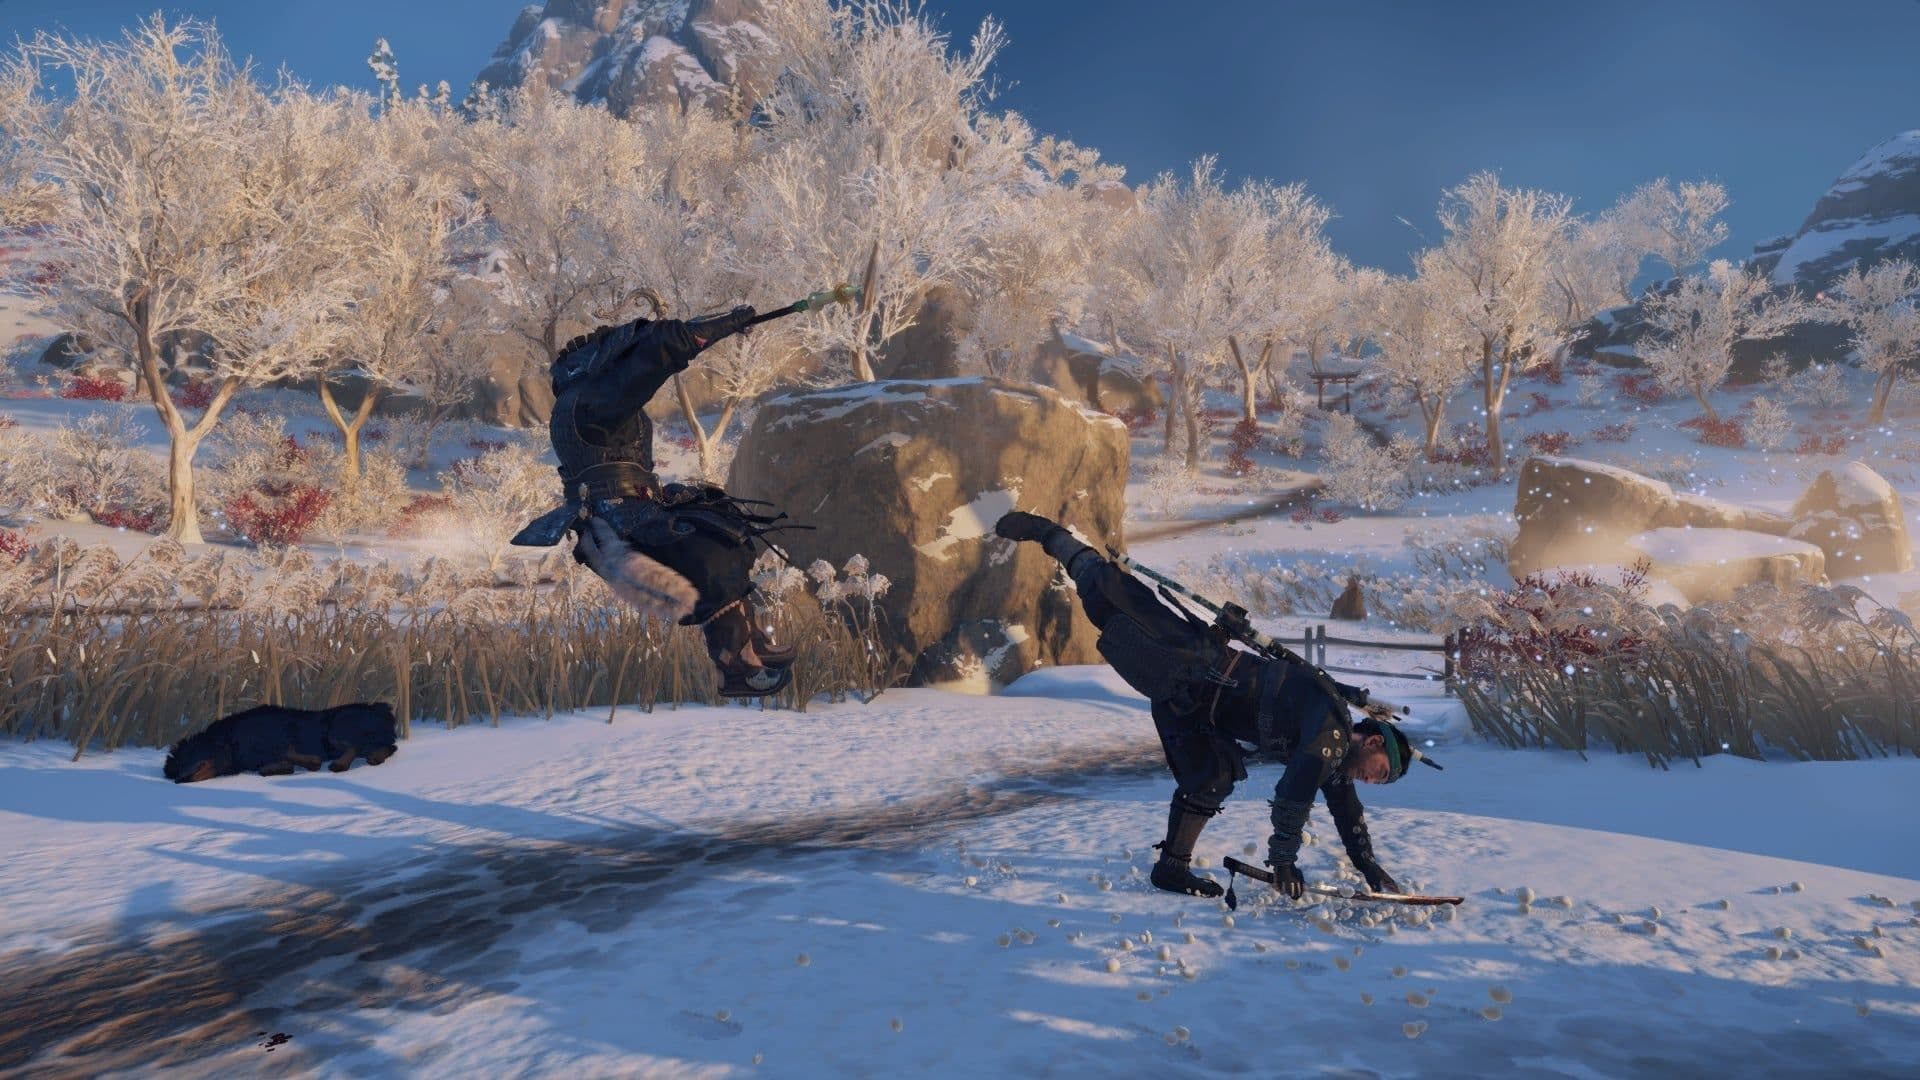
Upgrading stances like Wind Stance allows for powerful guard-breaking kicks.
Your first major choice in the Samurai tree is committing to either the Deflection or Evasion path. If you prefer aggressive, mobile combat, the Evasion tree is your home. The foundational skill here is Roll. Found in the Samurai > Evasion branch, you unlock it by double-tapping [Circle] to evade attacks and reposition quickly. Trust me, this isn't just a dodge—it’s your escape button from perilous combos and a way to instantly flank a troublesome archer.
Don’t split your points early. Choose either Deflection or Evasion and commit to it. Spreading yourself thin means you’ll miss out on the high-level moves that define your playstyle.
However, evasion alone won't win fights—you need to break enemy defenses. This is where Stance upgrades become non-negotiable. Each of the four stances is designed to shatter a specific enemy type's guard (their white "stagger" bar), and you must deplete it before you can deal real health damage.
Start with the Water Stance, perfect for shielded brutes. Its key upgrade is Flowing Strikes. In the Stances > Water tree, you hold [Triangle] and then tap it to unleash a relentless five-hit combo that rapidly depletes a shield bearer’s stagger bar. Once you have this, shielded enemies go from being roadblocks to punching bags.
Next, prioritize the Wind Stance to handle spear-wielding soldiers, who are some of the trickiest foes you’ll face. The Spear Defense skill in the Stances > Wind tree is a passive game-changer. Once unlocked, it allows you to parry spear attacks with any light or heavy attack, giving you a safe, consistent way to open these dangerous enemies up for a counter.
Finally, don’t neglect your starting Stone Stance for dueling swordsmen. Upgrade it with Puncture. In the Stances > Stone branch, you hold [Triangle] to deliver two powerful piercing strikes that deal high damage and excel at breaking through a basic swordsman’s block.
⚠️ Watch out: Always try to stealthily observe a Mongol leader in a camp before engaging. This earns you two stance points instead of one, dramatically speeding up your mastery.
With a focused investment in Evasion for mobility and key Stance upgrades for guard breaking, you’ll have the tools to confidently engage any enemy the Mongol horde throws at you. You’re no longer just surviving encounters—you’re dictating them.
Best Ghost Weapon Upgrades for Early Combat
Your journey across Tsushima demands more than a sharp sword and a steady bow—sometimes, you need the right tool to break the enemy's formation before your blade even clears its sheath. In Ghost of Tsushima, your Ghost Weapons are that ace up your sleeve, turning overwhelming odds into manageable duels. While you’ll unlock several over time, two stand out as your most powerful early-game investments for crowd control.
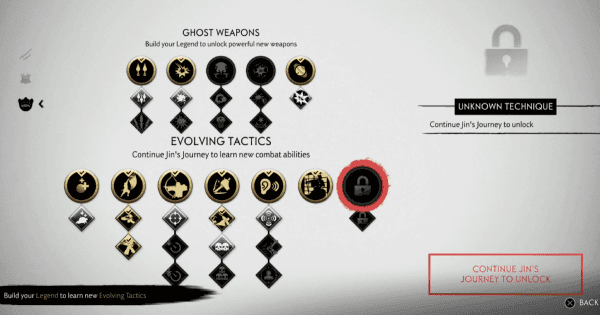
The Ghost Weapons skill tree is essential for unlocking early crowd control tools.
First, the Kunai. Unlocked via Legend Rank, these throwing knives are your go-to panic button. Select them with [R2] + [Left D-pad] and tap [R1] to throw. Their immediate power isn't just in damage; they instantly break the guard of two enemies at once, creating a perfect opening for you to rush in and finish them. This is invaluable when you’re surrounded by shielded foes or a charging brute.
Shortly after, you’ll unlock the Sticky Bomb. Also selected via the Ghost Weapon menu, you simply tap [R1] to throw this explosive. It sticks to the first enemy or surface it hits, detonating after a short delay to stun multiple enemies within its blast radius. This is your premier crowd-clearer for breaking up tight groups of Mongols.
Don’t sleep on the Guarded Throw skill in the Ghost > Ghost Weapons tree. This passive ability prevents the Sticky Bomb from damaging you on a misthrow, letting you use it aggressively without fear of blowing yourself up.
Your other key upgrade path leads to the Firecracker. This isn’t a separate weapon but an upgrade for the Wind Chime. Once you invest a point into it, your Wind Chime transforms, allowing you to lure multiple enemies to a single spot with its loud report. It’s the perfect setup for a Chain Assassination or a well-placed Sticky Bomb.
Here’s your early-game priority list for Ghost Weapon dominance:
- Unlock and use the Kunai as soon as it's available. Its two-target stun is a game-changer.
- Unlock the Sticky Bomb next for area control.
- Immediately grab Guarded Throw to use Sticky Bombs safely.
- Upgrade to the Firecracker to manipulate enemy positioning for your big plays.
With the Kunai to shatter defenses and the Sticky Bomb to scatter formations, you’ll control the flow of every skirmish. Let’s go turn the tide.
Best Evolving Tactics and Archery Skills
As you embrace the Ghost’s path in Ghost of Tsushima, your tactics must evolve beyond the sword. This is where you learn to control the chaos—thinning the herd from the shadows before a blade is even drawn. The Evolving Tactics and Archery skill trees in the Ghost menu are your keys to mastering this hybrid playstyle, turning you into an unstoppable force of precision and fear.
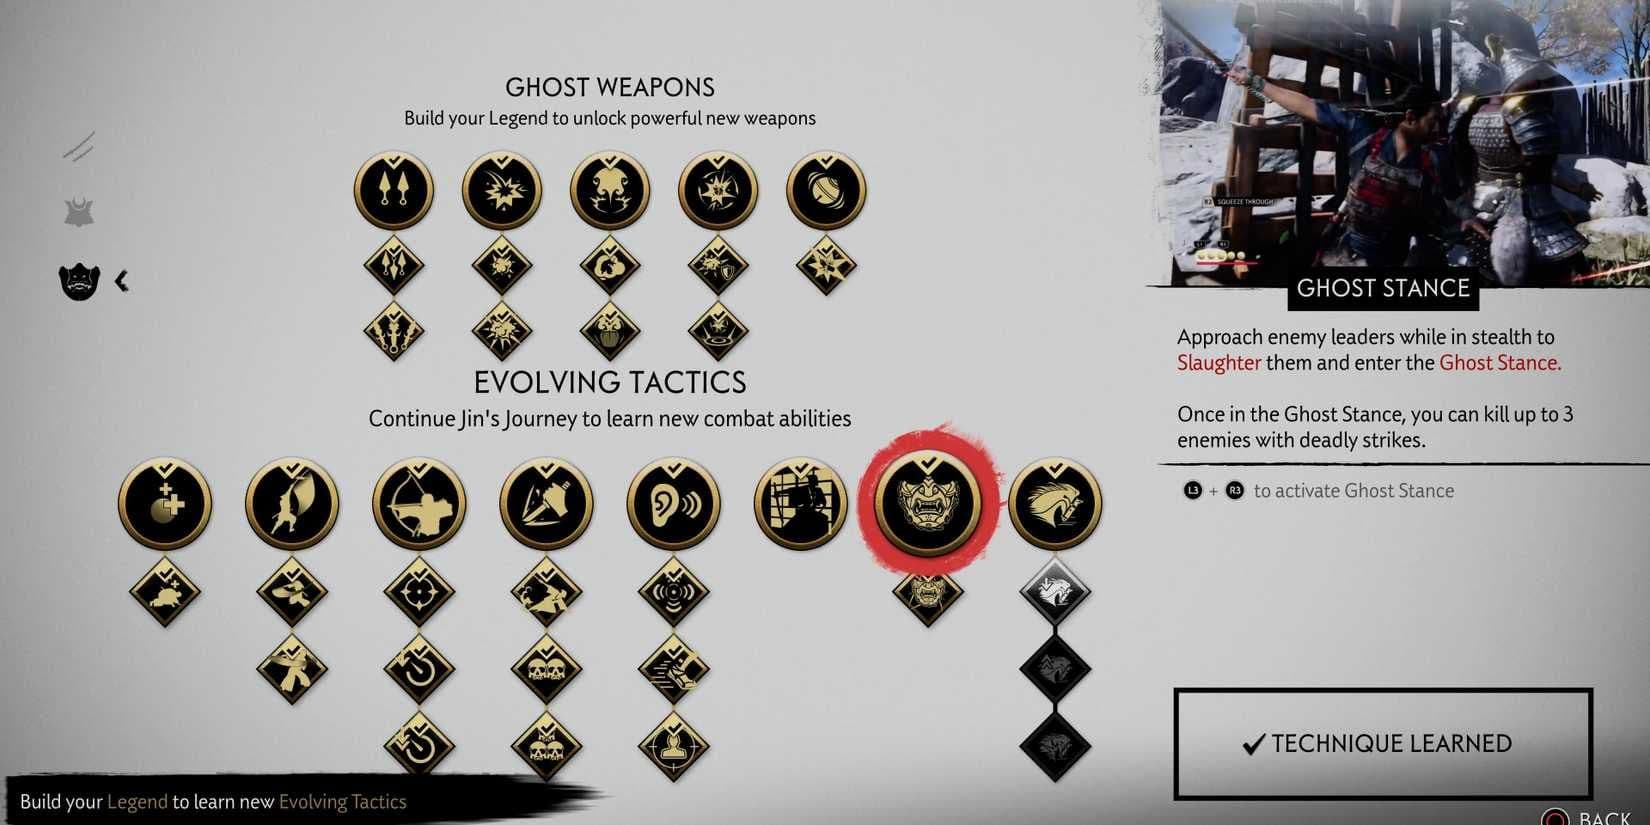
Prioritizing Evolving Tactics allows for more efficient stealth kills and tactical advantages.
Core Evolving Tactics: Your Stealth and Survival Toolkit
Your first major goal here is to unlock the Standoff Streak. This skill is a game-changer for starting any open combat on your terms. By holding [Triangle] as you approach a group, you can challenge them to a standoff. With the basic skill, you can kill one enemy; upgrading it to Improved Standoff Streak lets you eliminate up to three in a row. Trust me, winning these standoffs is the most efficient way to start clearing outposts and it fully restores your Resolve, setting you up perfectly for the fight ahead.
Next, grab Chain Assassination in the Assassination tree. This lets you dispatch multiple enemies in quick succession from stealth. After your first takedown, simply tap [Square] when near another foe to instantly vanish and reappear for a second kill. Fully upgraded, you can chain up to three targets. This skill is essential for ghosting through camps undetected and pairs incredibly well with Smoke Bombs to reset enemy awareness.
For a devastating opener, use a Standoff Streak to thin the ranks, then throw a Smoke Bomb into the remaining group. You can often chain assassinate two or three stunned enemies before the smoke even clears.
Don’t overlook Safe Landing. For just one Technique Point, pressing [Circle] just before you hit the ground will let Jin roll out of any fall, mitigating all damage. This isn’t just a nice-to-have—it’s a total game-changer for exploration. You can leap from cliffs, temple rooftops, or any vantage point to escape or reposition without a second thought.
Finally, there’s Iron Will. This powerful last-resort skill lets you revive yourself once per encounter when you’re downed, as long as you have the Resolve. Press [Down D-pad] to consume 2 Resolve and get back in the fight. Here’s the trick most guides miss: Iron Will is a trap if you get it too early. With a small Resolve pool, using it leaves you with almost no health and no Resolve to heal. Hold off on this until you have at least 5 or 6 Resolve points to make it a reliable safety net instead of a desperation move.
Mastering the Bow with Archery Skills
Your bow is more than a tool; it’s a tactical weapon that can decide battles before they begin. The single most important skill here is Concentration. While aiming your bow, press [R3] to slow time, making it trivial to line up perfect headshots. This ability transforms the Half Bow from a distraction into a primary weapon. Once you unlock Tadayori’s Armor from the "The Legend of Tadayori" Mythic Tale, you create a devastating loop: the armor restores your Concentration meter on headshots, letting you chain slow-motion kills indefinitely.
⚠️ Watch out: While the Longbow you get from the "The Curse of Uchitsune" mythic quest is powerful enough without upgrades, investing in its range and zoom turns it into a true sniper rifle. Save those resources for after your Half Bow is upgraded.
With these skills, you’re no longer just a samurai reacting to threats—you’re a ghost who dictates the terms of every encounter. Mix a Standoff Streak opener with Chain Assassination clean-up, and use Concentration to pick off stragglers. You’re now ready to liberate Tsushima with ruthless efficiency.
Best Early Game Armor Sets and Where to Find Them
Your armor is more than just fashion in Ghost of Tsushima—it’s a combat philosophy. The right set in Act 1 can shift the entire Mongol war in your favor, turning desperate defenses into decisive victories. Here are the sets that will carry you through the first act and beyond.
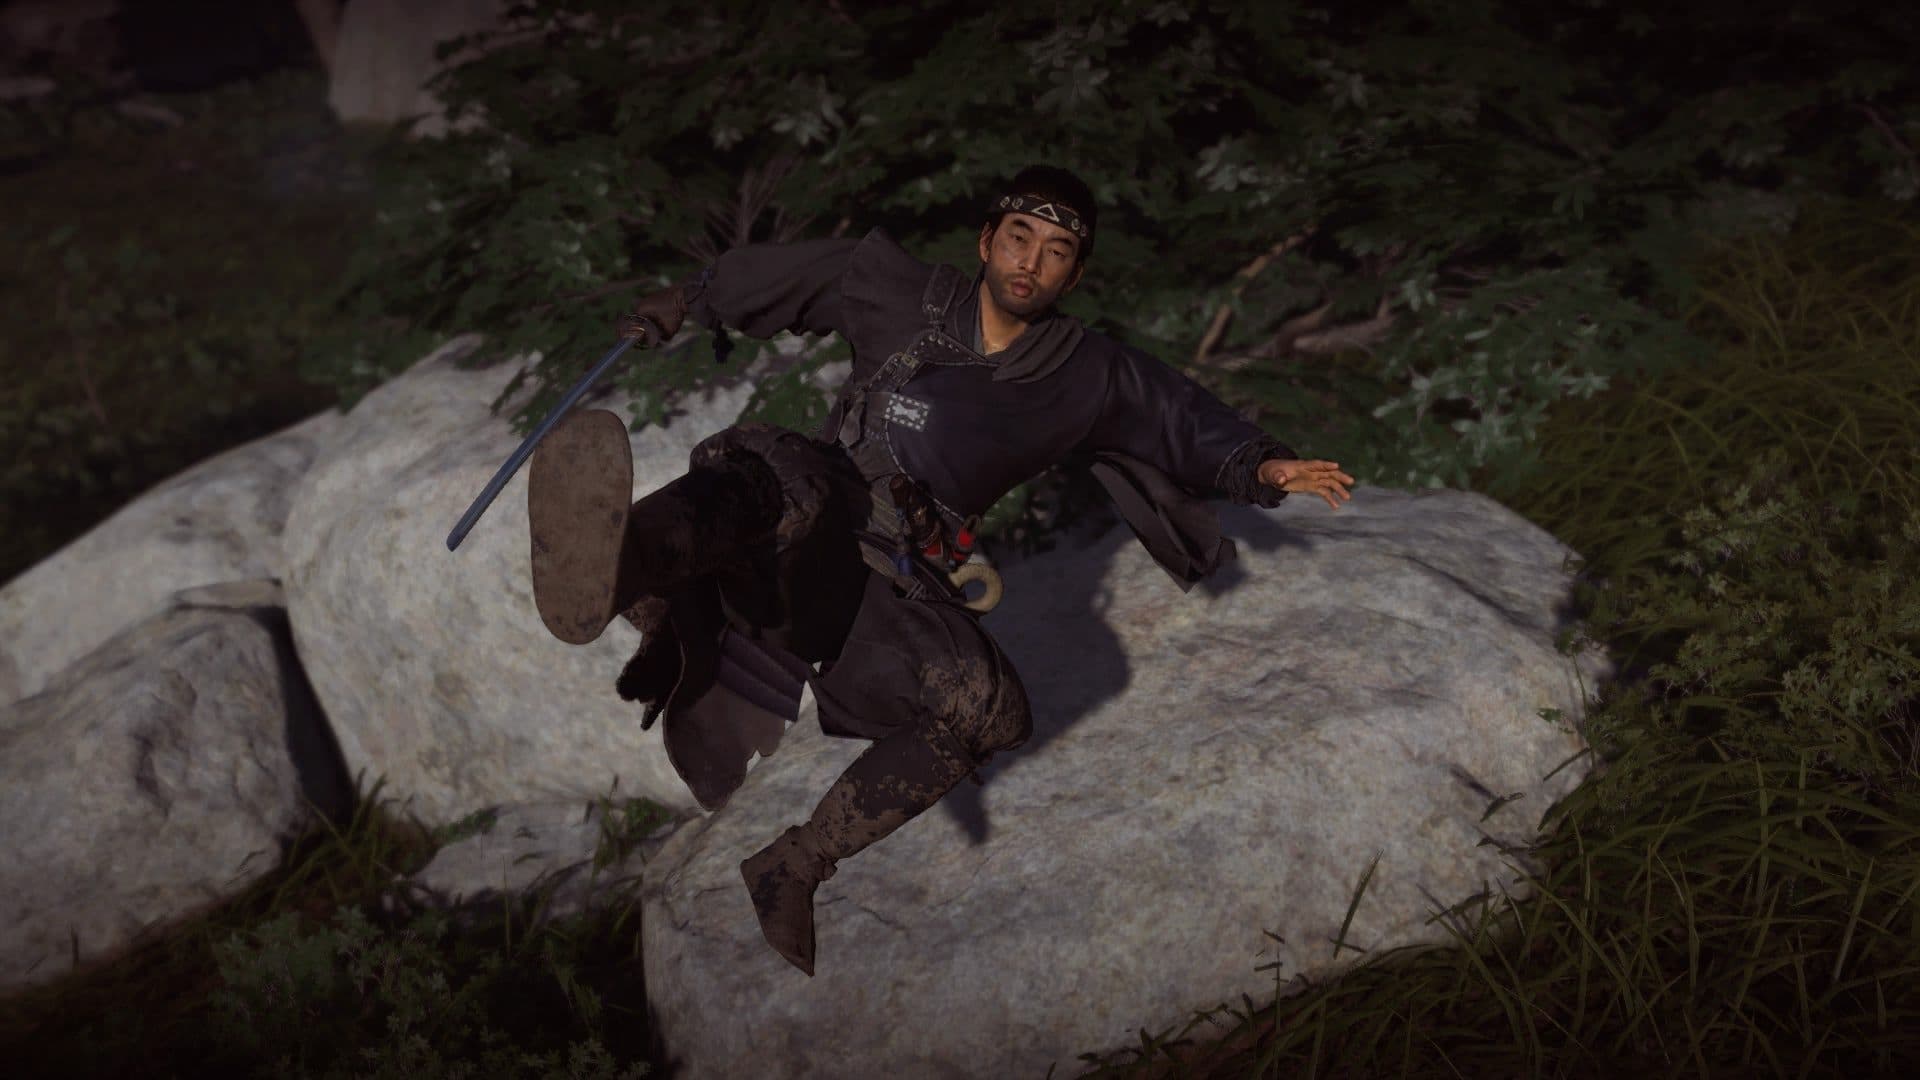
Tadayori's Armor is a top-tier choice for early game archery builds.
The Essential Combat Armors
First up, you’ll want to grab the Samurai Clan Armor. You earn this powerhouse during the main quest 'The Tale of Lady Masako' in Act 1. This set is your tank, offering a massive health boost and significant Resolve regeneration whenever you take damage. It’s perfect for players who prefer to stand their ground and trade blows, as the health and resolve gains let you stay in the fight longer.
For a more aggressive, stealth-tinged approach, don’t miss the Ronin Attire. You get this from Ryuzo during the 'Blood on the Grass' mission in Act 1. This set offers a massive melee damage boost and reduces enemy detection speed by 30%, making it ideal for players who mix direct swordplay with opportunistic stealth. Trust me, this damage bonus is a lifesaver when your katana isn’t fully upgraded yet.
The Ronin Attire is also required for a late-game mission, so upgrading it early pays off twice.
Specialized Sets for Archery and Exploration
If you find yourself relying on your bow, make 'The Legend of Tadayori' Mythic Tale in Act 1 your next priority. Completing it rewards you with Tadayori's Armor, the undisputed best set for archers in Ghost of Tsushima. It dramatically boosts your arrow reload speed and extends the duration of the Concentration slow-motion ability, letting you pick off entire camps from a distance.
For uncovering every secret Tsushima has to offer, buy the Traveler's Attire from any merchant for 0 supplies. This set is your exploration workhorse—it slowly defogs the map as you travel and makes your controller vibrate when you’re near collectibles like Records or Mongol Artifacts.
⚠️ Watch out: Don’t fully upgrade the Traveler’s Attire. The increased detection range can make pinpointing collectibles frustratingly vague.
The Stealth Specialist
Finally, for the pure stealth enthusiasts, there’s the Fundoshi. This unique armor is your reward for finding all 18 Hot Springs scattered across Izuhara. Its singular perk makes running and sprinting completely silent and reduces enemy detection speed, perfect for ghosting through camps unseen. Just note it can’t be upgraded.
With these five armor sets—Samurai Clan for tanking, Ronin for aggressive hybrid play, Tadayori for archery, Traveler for exploration, and Fundoshi for stealth—you have a tailored solution for every challenge Act 1 throws at you. Equip wisely, and you’ll dominate the Mongol invasion.
Essential Early Game Charms and Locations
In Ghost of Tsushima, your power isn't just measured by your katana's edge—it's also woven into the charms you collect from sacred Shinto shrines. These powerful passives can transform Jin's survivability and damage output, and grabbing the right ones early makes the liberation of Tsushima feel significantly smoother. Forget the ones from side quests for now; the best charms are found at shrines, and they’re well worth the brief platforming puzzles to reach them.
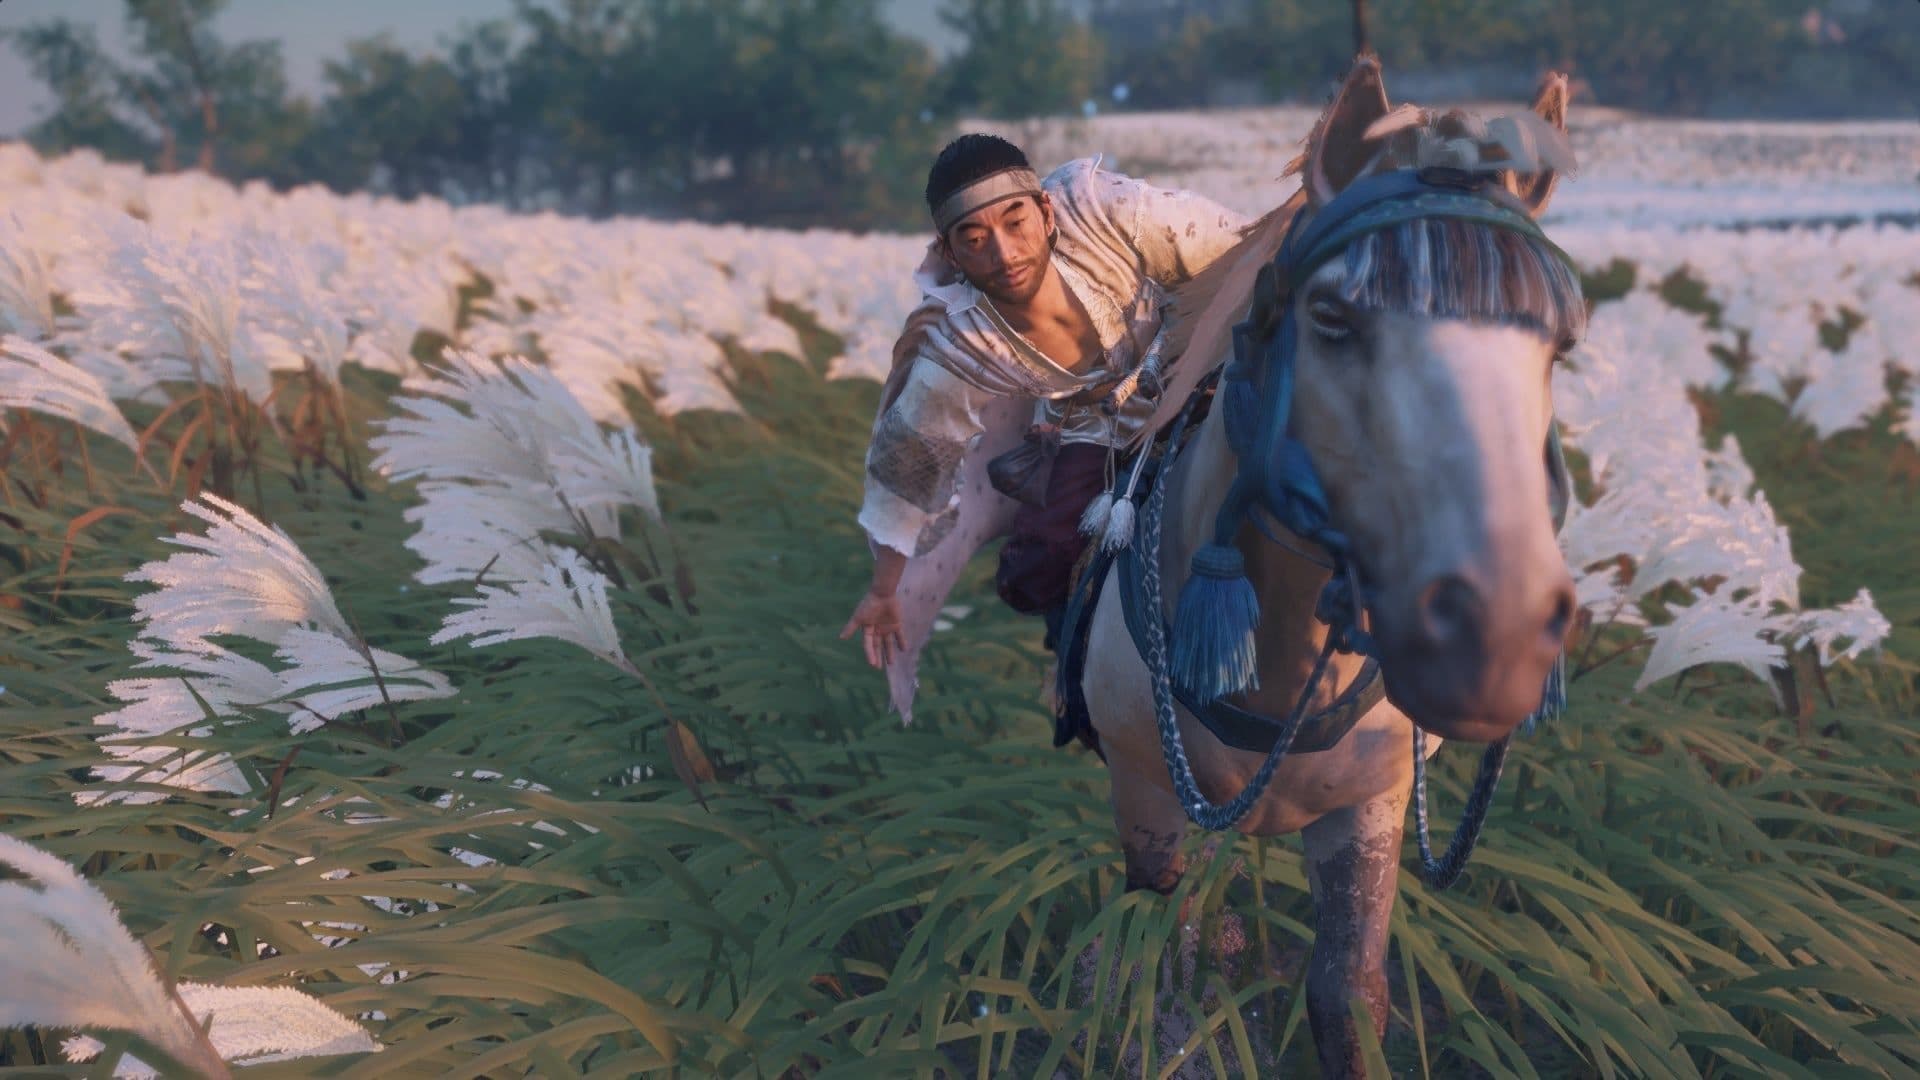
Shinto Shrines are key locations for finding powerful early game charms.
Here are the four essential charms to seek out in Act 1, each a game-changer for your early hours.
Charm of Inari
Found at Arrow Peak Shrine in Izuhara, the Charm of Inari is arguably your first major priority. This charm increases the amount of supplies, predator hides, bamboo, and yew wood you collect from every source. Trust me, you’ll want this equipped before you start farming for upgrades—it effectively doubles your resource gathering speed, making it far easier to upgrade your katana, tanto, and armor when you visit vendors.
Charm of Okuninushi
Next, head to Mending Rock Shrine, also in Izuhara. This shrine rewards you with the Charm of Okuninushi, which automatically restores Jin's health when he is out of combat. This is a massive quality-of-life improvement. Without it, you must spend precious Resolve to heal between every skirmish. With this charm equipped, you can save all your Resolve for life-saving techniques like Iron Will or devastating special attacks, making your overall resource management much more efficient.
Charm of Amaterasu
For a more aggressive approach, seek out the Charm of Amaterasu at the Golden Summit Shrine in Izuhara. This charm restores a moderate amount of health each time you defeat an enemy. If you’ve wiped here before, you’re not alone—early combat can be punishing. This charm turns every kill into a small burst of healing, letting you stay in the fight longer and reducing your reliance on other healing methods during intense confrontations.
Charm of Kagu-tsuchi
Finally, for when the fight turns desperate, make your way to Umenomiya Shrine northwest of Takigami Bridge in Izuhara. Here you’ll find the Charm of Kagu-tsuchi, which increases the damage you deal when your health falls below 50%. This is the perfect "clutch" charm for tough fights; when you’re on the back foot and health is low, your counterattacks become significantly stronger, often turning the tide of a difficult duel.
Combine the Charm of Amaterasu (heal on kill) with the Charm of Kagu-tsuchi (damage boost when hurt) for a powerful, high-risk/high-reward setup that excels in clearing out Mongol camps.
With these four charms collected, you’ve secured the best passive buffs Ghost of Tsushima has to offer in the early game. They’ll streamline your upgrades, manage your health, and amplify your damage, letting you focus on mastering the blade and saving your homeland.
Recommended Weapon and Gear Upgrade Priority
Resources are precious in Ghost of Tsushima. Supplies, iron, silk, and flowers feel scarce in the early hours, and spending them on the wrong upgrade can leave you struggling against tougher Mongol camps later on. This final section is your blueprint—a strategic guide on where to invest your hard-earned materials to build a foundation of power, not waste it on flashy distractions.
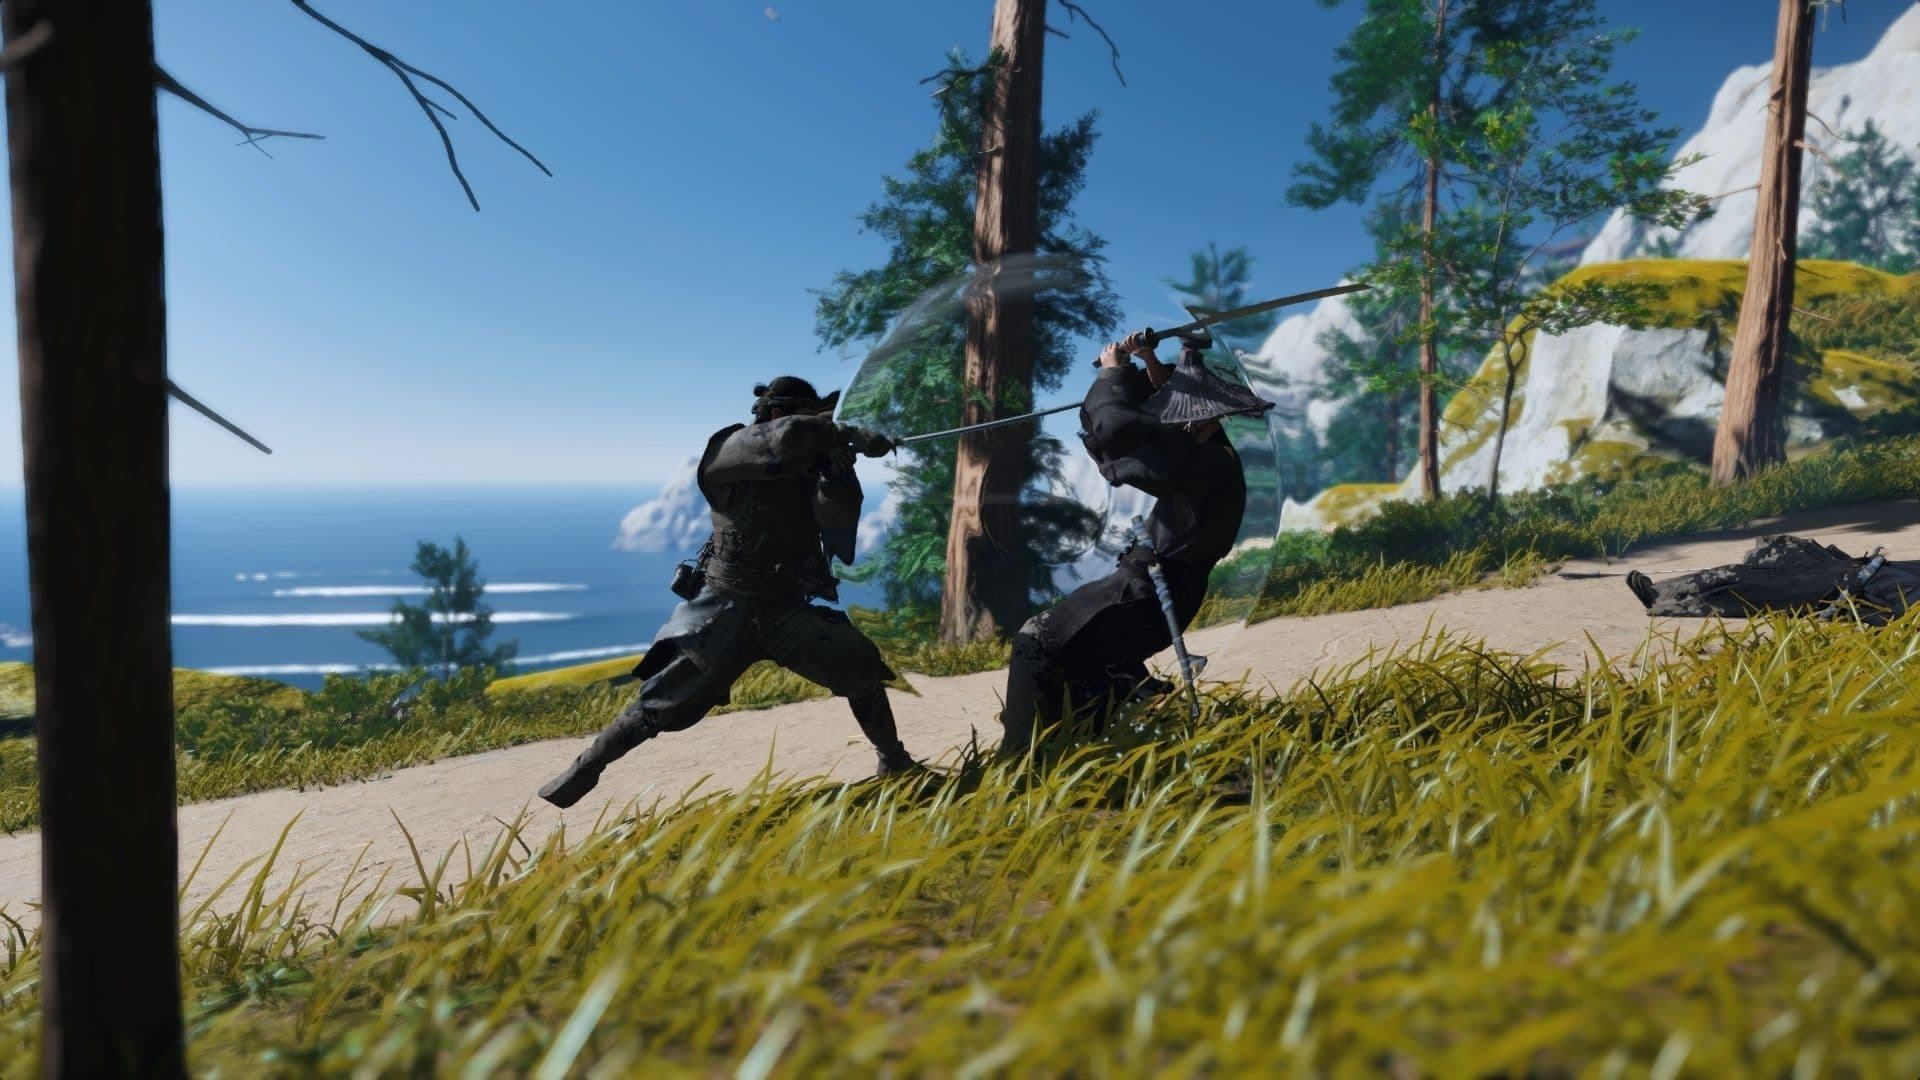
Prioritize upgrades that complement your specific playstyle to save limited resources.
Weapon Upgrade Path: Your Core Combat Power
Your sword and dagger are your constant companions. Upgrading them isn't a luxury; it's a necessity.
First, find a Swordsmith (they’re marked on your map after you liberate a few settlements). Your Katana should be your absolute top priority for iron and supplies. Aim to reach Tier IV before you finish Act 1. Each tier significantly increases your melee damage, turning drawn-out duels into swift executions. This is the single most impactful upgrade for your overall combat effectiveness.
Next, upgrade your Tanto. Also at the Swordsmith, you’ll want to push this stealth blade to Tier III during Act 1. Higher tiers dramatically speed up your assassination animations. What was once a risky, lengthy stab becomes a near-instant takedown, keeping you hidden and in control during infiltrations.
For your bow, visit a Bowyer. The Half Bow is worth upgrading for its draw and reload speed, making it more reliable for picking off archers on walls or thinning crowds before you engage. However, the Longbow you get from the "The Curve of Uchitsune" Mythic Tale is so powerful it often doesn't need upgrades to be effective, though maxing its range can turn it into a true sniper rifle.
When you liberate a Mongol camp, immediately fast-travel to the nearest town with a Swordsmith or Bowyer. Upgrade your gear with the fresh resources before you forget—it keeps your power curve smooth.
Gear & Utility: Strategic Investments
Armor upgrades require more judgment. Don’t spread your silk and leather thin across every set you find. Focus on the armor that matches your playstyle:
- Ronin Attire: A fantastic early investment. Its melee damage boost compensates for a weaker katana, and the stealth bonus is always useful. Crucially, you’ll need it for a late-game mission, so having it upgraded is smart.
- Tadayori’s Armor: If you love archery, this is your endgame set. Upgrade it to maximize your Concentration time and headshot recovery.
- Traveler’s Attire: Upgrade it once or twice for the exploration benefits, but do not fully upgrade it to Tier IV. The increased vibration range for collectibles becomes frustratingly broad, making pinpointing items harder, not easier.
Don’t ignore your Quickfire Ammo Pouches. Visit a Trapper to spend your Predator Hides (which have few other uses) on increasing capacity for Kunai, Smoke Bombs, Sticky Bombs, and especially Explosive Arrows. More tools per fight means more flexibility and power, especially for those rare explosive arrows you can’t craft.
The Cosmetic Endgame: Saving Your Flowers
You’ll collect a lot of Flowers as you explore. It’s tempting to spend them at the first merchant you see. Resist. Save the vast majority for the White Dye Merchant, found in the northwest corner of the Izuhara region. He offers unique, pristine white dyes for your armor and sword that are widely considered the game’s best cosmetics, perfect for achieving that "peerless warrior" aesthetic. Everything else is secondary.
With this priority list, your resources will always be building towards tangible power. Upgrade your katana and tanto first, choose one or two armor sets to specialize in, expand your toolbelt, and save those flowers for a worthy reward. Now you’re not just surviving Tsushima—you’re mastering it.