How to Unlock All Combat Stances in Ghost of Tsushima
Your journey across Tsushima isn'tt just about mastering a single sword technique—it’s about becoming a living weapon that adapts to every threat. In Ghost of Tsushima, your katana is only as powerful as your knowledge of the four core combat stances. This guide will walk you through unlocking them all, turning Jin from a rigid samurai into a fluid master of war.
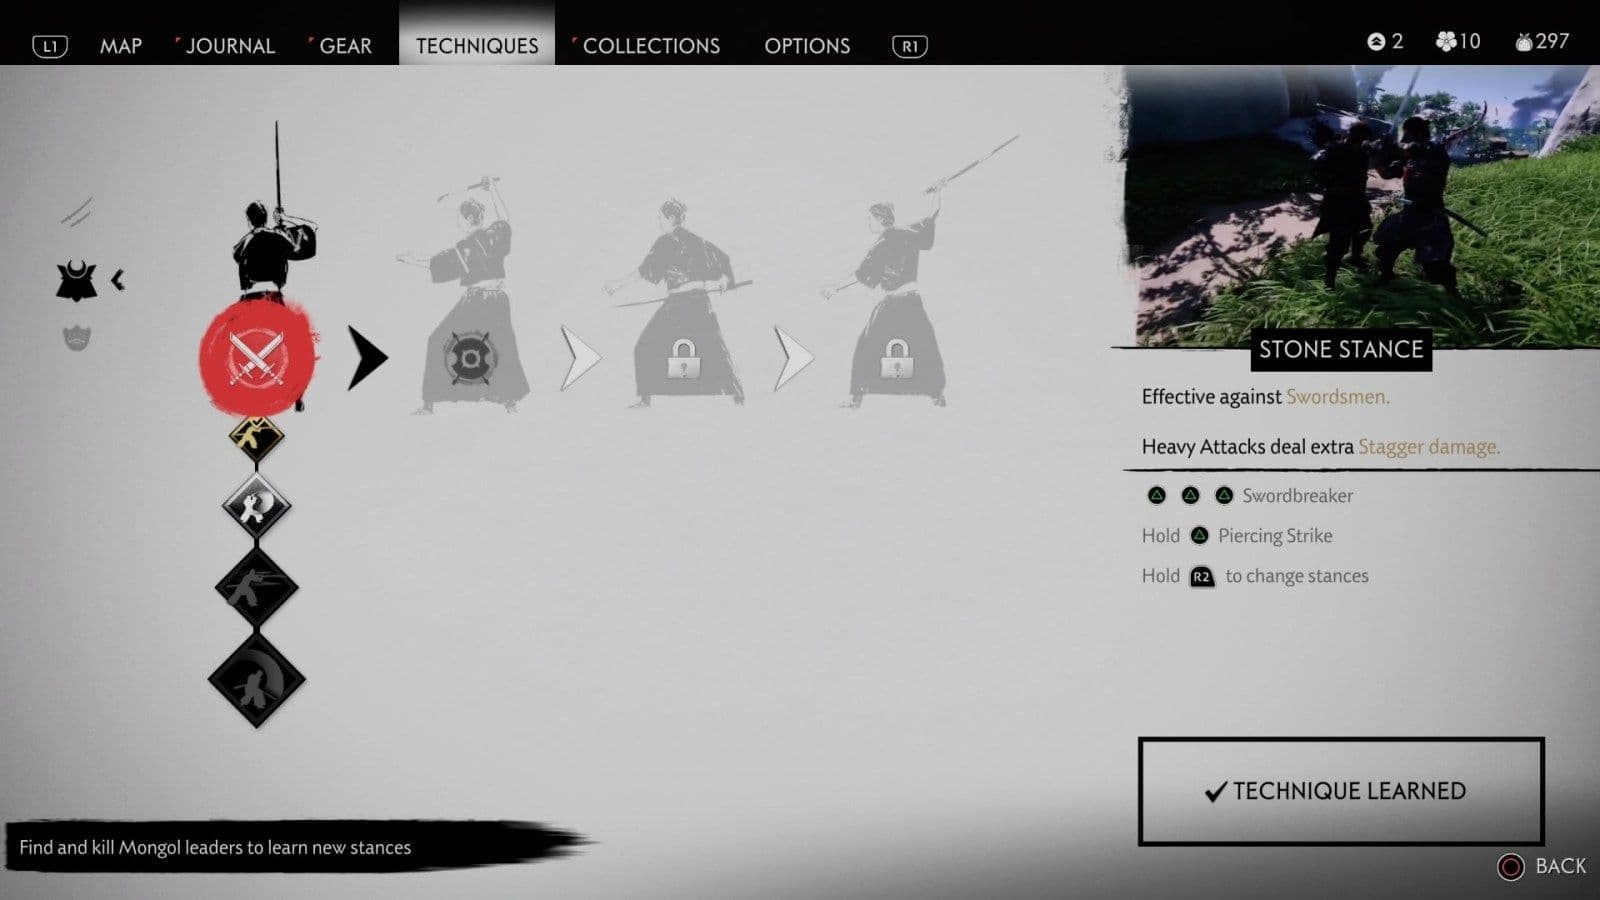
The Stone Stance menu shows the progression path for Jin Sakai's combat techniques.
You begin Ghost of Tsushima with only the Stone Stance, a straightforward, two-handed style perfect for the swordsmen you’ll face early on. To become truly unstoppable, you’ll need to seek out and learn from your enemies. The other three stances—Water, Wind, and Moon—are unlocked through the Stance Unlocking mechanic, which involves finding and dealing with Mongol Leaders in their camps and strongholds across the island.
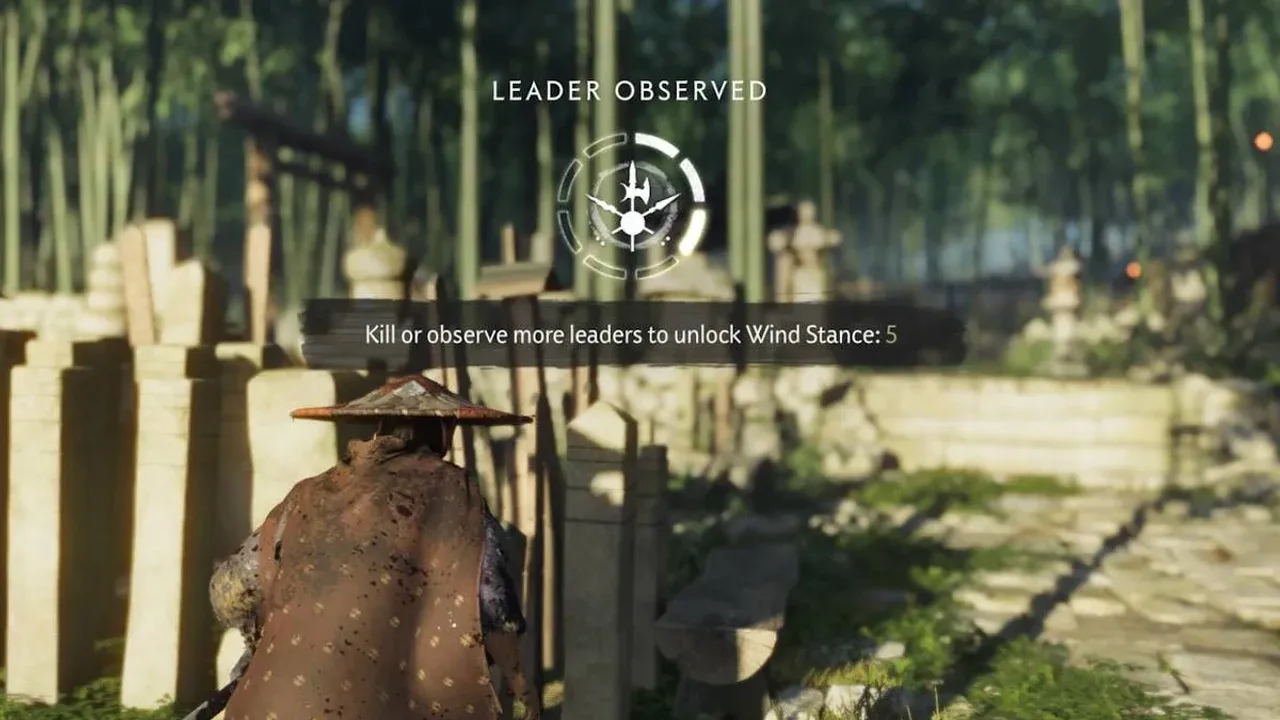
Here’s how it works: As you liberate outposts or explore, you’ll encounter these tougher enemies. For maximum progress, use stealth. Leader Observation is key—sneak up close, hold [R2] to study their movements, and you’ll earn bonus progress points toward a new stance. You can then defeat them by any means, but a stealth attack to weaken them first is highly recommended. Each stance has a fixed unlock threshold you must reach by observing or defeating leaders:
- Water Stance unlocks after defeating or observing 3 Mongol Leaders. This fluid, one-handed style is your answer to shielded foes.
- Wind Stance unlocks after defeating or observing 8 Mongol Leaders. This kick-focused stance is designed to dismantle spearmen.
- Moon Stance unlocks after defeating or observing 12 Mongol Leaders. This powerful, overhead style is built to crush heavily armored brutes.
Make liberating Mongol camps a priority in each region. Not only do you free the land, but you’re also gathering the essential Leader kills needed to unlock your full arsenal of stances much earlier in the story.
Switching between these tools is seamless. Hold [R2] and press the corresponding face button ([X] for Stone, [Circle] for Water, [Triangle] for Wind, [Square] for Moon) to change stances instantly, even mid-combo. There’s no cost or delay, so you can react to any enemy that steps into your range. Once unlocked, fully learning all four basic stances will also net you the ‘Quick Study’ trophy.
With all four stances at your command, you’ll have the right tool for every Mongol on the island. Let’s break down how to use each one.
Mastering Stone Stance for Swordsmen and Ronin
When the first Mongol swordsman steps forward, your blade is already singing in the Stone Stance. This is your foundation in Ghost of Tsushima—the precise, punishing form that turns Jin Sakai into an immovable object against the empire's rank-and-file warriors. It’s not just your first stance; for many duels and patrols, it’s your best.

Combat gameplay featuring sword-to-sword engagement.
Activate Stone Stance at any time by holding [R2] and pressing [X]. This is your bread-and-butter against the most common threats: Swordsmen and the agile Ronin you'll face in story duels. Its strength lies in its heavy attacks, which deliver focused, high-stagger damage to break an enemy's posture faster, creating the openings you need for a killing blow.
Key Techniques to Unlock First
Don't just swing—upgrade. Your first Technique Points should go towards making Stone Stance surgical. Here’s the essential skill tree:
- Puncture: Hold [Triangle] then tap [Triangle] to unleash two quick, piercing strikes. This is your primary punish against a staggered foe.
- Full Puncture: An upgrade from Puncture. Hold [Triangle] then tap [Triangle] twice for a three-strike piercing combo that devastates wounded enemies.
- Strength of Mountains: This passive skill is crucial. It directly increases the stagger damage your Stone Stance deals against Swordsmen, meaning you’ll break their guard in fewer hits.
- Momentum: Another vital passive. It increases the speed of all your Stone Stance heavy attacks, making your offense less predictable and harder to interrupt.
The Stone Stance Surge Strategy
The real power of this stance isn't just in big, slow heavies. Use the Stone Stance Surge—a rapid flurry of light attacks—to proactively interrupt incoming sword strikes from Swordsmen. When you see an enemy winding up, a quick tap of [Square] can stop their attack cold, resetting the flow of combat in your favor. It rewards patience and precise aggression.
In a one-on-one duel against a swordsman, start with a heavy attack chain to build stagger. Once their guard flashes white and breaks, immediately switch to your light attack flurry or a Puncture combo for massive damage. This rhythm is the heart of dueling in Ghost of Tsushima.
While other stances will help you handle specialized foes, your mastery of Stone Stance against common swordsmen is what keeps you alive in the chaotic opening moments of any fight. It builds the fundamentals of timing, stagger, and precision that every other technique relies on. Get this right, and you’ve already won half the battle.
How to Use Water Stance to Break Shielded Enemies
Facing a wall of Mongol shields can feel like trying to cut through a mountain with a butter knife. In Ghost of Tsushima, that frustration ends when you master the Water Stance, your dedicated tool for shattering defenses and overwhelming shield-bearers with relentless, flowing strikes.
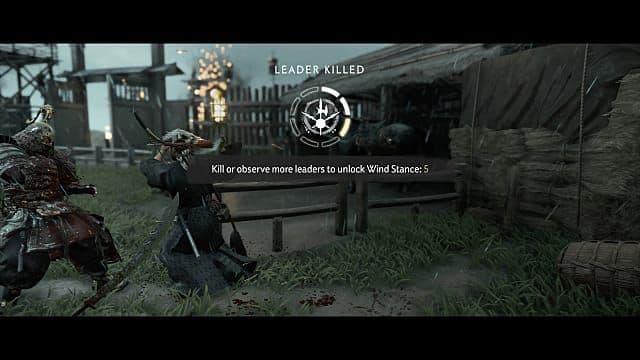
Defeating leaders helps unlock the shield-breaking Water Stance.
To activate Water Stance, hold [R2] and press [Circle]. This one-handed style is your go-to against any enemy hiding behind a shield, from standard soldiers to heavily armored captains. Its rapid, horizontal slashes are designed to slip around and batter through their guard faster than any other stance.
Your primary combo is the Flowing Strikes. Hold [Triangle] to begin the wind-up, then tap it three more times to unleash a devastating sequence of rapid horizontal slashes. This is your bread and butter for breaking a single shield-bearer's posture, as the flurry is incredibly difficult for them to parry. For an even more aggressive assault, unlock Surging Strikes—hold [Triangle] and tap it four times for a five-hit flurry that can overwhelm even the sturdiest guard.
Don't just spam the combo. Time the start of your Flowing Strikes just as a shield-bearer begins their attack animation. This often interrupts them and guarantees your full combo lands, breaking their stance in one go.
For dealing with groups, the Spinning Strike is your best friend. Simply hold [Triangle] to charge and release for a wide, sweeping AoE attack. This move is perfect for crowd control against multiple shielded foes, staggering everyone around you and creating the space you need to focus on one target.
To maximize your effectiveness, invest in two key passive skills early. Strength of Tides is a must-have, as it passively increases the stagger damage you deal specifically to Shieldmen, making your guard-breaking combos even more efficient. Follow it up with Downpour, which increases the damage of each successive hit within a flurry strike. When combined with Surging Strikes, this turns your final blows into devastating finishers.
Trust me, once you get the rhythm of Water Stance down, those previously intimidating shield walls will crumble before you. Let the flow of battle carry you through.
Countering Spearmen with Wind Stance Techniques
Spearmen in Ghost of Tsushima are the ultimate combo-breakers—their long reach can poke you right out of an attack string and keep you at a frustrating distance. This is where Wind Stance becomes your best friend. It's not just a different set of swings; it's a complete toolkit designed to dismantle spearmen with brutal efficiency, turning one of the game's trickiest enemies into a manageable threat.
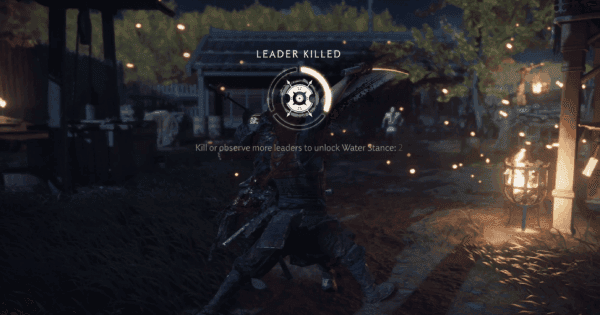
Tracking progress toward the Wind Stance unlock.
To activate Wind Stance, hold [R2] and press [Triangle]. You’ll unlock it after defeating or observing eight Mongol Leaders in the world, and it’s worth prioritizing. This stance’s signature move is the Typhoon Kick. Simply press [Triangle] to launch into a powerful kick that sends enemies flying back and deals high stagger damage. Against a spearman, this kick is your opener—it instantly breaks their guard and creates the safe opening you need to move in.
The Typhoon Kick isn’t just for spearmen. Use it to create space when you’re surrounded, or to knock enemies off cliffs for instant environmental kills.
Your first upgrade should be Strengthened Typhoon Kick, which makes the kick launch enemies even farther. But the real game-changer is the Spear Defense skill. This passive ability automatically parries incoming spear attacks while you are actively attacking in Wind Stance. Trust me, this changes everything. It lets you stay aggressive against a spearman without having to perfectly time every parry, freeing up your focus to deal with other threats in a group fight.
To maximize your damage against these polearm-wielding foes, invest in Strength of Gales. This passive skill increases your stagger damage specifically against Spearmen, allowing you to break their posture and open them up for a killing blow much faster. Once you’ve staggered them with a kick, follow up with the Typhoon Kick Finisher. This passive ensures that any enemy knocked down by your Typhoon Kick is automatically “downed,” letting you execute them with a single button press for a quick, cinematic finish.
For dealing with multiple spearmen at once, the Wind Stance Vortex is your answer. This spinning kick attack can stagger several spearmen simultaneously, disrupting their formation and giving you a crucial moment to breathe and pick your next target. It’s the perfect tool for when you’re being flanked.
With these techniques, the spearman’s greatest strength—their reach—becomes their biggest weakness. You can now close the gap, shut down their attacks, and dismantle them with a satisfying kick. Let’s turn those pesky pokes into punishable mistakes.
Defeating Brutes with Moon Stance in Ghost of Tsushima
When you see a Mongol Giant or Brute lumbering toward you in Ghost of Tsushima, you can feel the earth shake. These hulking enemies laugh off combos from other stances and can shatter your guard with a single blow. This is where Moon Stance becomes your greatest weapon—a style built from the ground up to dismantle these walking tanks.
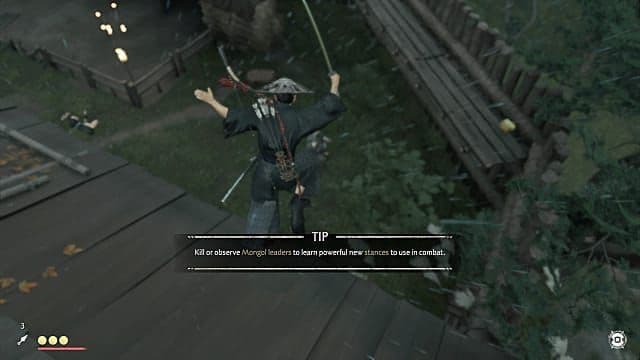
Using stealth to gain combat insights on Mongol enemies.
To activate Moon Stance, hold [R2] and press [Square]. This stance mixes devastating overhead strikes with powerful kicks, all designed to inflict massive stagger damage on brutes. Your primary goal isn't just to hit them; it's to break their posture (the white bar under their health) to open them up for a killing flurry.
⚠️ Watch out: Don't get greedy. Brutes have hyper-armor on many of their attacks, meaning they'll power through your light strikes. Wait for an opening, then hammer their stagger bar with Moon Stance's specialized moves.
Your key tools in Moon Stance are its unique heavy attacks. The Crushing Strike—performed by holding [Triangle] for an overhead slam—hits with such force that it damages brutes even through their guards. Use this after dodging one of their slow swings to punish them hard.
For closing the gap against a backing or aggressive brute, use the Charging Kick. This heavy attack lunges you forward rapidly, letting you stay in their face and keep the pressure on. It’s perfect for when they try to create distance for a heavy swing of their own.
To maximize your effectiveness, invest in Moon Stance’s skill tree. Start with Whirlwind (hold [Triangle] then tap [Triangle] once), which gives you two fast spinning strikes to chip away at posture. Later, upgrade to Tornado (hold [Triangle] then tap [Triangle] twice) for a three-hit spinning combo that lays on the stagger damage even faster.
Don’t overlook the passive skills. Strength of the Heavens is essential—it directly increases the stagger damage you deal against brutes, making every hit count for more. Finishing Strike then supercharges the third attack in your heavy chain, making it deal extra melee and stagger damage for a brutal payoff.
Here’s a simple, effective flow for any brute encounter:
- Engage with Moon Stance ([R2] + [Square]).
- Dodge their initial attack—don’t try to parry their unblockable (red) strikes.
- Counter with a Crushing Strike (hold [Triangle]) or a Charging Kick.
- Follow up with light attacks or a Whirlwind/Tornado combo once their posture is broken.
If you’ve ever felt your sword bouncing harmlessly off a brute’s armor, this stance is your answer. With Moon Stance mastered, these once-intimidating giants become predictable, stagger-prone targets. Now, go show them who truly owns Tsushima.
How to Activate and Use Ghost Stance
Ghost of Tsushima’s combat isn't just about mastering four stances—it’s about knowing when to transcend them entirely. When the tide of battle turns against you and the samurai path seems insufficient, Ghost Stance becomes your ultimate weapon of terror and instant victory. This isn't just another stance you select; it's a mythic, story-driven power you earn.
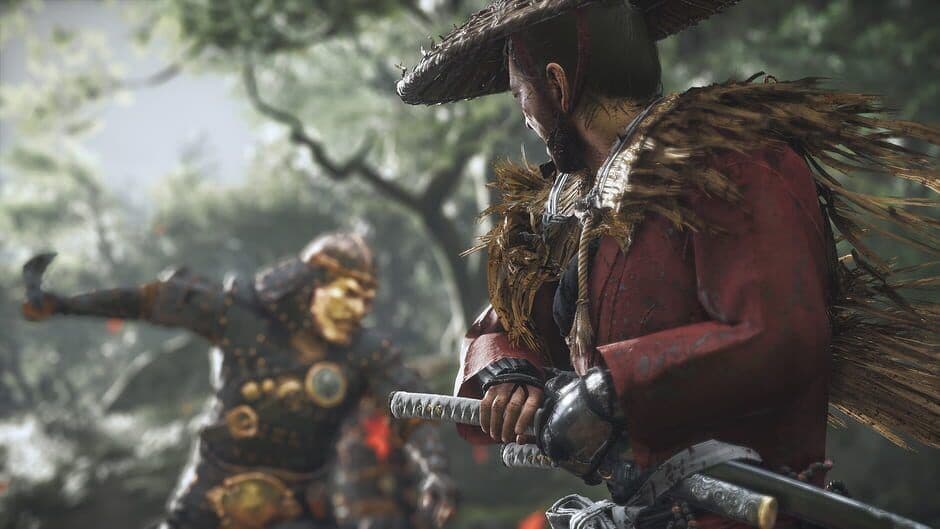
Jin utilizes various stances to overcome overwhelming odds.
You’ll unlock Ghost Stance automatically during the main story quest ‘The Ghost of Yarikawa’ in Act 2. This quest culminates in defending Yarikawa Stronghold against a Mongol assault led by the boss General Temuge. Your journey to become the Ghost is complete the moment you defeat and execute General Temuge, granting you this fearsome new ability.
But unlocking it is just the beginning. Before you can use it, you must fill the Ghost Meter, a special bar in the lower right corner of your screen. You charge it in two key ways:
- The Slaughter: Approach a Mongol leader while in stealth and press [Square] to perform a decapitation. This single action instantly fills the meter.
- The Perfect Streak: Kill 7 regular enemies in a row without taking any damage. Blocking or using tools like kunai is fine, but if you get hit, the counter resets. This method is great for turning the tables in a prolonged open fight.
⚠️ Watch out: The Ghost Meter depletes after you activate the stance and resets if you take damage before activating it. Don’t sit on a full meter—use it as soon as you get it.
Once the meter is full, press [L3] + [R3] (both analog sticks) to activate Ghost Stance. The screen will shift into Kurosawa Mode (black and white), time will slow, and nearby enemies will freeze in fear. For a brief period, you are virtually unstoppable. You can perform up to 3 instant-kill strikes on any non-boss enemy simply by walking up to them and pressing the attack button. This is your “get out of jail free” card for overwhelming situations or for quickly deleting high-priority targets like brutes and spearmen.
Ghost Stance can be used in boss fights, but you must activate it at the very start of the encounter before you take any damage. While it won’t kill a boss instantly, it lets you land three powerful, unblockable attacks that will carve a massive chunk out of their health bar, making the ensuing duel much more manageable.
Mastering this ultimate technique also ties into the ‘Haunting Precision’ trophy, which requires you to kill 20 enemies with Ghost Stance strikes. It’s a satisfying goal that encourages you to weave this devastating tool into your combat rhythm.
With Ghost Stance in your arsenal, you’ve truly become the legend of Tsushima—a warrior who can dominate the battlefield with precise technique one moment and shatter enemy morale with supernatural terror the next. Use it wisely, and no Mongol force will stand against you.
Advanced Stance Switching and Combo Chain Strategies
You’ve learned each stance’s purpose. Now, in Ghost of Tsushima, the real mastery begins when you stop thinking of them as separate tools and start weaving them together into a seamless, devastating flow. This is where Jin transforms from a skilled swordsman into a true whirlwind of controlled violence, dismantling mixed patrols without missing a beat.
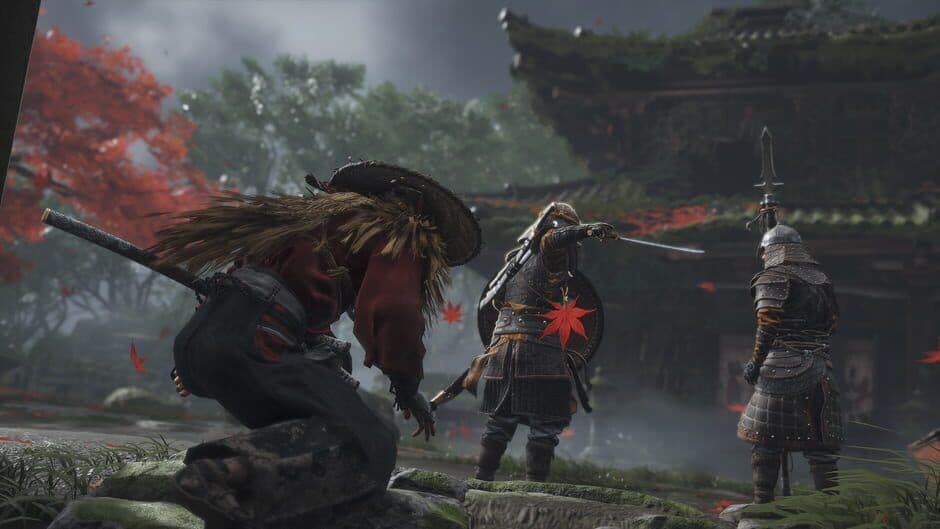
One-on-one duels test your mastery of stance-based combat.
The key is animation canceling. You can switch stances instantly with [R2] + a face button during any attack, with zero delay. This isn’t just for setup—it’s your core combat loop. See a swordsman charging next to a spearman? Start a combo on one, cancel into the perfect counter for the other, and keep swinging. This fluidity is what makes the following advanced chains possible.
Core Combat Chains to Master
Let’s break down the essential loops. Practice these in a safe area until the muscle memory kicks in.
The Shield Breaker Loop: This is your bread-and-butter against a shielded swordsman flanked by others. Start in Stone Stance with a quick Surge attack to interrupt an incoming strike. Immediately cancel into Water Stance and unleash the Flowing Water heavy combo (hold [Triangle], then tap) to rapidly break his guard. The moment you see his stagger (a white flash), cancel back to Stone Stance for a final heavy break attack. This loop efficiently turns a defensive enemy into a quick kill.
The Spearman Interrupt: Spearmen can shred your health if you let them control the distance. Initiate with Wind Stance and use the Kick (press [Triangle]) to instantly stagger them—this move can’t be blocked by their spear. While they’re reeling, cancel into Moon Stance for a heavy Crushing Strike overhead slam to maximize stagger damage. As they recover with a desperate thrust, cancel back to Wind Stance for a Perfect Parry follow-up. This chain neutralizes one of the most annoying enemy types in seconds.
The Brute Smasher: Brutes hit hard and tank hits, so you need to be agile. Start by side-stepping their slow wind-up in Moon Stance. Cancel into Water Stance and use the Spinning Strike (a heavy attack) to hit their flank or back for major stagger. Before the animation fully ends, cancel back to Moon Stance and use the Charging Kick to close the final distance and capitalize on their broken posture. It’s a dance of positioning and precise cancels.
⚙️ Pro tip: Pay close attention to the white flash indicator on enemies. This is your visual cue that their guard is broken or they’re vulnerable to a stance-specific interrupt. Canceling into the correct stance during this flash is the difference between a finishing blow and a blocked attack.
Putting It All Together: The Ultimate Chain
When a patrol with all four enemy types descends on you, you need a plan. Here’s the ultimate crowd control chain to practice: Wind Kick > Water Spinning Strike > Stone Surge > Moon Overhead Slam.
- Open with a Wind Stance Kick to stagger the lead spearman and create space.
- Cancel into Water Stance and use the Spinning Strike to hit the shielded enemies now closing in.
- Immediately cancel to Stone Stance for a Surge attack on any swordsman trying to capitalize on your focus.
- Finish by canceling into Moon Stance for a heavy overhead slam on the brute who’s finally lumbered into range.
This sequence covers all major enemy types in one fluid, four-second rotation. It feels overwhelming at first, but once you see the rhythm, you can’t unsee it.
Why This Wins on Lethal Difficulty
On higher difficulties, where enemies hit harder and faster, random slashing gets you killed. Stance-switching isn’t just optimal; it’s mandatory. Here’s why: correct stance-specific hits build Resolve faster than random attacks. Every perfect interrupt or guard break you perform by canceling into the right stance fuels your healing and Mythic Techniques more efficiently, creating a sustainable combat engine. Staying in one stance against a mixed group leads to “Stagger-lock” death loops where you can’t recover.
Trust me, if you’ve struggled with chaotic group fights, this is the missing piece. Drill these chains, embrace the cancel, and you’ll move through Mongol camps not as a fighter, but as a force of nature. Your sword will never bounce again.
Best Samurai Techniques and Gear for Stance Mastery
This is where your mastery of the blade becomes art. In Ghost of Tsushima, knowing which stance to use is half the battle; the other half is having the skills and gear to make every stance transition count. Let’s build out the ultimate supporting toolkit to make your stance-based combat feel unstoppable.
Exploring Tsushima allows players to find gear that boosts stance effectiveness.
Essential Defensive Techniques
Your stances are your offense, but two core defensive skills from the Technique menu are your lifeline. First, unlock Perfect Parry from the Deflection tree. This rewards precise blocks with a powerful counterattack and often grants a small burst of Resolve. It’s the foundation of controlling a duel.
Next, invest in Perfect Dodge from the Evasion tree. This provides brief invincibility frames and opens a window for a punishing counterattack, especially vital against enemies with unblockable (red) attacks. Together, these skills ensure you’re never just blocking—you’re always creating an opportunity to strike back.
Practice these in the bamboo strikes or early story duels. The timing becomes muscle memory, and that confidence lets you focus on stance-switching in the chaos of a camp.
Mythic Techniques: Your Ultimate Finishers
As you complete Mythic Tales, you’ll unlock game-changing abilities. Dance of Wrath is a sequence of three unblockable, auto-targeted kills that costs 3 Resolve. It’s the perfect crowd-clearer or boss-finisher when you’ve broken an enemy’s guard. The other key technique is Heavenly Strike, a fast, armor-piercing slash that costs 1 Resolve and can bypass an enemy’s block entirely. Use it to punctuate a combo or quickly dispatch a troublesome shielded foe.
Quality-of-Life Gear and Final Advice
To smooth out the timing, seek out Parry Window Charms. These quality-of-life items widen the timing window for landing perfect parries, making those crucial counters more consistent, especially under pressure.
Finally, remember the core principle that ties everything together: avoid Stagger-lock. On Lethal or Hard difficulty, enemies are relentless. If you attack with the wrong stance and your blows bounce off their guard, you can get caught in a “Stagger-lock” death loop where you can’t recover. The solution is always to match your stance to the enemy first, break their guard, then unleash your fury.
With these techniques in your arsenal, you’re no longer just switching stances—you’re orchestrating the fight. You have the parries to defend, the dodges to reposition, the mythic techniques to devastate, and the wisdom to never be staggered again. Now, go restore Tsushima’s peace, one perfectly executed encounter at a time.