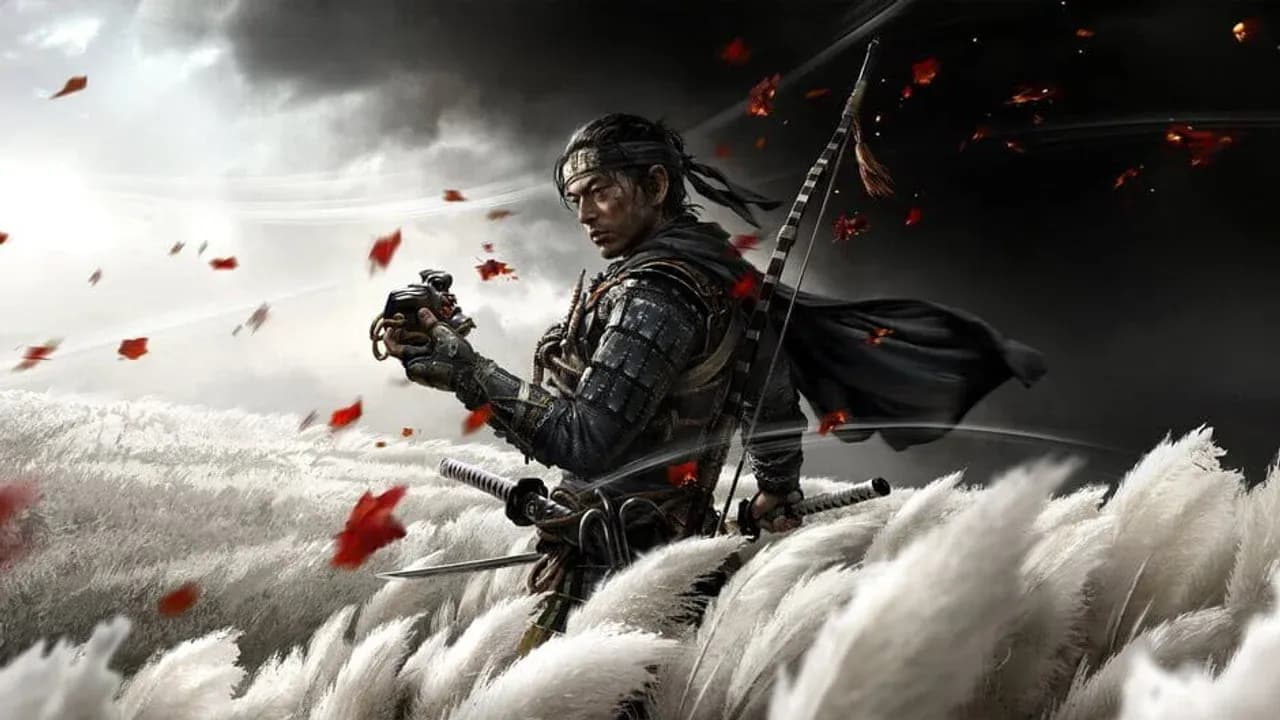
How to Unlock Mythic Tales in Ghost of Tsushima
In Ghost of Tsushima, the most legendary rewards aren't found in the main quest—they're hidden within the island's whispered legends. These are the Mythic Tales, special side quests that grant Jin game-changing abilities and armor sets, and unlocking them is your first step toward becoming a true legend.
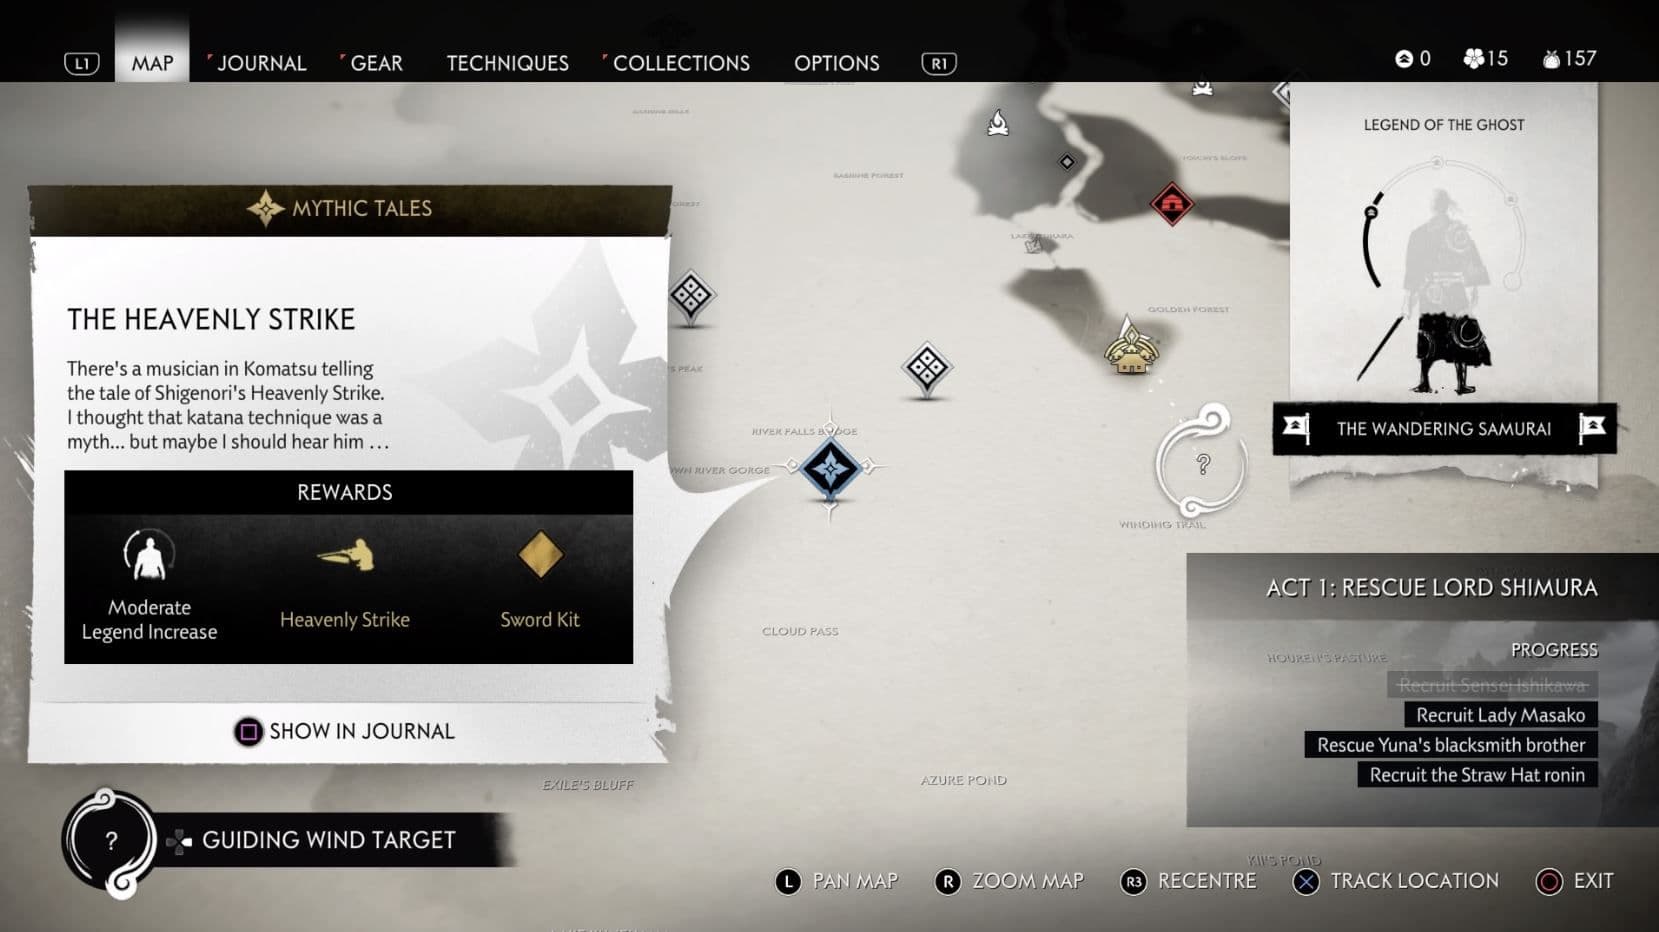
Locating Mythic Tales on the Ghost of Tsushima world map.
You won’t find these tales on a mission board. Instead, you must listen for them. The key figure is Yamato, a wandering musician you’ll find performing for villagers in camps or at sites of devastation across Tsushima. Speak to him, and he’ll begin singing a story, which immediately marks that Mythic Tale on your map with a distinctive blue icon. This is your invitation to a grander adventure.
Before you can dive into these legendary quests, you’ll need to make some story progress. Complete the early main missions like The Warrior’s Code and The Tale of Sensei Ishikawa first. They unlock essential tools like the bow, which you’ll need to tackle the challenges ahead.
As you explore towns and survivor camps, keep an ear out for NPC rumors. Speak to peasants, and they’ll often mention hearing a song about a legendary warrior or a cursed weapon. This is your cue—these conversations will reveal the blue Mythic Tale marker on your map, pointing you directly to where Yamato is waiting to tell his tale.
Once a quest is active, your primary tool for navigation will be the Guiding Wind. Unlike standard quests with map markers, many Mythic Tale objectives require you to follow environmental clues—like tracks or specific flowers—and the wind will blow you in the right direction. Trust it; it’s your storyteller’s compass.
Here’s the structure you can expect from every Mythic Tale in Ghost of Tsushima:
- Act 1 (Izuhara): Three tales become available, rewarding foundational techniques and gear.
- Act 2 (Toyotama): Three more unlock, offering powerful armor and advanced combat skills.
- Act 3 (Kamiagata): The final tale in the base game awaits on the snowy slopes of the north.
- Iki Island (DLC): Two additional tales are available if you own the expansion.
The best part? None of these tales are missable. You can complete them in any order, at any point in your journey, even after the main story ends. But trust me, tackling them as soon as they unlock will transform your combat capabilities. With legendary gear in hand, you’re ready to write your own myth.
How to Complete The Heavenly Strike in Ghost of Tsushima
The first true test of your blade awaits in Ghost of Tsushima’s The Heavenly Strike. This is your chance to learn a legendary combat technique that will cut through shields and stagger even the toughest foes. Ready your resolve—you’re about to hunt for a myth.
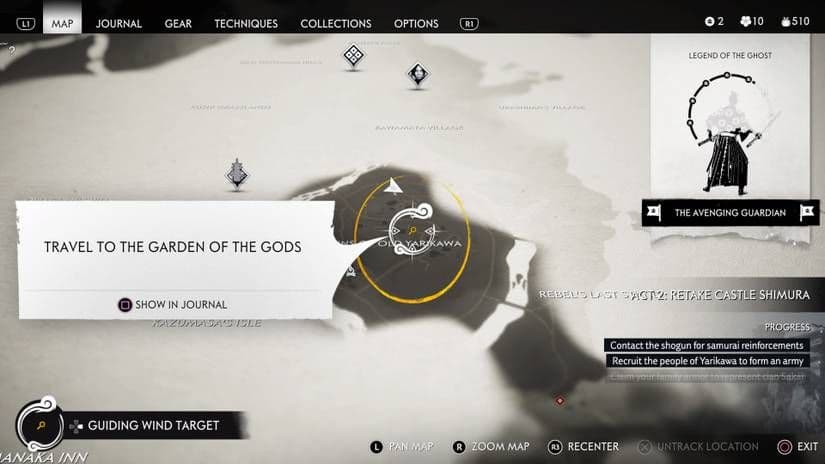
Navigating to the Garden of the Gods for the quest objective.
Your journey begins at the River Falls Bridge in Komatsu Prefecture, Izuhara. Speak with the musician Yamato to hear the tale, then follow the Guiding Wind to the bridge itself. Underneath, you’ll find a weeping woman; speak with her to learn of her husband's fate. Follow the horse tracks north to a Mongol logging camp, clear it out, and speak to the rescued villager. Your next clue points you toward a distinctive White-leafed Tree.
Trust me, you’ll want to save your game before the final duel. It’s a tough one, and a quick reload saves a lot of backtracking.
To find the tree, head to the Plum Blossom Shinto Shrine in the area. Survey your surroundings from here—you’ll spot a grove of white-leafed trees on a nearby ridge. Make your way there, defeat the guarding Mongols, and free the hostage. He’ll point you toward the final location: Shigenori's Rest on a beach to the southeast. Cross the downed tree to reach this secluded spot, eliminate the remaining Mongols, and prepare for the main event.
The Duel Against Yasuhira Koga
This is it—the duel with the ronin Yasuhira Koga, wielder of the technique you seek. He’s aggressive and his signature move is the unblockable Heavenly Strike, telegraphed by a distinctive wind-up. Here’s the trick most guides miss: don’t try to parry it. When you see him prepare the Heavenly Strike, dodge to the side with [Circle] and punish him during his recovery. For his other, parryable attacks, stand your ground and time your [L1] blocks to break his combos and create your own openings.
Once you defeat Yasuhira Koga, the power is yours. You’ll permanently learn the Heavenly Strike Mythic Technique. To use it in combat, press [Triangle + Circle] when you have at least one bar of Resolve. This unleashes a powerful, unblockable overhead slash that deals massive stagger damage—it’s particularly effective against shielded enemies who normally slow your assault. As a final reward, you’ll also receive the Heavenly Falcon Sword Kit to customize your katana’s appearance.
With the Heavenly Strike in your arsenal, you’re ready to dominate the Mongol frontline. This technique is a game-changer for Act 1, letting you shatter defenses and control the flow of any duel. Let’s go.
How to Complete The Legend of Tadayori in Ghost of Tsushima
The path of the legendary archer, Tadayori, is one of the first great rewards you can claim in Ghost of Tsushima. This Mythic Tale doesn’t just give you a new piece of armor—it fundamentally transforms how you approach archery, rewarding precision with deadly efficiency. If you’ve ever wanted to slow time and pick off an entire Mongol patrol before they even see you, this is your quest.
Exploring the island to uncover hidden Mythic Tales.
To begin The Legend of Tadayori, head to Azamo Prefecture in Izuhara. Look for the wandering musician Yamato at the Rustling Bend, just south of the river. After hearing his tale, you’ll need to follow the Guiding Wind to a field of violet flowers known as the Crown of Violets. Here, you’ll find a shrine with a hand-drawn map pointing to your next destination.
Finding Tadayori's Rest
The map leads you to Houren’s Pasture. Look for a small opening in the cliff face—squeeze through to discover the hidden shrine of Tadayori’s Rest. Inside, you’ll be challenged by Kaede, a guardian duelist. She’s a straightforward opponent; focus on parrying her standard sword strikes to create openings for your own attacks. After defeating her, you’ll receive a clue directing you to Azamo Bay.
The Final Test at Archer's Rise
Travel north of Azamo Bay to a mountain peak where you’ll find Yamato under attack by Mongols. This is the critical moment: you must defend Yamato. Prioritize any archers or swordsmen who are targeting him directly. Once the first wave is cleared, push a statue off the cliff edge to reveal Tadayori’s Armor.
Use the high ground to your advantage. Pick off the furthest archers first with your bow to thin the ranks before engaging the melee fighters who rush Yamato.
Don’t relax just yet—a second wave of Mongols will arrive. Your new armor’s perks are about to get a trial by fire. Tadayori's Armor massively boosts your archery by increasing draw speed, reload speed, and total Concentration time. Most importantly, landing headshots while wearing it restores a large chunk of your Concentration meter, allowing you to chain slow-motion shots together. Use this to dominate the remaining attackers.
With the armor secured and the area cleared, speak to Yamato one final time to complete the tale. You now possess the ultimate tool for a master archer in Ghost of Tsushima. Whether you’re liberating outposts or facing down a patrol, this armor turns every headshot into a stepping stone to your next.
How to Complete The Curse of Uchitsune in Ghost of Tsushima
Forget stealth and forget subtlety—The Curse of Uchitsune is your ticket to bringing explosive, high-impact archery to the fight in Ghost of Tsushima. This Mythic Tale rewards you with a weapon that dramatically changes how you approach combat, especially against heavily armored foes. It all begins with a musician’s tale in Hiyoshi Springs, a village you’ll likely visit early in your journey through Izuhara.
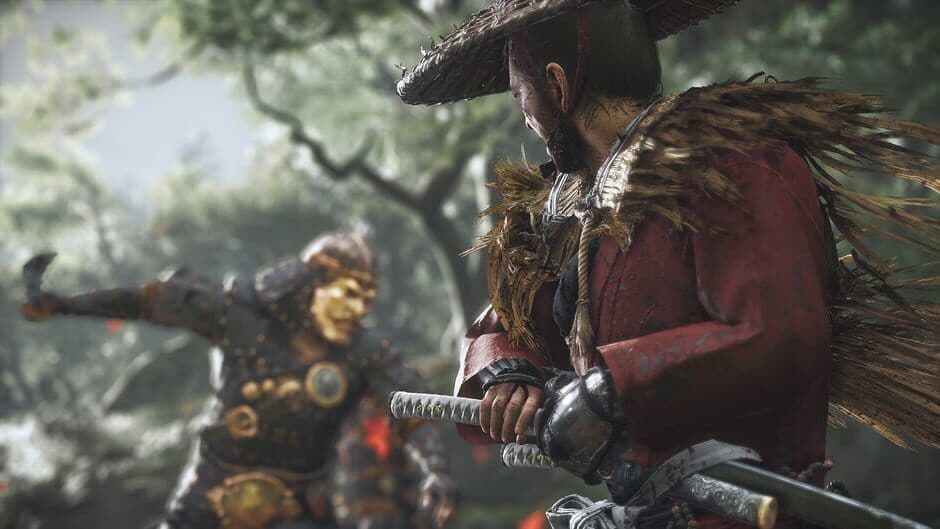
The vast world of Ghost of Tsushima
To start, listen to the wandering musician, Yamato, in Hiyoshi Springs. He’ll sing of the legendary archer Uchitsune and his cursed bow. The Guiding Wind will lead you to the coast, where you need to follow a trail of blue hydrangeas. This path leads directly to Uchitsune's Tomb, a hidden cave entrance on the rocky hillside near the coast. Head inside, squeeze through a gap, and examine a painting that depicts an island.
Your next destination is the Blue Flower Island, which you can spot from the northern coastline. Swim out to it—don’t worry, it’s not far—and enter one of the cave mouths. Inside, you’ll find a second painting pointing you toward a mountain adorned with more blue flowers. Fast-travel back to Hiyoshi Springs and head due west. You’ll find the mountain shrine, and resting there is Uchitsune's Longbow. This is your prize: a high-damage weapon that can pierce helmets and shields, making archery viable against even the toughest Mongol warriors.
Stock up on regular arrows before starting this quest. You’ll need your bow to solve a simple environmental puzzle on the Blue Flower Island, and running out mid-quest is a frustrating detour.
Picking up the bow doesn’t end the tale—it triggers it. You’ll be thrust into a spectral duel against the Tengu Demon. This boss is fast and aggressive, favoring quick sword strikes and punishing kick attacks. The key is to stay calm and watch his movements. Parry his standard sword swipes (indicated by a blue glint) to build Resolve and create openings. When he telegraphs his kick attacks, your best move is to press [Circle] to dodge to the side. His most dangerous move is a lightning-fast strike he initiates by placing a hand on his sword hilt—be ready to dodge the moment you see this animation.
⚠️ Watch out: The Tengu Demon’s arena is a confined forest clearing. Don’t get backed into the rocks or trees; keep maneuvering to maintain a clear space for dodging.
Upon defeating the phantom, you’ll awaken with the Longbow now permanently in your arsenal, along with the ability to craft Explosive Arrows. These heavy projectiles create a satisfying area-of-effect blast, perfect for scattering groups of enemies or destroying explosive barrels in Mongol camps from a safe distance. With this powerful new tool, you’re ready to rain fire and steel down on the Mongol invasion from afar.
How to Complete The Spirit of Yarikawa's Vengeance in Ghost of Tsushima
The hunt for a vengeful ghost begins in the ruins of Old Yarikawa. In Ghost of Tsushima, the Spirit of Yarikawa's Vengeance is an Act 2 Mythic Tale that rewards you with one of the game's most devastating combat techniques—if you can survive the final duel.
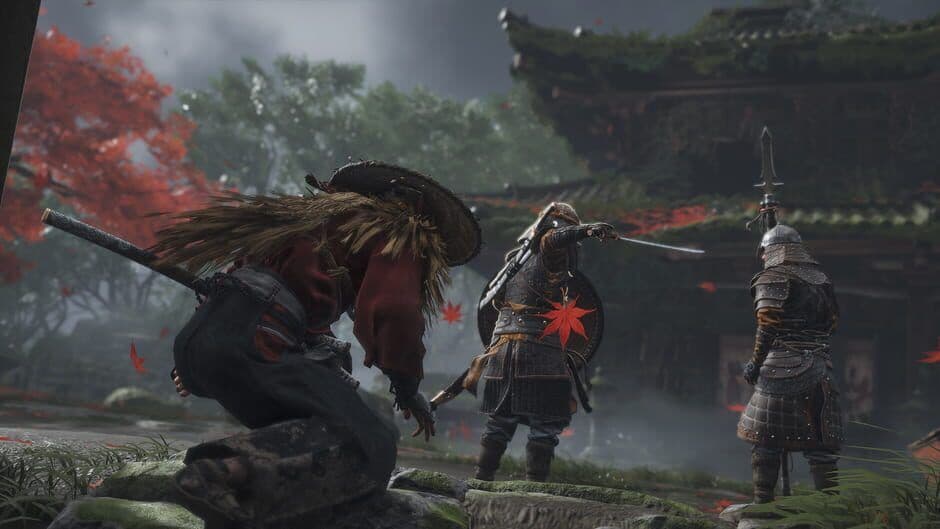
Preparing for a legendary duel.
Start by heading to the Ruins of Old Yarikawa, just west of Rebel’s Last Stand. Here, you’ll find the wandering musician Yamato, who tells the tale of a vengeful spirit hunting Mongols. Your investigation begins with a simple but crucial visual cue: white smoke. Look for billowing plumes of white smoke rising from small shrines scattered throughout the ruins. Each plume leads you to a scroll or clue.
First, follow the smoke to the northwest part of the marked area to find a scroll pointing to a nearby Mongol camp. Clear the camp, free the prisoner, and examine the clues. Next, head south to find another shrine with white smoke near a survivor camp. Speak with the peasant Heitaro here, follow him to a grave, and listen to his story. The trail then leads you to the center of Old Yarikawa; look for white smoke near a partially destroyed home to find a scroll inside. Finally, head north to find one last shrine before the spirit reveals her true target: you.
The final confrontation takes place in the Garden of the Gods, a secluded spot within Old Yarikawa. Here, you’ll duel the Spirit of Yarikawa, a skilled ronin.
Dueling the Spirit of Yarikawa
This is a classic one-on-one duel. Equip Stone Stance, as it’s most effective against her sword-based attacks. Her most dangerous move is a red-glint unblockable triple swing, which she signals by sheathing her sword. Don’t try to parry this—instead, press [Circle] to dodge away and create space. Her other combos are parryable; watch for the blue glint, press [L1] to parry, then counter with a few strikes of your own. Use heavy attacks in Stone Stance to build her stagger meter and create bigger openings.
⚠️ Watch out: Her triple-swing attack comes out fast. The moment you see her sheathe her sword and that red dot appear, disengage. A well-timed dodge is safer than a mistimed parry.
When her health is low, finish the fight with your new prize. Upon defeating her, you learn the Dance of Wrath technique. Activate it by pressing [L1 + R1]; Jin will perform three rapid, unblockable strikes that can cut down multiple enemies, but it costs 3 Resolve. You’ll also receive the Omukade's Revenge Sword Kit as a cosmetic reward.
With the Dance of Wrath in your arsenal, you gain a powerful tool for clearing groups or ending tough duels. Let the spirit’s vengeance become your strength.
How to Complete The Six Blades of Kojiro in Ghost of Tsushima
This is the ultimate test of your blade—a gauntlet of six legendary duels across Toyotama. In Ghost of Tsushima, The Six Blades of Kojiro is a Mythic Tale that pits you against a master duelist and his five elite students, with the powerful Kensei Armor as your prize. It’s a marathon of one-on-one combat that will push your parry skills to the limit.
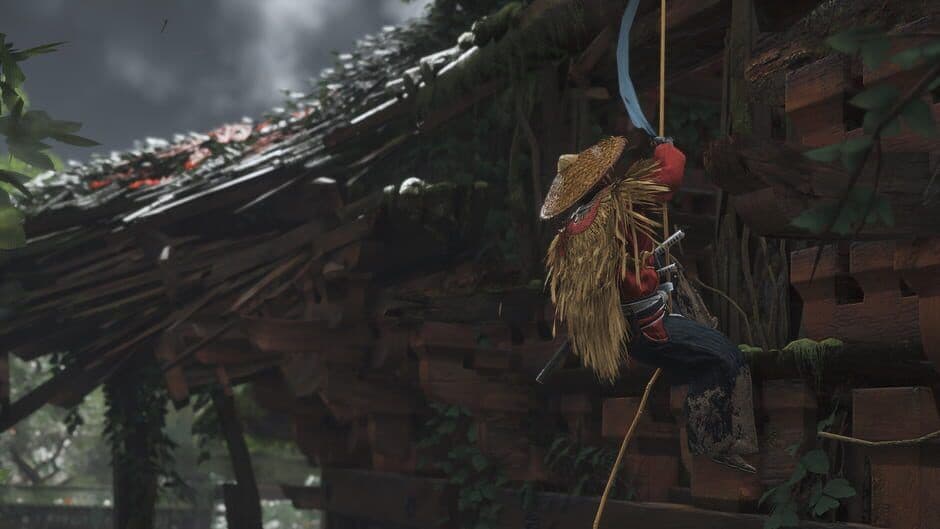
Jin Sakai scouting the terrain.
The tale begins in Act 2 after you've cleared the first section of the story mission "A Message in Fire." Head to Umugi Cove in Toyotama and find the wandering musician Yamato near Lady Sanjo’s place. He’ll tell you the legend of Kojiro, a master swordsman who has sent his five best students—the Straw Hat assassins—to hunt you down. Your map will be marked with five samurai silhouette icons; these are your targets, and you can tackle them in any order.
Hunt Down the Five Straw Hat Ronin
Each of the five ronin (Yasumasa, Hirotsune, Tomotsugu, Kiyochika, Kanetomo) awaits at a marked dueling spot in Toyotama. They are fast, aggressive, and each has a unique moveset. Here’s the general strategy that works for all of them:
- Stick to Stone Stance. Every opponent is a swordsman, making this your most effective stance.
- Parry the Blue, Dodge the Red. Parry ([L1]) their standard (blue-glint) attacks to create openings. Dodge ([Circle]) away from their unblockable (red-glint) strikes.
- Stay Patient. Don’t get greedy. Land two or three hits after a successful parry, then reset. Use heavy attacks to break their stagger bar.
⚠️ Watch out: Before you start this gauntlet, visit a Banner to upgrade your skills. The Resolved Parry technique in the Samurai skill tree is essential—it lets you recover health and Resolve on a successful parry, which is a lifesaver during the long final duel.
While you can take them in any order, many find Kiyochika (at the Duel Under Falling Water, north of Musashi Coast) to be the easiest, and Kanetomo (at the Duel Under Autumn Leaves on the east coast) to be one of the toughest with his lengthy combos.
The Final Duel: Face Kojiro
After you’ve defeated all five assassins, return to Yamato in Umugi Cove. He’ll direct you to the master’s hideout. You’ll find Kojiro at the Omi Monastery, located northwest of Lucky Genzo’s Inn. Look for a giant statue; the entrance is a small cave opening you can squeeze through behind it, leading to the Mirror of Sacred Light.
Kojiro is the ultimate test. He’s aggressive, has high health, and employs a relentless flurry of unblockable strikes. His patterns are complex, often chaining multiple red-glint attacks together.
- Discipline is Key. Create distance to bait out his slower, parryable blue-glint attacks. Parry these with [L1] to regain Resolve—this is your primary method of healing via Resolved Parry.
- Double-Dodge. When he charges with a series of unblockable lunges, don’t try to parry. Double-tap [Circle] to roll away safely.
- Finish with Mythics. If you have the Dance of Wrath or Heavenly Strike techniques, save your Resolve to use them as fight-ending blows.
If you find yourself low on health and Resolve, play defensively. Run away to create space, then focus solely on parrying his next blue-glint attack to trigger Resolved Parry and get back in the fight.
Claim Your Reward: The Kensei Armor
Victory over Kojiro grants you the legendary Kensei Armor. This isn’t just another cosmetic—it fundamentally enhances a Ghost playstyle. The armor increases Ghost Weapon damage and Resolve gains, and striking an enemy with a Ghost Weapon makes them deal less damage and take more. It’s perfect for players who mix swordplay with kunai, smoke bombs, and sticky bombs.
With the Kensei Armor equipped, you’ve not only conquered one of Ghost of Tsushima’s greatest martial challenges, but you’ve unlocked a powerful tool for the rest of your journey. You’ve earned it.
How to Complete The Unbreakable Gosaku in Ghost of Tsushima
This is the liberation mission that unlocks the heavy hitter of Ghost of Tsushima’s armor sets. The Unbreakable Gosaku mythic tale tasks you with securing Tsushima's heartland, rewarding you with the stagger-focused Gosaku's Armor. It’s a perfect choice for players who prefer to smash through enemy defenses with overwhelming force.
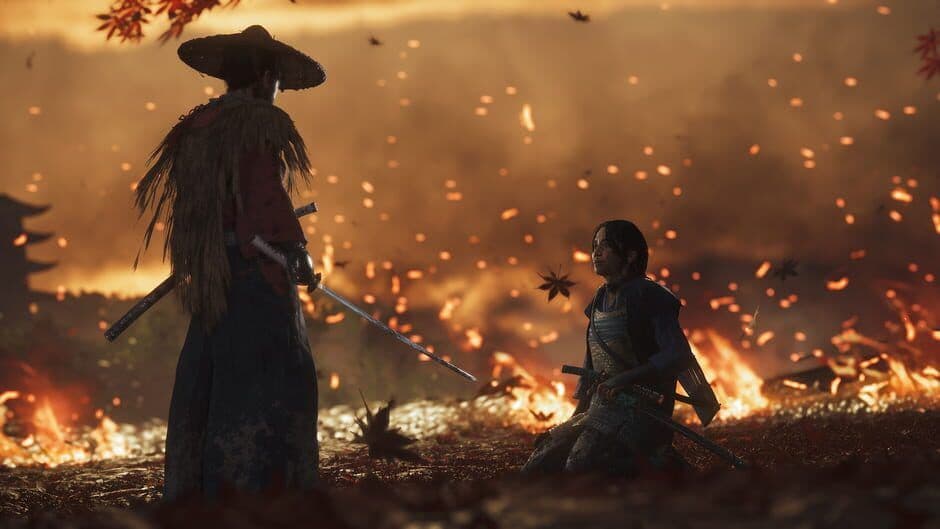
Traveling between farmsteads to collect the keys of Gosaku.
You’ll find the storyteller Yamato at a farm in Akashima Village in southern Toyotama. He sings of the legendary farmer Gosaku, whose armor is sealed away, protected by six keys given to the farmers he saved. To claim it, you must follow his example: liberate six specific farmsteads from Mongol occupation.
Here are the six farmsteads you need to liberate to collect the keys:
- Kuta Farmstead (Izuhara)
- Aoi Village (Izuhara)
- Ohama Farmstead (Izuhara)
- Yagata Farmstead (Izuhara)
- Iijima Farmstead (Toyotama)
- Koshimizu Farmstead (Toyotama)
These locations are marked on your map with a special Mongol camp icon once the tale is active. Each one is a standard liberation—clear out all Mongol forces, which often involves assassinating a commander and freeing hostages. The final farmer you rescue in each location will hand over a key. You can tackle these in any order and across both regions.
This is a great opportunity to stock up on Supplies and other crafting materials. Clear the farmsteads thoroughly, and consider using stealth to thin the ranks before engaging openly.
Once you have all six keys, return to Yamato to begin the final leg. He’ll direct you to the Old Togo Rice Fields in the Akashima Prefecture of Toyotama. Follow the guiding wind from the nearby Akashima Lighthouse to a hilltop. You’ll find a squad of Mongols guarding a locked stone door at the base of the hill—dispatch them, use your keys on the door, and follow the path up to claim your prize.
Gosaku's Armor is the ultimate tool for a stagger-focused build. It provides a significant health boost and massively increases the damage you deal to enemy stagger meters. This makes it exceptionally powerful when paired with the Water Stance. Spamming the Water Stance’s flurry attack ([Triangle]) with this armor equipped will shred through shields and break the guard of even the toughest brutes in seconds.
With Gosaku's Armor now in your inventory, you’re ready to dominate face-to-face combat, trading stealth and precision for raw, staggering power.
How to Complete The Undying Flame in Ghost of Tsushima
Ghost of Tsushima’s final Mythic Tale sends you to the game's coldest peak, where a legendary power awaits those who can survive the climb and win a duel against fire itself.
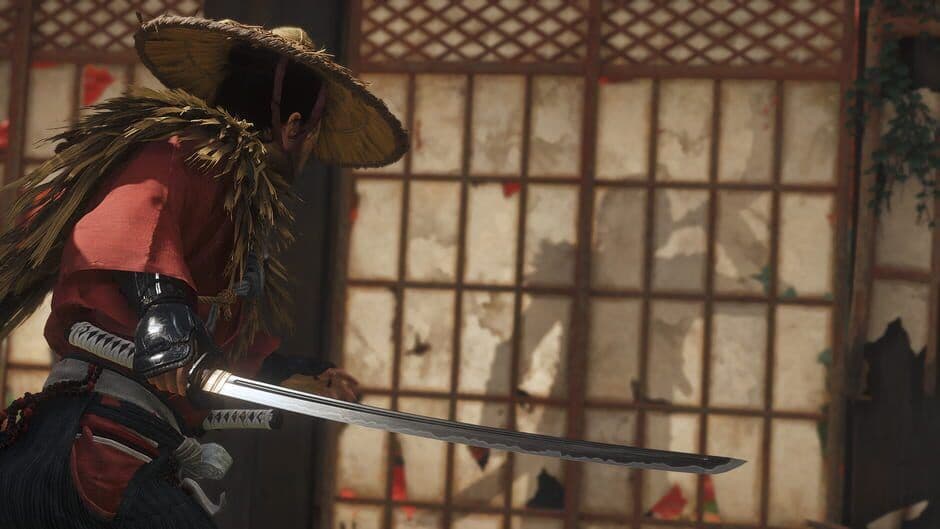
The path to unlocking the Way of the Flame.
The Mountain Climb to the Dojo
Your journey for The Undying Flame begins at the base of Mount Jogaku in the Kamigata region, north of Jogaku Temple. Here, you'll find the musician Yamato, struggling to light a fire in the bitter cold. Speak with him to hear the tale of a red-hot rock at the summit that can ignite a blade. Your objective is clear: ascend the mountain.
This climb introduces the Freezing Cold environmental hazard. Jin’s health will steadily drain if he stays out in the open too long. Your survival depends on moving quickly between scattered bonfires. From each fire, always spot the next one before you sprint for it. The path involves using your iron hook to cross gaps, navigating slacklines, and making careful swings across chasms. Wild dogs may attack along the way—deal with them from a distance with arrows to avoid getting caught in the cold.
⚠️ Watch out: The bonfires become harder to spot as you climb. If you start to freeze, don't hesitate to backtrack to the last fire you passed to reorient yourself.
The final stretch involves confronting a bear before you reach a secluded dojo entrance. Push through, and you'll meet Bettomaru, the dojo master who holds the secret you seek.
Dueling Bettomaru for the Way of the Flame
Inside the dojo, Bettomaru offers to teach you—if you can best him in combat. This is a classic one-on-one duel, but with a fiery twist. While his normal sword combos are parryable, he will periodically ignite his katana. When his blade is flaming, all his attacks become unblockable and will set Jin on fire if they connect.
Your strategy here is about rhythm control. When his sword is normal, stand your ground, parry his blue-glint attacks, and counter. The moment you see his blade catch fire, disengage. Roll away repeatedly with [Circle] to create distance until the flames subside. He often uses delayed three- and four-strike combos during this phase, so patience is key.
Midway through the fight, you’ll automatically gain the Way of the Flame Mythic Technique. This lets you ignite your own katana by pressing [R1] while Incendiary Oil is equipped in your quick-fire weapon slot. Your attacks will now bypass blocks and inflict burn damage. Use this new power to turn the tide and finish the duel.
Claiming Your Rewards
After defeating Bettomaru, take a moment to explore the dojo. You can find a Sashimono Banner on the second floor before you leave. Once you descend the mountain and return to Yamato at the base camp, the tale concludes.
Your perseverance is rewarded with two powerful vanity items: the Purity of War mask and the Izanami’s Grief sword kit, perfect for customizing Jin’s endgame appearance. More importantly, you now possess the Way of the Flame, a devastating technique that makes you a terror in Mongol camps and a force in any duel.
With the final Mythic Tale complete and this blazing technique in your arsenal, you’re ready to face whatever endgame challenges Ghost of Tsushima has in store.
Best Mythic Tale Combat Strategies and Rewards
With the final duel won and the last piece of legendary gear secured, you’ve mastered the most demanding challenges Ghost of Tsushima has to offer. Now, it’s time to synthesize that power. This final section isn't about how to complete the quests—it's about how to use their incredible rewards to become an unstoppable force on Tsushima.
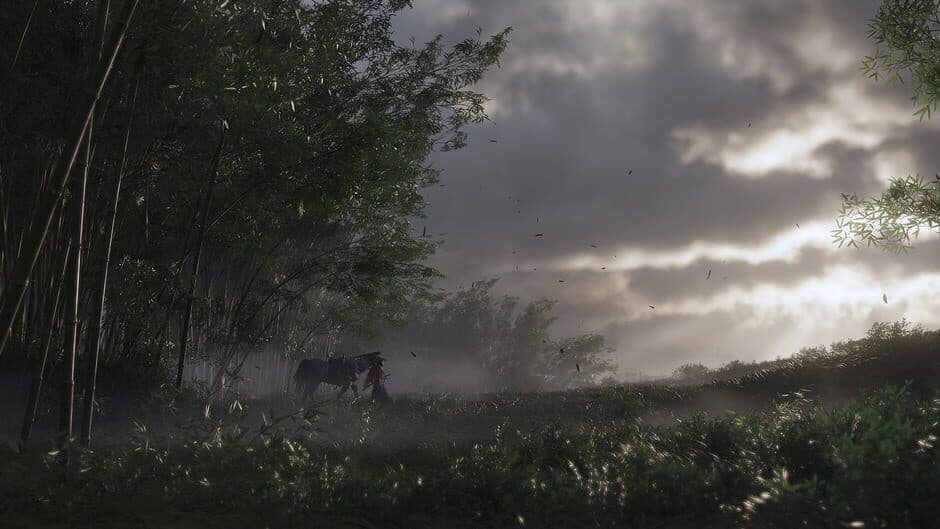
Mythic Tales take Jin to the most beautiful and dangerous parts of Tsushima.
Build Your Ultimate Arsenal
Each Mythic Tale reward isn't just a trophy; it's a tool that fundamentally changes your approach to combat. Think of them as keys to different playstyles. The Heavenly Strike (1 Resolve) is your premier dueling tool, perfect for shattering a staggered enemy's guard or interrupting a boss's combo. The Dance of Wrath (3 Resolve) is your crowd-clearing masterpiece, capable of wiping out three weaker foes or dealing massive damage to a single target. And the Way of the Flame turns your katana into an unblockable terror, burning through blocks and spreading panic in Mongol camps.
The armor sets are just as transformative. Tadayori's Armor makes you a peerless archer, while Gosaku's Armor turns you into a stagger-breaking tank. For a deadly, high-skill playstyle, the Sarugami Armor from Iki Island is unmatched—it disables regular parries but turns every Perfect Parry into a devastating three-hit counterattack chain. And let's not forget utility: Sakai Horse Armor turns your mount into a battering ram, and Uchitsune's Longbow with Explosive Arrows gives you explosive ranged power.
Master the Duel: Universal Strategies
Whether you're facing the Spirit of Yarikawa or Kojiro himself, the core principles of dueling remain the same. First, always use Stone Stance. Its upgrades are non-negotiable for these fights. Prioritize Puncture to break guards and Momentum to speed up your heavy attacks—this is the fastest way to fill an opponent's stagger meter.
The Charm of Mizu-no-Kami is a duelist's best friend. It widens the window for both Perfect Parries and Perfect Dodges, making those crucial defensive timings much more forgiving.
Resolve Management is your lifeline. In a tough duel, never spend your last bar of Resolve on an attack. Always keep one in reserve to heal with [R1 + Circle]. Use your Heavenly Strike or Dance of Wrath only when you're confident it will finish the fight or when you have Resolve to spare.
Putting It All Together
The true beauty of Ghost of Tsushima's progression is that these powerful rewards are never missable. You can weave them into your journey as you acquire them, adapting your strategy on the fly. Found Gosaku's Armor early? Embrace an aggressive, heavy-attack style. Unlocked the Dance of Wrath? Use it to dominate the next Mongol outpost you liberate.
You've followed the legends, defeated the warriors, and claimed their power. With this knowledge, you're not just completing Mythic Tales—you're mastering the heart of combat in Ghost of Tsushima. Now, go forth. Tsushima's fate is in your hands.