How to Unlock Charm Slots and Armor Loadouts in Ghost of Tsushima
In Ghost of Tsushima, your journey is defined by more than just your sword—it’s about the subtle advantages you carry. Before you can master the terrifying phantom, the perfect counter, or the resolve engine builds detailed in later sections, you need to unlock the foundational systems that make them possible: your charm slots and armor loadouts. This section covers the essential first steps every samurai and ghost must take to build-craft effectively.
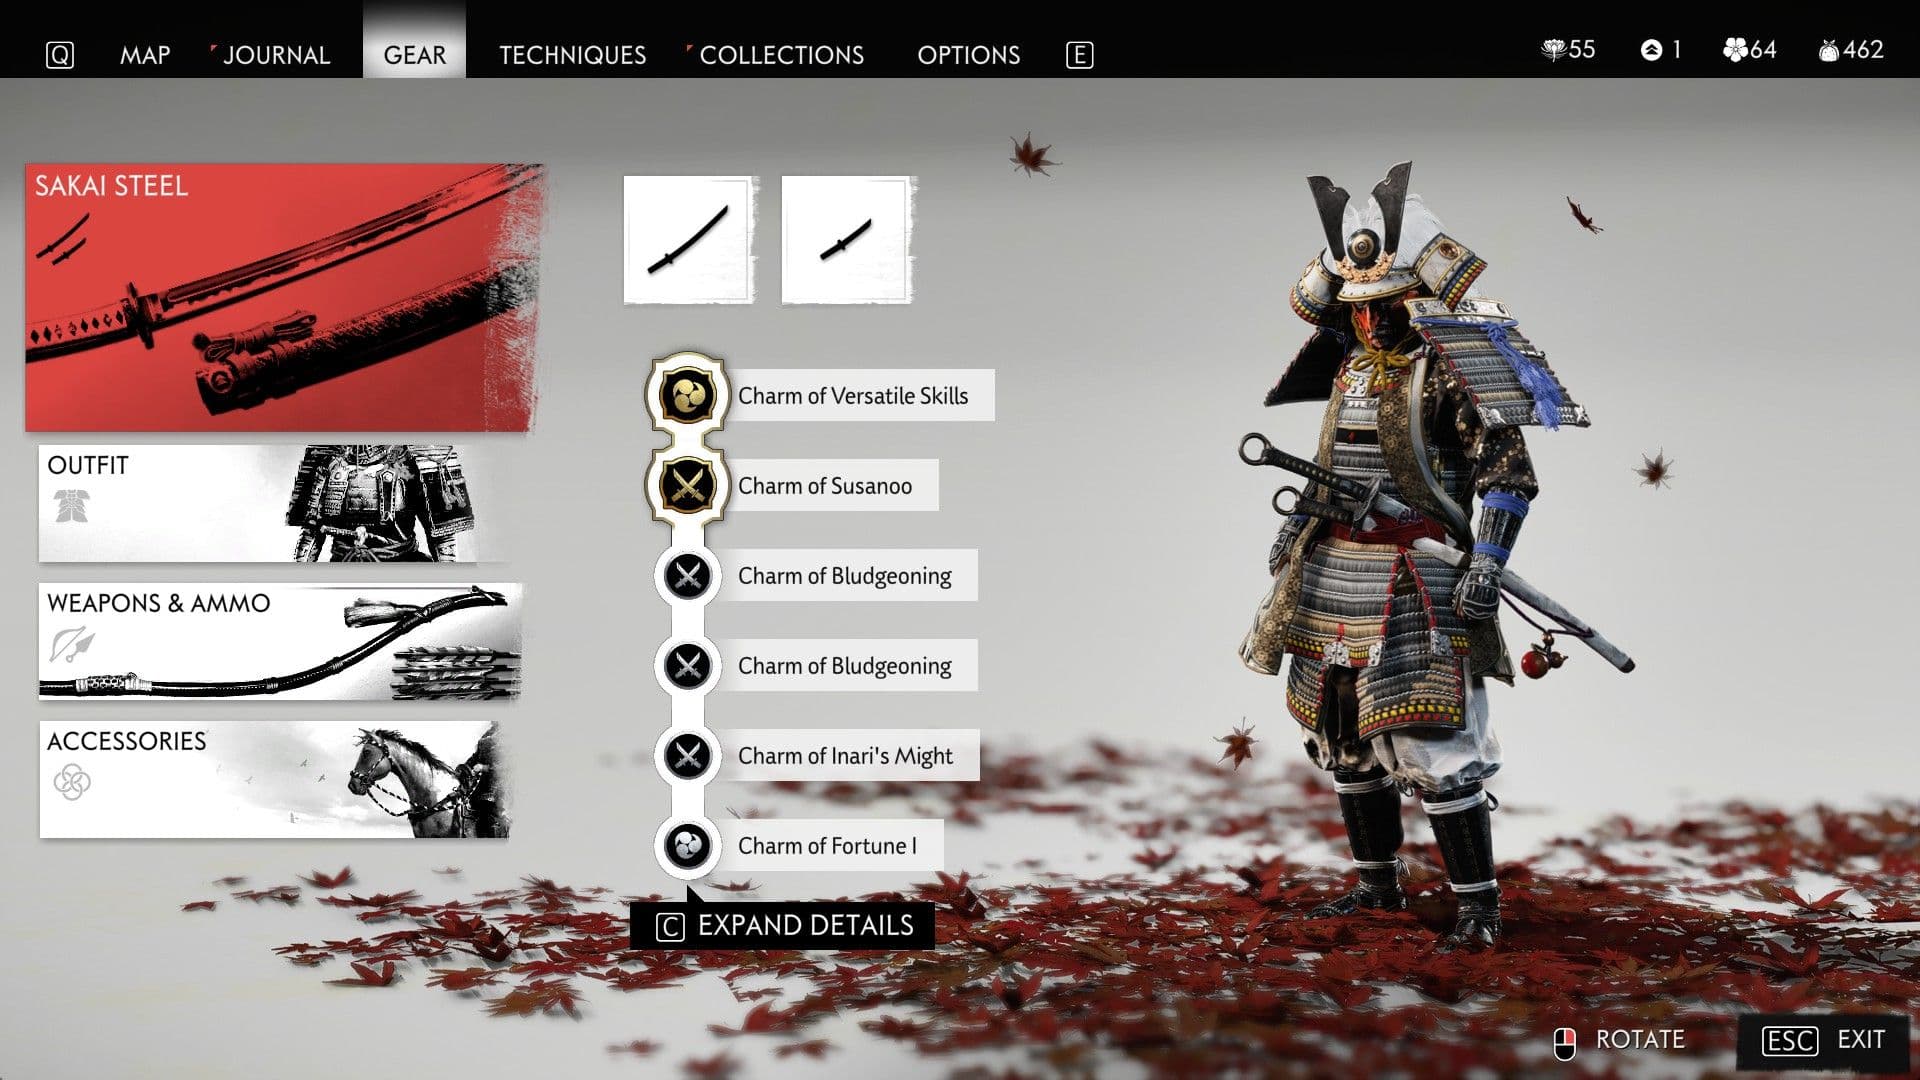
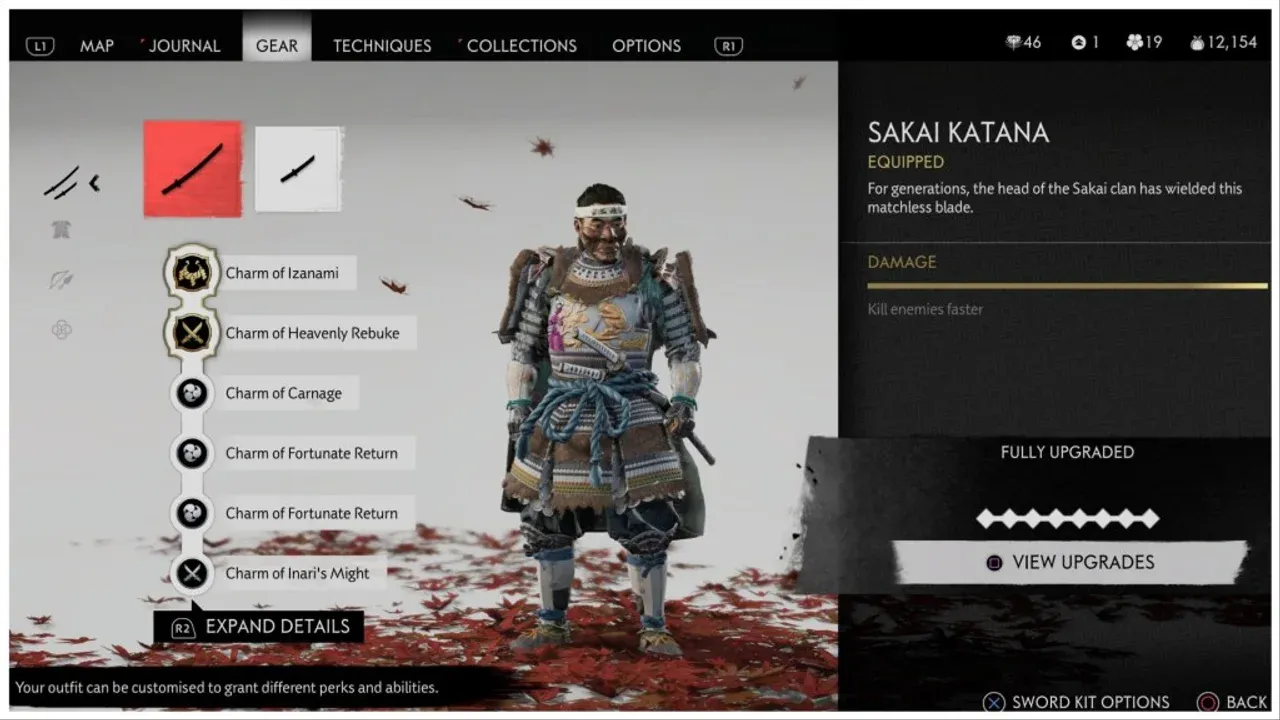
Managing charm slots is essential for creating powerful character builds.
How Charm Slots Work: Following the Fox
Your ability to equip multiple Omamori charms—powerful items granting passive bonuses—is tied directly to your exploration of Tsushima. To unlock more charm slots, you must find and honor Inari Shrines. You’ll often be led to these hidden shrines by friendly foxes you encounter in the wild. When you find one, approach the shrine and press [R2] to Honor it. This act not only pays respects but also reveals how many more shrines you need to find to earn your next slot.
Here’s the progression: honoring three Inari Shrines unlocks one additional charm slot. You can unlock up to six total slots this way, giving you significant flexibility to mix and match effects.
When you see a fox, follow it. They always lead to an Inari Shrine, and unlocking those extra charm slots early will make your entire Ghost of Tsushima playthrough smoother.
Managing Your Builds: Armor Loadouts
Once you’ve collected a variety of charms, you’ll want to pair them strategically with your growing collection of armor sets. This is where the Armor Loadouts feature becomes essential. To enable it, navigate to Options > Gameplay and toggle Enable 'Armor Loadouts'. This allows you to save unique charm combinations to specific armor sets. Instead of manually swapping charms every time you change outfits for a stealth mission or a stand-up fight, your saved loadout automatically equips with the armor. Trust me, enabling this from the start saves a massive amount of menu frustration later.
Understanding Charm Types and Slots
When you open your Gear Menu, you’ll see your charm slots divided into two types: Major Charms and Minor Charms. You have two slots for Major Charms and four slots for Minor Charms. Major Charms typically offer significant, build-defining bonuses (like the Charm of Amaterasu for health on kill), while Minor Charms provide smaller, more situational benefits (like the Charm of Resistance for damage reduction). A powerful build in Ghost of Tsushima often focuses on synergizing a few key Major Charms with complementary Minor ones.
With your charm slots unlocked and your armor loadouts enabled, you’ve built the framework for every powerful build in the game. You’re now ready to start collecting charms and experimenting with combinations that turn Jin Sakai into an unstoppable force. Let’s go.
Best Ghost Armor Build: The Terrifying Phantom Loadout
Become a phantom. In Ghost of Tsushima, the Ghost Armor isn't just for stealth—it’s a psychological weapon designed to turn Mongol camps into houses of horror. This build, the Terrifying Phantom, maximizes that fear to control the battlefield, letting you vanish from sight and reappear as a nightmare.
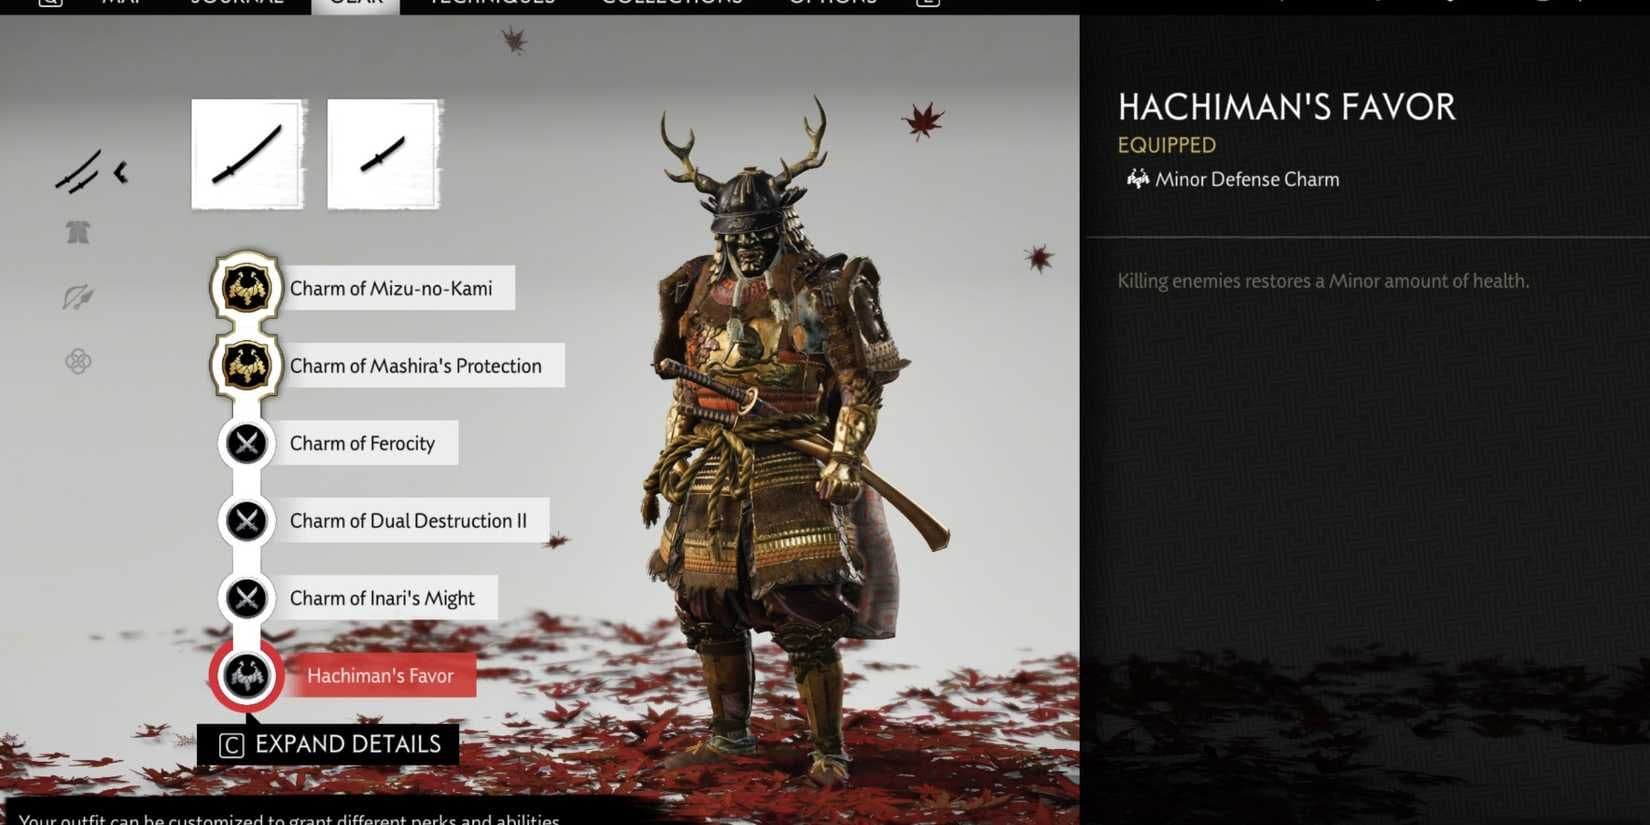
Customizing armor sets and charms to enhance Jin's terrifying presence.
Here’s how to forge the ultimate fear-monger.
The Core: Ghost Armor
You’ll unlock the Ghost Armor automatically by progressing through the main story, receiving it near the end of Act 2. At its peak, this armor significantly reduces enemy detection range and gives your kills a 40% chance to Terrify nearby foes. Terrified enemies are temporarily stunned, flee in panic, or even commit suicide—clearing the field for you. It’s the perfect foundation for a build that thrives on chaos.
Major Charms: Amplifying Terror and Mayhem
Your two Major Charm slots are dedicated to making every encounter explosive and unpredictable.
- Charm of Ikazuchi-no-Kami: Found at the Crane Mountain Shrine in Kamiagata, this charm is your terror amplifier. It makes perks and abilities that Terrify 25% more likely to occur. Paired with the Ghost Armor’s base chance, you’re looking at dramatically more frequent fear procs.
- Charm of Incineration: Obtained by completing the side tale ‘The Traitor’ in Izuhara, this charm makes your Black Powder Bombs cause enemies to catch on fire and deal Burn damage to nearby foes. It transforms your explosives into area-denial tools and a key setup for more terror.
Minor Charms: The Phantom’s Toolkit
The four Minor Charm slots round out your capabilities, making you stealthier, deadlier, and more reliant on chance-based effects.
- Charm of Silence: Earn this powerful charm by finding and honoring 24 Inari Shrines across Tsushima. It reduces enemy detection speed by 15% and grants a massive Resolve gain. This makes staying hidden easier and ensures you always have Resolve for healing or deadly techniques.
- Charm of Fire Doctrine: Complete the side tale ‘A Father’s Choice’ in Kamiagata to get this charm. It gives burning enemies a 15% chance to Terrify those around them. This synergizes perfectly with the Charm of Incineration—your bombs don’t just damage, they spread panic.
- Charm of Advantage: Grab this by finishing ‘The Cost of Iron’ in Izuhara. It makes all Ghost Weapons deal 20% more damage. Your Kunai, Smoke Bombs, and Sticky Bombs hit harder, ensuring quick finishes and better crowd control.
- Charm of Fortune I: Lock this in by completing ‘Peace for the Divine’ in Toyotama. This is the linchpin of the build, making effects with a % chance to occur 50% more likely. This boosts the trigger rate for Terrify from your armor, bombs, and everything else, making the "chance" in your build far more reliable.
Start engagements with a Black Powder Bomb from the shadows. The explosion, burn damage, and potential terror chain will often cripple half a camp before you even draw your sword.
How to Play the Terrifying Phantom
This loadout shifts your role from assassin to orchestrator. Use your enhanced stealth to position yourself, then unleash explosive chaos. A well-placed bomb can burn and terrify a group; a terrified enemy running into others can spread the fear further. Use your Ghost Weapons to clean up, and your boosted Resolve gain to stay in the fight. If things get loud, the ensuing panic will often win the battle for you.
With the Ghost Armor and this carefully selected charm suite, you’re not just a warrior—you’re a legend made flesh, a phantom who conquers Tsushima through fear. Now, go make them tremble.
Best Sarugami Armor Build: The Perfect Counter Master
This is it—the ultimate test of your reflexes. In Ghost of Tsushima, the Sarugami Armor transforms Jin from a master swordsman into a parry god, but it demands absolute precision. This high-risk, high-reward build isn't about chipping away at health bars; it’s about waiting for the perfect moment to unleash a devastating, three-hit counter that can turn the tide of any battle.

Mastering the timing for Perfect Parries in Ghost of Tsushima.
How the Sarugami Armor Works
You’ll unlock this unique armor on Iki Island by completing the Mythic Tale ‘The Legend of Black Hand Riku’. Once equipped, its defining perk kicks in: it disables your regular parry. You can no longer tap L1 to block an incoming attack. Instead, you must perform a Perfect Parry (a perfectly timed L1 block). Land it, and Jin automatically retaliates with a blindingly fast three-hit combo that deals massive damage and often kills the attacker outright. This fundamentally changes your approach to combat, forcing you to rely on timing and patience over aggression.
The Perfect Charm Loadout
To make this build sing, you need charms that enhance your survivability and reward your perfect play. Here’s the exact setup that turns Jin into an untouchable counter-master.
Major Charms (Your Foundation):
- Charm of Mizu-no-Kami: Found at the Spring Falls Shrine in Izuhara, this charm is non-negotiable. It makes Parries, Perfect Parries, and Perfect Dodges easier to perform, widening those critical timing windows. Trust me, you’ll feel the difference immediately.
- Charm of Izanami: Located at the Marsh Rock Shrine in Toyotama, this is your safety net. It ensures that if you do mess up a parry and fall, using Iron Will revives you at 50% of your maximum health. It’s the perfect backup for a build where a single mistake can be costly.
Minor Charms (Stacking the Odds):
This is where you fine-tune the build for maximum lethality and resilience.
- Charm of Inari’s Might: Your reward for completing 20 Inari Shrines across Tsushima. It grants a massive increase to both Health and Melee damage, making you tougher and ensuring your counterattacks hit like a truck.
- Charm of Fortitude: Earned by completing the side tale ‘The End of Suffering’ in Toyotama. It gives you a 20% chance to survive lethal damage and gain Resolve. Between this and Izanami, you become incredibly hard to put down.
- Charm of Hachiman’s Favor: Originally a pre-order bonus, this charm provides a minor amount of health restoration on each kill. It’s perfect for sustaining yourself between those big counter kills.
- Charm of Ferocity: Obtained from the side tale ‘The Traitor’ in Izuhara. It provides a moderate increase to your Melee damage, stacking beautifully with Inari’s Might to maximize your counter damage.
⚠️ Pro tip: Practice your Perfect Parry timing on basic Mongol swordsmen in open-world encounters before taking this build into a duel or story mission. The audio cue—the distinctive whoosh of an incoming attack—is often more reliable than the visual one.
Putting It All Together
With this setup, your strategy is simple: stand your ground, watch your opponent’s movements, and punish every attack. Don’t waste Resolve on healing; save it for activating Ghost Stance after a big counter-kill to terrify the remaining foes. This parry window is tight, but once you nail the rhythm, you’ll feel unstoppable—a true master of the blade who turns enemy aggression against them.
With the Sarugami Armor and this optimized charm loadout, you’re not just surviving fights; you’re dominating them with style and surgical precision. Let the Mongols attack. You’re ready.
Best Gosaku Armor Build: The Stagger and Resolve Engine
When the Mongol horde surrounds you and shields lock into an unbreakable wall, it’s time to switch from finesse to force. In Ghost of Tsushima, the Gosaku’s Armor transforms you into a crowd-control juggernaut, built to shatter enemy defenses and fuel your resolve with every perfect parry. This build isn't about stealth or terror—it's about overwhelming power and relentless pressure.
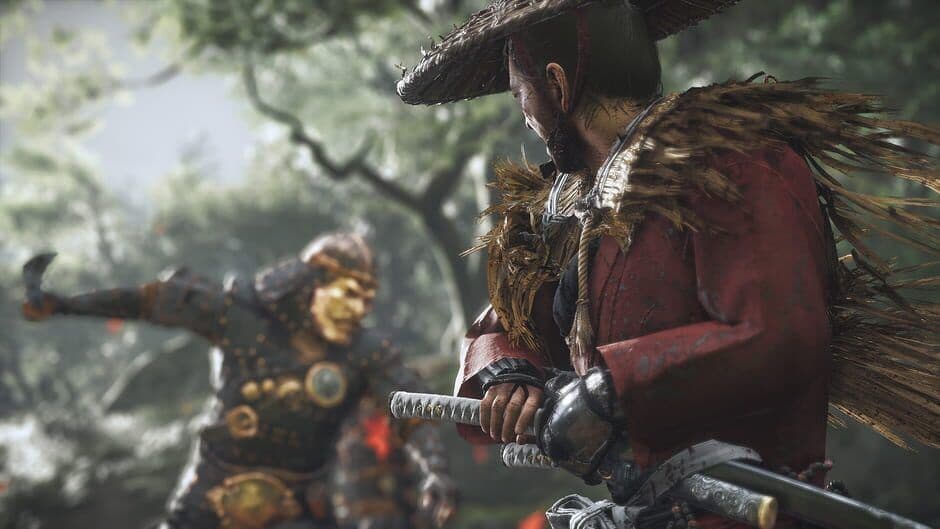
Staggering enemies is key to winning duels and managing large groups of foes.
You unlock Gosaku’s Armor in Toyotama by completing the Mythic Tale 'The Unbreakable Gosaku'. Once fully upgraded, its perks are a stagger-focused dream: a massive increase to stagger damage, longer stagger duration on enemies, and—most importantly—resolve restoration on perfect parries and dodges. This turns your defensive mastery into an offensive engine, letting you fuel your healing and special attacks by simply holding the line.
The Stagger-Enhancing Core
This build’s power comes from stacking stagger bonuses to break through any defense. Start with your two Major Charm slots.
Your first Major Charm should be the Charm of Shinatsuhiko, found at the Lush Peak Shrine in Toyotama. Its effect is crucial: after staggering an enemy, your melee attacks cannot be interrupted for 6 seconds. This is your window to unleash devastating combos without fear of being hit back.
Pair it with the Charm of Susanoo, located at the Stone Dragon Shrine in Izuhara. This charm gives staggered enemies a 30% chance to be knocked down, creating openings for free strikes or letting you reposition against other foes.
Minor Charm Synergy
With your foundation set, use your four Minor Charm slots to amplify stagger damage and survivability.
- Charm of Bludgeoning (x2): Stack this charm twice for maximum stagger output. Grab the first in Izuhara by completing the side tale 'The Laughing Bandits'. Find the second in Toyotama by completing 'The Thief'. Together, they provide a moderate increase to stagger damage, making you break guards significantly faster.
- Charm of Divine Healing II: Earn this in Toyotama by completing the side tale 'The Burden of Theft'. When you heal at 50% health or less, it recovers an additional 30% health. In the thick of combat, this turns a single Resolve-powered heal into a massive health swing.
- Charm of Resolve II: Located in Toyotama via the side tale 'The Fool', this charm provides a 25% increase to all Resolve gains. Combined with Gosaku’s Armor restoring Resolve on perfect parries, you’ll be swimming in the resource needed for healing and deadly techniques.
This build excels in Water Stance. Use its heavy attack, Surging Strikes, on staggered or knocked-down shieldmen. The rapid hits will often finish them before they can recover, letting you cleave through entire front lines.
Putting It All Together
The playstyle is methodical and powerful. Stand your ground, bait attacks, and perfect parry to build Resolve. Once you stagger a foe, the Charm of Shinatsuhiko protects you as you switch targets or finish the job. The doubled Bludgeoning charms ensure their guard breaks in just a few hits, and the Charm of Susanoo will frequently give you a free knockdown. If you take damage, your enhanced Resolve gain and super-charged healing from Divine Healing II will keep you in the fight indefinitely.
This setup turns overwhelming odds into a controlled demolition. With Gosaku’s Armor and these charms equipped, you’re not just surviving the Mongol shield wall—you’re the hammer that shatters it.
How to Find Major Charm Locations in Ghost of Tsushima
Your journey across Tsushima is more than just a story—it’s a hunt for power. Hidden in the island’s most breathtaking vistas are the Major Charms, the game-changing bonuses that define your ultimate build. This is your map to the most powerful ones.

The best charms in Ghost of Tsushima are locked behind Shinto Shrines, rewarding you for mastering platforming puzzles and reaching remote peaks. You’ll need to seek them out, but the payoff transforms Jin from a skilled warrior into a legend.
Here’s where to find the cornerstone charms for any build.
Key Major Charm Locations by Region
Izuhara – The Foundation
Your search begins in the southern region. These early charms provide the essential tools for survival and resource gathering.
- Golden Summit Shrine in the Ariake area rewards the Charm of Amaterasu. This is your go-to for sustainability: killing enemies restores a moderate amount of health, letting you stay in the fight longer.
- For archers, head to the Winding Mountain Shrine in Komatsu. It grants the Charm of Izanagi, giving your headshots a 40% chance to return the arrow. It effectively doubles your ammo during precision streaks.
- Found north of Hidden Springs, the Mending Rock Shrine in Hiyoshi holds the Charm of Okuninushi. This charm lets you slowly recover health while out of combat, perfect for resetting between engagements.
- Don’t miss the Arrow Peak Shrine in Azamo. It offers the Charm of Inari, which increases the supplies, hides, bamboo, and yew wood you gather. Trust me, you’ll want this equipped whenever you’re exploring to stockpile upgrade materials faster.
Toyotama – Specialized Tools
As you move north into the central region, the charms become more specialized, enhancing specific playstyles.
- The Cloud Ridge Shrine in Kushi is a stealth archer’s dream. It awards the Charm of Azumi-no-Isora, which makes your arrows silent on impact. This lets you pick off enemies without alerting the entire camp.
- For Ghost-focused builds, seek the Scarlet Rock Shrine in Umugi. Its Charm of Tsukuyomi causes assassinated enemies to drop additional ammo or supplies, creating a lethal economy that fuels your stealth toolkit.
Kamiagata – Endgame Power
The frozen north holds charms that push your damage output to its peak.
- The Snowlit Peak Shrine in the Jogaku region offers one of the best offensive charms: the Charm of Takemikazuchi. Killing an enemy increases your melee damage by a minor amount for a few seconds, letting you chain kills and snowball through groups.
Use Traveler’s Attire while shrine hunting. Its ability to track undiscovered locations on your compass makes finding these remote shrines infinitely easier.
With these coordinates, you’re no longer just following the story—you’re strategically building the legend of the Ghost. Each of these locations holds a key piece of your ultimate power. Go claim them.
The Charm of Versatile Skills: Iki Island Synergy Math
This is where your mastery of Ghost of Tsushima becomes an art form. The Charm of Versatile Skills, found only in the Iki Island expansion, is the ultimate reward for players who understand the game’s systems. It doesn't just give you a bonus—it redefines how you build Jin, turning a collection of charms into a perfectly orchestrated symphony of power. But you have to play by its rules.
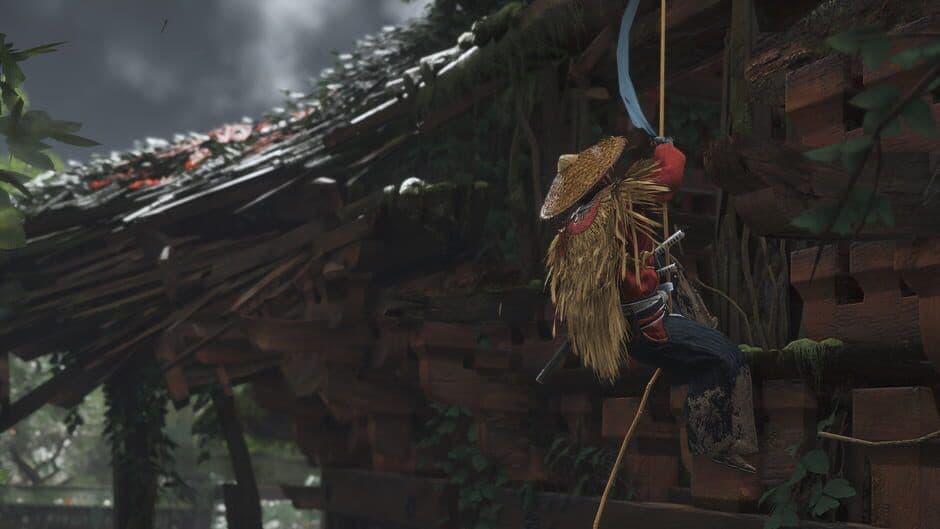
Visualizing the impact of charms on Jin's combat effectiveness.
To earn it, you must prove yourself anew on Iki Island by reaching the pinnacle of its honor system: Legacy Redeemer. This rank isn't just handed out; you'll need to dive into everything Iki offers. Progress through the main Tales of Iki, clear Mongol camps, rescue captives, and ace archery challenges. The main story gets you most of the way, but becoming a true Legacy Redeemer means engaging with the island's side activities and stories. Once you hit that top rank, the charm is yours.
Here's where most players get tripped up. The charm’s description says it “Double the effects of Minor Charms if they are the only Minor Charm of the same category.” This isn't a suggestion—it's a strict condition. Ghost of Tsushima sorts all Minor Charms into five distinct categories, visible by their icon on the equipment screen: Attack, Defense, Ranged, Stealth, and Utility.
If the Charm of Versatile Skills icon is greyed out in your menu, you’ve broken its rule. Check for duplicate categories in your Minor Charm slots.
The strategy is simple but demands precision: you must equip exactly four Minor Charms, and each one must be from a different category. Equip five, and you'll have a duplicate, deactivating the charm entirely. This forces you into a specific, powerful build philosophy. A classic, balanced Versatile Build Setup would be 1 Melee (Attack) + 1 Defense + 1 Stealth + 1 Utility. This combination triggers the doubling effect across the board, transforming each charm's bonus.
The payoff is immense. Imagine a Charm of Ferocity (moderate melee damage) now dealing a massive increase, or a Charm of Resistance providing major damage reduction. Your sole Stealth charm could make you nearly invisible, while a lone Utility charm like the Charm of Inari becomes a resource-gathering powerhouse. This is where the true synergy math shines.
⚠️ Watch out: The doubling effect applies to the charm's entire effect. For charms with multiple bonuses, like the Charm of Inari's Might (which grants a "Massive" increase to both health and melee damage), the Charm of Versatile Skills doubles both stat boosts. This creates arguably the most potent single charm combo in the game for raw power.
With the Charm of Versatile Skills active, you're not just wearing charms—you're engineering a legend. It rewards thoughtful planning over mindless stacking, turning Jin into a dynamically adaptable warrior ready for any challenge Iki Island or Tsushima can throw at him. Master this, and you've mastered the system.