
How to Master Early Navigation in Ghost of Tsushima
In Ghost of Tsushima, the world of Tsushima isn't just a backdrop—it's your guide. The game masterfully weaves exploration into the fabric of its story, using natural elements rather than cluttered UI to point you toward adventure. Your first hours on the island can feel overwhelming, but learning to read its subtle signs is the key to uncovering every secret and story it holds.

The Guiding Wind can be upgraded to lead Jin toward specific collectibles and landmarks.
Your primary tool is the Guiding Wind, a beautiful and intuitive navigation system. To use it, open your map and press [X] to place a marker on any location or objective. Then, with a simple swipe up on the [Touchpad], you’ll summon a gentle gust that flows across the landscape, pointing you in the exact direction you need to go. It’s a completely immersive way to navigate that keeps your eyes on the breathtaking scenery, not on a mini-map.
Trust the wind completely. It accounts for elevation and paths, so if it’s blowing toward a cliff face, look for a hidden climbing route nearby.
While the Guiding Wind handles your marked destinations, the island itself will guide you to its secrets. Keep your ears open for the distinctive chirp of a Golden Bird. These bright yellow birds aren’t just part of the scenery—they’re nature’s tour guides. When you see or hear one, follow it. It will always lead you to something worthwhile, be it a hidden quest, a cosmetic item like a new hat, or a scenic landmark like a hot spring. The detour is always worth it.
For one of the most valuable early-game upgrades, you’ll want to seek out Fox Dens. You can spot their entrances by looking for vibrant yellow trees adorned with glowing fireflies. Approach one and a friendly fox will appear, beckoning you to follow. It will lead you on a short run to an Inari Shrine, where paying your respects rewards you with a precious Charm Slot. Charms provide passive bonuses, and more slots mean more power. Following these foxes is one of the most reliable ways to strengthen Jin from the very beginning.
Here’s the trick most guides miss: you don’t need to spend precious Technique Points to upgrade the Guiding Wind to find these points of interest. While those “Wind of…” skills exist, you can find everything naturally by simply observing the world. Look for plumes of smoke on the horizon (which signal camps or villages), listen for animal guides, and climb to high vantage points to survey the land. Every point of interest you discover becomes a Fast Travel location, making backtracking a breeze.
With the Guiding Wind as your compass, golden birds as your scouts, and foxes as your spiritual guides, you’ll never feel lost in Tsushima. You’ll feel like a true part of its world, discovering its stories organically with every step you take.
Best Early Armor and Upgrades in Ghost of Tsushima
Your journey through Tsushima is about more than just skill—it’s about preparation. The right gear transforms Jin from a survivor into a legend, and knowing which armor to pursue early will save you hours of struggle and wasted resources. In Ghost of Tsushima, your outfit is your toolkit, not just a costume.
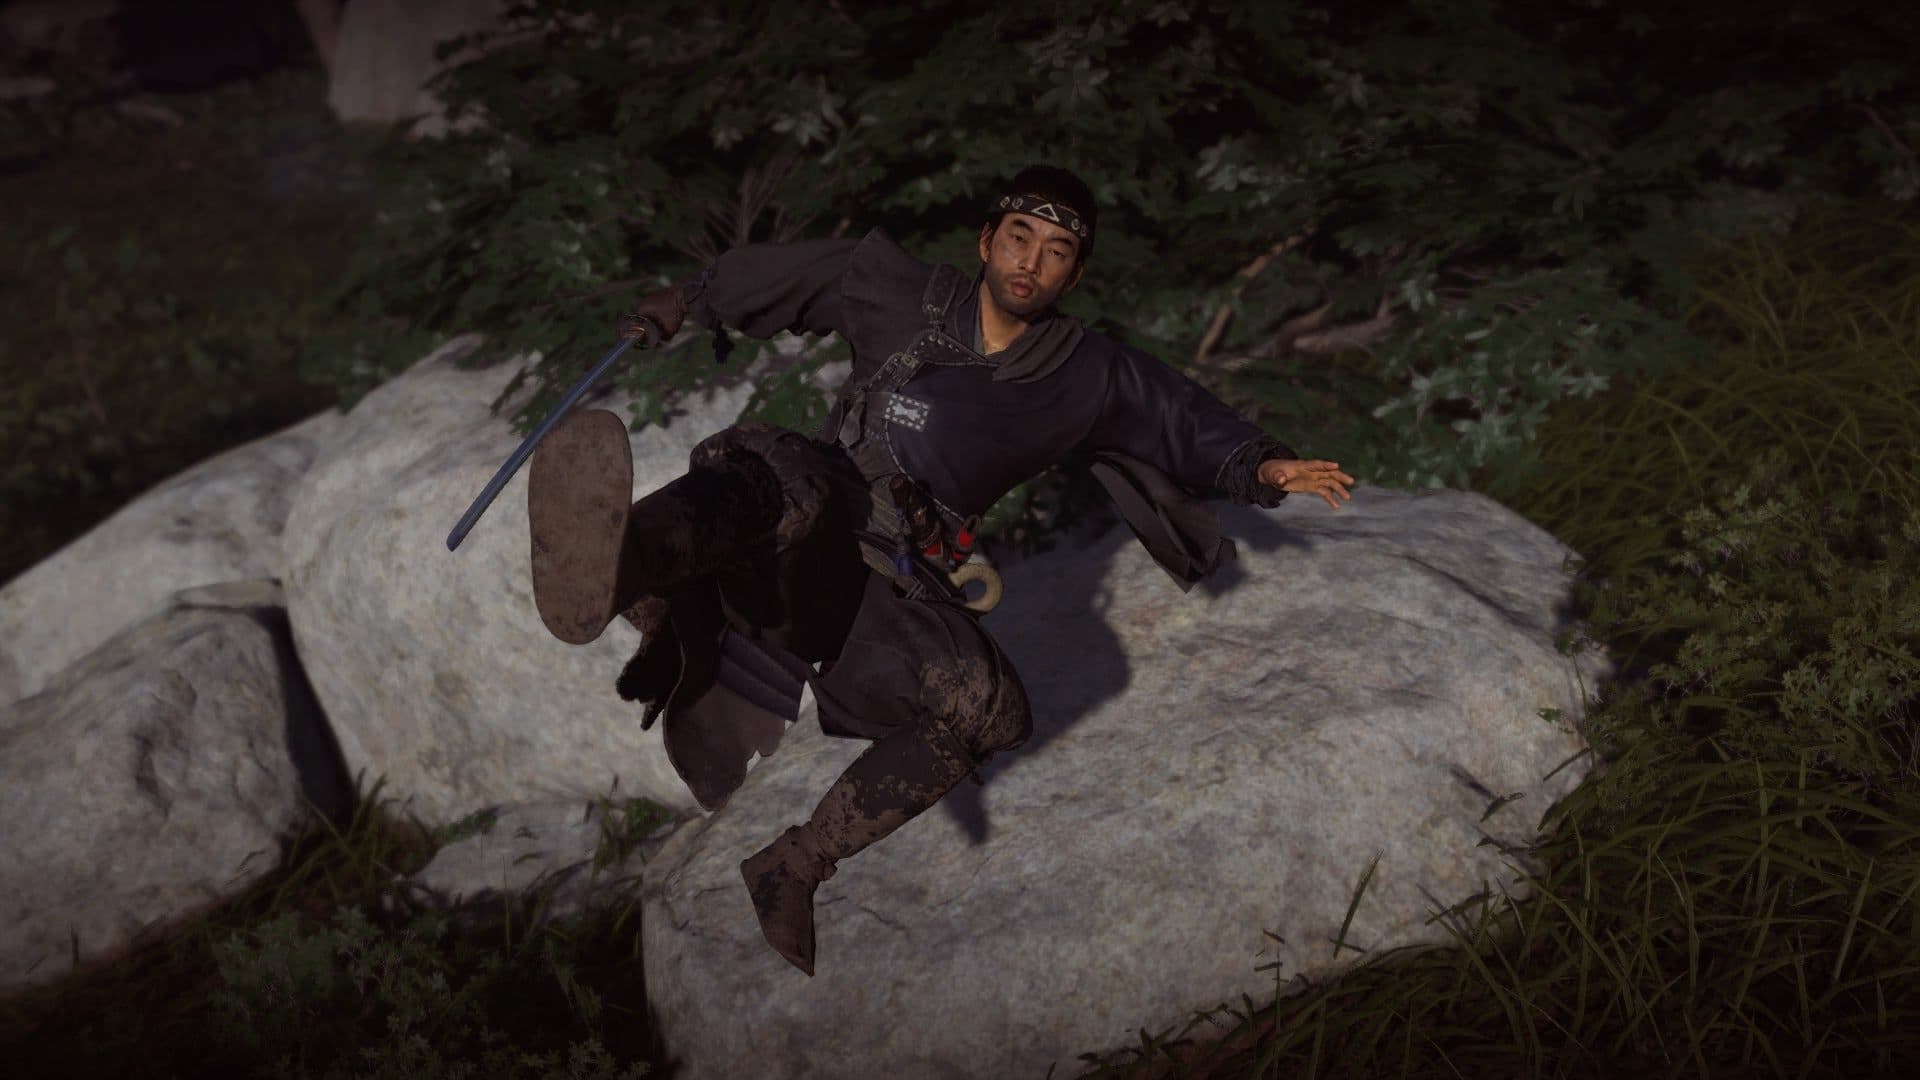
Tadayori's Armor is a top-tier early choice for players focusing on ranged combat.
Your first essential purchase is the Traveler’s Attire, available from any merchant, such as the one at Hiyoshi Springs. This isn't just for looks; when equipped, your [Controller] vibrates near collectibles, and at higher upgrade tiers, it clears the map’s fog at a faster rate. It’s your exploration workhorse.
Upgrade the Traveler’s Attire to Tier III early. This sweet spot maximizes its map-defogging power without making the collectible detection range so large that finding specific items becomes frustrating.
For direct combat, two story-driven armors are game-changers. Complete the early tale ‘The Tale of Lady Masako’ to earn the Samurai Clan Armor, which provides a solid health boost and damage reduction—perfect for standing your ground. Shortly after, the quest ‘Blood on the Grass’ in Act 1 grants you the Ronin Attire. Trust me, you’ll want to switch into this for stealth approaches and tough fights, as it provides a melee damage boost and reduces enemy detection speed.
Here’s how to use them: wear the Traveler’s Attire while riding between objectives to uncover the map and spot collectibles. As you approach a Mongol camp, swap to the Ronin Attire to sneak in and thin the ranks. If the alarm sounds or you choose a stand-off, switch to the Samurai Clan Armor to tank hits and dish out punishment. This simple rotation leverages each set’s specialty.
With these three armors in your rotation—one for finding, one for stalking, and one for fighting—you’re equipped to handle Tsushima’s early challenges efficiently. Let’s go.
How to Unlock Combat Stances in Ghost of Tsushima
Ghost of Tsushima’s combat is a lethal dance, and your sword is only as good as your stance. The game’s stance system is your key to dismantling the Mongol invaders, but unlocking them isn’t just about story progress—it’s about a specific, efficient strategy on the battlefield.
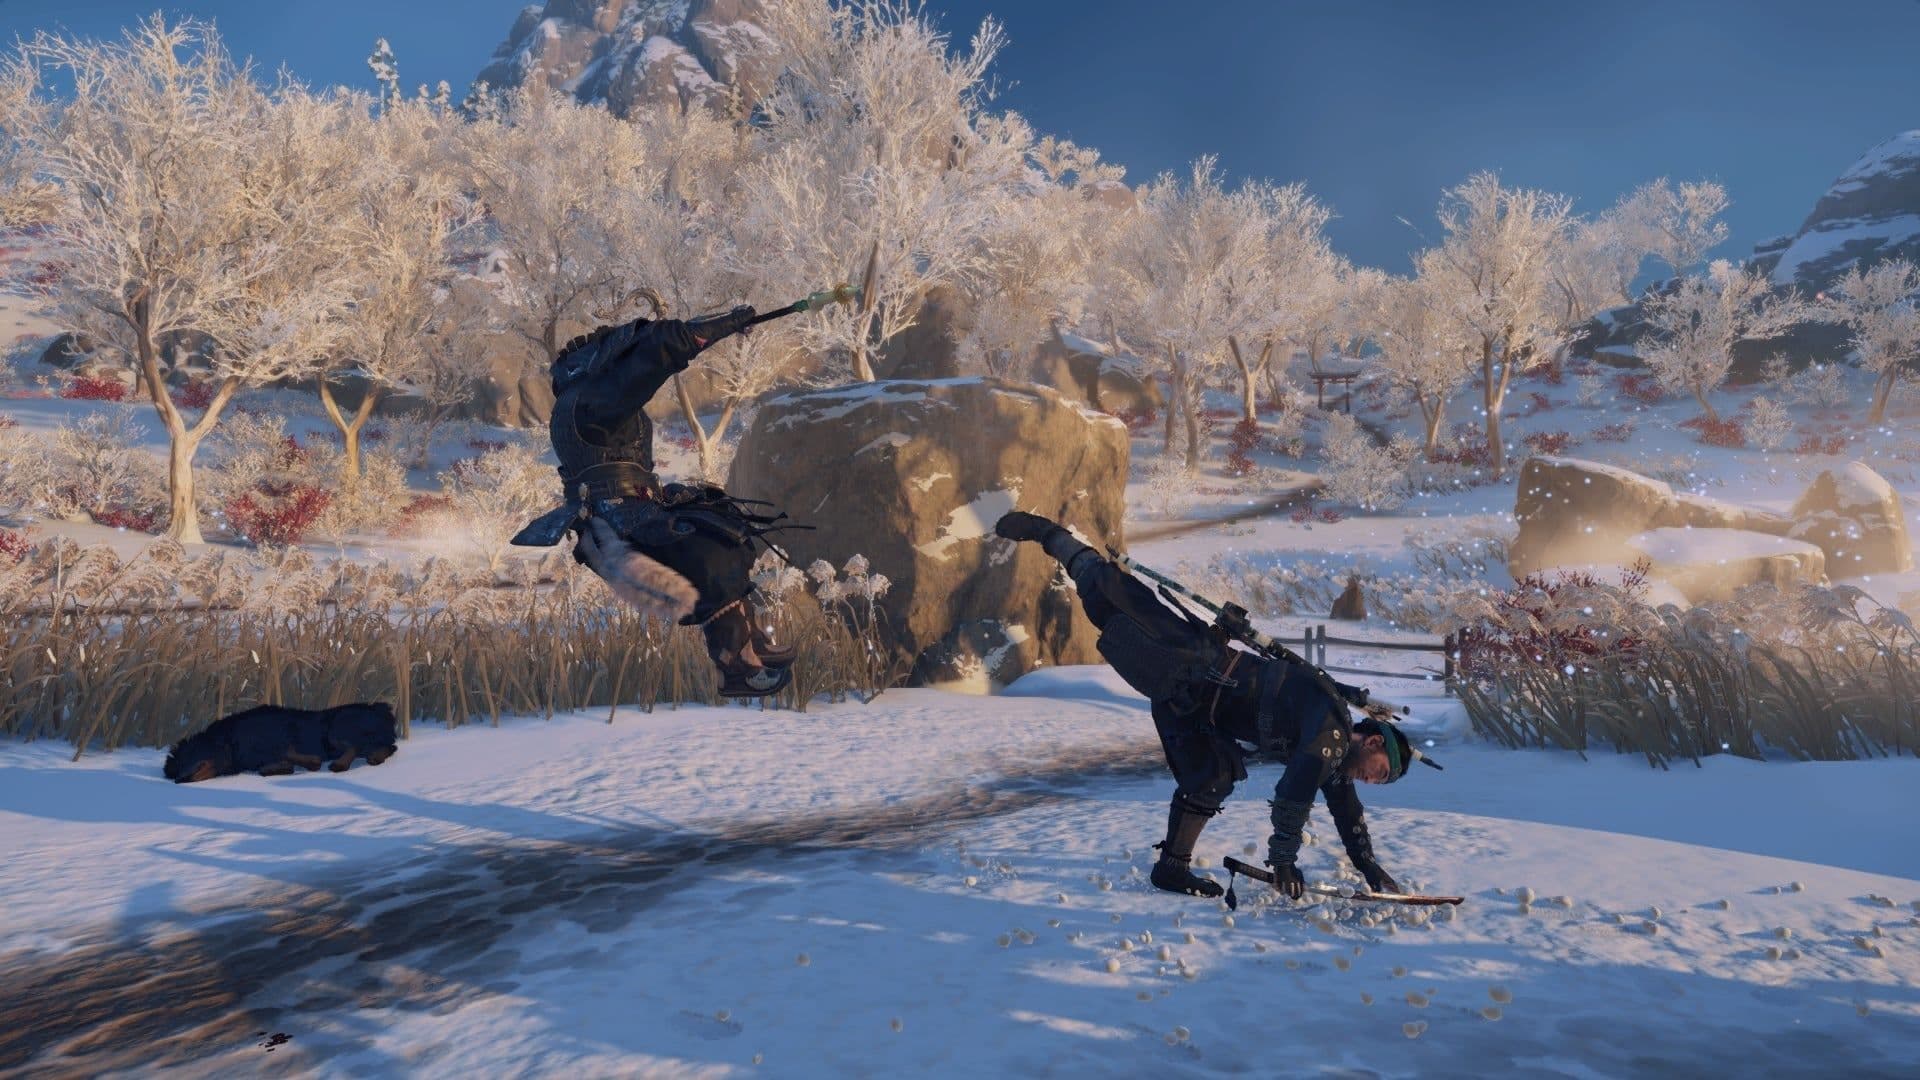
The Wind Stance is one of four unlockable combat styles in Ghost of Tsushima.
Your journey begins with the Stone Stance, effective against swordsmen. To unlock the other three—Water, Wind, and Moon—you need to earn Stance Points. These points are awarded by taking down Mongol Leaders, the heavily armored foes you’ll find training solo within occupied territories and camps.
Here’s the trick most guides miss: you can double your progress from a single leader. Never attack one on sight. Instead, use stealth to get close, hold [R2] to observe their training from a hidden position. This nets you one Stance Point. Then, eliminate them for a second point. This “observe then kill” method is the fastest way to unlock all four stances and should be your top priority in any new camp you discover.
Look for the leader first. They’re often isolated, practicing their moves. Clearing the camp of other Mongols quietly first can make your observation much safer.
Once unlocked, switching stances mid-fight is seamless. Simply hold [R2] and press the corresponding face button to swap styles instantly. This lets you adapt on the fly: switch to Water Stance to batter down a shield with heavy attacks, then flick to Wind Stance to parry an incoming spear thrust.
With this method, you’ll have the full arsenal of stances at your command much earlier, turning overwhelming encounters into manageable duels. Let’s go.
Mastering Early Combat Stances and Enemy Counters
You’ve unlocked your first combat stances in Ghost of Tsushima—now it’s time to make them work for you. This is where your journey truly begins: learning which stance shatters which enemy’s defense is the difference between a chaotic struggle and a controlled, decisive victory.
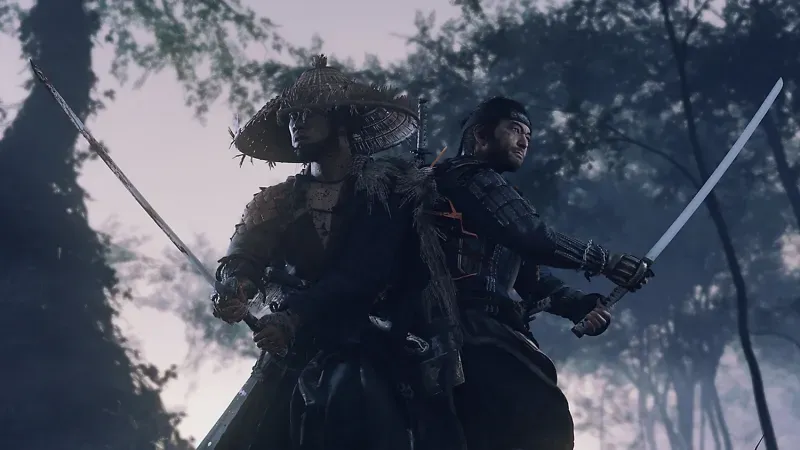
Mastering parries and counters is the foundation of early game combat.
Let’s break down your first three essential tools: the Stone Stance, Water Stance, and Wind Stance. Each one is your key to dismantling a specific Mongol archetype.
Stone Stance: Your Foundation Against Swordsmen
This is your default stance, and it’s perfectly designed for the most common foe you’ll face: Swordsmen. When locked in a duel with a standard infantryman, heavy attacks in Stone Stance are your best friend. They’re slower but deliver powerful blows that efficiently break an enemy’s guard. Trust me, mastering the rhythm of Stone’s heavy attacks early on will make those one-on-one fights feel effortless.
Water Stance: The Shield Breaker
Unlocked first, the Water Stance is your direct answer to the frustrating Shieldmen who hide behind their defenses. The secret here is the Flurry Strike. Hold [Triangle] to unleash a rapid, five-hit combo that relentlessly chips away at a shield. Once you see that white Stagger Bar above the enemy’s health deplete and shatter, they’ll be stunned and wide open for a killing blow.
Don’t just spam the Flurry Strike. Time it! Wait for a Shieldman to finish his attack animation, then hold [Triangle] to punish him without interruption.
Wind Stance: Dominating the Spearmen
Your second unlock, the Wind Stance, turns the tables on deadly Spearmen. Their long-range pokes can keep you at bay, but Wind’s heavy attacks have a special property: they automatically parry spears. That’s right—a well-timed [Triangle] heavy attack will deflect their thrust and leave them off-balance. This stance makes what feels like a dangerous enemy suddenly manageable.
Understanding the Stagger Bar
This next part is critical. Notice that white bar above every enemy’s health? That’s the Stagger Bar. You cannot deal significant health damage until you break this "guard" by landing heavy attacks in the correct stance. A Stone heavy attack will barely tickle a Shieldman’s stagger bar, but a Water Flurry Strike will melt it. Match your stance to the enemy, break their stagger, and then finish them off.
If you’ve felt stuck hacking away at a shielded Mongol to no avail, you’re not alone—that’s the game telling you to switch stances. With this knowledge, you’re ready to walk into any camp, identify the threats, and systematically dismantle them. Let’s go.
Best Samurai and Ghost Skills for Beginners
Your first few Technique Points in Ghost of Tsushima are a precious resource. With so many flashy options in the skill trees, it’s easy to feel overwhelmed and make investments you’ll regret. This section cuts through the noise to show you the four most impactful early skills that will carry you through the Mongol invasion.
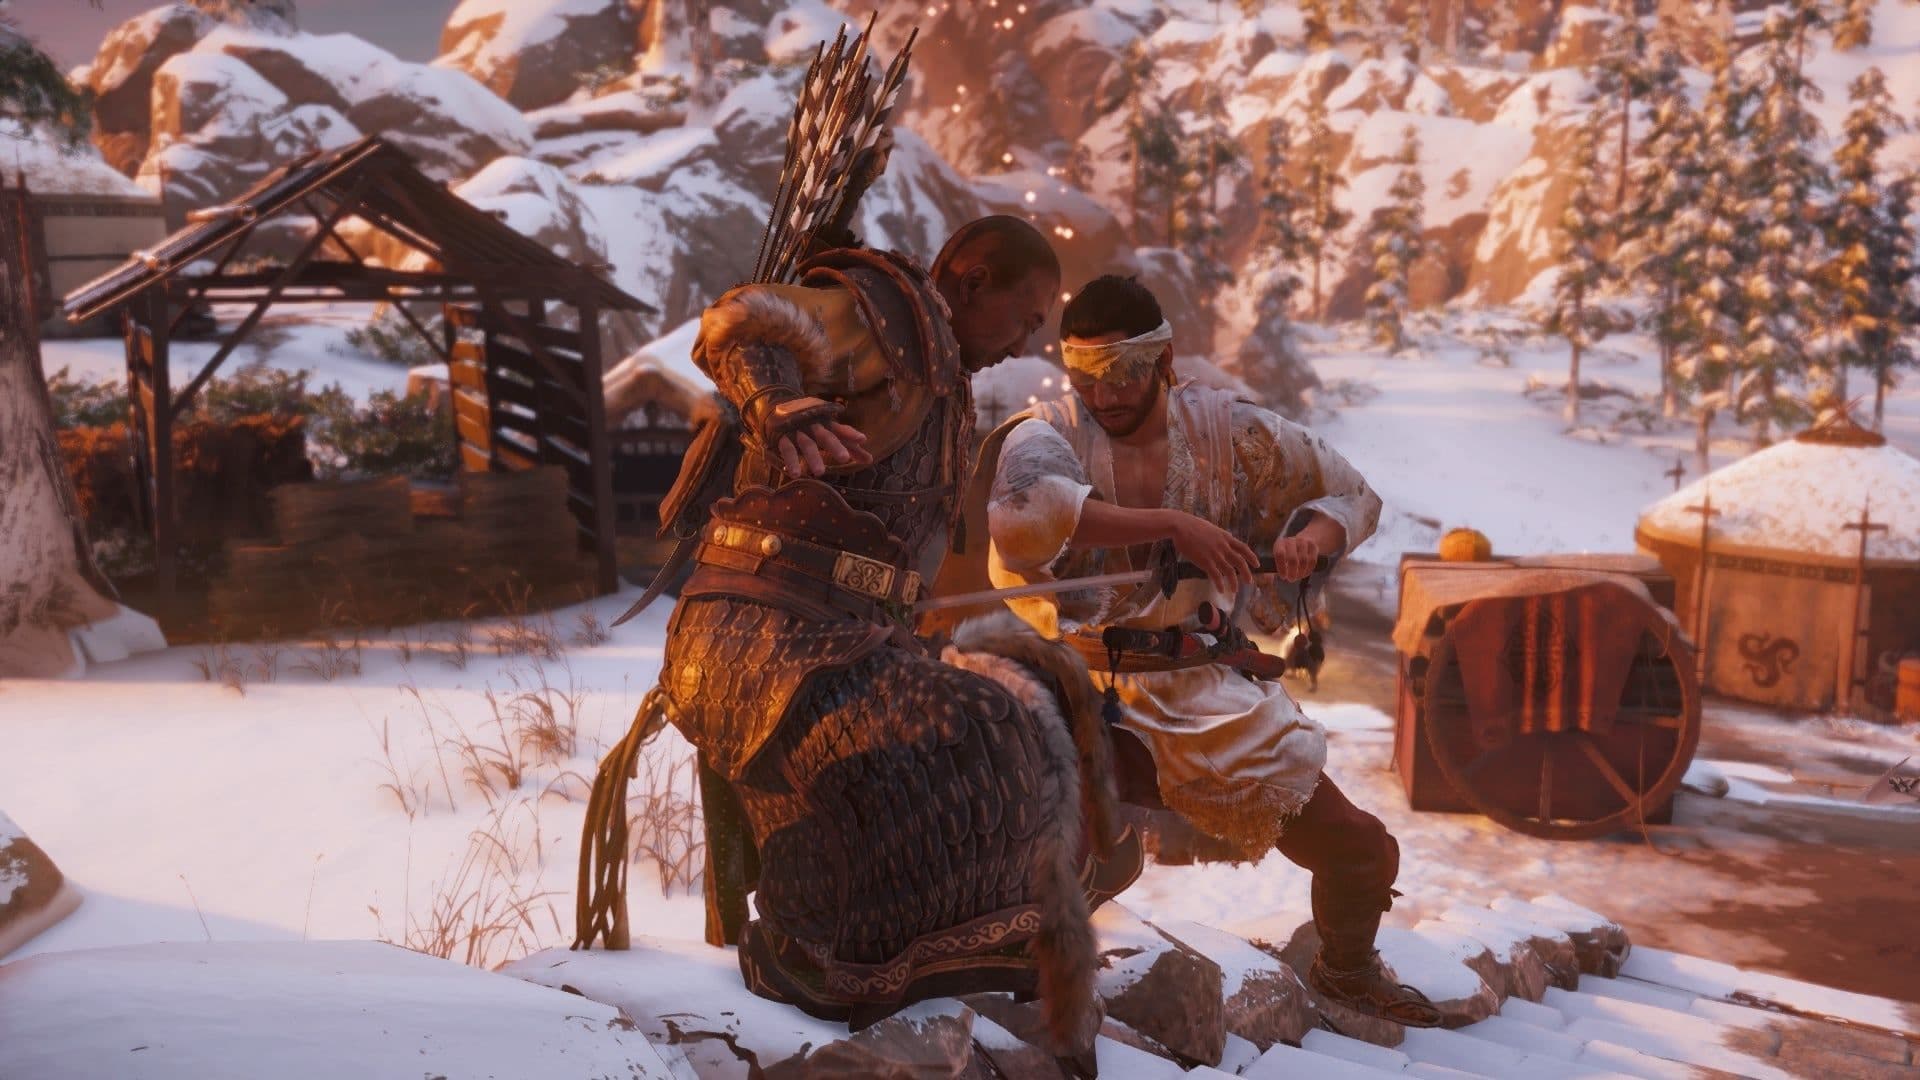
The skill tree menu offers various paths for Jin's development.
Samurai Skills: The Defensive Foundation
Forget about splitting your points early. You need to commit to a combat philosophy, and the Samurai skill tree’s Deflection path offers the most practical and powerful foundation. This isn't about fancy moves; it's about survival and control.
Your first major purchase here should be Perfect Parry. This skill upgrades your basic block, allowing you to tap [L1] just before an enemy's strike connects to slow time and unleash a brutal counterattack. It’s your ticket to turning defense into devastating offense. Follow this up with Deflect Arrows. By holding [L1] while moving, Jin will automatically block incoming arrows. This is a game-changer for managing those pesky archers who love to interrupt your duels.
The parry window in Ghost of Tsushima is forgiving compared to games like Sekiro. Practice on basic swordsmen in Izuhara to get the rhythm down—once you nail it, you'll feel unstoppable.
Ghost Skills: Essential Tactical Tools
While the Samurai tree makes you durable, the Ghost tree’s Evolving Tactics branch gives you the tools to control any fight. Two skills here are non-negotiable for beginners.
First, unlock Concentration. When you aim your bow, press [R3] to slow time, making headshots trivial. This skill transforms the bow from a situational tool into your primary method for safely eliminating threats before a fight even begins. Pair it with armor that boosts your Concentration meter for even greater effect.
Next, invest in the Standoff Streak upgrade. This enhances the iconic standoff mechanic, allowing Jin to kill multiple enemies in the dramatic opening clash. Upgrading this lets you thin out entire groups before combat officially starts, saving you resolve and health for the tougher foes that remain.
With these four core skills—Perfect Parry, Deflect Arrows, Concentration, and Standoff Streak—you have a balanced toolkit for any encounter Ghost of Tsushima throws at you. You’ll be deflecting blows, sniping threats, and starting fights with a decisive advantage. Now you’re ready to spend your next points with confidence.
How to Find Essential Early Charms and Shrines
While mastering combat stances and skills is crucial in Ghost of Tsushima, your true power lies in the passive buffs you collect across the island. These aren't just trinkets—they're game-changers that can turn a difficult fight into a manageable one. Your early hours should be spent hunting for two of the best early-game charms and completing two key activities that permanently boost your stats.
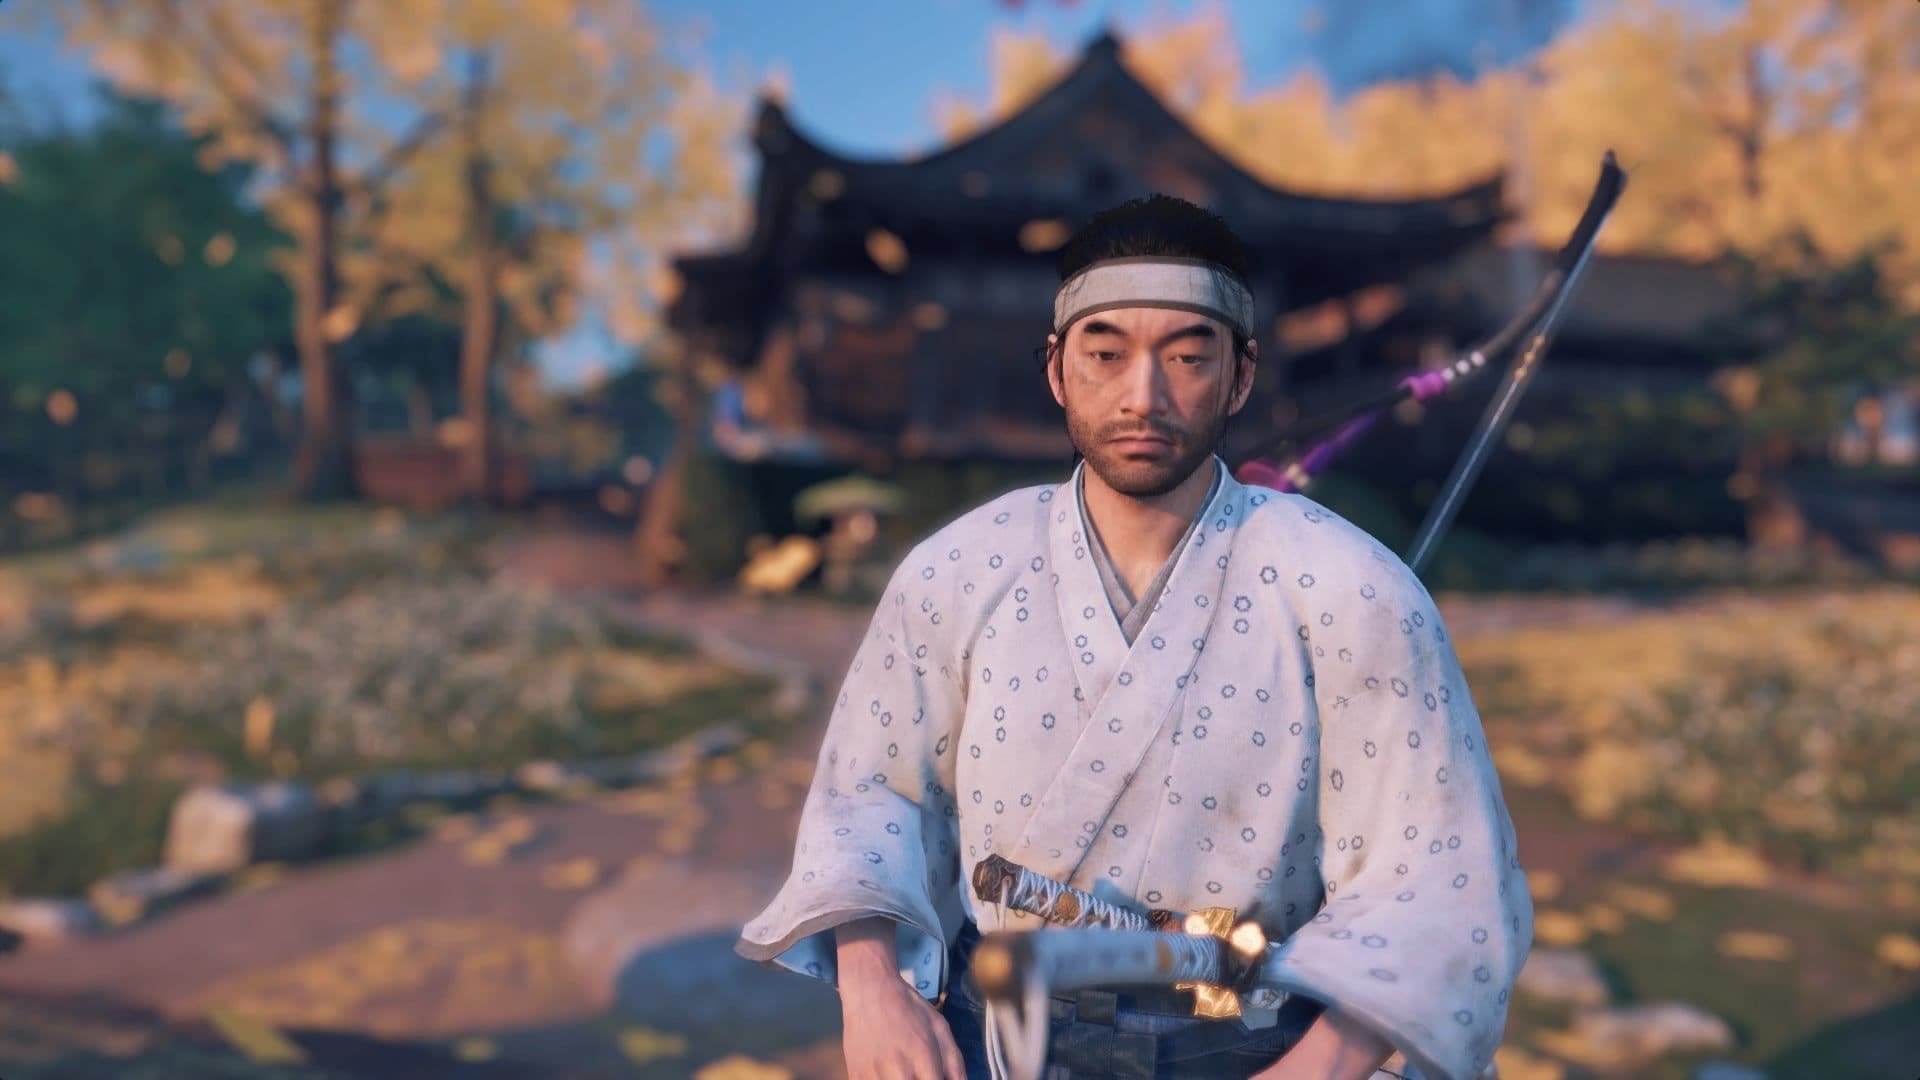
Exploration mechanics like following foxes are key to finding new charms.
First, let's talk about Shinto Shrines. These are intricate platforming challenges scattered across Tsushima, often requiring you to climb cliffs and leap across gaps. The reward for reaching the summit is always worth it: a Major Charm for a powerful passive effect and some Wax Wood, an essential material for upgrading your bow. One of the best early finds is the Charm of Inari, located at the Arrow Peak Shrine in Izuhara. This charm is a must for any player—it increases the amount of supplies and materials you collect from every source. Trust me, with how much upgrading you'll be doing, this charm will save you hours of grinding.
Listen for the wind chimes and look for the distinctive red Torii gates and orange banners—they mark the entrance to every Shinto Shrine. The climb is usually the puzzle itself.
The second essential charm is a literal lifesaver. Head to the Mending Rock Shrine, also in Izuhara, to find the Charm of Okuninushi. Once equipped, this charm provides slow health regeneration whenever you're out of combat. This is a huge quality-of-life improvement, as it lets you recover from skirmishes without constantly spending your precious Resolve to heal. If you've been relying on hot springs or healing items between fights, this charm will make your exploration feel much smoother.
Alongside shrines, you should actively seek out Bamboo Strikes. These are standalone mini-games where you must press a sequence of buttons with precise timing. Success isn't just for show—each Bamboo Strike you complete permanently increases your maximum Resolve. Resolve is your most important resource in Ghost of Tsushima; it fuels your healing, powers devastating special attacks like the Heavenly Strike, and is required for stand-offs. Finding these early builds a foundation that makes every combat encounter easier.
⚠️ Watch out: The button prompts appear quickly. Don't panic—focus on the rhythm. It's better to miss one prompt and retry than to rush and fail the entire sequence.
With the Charm of Inari boosting your resource haul, the Charm of Okuninushi keeping you topped up, and Bamboo Strikes expanding your Resolve pool, you're not just surviving Tsushima—you're thriving in it. Make these four discoveries a priority, and you'll feel your legend grow with every step.
Essential Combat Tips for Surviving the Mongol Invasion
The Mongol invasion of Tsushima is relentless, and you’ll quickly find yourself outnumbered. In Ghost of Tsushima, raw aggression will get you killed—survival depends on smart tactics and exploiting every tool at your disposal. This is where your combat knowledge becomes your greatest weapon.

Quick-throw items can stagger enemies and provide an escape when outnumbered.
Target Priority: Archers First
When you roll into a camp, it’s tempting to clash steel with the nearest swordsman. Resist that urge. Your absolute first priority in any combat encounter should be to kill archers first. They deal punishing damage from a distance and will constantly disrupt your flow while you’re locked in melee. The good news is they’re fragile, often going down in just two or three hits. Use a quick sprint or a Kunai toss to close the gap and eliminate them immediately. Clearing the backline turns a chaotic brawl into a manageable duel.
Reading Attack Tells: Red and Blue Glints
As you engage, watch enemy weapons closely. You’ll see two distinct, unblockable attack warnings:
- Red Glint Attacks: These are powerful, sweeping strikes you cannot block. When you see the red flash, you must press [Circle] to dodge or roll away. Trying to parry this will break your guard and leave you wide open.
- Blue Glint Attacks: These are thrusts or bashes from certain enemy types (like spearmen or brutes). Normally, you must dodge these as well. However, by investing in specific skills in the Deflection tree—Unyielding Sword Parry and Unyielding Spear Parry—you can learn to parry these blue-glint attacks, turning a deadly threat into a perfect counter opportunity.
⚠️ Watch out: The timing on these parries is tight. If you haven’t unlocked the Unyielding skills yet, treat every glint (red or blue) as a dodge signal.
Your Combat Toolkit: Quick-Throw Items
Don’t sleep on your Ghost Weapons. Mapped to [R1], these quick-throw items are lifesavers. The Kunai is your early-game Swiss Army knife: a quick tap of [R1] will stagger multiple enemies in front of you, interrupting their attacks and creating a precious opening to strike or retreat. It’s perfect for stopping a charging brute or creating space when you’re surrounded. Always loot fallen foes and camps to keep your supply topped up—you’ll use these more than you think.
Putting It All Together: A Sample Engagement
Let’s walk through liberating a small camp. Approach from high ground and tag the archers with your bow if you can. When combat begins, use a Kunai to stun the frontline, then sprint past them to cut down the archers. Now, focus on the remaining melee foes. Watch for glints—dodge the reds, and if you have the skills, parry the blues. Switch your stance mid-fight (hold [R2]) to match the enemy: Water for shields, Wind for spears. Fight deliberately, parrying and countering rather than button-mashing.
After the fight, don’t ride off immediately. Search every body and corner of the camp. Fallen Mongols often drop Arrows, Kunai, and other supplies you’ll desperately need for upgrades.
Mastering these fundamentals transforms you from a survivor into a predator. You’ll stop fearing Mongol camps and start seeing them as opportunities to hone your legend. Now, go turn the tide.
Ghost of Tsushima Resource Gathering and Upgrading
This is where your legend becomes tangible—in Ghost of Tsushima, the strength of your blade and the sharpness of your tactics are forged not just by skill, but by the materials you gather. Upgrading Jin’s gear is the steady, rewarding grind that turns a desperate survivor into a true force of liberation.
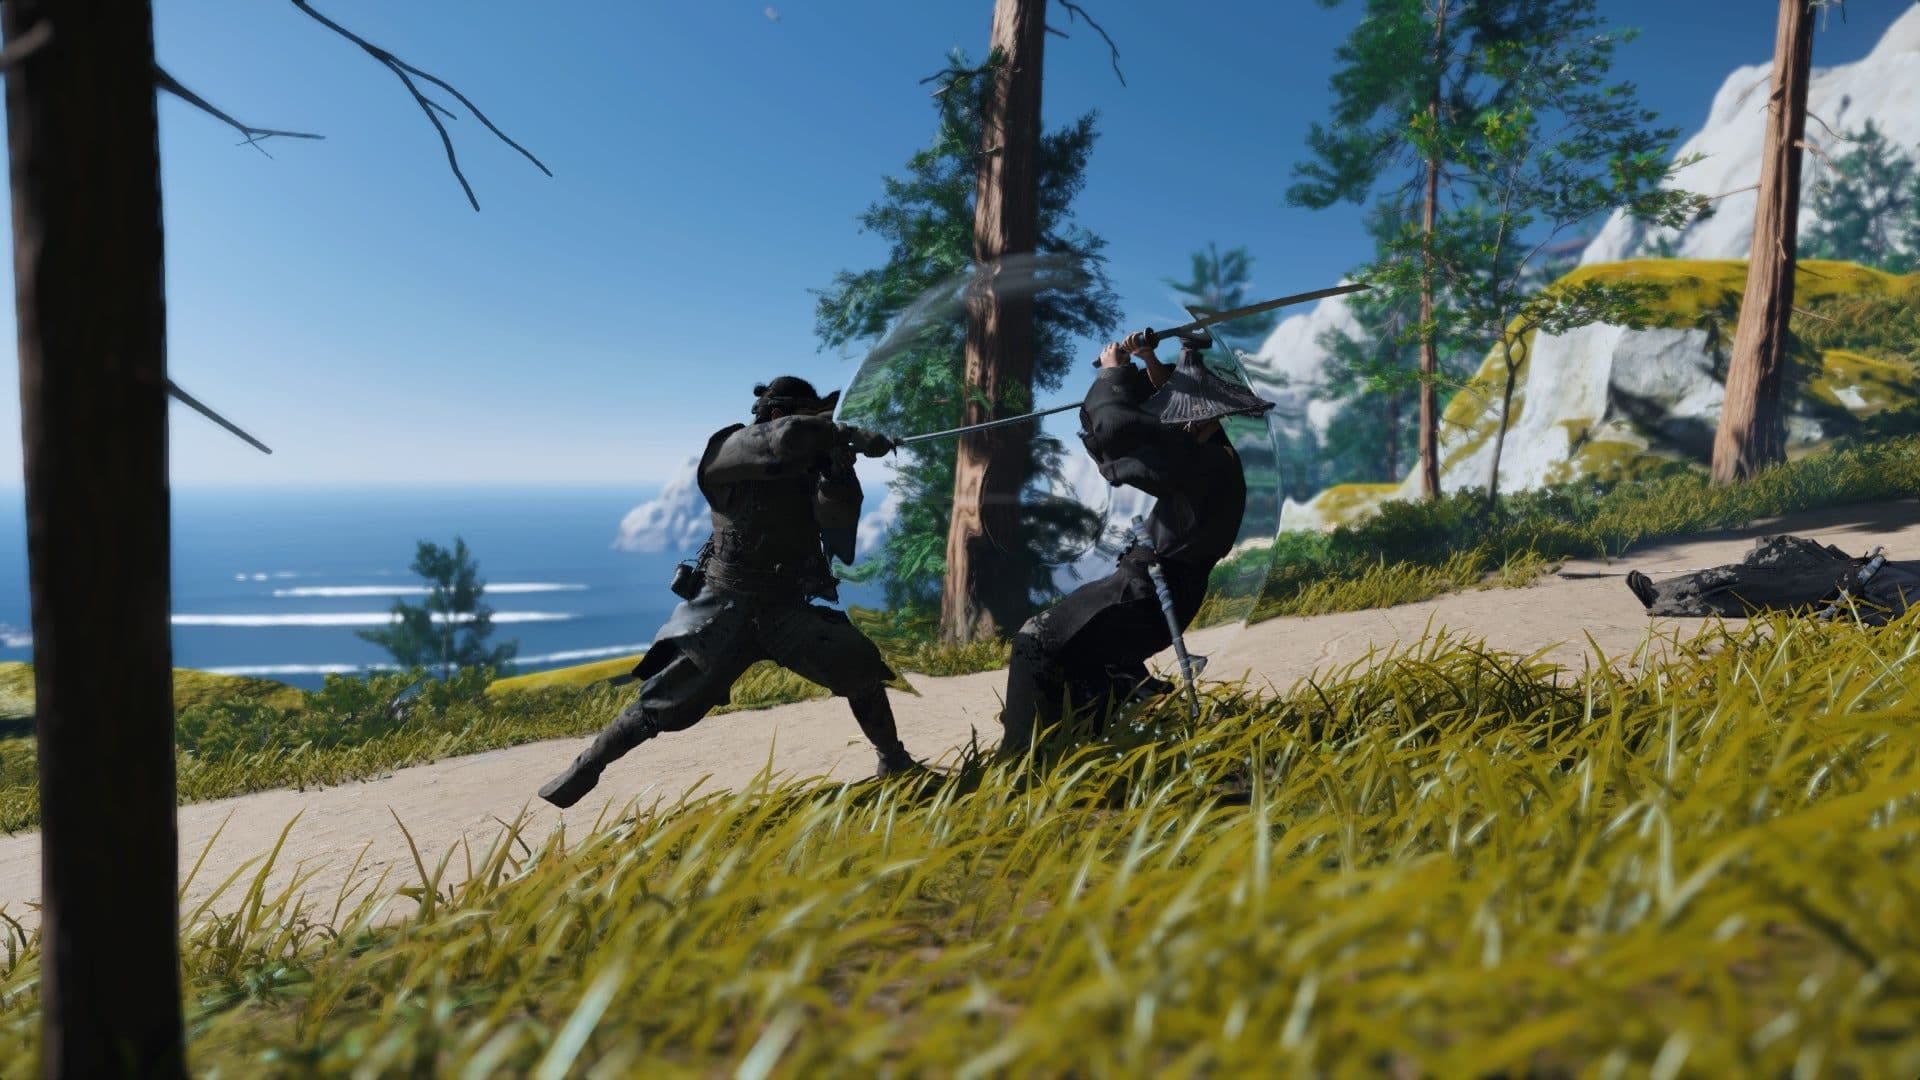
The upgrade menu allows players to strengthen weapons and unlock new abilities.
The Core Economy: Supplies and Flowers
Your journey across Tsushima will be dotted with two primary currencies. First are Supplies, the lifeblood of all gear upgrades. You’ll find them in small sacks scattered throughout the world, but they’re most abundant in Mongol camps. Loot every crate and body—trust me, you’ll need mountains of them. The second is Flowers, found growing in vibrant fields. These are purely cosmetic, used to purchase dyes from merchants to customize your armor’s appearance.
You can collect both Supplies and Flowers while on horseback. Get in the habit of riding through fields and past lootable objects—it saves a ton of time.
Upgrading Your Arsenal
To turn those raw materials into power, you’ll need to visit the right craftsmen. In towns like the Golden Temple or liberated settlements, seek out the Swordsmith. This NPC uses Iron and later Steel to upgrade your Katana for increased damage and your Tanto for faster stealth assassinations. Prioritize these weapons; your Katana should reach Tier IV and your Tanto should be maxed at Tier III before the end of Act 1, as they’re your constant companions.
For ranged dominance, find the Bowyer. This NPC uses Bamboo and Yew Wood to upgrade your bow’s draw speed, reload time, and effective range. While the Half Bow benefits greatly from these upgrades, the powerful Longbow you earn from a mythic tale is devastating even without them—though maxing its range turns it into a true sniper rifle.
Strategic Investment and What to Skip
Here’s the trick most guides miss: be selective. Don’t spread your precious Supplies thin across every armor set. Focus on outfits that match your playstyle. The Ronin Attire is a fantastic all-rounder, boosting melee damage and stealth, and is required for a late-game mission. Tadayori’s Armor, earned from a mythic tale, is unmatched for archery. The Traveler’s Attire is great for exploration but don’t fully upgrade it—the max detection range can make finding collectibles frustrating.
Also, skip the Guiding Wind exploration upgrades in your skill tree. They cost valuable Technique Points but are unnecessary when you can follow yellow birds and clear Mongol outposts to reveal the map naturally.
⚠️ Watch out: Save your Flowers for the White Dye Merchant in northwest Izuhara. His white dyes, like the ‘Amber Assassin’ skin for the Ronin Armor, are the most sought-after cosmetics in the game.
Ammo and Final Touches
Don’t forget your ghost tools. Use Predator Hides to upgrade your quickfire ammo pouches for Kunai, Smoke Bombs, Sticky Bombs, and Explosive Arrows. This directly increases your capacity for these game-changing tools. Explosive Arrows are especially important to upgrade since they’re rare and not replenished at standard ammo caches.
With a focused approach to gathering and a clear upgrade path, you’ll ensure every resource you collect translates directly into greater power on the battlefield. Now go—your legend awaits its final polish.
Ghost of Tsushima Rewards and Progression Milestones
This is where it all comes together—your journey across Tsushima isn’t just about survival, but building a legend. In Ghost of Tsushima, every liberated farm, every completed tale, and every hidden discovery directly fuels your power and transforms the island. Here’s how your exploration pays off and what key milestones to seek out.
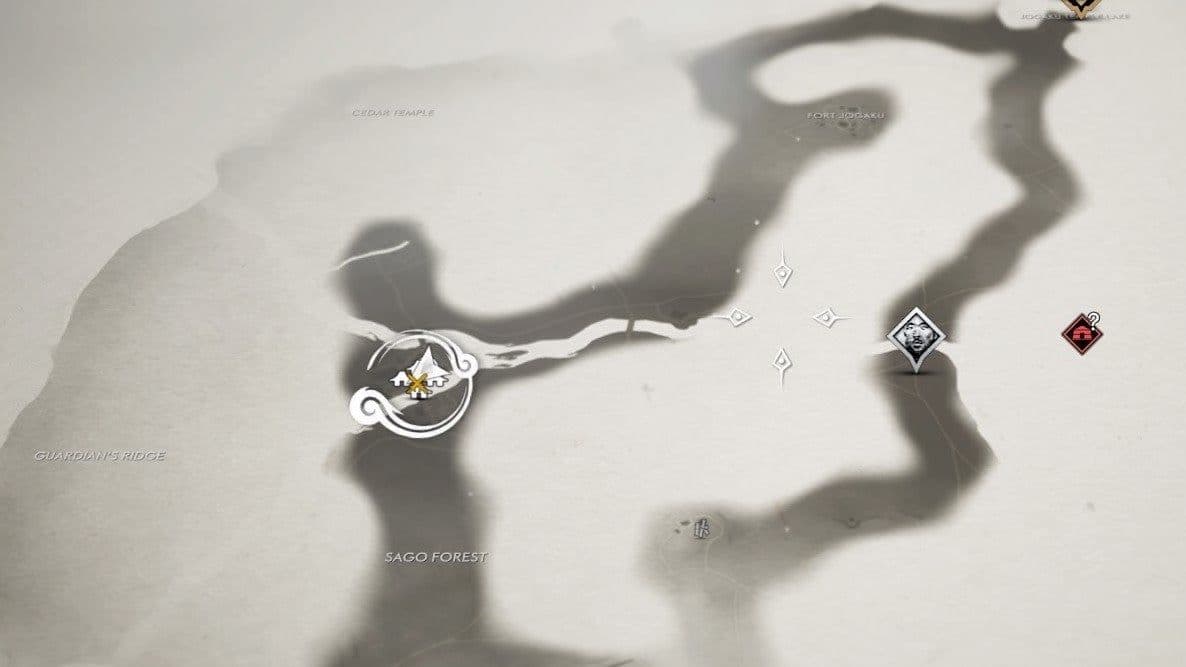
The Traveler's Attire is essential for early exploration and map clearing.
Your progression is measured by your Legend Rank, which increases whenever you complete Tales (main quests, side quests, and mythic tales) or liberate territory from the Mongols. Each rank-up grants you a precious Technique Point to spend on new skills. This is the core loop: explore, help people, fight invaders, and grow stronger. The more you engage with the world, the faster you’ll unlock essential abilities like perfect parries or powerful ghost weapons.
Don’t ignore those random peasant rescues. They often give you hints about nearby Mongol camps or hidden tales, and they grant a small but useful boost to your Legend.
Two types of locations offer permanent, character-defining upgrades that are worth a detour. First, seek out Hot Springs scattered across the open world. Interacting with one lets Jin reflect on a topic, and each spring you find permanently increases your maximum Health. Second, make the Golden Temple in Ariake your home base. This safe haven contains a Gift Altar where you can collect free resources regularly, and it houses all the essential upgrade NPCs: a swordsmith, bowyer, and armor merchant under one roof.
For a completely different atmospheric experience, dive into the settings and enable Kurosawa Mode from the Options menu under Display. This isn't just a filter; it transforms the game with a authentic black and white cinematic look, adds film grain, and enhances wind effects for a true samurai film feel. You can toggle it on or off at any time.
Your adventure is your own. Whether you follow the golden birds, master the flute to change the weather, or systematically liberate each region, every action builds toward you becoming the legend Tsushima needs. Now, with your skills honed and your map clearing, you’re ready to face whatever comes next. The island awaits.