Understanding the Core Loop and Death in Hades
Welcome to the Underworld. In Hades, Supergiant Games’ masterful roguelike, your first few attempts will feel like a frantic, impossible dash for freedom. Here’s the secret: those failures aren’t just expected, they’re essential. This isn't a game you beat on your first try; it's a game you learn and grow stronger with every single run.
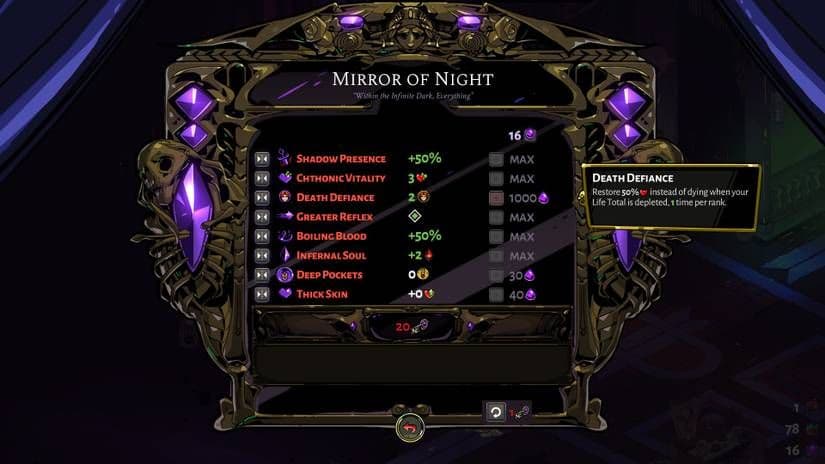
The Mirror of Night allows players to spend Darkness on permanent upgrades like Death Defiance.
The heartbeat of Hades is the core loop. You begin each attempt in the House of Hades hub, then venture into the Underworld Regions—Tartarus, Asphodel, Elysium, and beyond. You'll clear rooms, collect temporary power-ups called Boons, and gather precious resources like Darkness and Keys. Whether you die to a boss or finally escape, you’ll always return to the House of Hades. This return isn't a punishment; it's your chance to spend those hard-earned resources on permanent upgrades, unlock new weapons, and most importantly, advance the story. Each loop, successful or not, makes you permanently stronger and the world richer.
This is where death as progression truly shines. Every time you’re sent back to the House of Hades, you trigger new story beats and character dialogue. The world reacts to how you died, what weapon you used, and who you met. This persistent narrative is woven directly into the gameplay, making every run meaningful. Your permanent power grows through the Mirror of Night in your bedchamber and new weapons unlocked in the courtyard, ensuring that no run is ever a waste.
Don’t rush back into the next run immediately. After you return to the House, take a moment to talk to everyone. New conversations unlock story, resources, and sometimes even game-changing abilities.
Your returns are greeted by a cast of memorable characters who make this cycle engaging. Right in the main Hallway, you’ll find Hypnos, the Sleep Incarnate, lazily leaning against a pillar. His purpose? To provide witty, often hilarious commentary on your latest cause of death. It’s a charming reminder that failure is part of the fun. More crucially, seek out Nyx, the Mother Night, also in the Hallway. After several runs, she will unlock deeper talents in the Mirror of Night, dramatically expanding your build options and power ceiling. She is your guide to the game's most impactful permanent upgrades.
Embrace the loop. Your goal in these early hours isn’t to escape immediately—it’s to gather Darkness, learn enemy patterns, and deepen your relationships with the house’s inhabitants. With every return, you’re not starting over; you’re building the foundation for your eventual, glorious escape. Let’s begin.
How to Use the Mirror of Night in Hades
Right after you return from a run, head to your bedchamber in the House of Hades. This is where your real, permanent power grows. The Mirror of Night is your skill tree, and learning how to invest your hard-earned Darkness is the single biggest key to turning those frustrating early deaths into triumphant escapes.
The Mirror of Night offers permanent stat boosts in exchange for Darkness.
Your First Mirror Investments: Buy Forgiveness
When you're just starting out in Hades, your goal isn't a perfect build—it's survival. You need to reach later biomes with enough health to actually learn from them. This means investing in what the guides call "forgiveness" before "elegance."
Your first three purchases should be absolute non-negotiables:
- Death Defiance (Mirror of Night > Red Talent): For 30 Darkness, this gives you an extra life, reviving Zagreus at 50% HP when he falls. Trust me, this is the most important upgrade in the game. You'll eventually want all three ranks (costing 30, then 500, then 1000 Darkness), but that first one is your immediate priority.
- Greater Reflex (Mirror of Night > Red Talent): For a mere 50 Darkness, this grants one additional Dash charge. More dashes mean more invincibility frames, better positioning, and a much easier time dodging those telegraphed attacks you're still learning.
- Thick Skin (Mirror of Night > Red Talent): Once you spend 10 Chthonic Keys to unlock this row, invest here. Each rank increases your base HP by 5, nearly doubling your starting health when maxed. A bigger health pool makes every healing item more effective and gives you a crucial buffer for mistakes.
Think of these three upgrades as your survival foundation. Don't even look at the fancy damage talents until you have at least one rank in each. Getting farther in a run consistently is how you gather more Darkness to buy everything else.
Understanding Alternate Talents & Strategic Swaps
After a dozen or so runs, you'll speak with Nyx in the House of Hades hallway, and she'll unlock the green alternate talents in the Mirror. These aren't strictly "better"—they're different tools for different strategies.
A classic example is swapping Death Defiance for Stubborn Defiance. The latter gives you one life that refreshes every chamber instead of three for the entire run. It's fantastic for high-heat runs where you expect to take lots of chip damage, but worse for boss attempts where you want multiple shots at victory.
The rule of thumb: only switch to an alternate talent if you understand the specific trade-off and how it helps your current goal. If you swap and suddenly start dying earlier, just switch back. The simpler red talents are there for a reason—they're incredibly forgiving.
Key Talents for Your First Clear
Once your survival base is secure, you can start rounding out your build for more consistent damage. Two talents are particularly powerful for first clears:
- Privileged Status (Mirror of Night > Red Talent): This grants a massive +40% damage bonus to enemies afflicted by two or more status effects (like Weak, Hangover, or Doom). If you focus on applying two different curses, this talent alone will carry your damage.
- Dark Regeneration (Mirror of Night > Green Talent): This alternate talent converts a percentage of any Darkness you collect into immediate HP healing. It's especially powerful in post-game runs where bosses drop Darkness, offering incredible sustain.
Don't Forget: You Can Always Reset
Made a few purchases you regret? Spent all your Darkness on damage before survival? No problem. At the bottom of the Mirror of Night interface, you can spend 1 Chthonic Key to reset all your talents and refund every single point of Darkness. This is perfect for saving up for that expensive third Death Defiance or completely rethinking your strategy. Chthonic Keys are common enough that this isn't a punishing cost, so don't be afraid to use it.
With your Mirror of Night talents wisely chosen, you've built the permanent strength that will support every single run. Now, let's make sure your moment-to-moment actions are just as sharp.
Essential Combat Controls and Movement Strategies
Now, the real fun begins—the Underworld is waiting, and it's time to move. In Hades, the difference between a quick return to the House and a triumphant escape often comes down to mastering a few essential combat maneuvers. This isn'tt just about mashing buttons; it's about reading the room, controlling the flow of battle, and knowing exactly when to strike or vanish. Let's break down the core controls that will become your lifeline.
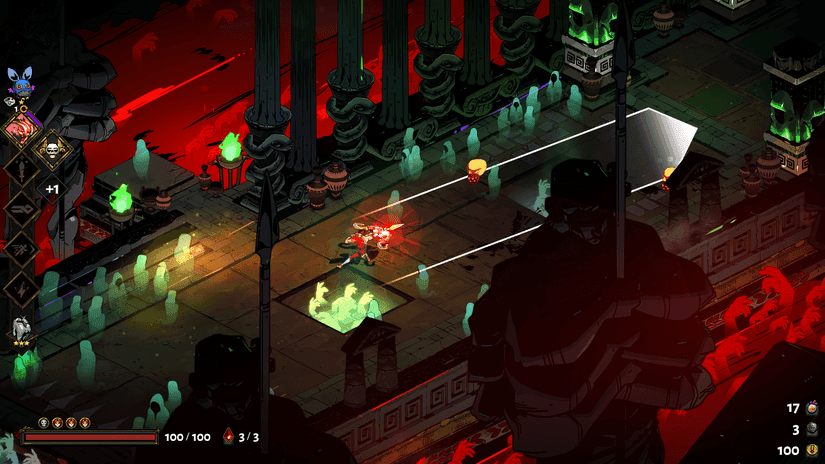
Darkness is used to unlock permanent combat and movement enhancements.
Your primary survival tool is the Dash. Press [A/Space] in Battle > Any Chamber to instantly zip in any direction. Here’s the crucial part: the Dash grants you brief invincibility frames (i-frames) during the animation. This means you can phase right through enemy attacks if you time it right. Don't just dash away from danger—dash through projectiles and sweeping strikes to reposition yourself for a counterattack.
Combine your dash with an attack for a powerful Dash-Strike. Simply press [A] to Dash and immediately follow with [X] to Attack. This performs a unique, high-damage move that varies by weapon and is often your fastest way to close distance and deal damage.
Your other key offensive tool is the Cast. Press [B/Q] in Battle > Any Chamber to fire a blood-red shard that lodges into enemies. Beyond its immediate damage, a lodged shard triggers the Boiling Blood Mirror talent (if you have it), making the target take increased damage from all your other attacks. It’s perfect for marking priority targets or armored foes from a safe distance.
Speaking of armored foes, you'll quickly recognize Armored Enemies by their distinctive yellow health bar in Battle > Any Chamber. These brutes don’t flinch when hit, meaning they’ll power right through your attacks unless you break their armor first. Use your Cast to chip away from range or focus your heaviest attacks to shatter that armor and finally stagger them.
The key to avoiding damage entirely is learning Enemy Tells. In Battle > Any Chamber, watch for a visual glow, flash, or distinctive wind-up animation before an enemy strikes. That’s your cue. Instead of panicking, calmly use your [A] Dash—either through the attack or to a safe spot—to avoid the damage entirely. Learning these tells turns chaotic scrambles into predictable dances.
Trust me, if you've felt overwhelmed by the speed of combat, you're not alone—everyone does at first. The trick is to stop thinking of movement and attack as separate actions. Weave them together: Dash-Strike into a group, fire your Cast at a distant archer, Dash through a telegraphed swing, and finish the stunned enemy. With these fundamentals down, you're not just surviving rooms—you're controlling them. Let's go.
Best Beginner Weapons and Unlocks in Hades
Your first weapon in Hades isn't a choice—it's the trusty Stygian Blade waiting in the House of Hades Courtyard. But soon, a whole arsenal of Infernal Arms opens up, each demanding a different playstyle. Choosing your first weapon and unlocking the next one wisely is your first major power spike.
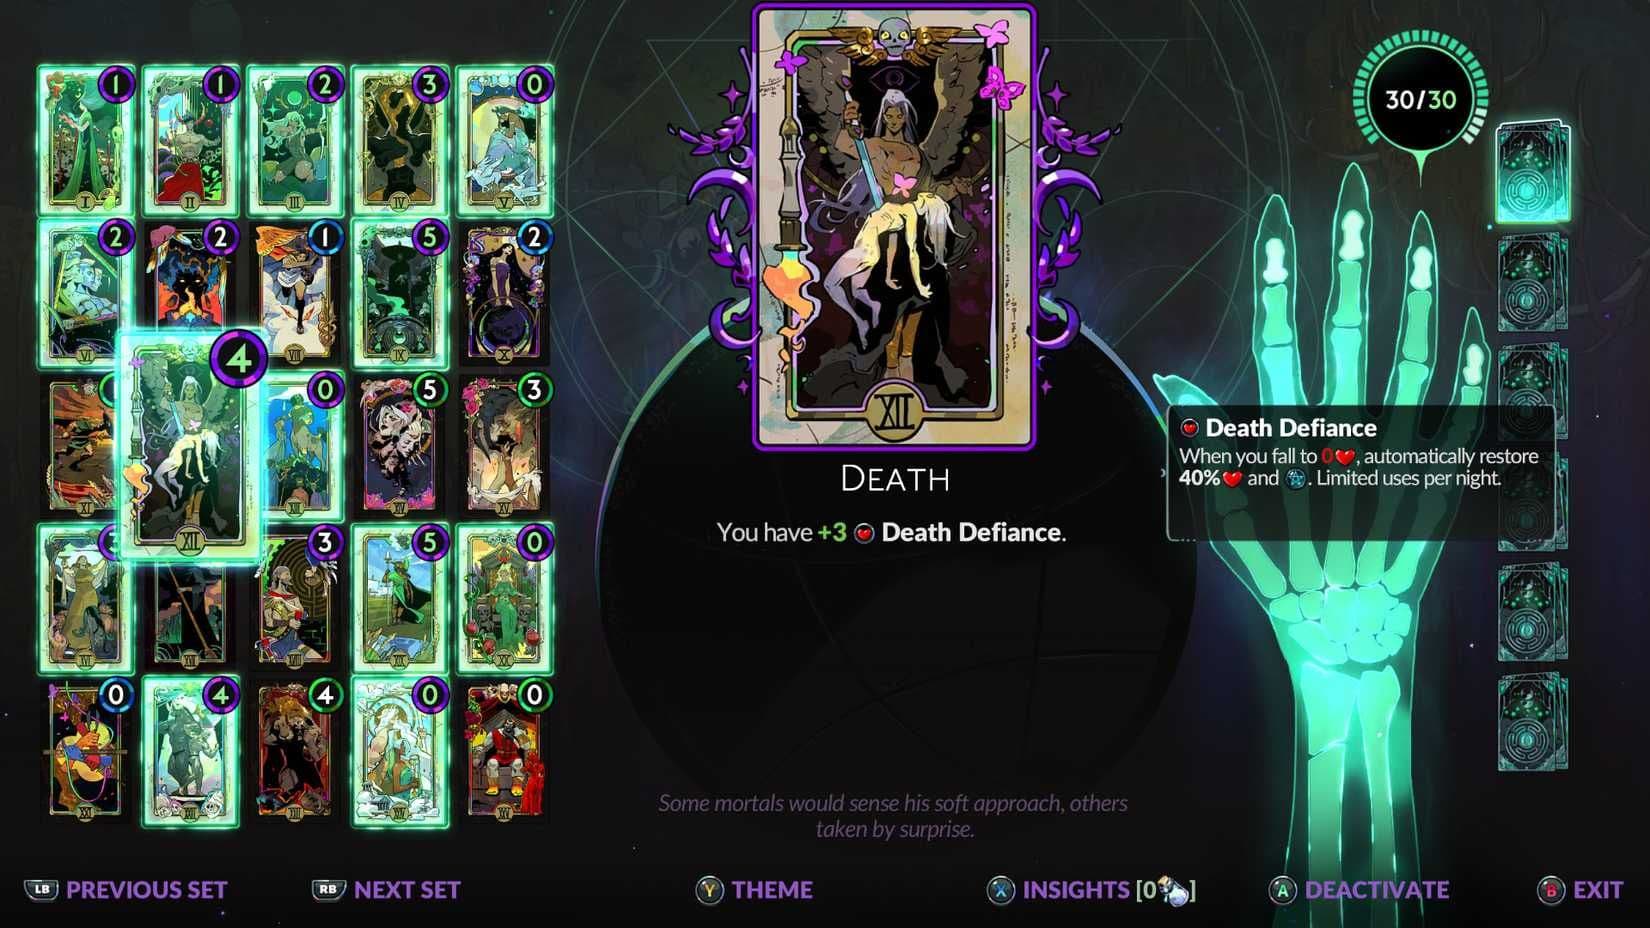
While from the sequel, the Death Defiance mechanic remains a core beginner focus.
Your Starting Arsenal and How to Unlock More
When you're ready to move past the sword, head back to the Courtyard. You'll see five other weapons, each requiring Chthonic Keys to unlock. Your first purchase should be the Heart-Seeking Bow. It costs 1 Chthonic Key and offers safe, ranged damage with charged power shots, letting you learn enemy patterns from a distance without getting hit. It's a fantastic training tool.
If you've saved up 3 Chthonic Keys, the Shield of Chaos is another excellent beginner pick. Holding [X] lets you block incoming frontal damage, which forgives a lot of early mistakes. You can turtle against tough attacks and learn boss timings safely.
Before you start a run, always check the Courtyard for the weapon glowing with a purple aura. This is Dark Thirst, and it grants a +20% Darkness bonus for your next escape attempt. Using the thirsty weapon is the fastest way to farm Darkness for crucial Mirror upgrades.
Understanding Weapon Modifiers
As you fight through the Underworld, you'll occasionally find a Daedalus Hammer as a chamber reward. Don't pass this up. This item modifies your weapon's core mechanics in wild, powerful ways, like adding chain-bounce to your shield or explosive properties to your bow's special. These hammers often define your entire run's strategy, so grab one whenever you see it.
Trust me, mastering one weapon at a time is better than bouncing between them. Pick the Bow or Shield, get a feel for its rhythm, and use that consistency to push deeper. With your first new Infernal Arm in hand and an eye out for game-changing hammers, you're building the foundation for your first escape.
How to Manage Resources and NPC Relationships
Think of your time in the House of Hades not just as a pit stop between runs, but as a chance to build your power base. In Hades, the resources you gather and the friends you make are the bedrock of your eventual escape. Here’s how to manage your growing hoard and build relationships that give you a serious edge.
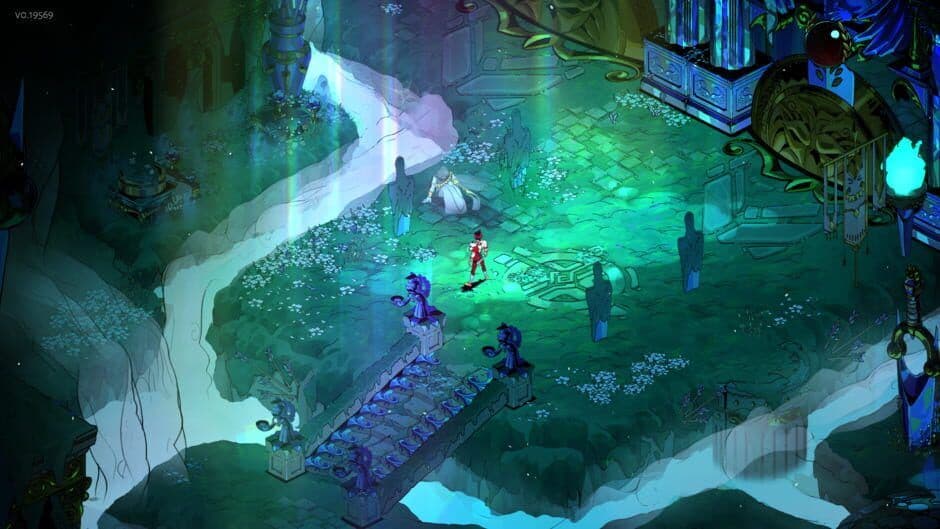
Building relationships with House NPCs can yield powerful rewards.
Understanding Your Core Currencies
You’ll collect four key resources as chamber rewards, each with a distinct purpose.
- Darkness is your ticket to permanent power. Found as a purple teardrop icon, it's the primary currency for upgrades in the Mirror of Night. Spend it to unlock extra lives, dashes, and more health—these are the investments that make each run easier than the last.
- Chthonic Keys are your keys to new options. Use them to unlock new weapons in the Courtyard and to access deeper, more powerful talent rows in the Mirror of Night itself.
- Charon's Obol is your in-run spending money. These gold coins are temporary but crucial; spend them at Charon's Shop for Boons, health refills, and other power-ups that can turn a struggling run around.
- Nectar is your social currency. This giftable item is how you build bonds with the denizens of the Underworld.
The Power of Giving: Nectar and Keepsakes
This is where strategy meets storytelling. Giving your first Nectar to any character is a game-changer. Approach an NPC and press [LB/Select] to give it to them. In return, they’ll grant you a Keepsake—a unique, equippable trinket that provides a powerful passive bonus for your next run.
Your first Nectar gifts should solve an immediate problem. Need more survivability? Skelly, the training dummy in the Courtyard, rewards you with the Lucky Tooth for an extra life. Want to steer your build? Give to an Olympian god like Athena for her Owl Pendant, which guarantees her defensive boons appear early.
These relationships don’t stop at the first gift. Continuing to gift Nectar (and later, Ambrosia) deepens your bond with characters, unlocking more of their personal story, new dialogue, and even powerful Companion summons that can turn the tide of a boss fight.
A Simple Resource Priority for Beginners
It can feel overwhelming, but a clear spending order keeps you focused:
- Spend Keys: Unlock new weapons to find your favorite playstyle.
- Spend Darkness: Prioritize Mirror of Night upgrades like Death Defiance and Greater Reflex for survival.
- Spend Nectar: Gift to characters whose Keepsakes address your current biggest weakness.
- Spend Obol: Use it during runs on health or Boons that shore up your build.
Trust me, viewing each "failed" run as a successful resource-gathering mission completely changes your mindset. With every trip back to the House, you’re not starting over—you’re building a stronger foundation for the next attempt.
Best Starting Keepsakes for Early Survival
Those first few escape attempts in Hades can feel like you're running headfirst into a wall. You dash into Tartarus, get overwhelmed, and return to the House of Hades wondering what went wrong. Here’s the trick most guides miss: your Keepsake choice is just as important as your weapon or boons. These trinkets, earned by gifting Nectar, provide a passive bonus that can carry you through those crucial early chambers. Let's break down the ones that will turn your next run from a learning experience into genuine progress.
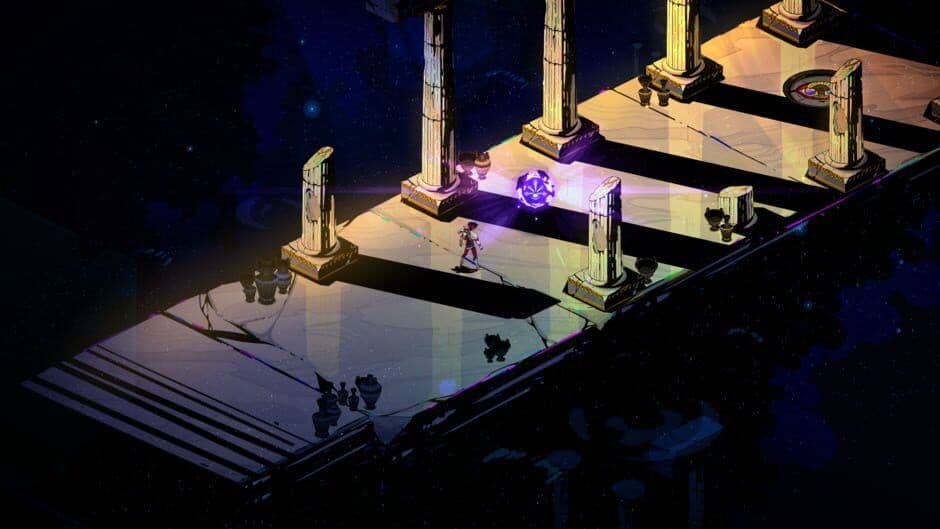
Prepare for your next run in the House of Hades.
Your Keepsake collection is managed at the Keepsake Display Case in the House of Hades Courtyard. Press [RB] to interact with it and equip one trinket before you start your run. You can swap Keepsakes between each major region, but for your first few attempts, we’re focusing on the ones that solve your most immediate problem: staying alive long enough to learn the game.
Must-Have Early Survival Keepsakes
For pure, uncomplicated survivability, two Keepsakes stand above the rest. The first is the Old Spiked Collar, earned by giving your first Nectar to Cerberus, the good boy guarding the lounge. This Keepsake grants a flat +25 base HP. That’s a massive 50% increase to your starting health pool, making every healing item more effective and giving you a much bigger buffer against mistakes in Tartarus.
The second is the Lucky Tooth, gifted by Skelly after your first Nectar. This is your emergency parachute. Once per run, when your health hits zero, the Lucky Tooth activates, reviving you with 50/75/100 HP (the amount increases as you level the Keepsake by clearing chambers while it's equipped). Think of it as a backup Death Defiance. Having this in your pocket means you can afford one catastrophic misstep against a Fury or in a tough room, giving you a chance to recover and keep pushing forward.
Give your first Nectar to Cerberus and your second to Skelly. Equip the Old Spiked Collar for Tartarus to maximize your starting health, then swap to the Lucky Tooth before Asphodel or a boss fight for that extra safety net. This one-two punch is the simplest path to reaching deeper biomes.
Strategic Keepsakes for Build Control
Once you’ve got a handle on basic survival, you can start shaping your runs. This is where god-specific Keepsakes come in. The Owl Pendant, given by Athena after gifting her a Nectar, guarantees that the next boon you find will be from her. This is incredibly powerful for securing Divine Dash early.
Divine Dash is arguably the best defensive boon in the game. When you press [A] to Dash, you deflect incoming projectiles and melee attacks back at enemies. It trivializes many of Tartarus’s ranged foes and is a lifesaver against bosses. By using the Owl Pendant in Tartarus, you remove the randomness and ensure you get this game-changing tool from your very first boon chamber.
Putting It All Together
Your early Keepsake strategy should follow a clear survival ladder. First, use the Old Spiked Collar to learn enemy patterns without dying instantly. Next, incorporate the Lucky Tooth to forgive a major error and see new content. Finally, experiment with the Owl Pendant to consistently build around powerhouse boons like Divine Dash. Remember, you can only equip one at a time, but you can swap them at the display case between regions once you’ve unlocked more.
With the right trinket equipped, you’re not just a little stronger—you’re giving yourself the room to breathe, learn, and gradually master the relentless rhythm of the Underworld. Stock up on Nectar, make some friends, and let these Keepsakes pave your way out.
Navigating the Regions of the Underworld
You’ve mastered your weapons, your boons, and your keepsakes. Now it’s time to step out of the House of Hades and into the gauntlet. This is where your skills meet the test—the first two punishing regions of the Underworld in Hades.
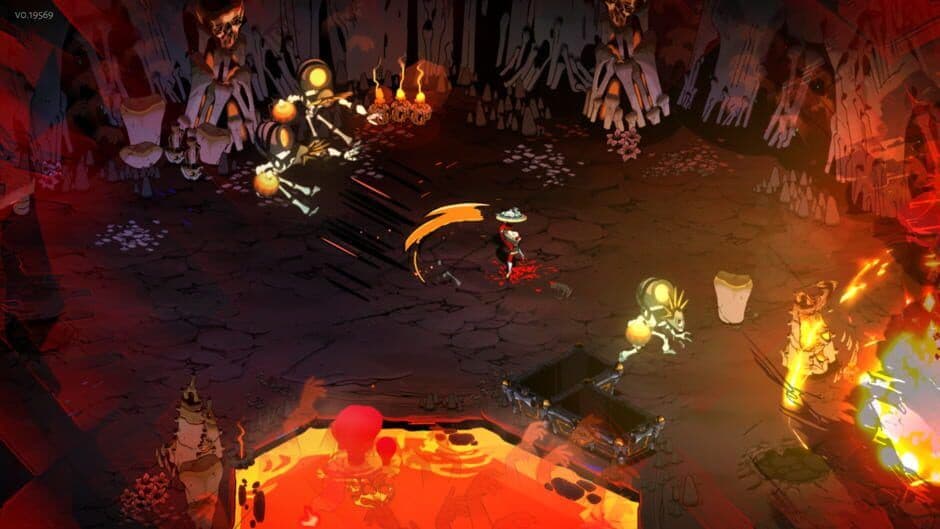
Each biome in Hades presents unique environmental challenges.
Your first steps into Tartarus, the Underworld's first region, are a deceptive welcome. While the enemies here are relatively weak, the environment is your true foe. Across its 14 chambers, you’ll need to watch for spike traps that erupt from the floor and pressure plates that trigger surprise attacks. This is your training ground. Learn enemy tells here, preserve your health, and build the core of your boon loadout. Don't rush; a slow, safe clear is better than arriving at the boss battered.
Use your Cast liberally on armored foes in Tartarus. The shard locks them in place, stopping their charge and letting you safely whittle down their yellow health bars.
The climax of Tartarus waits in Chamber 14: your first major boss, Megaera. One of the three Furies, she’s a brutal introduction to boss mechanics. Watch for the circular red indicators on the floor—that’s your cue to dash away from her devastating AOE whip attacks. She’ll also summon adds and fire projectiles. The key is patience: dodge first, then punish her during her recovery animations. If you've wiped here before, you're not alone—she trips up everyone at first.
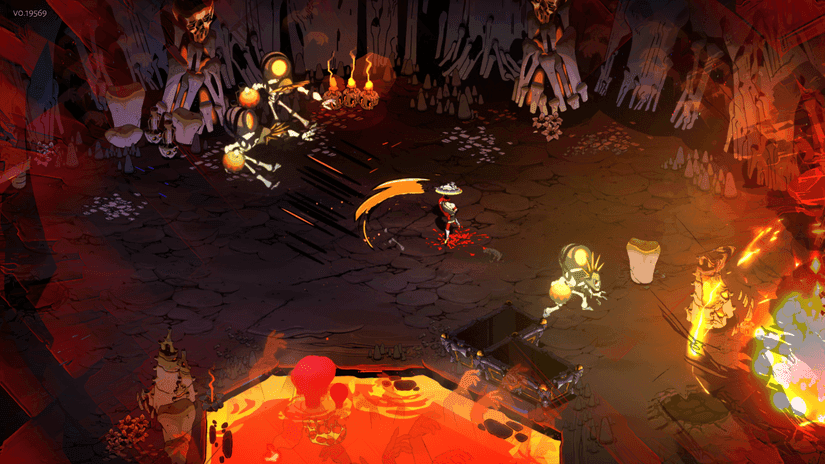
Victory against Megaera grants passage to the fiery second act: Asphodel. This lava-flooded region is a dramatic shift. Here, the floor itself is hostile. You must constantly [A] Dash quickly between islands to avoid magma damage, as standing in it drains health rapidly. The chambers here (around 10 before the next boss) are filled with relentless ranged enemies who will fire at you from across the lava moats. Your positioning and dash discipline are paramount—getting cornered on a small platform is a death sentence.
Throughout both regions, keep an eye out for Shop Chambers. Here, you’ll find Charon, the silent boatman merchant. He sells Boons, health restoratives, and temporary buffs for the Obols you’ve collected. If you’re low on health before a boss, investing in a Kiss of Styx here can be the difference between life and a frustrating reset.
With an understanding of Tartarus's traps and Asphodel's lava, you’re building the spatial awareness needed for the entire game. Master these two regions, and you’ll have the foundation to push further into the deeper, deadlier biomes that await.